
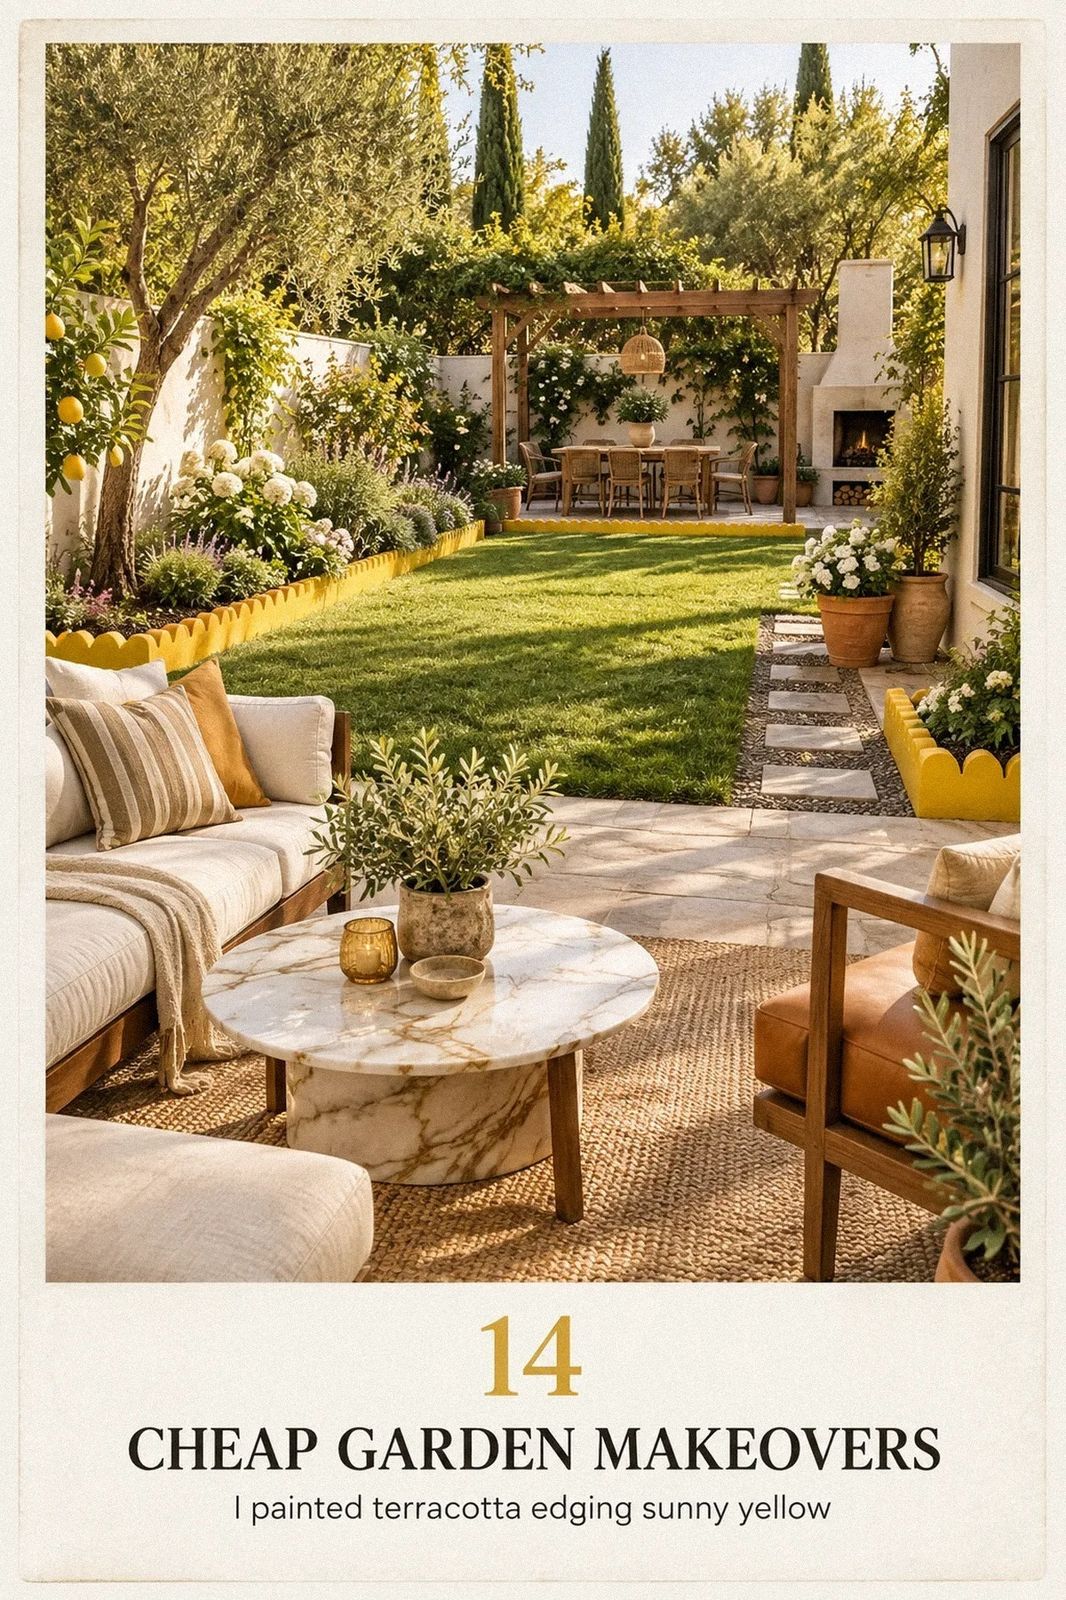
 by
I kept this cheap garden makeover under $100 and finished it in one weekend. The garden had tired soil, crooked containers, and a chair nobody wanted to sit on, so I worked with what I owned before buying anything. By Sunday evening, the space felt warm, inviting, and intentional. I was surprised by how little it took!
Editor's note: Start with the view from the chair, not the shopping list. Clear the edges, create one strong backdrop, and let the garden tell you what it still needs.
Here's what it looked like before
The starting point told the story better than I could. There was a narrow patch of compacted soil, a leaning fence, two empty pots, and a faded chair pushed against the wall. Nothing was broken enough to justify replacing it, but nothing invited you to stay either.
I stood in the garden for five quiet minutes. You can learn a lot by looking before you shop. The afternoon light landed in one corner, the old chair had decent bones, and the fence was more useful than it looked.
I decided the garden didn't need a full renovation. It needed a clearer arrangement, a little color, and fewer things fighting for attention. That same reuse-first instinct helped with my cheap renter-friendly kitchen upgrades.
- Clear the edges before buying anything
- Farrow & Ball Sets the Backdrop
- Why the Two-Height Rule Works
- Swap a Plastic Pot for a Textured Planter
- Build a Vertical Screen with the Three-Source Rule
- Where Should the Chair Go?
- Add a Small Herb Station Near the Door
- A Narrow Path, Strong Contrast
- One Lantern, Not a Light Show
- The Three-Texture Grounding Stack
- Prune One Plant into a Clear Shape
- Sherwin-Williams Evergreen Fog Makes the Stand Disappear
- What Makes a Tiny Water Bowl Matter?
- Finish with a Warm, Lived-In Evening Edit
1Clear the edges before buying anything
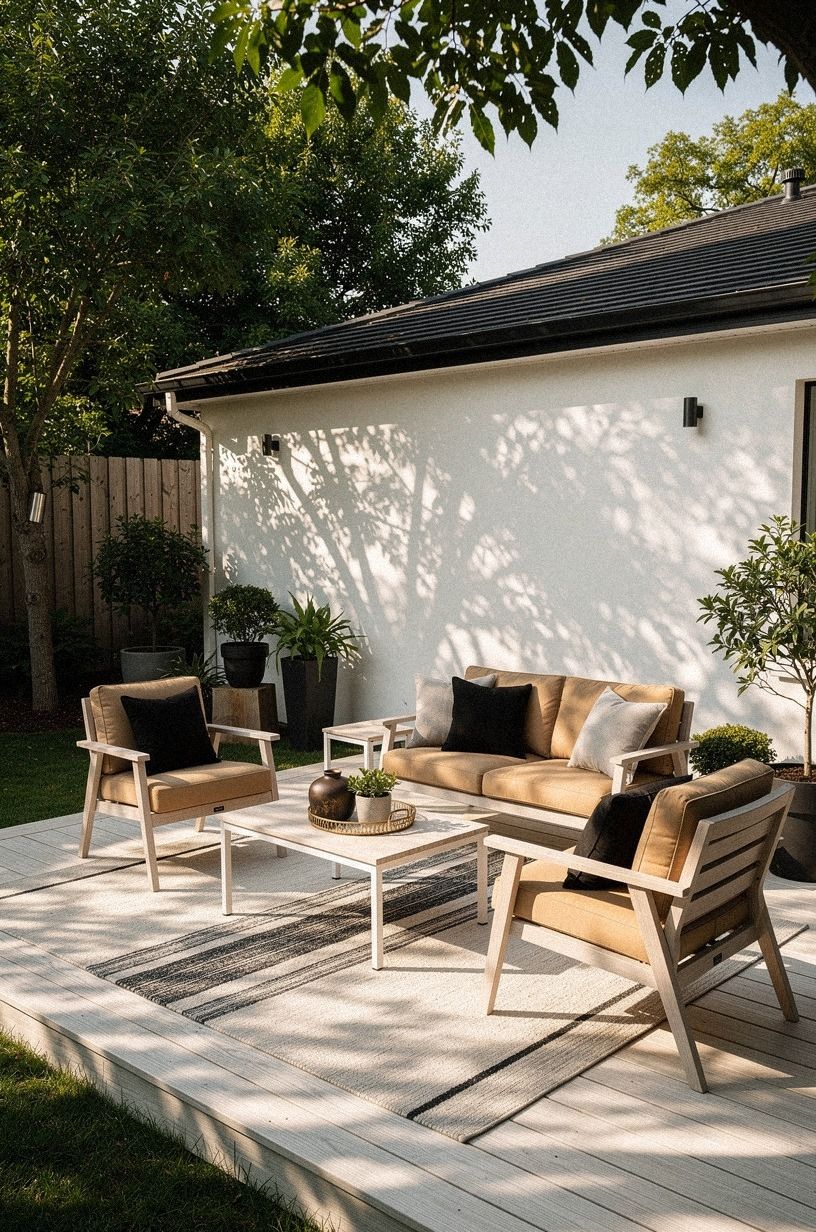
The first cheap garden makeover idea was free, which made it hard to argue with. I pulled weeds, clipped dead stems, swept the paving, and removed three pots that had no plant in them. The garden immediately looked more inviting, even though I hadn't added a single new object.
You don't need a cart full of supplies when your edges are disappearing under leaves and loose soil. I kept the strongest plant and moved it near the seating area. You want one living focal point before you add decorations, or the garden starts to look like a storage zone.
I almost skipped this step because it felt too ordinary. That would've been a mistake. Clean lines around a bed or path make every later choice look more deliberate, especially beside a warm-white border.
For the loose edge, I used salvaged bricks and a thin strip of cerused white oak from an old project as a temporary plant marker. It won't last forever outdoors, but it gave me a visual boundary for the weekend. If your garden has a similar problem, begin with a broom, pruners, and one bin for anything that no longer earns its place.
2Farrow & Ball Sets the Backdrop
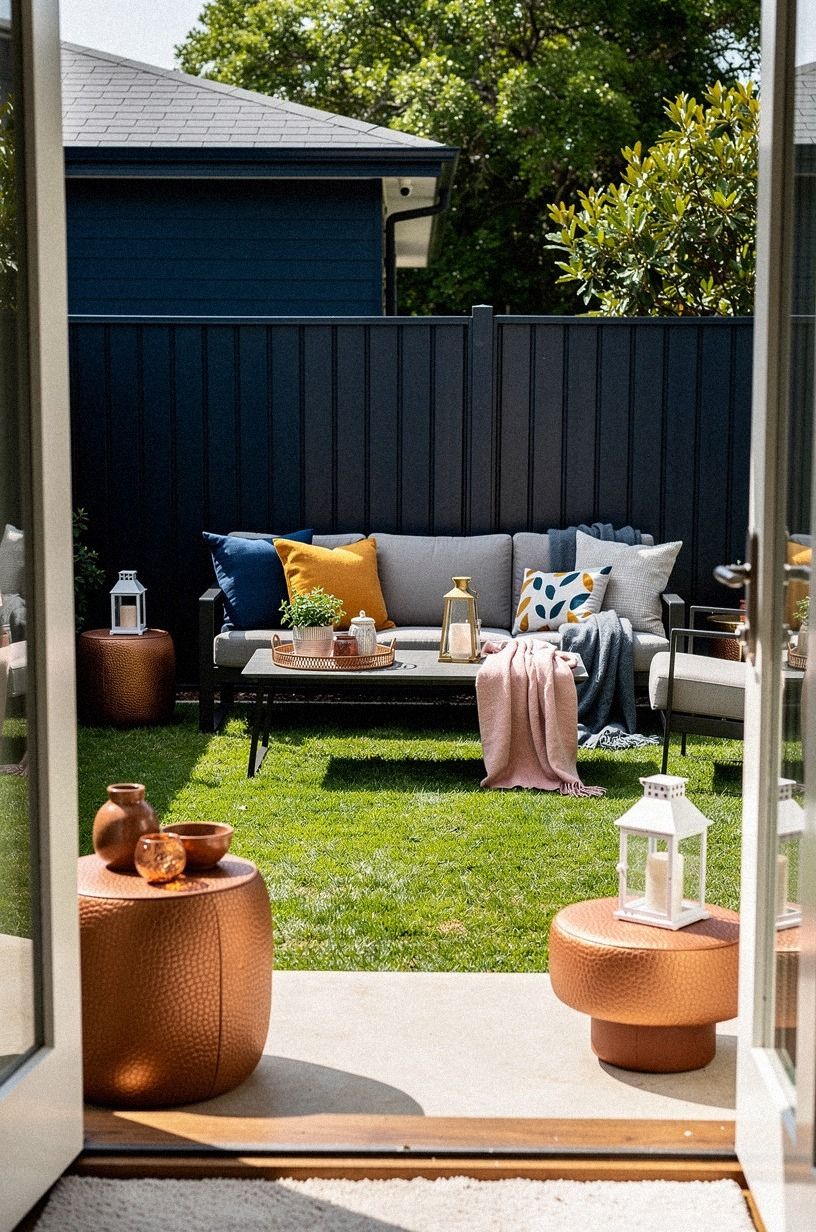
The fence was the dullest part of the garden, so I painted only the section behind the chair. A full fence would have taken longer and required more paint, while one dark panel created the depth I wanted. I chose a midnight blue shade, and the color made the green leaves look sharper without making the garden feel heavy.
You don't have to paint a whole wall to create a backdrop. Paint the gate, the back of a planter, or one section behind your seating. If you're renting, a removable outdoor screen can give you the same layered effect.
I left the neighboring fence boards raw because matching everything would've made the garden feel flat. The blue panel also connected the garden to the house, where I had already used a warm ivory tone indoors.
You can see that relationship through the open door, and the small echo makes both spaces feel calmer. For another focused surface, I borrowed the planning mindset from these cheap renter-friendly kitchen upgrades. One decisive change can feel more striking than a scattered collection of small ones!
3Why the Two-Height Rule Works
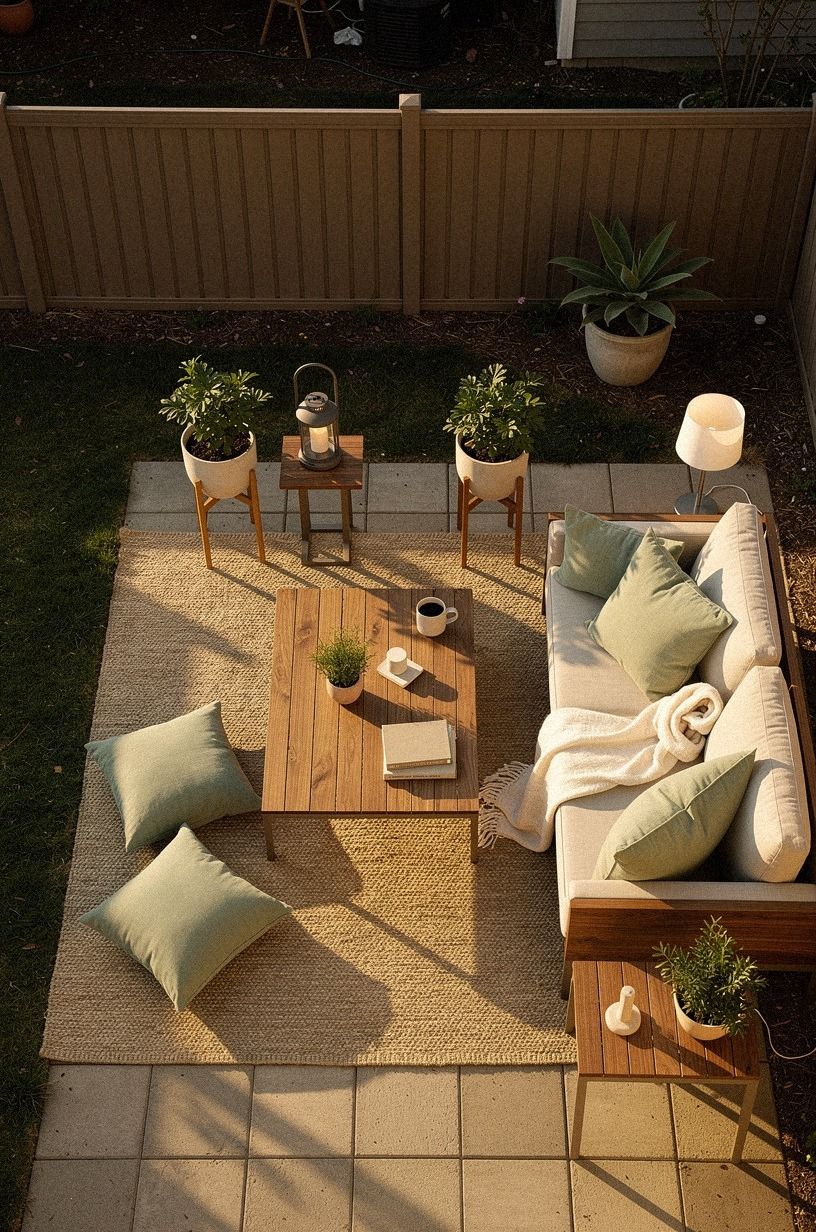
My containers looked accidental because they were all sitting on the same level.
4Swap a Plastic Pot for a Textured Planter
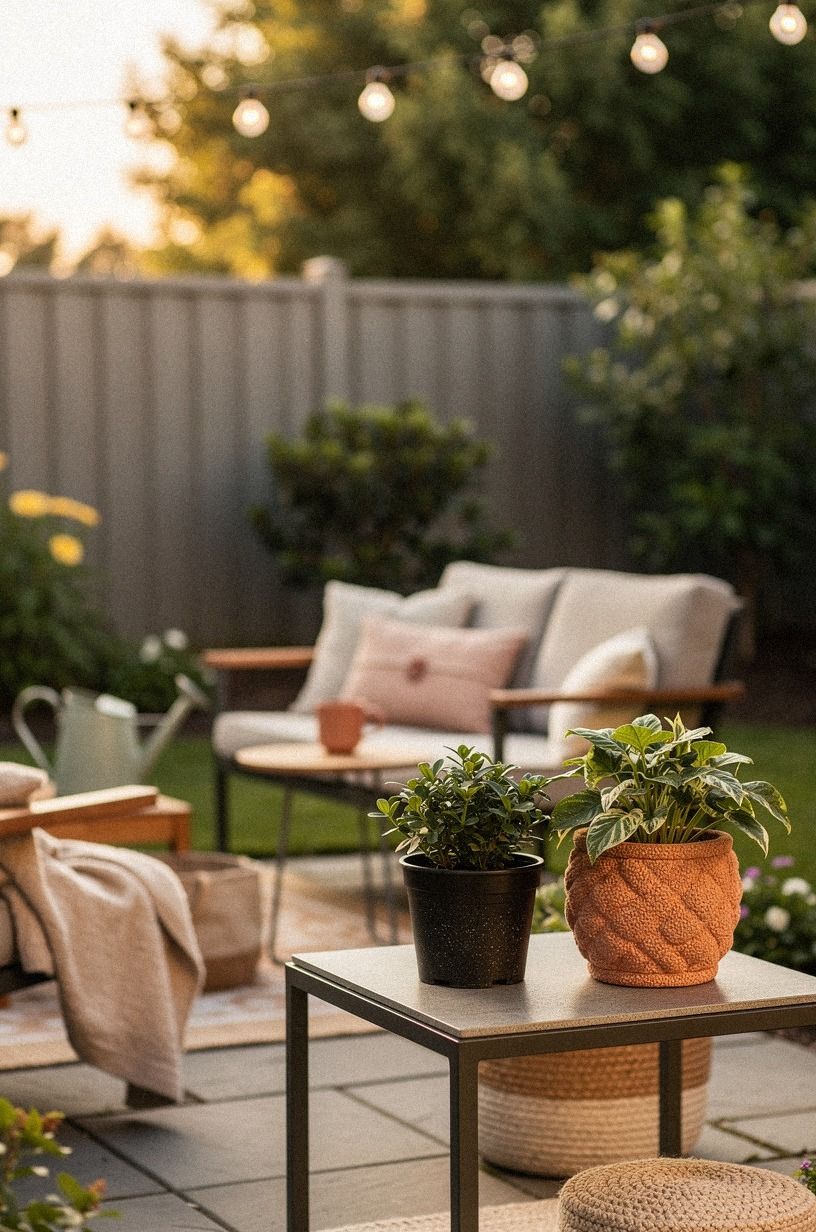
One cracked plastic pot made the whole corner look temporary. I moved the plant into a wide terracotta planter I already owned, wiped the rim clean, and left the surface unpainted. That single change brought in warmer, more organic texture, and you can feel the difference before you notice it.
You don't need an expensive ceramic pot to make this work. A secondhand terracotta planter, a galvanized bucket with drainage holes, or a reclaimed wooden box can carry the same visual weight.
I like stone and olive tones indoors, but I skipped glossy garden pottery because the shiny finish competed with the leaves. The garden needed something grounded and tactile instead.
I left one plastic nursery pot visible inside the larger planter instead of repotting immediately. You should do the same if a plant is stressed or the weather is unsettled. Your garden needs a safe weekend edit, not a rushed transplant that leaves everything wilted by Monday.
For another low-cost way to reuse what you already have, these low-tox toddler room ideas take the same practical approach.
5Build a Vertical Screen with the Three-Source Rule
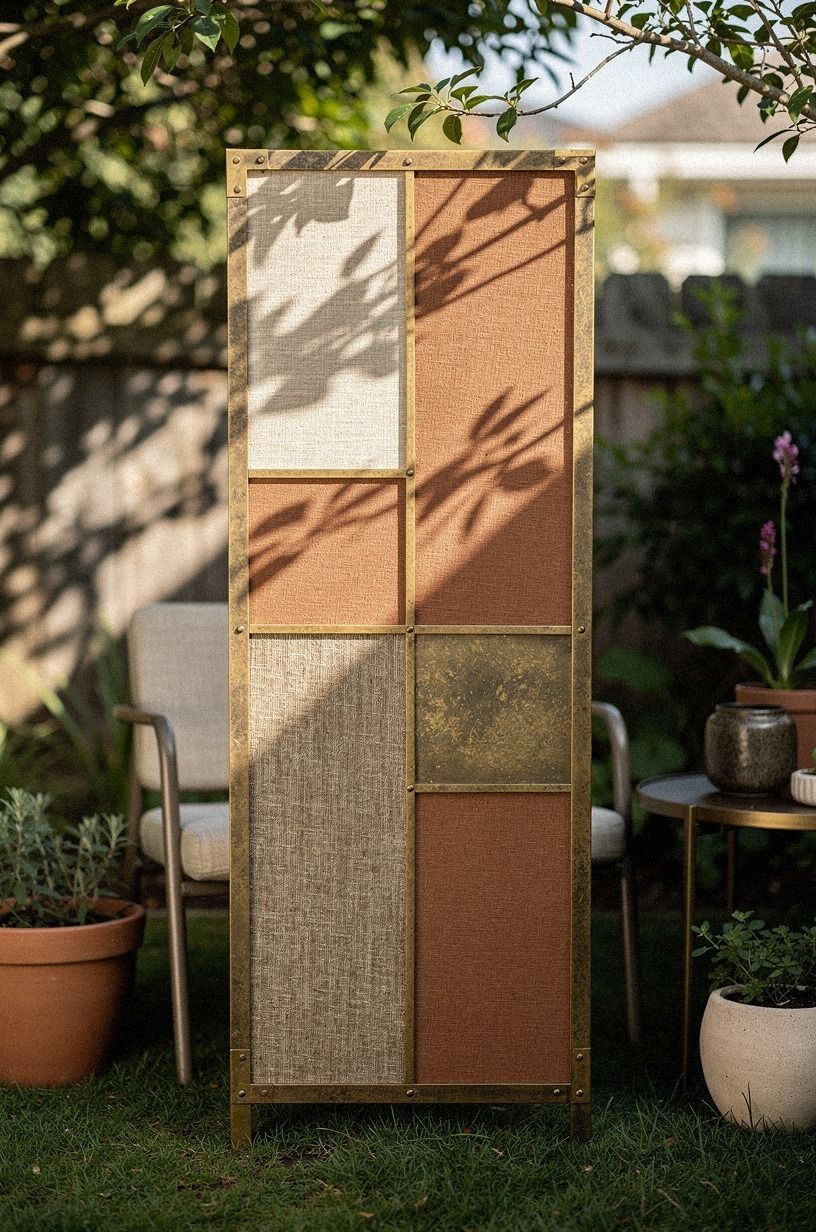
The blank fence needed height, but I didn't want to buy a trellis. I used three sources instead: a fallen branch, a length of garden twine, and an old wire panel. Together, they created a light climbing structure that looked warm and collected rather than manufactured.
I tied the branch to the fence with dark twine, then leaned the wire panel behind a pot of sweet peas. The materials weren't identical, and that helped. You don't want every piece to look like it came from one outdoor furniture set.
Your eye likes a little tension, especially in a garden that needs personality. A small piece of unlacquered brass developing patina gave the structure a warmer finish while keeping it visually quiet.
For a more permanent version, use treated wood or a proper outdoor trellis. I wouldn't attach heavy vines to a weak fence, even if the first few weeks look charming. The moment the plant fills in, the weight changes.
This same idea of layering one weekend project over another worked in my organic bedroom transformation, where vertical detail made a compact space feel more established.
6Where Should the Chair Go?
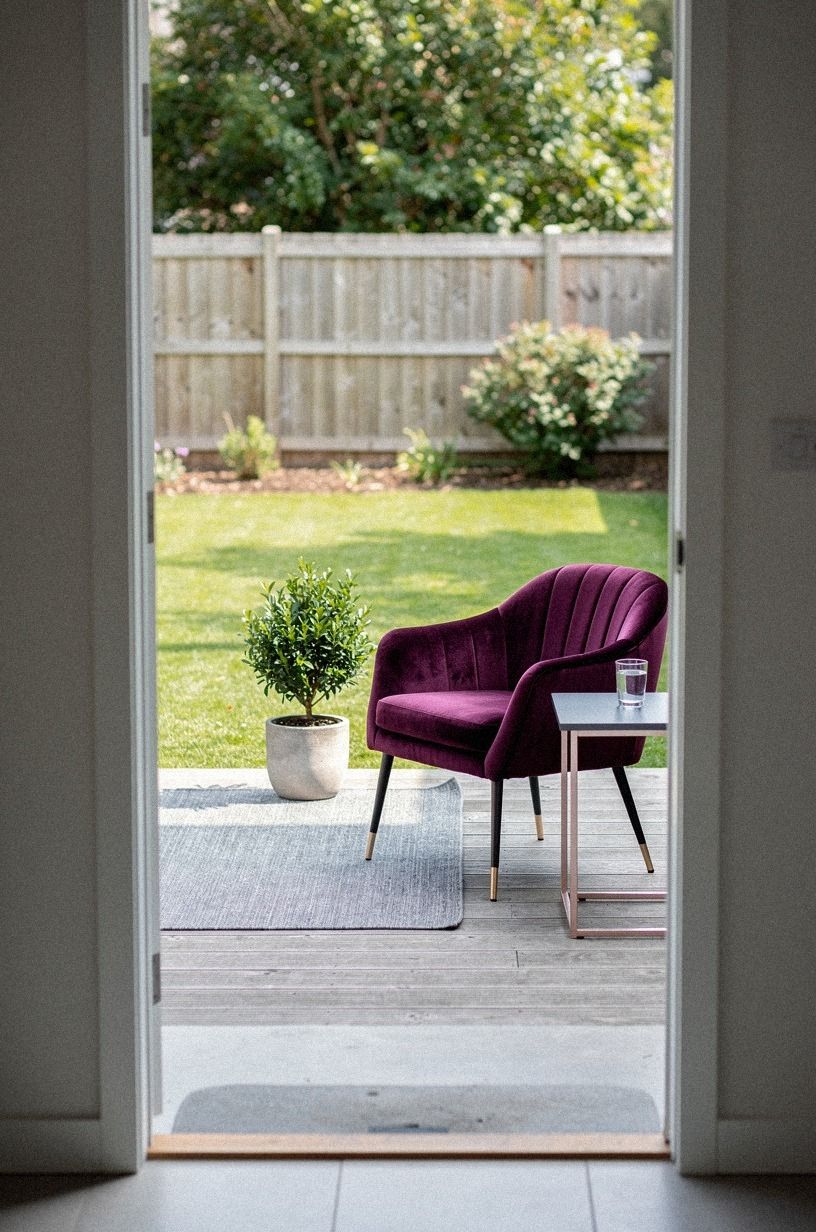
The chair had been shoved into the darkest corner, so I moved it toward the late-afternoon light.
7Add a Small Herb Station Near the Door
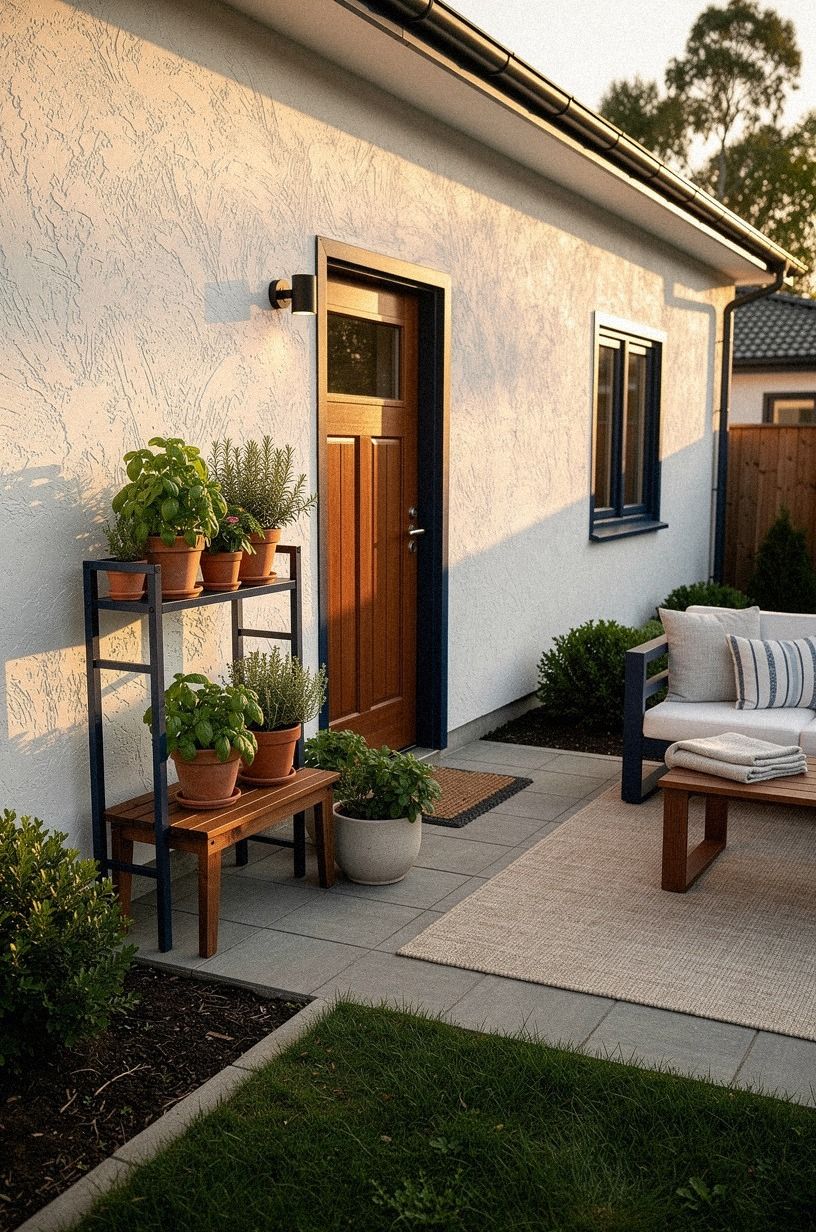
I wanted the garden to give something back, so I grouped basil, rosemary, and mint near the kitchen door. The arrangement was practical, but it also made the space smell fresh whenever I brushed past. You can create the same little station with three containers and one shallow tray.
The tray was a reclaimed piece from indoors, and I don't expect it to survive years of rain. For one weekend, it kept the pots together and stopped soil from spreading across the paving.
Your herb station should be close enough to use without thinking, or you'll forget it exists. I placed mint in its own container because it spreads with astonishing enthusiasm. That was the one plant decision I wouldn't compromise on!
You can use a small galvanized bucket for mint, a terracotta pot for rosemary, and a wooden box for basil. The materials feel collected, not matched. For more ideas about keeping a small space useful and warm, see these low-tox toddler room ideas.
8A Narrow Path, Strong Contrast
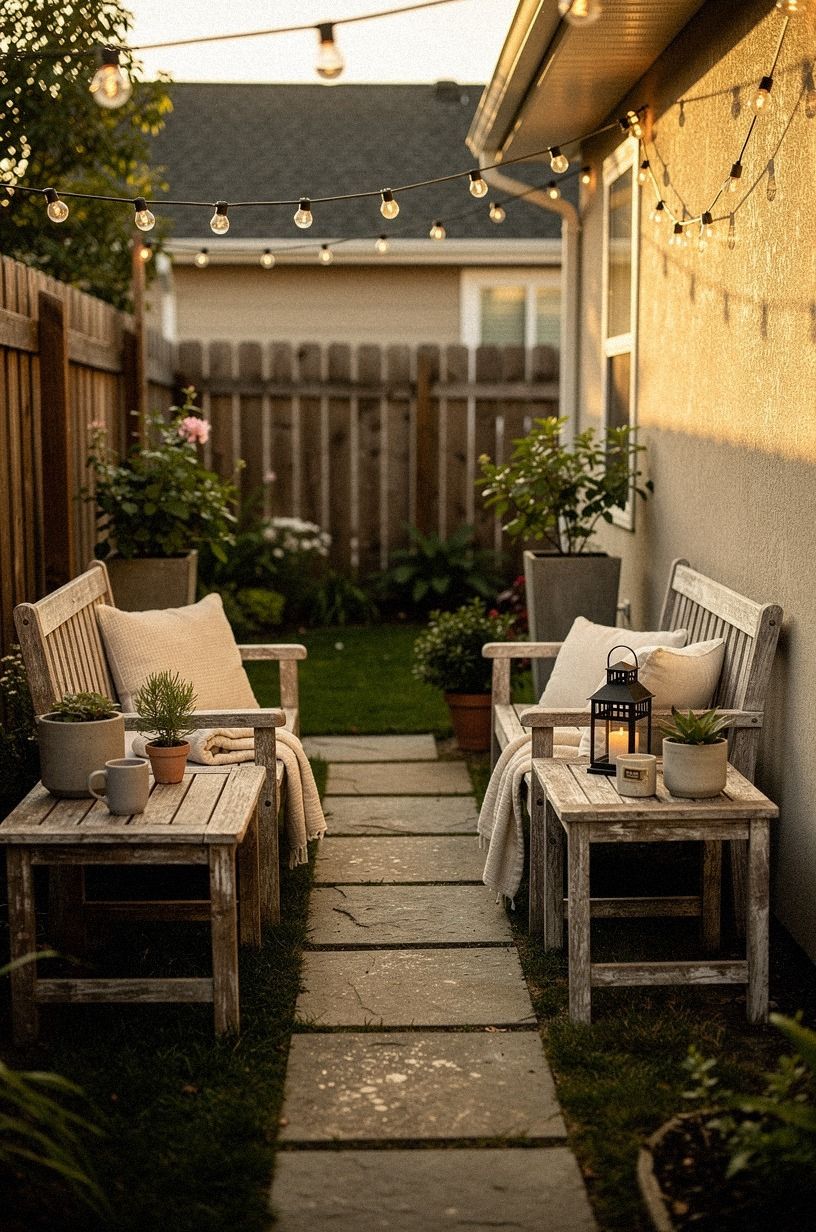
The path looked narrow because the planting blurred into the paving.
9One Lantern, Not a Light Show
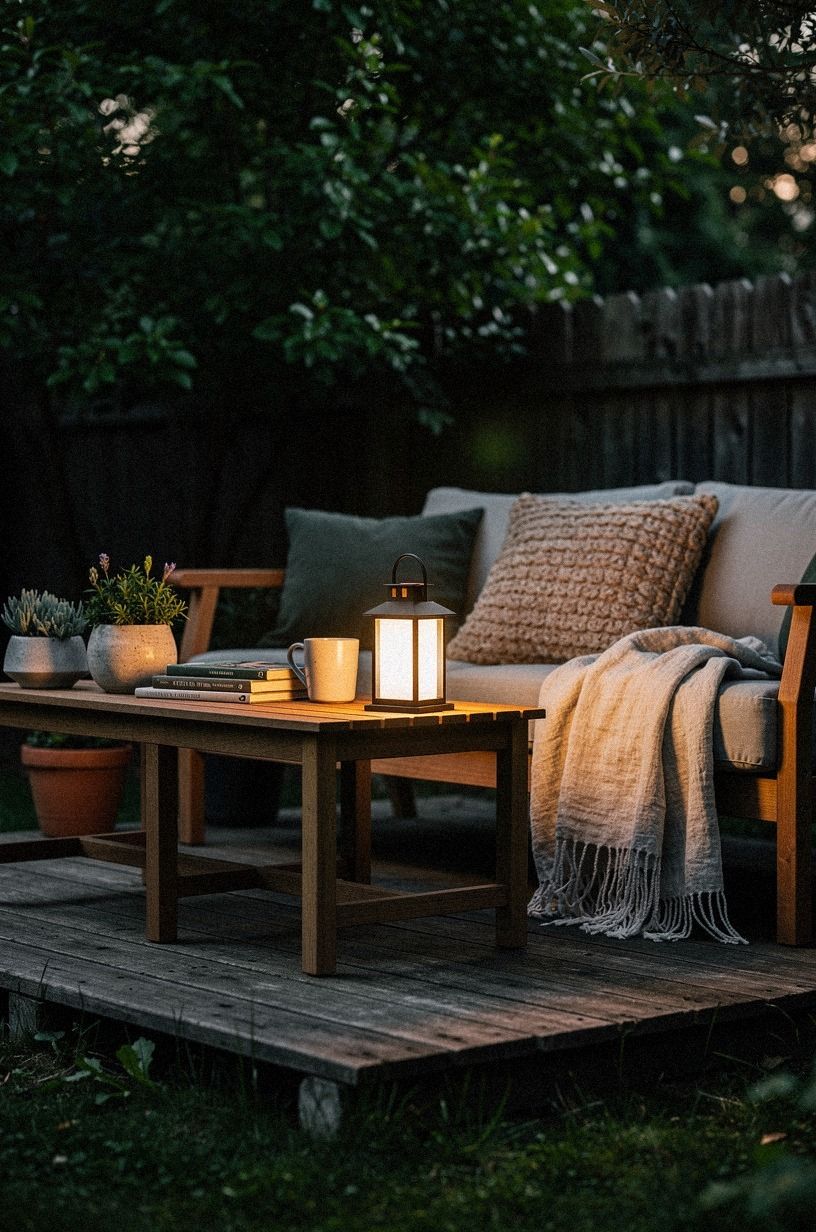
The garden needed evening light, but I didn't want a row of identical solar stakes. I hung one old lantern from the fence beside the chair. Its soft pool of light made the seating area feel intimate, and it kept the rest of the garden quiet.
You can use a battery lantern, a weatherproof candle holder, or a small outdoor pendant if the wiring already exists. I wouldn't run new electrical work for a one-weekend project, especially when one warm light can do the job.
Your goal is to create a place for your eye to land, not illuminate every leaf. The lantern's natural oak detail worked better than a polished finish beside the washed Belgian linen cushion and terracotta pot.
If you have only one light, place it near where you sit, not in the middle of the garden. The evening effect was more cinematic than I expected. For another strong focal moment, these scary zombie Halloween yard ideas use the same principle.
10The Three-Texture Grounding Stack
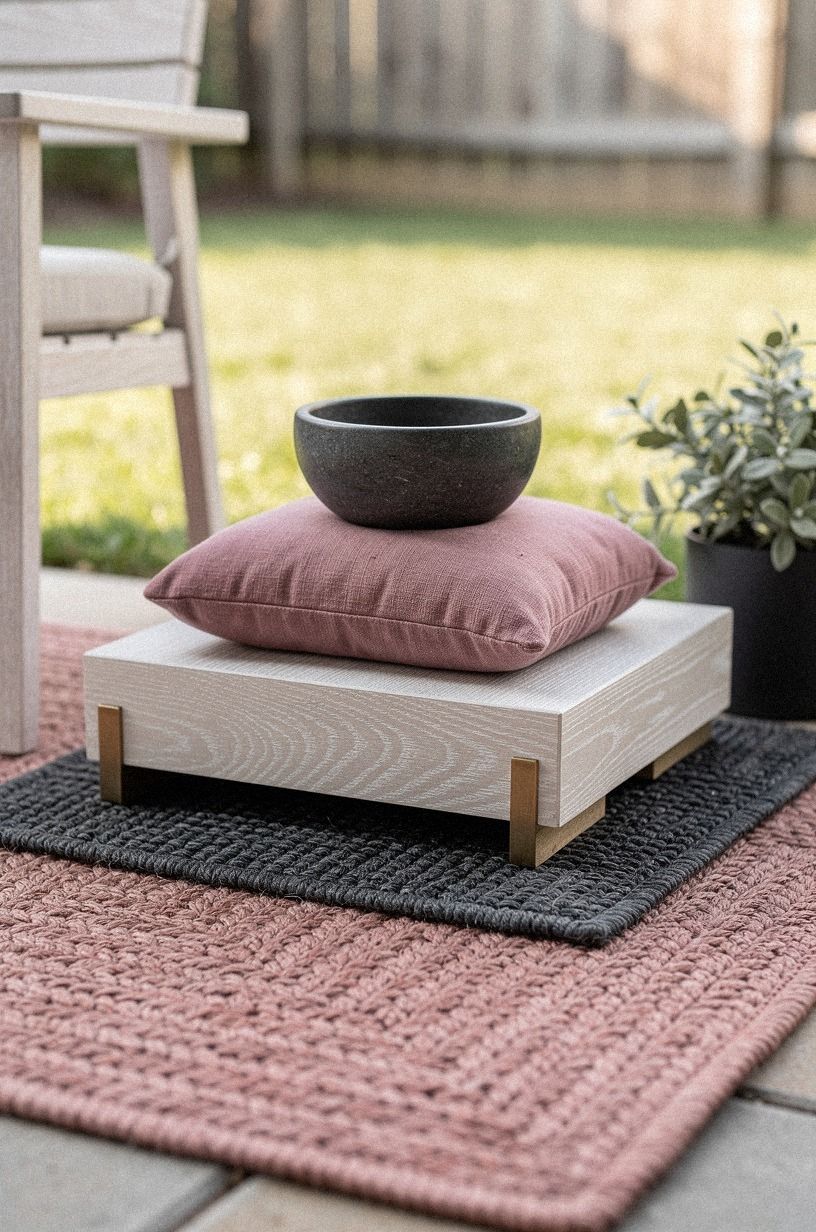
The garden still felt a little bare after the furniture moved, so I added three textures at ground level: a dusty-rose textile, charcoal stone, and a small brass accent.
11Prune One Plant into a Clear Shape
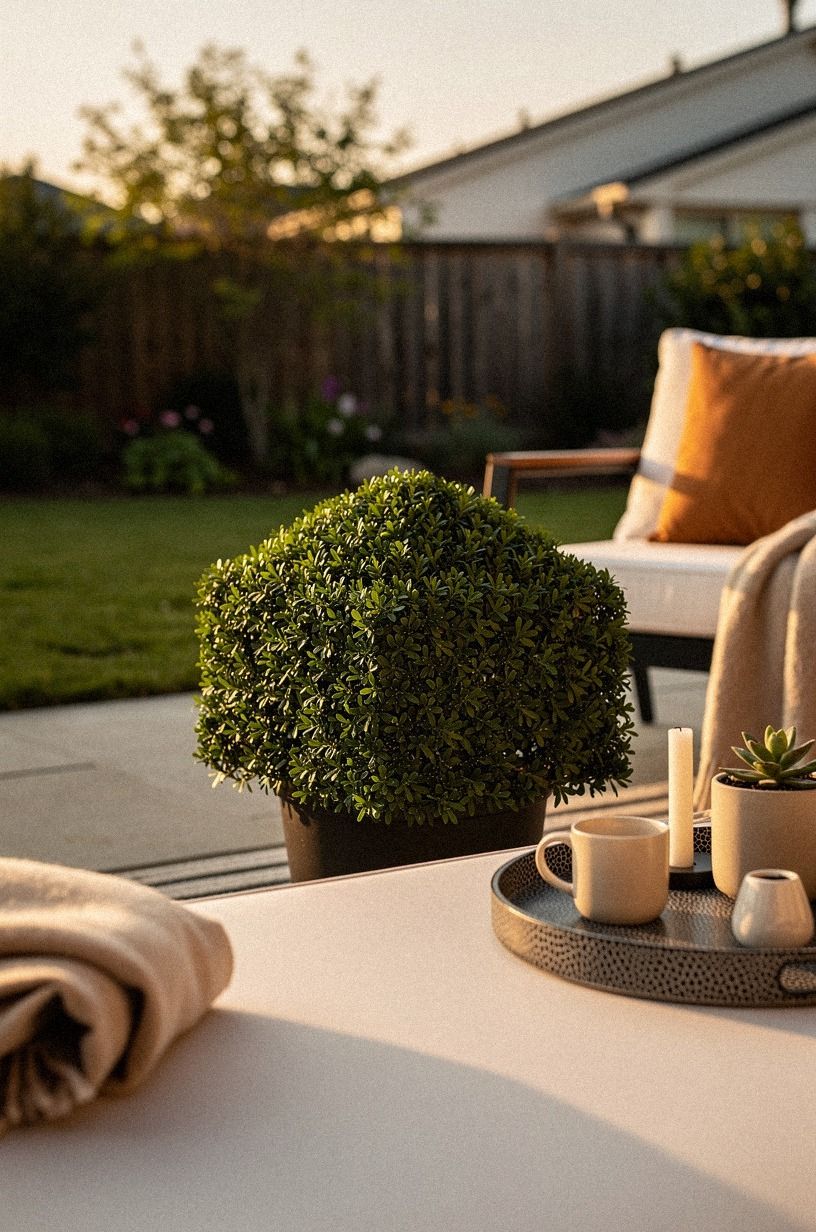
One shrub had grown into a lopsided green cloud, so I pruned it into a simple rounded shape. I didn't try to make it formal.
I only removed the dead stems, crossed branches, and pieces blocking the chair. The result looked calming because the plant finally had an outline.
You can do the same with rosemary, lavender, hydrangea, or a climbing plant, but check what your plant tolerates before cutting deeply. I made the mistake of pruning one flowering stem too early in another garden, and I lost the blooms I had been waiting for.
Your weekend makeover doesn't need that kind of regret. The clean tools helped me make careful cuts without turning the shrub into a severe topiary.
The clipped stems went into a small indoor vase, which made the garden work twice. I like when a project gives you something to enjoy inside as well as out. If you have leftover branches, use them in a temporary trellis or let them dry in a basket.
12Sherwin-Williams Evergreen Fog Makes the Stand Disappear
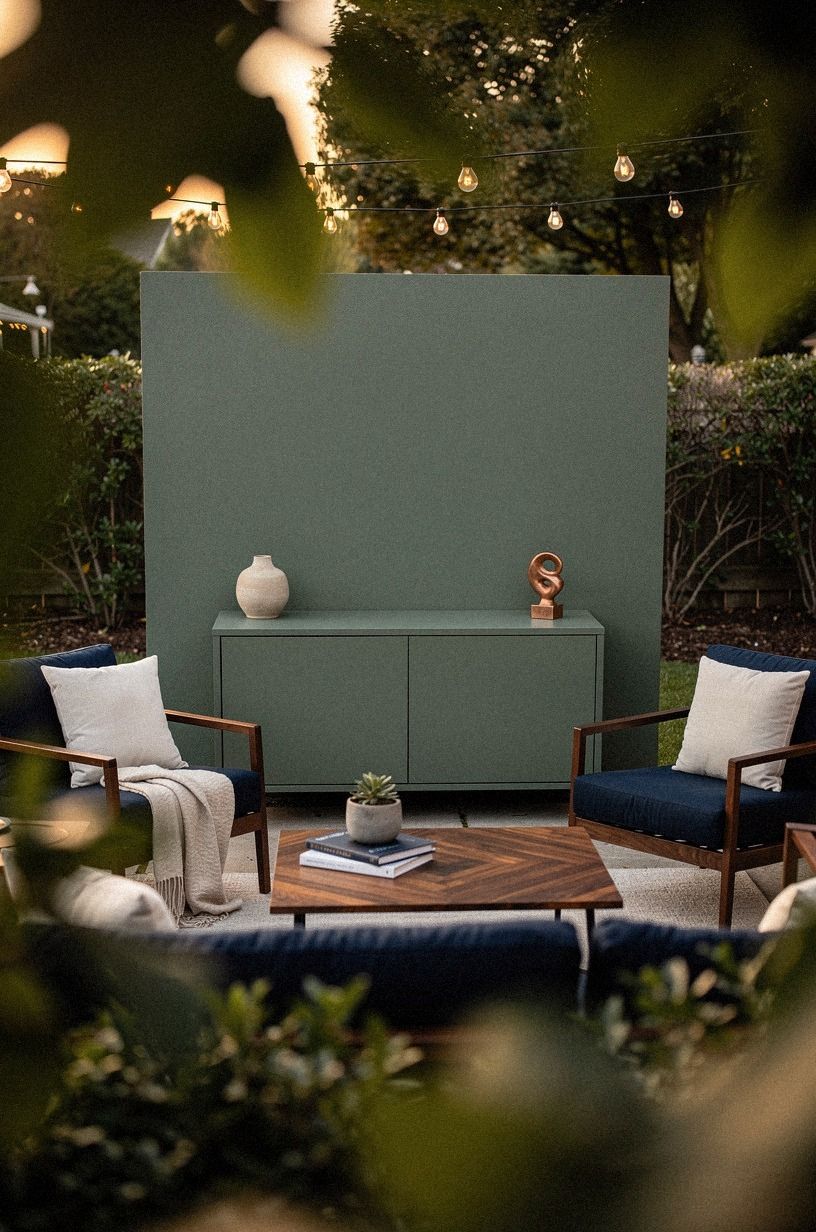
The old metal plant stand was serviceable but visually loud. I painted it a midnight blue shade, a color that helped it connect with the fence while letting copper and ivory details warm the corner. You can use the same approach on a stool, planter rim, watering can, or small garden shelf.
I didn't paint the whole collection because that would've made the garden feel staged. One painted object was enough to connect the foliage and the blue fence. The result was subtle, but it gave the corner a more finished feeling.
If you're choosing a color, hold the sample beside your plants during the time of day you use the garden. A shade that feels soft in the store can turn muddy in deep shade.
You can find more ideas for one deliberate painted surface in these cheap accent wall ideas under $50. Your garden doesn't need a new palette every season. One grounded color, used with restraint, will usually outlast a trendier choice.
13What Makes a Tiny Water Bowl Matter?
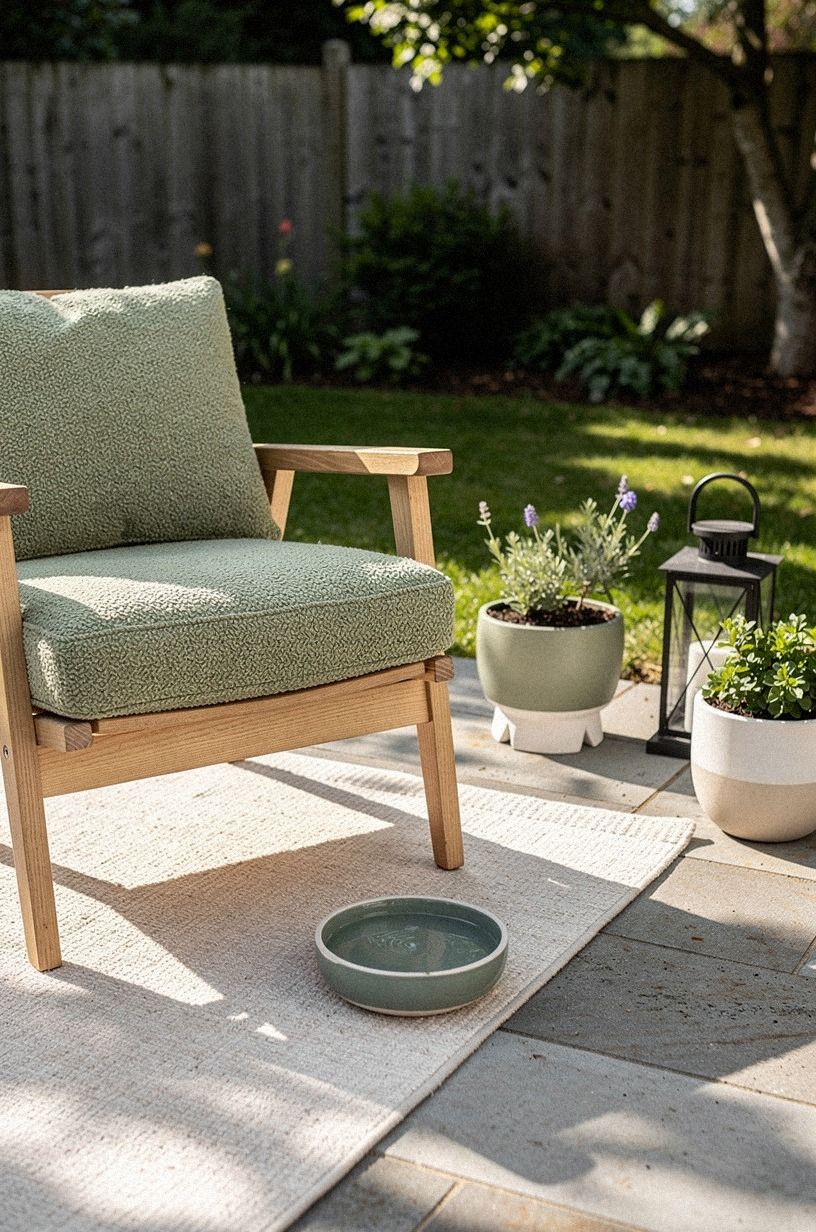
I added a shallow water bowl near the herbs, not because the garden needed another decoration, but because its warm cream surface caught the sky.
14Finish with a Warm, Lived-In Evening Edit
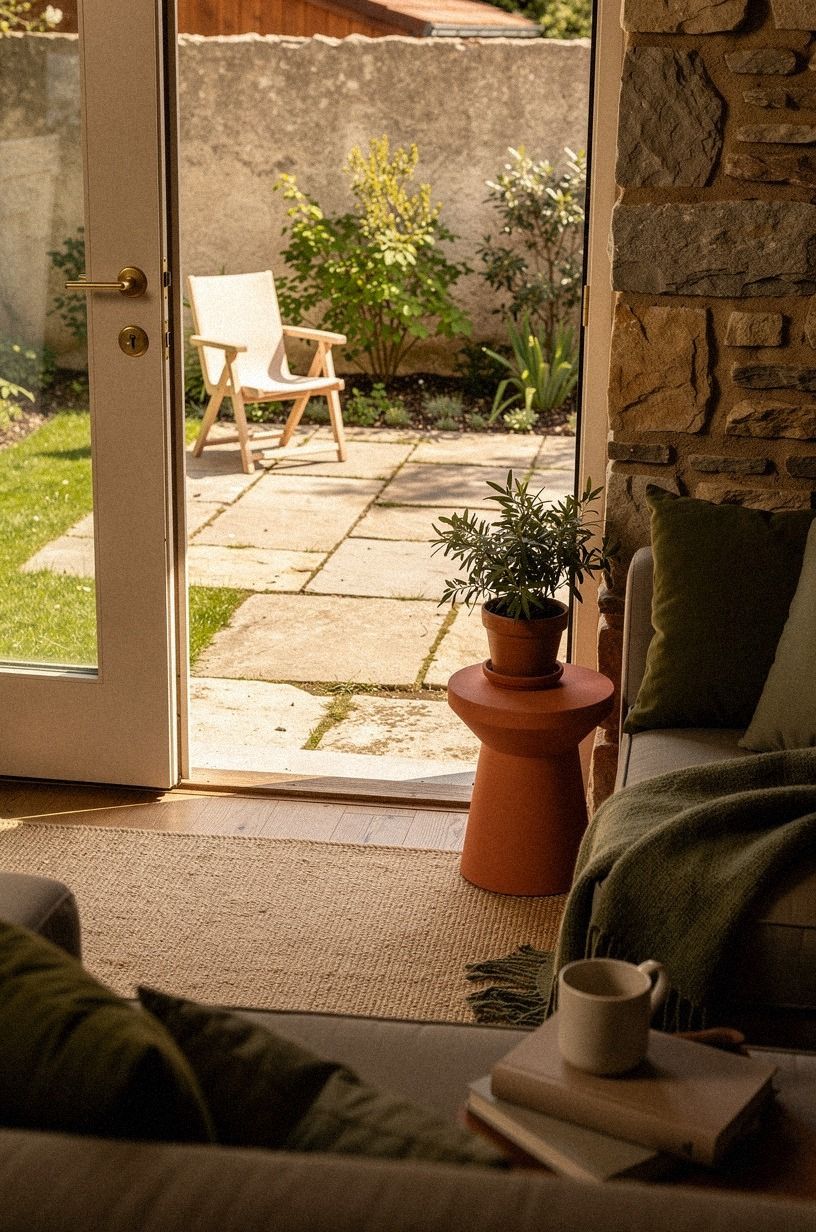
By late Sunday, I removed three things instead of adding more. I took away an empty pot, a broken sign, and a bright plastic bucket.
Then I added one folded throw, one basket for tools, and a small tray for tea. The garden felt welcoming because the useful things were visible but contained.
I used a small unlacquered-brass tray indoors during the week, and its developing patina worked beside the terracotta pot and stone paving. You can substitute a wooden cutting board, a metal baking tray, or a shallow basket. Your garden doesn't need a complete outdoor dining set to feel ready for an evening.
When the light faded, the warm lantern, the terracotta pot, and the olive planting did more than all the small accessories had done earlier. I wouldn't keep shopping after this point. If you want another one-weekend seasonal project, these scary zombie Halloween yard ideas use the same principle of choosing one strong focal moment.
How Much It Cost
I kept the garden makeover under $100 by using existing furniture, leftover paint, reclaimed wood, and plants I already had. The only new purchases were a small amount of gravel, twine, and one herb plant. Your total will depend on what you already own, but the order matters: clear first, rearrange second, shop last.
The broader US living-room cost benchmarks below are useful when you're comparing a small weekend refresh with a full renovation. They also show why a focused edit can feel worthwhile when you don't want to spend thousands on custom work.
For my garden, the real value came from the free work: sweeping, pruning, moving furniture, and editing the view from the chair. A small unlacquered brass detail, a reused cushion, and a painted fence panel gave the space more character than a cart of unrelated accessories would have.
If you're weighing a weekend refresh against a larger household purchase, my non-toxic mattress guide is a useful reminder to spend carefully on the things you use every day.
What I Learned from Spending One Weekend Outside
I went into this makeover thinking the garden needed more color. It didn't. It needed a stronger background and fewer competing objects.
Once I painted the fence panel, the green plants looked richer. Once I moved the chair, the garden had a purpose.
Those two choices did more than the small purchases, and that surprised me.
I also learned that cheap doesn't have to mean temporary-looking. A weathered pot, an old stool, and a reclaimed branch can feel more personal than a matching set. You need to repeat one or two ideas, such as warm wood or dark metal, so the mismatched pieces have a conversation.
I made the garden feel timeless by allowing some wear to remain visible. The biggest mistake would be treating every empty spot as a shopping invitation. Your eye needs blank space, especially outside where leaves, shadows, and movement already add detail.
If you're unsure what to do next, sit down at the time you usually use the garden. Ask what is missing from that moment, not what looks impressive in a shop. That question produced a more honest result than any shopping list could have.
I still went back and forth about painting the entire fence. I'm glad I stopped at one panel. A full dark enclosure might have made the garden feel smaller, while the single panel gave the chair a little drama and kept the rest open.
For another lived-in makeover with a restrained budget, I used the same thinking in this non-toxic bedroom makeover guide.
What People Always Want to Know
What are the best cheap garden makeover ideas under $100 for a small backyard?
Start with a painted backdrop and a moved chair. A clear seating spot changes how you use a small garden, while a dark fence panel gives plants more depth. A reused IKEA ÄPPLARÖ stool or crate can create height without adding much visual weight.
Where can I buy budget-friendly garden makeover pieces?
Look at IKEA, Wayfair, and Target for basic planters and outdoor textiles. Secondhand pieces from Facebook Marketplace or a thrift store often have better texture. Search for terracotta, metal stools, and plant stands before buying new.
How much does a cheap garden makeover cost?
A small refresh can stay under $100 when you reuse furniture, plants, paint, and containers. Free rearranging often creates the biggest change. A more involved makeover may cost about $100 to $300, depending on what you need to replace, but avoid treating that range as a fixed quote.
Can I create a garden makeover on a budget?
Yes, and you can begin with three free moves: clear the edges, rearrange the seating, and group containers by height. Free editing gives your money more impact. Then choose one purchase, such as gravel, paint, or a plant, instead of buying several small decorations.
Is a cheap makeover worth it in a small garden?
Yes, because a small garden gives every decision more influence. One strong focal point can organize the entire view. Place your chair toward the best light, keep the path clear, and use vertical planting when the ground feels crowded.
Can I create this garden makeover in a rental?
Yes. Use freestanding screens, removable hooks, tension rods, and containers instead of permanent fixtures.
No-damage changes can still feel warm and personal. A painted movable panel, a folding stool, and a hanging lantern can create structure without drilling into the property.
Where I'd Start First
If I had to pick one, I'd start with the painted fence panel. It gives every plant a darker edge, makes old furniture look intentional, and costs less than replacing the garden's main pieces. Sit there tonight, notice the light, and let the space stay quiet for a minute.