
 by
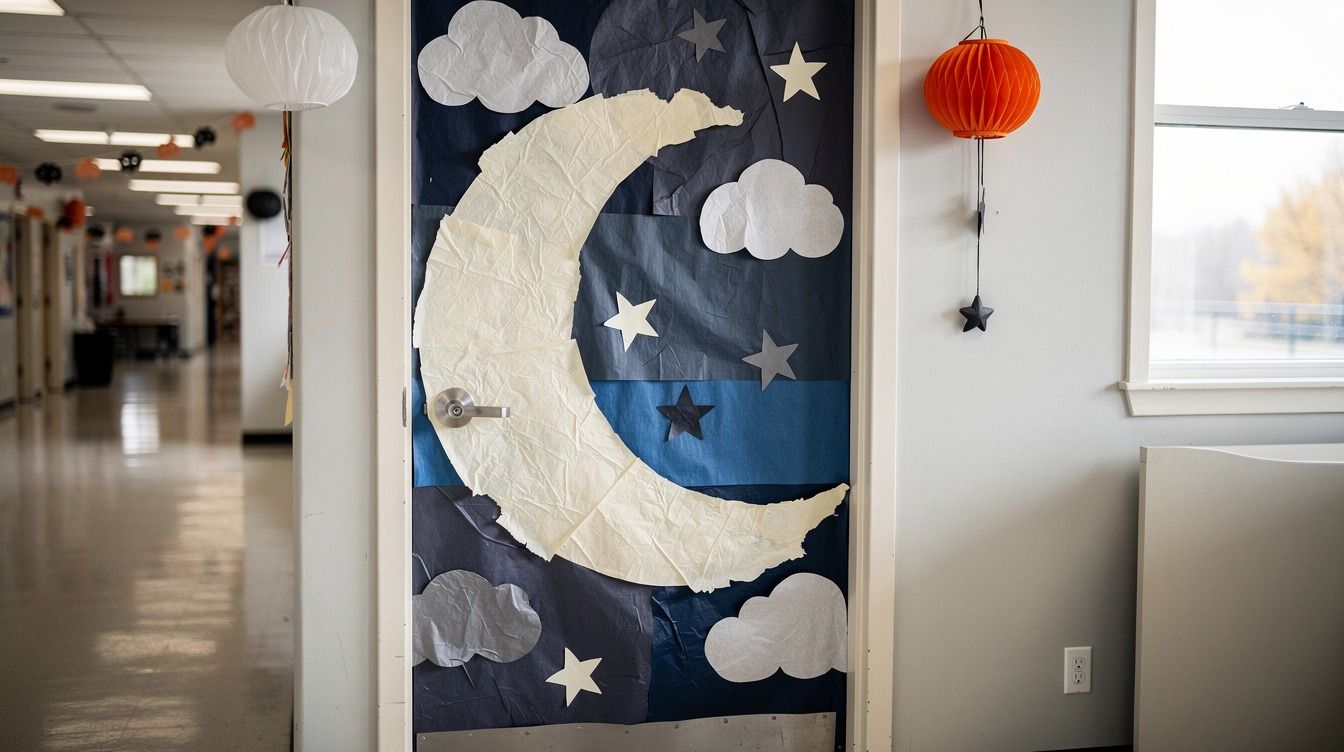
by Halloween classroom door ideas don’t need a cart full of supplies: paper, tape, and a $10 bill can cover a door that feels intentional. I once spent my whole prep period cutting tiny bats, then learned the door needed one big read from the hallway. Go larger.
- Frame a Giant Paper Moon (the Moonlit Hallway Move)
- Layer Black Bats in a Flight Path
- Build a Friendly Monster Face (Big Eyes Beat Detail)
- Frame a Giant Paper Moon (the Moonlit Hallway Move)
- Layer Black Bats in a Flight Path
- Build a Friendly Monster Face (Big Eyes Beat Detail)
- Make a Pumpkin Patch With Student Names
- Hang a “Boo Crew” Portrait Grid
- Use the Two-Color Rule for a Spiderweb Door
- Paint a Paper Haunted House, Not the Whole Door
- Ask “Who’s Behind the Door?” With Peekaboo Eyes
- Swap Plastic Décor for a Paper Candy Corn Stack
- Create a Witch’s Closet With Paper Hangers
- Try the Three-Height Pumpkin Stack
- Let a Black Cat Cross the Bottom Edge
- Make a Classroom Potion Shelf From Paper
- Choose Orange Over Purple for a Harvest Door
- Turn the Door Into a Mummy With Crepe Paper
- Build a “Read If You Dare” Book Spine
- Use the $10 Paper-and-Tape Budget Honestly
- Add a Skeleton Attendance Chart
- Finish With a Doorway Graveyard Roll Call
1Frame a Giant Paper Moon (the Moonlit Hallway Move)
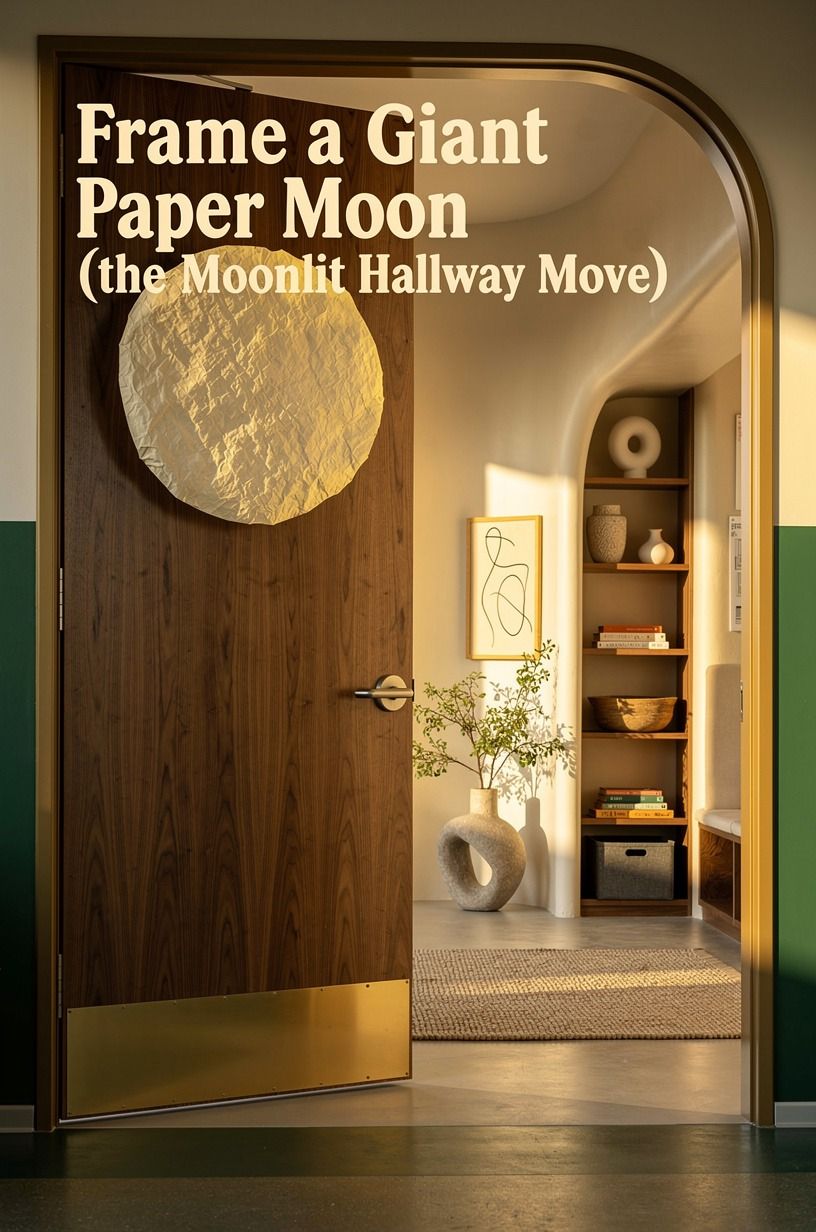
Tape a cream bulletin-board roll into one oversized circle, then add a black paper skyline across its bottom edge. You’ll get a dramatic Halloween class door without fiddly cutting, and your students can add one window square each if you want it to feel shared.
I’d skip a dozen small moons. From twenty feet away, they turn into visual lint. A single moon behind black kraft-paper bats gives your door a bold silhouette, and you can finish the whole thing before the bell.
Typical cost by tier (US averages):
2Layer Black Bats in a Flight Path
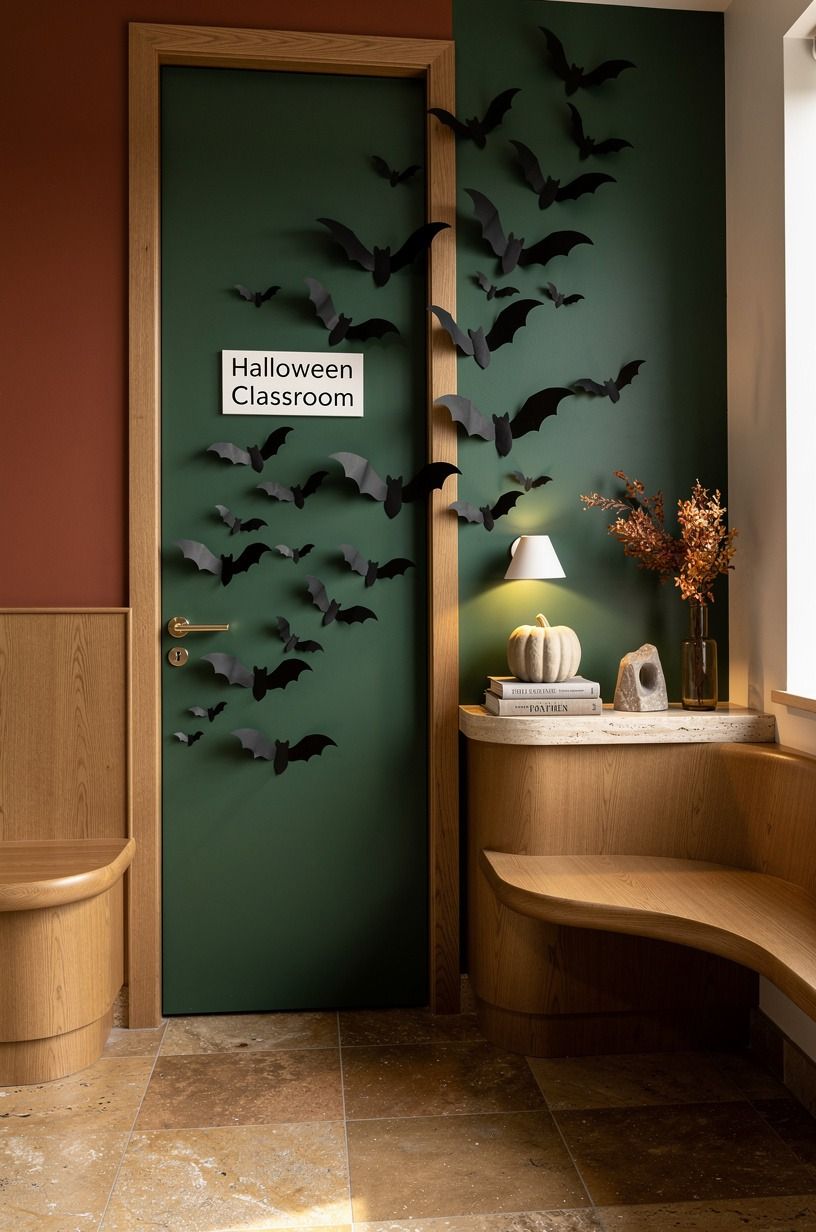
Cut bats in three sizes from black construction paper, fold each wing once, and sweep them diagonally from the floor-side corner toward the door sign. Your eye follows the line immediately, which makes a narrow classroom entrance feel taller.
But don’t make every bat identical. Use eight large shapes, then a loose scatter of smaller ones near the top. I’ve found that bent wings catch the fluorescent light just enough to make the display feel lively instead of flat.
3Build a Friendly Monster Face (Big Eyes Beat Detail)
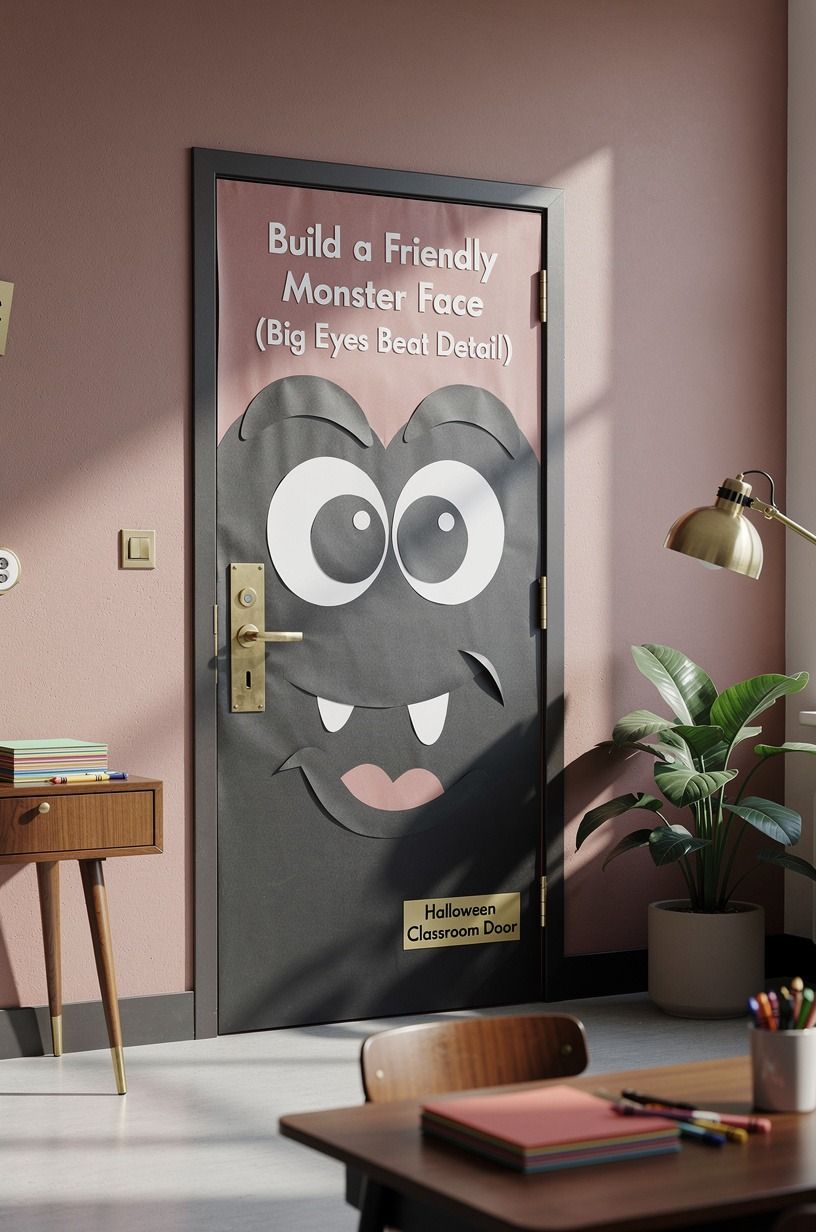
Two white paper plates, oversized black pupils, and a crooked mouth can turn your door into a cheerful monster in under fifteen minutes. You can let your students vote on the expression, which saves you from trying to make every piece cute yourself.
Use Farrow & Ball Pigeon No. 25 as inspiration for a muted blue-green background if you’re painting paper, not the door. I’d avoid neon green here. It reads more birthday-party than moody October, especially under bright school lighting.
4Make a Pumpkin Patch With Student Names
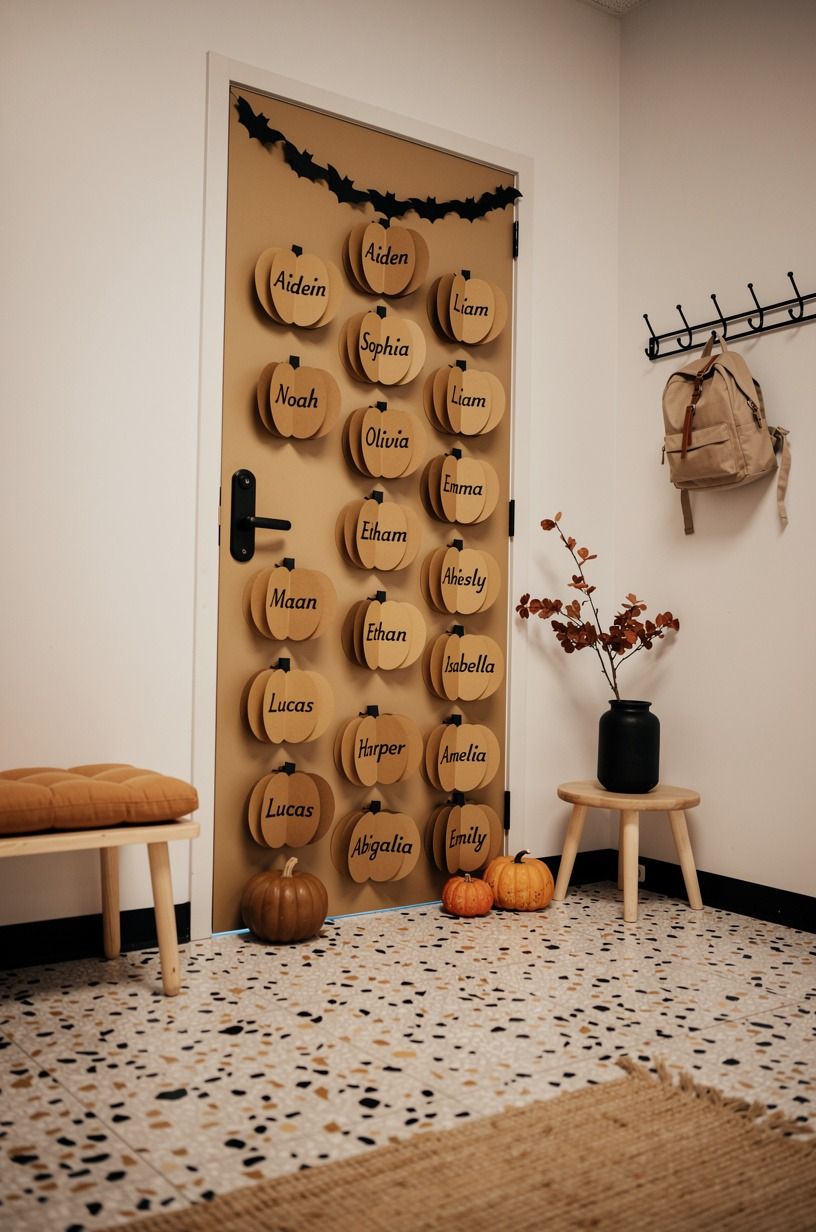
Give each child an orange paper pumpkin and let them write their name in a thick black marker. Your door becomes a welcoming roll call, and you won’t have to explain which pumpkin belongs to whom.
A strip of brown butcher paper at the base grounds the pumpkins. Add curled green paper vines only if you have time; the name pumpkins are the part parents and students will notice. Warm, simple, done!
5Hang a “Boo Crew” Portrait Grid
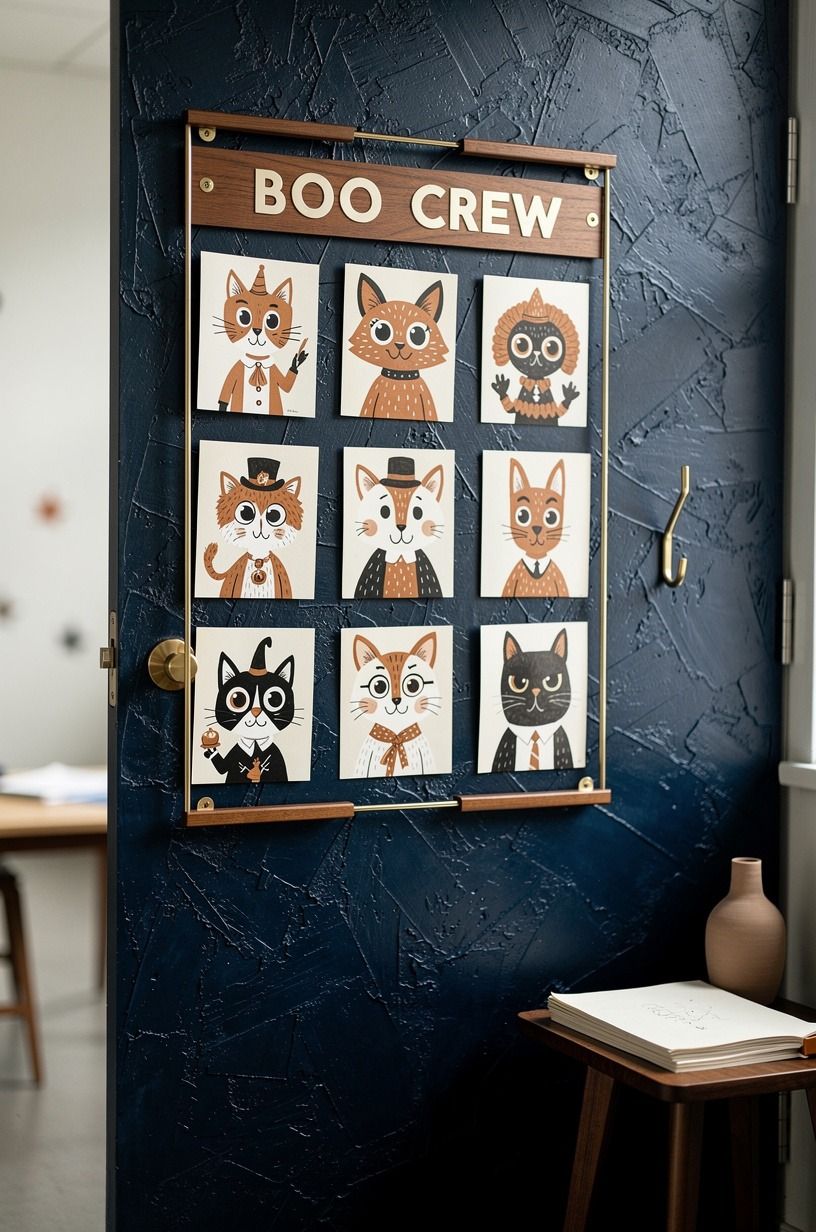
Print or draw simple ghost bodies on ivory copy paper, then add each student’s name below the face. You can make the ghosts long, round, sleepy, or surprised, and your class will have opinions about all of it.
Keep the grid to three columns if your door is standard width. More columns look busy fast. For a similar seasonal entry point, save these scary Halloween door decorations for the hallway or your front porch.
6Use the Two-Color Rule for a Spiderweb Door
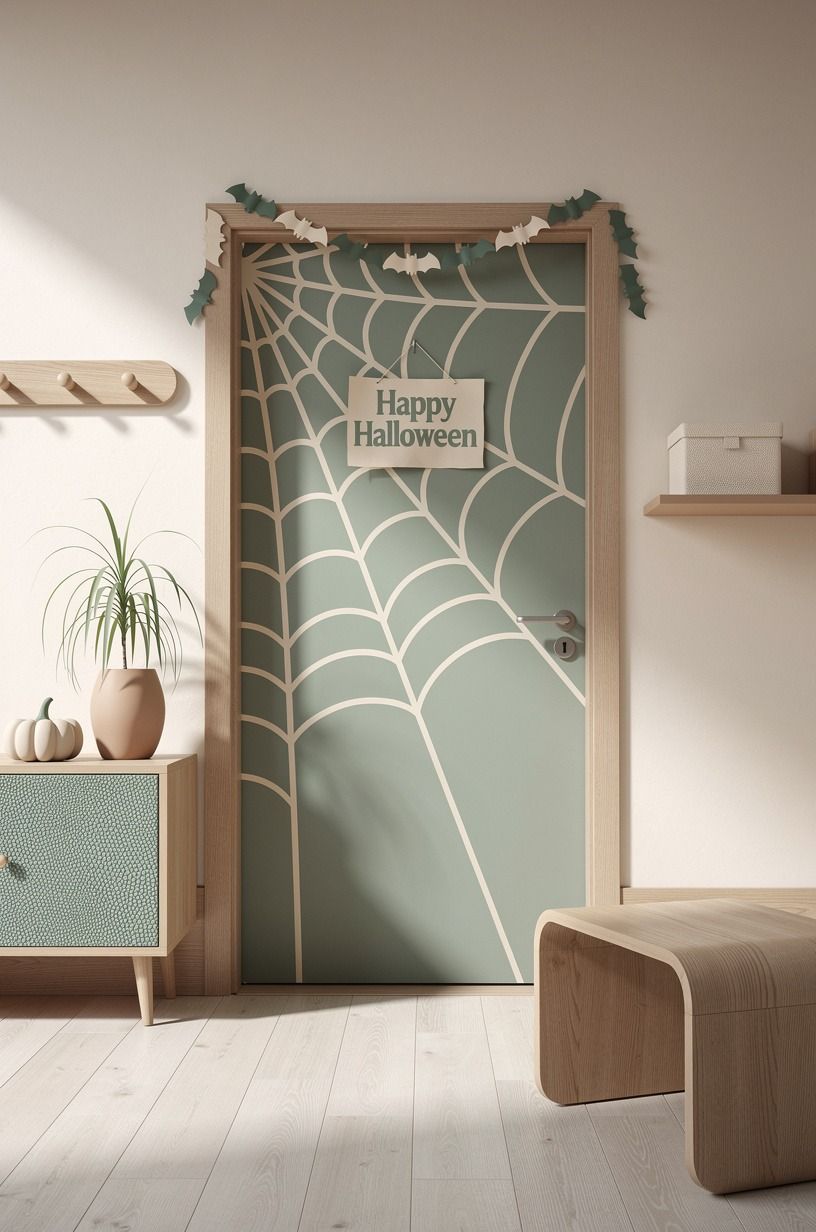
Black and warm cream. That’s enough.
Stretch warm cream yarn in a web shape across black paper, securing each crossing with clear tape on the back. You’ll get a graphic, modern Halloween teacher door that photographs well without requiring a single plastic spider.
I made the mistake of adding purple, orange, and silver once. It looked like a craft-store aisle exploded. Keep your web stark, then place one black cardstock spider near the handle so students can spot it up close.
7Paint a Paper Haunted House, Not the Whole Door
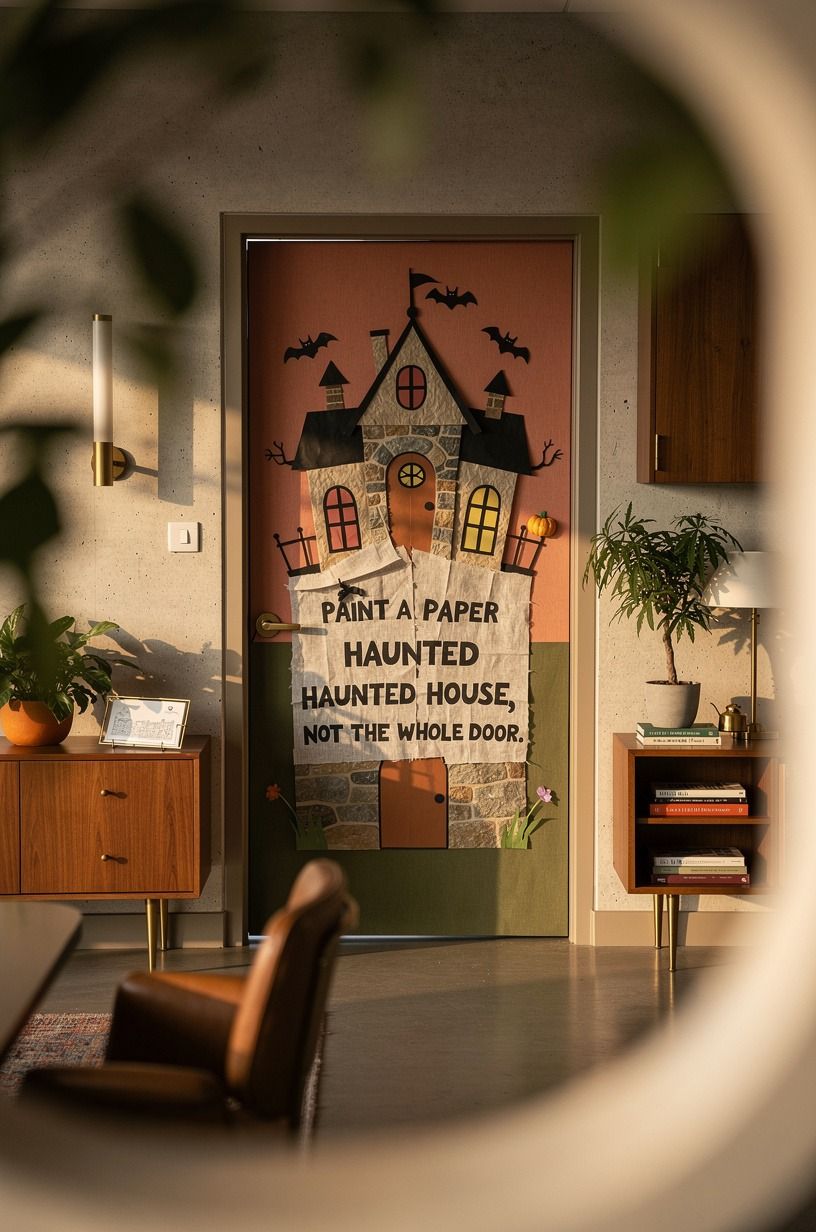
A tall haunted-house silhouette gives you instant scale, especially if your door has a glass panel or a pale surface behind it. Cut it from black poster board, then add four crooked olive paper windows from scrap paper.
You don’t need realistic architecture. In fact, too much detail makes the house less charming.
Let the roofline lean a little, add one soft stone-gray paper cloud, and leave some empty space around it. That quiet border makes the whole thing feel more deliberate.
8Ask “Who’s Behind the Door?” With Peekaboo Eyes
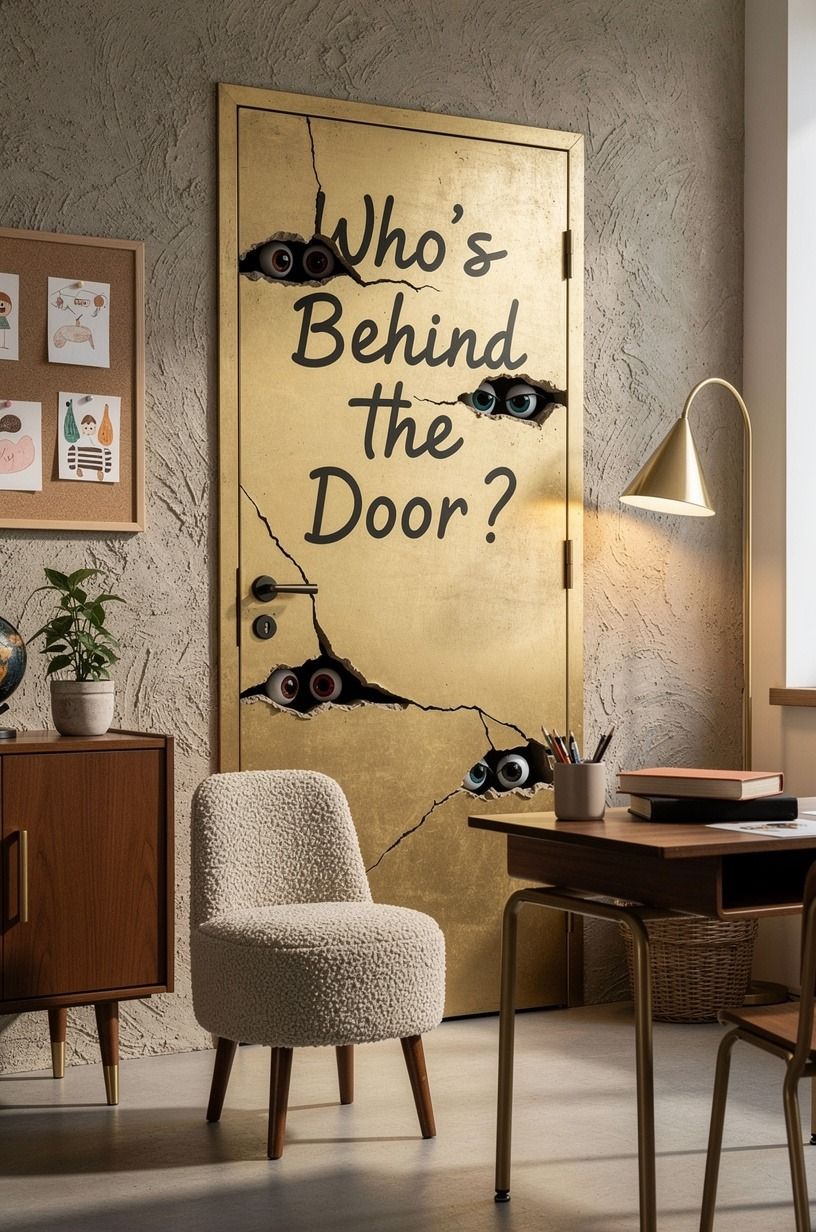
Cut a row of mismatched eyes from linen-colored cardstock and place them around the edges of the door, all looking inward. Your students will understand the joke before they reach the room, and you can make it work with almost no supplies.
Use Sherwin-Williams Agreeable Gray SW 7029 paper or paint as a soft background if black feels too heavy in your hallway. I’d choose gray over bright purple because the pale eyes pop harder against it. Creepy, but not nightmare fuel.
9Swap Plastic Décor for a Paper Candy Corn Stack
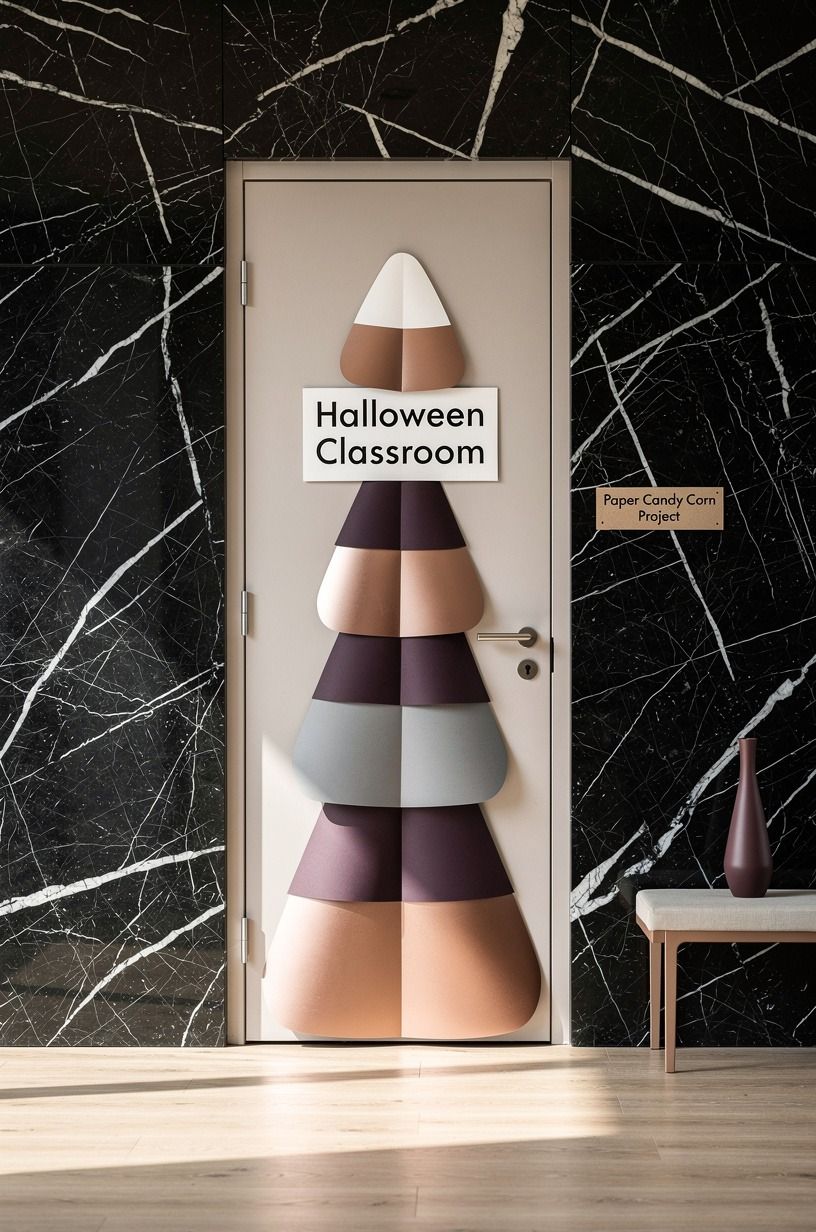
Three wide horizontal bands, yellow, orange, then white, create a candy-corn door that’s easy enough for a rushed Friday afternoon. You’ll need only yellow bulletin paper, orange paper, and tape.
The order matters. Put white at the top, not the bottom, or it starts reading like a striped flag.
Add a small black label with your class name in the center. And yes, it’s a little silly.
Halloween doors should be.
10Create a Witch’s Closet With Paper Hangers
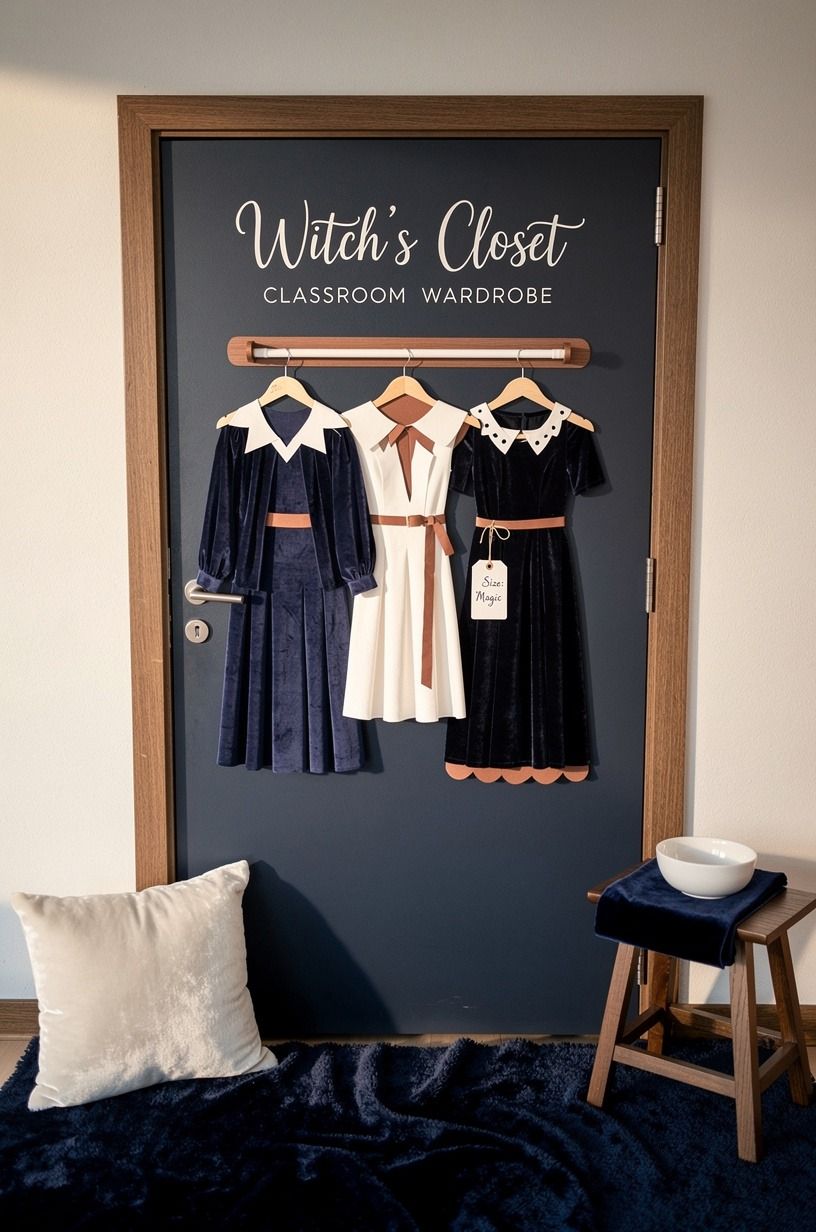
Hang paper cutouts of a pointed hat, striped tights, a broom, and a cloak from a drawn walnut-colored closet rod.
11Try the Three-Height Pumpkin Stack
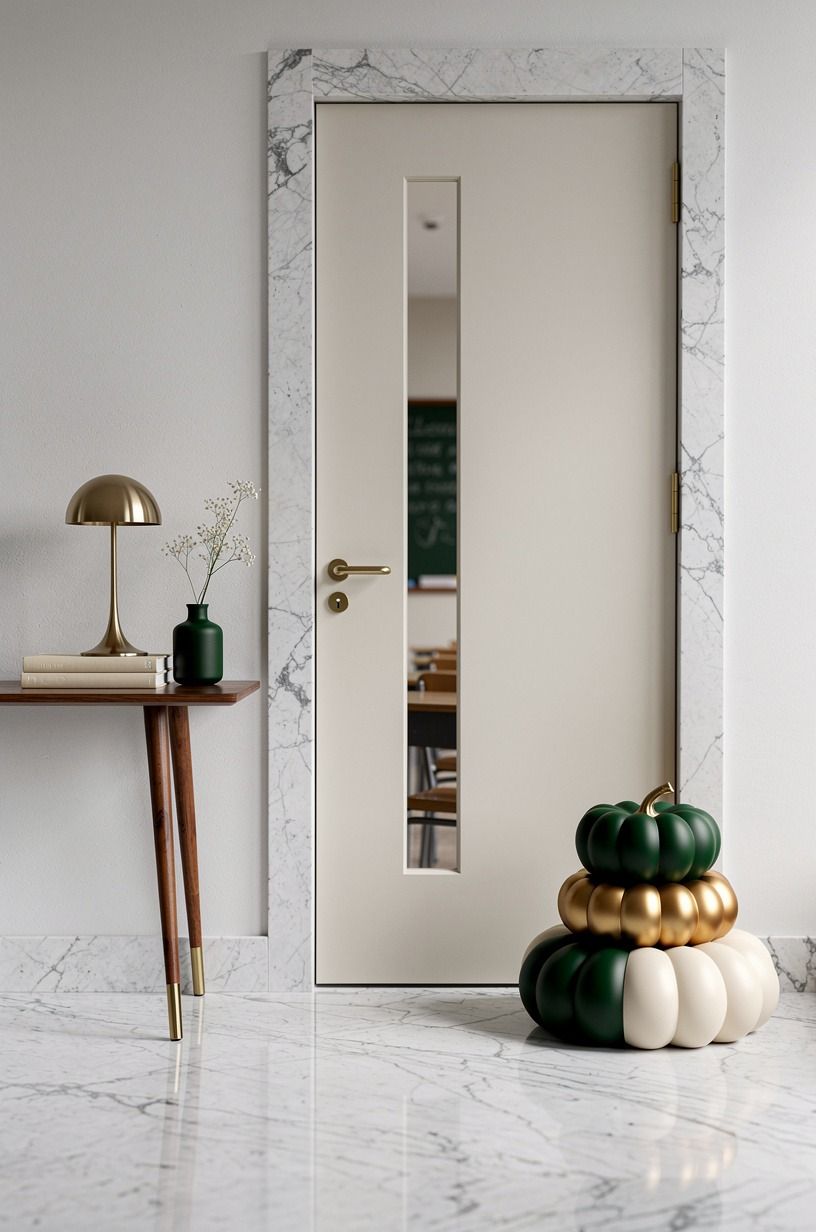
Build three pumpkins from paper circles, one large at the bottom, one medium in the middle, one small at the top. This is the Three-Height Pumpkin Stack, and it works because your door gets a clear focal point without covering every inch.
Write a different class value on each pumpkin: kind, curious, brave. You can use cream butcher paper for the large base and scraps for the smaller two. A 57 to 60 in art-center guideline is useful for wall displays, but on a door, let the tallest pumpkin sit slightly above eye level.
12Let a Black Cat Cross the Bottom Edge
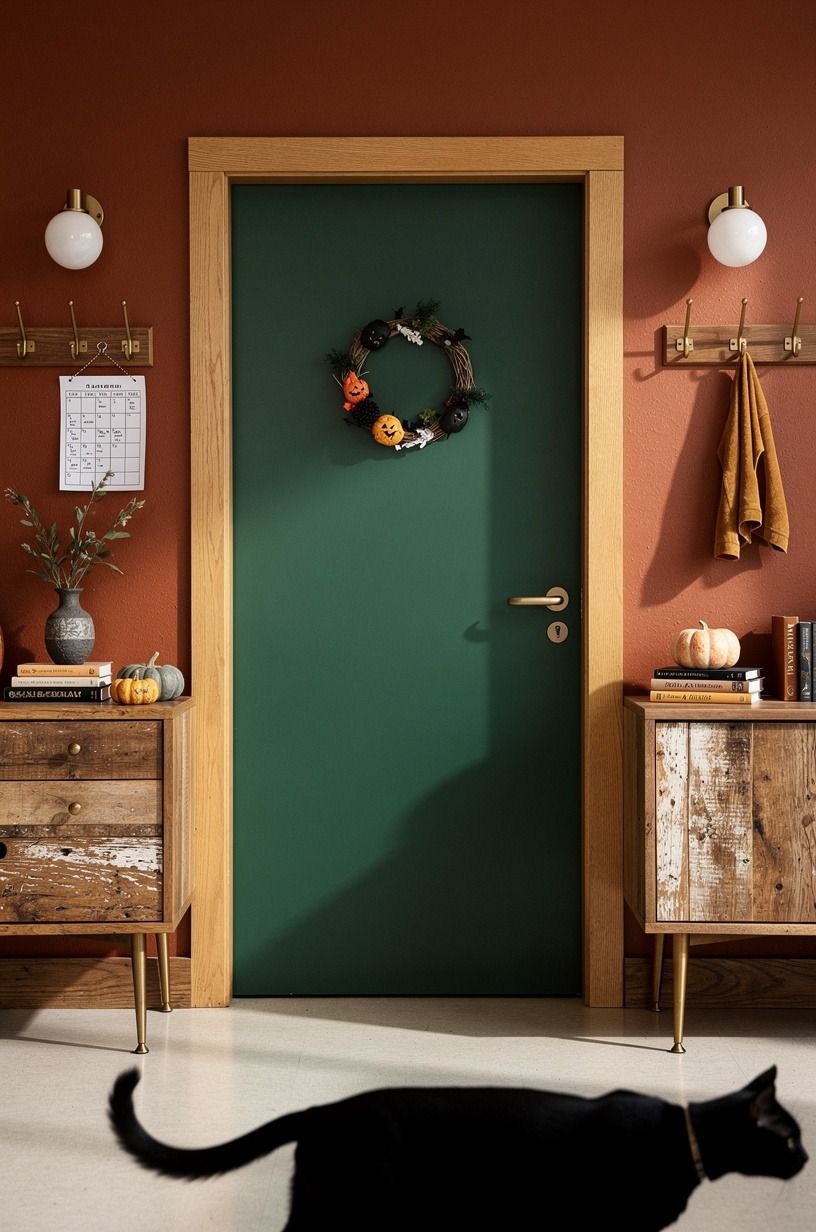
Cut one long black poster-board cat with an arched back and tail curling up the side of the door. The silhouette is fast, cheap, and much more elegant than a pile of tiny stickers.
Place rust-colored paper eyes low enough that your younger students can see them. You’ll want the cat to cross the bottom third, not sit dead-center. Center placement makes it feel like a logo; the low placement feels like it wandered in.
13Make a Classroom Potion Shelf From Paper
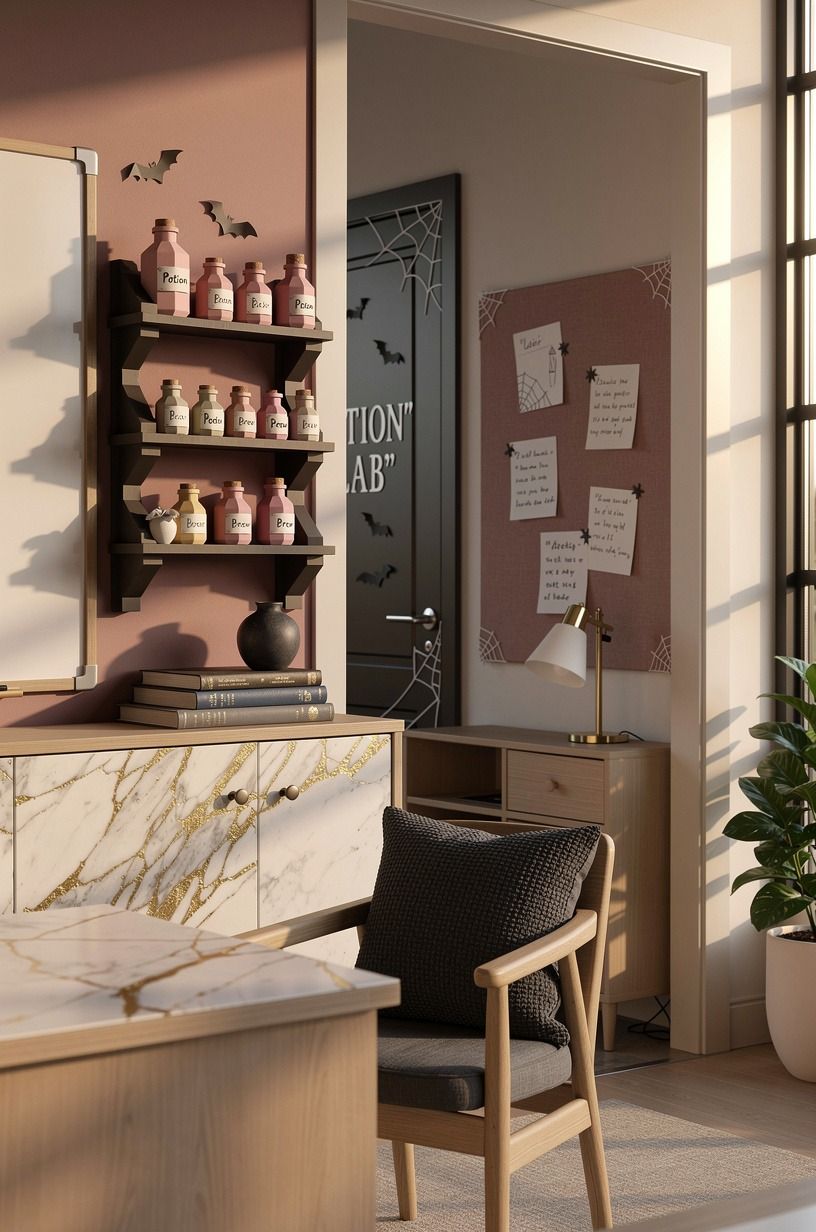
Draw three shelves on charcoal kraft paper, then fill them with paper jars labeled “Bravery,” “Kindness,” and “Monday Energy.” Your students can help name the bottles, and the humor gives this halloween teacher door idea a lived-in feel.
Use dusty rose tissue paper behind one jar and brass-colored paper behind another, but keep the labels readable. I’ve seen potion doors collapse because every bottle had five colors and curly lettering. Pick two accent colors, then let the labels do their job.
14Choose Orange Over Purple for a Harvest Door
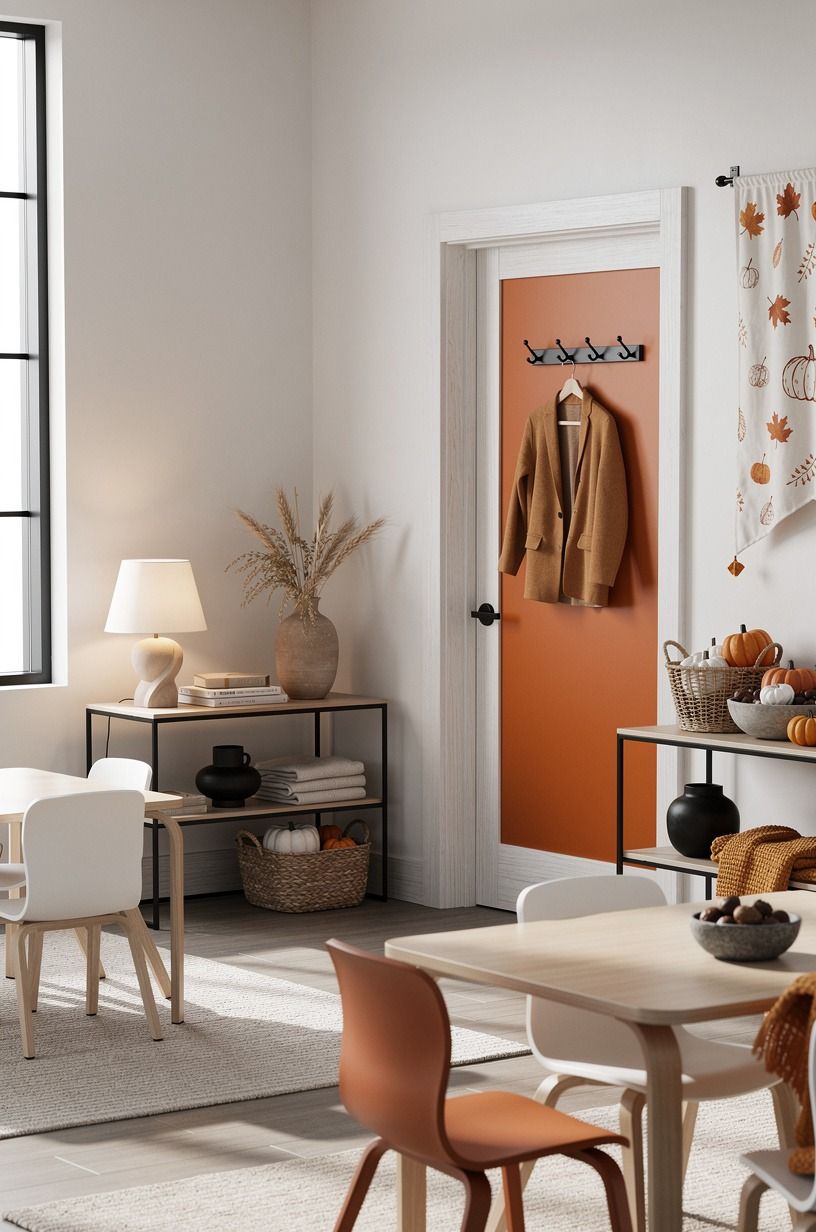
Orange is the better call for an elementary Halloween door if your hallway is already full of purple. Purple recedes under classroom lights, while orange feels warm and visible from the far end of the corridor.
Make a simple border from orange construction paper and add black paper leaves or bats. You can borrow the same low-cost, seasonal approach from these weekend fall porch decorating ideas, then scale it down for a school door.
15Turn the Door Into a Mummy With Crepe Paper
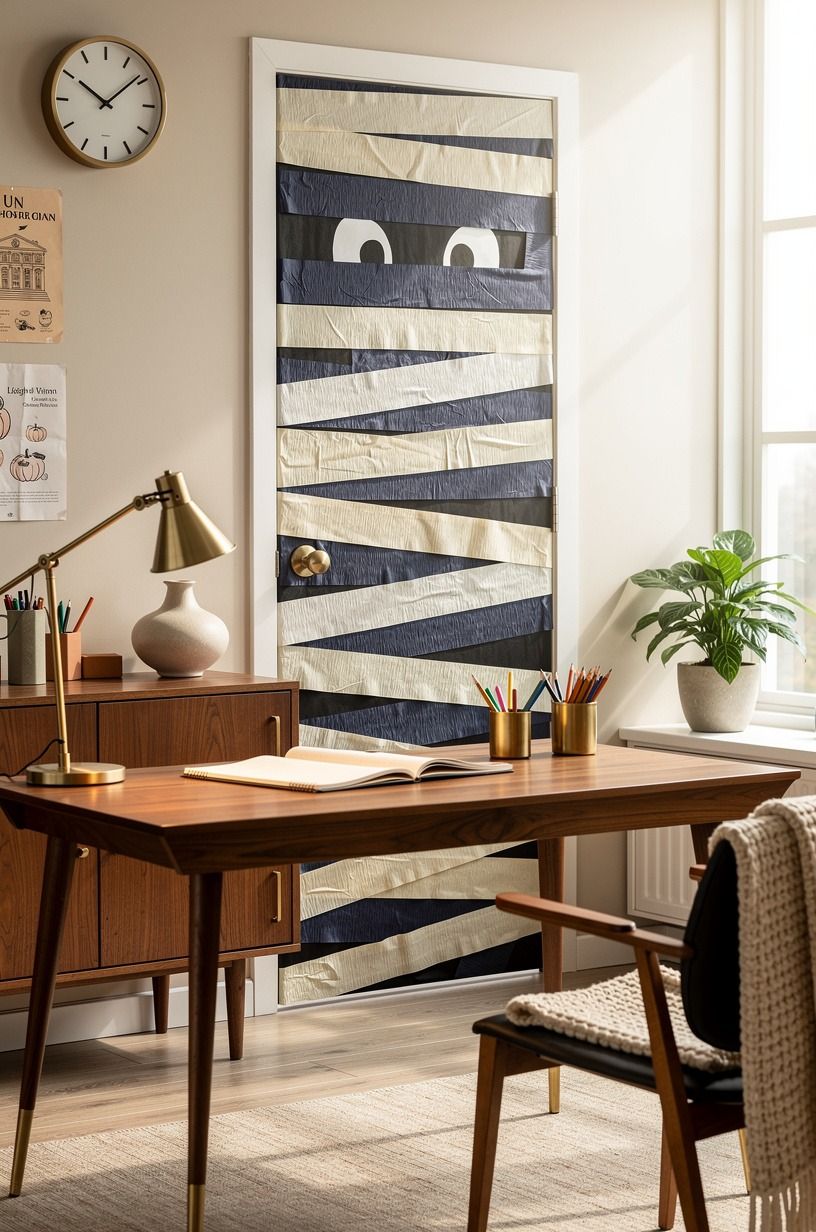
Wrap diagonal strips of ivory crepe paper across the door, leaving uneven gaps for two large eyes. You’ll finish quickly, and the slightly rumpled texture makes the mummy more convincing than neat, ruler-straight stripes.
Don’t pull the crepe paper tight. It tears when students brush past, and you’ll be repairing it all week.
Leave it loose, tape the ends behind the door edge, and let a few folds show. That’s where the soft, spooky texture comes from.
16Build a “Read If You Dare” Book Spine
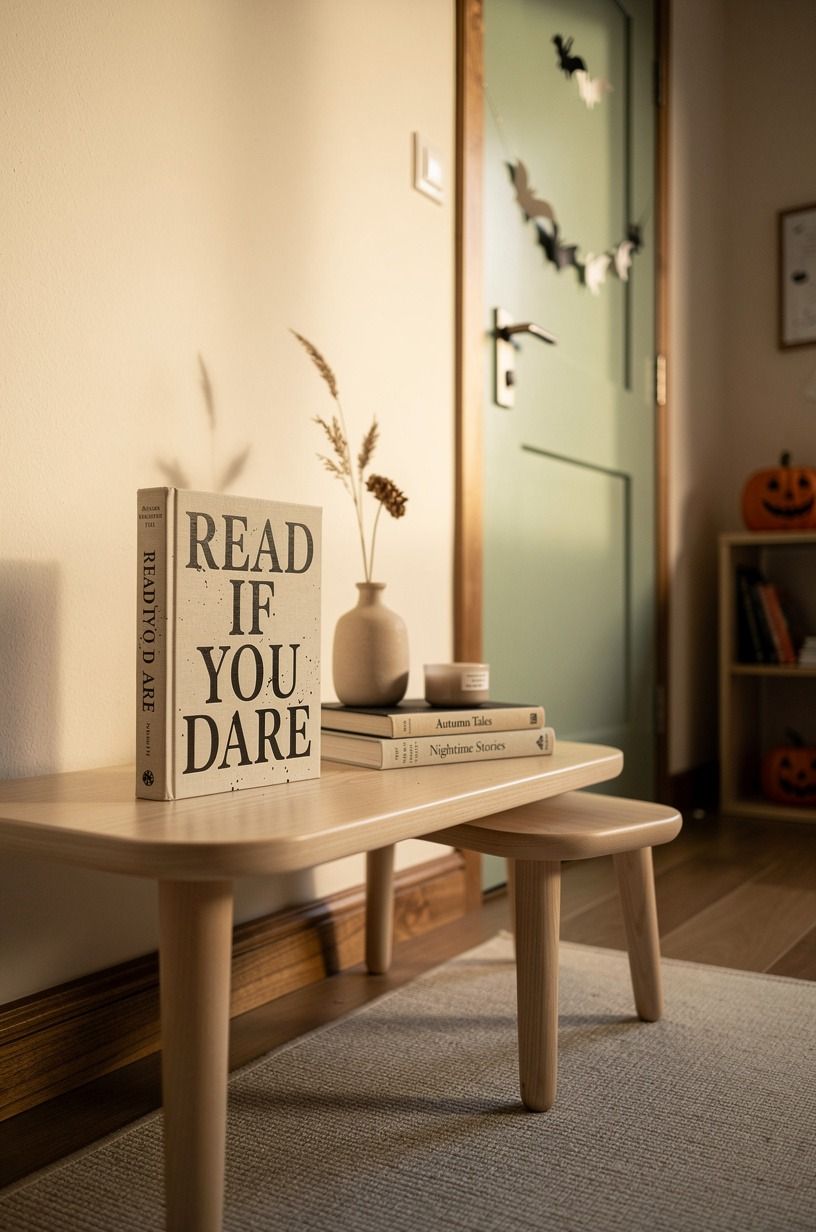
Cover the door in brown kraft paper, then add oversized book-spine strips with pretend Halloween titles. You can use class favorites, silly names, or student-made titles, and the display doubles as a reading nudge.
Make the lettering large enough to read from the hallway. A door is not a worksheet. I’d keep each spine to two or three words, then add one walnut-brown paper key near the handle for an old-library feel.
17Use the $10 Paper-and-Tape Budget Honestly
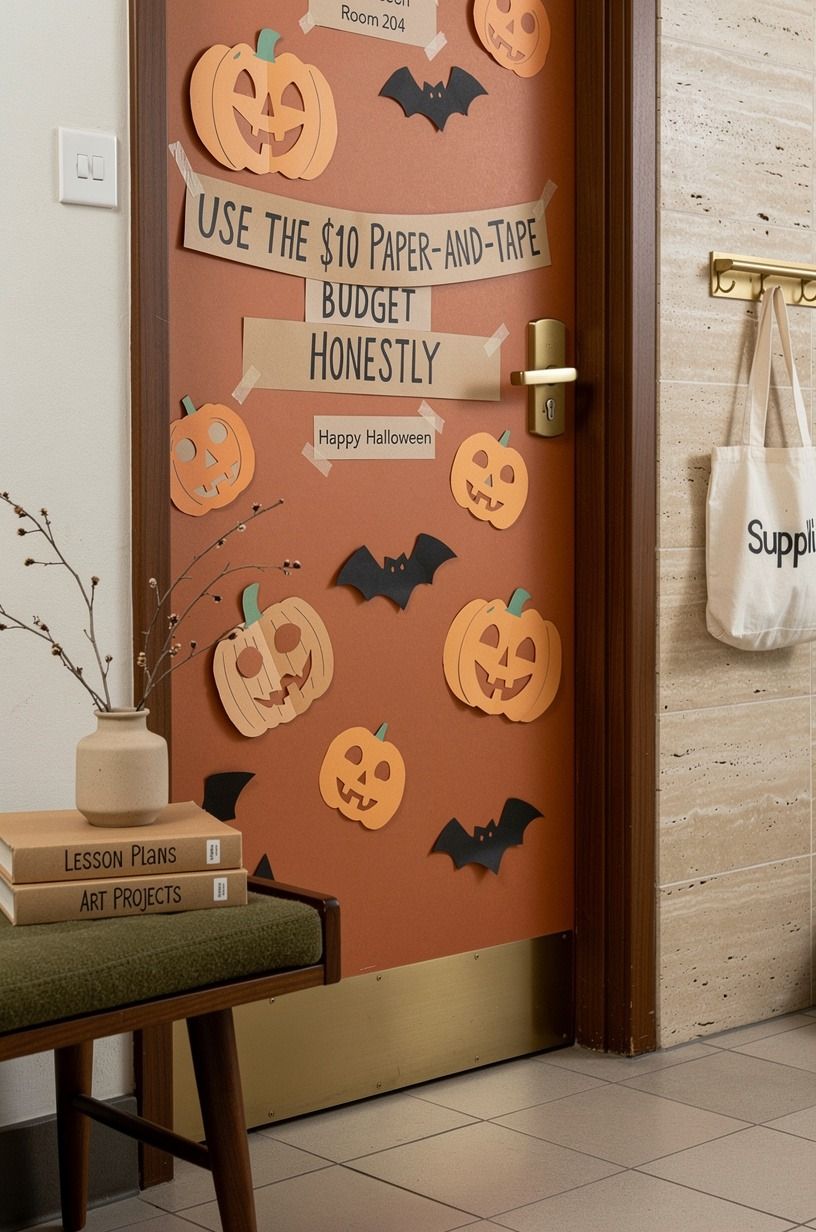
For a classroom door, paper and tape are usually enough.
18Add a Skeleton Attendance Chart
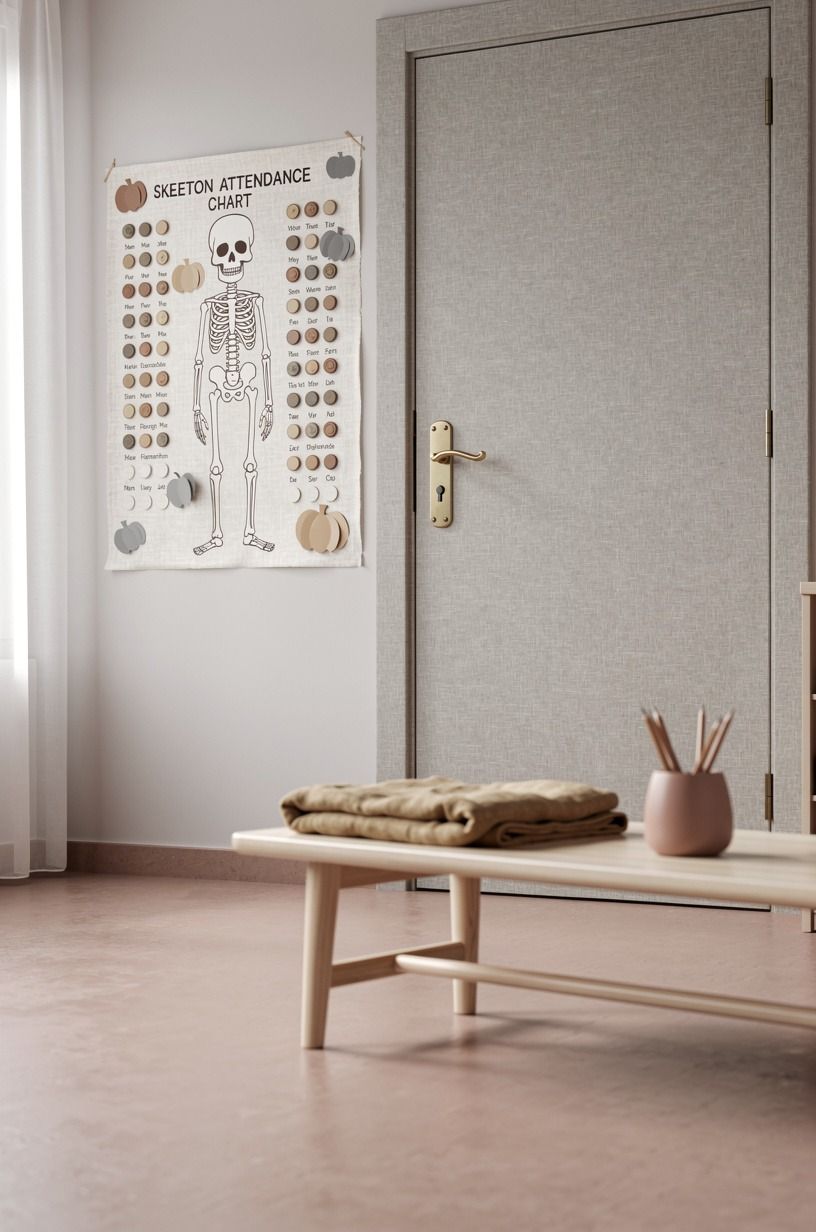
Draw a simple ivory skeleton on clay-colored poster board, then give it a speech bubble that says, “Who’s here for spooky season?” Students can move a small name card onto the door each morning.
You’ll get a useful routine and a Halloween classroom door decoration at once. Use linen index cards for the names so you can replace one easily when it bends or disappears into a backpack. Functional décor wins every time!
19Finish With a Doorway Graveyard Roll Call
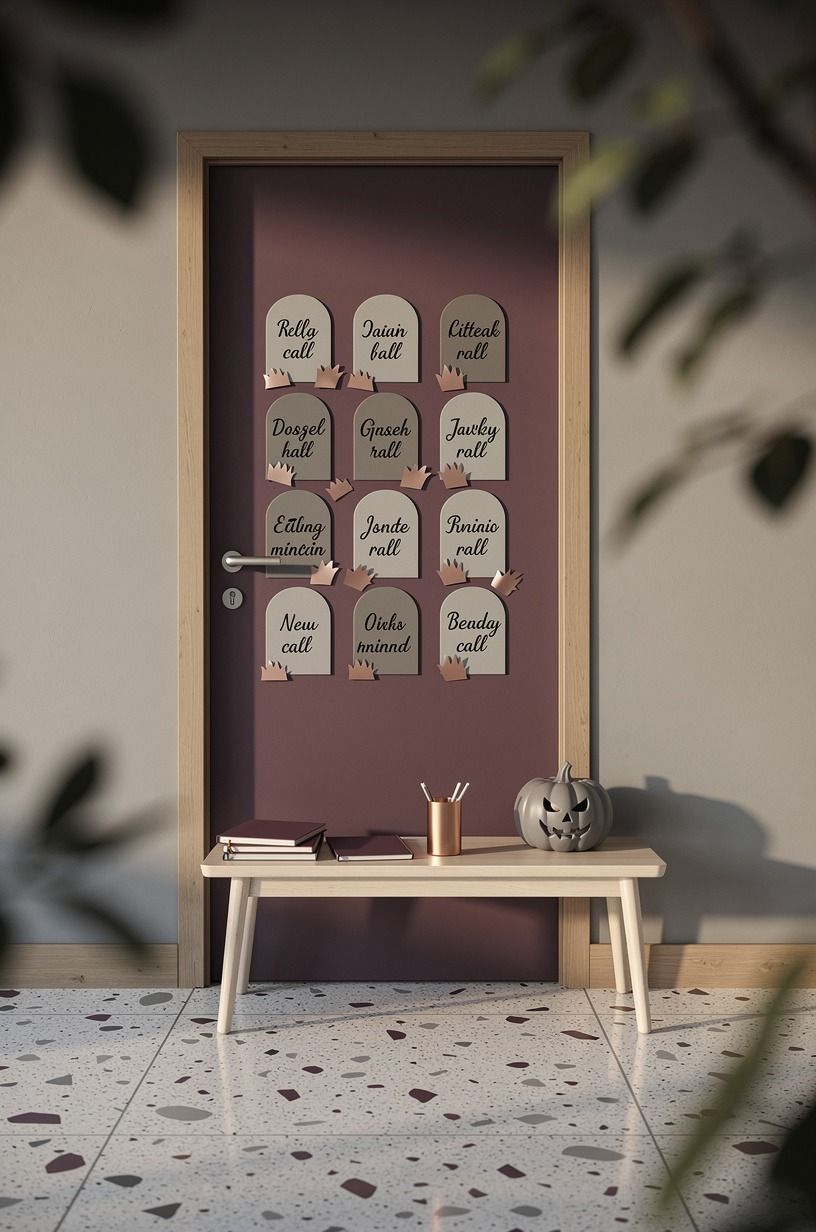
Cut gray paper headstones, one per student, and let each child write a playful school-safe epitaph such as “Here lies the missing pencil.” The result is inviting because it belongs to your class, not a catalog.
Why I Keep Halloween Doors Simple
I’ve watched teachers put enormous care into Halloween classroom doors, often late at night after planning, grading, and answering messages that could have waited until morning. I get it. A great door changes the mood before students even sit down, and that first thirty seconds of the day matters more than people give it credit for.
But I don’t think the goal should be a door that looks professionally made. That standard steals the fun from the person making it.
The best displays I’ve seen had one clear idea, a little wobble in the hand-cut shapes, and evidence that kids touched the project. A crooked bat is not a failure.
It’s proof someone was there.
My rule is simple: choose the image students can recognize from the hallway. A moon. A mummy.
A black cat. Then give them one close-up detail to discover when they arrive.
You don’t need a complicated palette, a special cutting machine, or a weekend sacrifice. You need contrast and a reason for students to claim the door as theirs.
And there’s another practical point. Classroom doors get bumped, peeled, smudged, and opened hundreds of times. The more precious the materials, the more annoying that becomes.
Paper is forgiving. Tape is forgiving.
You can replace a torn eye in thirty seconds and move on with your day.
So yes, make it warm. Make it playful. But leave room for the fact that your real job happens on the other side of that door.
The Questions Worth Answering First
What is the best Halloween classroom door idea for a small classroom?
A giant moon with bats is the best choice because it uses vertical space without crowding your entrance. High contrast makes it readable from far away, even on a narrow door. One large circle, black shapes, and your class name are plenty.
Where can I buy Halloween classroom door supplies on a budget?
Target, IKEA, and Wayfair can help with paper, storage, and seasonal basics, but you don’t need specialty décor. Low-cost paper supplies from a school supply closet work better than bulky props. Check Facebook Marketplace or a thrift store for reusable baskets and frames.
How much does a Halloween classroom door makeover cost?
A paper-based door can cost under $10 if you already have tape, scissors, and markers. Your largest free resource is leftover bulletin paper from prior displays. Save money by making one focal shape rather than buying themed packs.
Can I create Halloween door decorations classroom easy on a budget?
Yes, and you can do it with paper, a marker, and student participation. Fast setup comes from repeating one shape: pumpkins, bats, eyes, or ghosts. Use scraps for details and reserve new paper for the background.
Is a Halloween classroom door worth it in a small space?
Yes, because a small door gives you a built-in frame and limits the amount you need to make. A focused display feels stronger than scattered decorations. Keep the main image on the upper two-thirds so the handle stays usable.
Is a Halloween teacher door a good idea for a rental classroom?
Yes, as long as you use removable materials and follow your school’s rules. No-damage tape tabs and lightweight paper are safer than staples or permanent adhesive. Test one corner first, especially on painted metal doors.
Where I’d Start First
If I had to pick one, I’d start with the giant paper moon. You can’t fake hallway impact with tiny details, and one oversized circle makes every black bat around it look intentional. Pin the moon for later and save these budget backyard DIY ideas for another easy project.