
 by
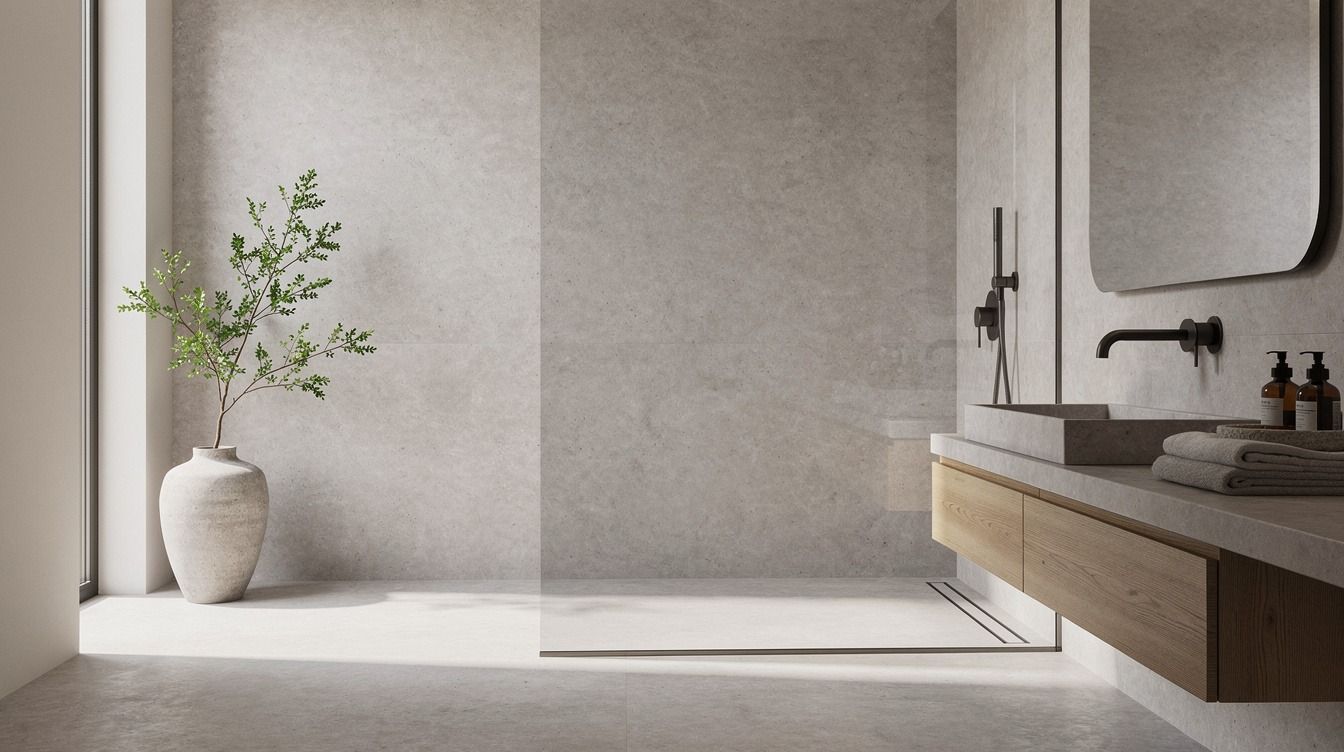
by Microcement bathroom ideas for the seamless no-grout look everyone wants usually cost less drama than a full tile redo, and that is the part people miss first. I painted over a tired bath years ago thinking color alone would quiet it down. It did not. Once you stop breaking every surface into grout lines, the room reads bigger, warmer, and far more expensive.
- Wrap the shower walls in seamless microcement
- Pour a matching microcement vanity counter
- Curve microcement around a built-in tub
- Frame the mirror with a microcement ledge
- Run microcement across floor and walls
- Carve a recessed microcement shampoo niche
- Warm gray microcement with brass fixtures
- Pair taupe microcement with fluted oak
- Seal a wet room in pale microcement
- Trowel charcoal microcement behind the vanity
- Soften microcement floors with limestone accents
- Build a floating microcement sink shelf
- Wrap the toilet wall in cement finish
- Contrast smooth microcement with zellige tile
- Create a monolithic microcement shower bench
- Layer beige microcement with linen curtains
- Edge microcement walls with black hardware
- Use clouded microcement for spa softness
- Highlight microcement texture with wall washers
1Wrap the shower walls in seamless microcement
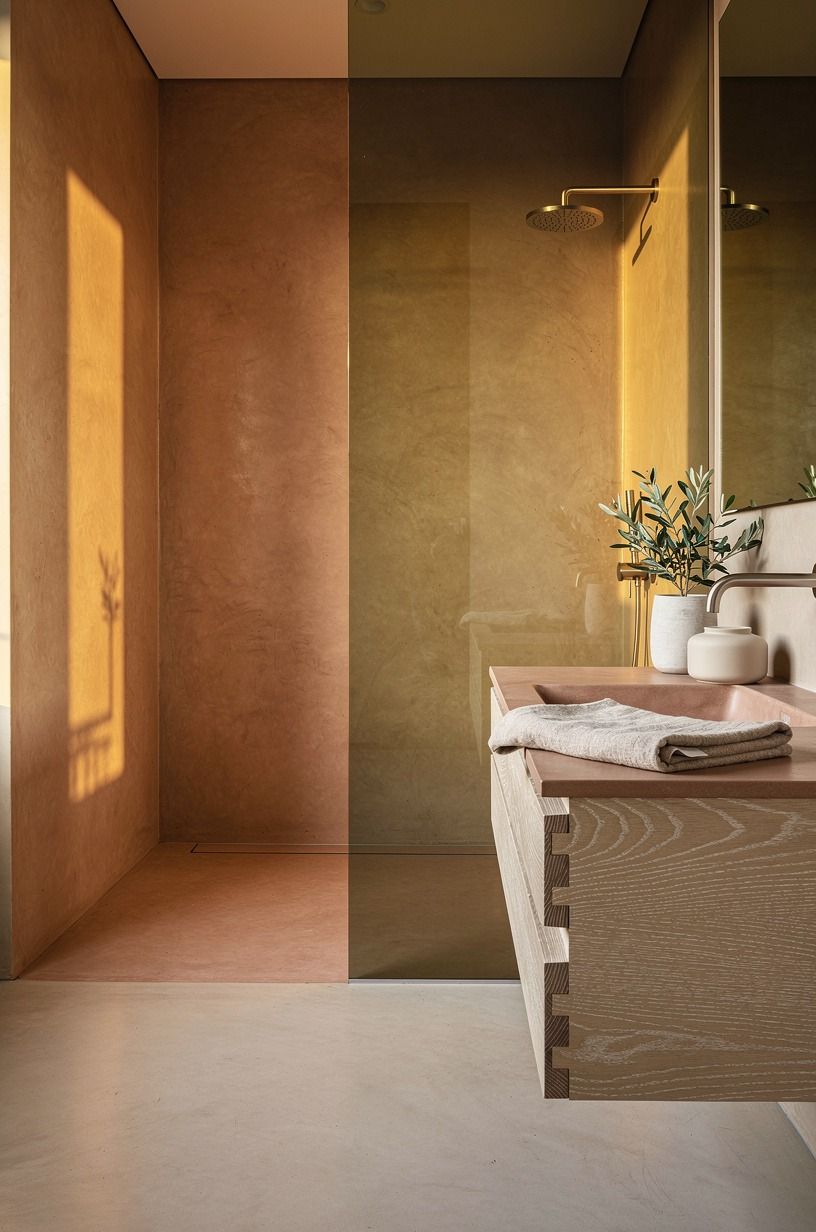
Start with the shower walls if you want the biggest visual payoff fast. A walk-in enclosure reads calmer when the eye moves across one continuous skin of terracotta stone tone instead of hopping from joint to joint, and you'll feel that shift the second you step in. In a comfortable shower, you still want at least 36x36 in to move easily, so use the microcement to make that footprint feel broader rather than busier.
Bring in olive through towels, a slim stool, or a eucalyptus stem, not through five competing finishes. I like a softly matte microcement coating here because it takes light the way plaster does, which keeps the shower from feeling clinical. If you're planning a larger refresh, the material logic pairs beautifully with these master bathroom remodel ideas.
And if you skip a niche, make sure your wall-mounted caddy doesn't interrupt the clean plane.
2Pour a matching microcement vanity counter
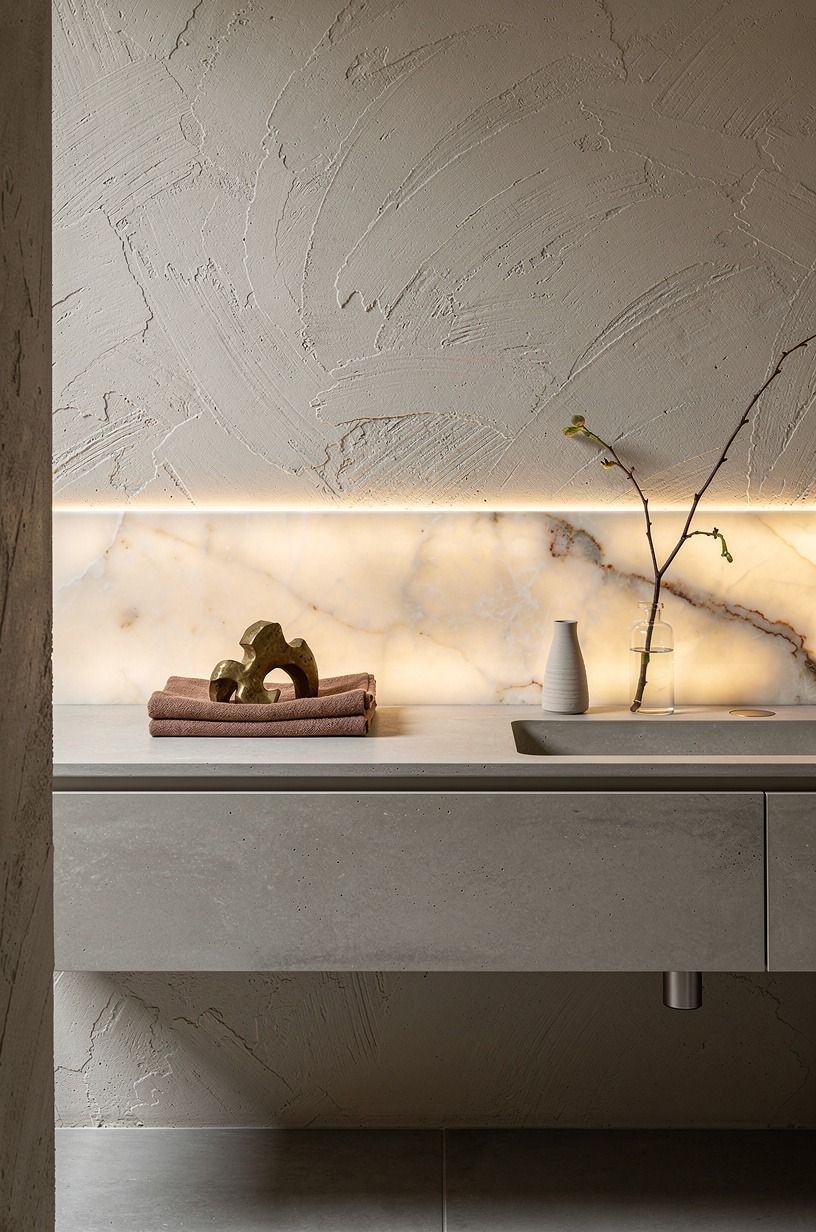
Let the vanity counter match the wall color instead of introducing another slab with a hard edge.
3Curve microcement around a built-in tub
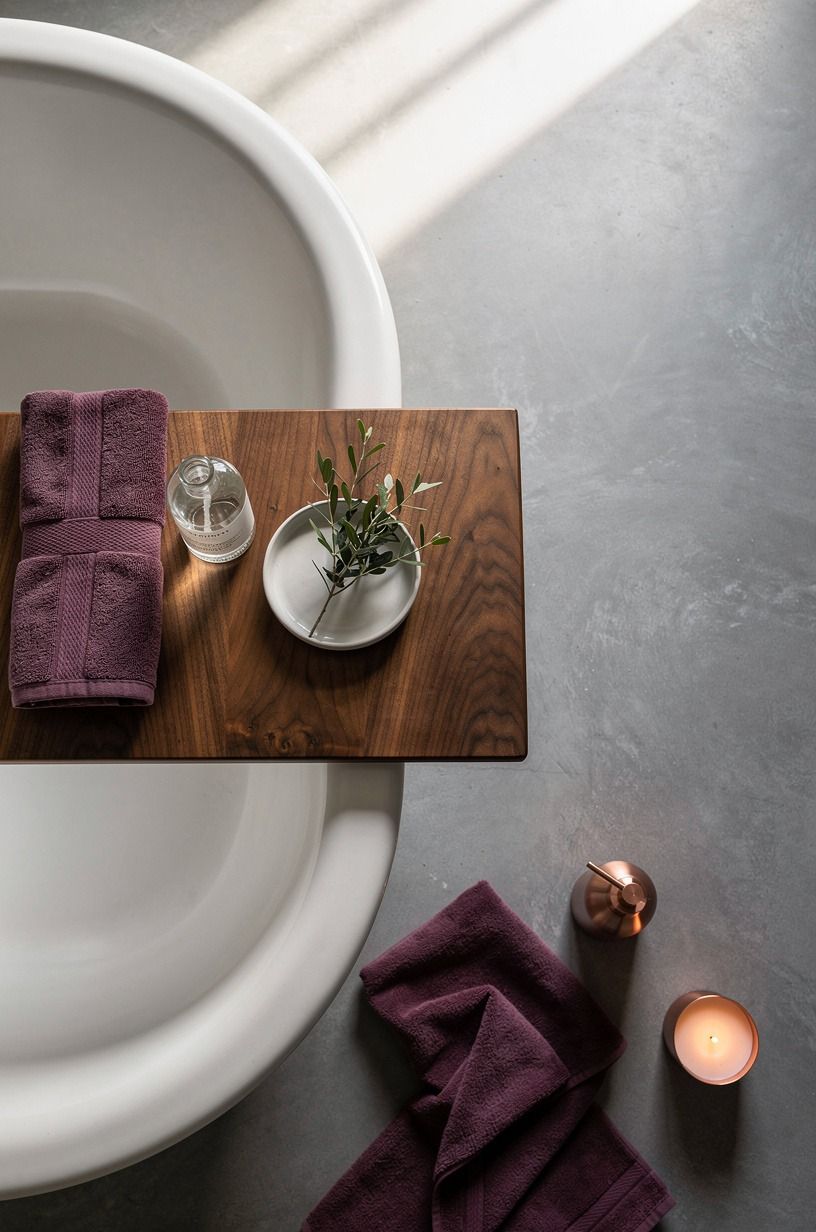
A built-in tub is where microcement stops feeling like a finish and starts feeling architectural. If your tub is the standard 60x30 in, curving the apron and surround in plum linen towels and a soft gray field instantly makes the whole zone feel more custom. Straight boxes can work, sure, but the curve is what turns a plain soak into a room moment.
I learned this the annoying way. I once left a tub deck too square, and every rose gold fitting near it looked pasted on.
With a rounded edge, the light rolls better, the room softens, and you do not need much else. A tiny stool, one bath brush, maybe a candle.
That's it.
4Frame the mirror with a microcement ledge
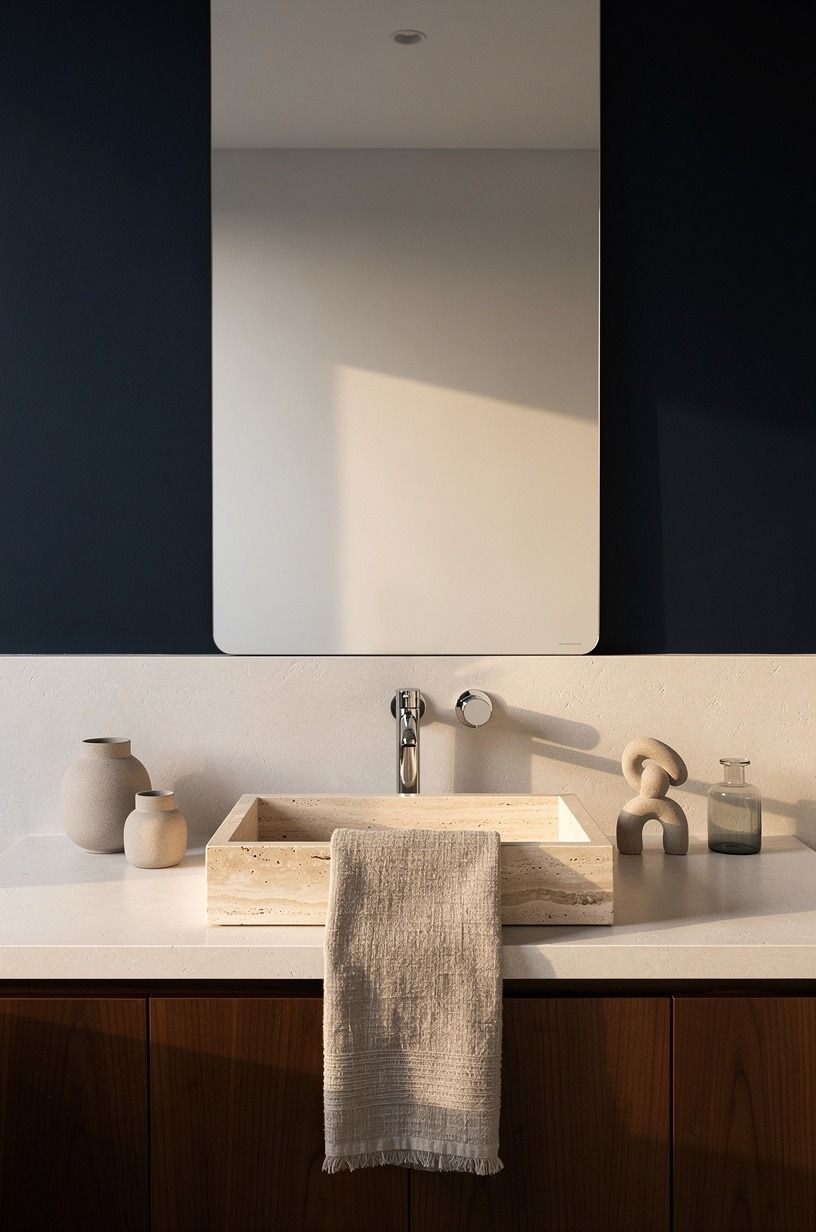
Think of the ledge as the bathroom version of a picture rail. A shallow band of honed travertine around the mirror gives you a landing spot for soap, a bud vase, or a razor cup without cluttering the counter, and it makes the mirror feel built in. You only need a few inches of depth for it to work.
Keep the basin simple so the ledge gets the attention. I love this move with a rounded stone bowl and a clean wall tap because the contrast feels quiet, not precious.
If you like layered natural materials, the balance is similar to the restraint in these oak kitchen cabinet ideas. And yes, you should leave part of the ledge empty.
Negative space is doing half the work.
5Run microcement across floor and walls
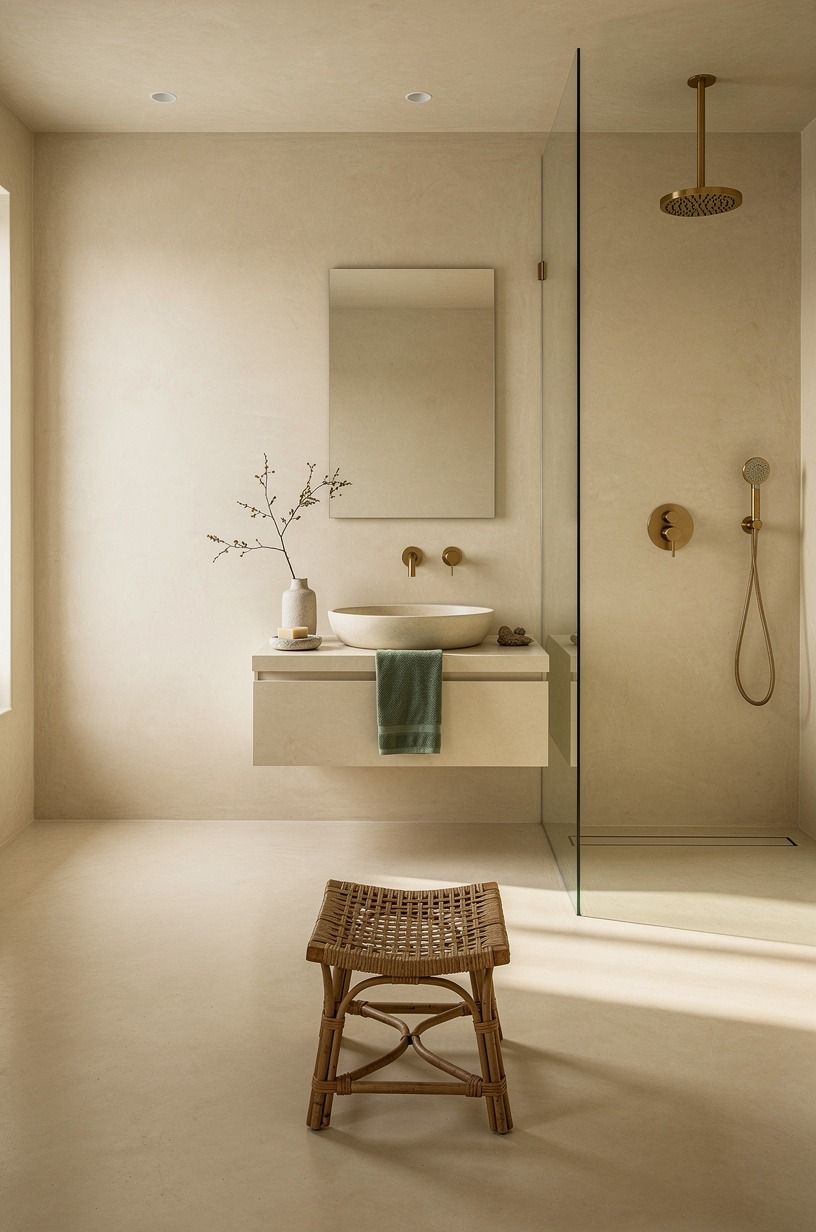
This is the move that makes a bathroom look bigger than it is. When the same pale sand finish runs over floor and walls, corners fall back, the shower threshold almost disappears, and your brain reads one volume instead of five separate parts. Why fight a joint line if the whole point is calm?
Use texture somewhere else so the room does not go flat. A ribbed glass sconce, a looped bath mat, a walnut stool.
I wouldn't break the run with a fussy border tile, not even in a traditional house. If you want the space to feel expensive, continuity beats decoration every time, which is the same lesson behind these master bathroom remodel ideas.
6Carve a recessed microcement shampoo niche
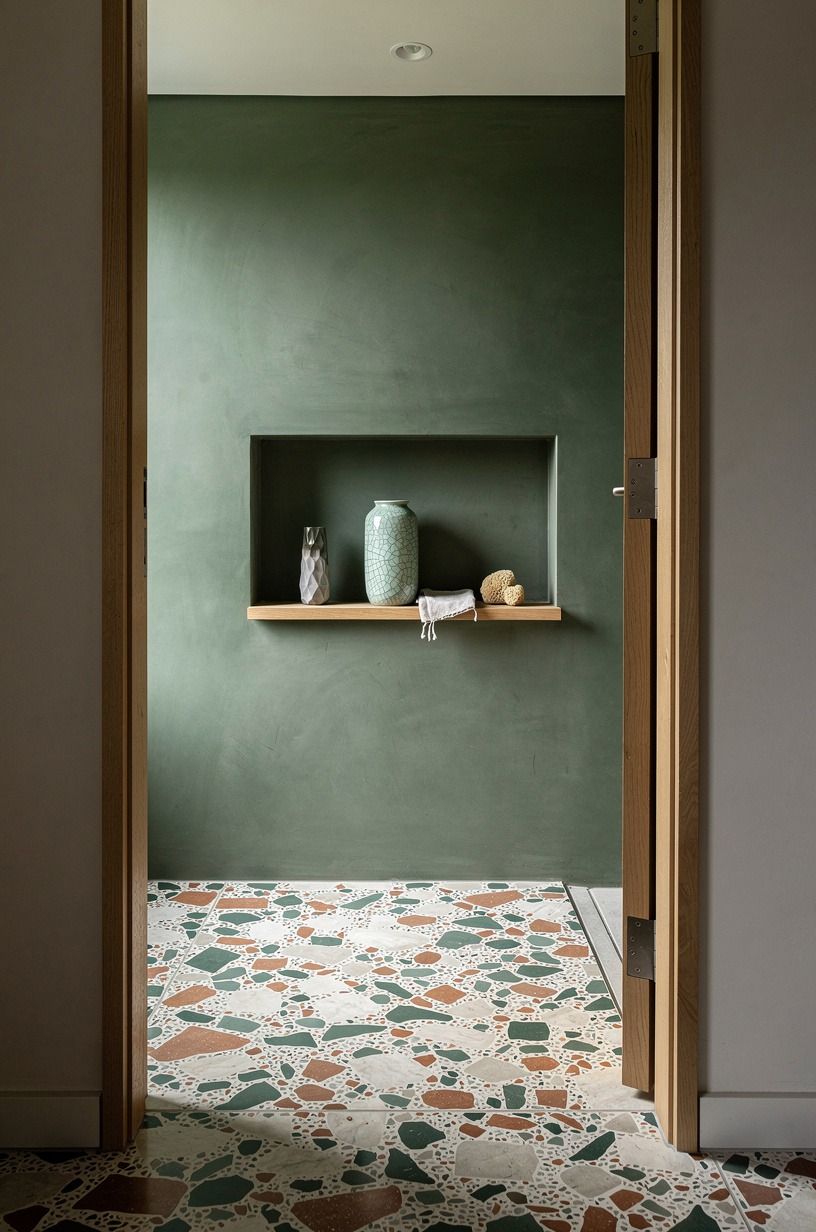
Build the storage into the wall and make it disappear until you need it.
7Warm gray microcement with brass fixtures
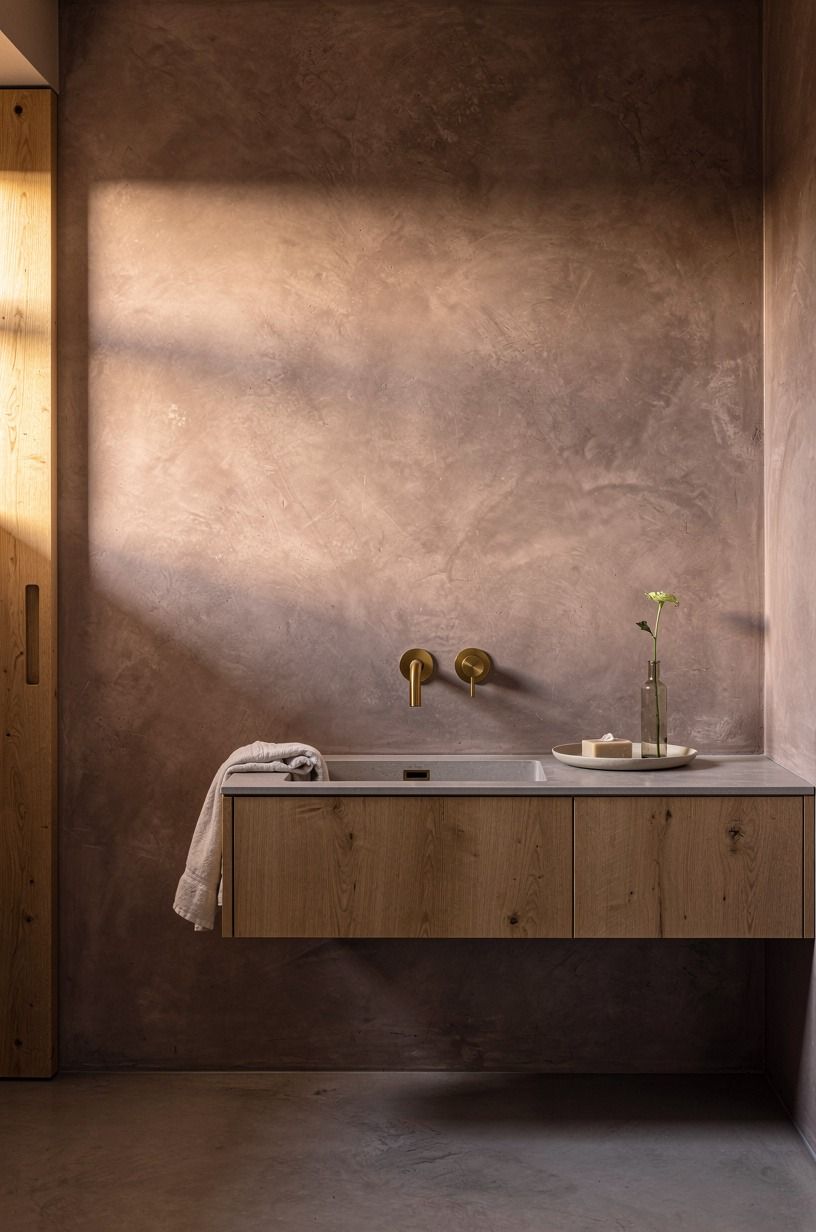
Warm gray is the safer choice when you want microcement to last longer than a mood cycle. Pair it with brushed brass faucet tones and the whole room lands somewhere between hotel and old townhouse, which is a sweet spot I'd take over icy gray every single time. Cool gray can feel crisp for a month, then flat by winter.
Use aged brass where your hand goes first, the tap, shower valve, and mirror light. That is enough warmth to pull the wall color forward without turning the room shiny.
And if your bathroom gets weak daylight, this combo bounces what little gold it has. That's a small change with a big emotional return!
8Pair taupe microcement with fluted oak
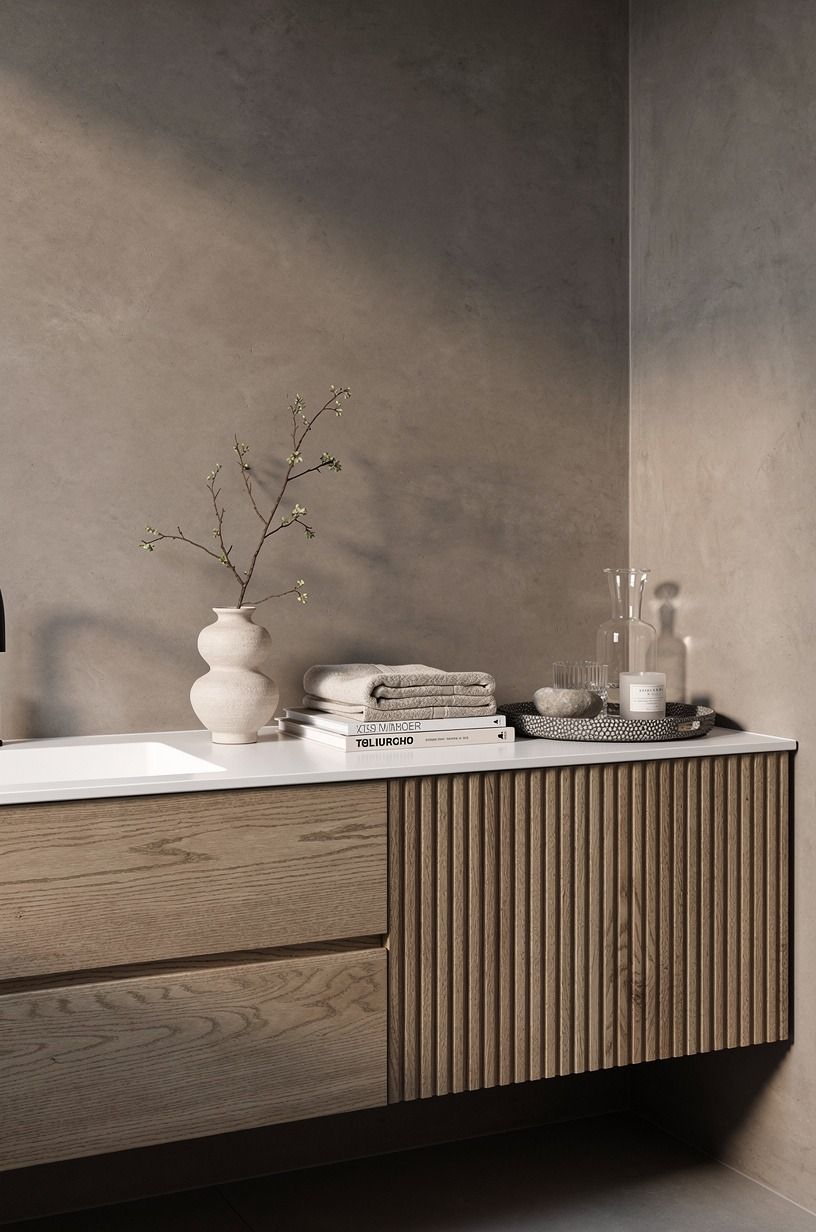
Taupe microcement needs one honest material next to it or it can read a little sleepy.
9Seal a wet room in pale microcement
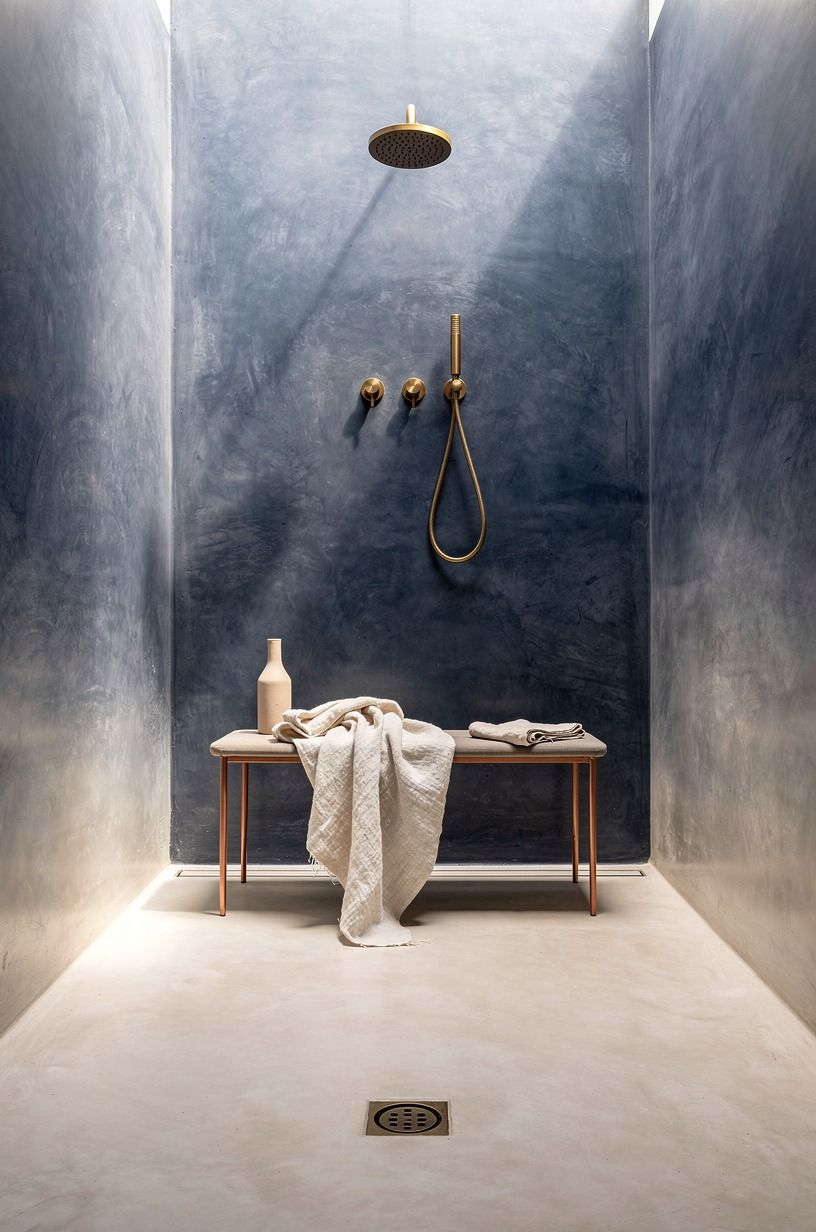
If you have a small footprint, seal the whole wet room from floor to ceiling and let the pale tone do the widening. A soft Sea Salt wall note in styling pieces or towels keeps the look from turning chalky, and the low floor-level perspective feels far more generous when grout lines aren't slicing it up. This is one of the few minimal moves that really earns its keep.
You still need enough separation to feel safe underfoot, so use a subtle grip finish rather than a color jump. I prefer that to a contrasting shower pan, because the pan becomes the first thing you see. But the quiet drama comes from restraint, not emptiness.
One bench. One hook.
One light.
10Trowel charcoal microcement behind the vanity
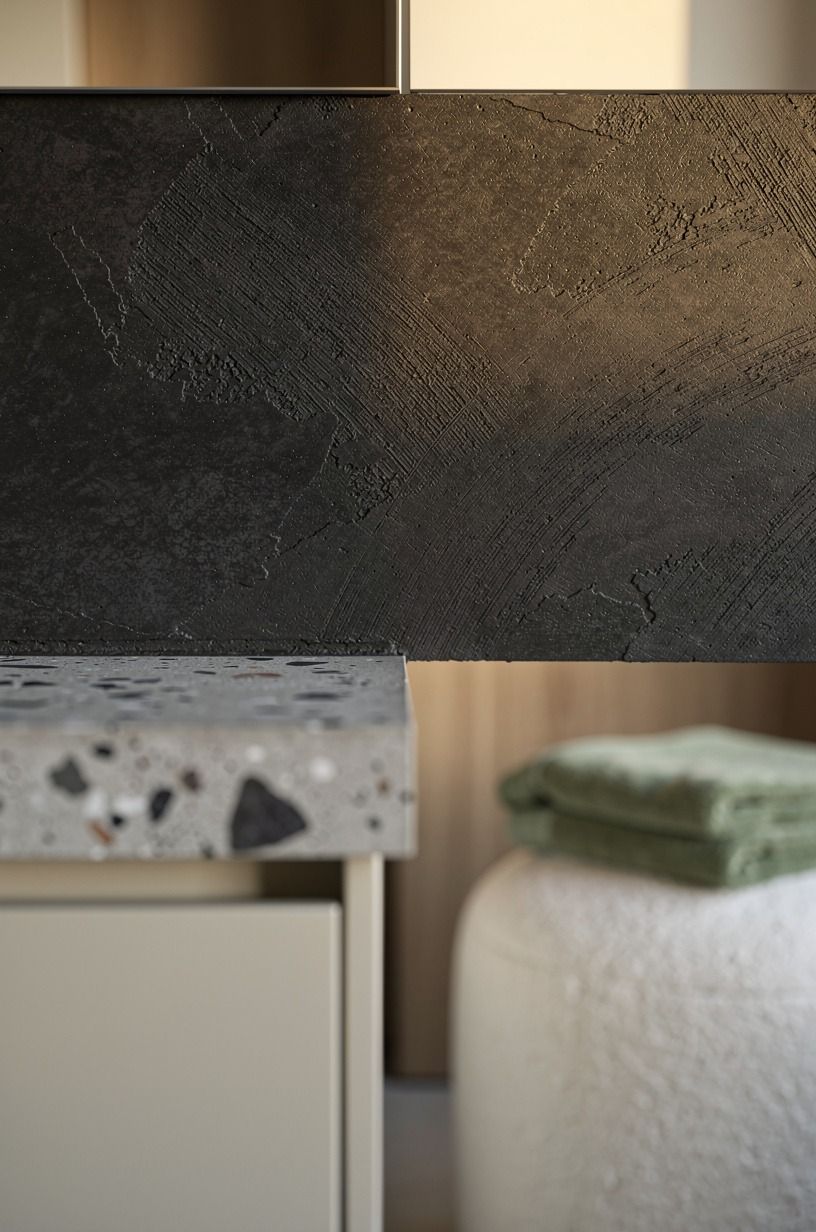
Go darker behind the vanity when you want the sink wall to carry the room.
11Soften microcement floors with limestone accents
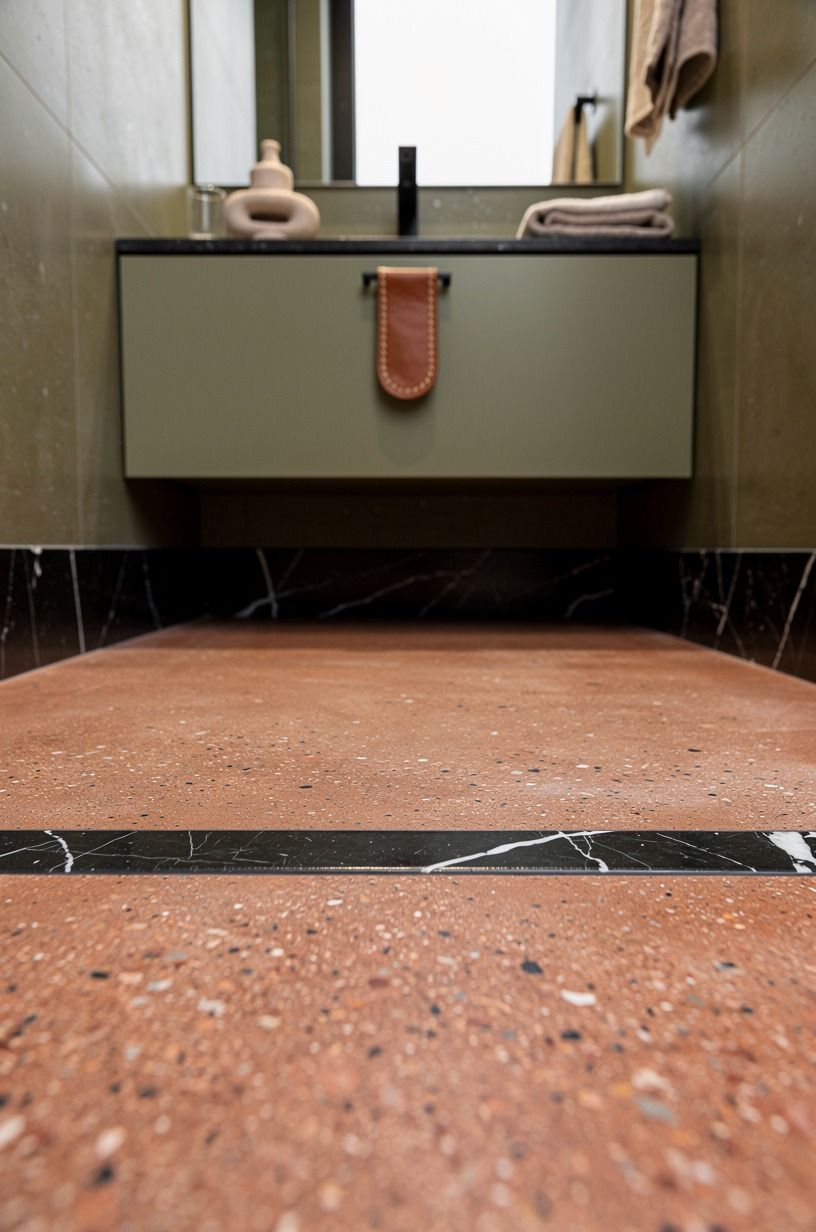
A full cement-look floor can drift cold if nothing interrupts it. Bring in limestone trim at the threshold, vanity toe kick, or bath tray and the room gets that warm mineral note people usually try to fake with beige paint. I like the contrast best when the limestone is honed, not glossy, because the shift feels subtle underfoot.
This is also a smart place to spend if your budget is mixed, especially on honed limestone. Floor field in microcement, accent pieces in stone, and you get richness without committing to a full stone room.
If you're already planning outdoor materials, the same tactile honesty shows up in these stone outdoor kitchen ideas. And yes, the threshold should stay almost flush.
12Build a floating microcement sink shelf
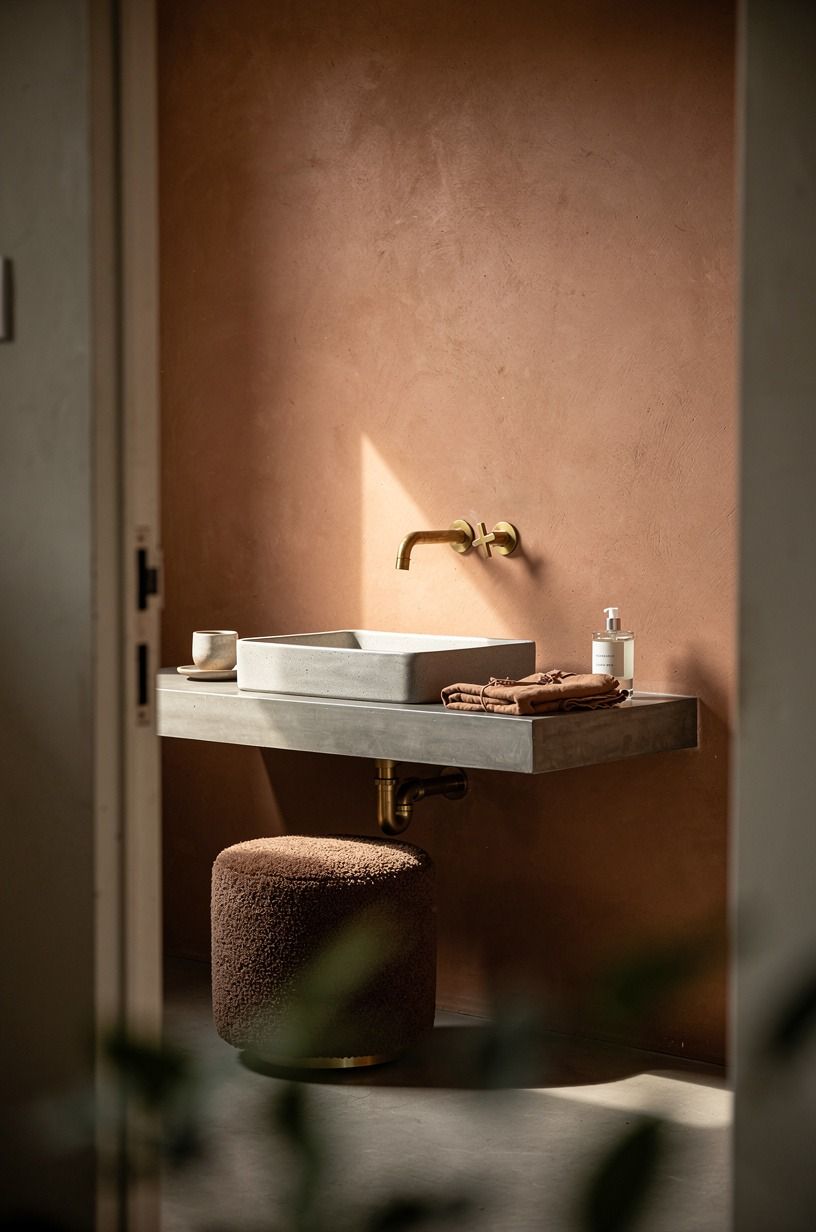
A floating sink shelf works because it gives you architecture without visual bulk.
13Wrap the toilet wall in cement finish
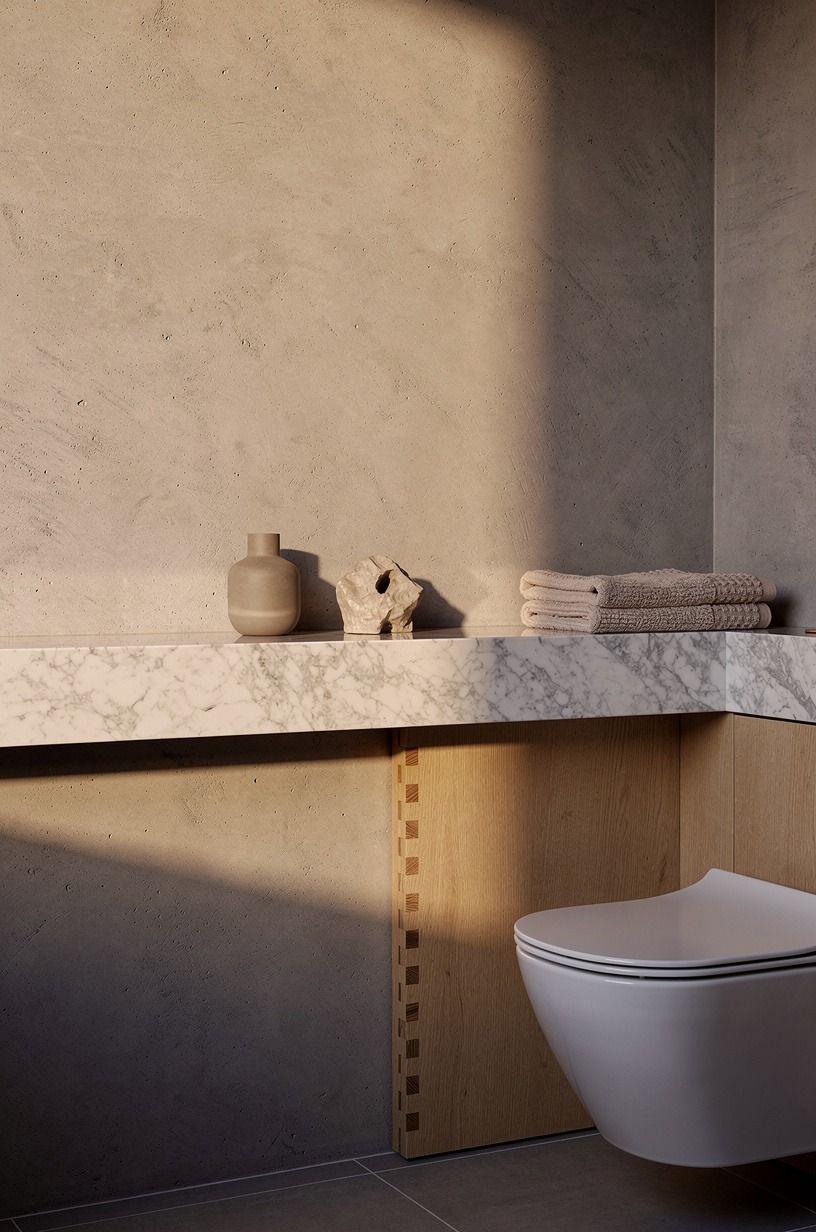
The toilet corner is usually where a bathroom loses its nerve. Wrap that wall in cement finish plaster and suddenly the least glamorous zone looks deliberate, especially when the fixture sits off to one side and the empty wall is allowed to stay empty. You only need the required 21 in of clearance in front to keep it comfortable, so let the finish do the decorating.
Please do not hang three signs there. One paper holder, one slim art piece if you must, and move on. I love a softer wall color around toilets because it makes white porcelain feel cleaner instead of harsher.
But the finish needs to stay matte. Shine is what tips this look back toward builder grade.
14Contrast smooth microcement with zellige tile
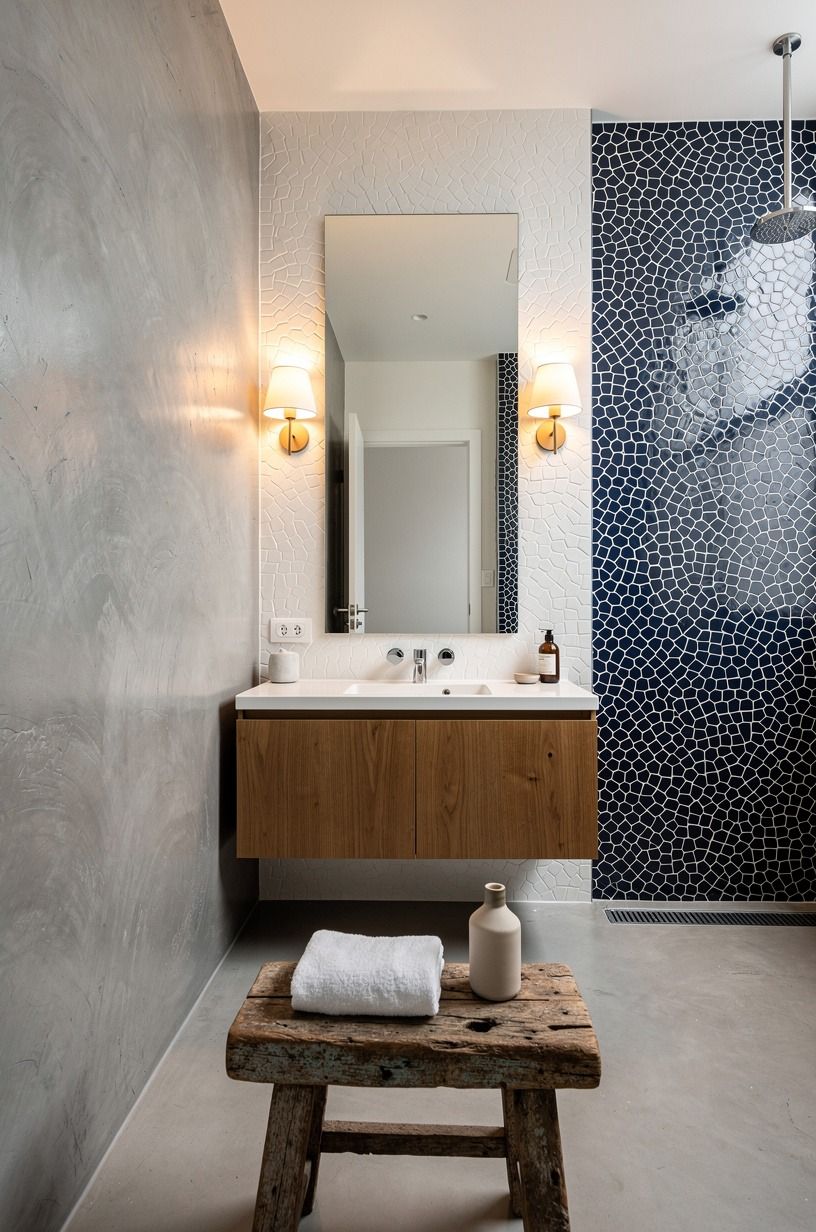
This is your answer if you love the no-grout look but still want one pocket of sparkle.
15Create a monolithic microcement shower bench
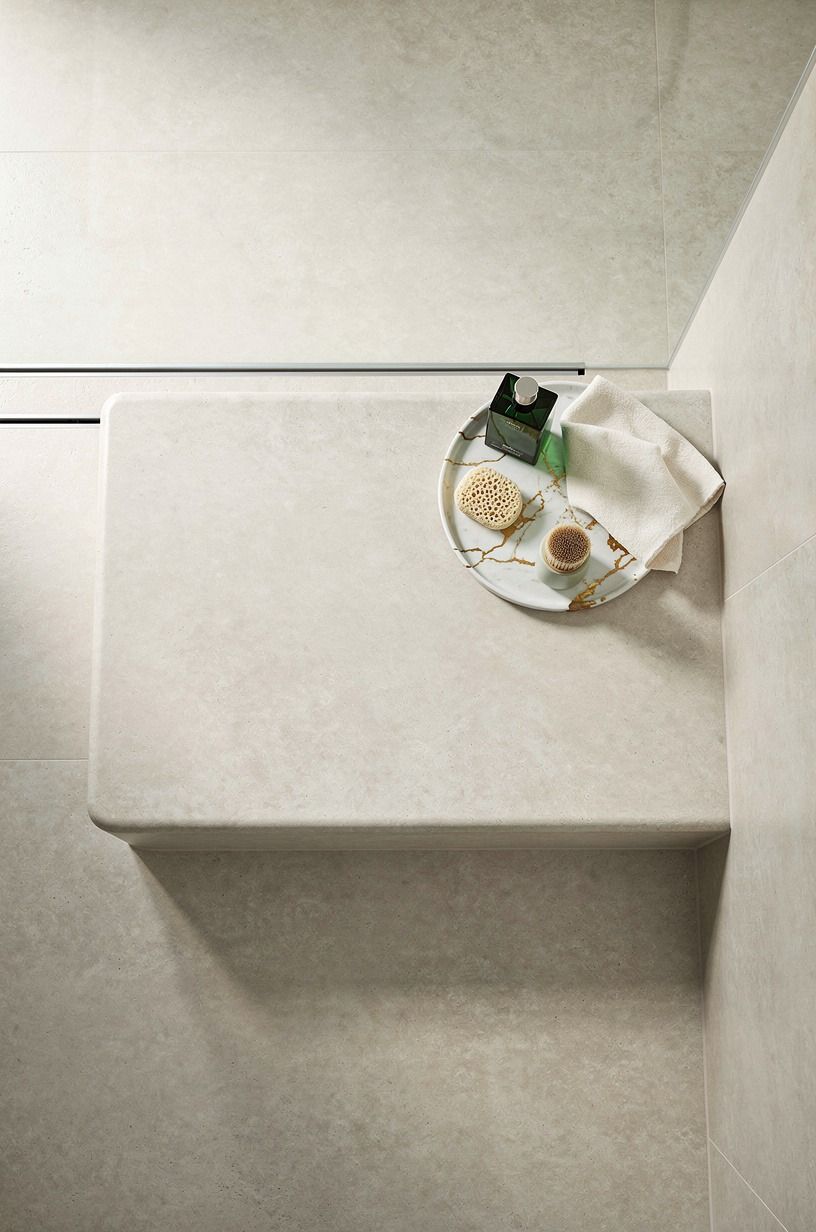
A shower bench looks best when it feels carved from the room, not dropped into it after the fact. Build one monolithic block in stone-beige microcement, keep the proportions lean, and the whole wet room gains that spa steadiness people chase with way more accessories.
I wouldn't oversize it. A bench that dominates the footprint just makes cleaning harder.
Think support geometry, not sofa. Enough depth for a towel stack or one seated leg shave, then stop.
Overhead views make this especially clear because you can see how much calmer the floor feels when the bench stays compact. And if you're styling the scene, a folded cotton towel and a wooden brush are plenty.
The same editing instinct shows up in these master bathroom remodel ideas.
16Layer beige microcement with linen curtains
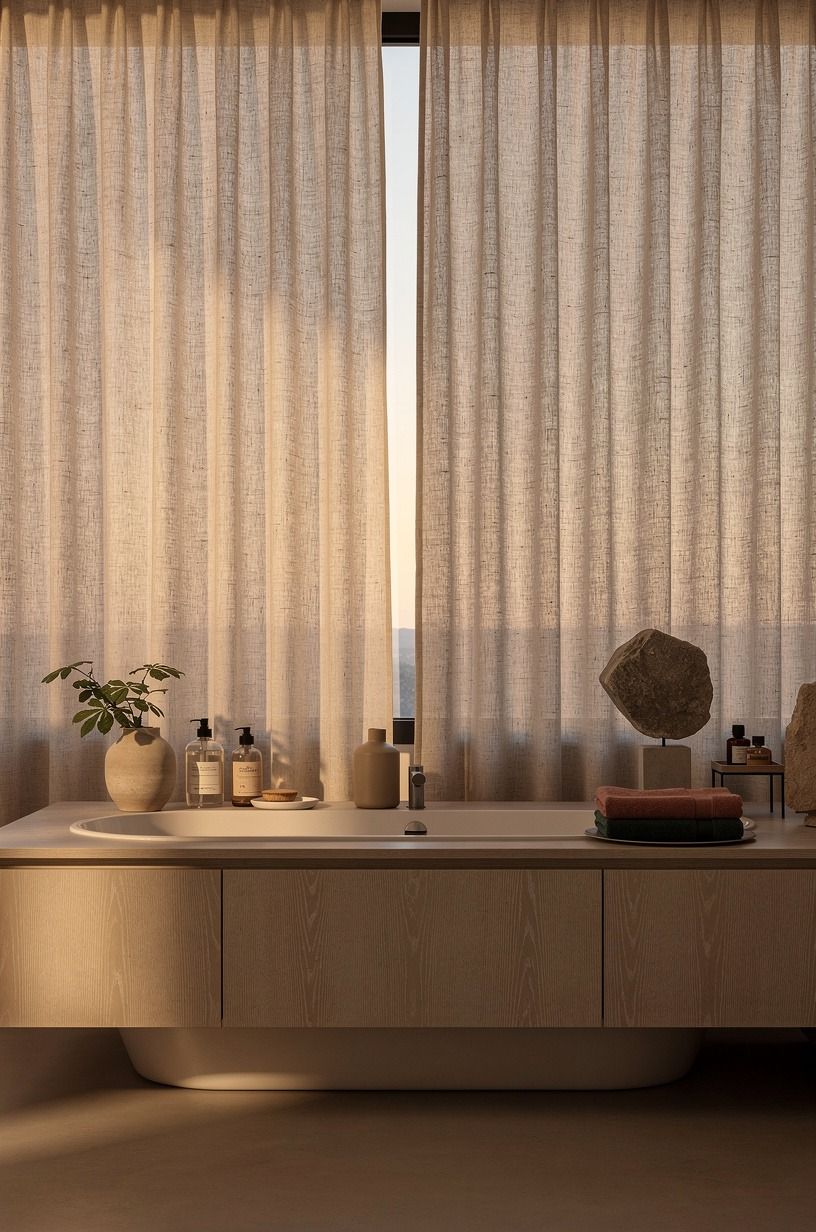
Beige microcement can feel flat on its own, but linen fixes that fast.
17Edge microcement walls with black hardware
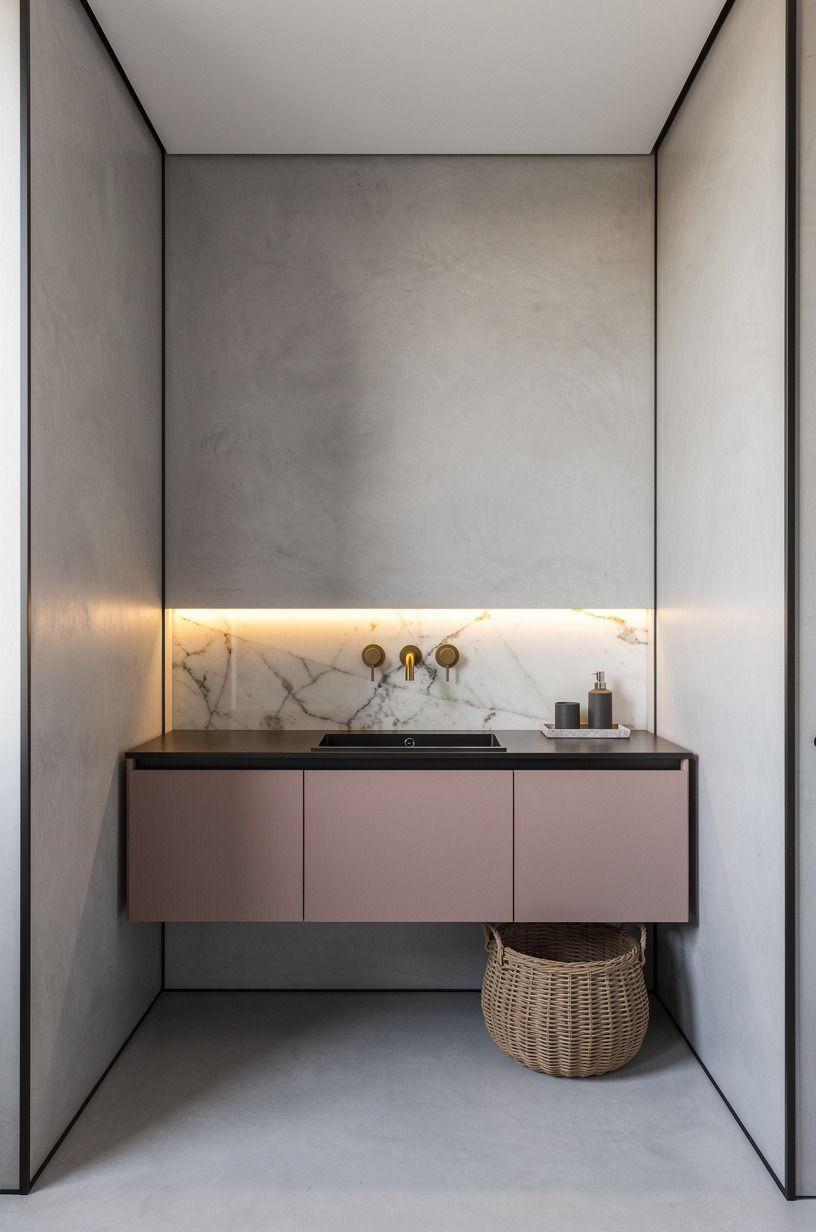
Black hardware is the easiest way to sharpen soft microcement without adding clutter. Against a pale wall, matte black fittings act like line work, and your vanity suddenly looks more expensive because the edges read clearly.
You don't need a black frame on every single object though. That's where people overdo it.
Keep matte black metal to the shower frame, tap, mirror bracket, and maybe one hook. Then warm the room elsewhere with an oak drawer or ivory towel so it doesn't go graphic for no reason.
But if your bathroom already has a lot of contrast, I'd choose oil-rubbed bronze instead. Harsh black on top of harsh black can feel brittle.
18Use clouded microcement for spa softness
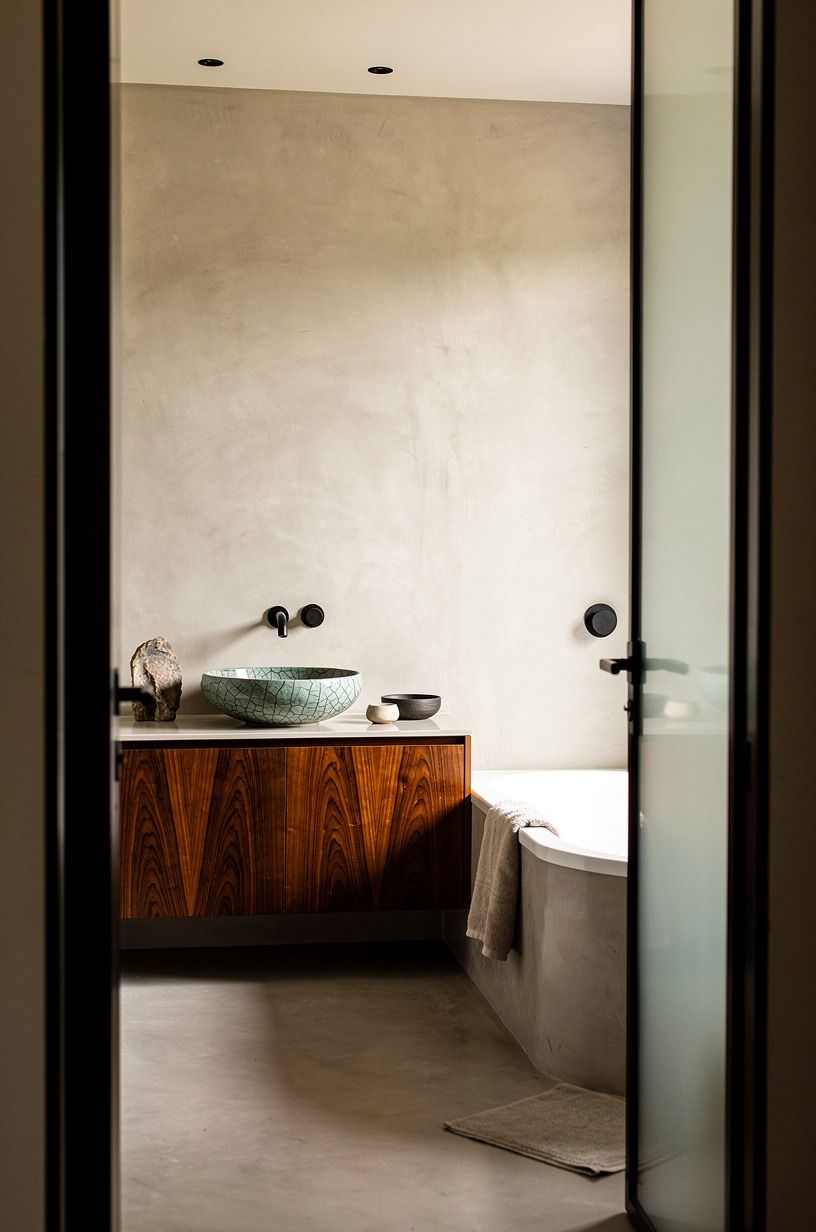
Clouded microcement is what I reach for when a bathroom needs calm more than drama.
19Highlight microcement texture with wall washers
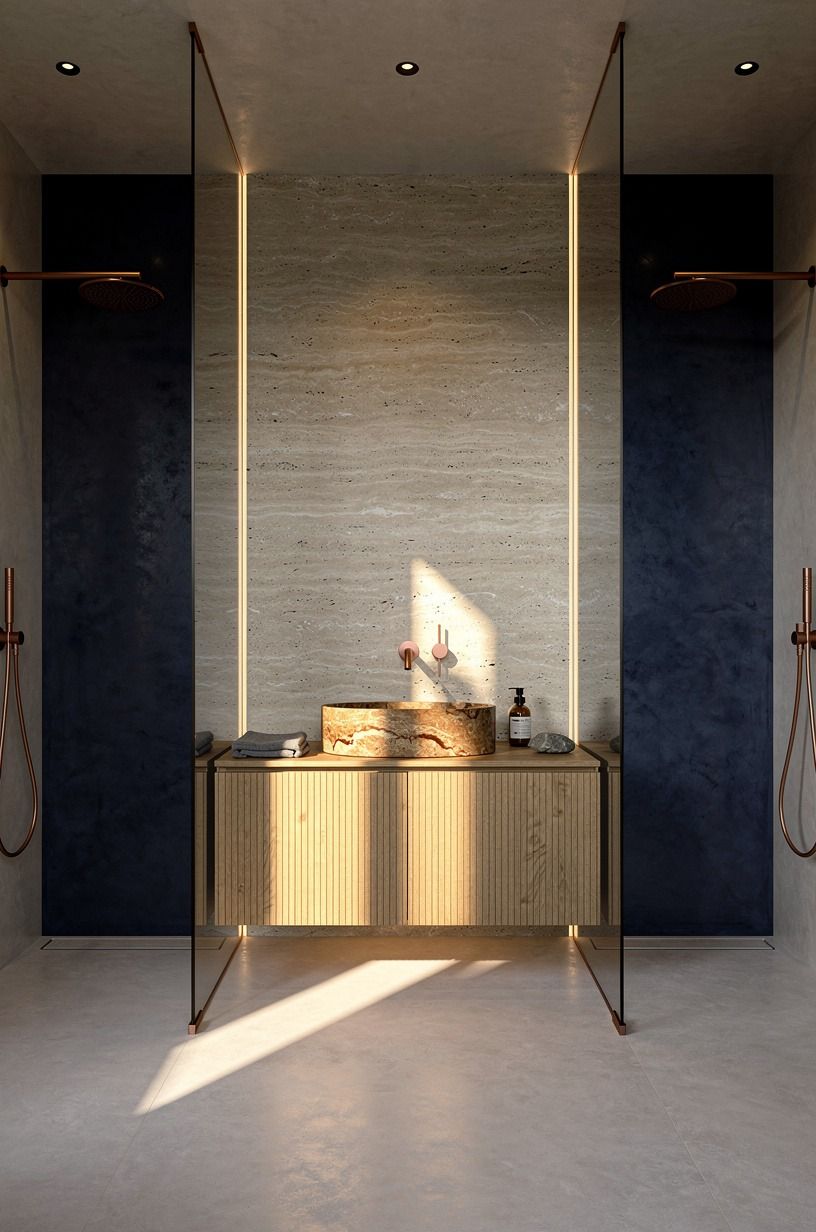
If you paid for texture, let the light prove it. Wall washers aimed across travertine vanity stone and microcement planes pick up every hand-troweled shift, which is what makes the room feel custom after dark.
This is one place where lighting does more than visibility. It changes the personality of the finish.
Mount the wall washers so the beam skims, not blasts, the wall. Then pair them with a dimmer, because texture should whisper at night, not shout. I made the mistake of using a bright overhead only once, and it erased half the character.
Never again!
The No-Grout Spending Ladder
You don't need a full gut job to get the look. The smart spend is usually one uninterrupted surface, one edited vanity wall, and better light, then you leave the rest alone until phase two. That's how you keep the room coherent instead of halfway expensive.
For individual pieces, zellige tile usually runs $15-$35 per sq ft, subway tile $2-$10 per sq ft, marble tops $50-$100 per sq ft, and a brushed brass faucet about $120-$450. I'd put money into the faucet last. Surface continuity and lighting change the room more.
- Shower wrap first, if grout is your biggest visual problem. - Floating shelf vanity next, if the floor plan feels pinched. - Wall washers after that, if you paid for hand-troweled texture. - Linen curtain last, if the room still feels a little hard.
Why does microcement feel calmer in a small bathroom?
Because your eye gets fewer visual stop signs. When grout lines, threshold jumps, and busy material changes are reduced, the room reads as one volume, and your body relaxes before you even notice why.
That's not theory. You feel it the first time you walk in barefoot.
But calm doesn't mean blank. You still need one warm note, maybe oak, travertine, linen, or aged brass, so the bathroom doesn't drift into showroom territory. If you like that spare-but-lived-in balance, the same editing instinct shows up in how to get that cozy backyard aesthetic everyone wants, even though the room is completely different.
The Two-Surface Rule
Here's the Two-Surface Rule I'd use if you asked me to keep a microcement bathroom from going flat: pick two surfaces to carry the whole mood, then let everything else support them. That's it. Most bathrooms get noisy because people panic halfway through and start adding “interest” everywhere. A different tile inside the shower.
A patterned rug. A busier mirror.
Another metal finish. A tray that doesn't belong.
You can feel the indecision.
I don't think microcement is hard to style, but I do think it punishes hesitation. If the shower walls are the hero, let the vanity stay quiet.
If the vanity counter is the sculptural moment, do not also make the floor the loudest thing in the room. When I get a bathroom wrong, it's almost always because I tried to rescue a simple finish with too many side notes.
They never read as soul. They read as second-guessing.
The rooms that hold up are the ones with a clear surface hierarchy. Maybe it's pale microcement plus fluted oak.
Maybe charcoal behind the vanity plus a limestone floor edge. Maybe beige walls plus linen curtains and one great brass tap.
You still get texture, just not chaos. And once you see that, you stop shopping for twenty little fixes and start protecting the big visual idea.
That matters for budget planning too. You can spend $200-$1,200 on a budget refresh and still get a strong result if the main surface story is clear. Spend $3,000-$9,000 without that clarity, and somehow the room can look more expensive but less resolved.
I'd rather see you do fewer moves, better. In a microcement bathroom, restraint isn't the absence of style.
It is the style.
The Questions Worth Answering First
What is the best Microcement Bathroom Ideas for the Seamless, No-Grout Look Everyone Wants for a small bathroom?
Run pale microcement over both floor and walls, then use a slim IKEA GODMORGON-style vanity shape or a floating shelf so the floor stays visible. That's the biggest visual return in a tight room, and you'll notice the extra breathing space right away.
Where can I buy Microcement Bathroom Ideas for the Seamless, No-Grout Look Everyone Wants pieces on a budget?
Start with Target Threshold, IKEA, and Wayfair for mirrors, stools, and linen-look curtains, then check Facebook Marketplace for stone trays or vintage brass lights. If you need more warm-material inspiration, browse make bunk beds look cute for styling logic, not product matching.
How much does a Microcement Bathroom Ideas for the Seamless, No-Grout Look Everyone Wants makeover cost?
About $200 to $1,200 covers paint, a mirror, faucet, and textiles, while a fuller vanity-and-lighting update often lands around $3,000 to $9,000. The best value usually comes from surface continuity first, because that's what changes the room before the smaller buys do.
Can I create a Microcement Bathroom Ideas for the Seamless, No-Grout Look Everyone Wants on a budget?
Yes, and I'd start with paint in a microcement-like tone, one edited counter tray, and a linen curtain panel. Free wins count too.
- Declutter the vanity. - Remove bad chrome extras. - Rehang the mirror at a better height. - Swap in one warm towel.
Those moves cost little and still make your bathroom feel calmer.
Is a Microcement Bathroom Ideas for the Seamless, No-Grout Look Everyone Wants worth it in a small space?
Yes, because a small bathroom benefits most from fewer visual breaks. The worth-it part is scale perception, not trend value. Keep one continuous finish, one floating element, and one warm accent so the room feels open without turning empty, then compare that logic to 19 window seats that turned forgotten corners into the rooms everyone wants to steal.
Is Microcement Bathroom Ideas for the Seamless, No-Grout Look Everyone Wants a good idea for a rental?
Yes, if you fake the feeling rather than the construction. Try removable linen curtains, a peel-and-stick mirror light, a tension-rod shower curtain in a plaster tone, and a freestanding shelf. For more soft-layer inspiration, see master bathroom remodel ideas, then translate the mood into no-damage swaps.
The One Surface Rule I'd Start With
If I had to pick one, I'd start with wrapping the shower walls in microcement. Grout lines shout there first, so smoothing them out changes the room faster than a new vanity. Pin this look for later and study master bathroom remodel ideas before buying.