
 by
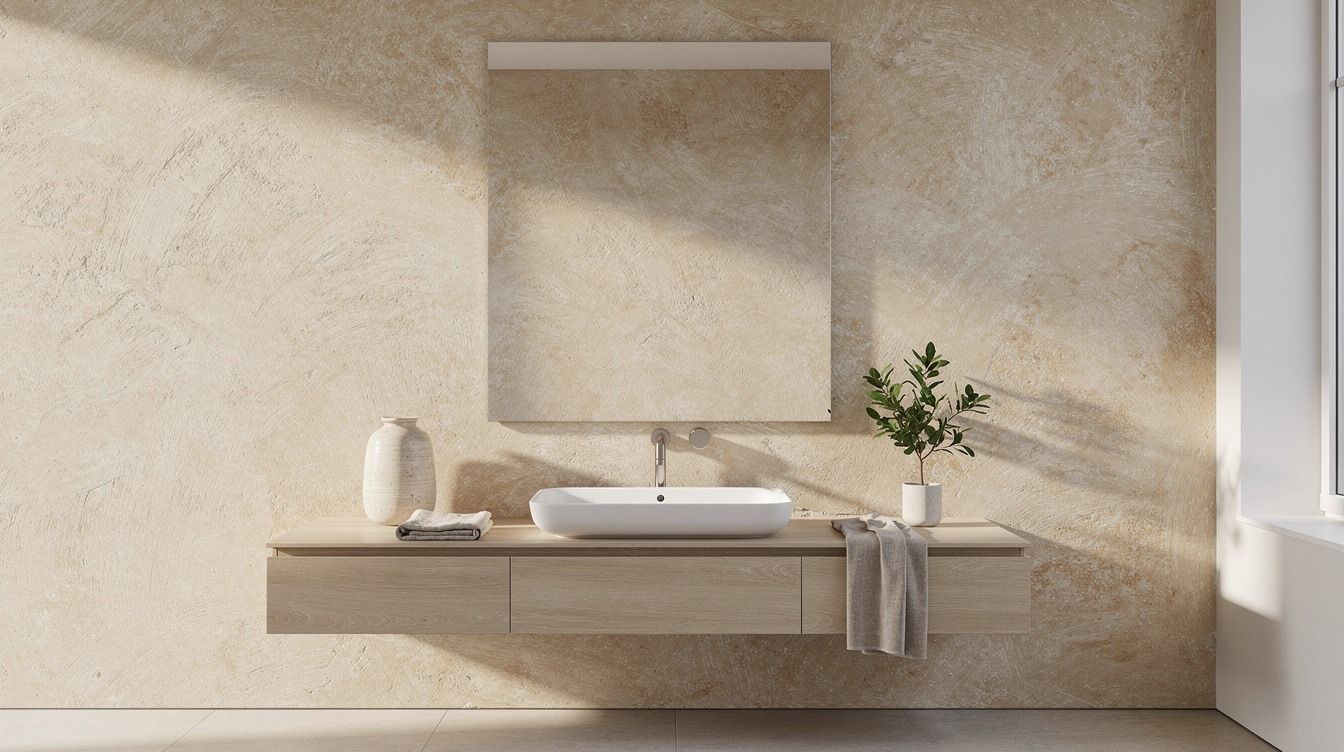
by I rolled my first coat of lime paint onto a powder room wall on a Saturday morning, mostly because I was tired of looking at it. By Sunday evening the room felt twice the size. That was the moment I understood what mineral paint actually does: it eats the flat, plastic glare off drywall and replaces it with the soft, chalky depth of old plaster. It looks like a finish someone spent a fortune on. The paint itself costs about $35 to $80 a gallon. Below are the 13 steps I'd run again tomorrow if I were starting from a builder-grade bathroom with zero character and a Sunday afternoon to spare.
- Start with the wall itself, not the can
- Pick the right mineral paint for a wet room
- Test your color in a 12-inch swatch, not a fan deck
- Tape the ceiling, the trim, and the tub surround
- Mix the paint slowly with a wooden stir stick
- Why do you brush in crisscrossing X strokes?
- Wait 20 minutes, then soften with the Soft-Edge Pass
- The Cross-Layer Build: second coat while the first is still tacky
- Why does the cure take a full week before sealing?
- Anchor the wall with one piece of warm metal
- Layer the lighting at three heights
- Limestone over porcelain: pick the floor that matches the wall
- Run the slow-evening test before you call it done
1Start with the wall itself, not the can
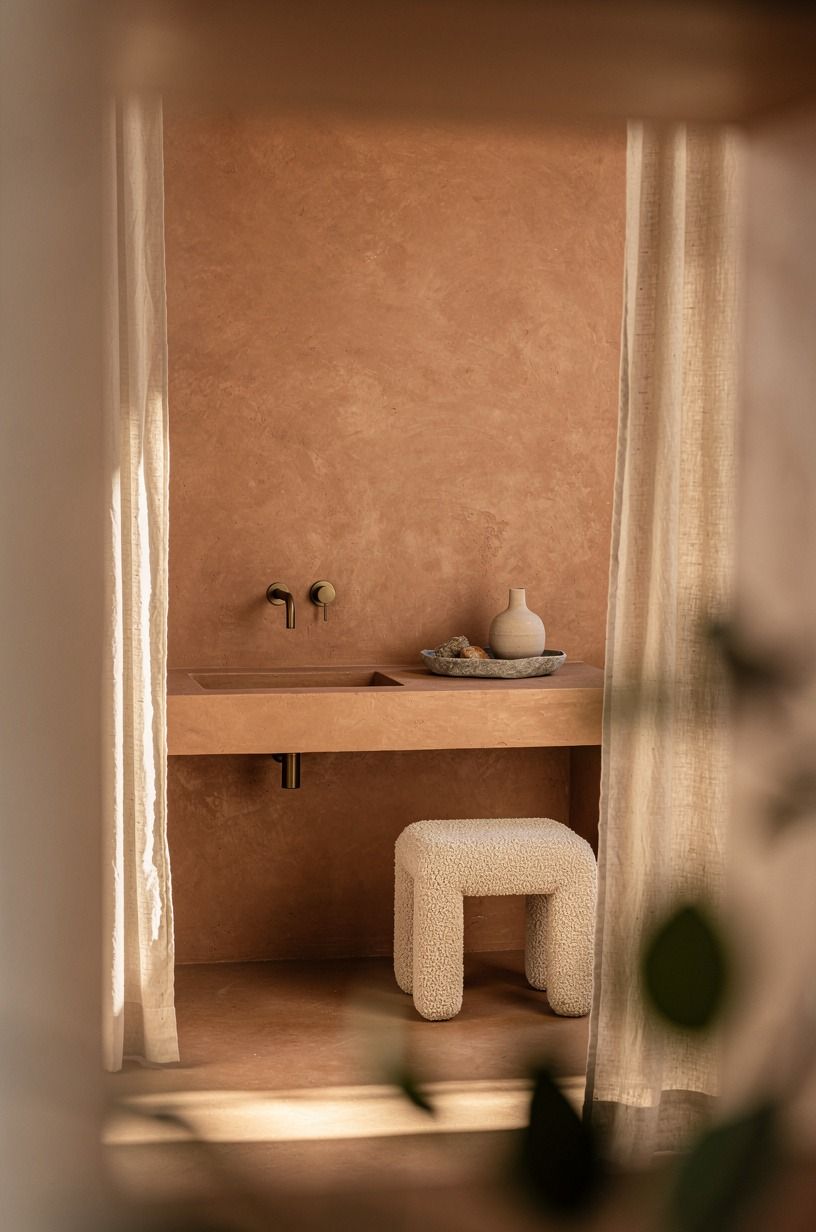
The paint is only as good as what's underneath. Limewash needs a porous, slightly textured surface to bond chemically. New drywall sealed with a glossy primer will reject it, and you'll end up with patchy streaks that look dusty rather than intentional.
If your walls are glossy or have been painted with a satin eggshell, scuff them with a 120-grit sanding block first, wipe the dust, and apply a coat of mineral primer.
Benjamin Moore Eco Spec WB Primer is what I reach for on bare drywall. For previously painted walls, Romabio BioGrip Micro Primer is the closest thing to a cheat code because it's designed to grip slick surfaces so the lime can cure into them.
Skip the latex all-purpose primer. The lime will sit on top like a powder and rub off on towels for the first six months.
Don't skip this step. It's the unglamorous thirty minutes that decide whether your bathroom looks like a stone villa or a craft project, and I will say it again: Benjamin Moore Eco Spec WB Primer is the safest call on new drywall, every time.
The same prep-then-finish logic that makes limewash work on a wall is what makes a foundation piece work in a bedroom too. You're prepping for the visual layer that sits on top. If you want the parallel read, what size is a full xl is a deep-dive on getting the foundational measurements right before you build up.
2Pick the right mineral paint for a wet room
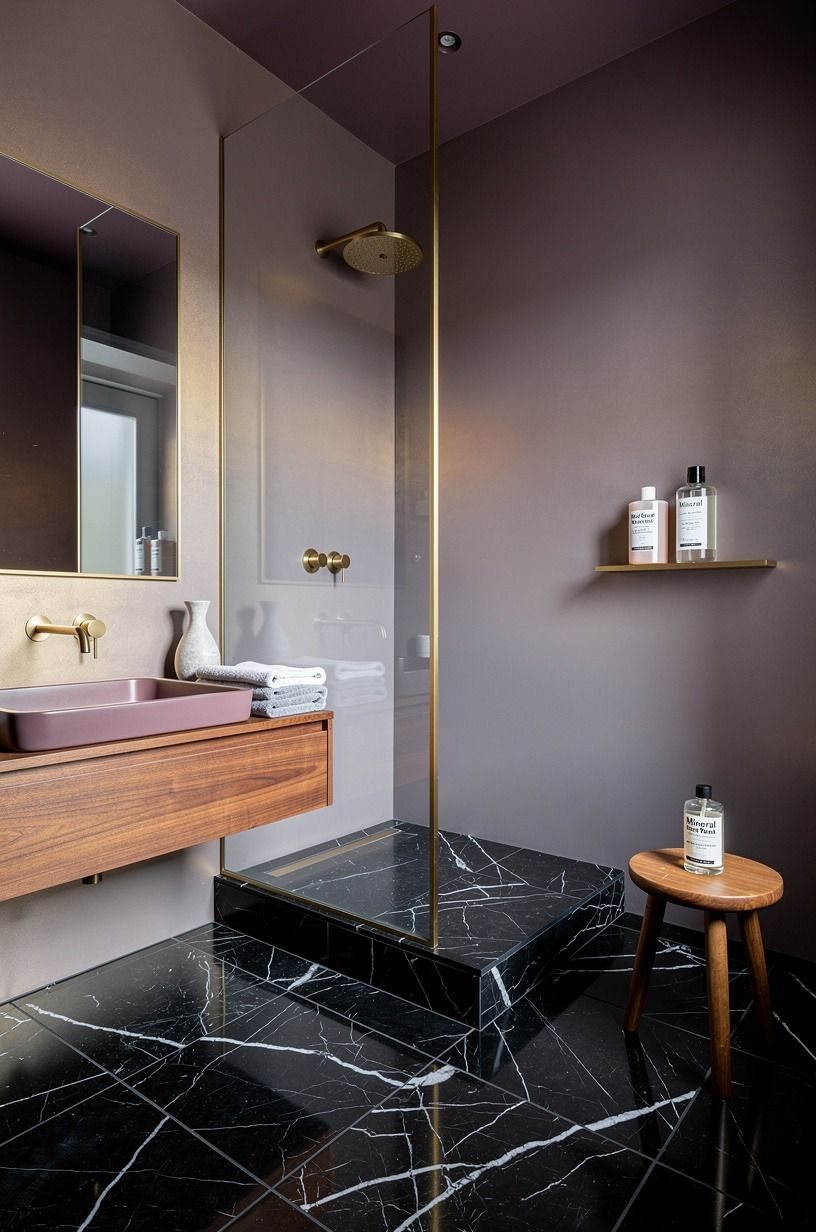
There are three real options on the US market and the difference matters.
3Test your color in a 12-inch swatch, not a fan deck
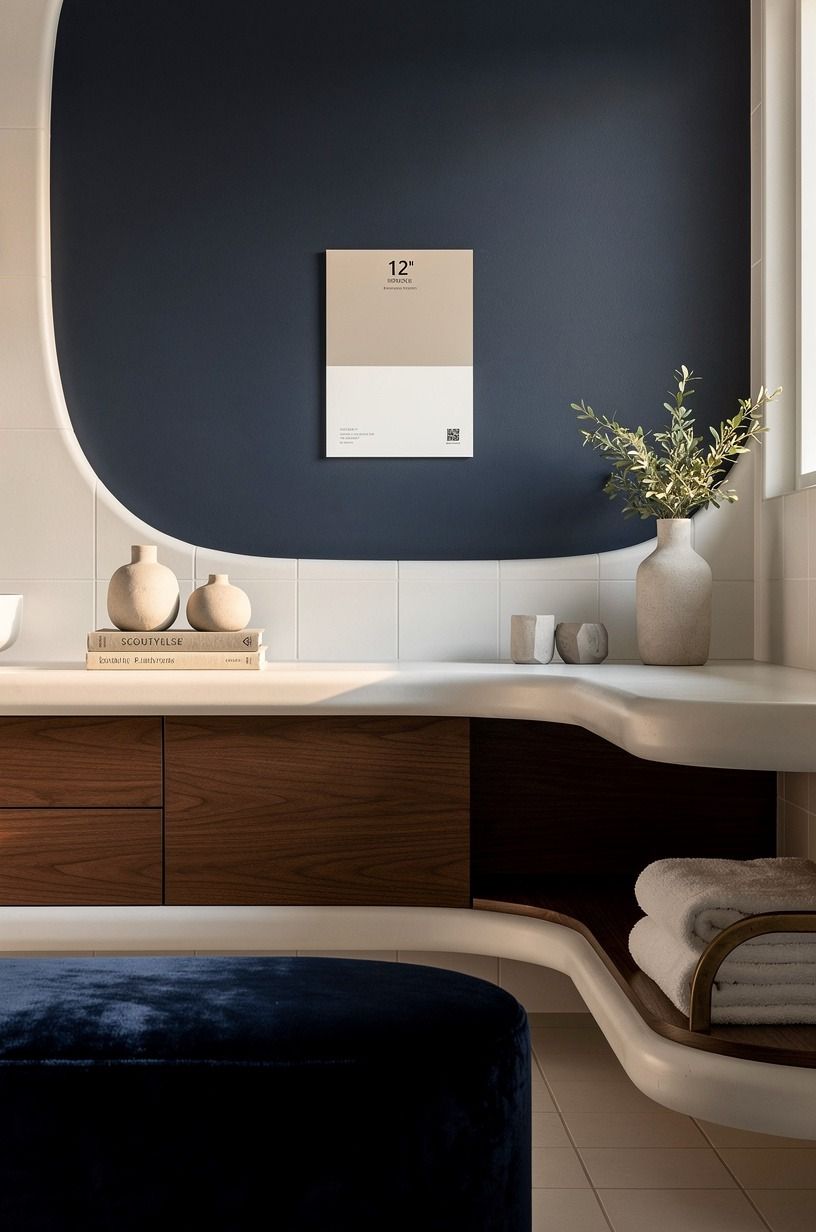
Lime paint dries much lighter than it goes on wet, and it shifts again as it cures over the first week. The fan deck at the paint store is a lie. Paint a 12 by 12 inch square on the wall you'll be covering, let it cure for 48 hours, and look at it at three times of day: morning sun, midday glare, and the warm-cast lighting you'll actually bathe in.
For a north-facing bathroom with no window, I'd lean into Farrow & Ball Stiffkey Blue (a deep navy with cool grey undertone) or Farrow & Ball All White (a clean soft white) so the wall reads crisp against the navy and walnut accents you'll build around it. For a sunny south-facing washroom that needs grounding, Portola's Encanto (a warm walnut) or Beeck's Calx in Sahara holds up beautifully under direct afternoon light.
If you're tempted by Farrow & Ball Inchyra Blue, sample it twice, once at noon and once at 3pm; it shifts almost to charcoal when the light drops, and you'll either love that drama or you'll wish you'd gone softer. Two of my favorite bathtime reads on choosing bathroom paint tones are on what to put on a bathtub tray and the whole-bedroom styling discussion in what size mattress for bunk bed which surprisingly covers warm-tone palette logic well. And if you're working out the foundation underfoot while you're at it, what questions to ask when buying a mattress is a useful primer on test-before-commit decision-making.
4Tape the ceiling, the trim, and the tub surround
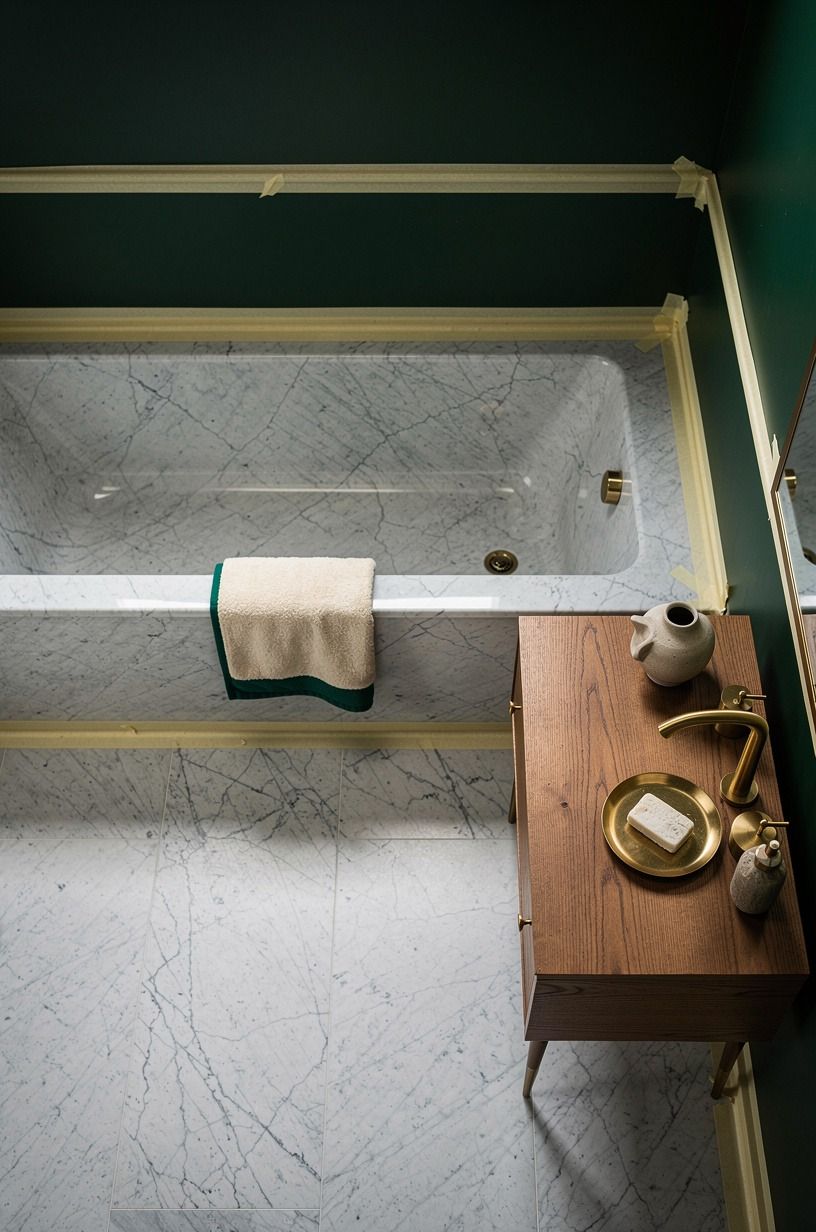
Limewash splatters. It's watery, it splashes when you load the brush, and any drop that lands on a glossy white surface will leave a faint ghost even after wiping.
Run FrogTape Delicate Surface tape along the ceiling line, the mirror edge, the window trim, and the inside lip of the tub surround or shower curb. Take the extra ten minutes.
The tape is cheap; the regret is not.
Drop a canvas drop cloth on the floor, not plastic. Plastic makes the splatter bead up and track under your feet.
A West Elm Belgian Linen drop cloth doubles as floor decor for the two days of painting and you can wash it later. Lay painter's tape over any brushed-brass faucet you've already installed. The mineral paint will etch brass on contact, and you'll be scrubbing tiny white dots out of the fixture for a month. Don't ask me how I know this!
The same caution applies to anything else you've already installed. FrogTape Delicate Surface is the one tape that pulls clean off a chalky mineral edge without lifting the lime beneath, by the way. If you're staging the rest of the house at the same time, the protective-mantra logic carries over to what goes under a mattress for keeping a base layer safe from the layers above.

5Mix the paint slowly with a wooden stir stick
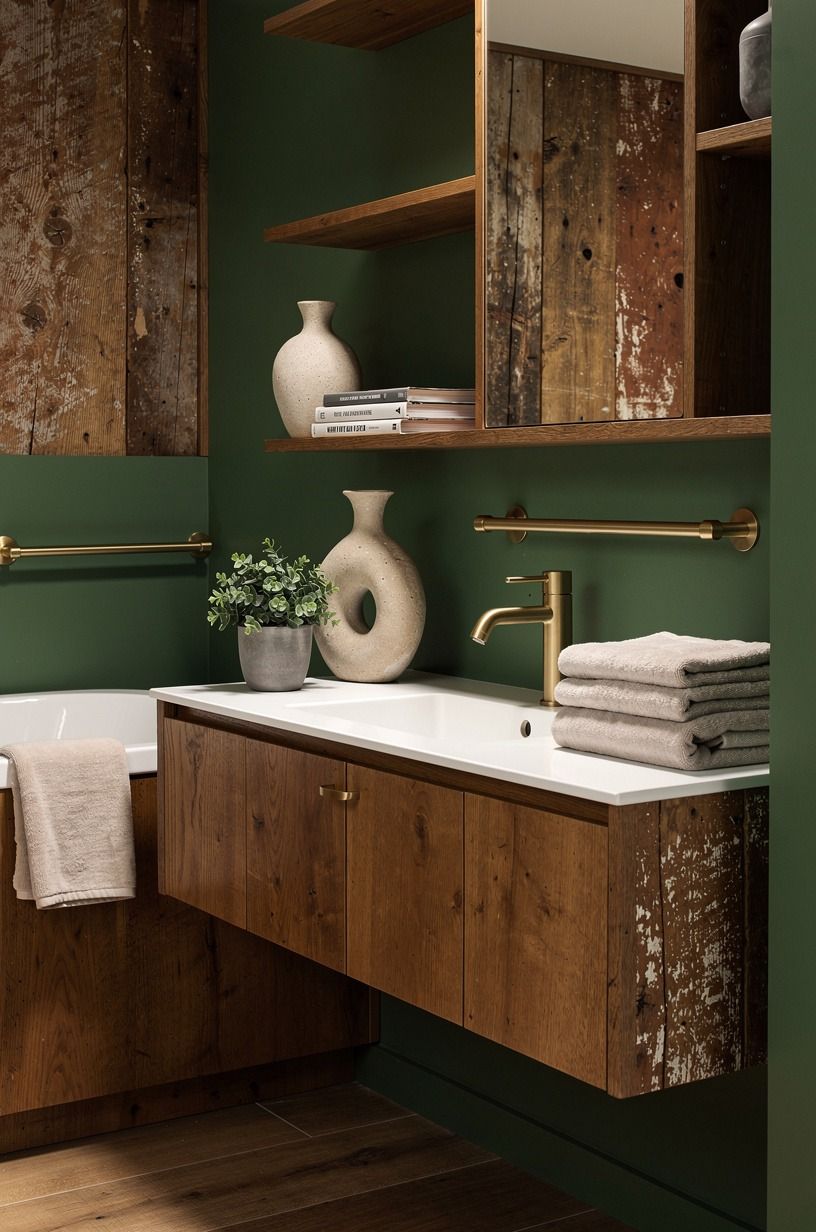
Limewash separates in the can. The good stuff sinks. The watery layer on top is mostly mineral water and will go on streaky and weak.
Open the can, scrape the settled lime from the bottom with a flat wooden stir stick, and fold it in slowly. Don't use a power drill with a mixing attachment. It whips air into the paint and you'll get bubbles that show up as craters on the wall.
If the paint feels too thick to brush, add a tablespoon of clean water at a time until it has the consistency of whole-milk yogurt. Test the flow off the stir stick. It should ribbon off in a slow, continuous line.
Paint mixed too thin will run on the wall. Paint mixed too thick will show brush marks. Most first-timers mix it too thin because thin paints easier to spread.
Resist that instinct. The thick coat is what builds the cloud-like depth.
A small tip that nobody tells you. Stir from the bottom in slow figure-eights, not fast circles.
Fast circles spin the pigment into the water without really combining them, and you'll see streaks that look like coffee with too much creamer. The paint should look like soft-serve when you're done, glossy and uniform.
Romabio Classico Lime Wash mixes easier than Beeck Mineral Silicate Paint, but both reward patience over speed.
6Why do you brush in crisscrossing X strokes?
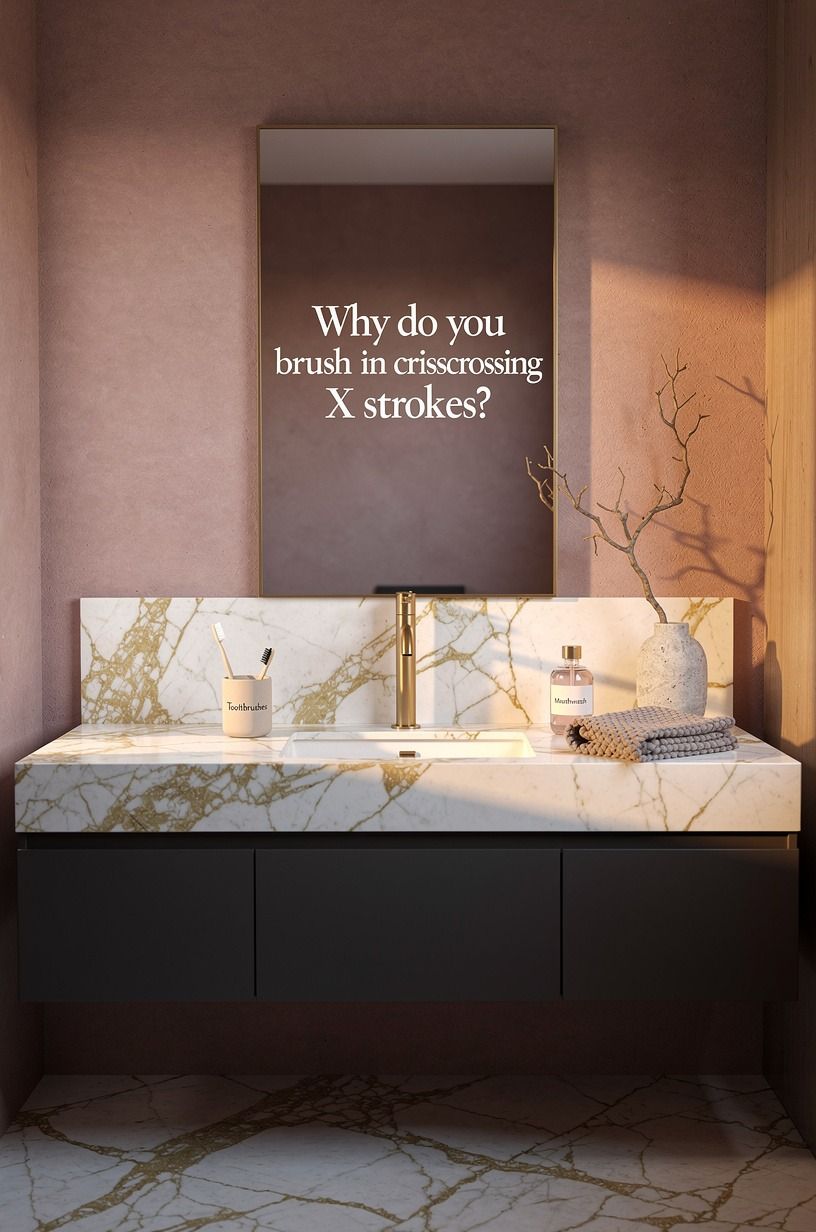
Here's where limewash separates itself from every other paint.
7Wait 20 minutes, then soften with the Soft-Edge Pass
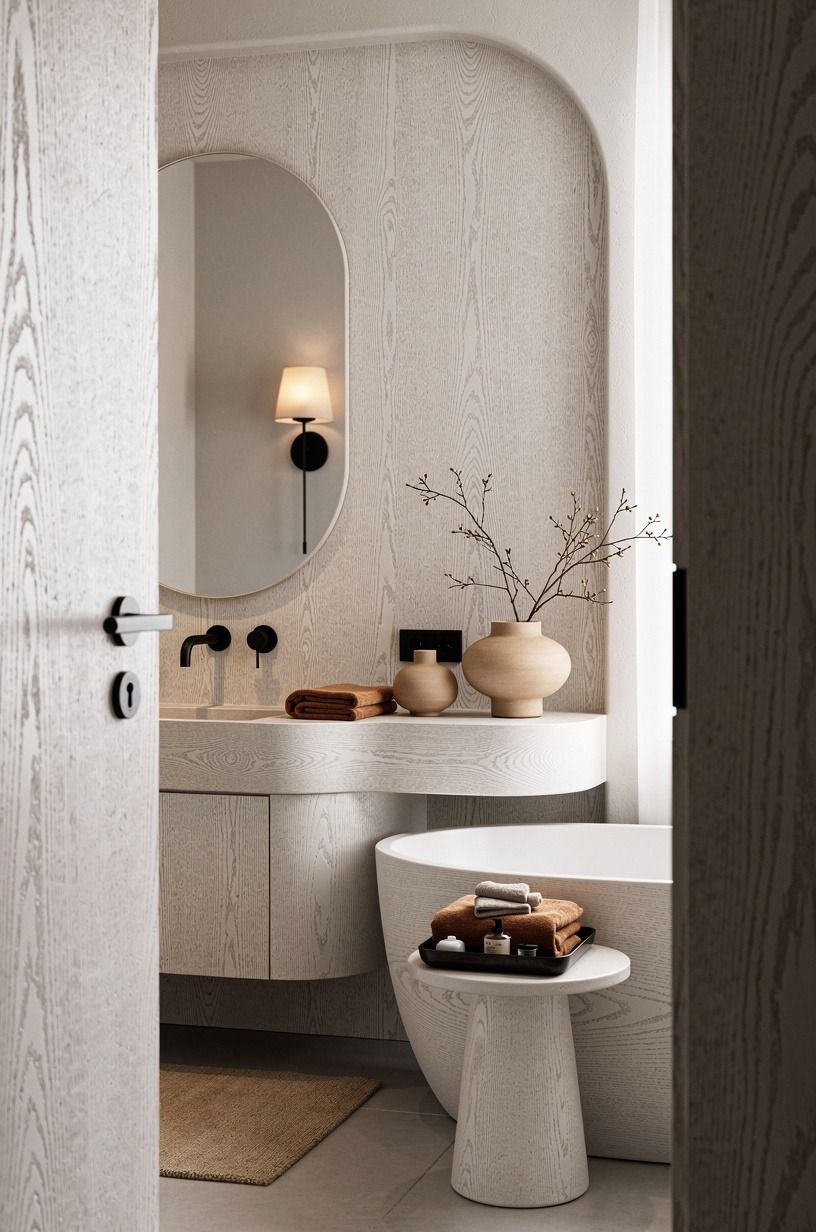
This is the step most people skip. Twenty minutes after you finish a wall, take a damp sea sponge, wring it out thoroughly, and lightly press and lift across the entire surface. You're not wiping.
You're kissing the surface. The sponge knocks down any harsh brush lines and softens the transitions between dense and thin areas.
The finish will look like old Tuscan plaster instead of a paint job.
If a spot looks too thin, dab a little extra paint on the sponge and press it into that area only. If a spot looks too thick, press harder with a clean damp sponge to lift a little pigment.
The first time you do this you'll swear you've ruined it. By the time it dries you'll be standing back like a smug little Renaissance painter.
Give yourself permission to play. The paint is forgiving in this window. Five minutes later, it isn't.
A small honesty: the Soft-Edge Pass is the difference between a wall that looks like you hired a pro and a wall that looks like you watched a YouTube tutorial. I've done it both ways.
The tutorial version looks fine for a month. The pro version still looks soft and chalky five years later because the transitions between strokes never hardened into harsh lines.
The sea sponge costs about $4 at any hardware store. It is the best four-dollar upgrade in the whole project.
8The Cross-Layer Build: second coat while the first is still tacky
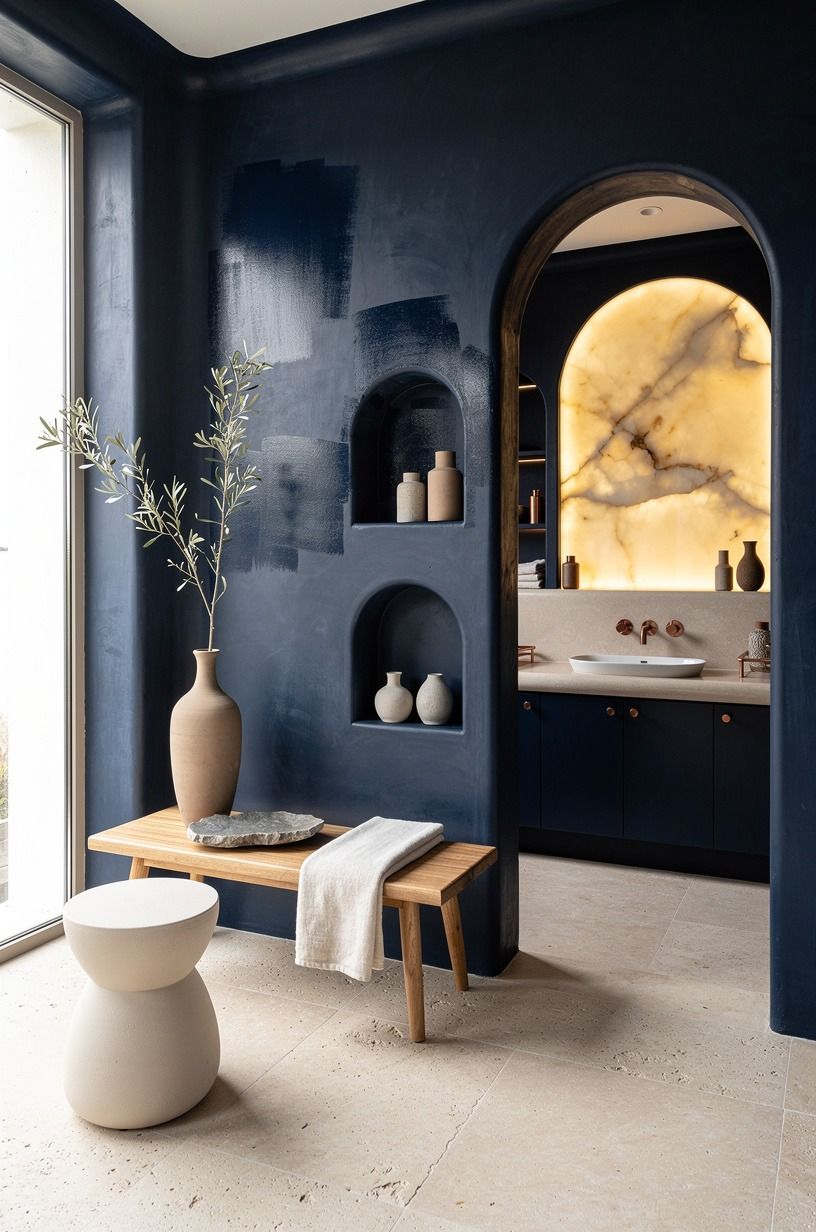
Lime paint bonds best to itself when the previous coat is dry to the touch but not fully cured. That's usually about 4 to 8 hours depending on humidity and airflow.
Running your finger across the wall, it should feel like a Post-it note: slightly grippy, not tacky-wet. Apply the second coat the same way as the first, with the same crisscrossing X strokes, but rotate your direction by 30 to 45 degrees.
This is the Cross-Layer Build and it's how the depth stacks.
Two coats is the sweet spot for most bathrooms. Three coats starts to look muddy and obscures the soft mottling that makes limewash worth doing in the first place. If you're going for a heavily textured Old World look, do three thin coats instead of two heavy ones.
The thinner each coat, the more the substrate texture shows through and the more it looks like actual lime plaster from a 1920s villa. Honestly, this is where most DIY projects go wrong. Heavy coats feel like progress.
Light coats look like progress.
If you miss the 4 to 8 hours window, don't panic. Wait 24 full hours, scuff the cured coat lightly with a 120-grit sanding sponge, and then apply the second coat.
You'll lose a little of the cloud-like depth but you'll still end up with a wall that looks miles better than any satin eggshell ever did. The chemistry wants the tacky window, but it tolerates the workaround if you give it tooth to grab.
9Why does the cure take a full week before sealing?
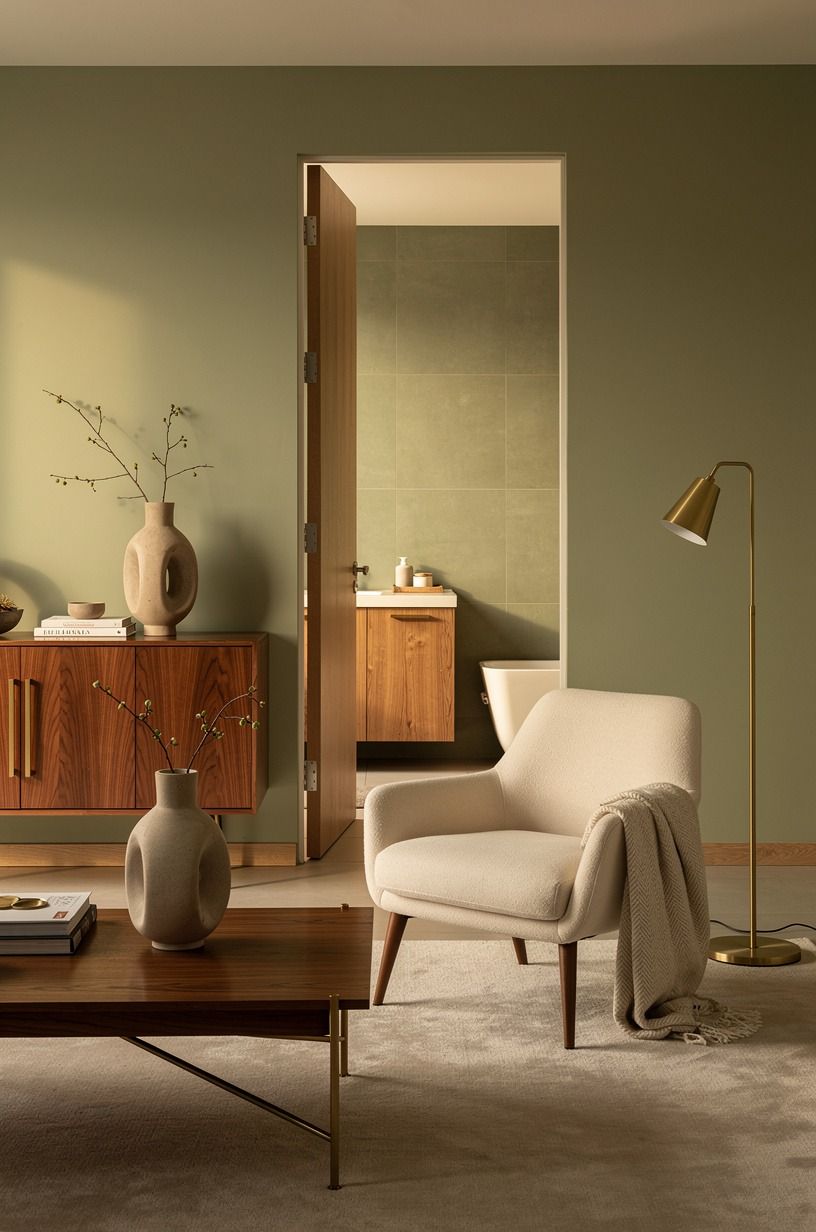
Limewash cures through a process called carbonation. The calcium hydroxide in the paint absorbs carbon dioxide from the air and turns back into calcium carbonate, basically limestone.
That process takes 5 to 7 days in a normal indoor environment. During that window the paint is fragile.
Don't scrub it, don't hang a towel bar against it, don't let a wet towel brush the wall. The wall looks dry at hour three, but it isn't ready.
The chemistry is still finishing. Trust the timeline!
Once cured, you have a choice. For a powder room or a wall well away from direct water spray, you can leave it unsealed.
The matte, chalky feel is part of the appeal, and unsealed limewash develops a soft patina over time as your hands brush against it. For a full bathroom where the wall is within splash range of a tub or shower, seal it with Beeck SP Plus Silicate Topcoat or Romabio Limewash Topcoat. Two thin coats, applied with a sponge roller, will keep the finish breathable while repelling water.
Don't use a polyurethane sealer. It yellows and turns the chalky matte into plastic. The chemistry-bonds-and-breathes logic is also why a great pillow takes a couple weeks to soften up. If you want the parallel, what pillows Marriott uses walks through how premium fills break in over time.
10Anchor the wall with one piece of warm metal
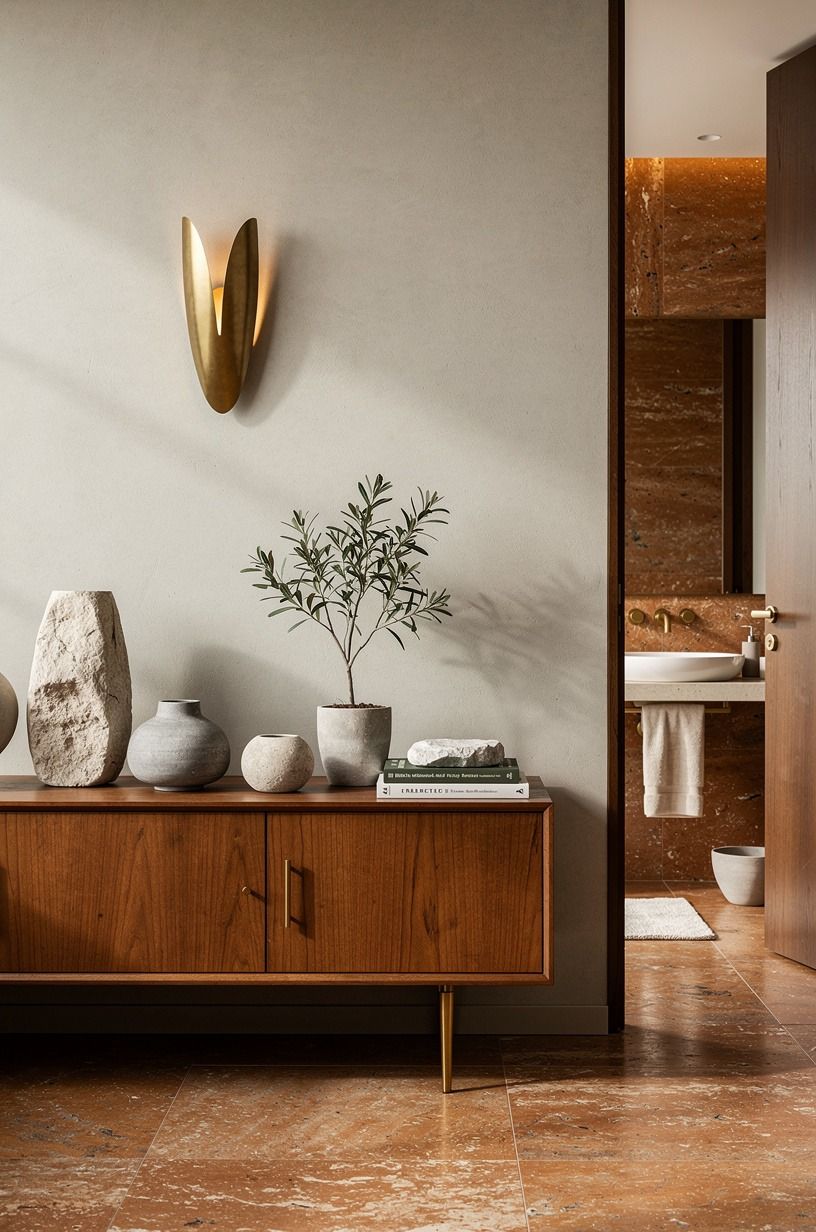
A limewashed wall looks lonely until it has something to play off. The point of the soft, mineral depth is to set off something with sheen and weight. A single unlacquered brass towel bar, an aged bronze robe hook, or a matte black picture light does the job.
One piece, not a kit. You want the eye to land on the contrast and the limewash to recede around it.
I'd skip the polished chrome. The mirror finish looks sterile against chalky mineral paint and the temperature clash reads as accidental.
Unlacquered brass ages into the wall over the first year, picking up some of the pigment tone, and the whole combination starts to feel like a room that's been there for decades. Aged bronze does the same work in a deeper register, more Old World library than Old World villa. Matte black picture light works if you're going for a slightly more graphic, modern feel, but skip it if the rest of your hardware is warm.
The wall is inviting. The metal should match that invitation. This is also why mid-tier bathroom hardware is the smartest spend in the whole renovation.
The wall paint costs $80. The brass hook costs $40.
Together they look like a $4,000 room. While you're styling the rest of the house, the brass-on-chalky-white logic transfers beautifully to your bedroom hardware too.
Worth reading what pillows Marriott use on that note.
11Layer the lighting at three heights
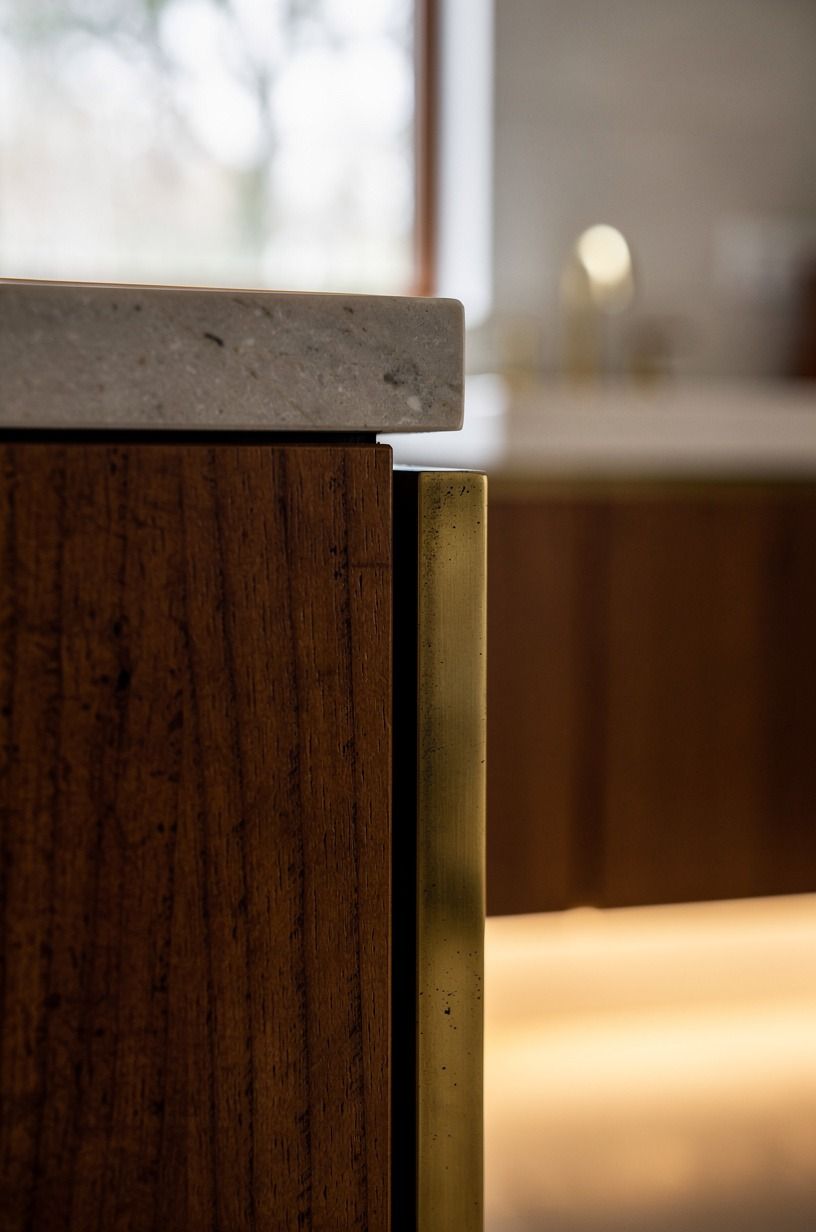
Limewash is at its most beautiful when raked light hits it from the side.
12Limestone over porcelain: pick the floor that matches the wall
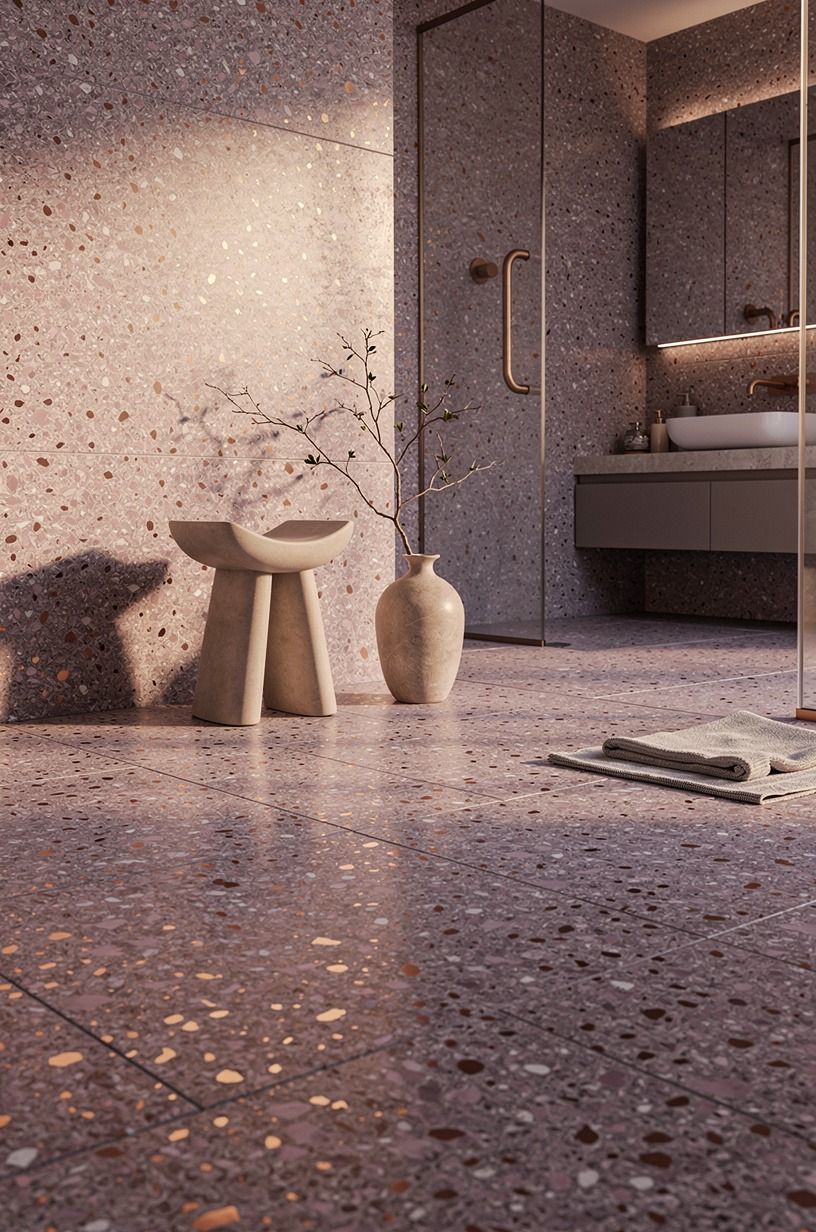
A limewashed bathroom reads warm and chalky. If you put a cool gray polished porcelain tile on the floor and a crisp white waffle towel on the hook, the room will fight itself. Pick floor and textile tones that share the wall's temperature: warm bone, soft clay, faded ivory, sand.
An oversized-chip terrazzo floor, with plum, grey, and rose-gold aggregate poured into a soft cement base, plays beautifully with limewash. A terracotta-look porcelain at $4 to $8 a square foot gets you most of the way there on a budget.
Textiles should be Belgian flax linen or Turkish cotton in oatmeal, dust rose, or olive. Skip the bright white towels.
They'll make the wall look dirty by comparison. Layer a single vintage Persian runner if you've got the floor length.
The pattern echoes the limewash's organic variation without competing with it. Oversized-chip terrazzo is the floor my last three clients have ended up with, and not one has wanted to change it. And if you're picking a foundation piece in the same warm-earth family, the buying-decision framework in what to put on a bathtub tray and what side sleep ruptured eardrum both walk through how your body position and the materials around you quietly shape how a room feels.
13Run the slow-evening test before you call it done
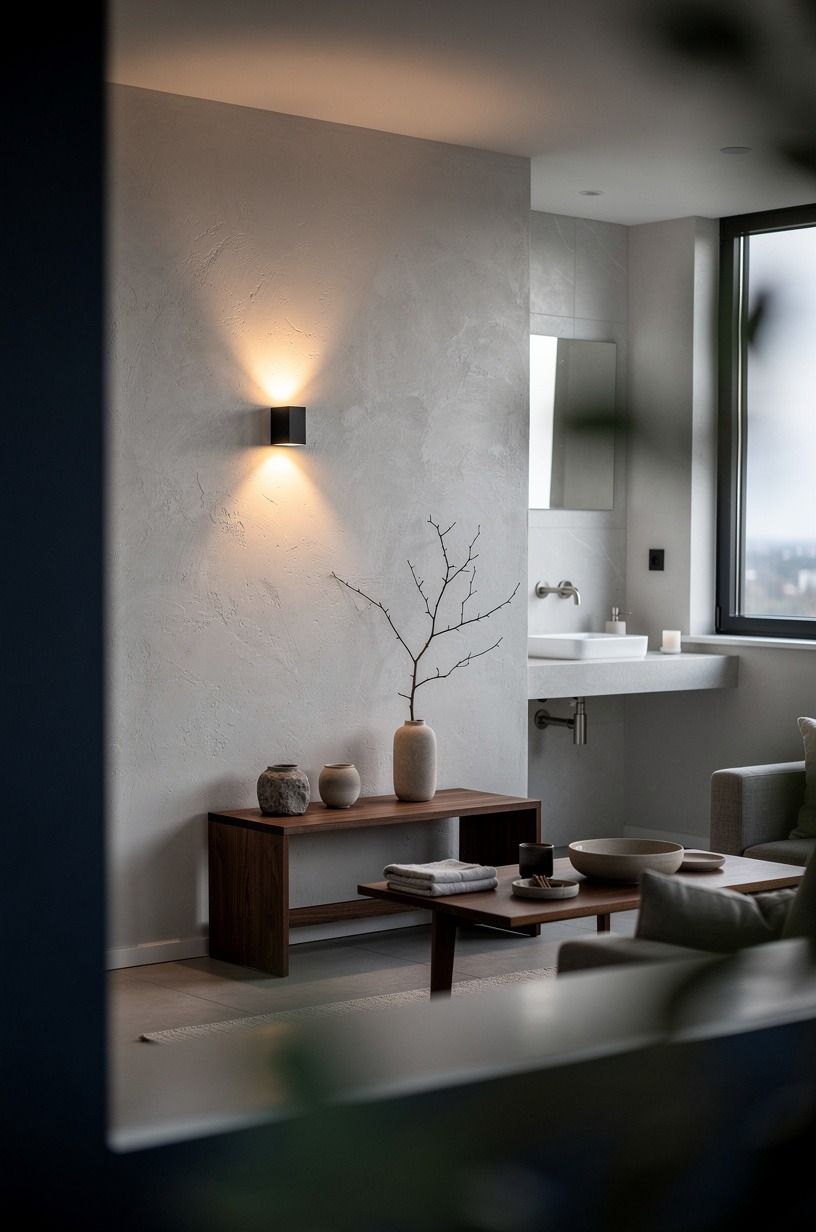
The final step isn't a step at all.
The Two-Coat Rule (and Why Most DIYers Break It)
Here's the part nobody respects. Mineral paint needs the second coat on a specific cure window. Too early, and the first coat lifts.
Too late, and the second coat sits on top instead of bonding into the first coat, and you'll see ghost lines where the new strokes overlap the cured layer. The window is 4 to 8 hours in normal indoor humidity.
Set a timer. When the wall feels like a Post-it note under your finger, start the second coat.
I've watched three friends rush this step. Each one ended up with a wall that looked like it had been patched in five different sessions. There's a real temptation to come back the next morning, rested and caffeinated, and just push through. The paint is begging you not to do that.
Respect the window. The mineral finish is chemistry, not a coat of latex. The wall will reward you for being a little more patient than feels reasonable. Romabio Classico Lime Wash forgives a missed window better than Beeck Mineral Silicate Paint, by the way, so if you're a beginner and your timing is going to slip, start with Romabio.
Beeck rewards the patient painter and punishes the rushed one, almost without exception!
What a Real Bathroom Limewash Project Costs
I'll lay out honest numbers because the Instagram version of this lies. A standard 5 by 8 foot bathroom with 8-foot ceilings has roughly 200 square feet of wall surface. Here's where the money goes:
If you're doing just the limewash on already-painted walls, the realistic spend is $120 to $250 for a powder room, all-in: one gallon of Romabio Classico Lime Wash, Benjamin Moore Eco Spec WB Primer, two angled synthetic brushes, FrogTape Delicate Surface, a West Elm Belgian Linen drop cloth, and Beeck SP Plus Silicate Topcoat if you're sealing a wet zone. The vanity, the tile, and the plumbing fixture are where the budget balloons. The wall itself is the cheapest part of the room and the part you'll notice most.
Counter-intuitive, but true. When you're juggling project budgets across the house, the same logic applies to bedrooms.
The cheapest line item is the paint, and it's the part you see every single day. Worth a look at what is a standard thickness mattress for the equivalent low-cost, high-impact principle.
The Mineral Wall Logic (Why It Works When Other Paint Looks Flat)
I keep coming back to the same thought after every limewash project I do: most modern paint is engineered to disappear. It hides the wall, hides the brush strokes, hides the fact that a human applied it. Mineral paint does the opposite. It insists on being seen, on showing its hand.
The chalky depth is the point. The variation in tone is the point.
The soft, fossil-like finish is the point. Romabio Classico Lime Wash lets the brushwork live on the wall like a memory.
Beeck Mineral Silicate Paint does the same with even more drama, and the cure window feels like watching stone form.
What that does in a small, often-overlooked space like a powder room is give the room a quiet kind of weight. A regular painted wall disappears.
A limewashed wall anchors. You'll notice it every time you walk in, even if you couldn't name what's different.
And other people will notice it too, the way they always notice a wall that doesn't look new. The wall reads as honest in a way glossy paint cannot, and that honesty is the whole appeal.
There's a slightly different feel to a wall that's been through the carbonation process. The pigments have settled into the substrate.
The brushwork has softened. It looks like the room has been there for years, even if you finished it last weekend.
Portola Paints Limewash does this faster than the European brands, by the way; its pigments seem to settle in 48 hours instead of a full week, which matters if you're on a tight timeline.
This is also why I'm skeptical of the "mineral effect" acrylic paints at the home center. They fake the look.
They get the matte and the chalkiness for a season. Then they fail. Real mineral paint is more expensive per gallon but cheaper per year because it doesn't need to be redone.
The chemistry is the durability. If you're going to commit to the wall, commit to the real product.
The same buy-once-cry-once principle shows up all over the home, from the room you're standing in to what goes under a mattress where a cheap base quietly costs you sleep for the next decade.
And here's the design-history context that makes the moment feel earned. The first lime plasters went on huts in Mesopotamia around 4000 BCE, then cathedrals, then 16th-century Mediterranean villas. The reason they kept getting used for three thousand years isn't aesthetic nostalgia. It's that calcium carbonate walls are the only finish that genuinely improves with age.
Glossy paint peels. Limewash develops a patina. Every year it gets a little softer, a little more itself.
That is a wall you can live with for a decade without ever wanting to redo it. Farrow & Ball Skimming Stone is the closest a modern brand gets to that mineral honesty, but even F&B uses acrylic binders.
Real limewash is the real thing, and once you've lived with it, the fakes will never satisfy.
The Questions Worth Answering First
What is the best mineral paint for a small bathroom?
Romabio Classico Lime Wash for first-timers, Beeck Mineral Silicate Paint for wet zones. Both develop the chalky depth that makes the finish look like old plaster, and both can be retouched in place if a corner gets scuffed.
Where can I buy limewash paint in the US?
Romabio sells direct and through most independent paint stores. Beeck is sold through specialty dealers and a few online retailers.
Portola Paints has showrooms in LA, San Francisco, and Austin, and ships. Skip the big-box "limewash effect" acrylics.
How much does a limewash bathroom project cost?
For just the wall paint on an already-tiled bathroom, plan $120 to $250 for a powder room. A full bathroom remodel that includes new tile, vanity, and plumbing starts around $3,000 and climbs fast. The limewash itself is the cheapest line item.
Can I limewash a bathroom on a budget?
Yes, and the wall is the cheapest part. Spend on the paint and primer. Save by keeping your existing vanity, faucet, and mirror.
Most of the visual lift comes from the wall texture anyway, and you'll be surprised how much an $80 gallon of Romabio can do!
Is a limewashed bathroom worth it in a small space?
It's the highest-impact thing you can do for the smallest room in the house. A 5 by 8 powder room can feel like a stone villa for under $200. The chalky depth makes the room feel deeper and warmer than glossy paint ever could.
Is limewash a good idea for a rental?
Tricky. Real limewash soaks into the substrate and cannot be fully removed.
If you're in a long-term rental and your landlord approves a wall treatment, go for it. Otherwise, look at Roman Venetian Plaster paint as a peel-friendly alternative.
If you're picking out bedding for the bedroom instead, the discussion in what to put on a bathtub tray has good related reads on balancing commitment and style. The whole "what goes under the bed" question gets a similar treatment in what goes under a mattress, and what questions to ask when buying a mattress has the equivalent commitment-vs-rental breakdown for a renter-friendly bedroom.
How long does limewash last in a humid bathroom?
Properly applied and sealed in a wet zone, 10 to 15 years before it needs a refresh. Unsealed in a dry powder room, it can last 20+ years because the only wear is from hands and the occasional damp towel.
Where I'd Start First
If I had to pick one, I'd start with the test swatch. The color will surprise you, and a $5 sample square saves a $200 mistake.