
 by
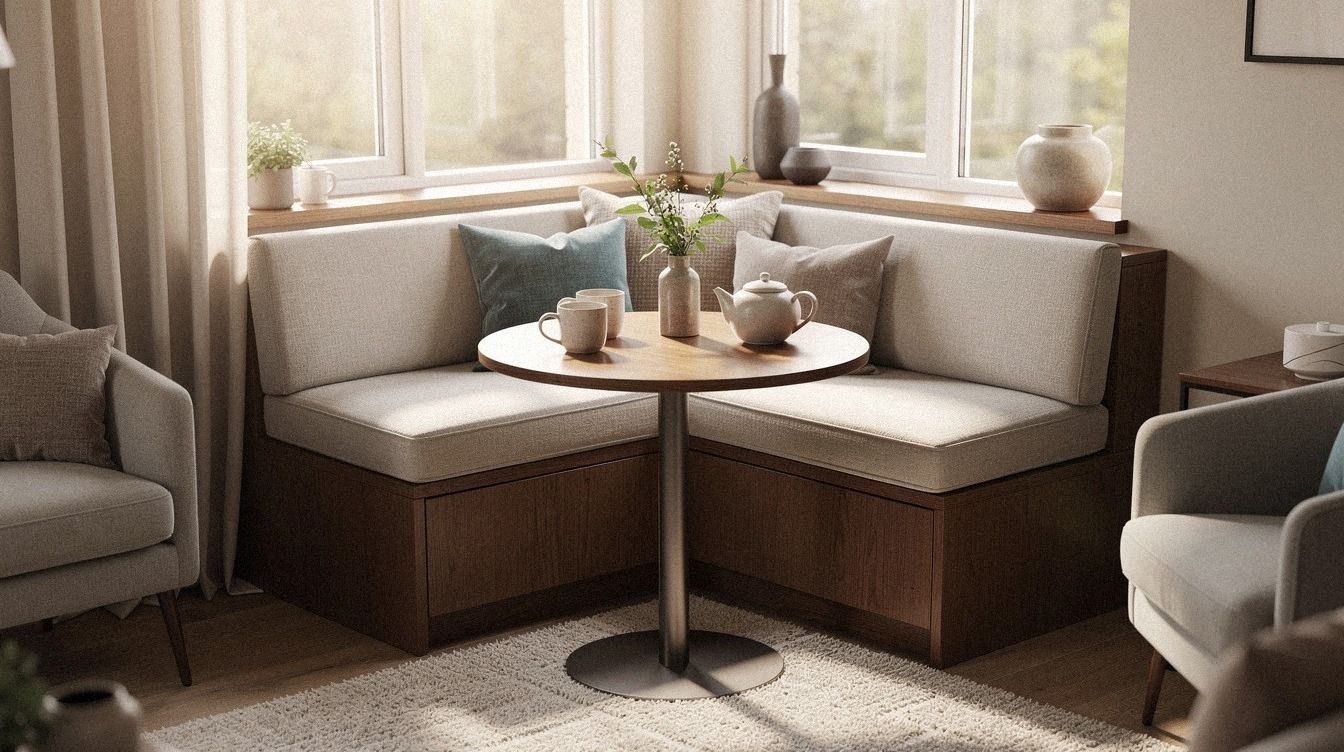
by That empty corner by the kitchen window sat unused for two years in my last apartment. I almost bought a bistro set three times, then didn't. The afternoon I finally built a real nook (bench, table, light, cushion, the whole stack) the kitchen felt like it gained a room. Here's the 19 step order I wish someone had handed me on day one.
- Measure the corner like you mean it
- Decide built-in or freestanding before you shop
- Map the power and the pendant before any painting
- Choose the table shape that matches your corner
- Paint the wall before the furniture arrives
- Build or buy the bench to the depth you measured
- Layer the cushions with purpose, not matching sets
- Hang the pendant and tune the bulb temperature
- Why does the rug matter more than you'd think
- Frame the nook with trim, paneling, or a ledge shelf
- Solve the storage problem before clutter wins
- Which wall move pulls the whole nook together?
- Set the table styling baseline and rotate from it
- Skip the plants that won't survive, add the ones that will
- Plan seasonal swaps without redecorating
- Tune the acoustics before the first family dinner
- Test traffic flow with coffee, not a tape measure
- Photograph the corner you use
- Maintain and refresh on a 90 day clock
1Measure the corner like you mean it
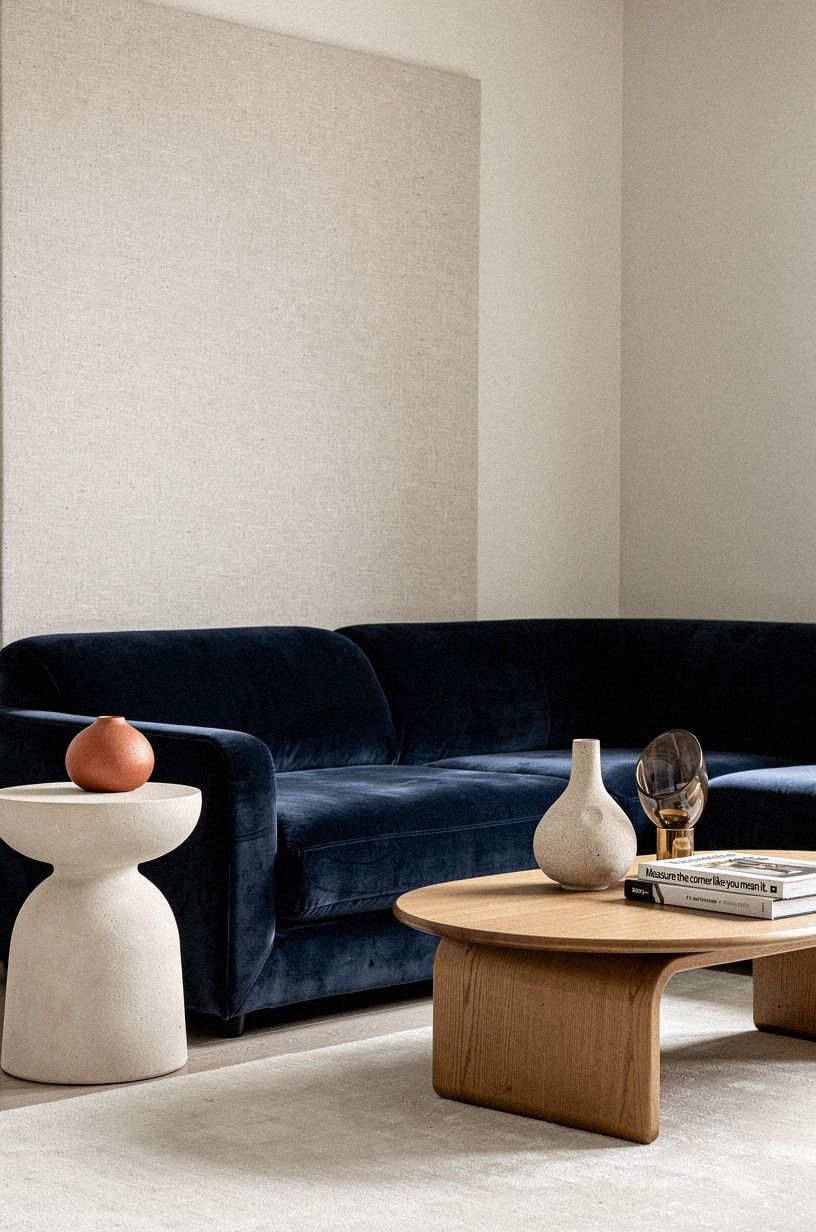
Grab a tape and write down three numbers: the corner width, the depth from the back wall to where you walk, and the height under the window or wherever your light lands. Most awkward corners stop being awkward once you have measurements instead of a vibe.
A 48 by 48 inch footprint fits a 36 inch round table with a backless bench on one side. A 60 by 42 inch corner holds a 48 by 24 inch rectangle with bench seating on both runs.
Sketch it on graph paper and live with the sketch for a week before buying. And the sketch saves you from a $300 return trip to the freight warehouse, which is a Saturday you do not get back.
Skip the urge to eyeball it and just order something. You will end up with a pedestal that blocks the walkway or a bench so deep nobody can sit with their back to it.
The corner I eventually built was 54 by 38 inches and it worked because the bench was 18 inches deep, not the standard 22. Anything deeper and your knees hit the underside of the table at breakfast.
Use painter's tape on the floor to mock the footprint before you commit. For measurements I lean on, my corner breakfast nook ideas to use that awkward space roundup keeps a running list.
2Decide built-in or freestanding before you shop
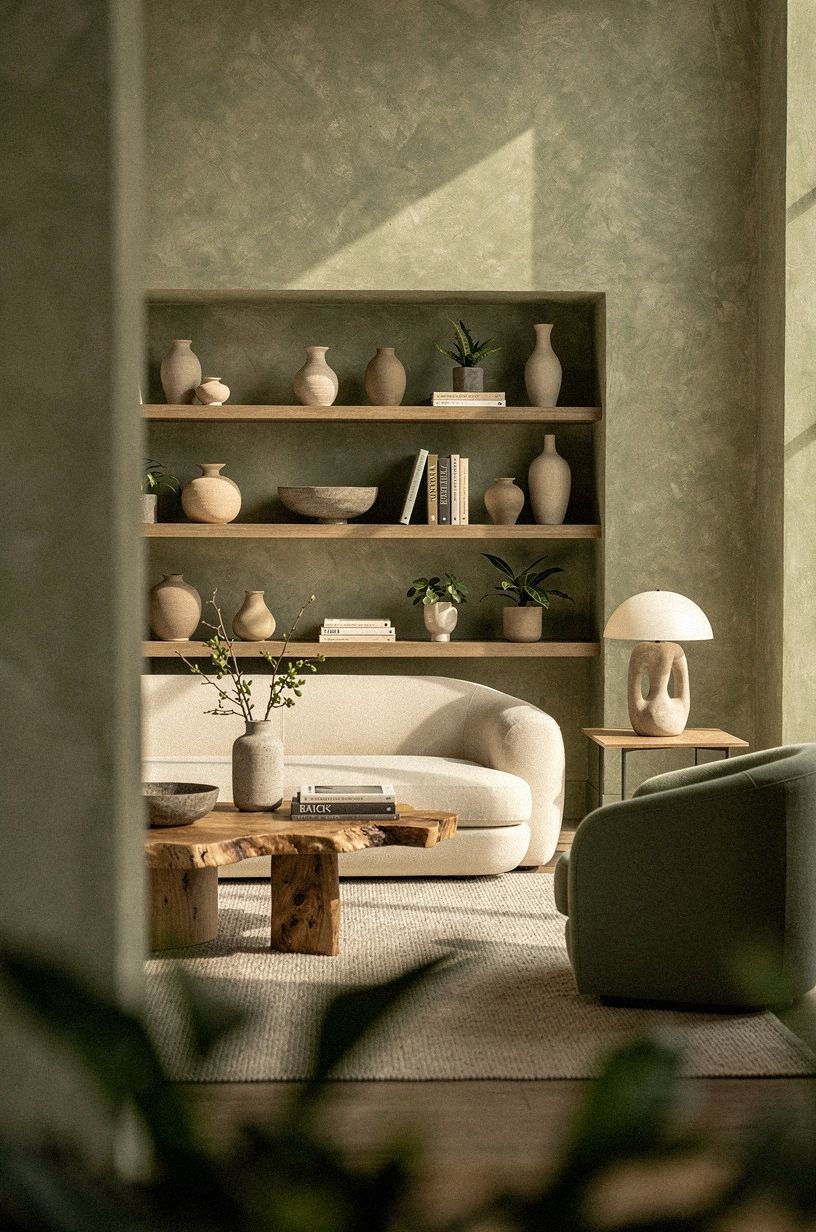
A built-in bench (one you frame into the wall with trim) hides storage underneath, looks intentional, and bumps resale value. A freestanding bench moves with you when you rent and you can reconfigure next year.
Both are fine. The mistake is buying a tiny two seat nook set online and dragging it in to find the table is 28 inches tall against a 30 inch bench.
That gap looks charming on the product page and feels broken in daily life, which is why every decent corner nook bench guide pushes you toward measuring the full nook before checkout.
I went freestanding because I was in a rental. The trade-off was no under seat storage, so I added a slim IKEA KALLAX birch veneer shelf behind the bench and slid woven baskets into the cubes for placemats and napkins. If you own the place I'd go built-in every time.
A 60 inch run with a hinged lid holds the same gear as a six drawer sideboard. Lock this decision in at step two because the cushion depth, the table shape, and the wall treatment all cascade from it, and changing your mind at step nine means rebuilding cushions, which is the worst kind of redo.
But if you really want to defer the decision, pick the freestanding path first and add a built-in on top of it in year three.
3Map the power and the pendant before any painting
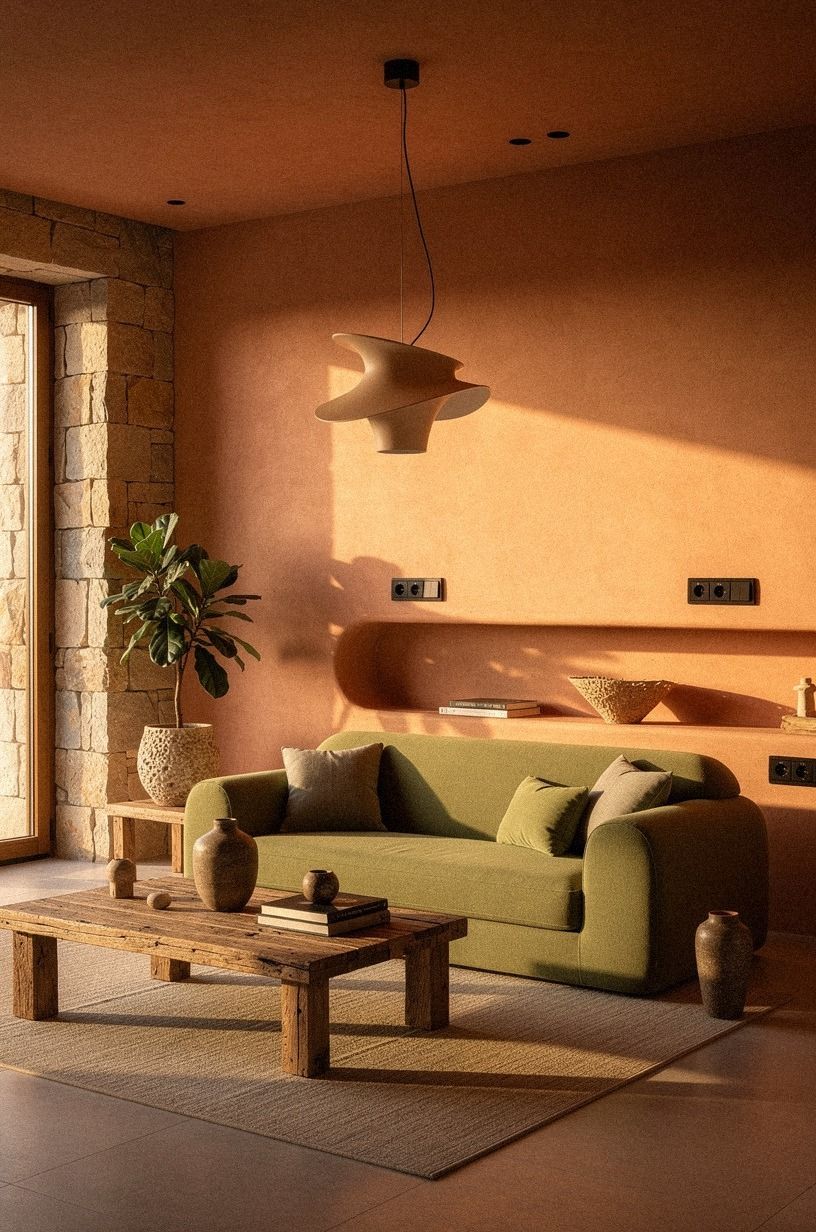
If you're hanging a pendant, the junction box has to land centered over the future table, not over where the table might go. Mark the center of the planned table on the floor, mark the same point on the ceiling, and that's where the electrician needs to land.
Same for outlets. Most old corners have one outlet hidden behind a radiator or under a window sill, which is roughly never where you want it.
And the fix for that is a recessed outlet in the corner baseboard, which solves phone chargers and a small lamp later on. If you're renting, a code compliant cord cover painted the wall color disappears at a glance.
Run both plans past a licensed electrician or your landlord before you cut a single hole. But patching drywall after a misplaced junction box is not the weekend you want to spend, and it's the kind of redo that turns a one-day project into a one-month one.
4Choose the table shape that matches your corner
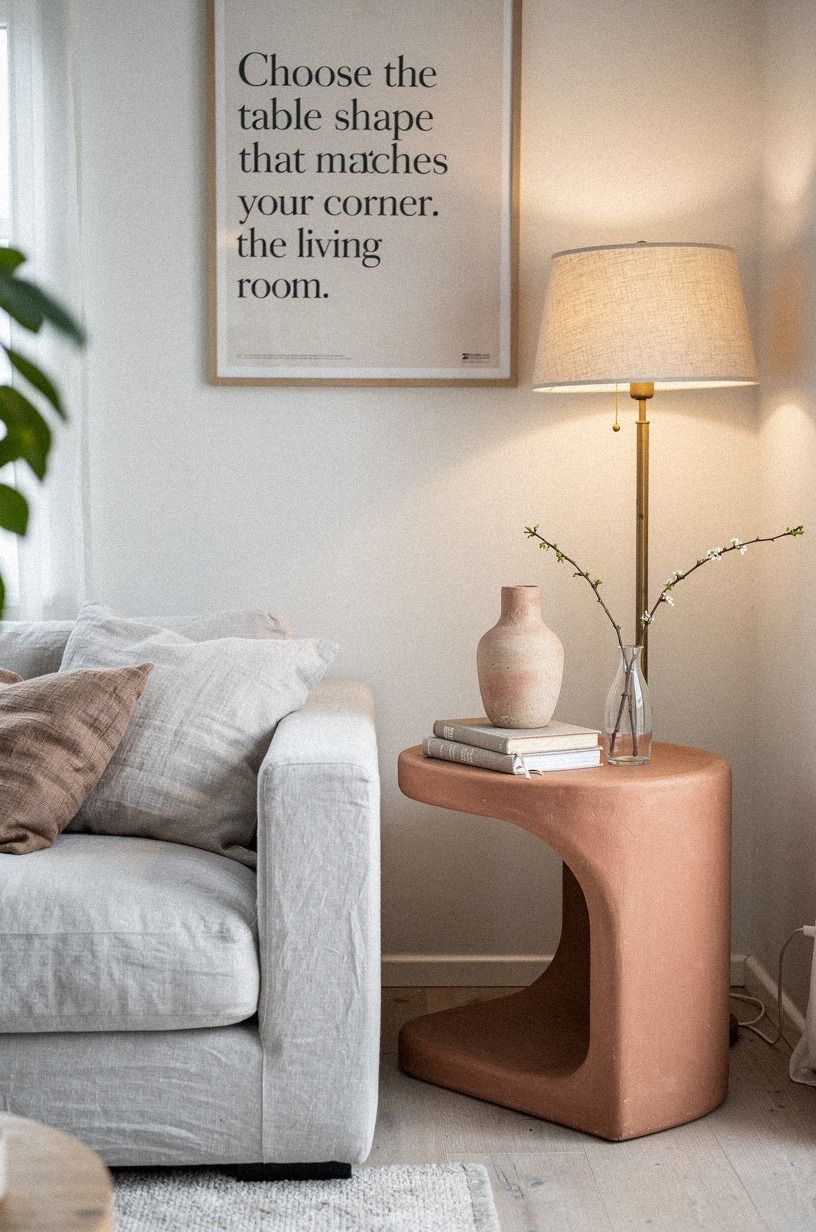
Round tables soften a corner but eat elbow room if the bench is on both sides.
5Paint the wall before the furniture arrives
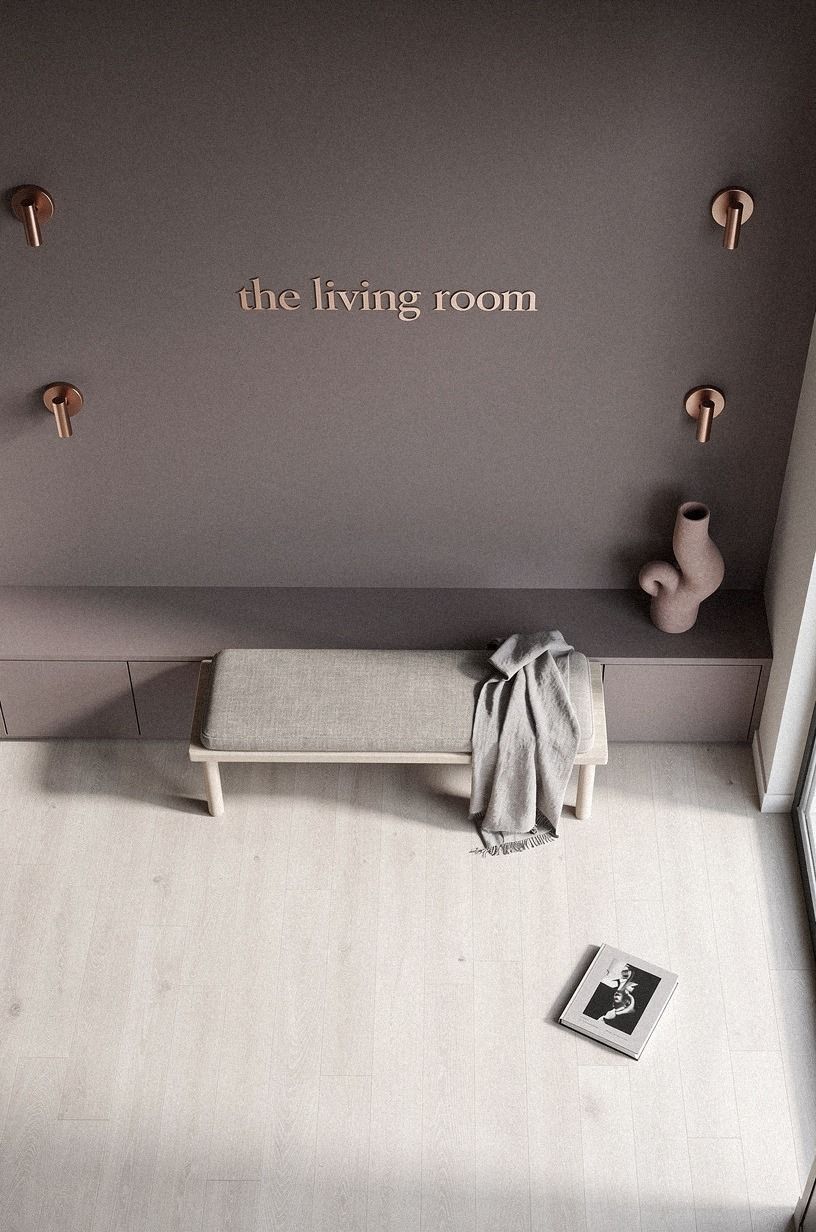
Paint the corner before the bench shows up. A saturated color on two walls (a window wall and the side wall) frames the nook like a built-in.
Farrow & Ball Studio Green No.93 on the side wall with Benjamin Moore White Dove OC-17 on the ceiling reads cinematic without going dark. If you want bold, Sherwin-Williams Cascades SW 6483 eats the corner in the best way. The third wall stays the existing kitchen color so the nook reads as a moment, not a stage set.
Wallpaper does the same job with pattern. I've laid Cole & Son Woods style botanical prints in a 54 inch corner and the nook reads like a backdrop. Either way, paint the wall, let it cure 24 hours, then bring in the bench.
Trying to tape and cut in around a backrest is the kind of chore that makes you put the brush down forever. For wallpaper-specific inspiration, the breakfast nook wallpaper ideas for a statement corner roundup pairs each pattern with the right nook size.
6Build or buy the bench to the depth you measured
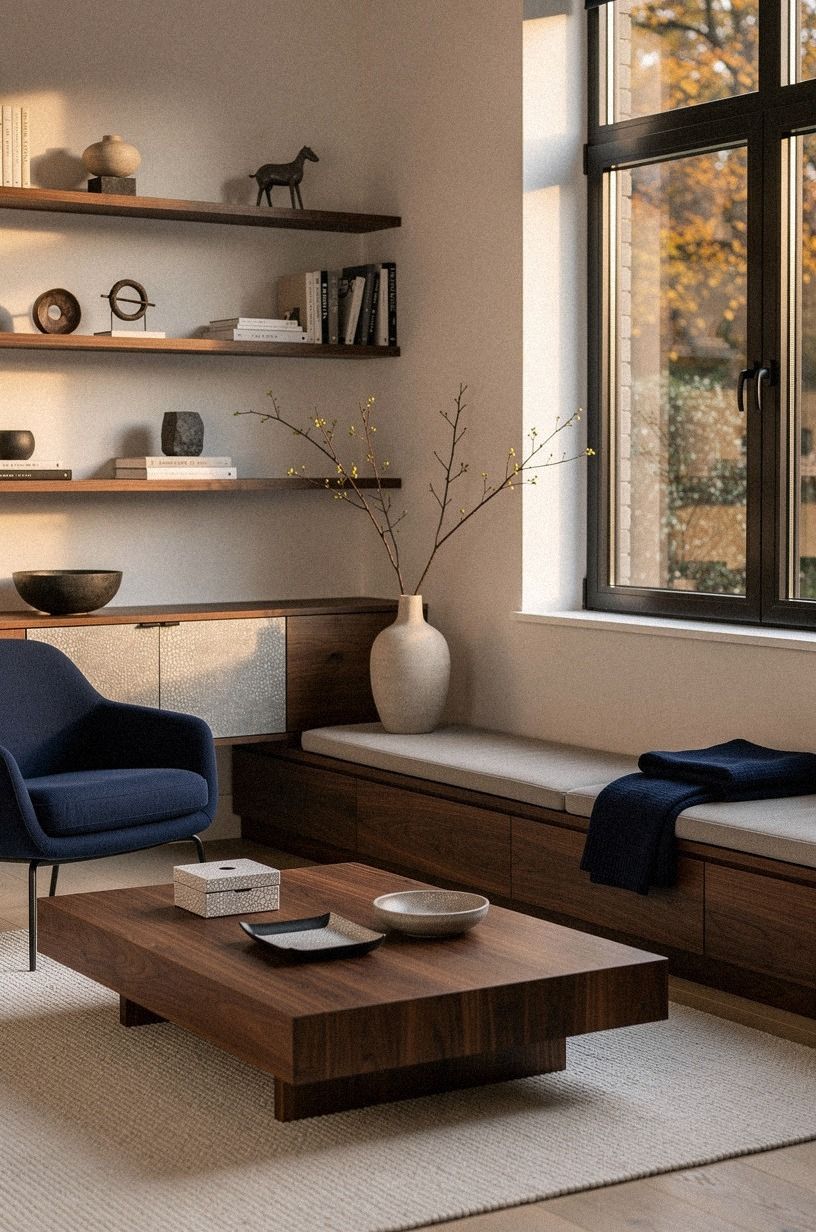
For a 54 by 38 inch corner, an 18 inch deep bench is the right depth.
7Layer the cushions with purpose, not matching sets
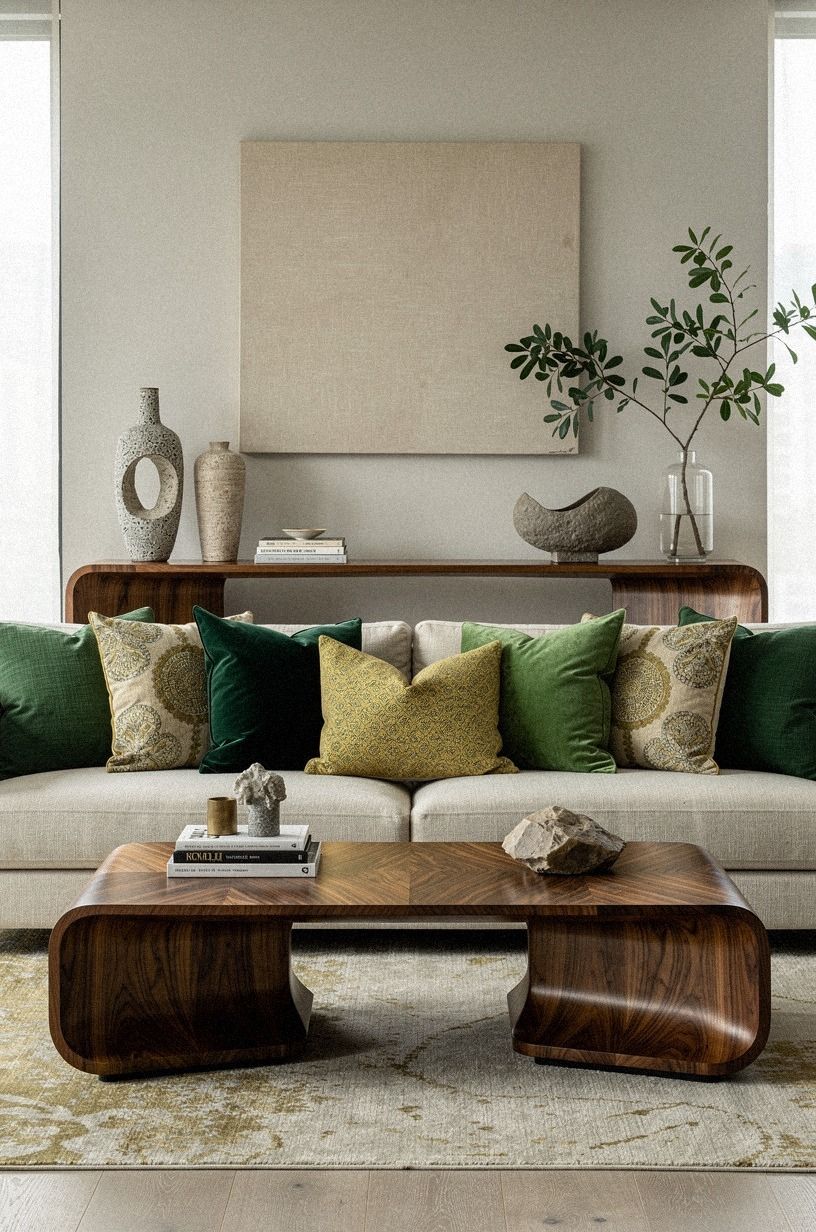
Throw pillows in a matching set is the fastest way to make a nook feel like a hotel display suite. Mix sizes and textures instead: a 24 inch lumbar in Belgian flax linen, an 18 inch square in bouclé, a 20 inch in cotton velvet for sheen.
Three cushions beats five, because five turns into a fabric pile every guest fixes without you. A corner nook is a small space, which means small cushion math adds up fast, and your morning routine loses two minutes to fluffing if you overdo it.
If you cook breakfast in the nook daily, skip down inserts and go polyester fiberfill. Down looks great in photos and goes flat by week three in use. Performance fabric covers unzip and wash, and the crypton option from Article holds up to espresso and jam without a fuss.
Pin your cushion picks in the breakfast nook decor ideas to cozy up your corner roundup before you order so you're not white knuckling the choices at midnight.
8Hang the pendant and tune the bulb temperature
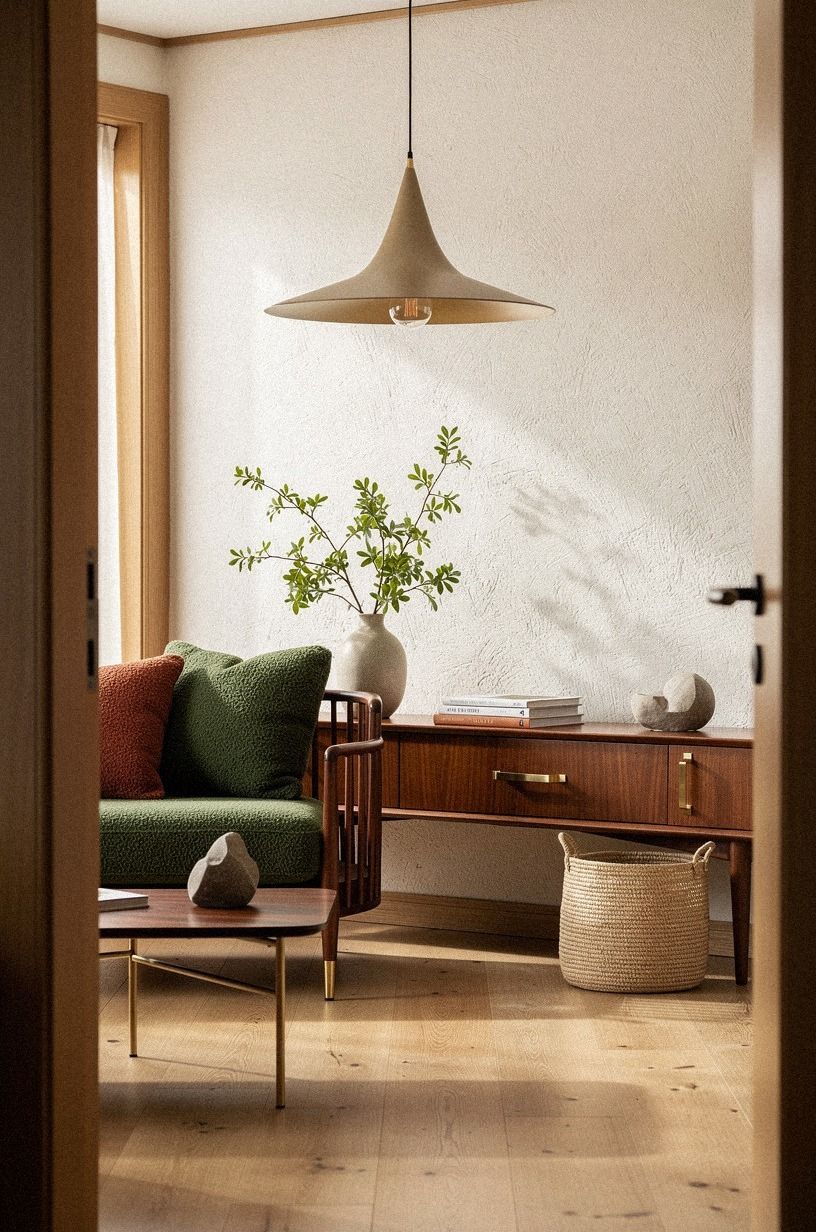
A 12 to 16 inch drum pendant hung 30 to 34 inches above the table is the magic range for breakfast nooks.

9Why does the rug matter more than you'd think
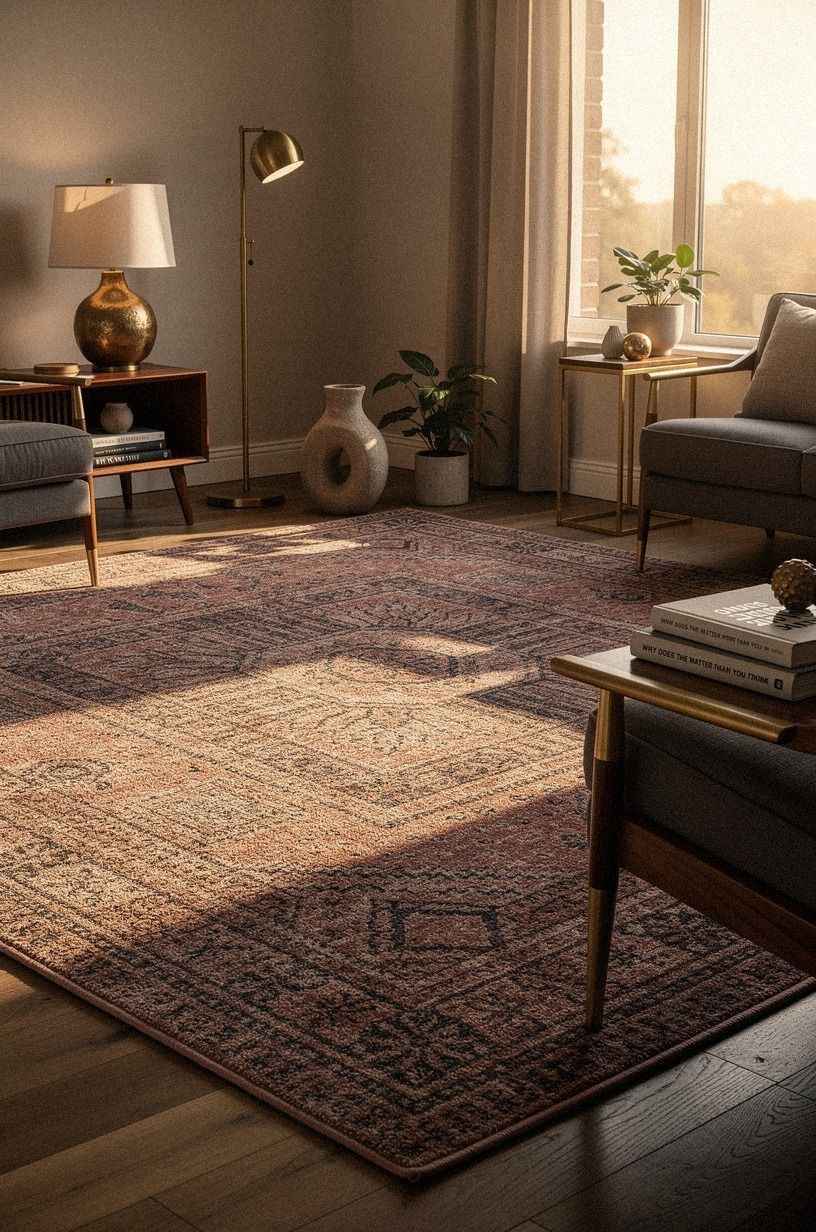
A rug that's smaller than the table looks like a bath mat and gets pushed around every time somebody stands. A rug that's bigger spills into the walkway and trips people on the way to the coffee maker.
Aim for a rug that extends 18 inches beyond the table edge on all sides. Under a 42 inch round table, the target rug is 6 foot round. Under a 48 by 24 inch rectangle, a 5 by 8 fits with two inches to spare on the bench side.
A low pile wool rug in a kilim or flat weave reads grounded without competing with the bench fabric. Skip a high pile here, because the bench sits on it and shifts every time someone stands, which is exactly how rugs die. A corner kitchen seating area almost always needs a rug because the bench and the table both want a base under them, and bare floor under a nook reads like a cafe you haven't moved into yet.
10Frame the nook with trim, paneling, or a ledge shelf
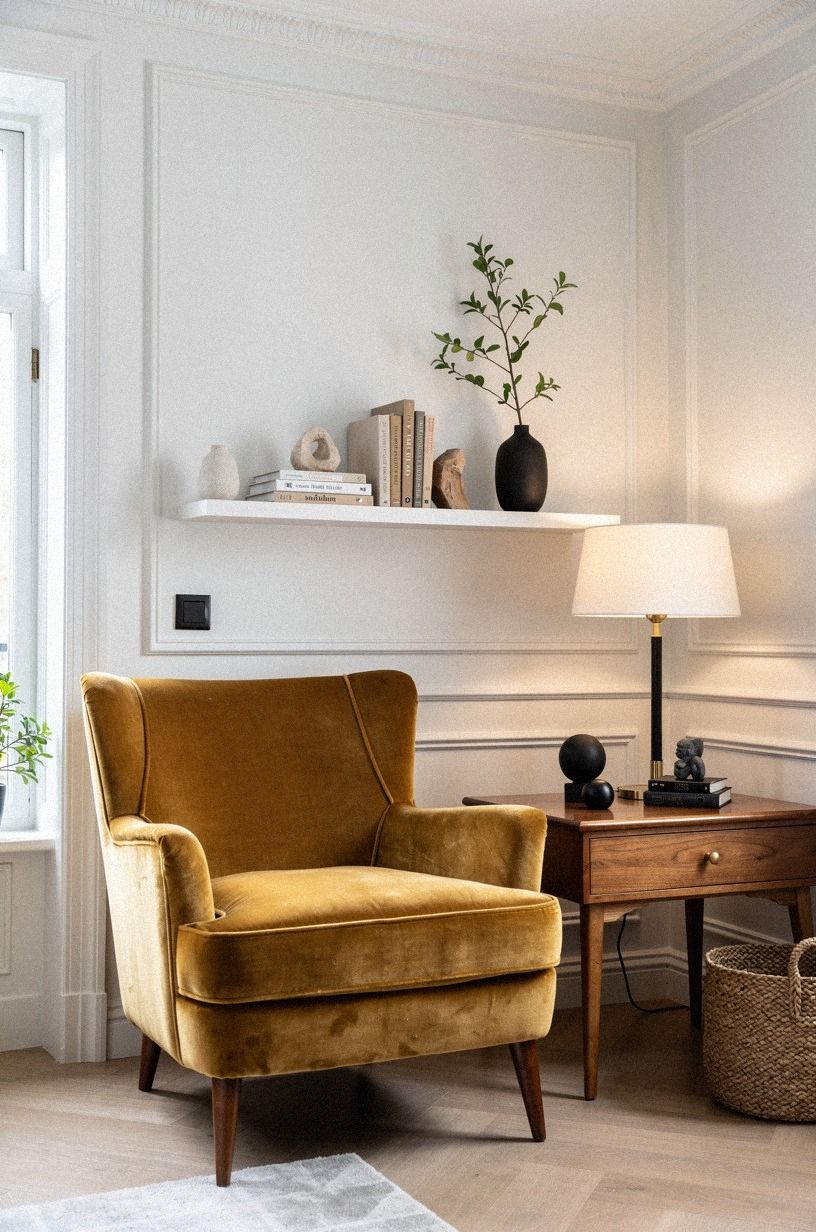
The fastest way to make a freestanding bench look built is a single picture ledge running behind it at 4 to 6 inches deep. Lean a 5 by 7 framed print, two small ceramics, a candle. The ledge acts like a chair rail and your eye stops at it instead of scanning the rest of the kitchen.
The corner starts to read like a small room of its own.
Beadboard or square edge paneling on the back wall to seat height does the same job with more texture. Paint it the same color as the wall for a quiet read, or Benjamin Moore Hale Navy HC-154 for contrast.
If you want the full built-in look without committing to a sledgehammer, my kitchen corner cabinet ideas to fix that awkward space roundup has modular options that read built and come apart when you move. And the trim move alone is enough to fake a built-in for about $40 in materials and a Saturday afternoon.
Either route, the nook gains a frame in an afternoon, and that frame is what turns a corner from furniture in a room into a small room in your home.
11Solve the storage problem before clutter wins
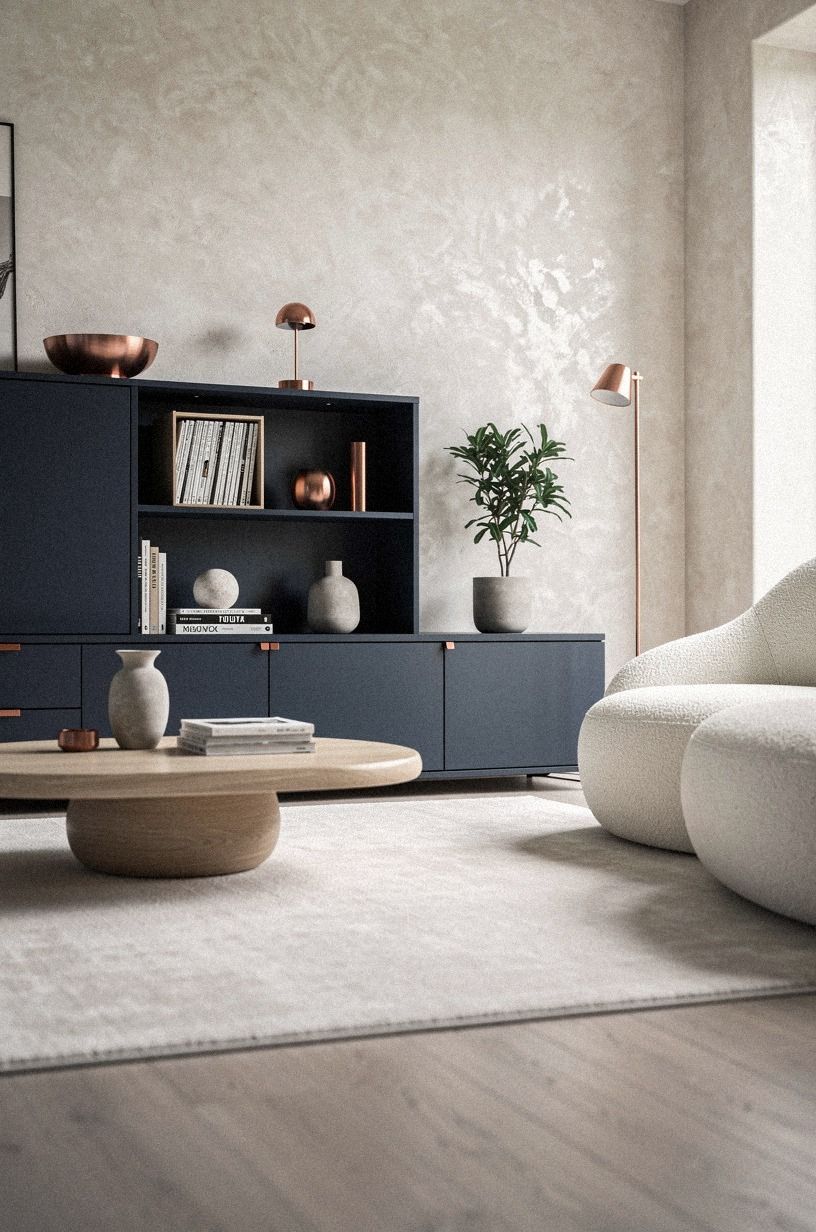
If you went built-in, the under-bench is your storage. Add hinged lids with soft close hinges so nobody slams their knuckles.
Inside, two woven seagrass baskets per bay hold placemats, cloth napkins, and the candle collection you do not quite admit to. Labels on the basket fronts save you opening all four when you are hunting for the birthday candles at 7:45am. And that label move sounds fussy for about five minutes, then becomes the single best household system you ever built.
If you went freestanding like me, you need storage to live somewhere. A narrow baker's rack against the adjacent wall, or two IKEA KALLAX cubes flanking the bench, hold the overflow.
Don't let the storage decision wait until step 14. By then the nook is full and you're shoving baskets under the bench where they show through the slats and look messy every morning.
A friend skipped this step and ended up with a corner table nook that looked like a thrift store had spilled into it for six months.
12Which wall move pulls the whole nook together?
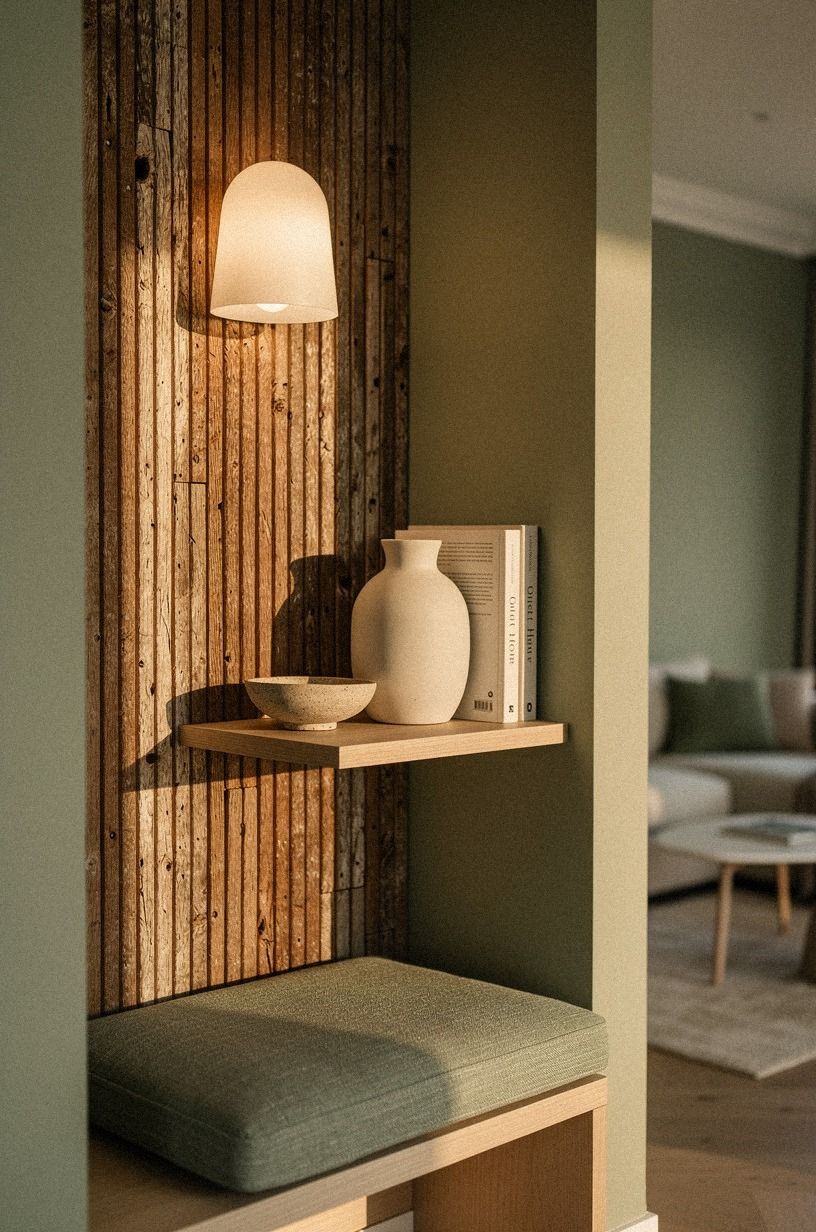
A nook wall wants one strong piece, not a gallery wall. A 24 by 36 inch framed print, a single shallow wall sconce, a woven plate, a vintage mirror.
Pick the move that suits your corner's natural light and stop there. Three small frames look like a dentist waiting room in a 54 inch nook.
The wall space shrinks when the bench lands and most people don't account for that at first.
If you want the gallery look, keep it under 30 inches wide and stack it tight against the bench back, not centered on the wall. My favorite move is one round mirror in unlacquered brass flanking the pendant opposite the bench.
It bounces the pendant light back into the room and the nook feels twice as wide. For more wall inspiration, see the breakfast nook wall decor ideas to fill that empty space guide, especially the single piece over gallery wall comparison photos.
13Set the table styling baseline and rotate from it
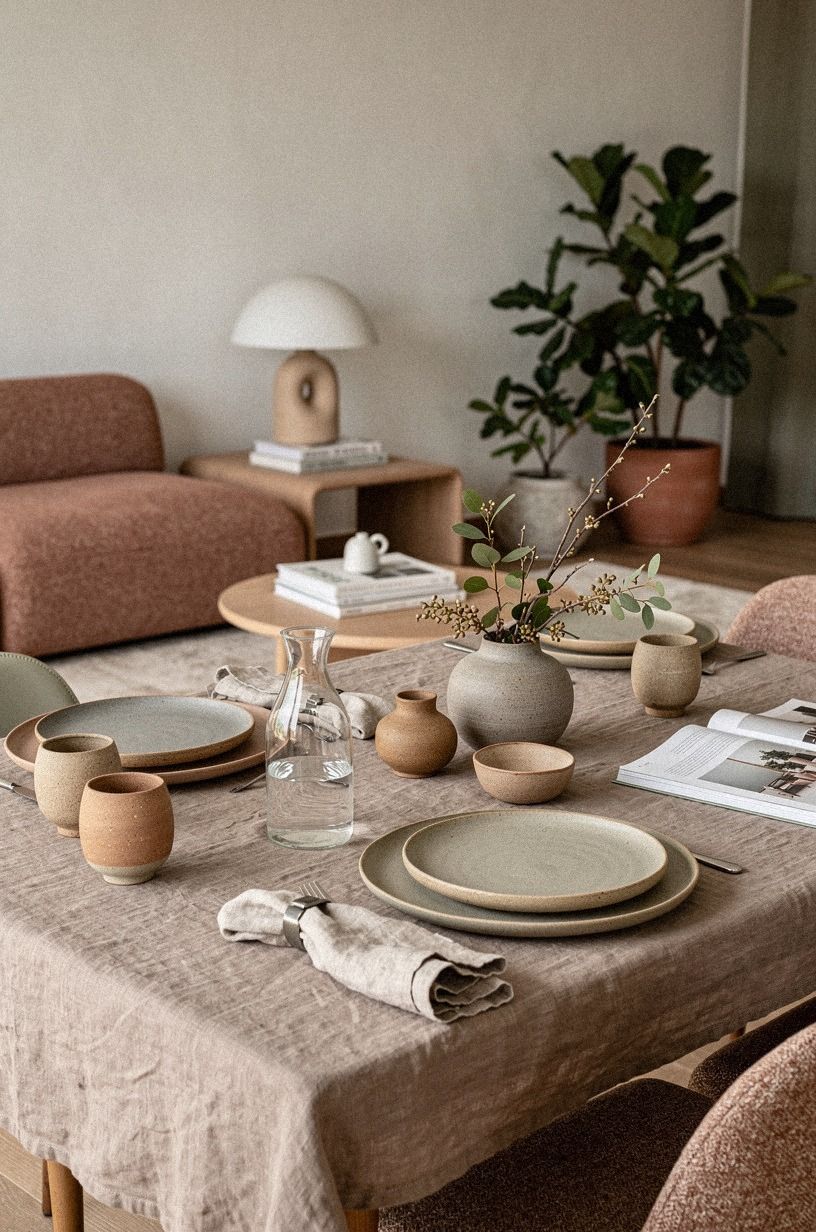
Pick a baseline: a stoneware mug set of four, a small carafe, and a linen runner. That sits on the table 365 days a year.
Then rotate one element with the season: branches in winter, ranunculus in spring, figs in late summer, mini pumpkins in October. Three rotations a year, never monthly, because monthly means the table becomes a staging ground and you'll stop using it for actual breakfast.
Don't style it for photos. Style it for the way you eat.
If your kids pour cereal straight into a bowl without a spoon, the linen runner is wrong. Move it. If you only drink coffee, the carafe sits empty and you can swap it for the Bodum milk frother that lives on the counter anyway.
It is the part that separates a room of accents from a room of intentions, and you will feel it the first time you sit down!
14Skip the plants that won't survive, add the ones that will
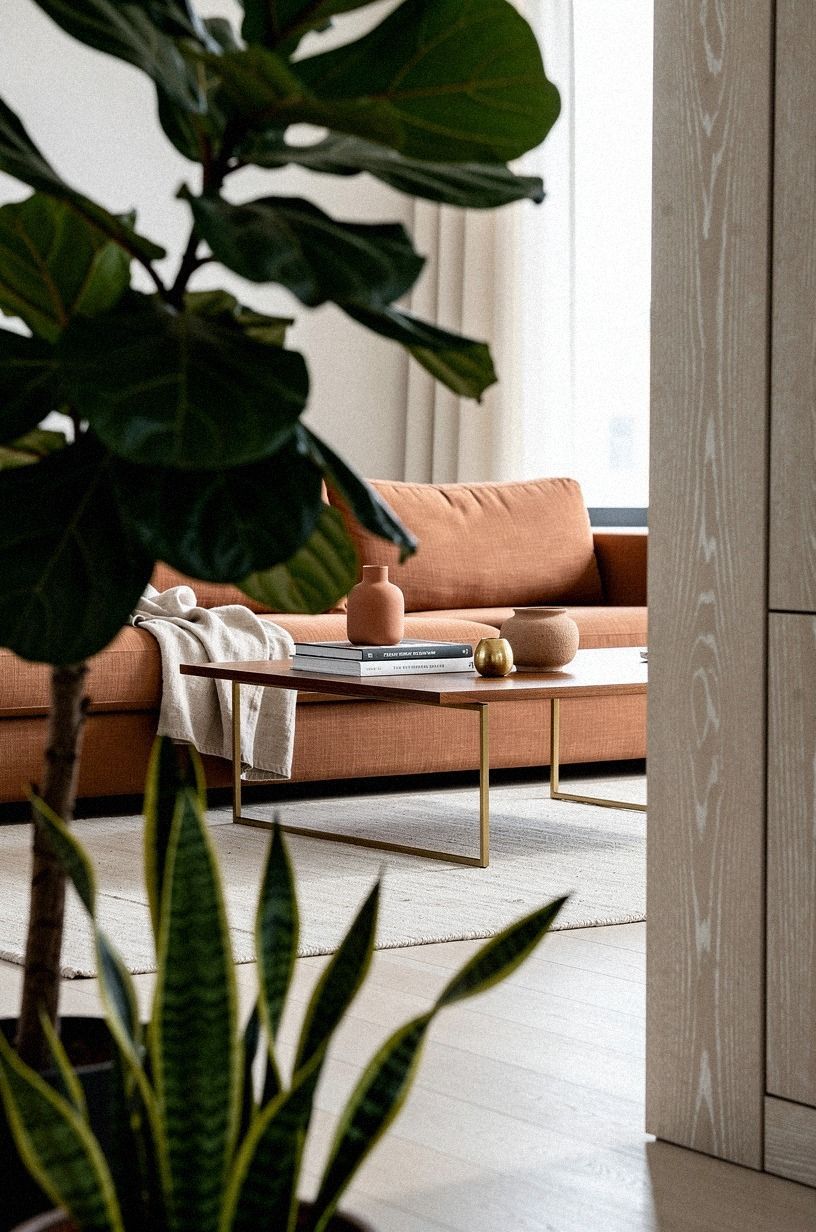
Three plant types handle a nook: a low trailing pothos on the ledge shelf that won't get knocked, a single statement plant (fiddle leaf fig, olive tree, or monstera deliciosa) in the corner opposite the bench, and a small herb trio (basil, thyme, mint) on the windowsill if your nook has one.
15Plan seasonal swaps without redecorating
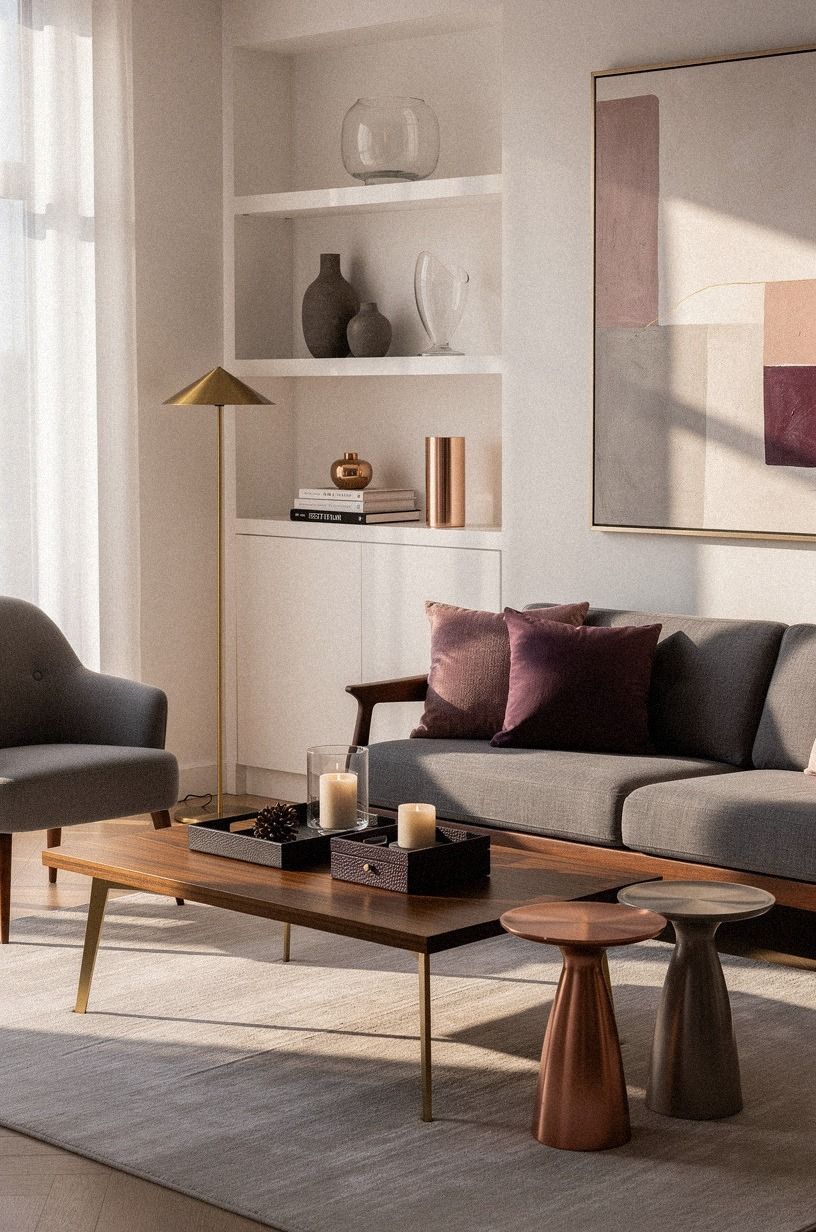
Three seasonal swaps is enough: a summer cushion cover in ivory linen, a winter cushion cover in rust velvet, and a holiday accent (a small wreath on the window, a faux evergreen runner in December). Skip the four seasons of pillows pipeline. It runs about $400 over a year and every pillow dies within 18 months anyway, and you can't donate stained velvet in August.
The cleaner rule is one swap a quarter, not four swaps a season.
What actually changes seasonally is the centerpiece: a wooden bowl of citrus in January, a stoneware vase of tulips in April, a brass tray with candles in November. One swap, not the whole bench. The bench stays and the corner reads as lived in all year, which is the whole point of swapping well, and which is also why every kitchen corner ideas breakfast nooks guide eventually lands on rotation over replacement.
16Tune the acoustics before the first family dinner
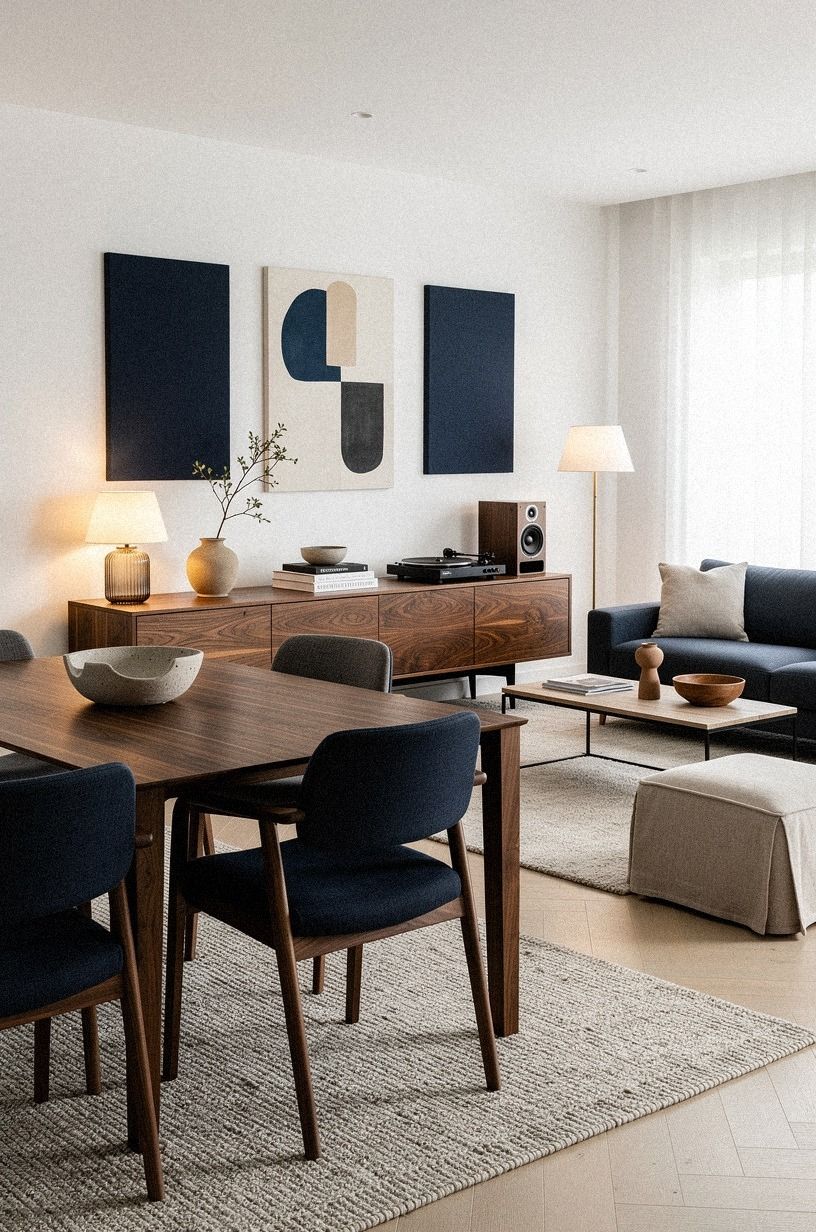
Hard surfaces (tile floor, wood table, painted wall) make a nook echoey.
17Test traffic flow with coffee, not a tape measure
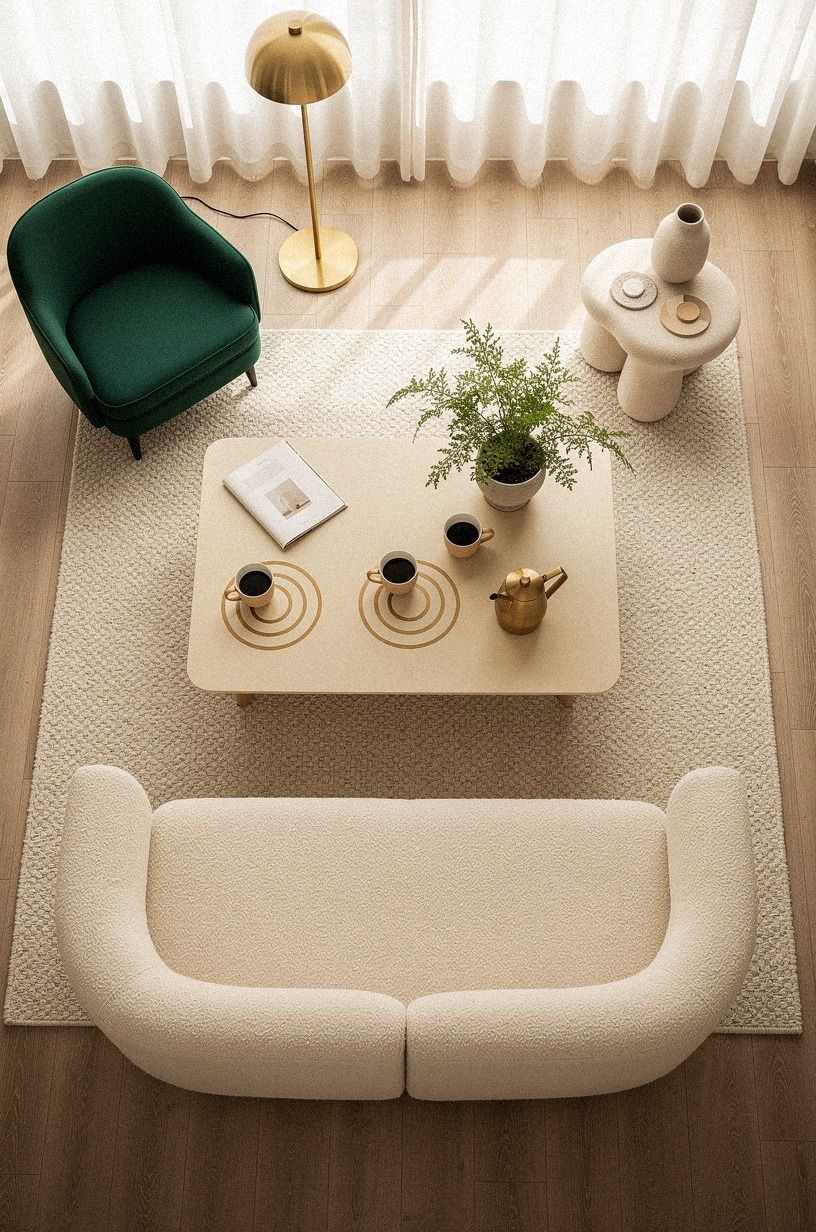
Live with the layout for a week before you mount anything permanently. Place the bench, place the table, bring coffee through three times.
If somebody hip checks the table corner or has to sideways past the bench, the layout is wrong. Move the bench 4 inches deeper into the corner and try again next morning. Give it a week of real mornings, not staged ones, before you commit.
The mistake is installing the bench to the wall and then realizing you can't get past it with a hot sheet pan of eggs. Your future self, holding the pan at 7:15am in slippers, will thank you for the patience. This is also where a corner table nook arrangement beats a center table because traffic has somewhere to go.
18Photograph the corner you use
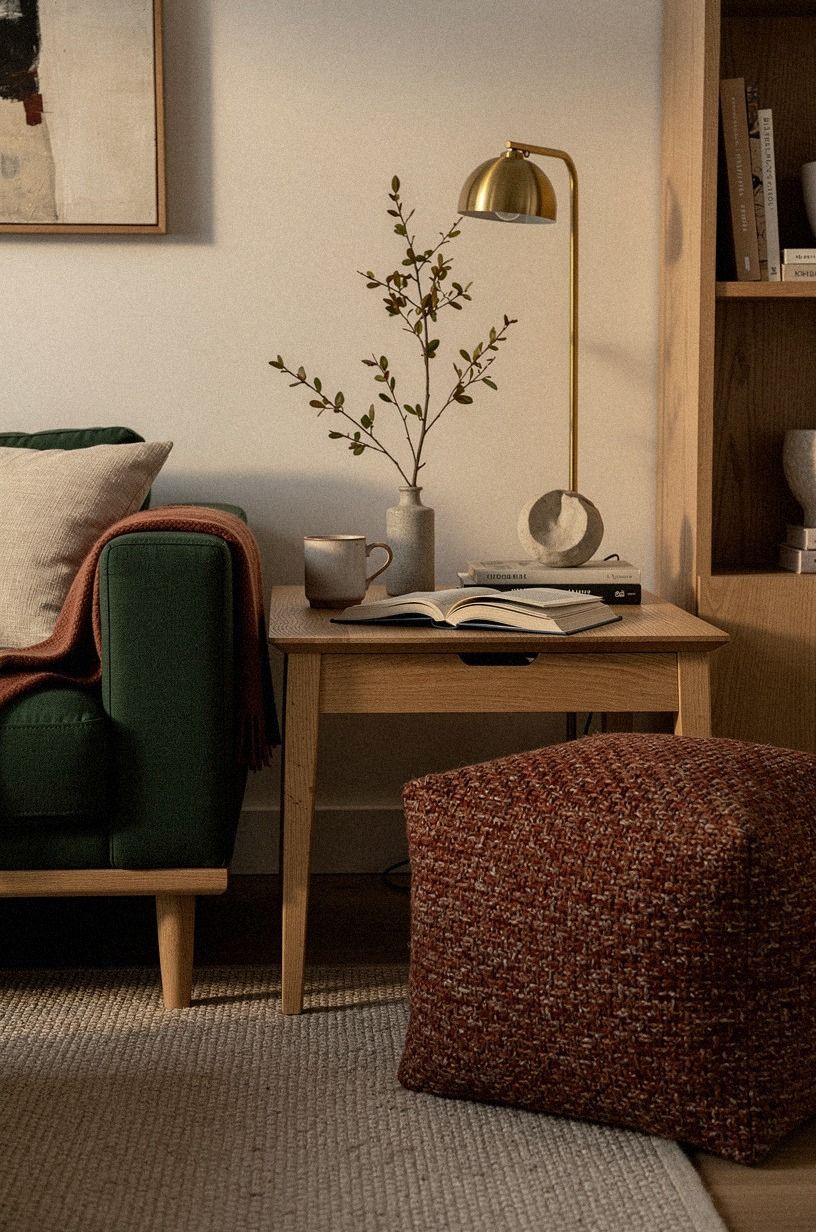
Not the staged corner for Instagram. The corner with your coffee mug on it, the wrinkled runner, the open cereal box.
Three photos from above at breakfast, three from seated at the table. Pin these to a private board and check back in three months.
You'll see what you reach for (the carafe, the linen runner, the warm bulb) and what you stop using (the second candle, the seasonal pillow, the brass tray that looked good in the store and never gets touched).
Plan your next round of purchases from this list, not from a feed. If your nook lives bright and warm, skip the dark moody breakfast nook ideas for a dramatic corner inspiration board because it won't match your light. For a different reading on the same setup, the dark moody breakfast nook ideas for a dramatic corner 2 sister post goes deeper on lamplight and shadow plays if you want to pivot that direction.
Either side, photo it in the morning, photo it at night, and trust what you see in those two frames more than what the showroom looked like. But also save three reference shots from your own nook into a private board so future-you remembers what worked.
19Maintain and refresh on a 90 day clock
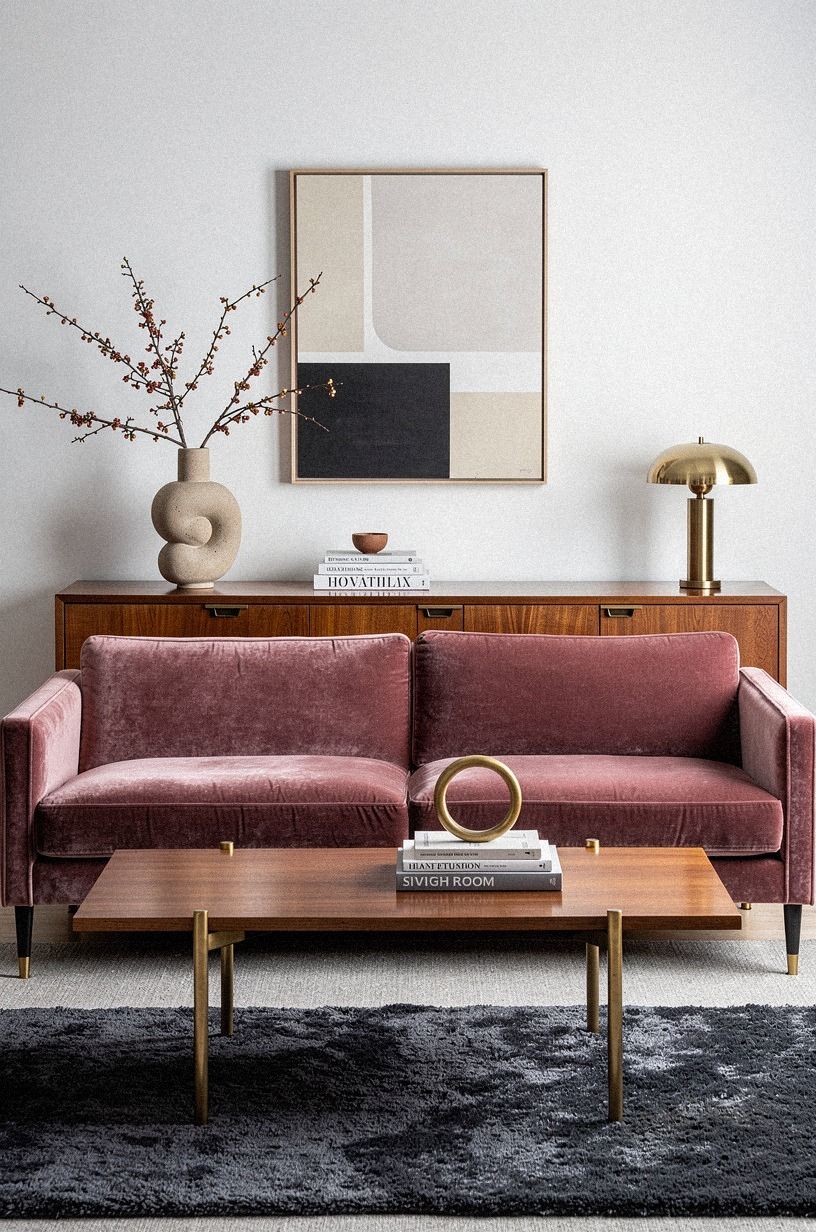
Set a calendar reminder for every 90 days: rotate the centerpiece, fluff the cushions, wipe down the pendant shade, check the batteries in any sconces.
Why I'm a breakfast nook believer now
Three apartments ago I had a freestanding 30 inch round table in the middle of my dining area, which was really just an empty wall with a sideboard pushed against it. I ate standing up nine nights out of ten because nobody wants to sit at a table four feet from the fridge with a view of the trash. The day I built the corner nook I started eating breakfast at home for the first time in my adult life.
That is not a small change.
I think the corner nook beats the middle of the room table for almost every small kitchen. The center table fights for floor space with everything else that happens in the room, including the dishwasher door and the kid dragging a backpack through.
The corner nook asks for one wall and gives you back the whole middle. That's roughly a 30 percent effective square footage gain in most small kitchens, and you didn't have to knock out a wall to get it!
Most people overlook the gain because they think of corners as dead space, not feature space. And they are wrong, almost every time.
The reason a lot of nooks fail isn't design. It's commitment. People build something Pinterest pretty and then don't use it because nobody taught them how to use it.
A nook wants the same plates every morning, the same coffee mug, the same bowl. It wants the school papers spread out for an hour.
It wants the phone propped on a cookbook stand while pancakes flip. If you want a showpiece, build a sideboard. If you want a corner that feeds your mornings for the next decade, build a nook, and use it before it's pretty.
The honest cost, in real numbers
Most of the small nooks I've built or helped build over the last ten years fall into the budget tier below. The price ranges assume you DIY most of the work and skip the electrician. Plan for surprises with a $150 buffer because something always wants a shim, an extra bracket, or a longer cord.
I'm not going to pretend the budget tier makes a magazine nook. It makes a real one.
The mid tier is where most homeowners land if they're not ripping out a wall. The high tier is a renovation, not a styling project, and the math changes completely if you go that route. Either way, the table and the lighting are the two pieces worth spending on; everything else is a swap.
Skimp on the rug, splurge on the pendant.
A Few Things Worth Answering
How long does it take to build a corner breakfast nook?
A weekend for paint, pendant swap, and styling. Two to three weekends if you're building the bench from plywood and letting paint cure between coats.
The slowest part is decision making, not construction. Plan a week of living with the layout before you mount anything permanent, so you catch the traffic flow problems before they get bolted in.
How much does a corner breakfast nook cost?
A paint, cushion, rug, and pendant refresh runs about $300 to $1,200. A built-in bench with a quality table and layered lighting lands around $2,500 to $8,000.
Custom millwork starts at $12,000 and climbs. The bench and the lighting are the two pieces worth spending on.
Pin your corner breakfast nook ideas to use that awkward space roundup and budget from the table outward, not the rug outward. For cushion layering on a tight budget, the breakfast nook decor ideas to cozy up your corner post ranks the swaps worth the spend.
Can I build a breakfast nook in a rental without losing my deposit?
Yes. Skip the built-in, go freestanding with an IKEA HEMNES or KALLAX combo, and anchor furniture to the wall with anti-tip straps that don't mark drywall.
Use peel-and-stick wallpaper and cord covers painted to the wall. Take everything with you when you leave. For renter-friendly wall moves, see breakfast nook wallpaper ideas for a statement corner for tested no-damage options, and the breakfast nook wall decor ideas to fill that empty space guide for art that comes off clean.
What size table fits a 48 by 48 inch corner?
A 36 inch round seats four comfortably. A 30 inch round seats two to three and leaves the cleanest floor space.
A 36 by 36 inch square works too and gives you the same elbow room without competing with a circular shape. See breakfast nook table ideas round built in space saving for layouts I've tested in real kitchens, and the breakfast nook decor ideas to cozy up your corner roundup for the cushion pairing on each table size.
Is a corner breakfast nook a good idea for a small kitchen?
Yes. A corner nook beats a freestanding table in a small kitchen because the bench pushes back against the wall and frees up the middle of the room.
The actual lever is keeping the table under 42 inches wide so drawers and the dishwasher still open. Worth it for any kitchen under 110 square feet, and the corner nook bench idea will probably be your highest use piece of furniture.
For more inspiration, the kitchen corner cabinet ideas to fix that awkward space roundup leans into the same corner-first thinking.
What is the best way to light a breakfast nook?
A single dimmable 2700K LED pendant centered 30 to 34 inches above the table, with one warm wall sconce on the back wall for evening dinners. Skip recessed cans because they flatten the corner and make it feel like a hallway. Layered lighting at 2700K is what turns a nook from a breakfast surface into a small room of its own.
Where I'd Start First
If I had to pick one step to start with, I'd start with step five: paint the wall before the furniture arrives. Everything downstream reads harder against a wall that's already set, and you can't fake that in photos. Get the color right, then the rest lands.