
 by
by I've installed a lot of bedroom lighting, and the cozy ones never happen by accident. The rooms that feel warm at 10 pm are the ones where somebody thought about what happens after the overhead goes off. Not during the day. After. Here's what that looks like in practice, and why most bedrooms get it backward!
Short version: Start with the overhead off, build back up with three sources at different heights, all 2700K or warmer. Everything else is styling.
The sections below go room by room, from the $12 cord kit to the wall-wash sconce that makes paint look like candlelit skin. Pin the ones that match your ceiling height and your patience level.
- Kill the overhead and spread the glow
- The Three-Height Light Stack
- Swap cool bulbs for 2700K everywhere
- Add a plug-in sconce on each side of the bed
- The Dimmer-as-Non-Negotiable Rule
- Layer a floor lamp behind a reading chair
- Run LED strip under the bed frame
- The Candle-Only Hour (and the LED stand-in)
- Hang a pendant low over a nightstand
- Use a mirrored tray to bounce lamp light
- The Bedside Lamp Height Rule
- Add a picture light above a headboard or art
- Drape fairy lights along a shelf or beam
- The Wall-Wash Sconce for Texture
- Put a lamp in the closet (and leave the door ajar)
- The Two-Bulb Nightstand Approach
- Match your light to your wall color, not your furniture
- The Reading Nook Light Triangle
- The Morning-to-Evening Light Switch
1Kill the overhead and spread the glow
The single biggest mistake I see? One bright ceiling fixture doing all the work.
It's functional at 7 am and hostile by 9 pm. Bedrooms need layers, not volume.
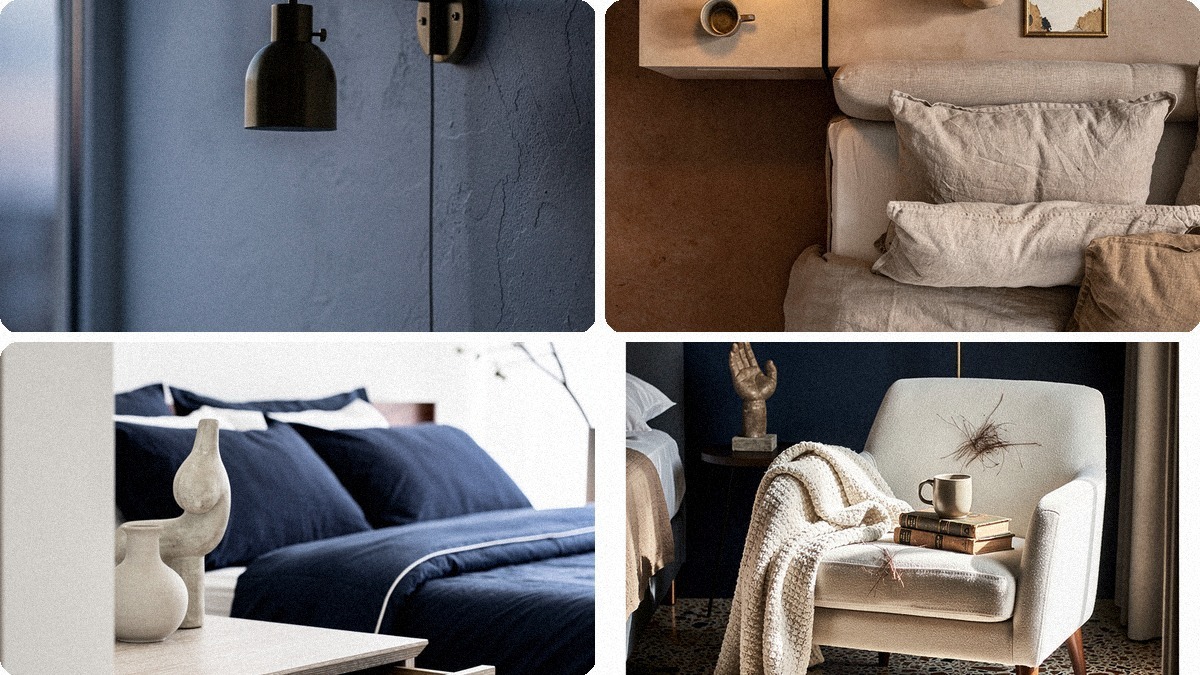
Start with the overhead off, then build back up with three sources at different heights. A table lamp near the bed, a floor lamp in the corner, and something low, like a plug-in sconce or a string of tiny bulbs along a shelf.
The overlap is what makes the room feel wrapped in light instead of lit by it. If you're starting from scratch, my bedroom lighting guide walks through the full three-source setup room by room.
2The Three-Height Light Stack
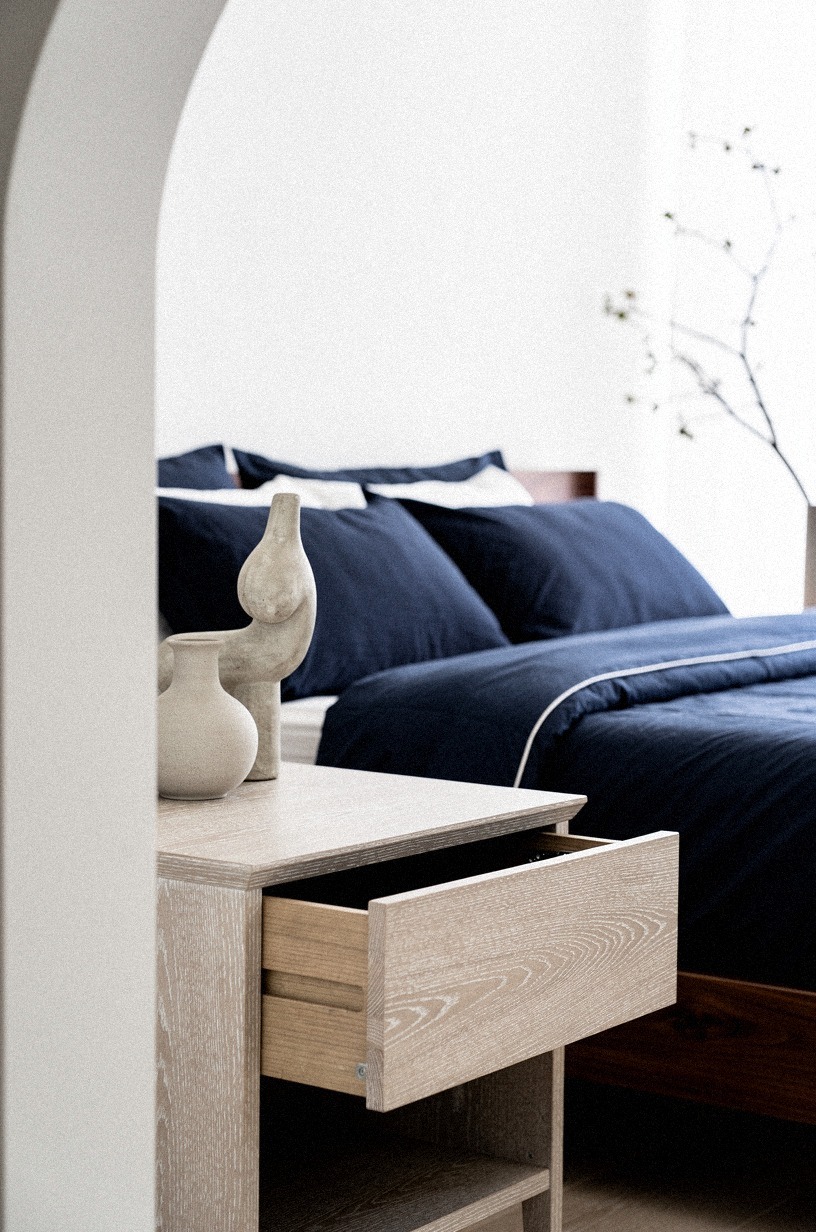
This is the concept I borrow from every hotel room that felt right. Light at three heights, minimum: high (a pendant or overhead, dimmed), middle (bedside lamps, eye level when sitting), and low (floor glow, under-bed strip, or a candle tray). Two heights feels flat.
Four gets fussy. Three is the sweet spot where your eye travels and the room feels dimensional.
I stayed at a place in Hudson last fall where the only ceiling light was a tiny recessed bulb, and the whole mood came from a pair of Schoolhouse Electric sconces and a single brass floor lamp. The room felt twice the size.
3Swap cool bulbs for 2700K everywhere
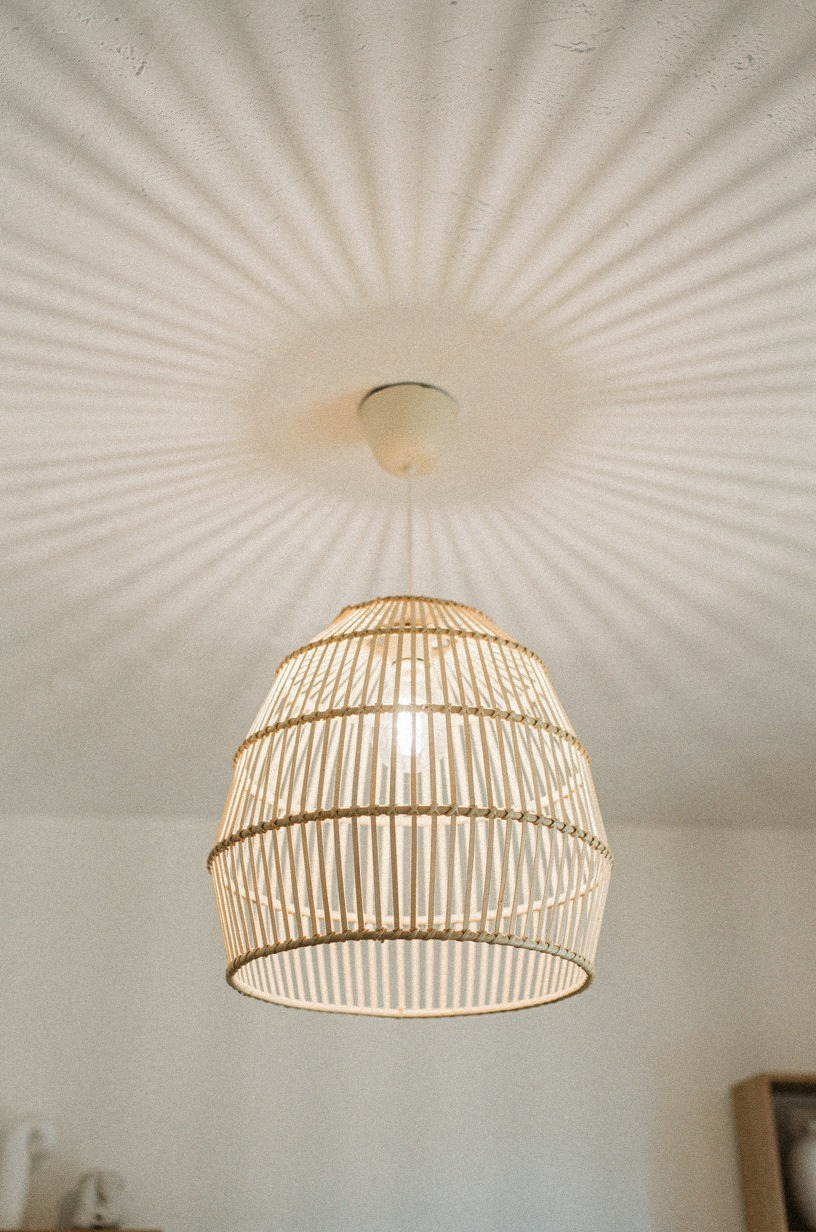
Color temperature matters more than fixture price. A $20 lamp with a 2700K bulb beats a $200 lamp with 4000K.
Cool light reads as office, task, morning. Warm light reads as evening, rest, done-for-the-day.
Check every bulb in your bedroom, including closet and bathroom if they share the visual field. I once ignored the closet bulb and it threw just enough cool spill to kill the whole corner.
Took me two weeks to figure out why that side of the room felt off. Warmth is granular. Every source counts.
4Add a plug-in sconce on each side of the bed
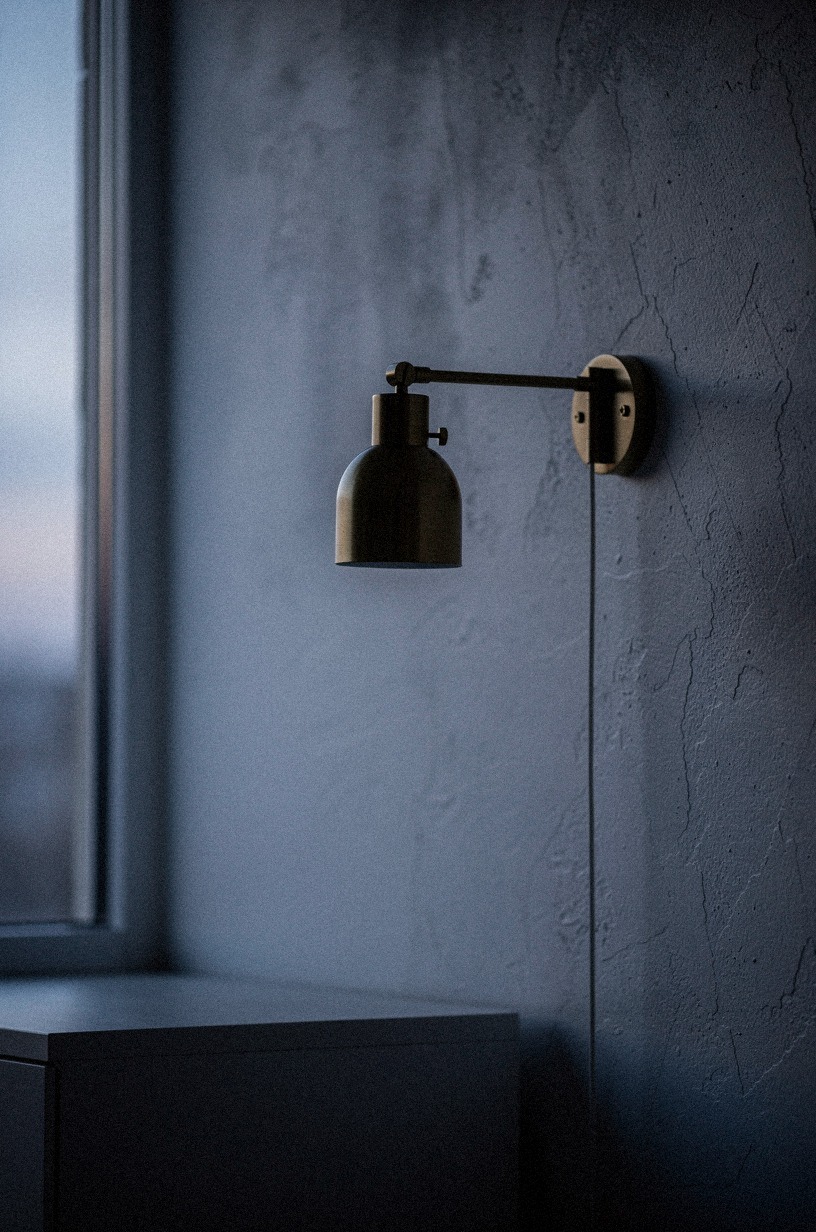
Hardwired sconces are great if you're renovating. Most people aren't.
The plug-in versions have come a long way, and the cord is part of the look if you don't fight it. Run it down the wall in a straight line, clip it with a small brass cable holder, and let it read as intentional.
Target Threshold has a decent ceramic-and-brass pair under $60 each. The side-glow is what you want, not the downward cone of a ceiling fixture.
It frames the bed like a painting and gives you enough light to read without lighting the whole room.
5The Dimmer-as-Non-Negotiable Rule
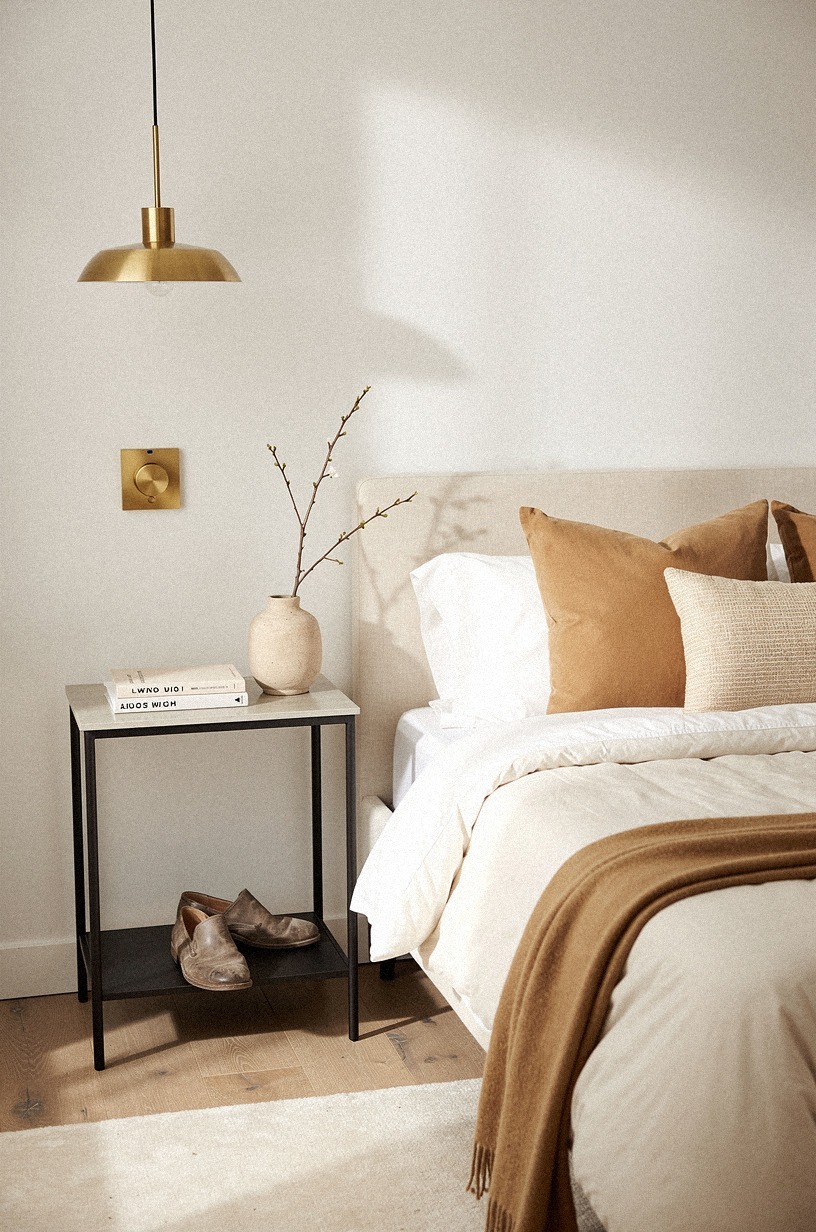
If a light doesn't dim, it's wrong for a bedroom. Period.
Overhead on a dimmer, lamps on smart bulbs, sconces on a wall dimmer if you can manage it. The range between "find my socks" and "almost asleep" is enormous, and no single brightness serves both.
I put every bedroom lamp on a Lutron Caseta dimmer three years ago and it's still the best $45 I spent on the room. The ability to drop the light by half after dinner changes how the whole evening feels.
6Layer a floor lamp behind a reading chair
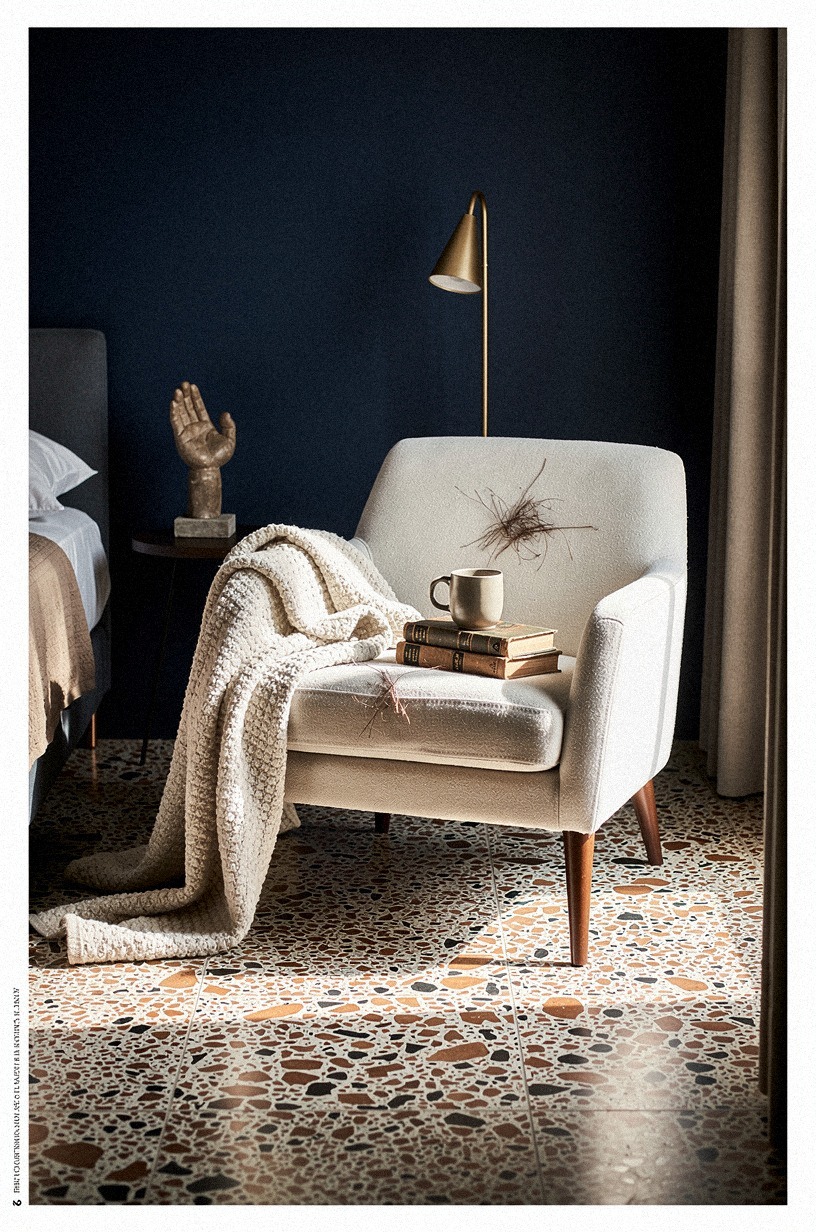
Not every bedroom has the space, but if you've got a corner with a chair, a floor lamp behind and slightly above it creates a pool of light that doesn't compete with the bed zone. The CB2 Aster floor lamp in matte black does this well, tall and narrow with a linen drum shade that throws light up and down. The key is placement: behind the chair, not beside it, so the light grazes over your shoulder and onto the page.
Beside the chair, you get glare. Behind, you get glow.
7Run LED strip under the bed frame
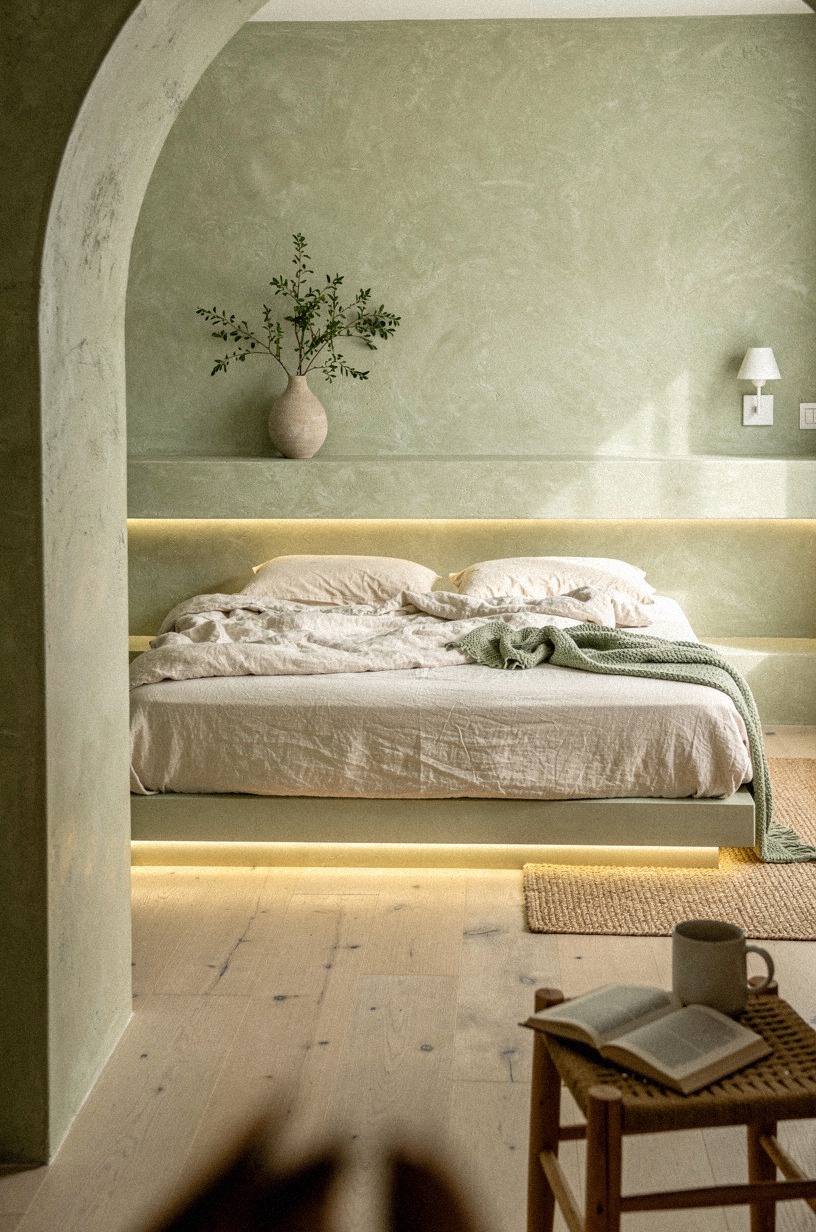
This sounds like a gimmick until you try it. A thin LED strip tucked under the bed rail, facing the wall, throws a soft wash of light across the floor that makes the room feel like it's floating. The trick is the direction: face the wall, not the room.
You want reflected light, not a runway. A Philips Hue Lightstrip at 2700K, set to 15% brightness, is enough.
I've had one under my bed for two years and the only time I notice it is when guests ask why the room feels bigger than it is. The answer is always the under-glow.
It lifts the whole piece off the floor and turns the bed into a lantern.
8The Candle-Only Hour (and the LED stand-in)
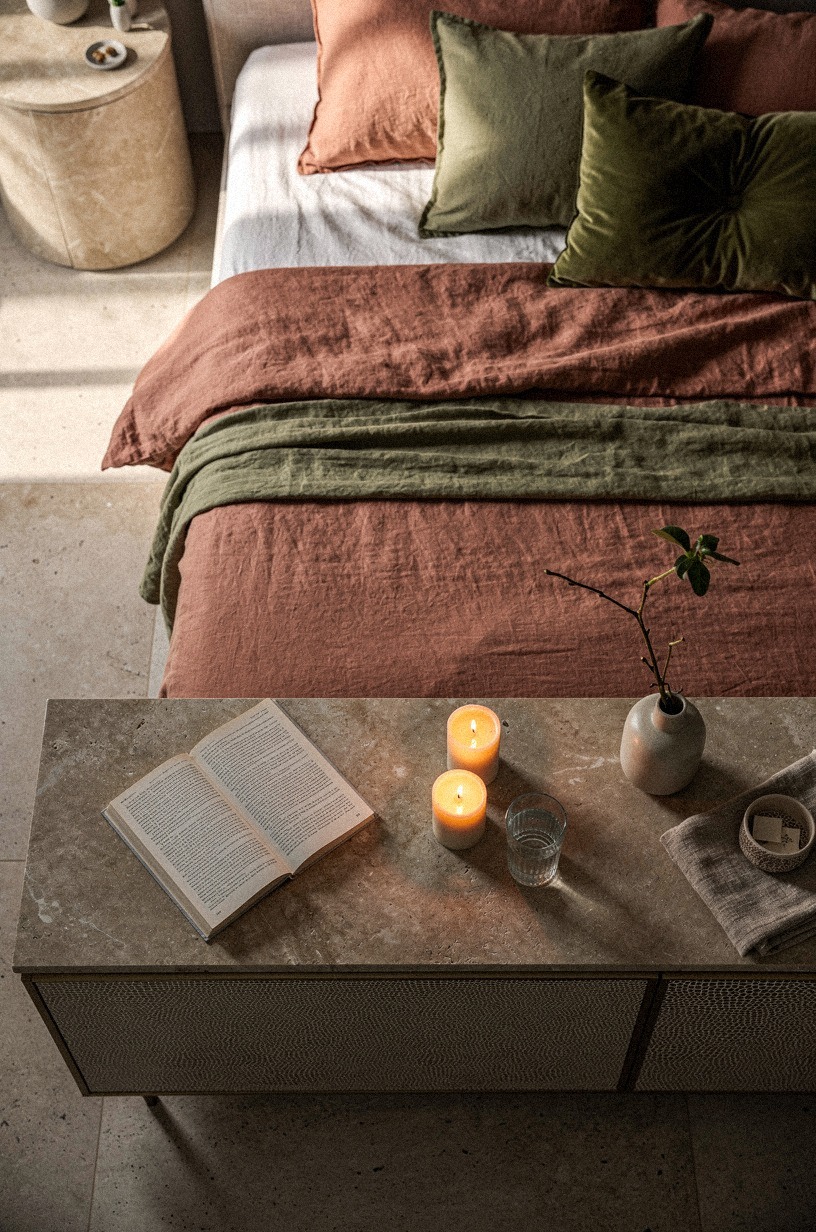
There's a window before sleep where even 2700K feels too bright. I call it the candle-only hour, though I don't always use real candles.
A cluster of three LED pillar candles on a tray, set to flicker, gives the same warmth without the smoke or the risk. The Luminara brand makes ones that move like real flame, and I've left them on a dresser for whole evenings without thinking about them.
The point isn't authenticity. It's the lowest possible light level that still feels alive.
I keep three on a brass tray and the flicker does more than any dimmer switch I've tried. For more mood-setting ideas, my romantic bedroom guide goes deeper on candlelit setups.
9Hang a pendant low over a nightstand
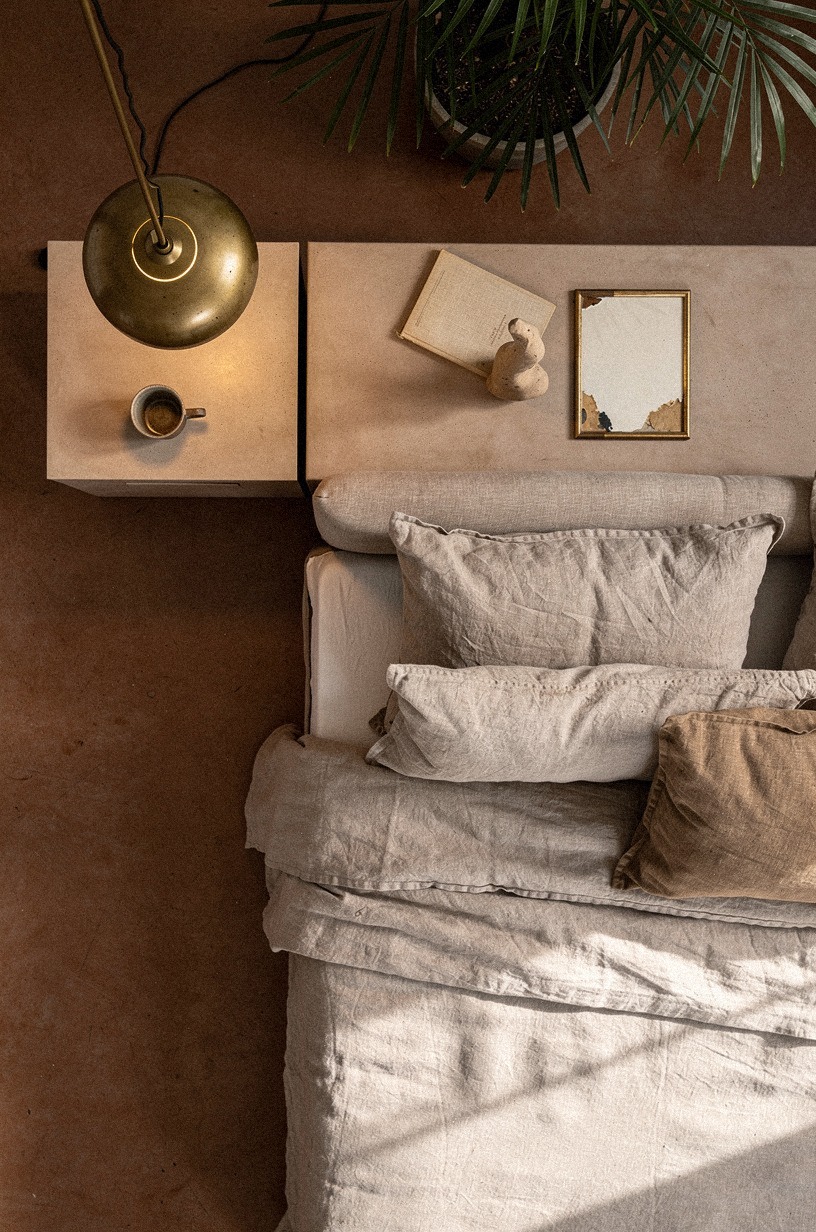
Instead of a table lamp, try a small pendant hung low, about 24 inches above the nightstand surface. The drop creates a pool of light that feels more intentional than a standard lamp, and it frees up the tabletop for books, water, or a small stack of whatever you're reading.
The cord is the only challenge. If you're renting, a swag hook in the ceiling and a cord cover down the wall solves it.
I've seen this done with a simple Schoolhouse Electric Satellite pendant in white opal glass, and the glow is softer than any shade I've found. The lower the bulb, the cozier the room.
Just don't knock your head on it getting out of bed.
10Use a mirrored tray to bounce lamp light
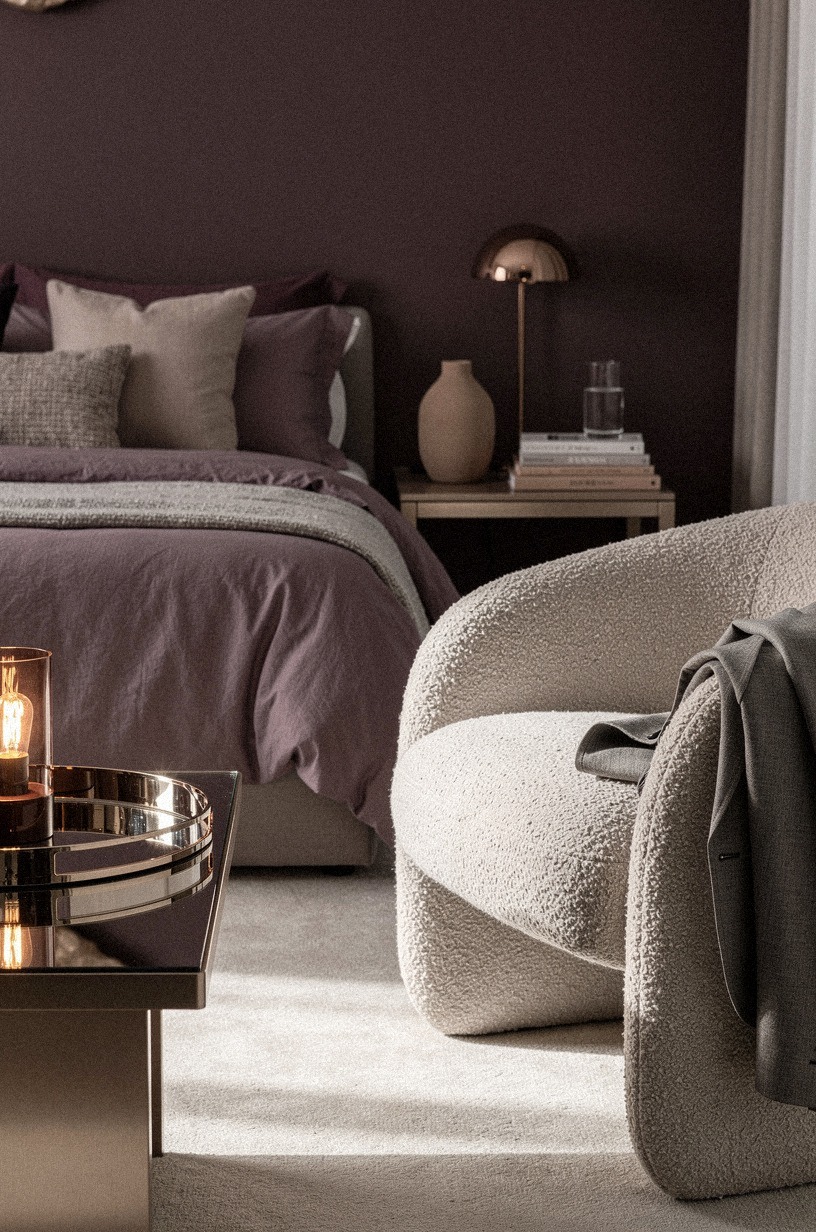
This is a cheap move that works. A small mirrored tray under a bedside lamp catches the downward spill and throws it back up at half intensity.
The room feels brighter without adding a second bulb. I use a vintage one from a flea market, but West Elm has a clean rectangular mirror tray that does the same. Brass edge, no handles, nothing decorative.
The mirror does the work. Don't overthink it.
I've used this same move in a powder room and the bounce makes even tiny spaces feel lit from within.
11The Bedside Lamp Height Rule
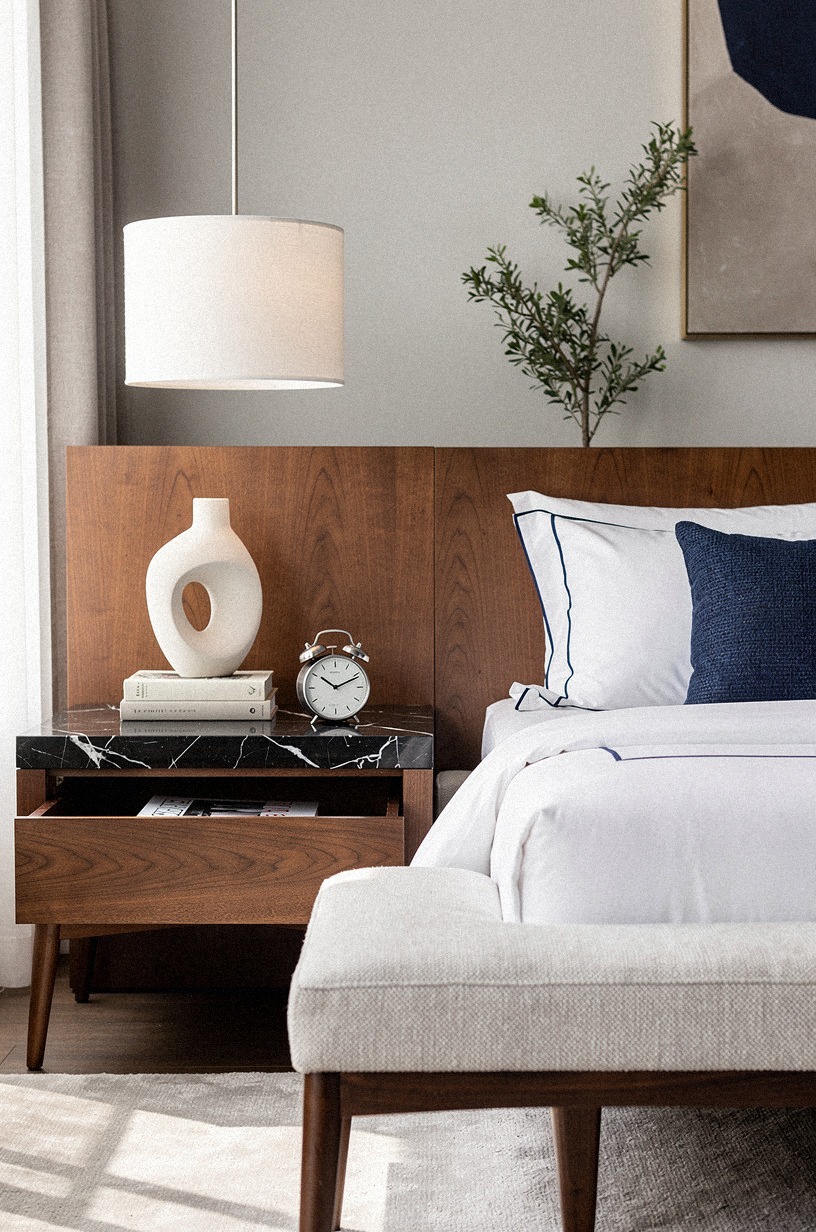
The bottom of your lampshade should sit at or slightly above your eye level when you're sitting up in bed. Too low and you're staring into the bulb.
Too high and the light skims over your head and lights the ceiling instead of your book. The sweet spot is 24 to 28 inches from the mattress surface to the bottom of the shade, depending on how thick your mattress is.
I learned this the hard way with a pair of CB2 Bell table lamps that looked perfect on the dresser but disappeared behind the pillows when I moved them to the nightstand. Measure from where you actually sit, not from the floor. The lamp should feel like it's talking to you, not broadcasting over you.
12Add a picture light above a headboard or art
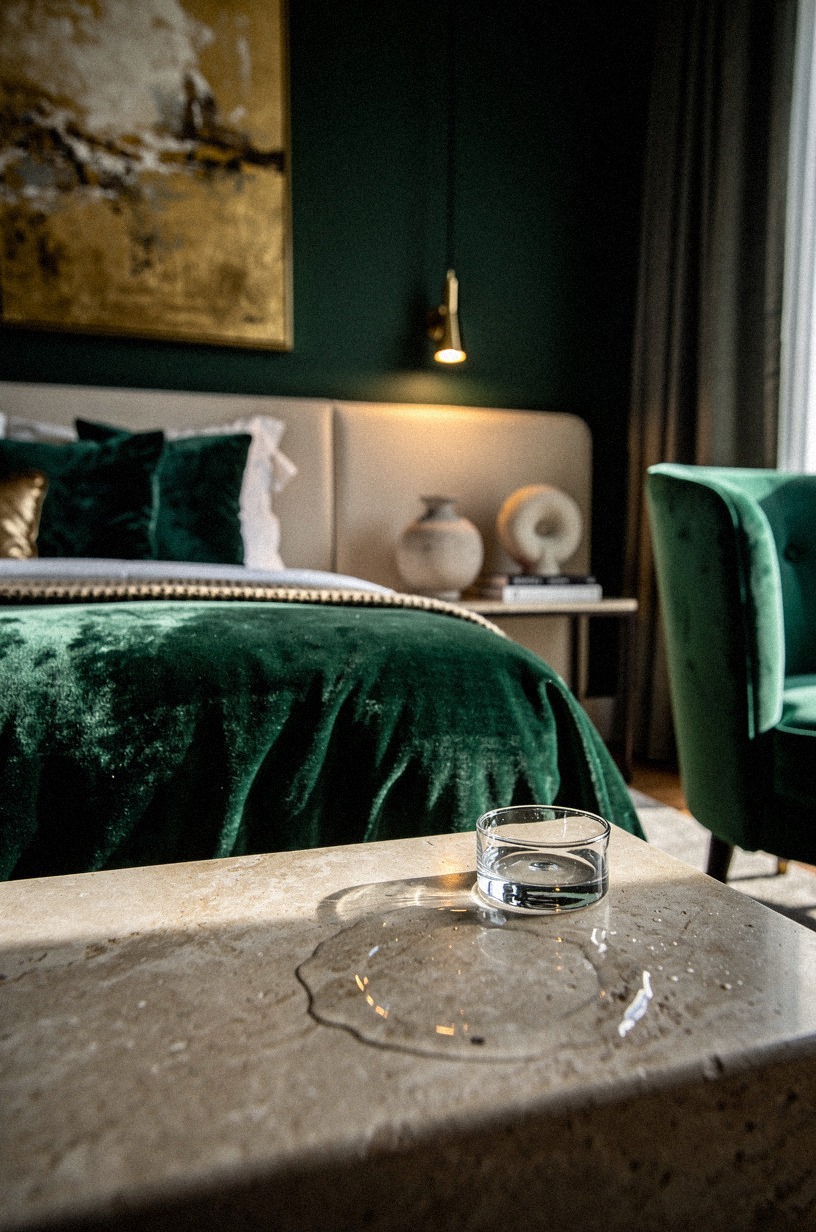
A narrow picture light, the kind with a slim bar and a warm LED strip, above the headboard or a large piece of art creates a horizon line of light that anchors the room. It's not for reading.
It's for structure. The room feels designed when there's a deliberate light path across the wall. Rejuvenation makes a brass one that's thin enough to disappear, and the warm wash on linen or paint is worth more than the fixture costs.
I've mounted these above a gallery wall in the living room and the effect is equally transformative.
13Drape fairy lights along a shelf or beam
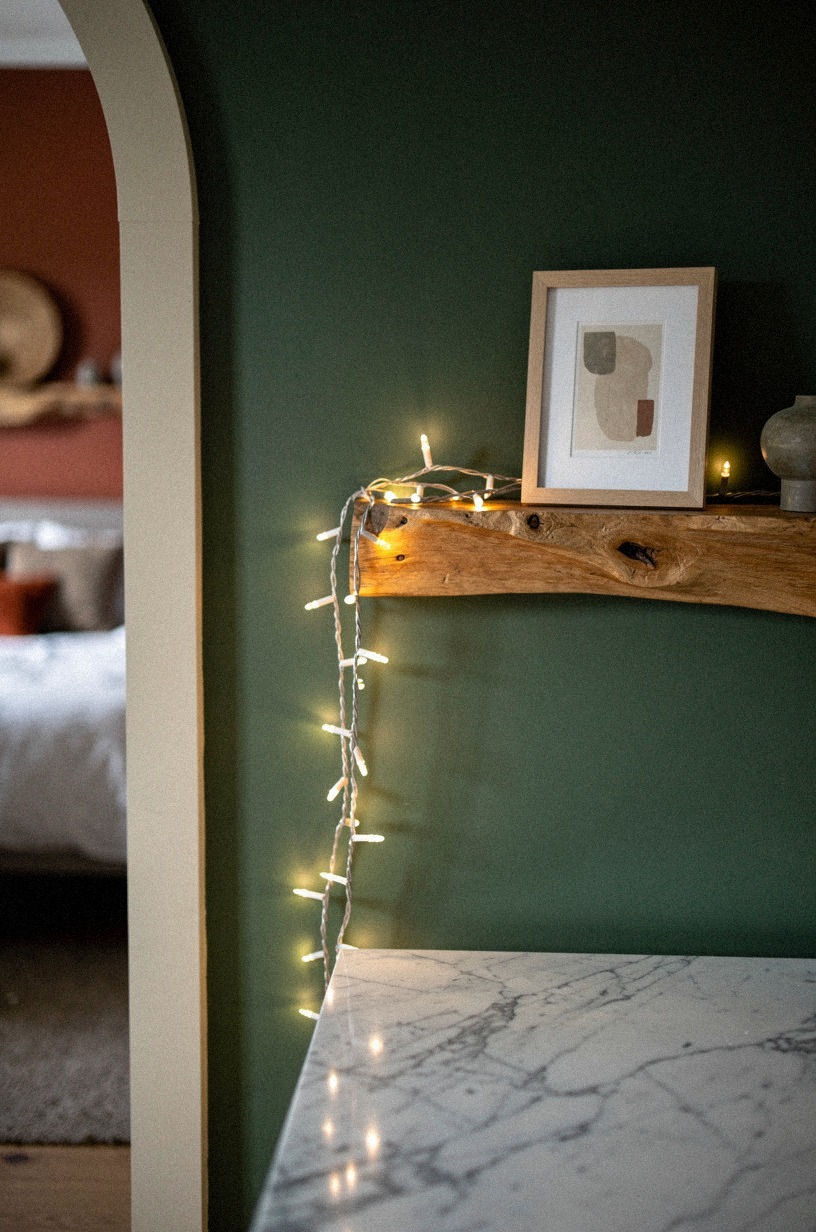
Not the college-dorm version. A single strand of warm-white fairy lights, the kind with tiny bulbs on a copper wire, tucked along the top of a bookshelf or wrapped once around a ceiling beam, adds texture without adding brightness. The move is density: one strand, not three.
Visible wire, not hidden. Let it look like what it is. I ran one along the top of my closet shelf and it creates a soft rim of light that defines the ceiling line after dark. Takes five minutes.
Costs $12. I've wrapped the same copper wire around a beam in a covered patio and the effect is just as good outdoors!
For indoor-outdoor lighting continuity, see my indoor outdoor living ideas.
14The Wall-Wash Sconce for Texture
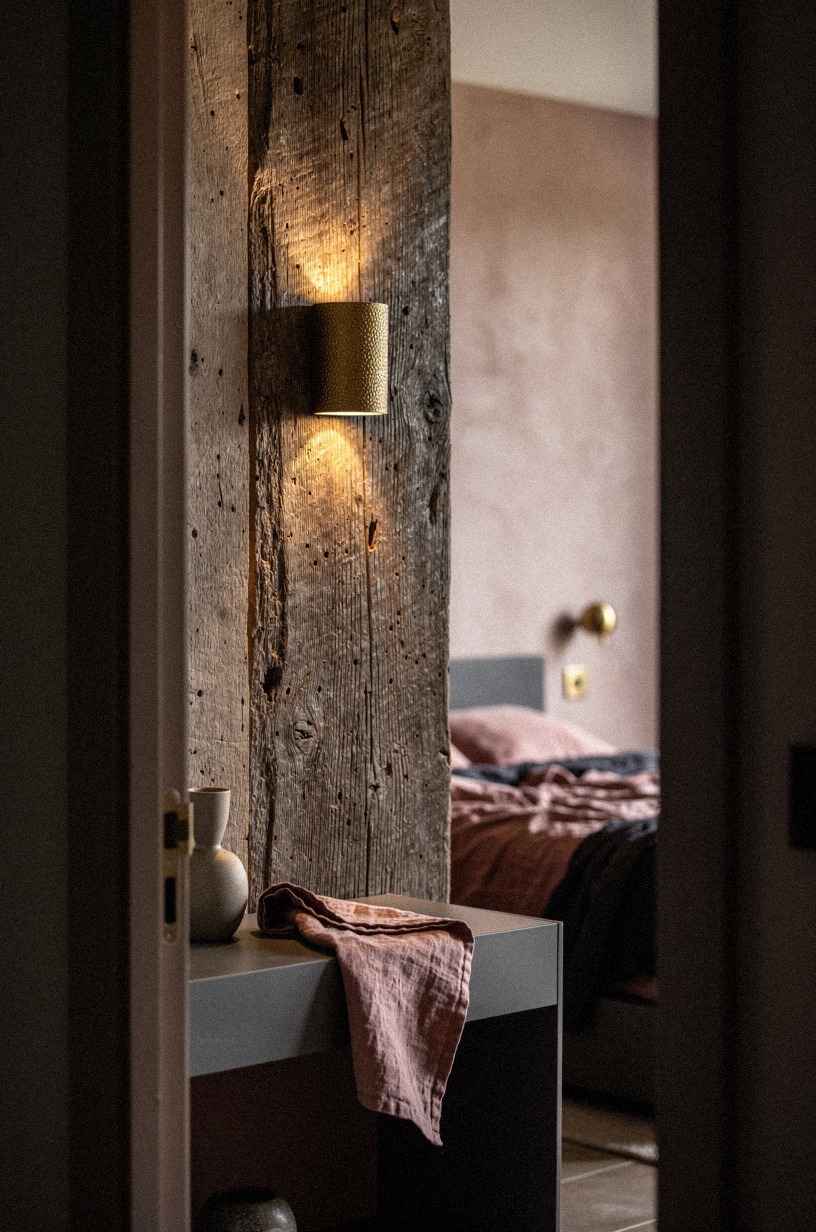
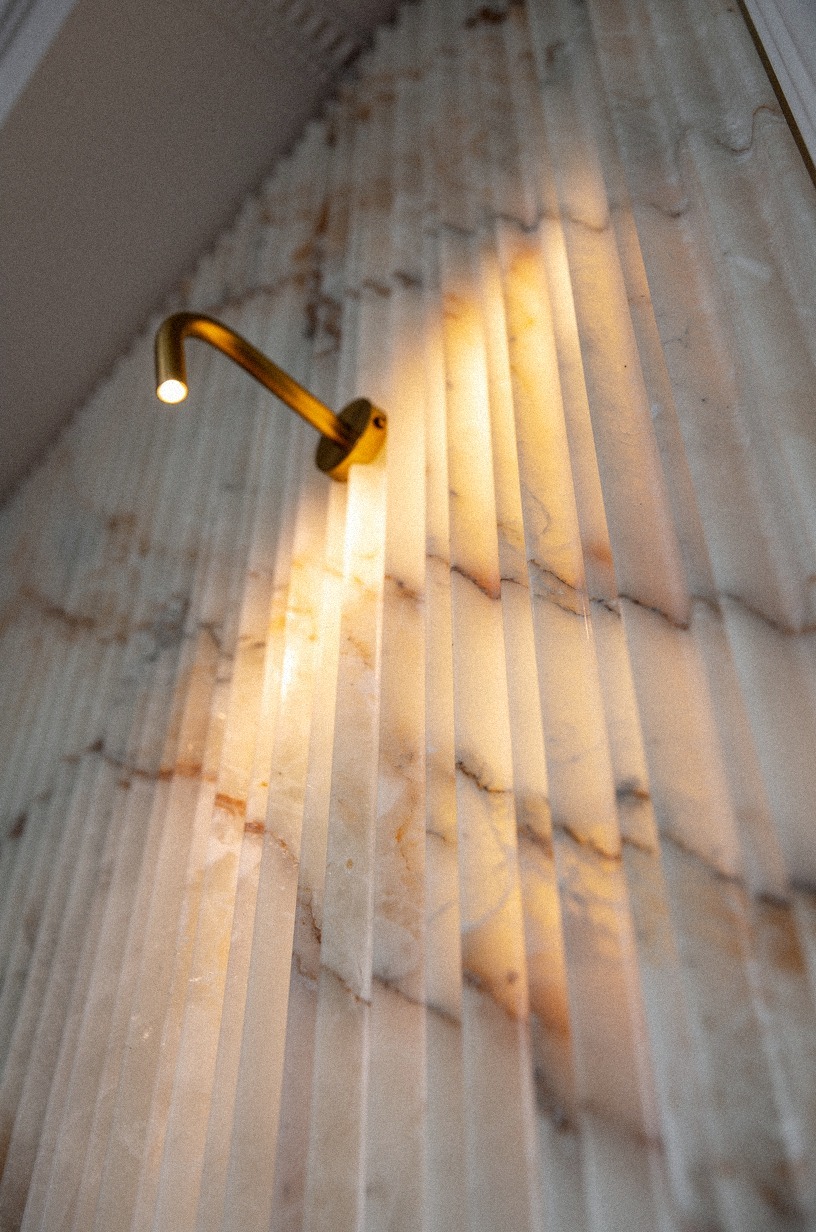
A sconce that throws light up and down the wall, rather than out into the room, turns a flat painted surface into something dimensional. Farrow & Ball Setting Plaster (No. 231) in my bedroom looks like a warm neutral by day and like candlelit skin by night when the uplight hits it.
The fixture itself is almost irrelevant, it's the interaction with the wall that matters. A cheap Home Depot adjustable sconce can do this if you aim it right. The paint does the rest.
I've seen this same wall-wash approach completely change a bookshelf living room setup where the uplight turns ordinary shelves into a glowing backdrop. The same paint-and-light pairing works in an entryway where first impressions matter.
15Put a lamp in the closet (and leave the door ajar)
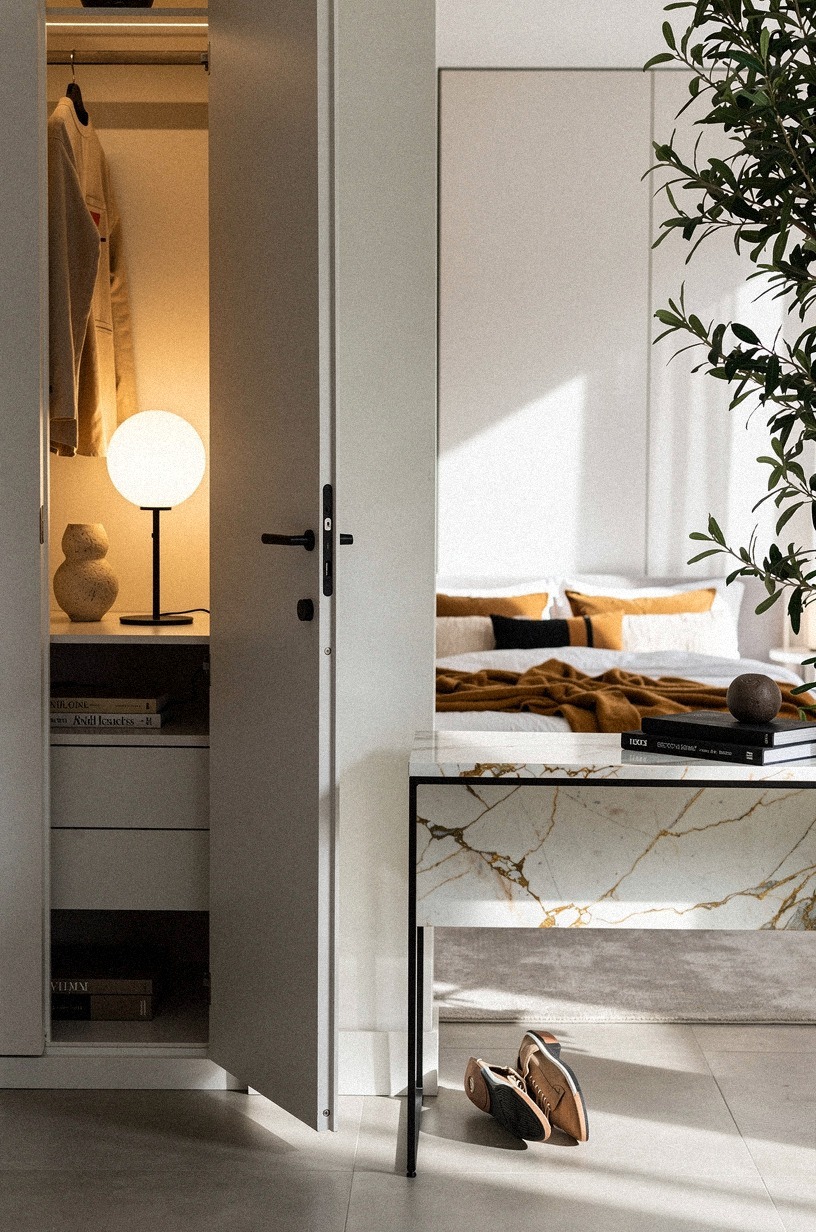
This is the hidden layer nobody talks about. A small lamp inside the closet, left on with the door cracked, creates a secondary glow that softens the room's edge.
Not bright enough to read by. Just enough to keep the corner from falling into black.
I use a $15 IKEA RYET bulb in a simple cord fixture, hung from the closet rod. It's the difference between a room that ends at the bed and a room that keeps going.
I've used this same hidden glow technique in a corner fireplace living room layout where the side light keeps the conversation area from feeling boxed in. For more closet lighting tricks, my walk-in closet guide has the full setup.
16The Two-Bulb Nightstand Approach
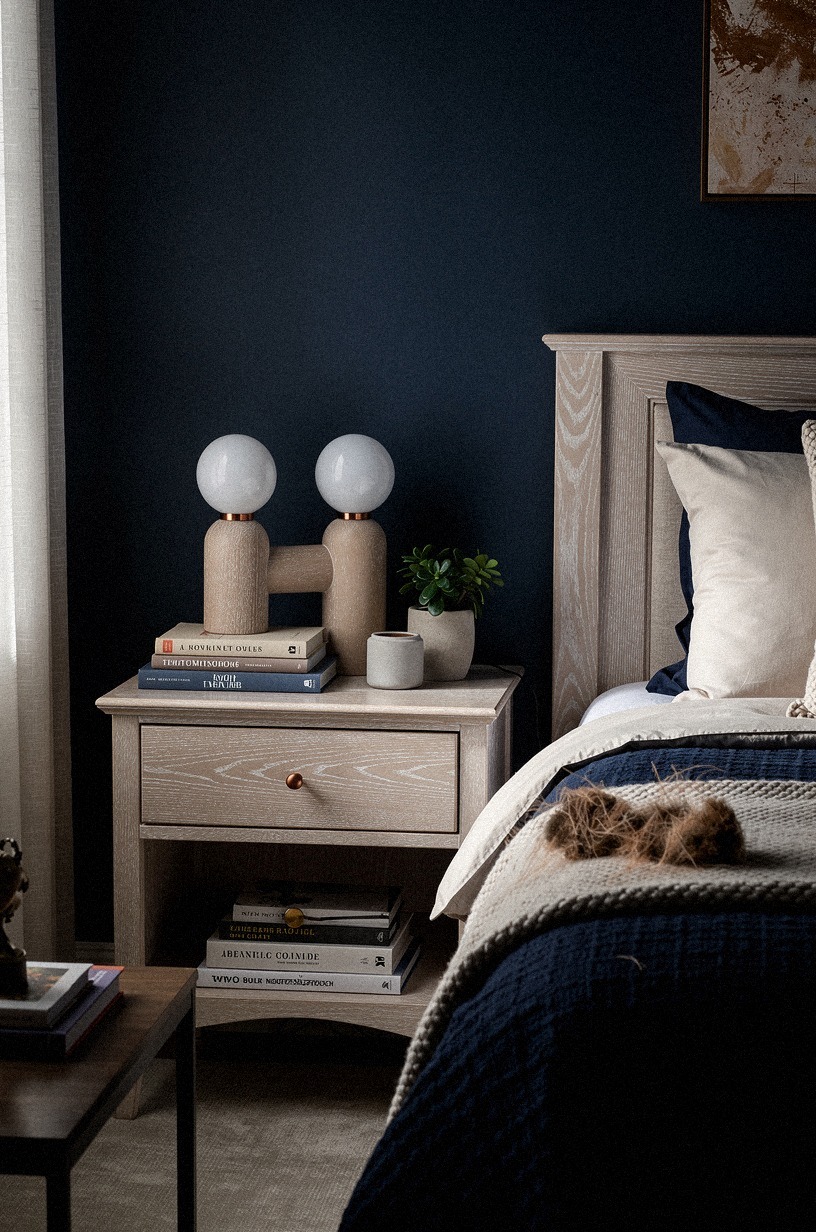
Instead of one lamp per side, try one lamp plus one small secondary source, like a salt lamp or a tiny mushroom lamp from Urban Outfitters. The main lamp handles reading and the room.
The secondary source stays on after the main lamp goes off, giving you just enough light to navigate without turning on anything overhead. I use a Himalayan salt lamp on a dimmer next to my main CB2 Bell lamp.
The salt lamp stays on all night at its lowest setting, and the color is warmer than any bulb I've found. The two together create a handoff: bright enough to read, soft enough to sleep.
The secondary source is the one that makes the room feel like it's waiting for you, not just housing you.
17Match your light to your wall color, not your furniture
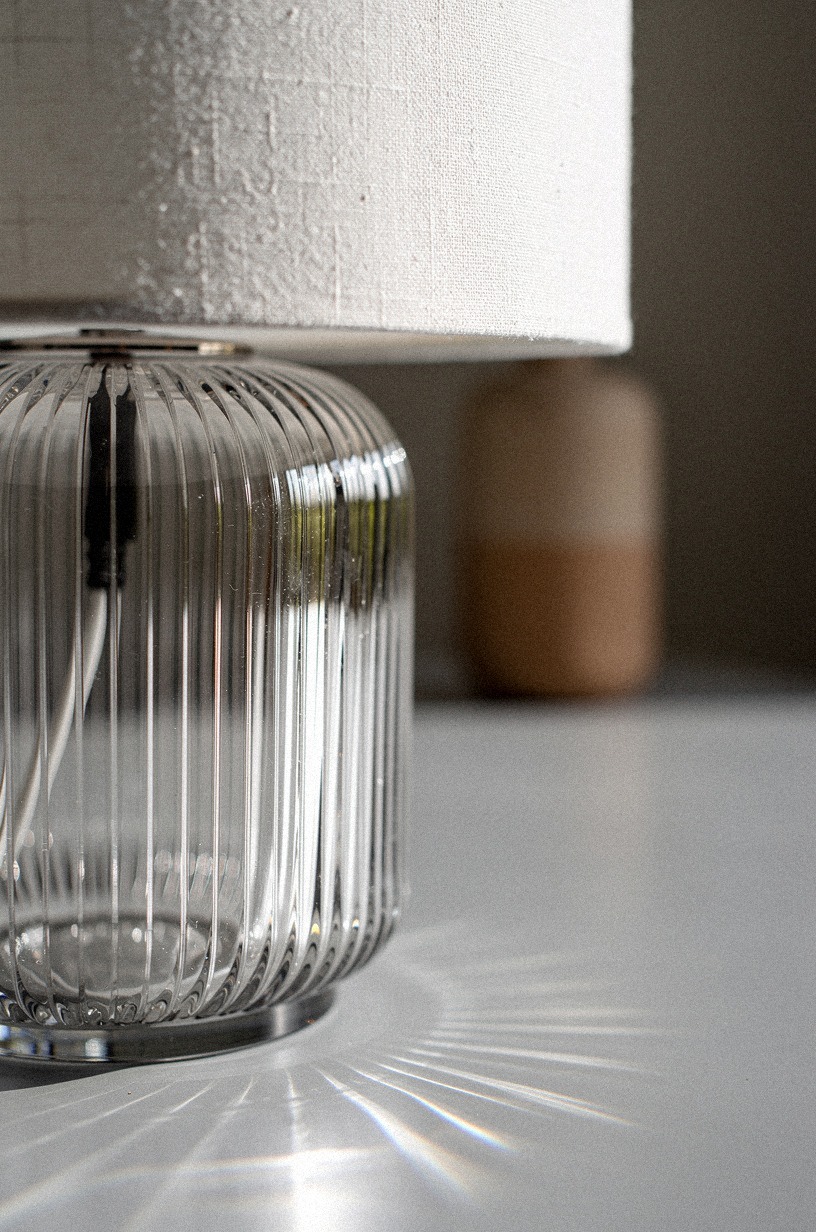
This is the decision frame that changes everything. Warm light on cool paint (gray, blue, stark white) fights itself. Cool light on warm paint (cream, taupe, Benjamin Moore Pale Oak OC-20) flattens it.
The light and the wall are a single system. I learned this after painting a bedroom Sherwin-Williams Accessible Beige SW 7036 and leaving a 4000K bulb in the overhead. The room looked sick for a month until I swapped the bulb. The paint didn't change.
The light did. Start with the wall color, then buy bulbs that make it warmer, not cooler.
The same principle applies in a japandi kitchen design where the warm wood tones need warm light to feel grounded rather than sterile. For more paint-and-light pairings, my bedroom paint colors guide has the full chart.
18The Reading Nook Light Triangle
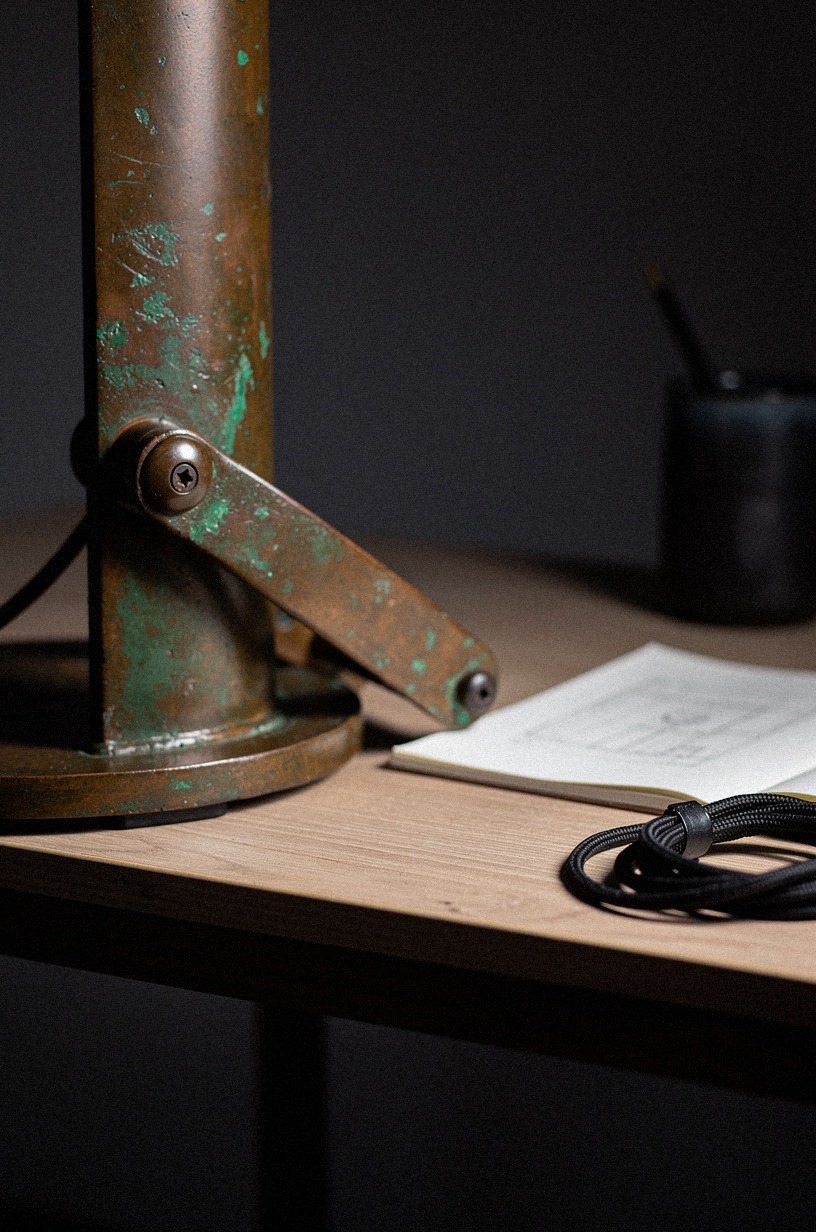
If you've carved out a reading corner, the light needs to come from three directions: behind you (ambient), beside you (task), and slightly in front (bounce). A floor lamp behind the chair, a small table lamp on a side table at elbow height, and a pale wall or rug in front to catch the spill.
The triangle prevents shadows on the page and keeps your eyes from straining. I learned this setup from a Pottery Barn catalog shoot and adapted it with a $35 IKEA NOT floor lamp and a thrifted ceramic table lamp. The total cost was under $80 and the reading experience changed completely. Before, I'd read for twenty minutes and feel tired.
Now I'll lose an hour without noticing. The light does the work, not your eyes.
If you're building a dedicated reading corner, check out the modular kitchen design principles of task lighting, they translate perfectly to any workspace! For more cozy seating ideas, my reading nook guide has layout templates.
19The Morning-to-Evening Light Switch
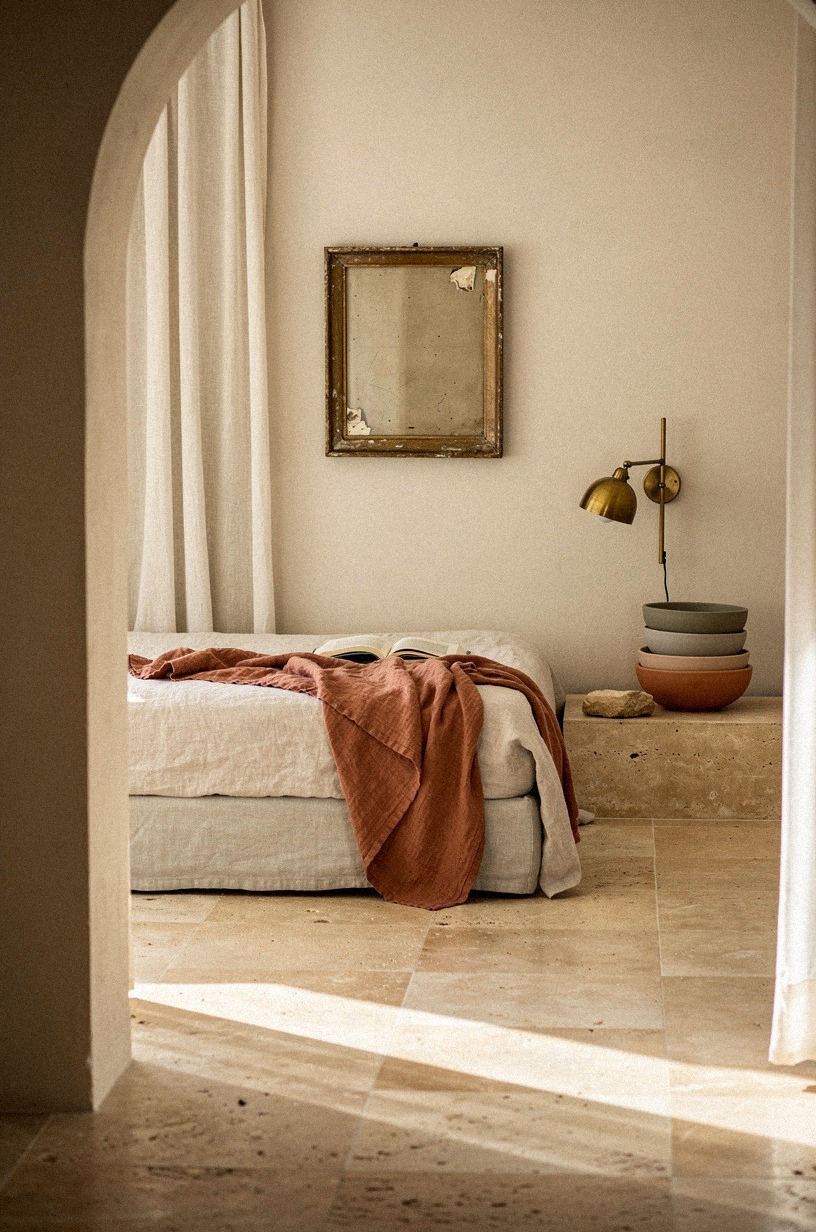
Your bedroom needs two completely different light personalities. Morning light should be bright enough to find your clothes without squinting.
Evening light should be dim enough that you don't notice the transition from awake to asleep. The switch between them is the hard part.
I use smart bulbs programmed to 100% at 7 am, 40% at 8 pm, and 10% at 10 pm. The Philips Hue White Ambiance bulbs handle this automatically, but any smart bulb with scheduling works. The key is that the change happens gradually. A single switch from bright to dim is jarring.
A slow fade over three hours feels like the room is putting you to bed. I've set this up in three bedrooms now, and the 10 pm setting is always the one that gets commented on.
Guests don't know why they feel sleepy. They just do.
What Bedroom Lighting Actually Costs (Real Numbers)
Here's the honest breakdown I've seen across dozens of bedroom refreshes. These are typical US ranges, not exact quotes.
And if you're just swapping lights, the fixture spend is usually the smallest part. A good 2700K bulb is $8. A decent plug-in sconce is $50.
The dimmer switch is $25. The real cost is the decision to stop using the overhead for everything.
That's free, and it's the hardest part.
The Mistake I Made Three Times Before I Got It Right
I've set up bedroom lighting in four places now, and the first three were wrong in the same way. I bought beautiful fixtures and pointed them all at the ceiling or the floor, and I wondered why the room felt lit but not warm.
The problem wasn't the fixtures. It was the absence of overlap.
Light in a bedroom needs to collide, to pool, to leave edges soft. A single perfect lamp in a perfect corner is just a lamp.
Three imperfect sources in conversation with each other is a room.
The first time I got it close to right was a rental I couldn't modify. No hardwiring, no dimmers, no overhead swap.
I used a $12 cord kit from IKEA, a $40 floor lamp from Target, and a string of copper-wire lights along the top of the closet. Total: $72.
The room felt better than the $2,000 setup I'd done in the house before, because I stopped trying to solve everything with one expensive fixture and started thinking about layers. The cord kit hung on a hook. The floor lamp lived behind a chair. The fairy lights plugged into the same outlet as the clock.
Nothing was permanent. Nothing was fancy.
The overlap was what worked.
The lesson I keep relearning is that bedroom lighting isn't about fixtures. It's about time of day.
The same room at 3 pm and 10 pm should feel like two different spaces, and the light is what does that translation. Daylight is one source.
Your job is to build the evening version with enough complexity to feel human, not enough to feel busy. Three heights.
Warm bulbs. Overlap.
Everything else is styling.
The Questions Worth Answering First
What is the best cozy bedroom lighting for a small bedroom?
A plug-in sconce and a small floor lamp will do more than any overhead. In a tight room, go vertical with your light so you don't sacrifice surface space.
The IKEA TERTIAL task light clamped to a shelf works if you're really squeezed. The goal is two sources minimum, both dimmable, both warm.
Where can I buy cozy bedroom lighting pieces on a budget?
IKEA for cords, bulbs, and basic shades. Target Threshold and Studio McGee lines for sconces and table lamps that look more expensive than they are.
Wayfair if you know the exact style keyword ("brass pharmacy lamp," "ceramic bedside"). And don't skip Facebook Marketplace or estate sales, old fixtures have better material weight than new cheap ones.
How much does a cozy bedroom lighting makeover cost?
About $100 to $300 if you're keeping furniture and swapping fixtures, bulbs, and maybe adding a plug-in sconce. The budget tier covers paint, shades, and art at $200-$800.
Most of the impact comes from the bulb swap and the dimmer, which together run under $50. The rest is patience and placement.
Can I create cozy bedroom lighting on a budget?
Yes, and start with what you own. Swap every bulb to 2700K first.
Move your existing lamps to better positions: behind the chair, beside the bed at the right height, low in a corner. Add a $12 LED strip under the bed.
The only purchase I'd insist on is a dimmer switch or smart bulbs. Everything else is rearrangement.
Is cozy bedroom lighting worth it in a small space?
Worth it, and small spaces help more than you'd think. Less square footage means your light sources overlap faster, which is the whole goal.
A single floor lamp in a studio bedroom can light the whole room if you bounce it off a pale wall. The 15 tiny bedroom ideas piece has a full layout for tight rooms.
Is cozy bedroom lighting a good idea for a rental?
Yes, and most of the best moves are no-damage. Plug-in sconces with cord clips, battery-operated picture lights, LED strips with adhesive backing, and smart bulbs in existing fixtures.
Nothing permanent, everything removable. The bedroom lighting design for sleep guide covers renter-friendly setups specifically.
Where I'd Start First
If I had to pick one, I'd start with the bulb temperature. You can't layer warmth on top of a cold room.
The rug, the bedding, the lamps will all fight the walls instead of building on them. Get the color right first.
Everything else lands.