
 by
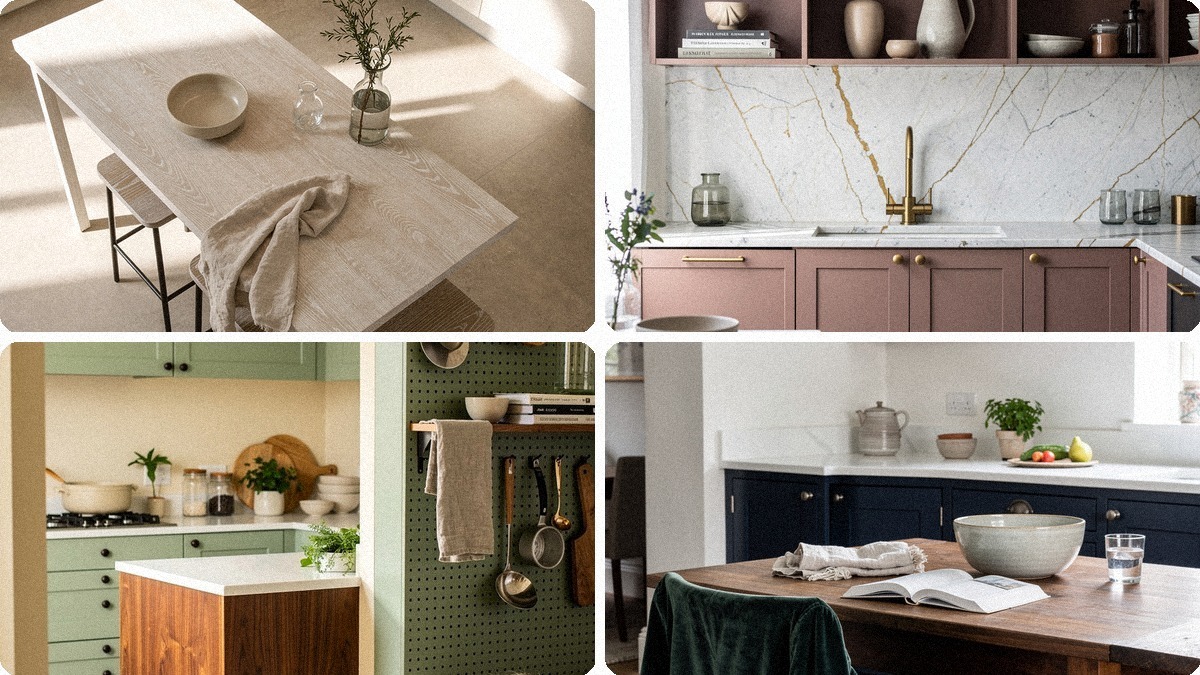
by I've lived with a 7-foot galley kitchen for three years, and the mistake I made first was treating the island like storage on legs. It swallowed the walkway and turned cooking into a side-shuffle. The lesson? In a small kitchen, the island isn't about adding more. It's about doing one thing so well that the rest of the room relaxes. These 17 ideas are the ones I'd really build or buy if I were doing it again.
Short version: start with a rolling butcher block if you want flexibility, a waterfall edge if you want permanence, and a repurposed dresser if you want character on a budget. Everything else is styling. The full list below covers every price point and footprint, from studio apartments to narrow galley kitchens that barely have room to turn around.
Start here: measure your aisle first. The gap between island edge and opposite cabinet is the dimension that matters more than any material. Get that right, and everything else follows.
- The Rolling Butcher Block
- The Waterfall Counter on a Narrow Base
- The Vintage-Style Work Table
- The Two-Tone Cabinet Move
- The Fold-Down Leaf Island
- The Open-Shelf Base
- The Slim Console with Stools Tucked Under
- The Repurposed Dresser Island
- The Pegboard Side Panel
- The Integrated Cutting Board Top
- The Appliance Garage Island
- The Live-Edge Slab on Hairpin Legs
- The Tiled-Base Statement
- The Library-Ladder Island
- The Under-Counter Fridge Niche
- The Magnetic Knife Strip End
- The Double-Height Breakfast Bar
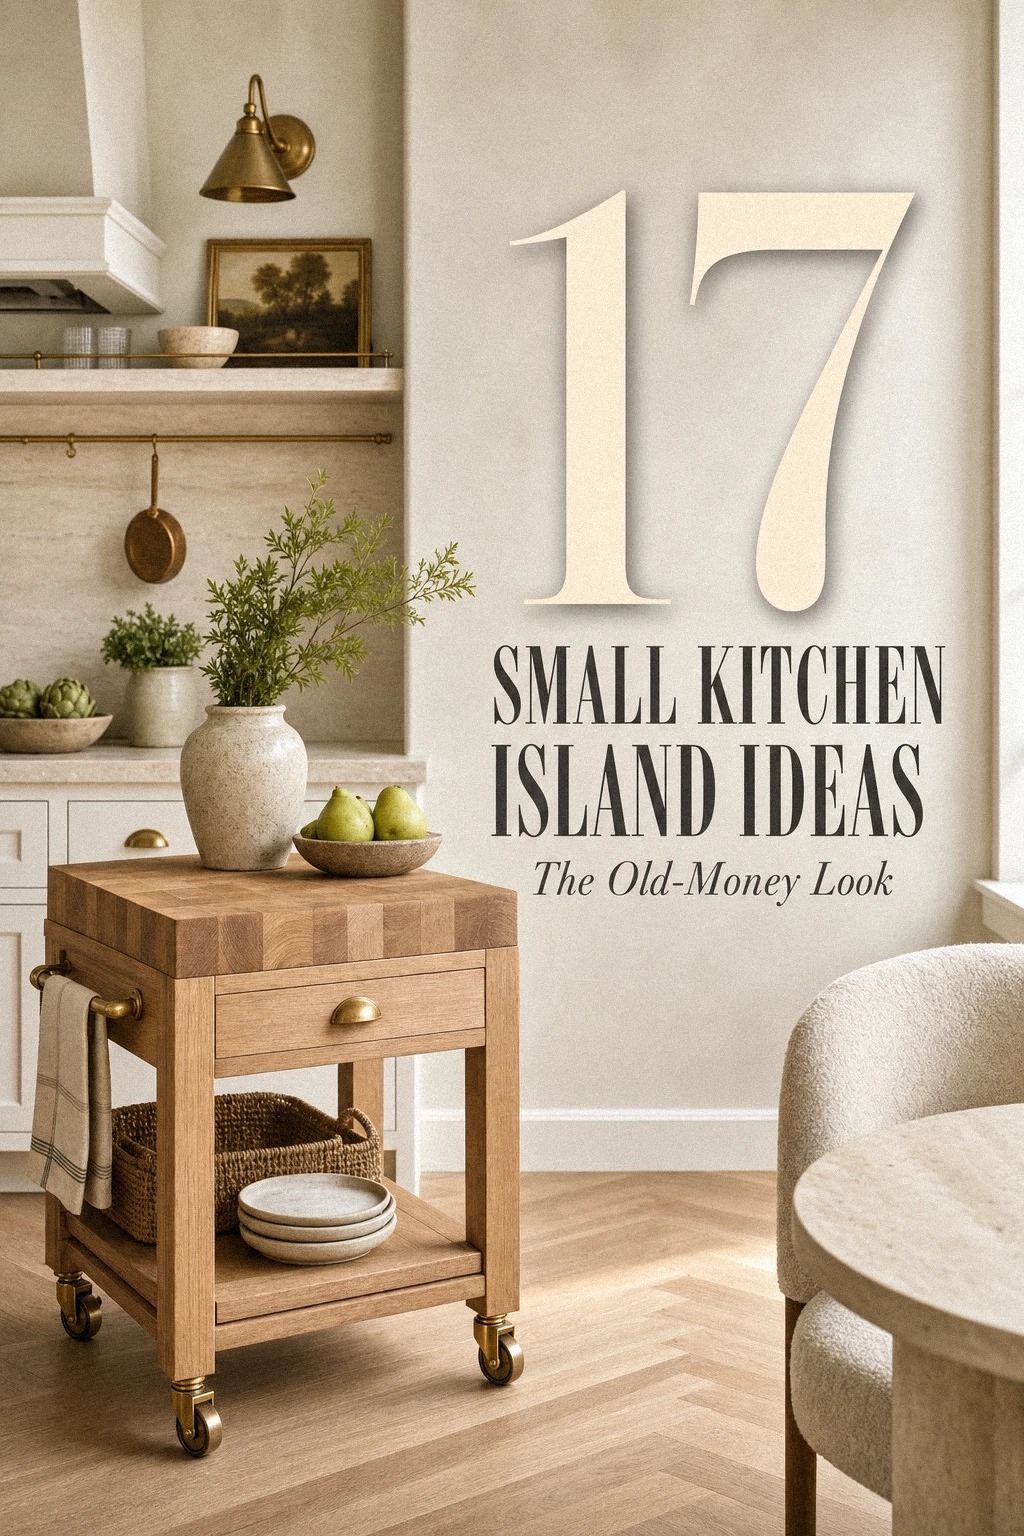
1The Rolling Butcher Block
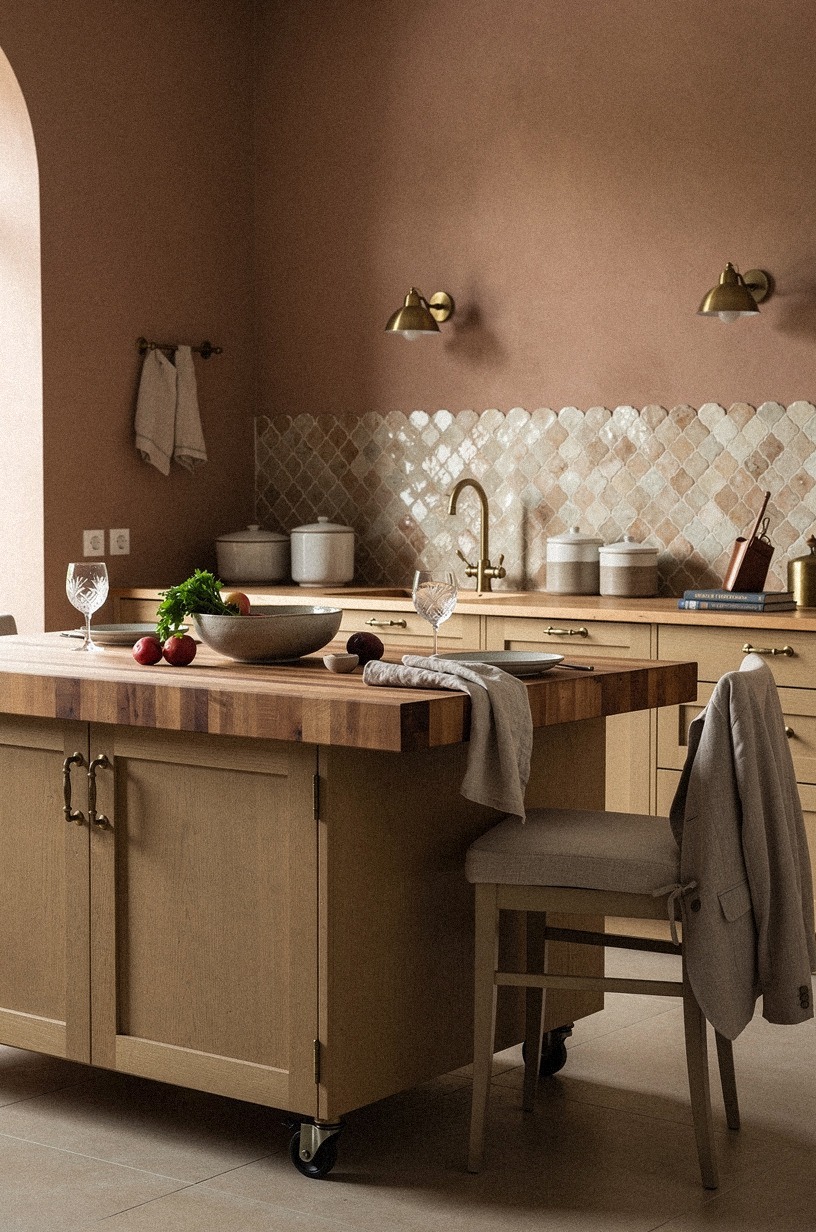
A John Boos maple end-grain top on locking casters is the original small-kitchen move, and it's still the smartest. Roll it against the wall when you're not prepping, pull it center when you are. The end-grain surface is gentle on knives and develops a patina that hides the mess of real cooking.
At 36 inches high, it matches standard counter height, so it extends your workspace without breaking the visual line.
Most people buy too wide. I've seen 48-inch islands jammed into 60-inch aisles.
You need 42 inches of clearance minimum, 48 if two of you cook. A 30-inch-wide butcher block gives you prep space and keeps the walkway honest. If you're staining it yourself, go with a food-safe Rubio Monocoat in Pure rather than a film finish.
It won't peel near the sink, and you'll re-oil once a year, not sand. If you're working with a tight kitchen layout, my guide on galley kitchen layout ideas covers how to keep traffic moving in narrow spaces.
2The Waterfall Counter on a Narrow Base
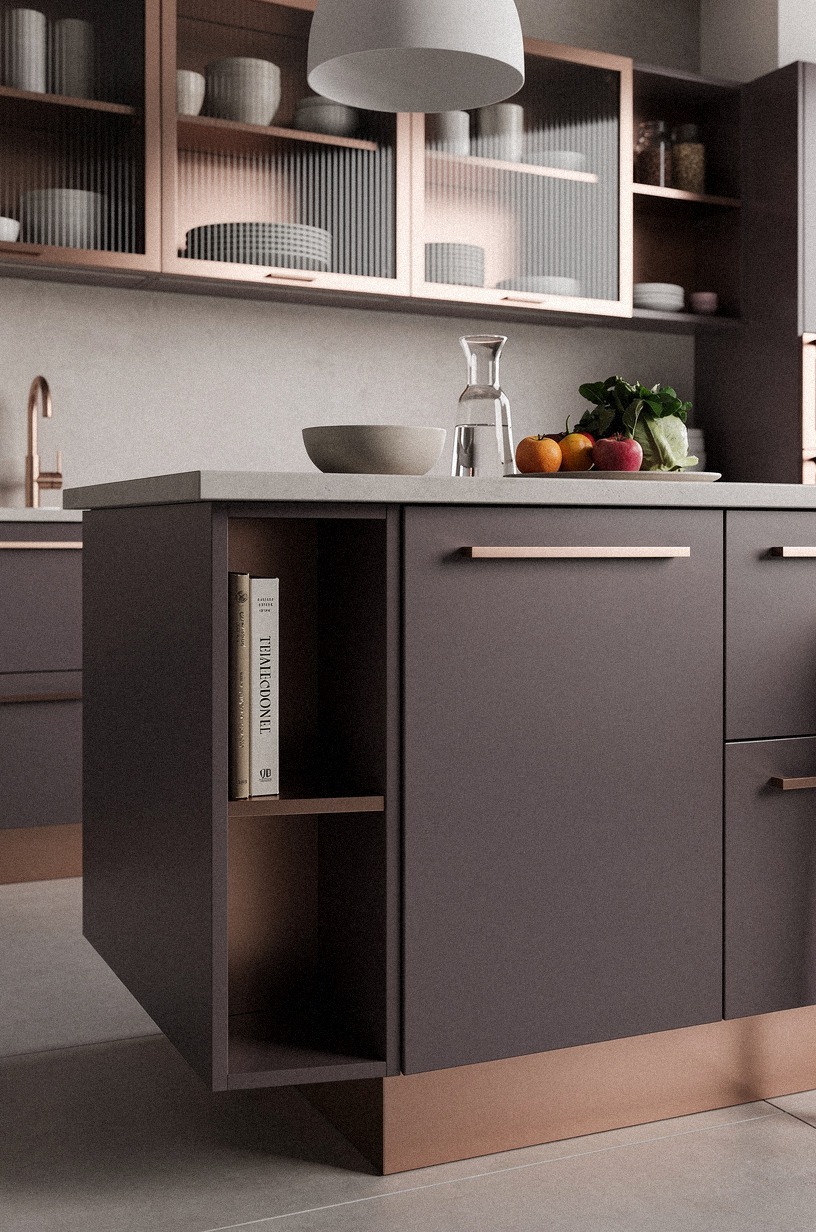
A quartz waterfall edge that runs down both sides of a 24-inch base reads as furniture, not appliance. The vertical drop draws the eye up, and the uninterrupted surface makes the island feel intentional rather than squeezed in. I've seen this done with Calacatta Gold in a 9-foot kitchen, and it looked like the room was designed around it.
The move is the overhang. A 12-inch counter overhang on the seating side gives you a breakfast bar without a separate structure. But don't overhang both sides in a tight space.
Pick one face to drop, keep the other flush with the base, and the island stays slim in the plan while looking substantial in the room. If your floors are oak, match the island base to the floor tone so the counter appears to float.
For more on matching materials across a room, my open floor plan kitchen ideas guide breaks down how to make one surface talk to another.
3The Vintage-Style Work Table
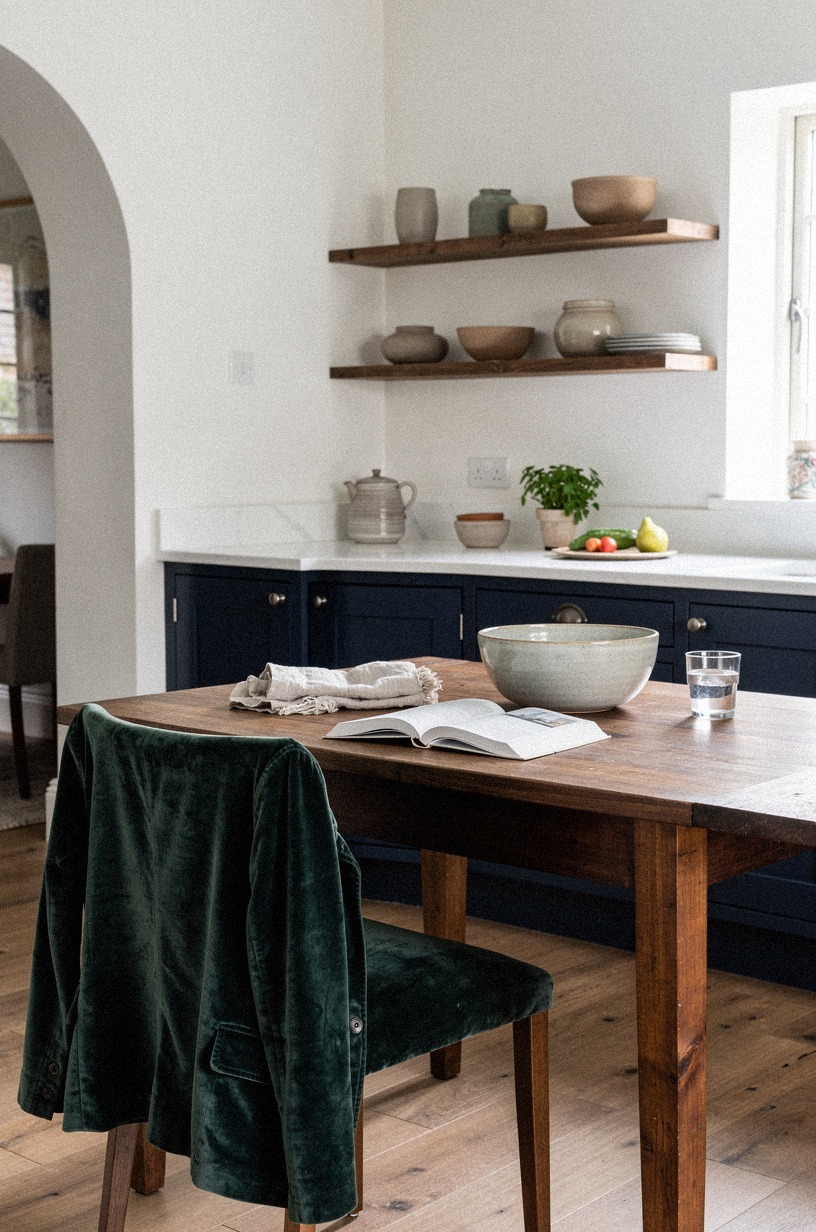
A stainless-steel work table with a lower shelf brings restaurant-kitchen energy to a small space, and the open shelf keeps it from feeling like a monolith. I found one at a restaurant supply store for $180, 30 inches wide and 48 inches long, with a brushed top and galvanized legs. It wiped clean with a rag and held everything I needed for a dinner party without blocking the fridge door.
The lower shelf is where you store the stuff that's too ugly for open display but too useful to hide deep in a cabinet. Mixing bowls, sheet pans, that one oversized cutting board.
The metal surface is cold to the touch, so I keep a wooden cutting board on top for actual prep and use the steel for plating and staging. It's the island that says you cook seriously, even if you don't. For more industrial kitchen moves, my industrial kitchen design ideas guide has the full material breakdown.
4The Two-Tone Cabinet Move
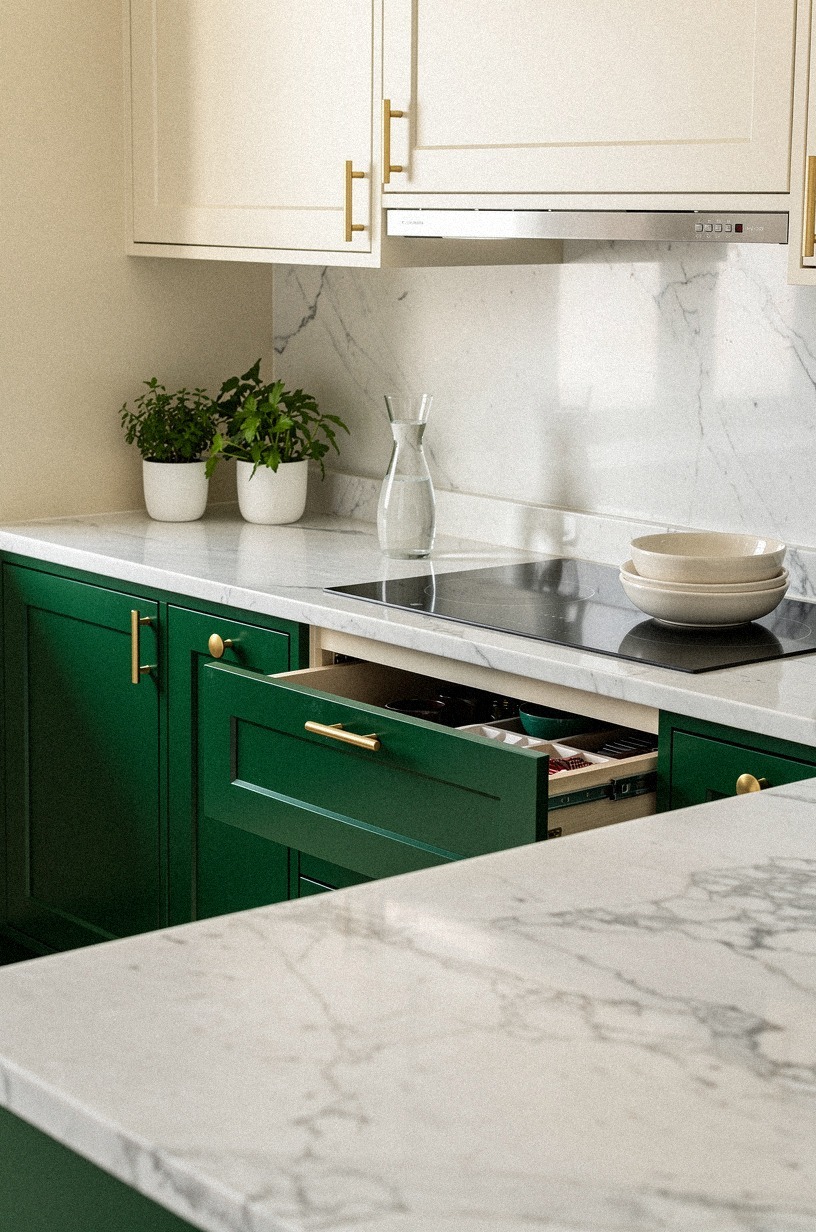
Painting the island base a deep color and leaving the perimeter cabinets light is the oldest move in the book, but it works because it breaks the room into layers. I've tried Farrow & Ball Studio Green (No.93) against Benjamin Moore White Dove (OC-17) walls, and the island became a piece of furniture instead of more cabinetry.
The key is the transition. If your perimeter is a warm white, go moody on the island.
If your perimeter is already gray or beige, go dark green or navy. The contrast creates depth, and depth is what makes a small kitchen feel larger than its footprint.
Keep the counter light. A dark base with a light top is the combination that reads as designed, not accidental. For more color strategy, my kitchen color scheme ideas guide covers how to build a palette that holds together.
5The Fold-Down Leaf Island
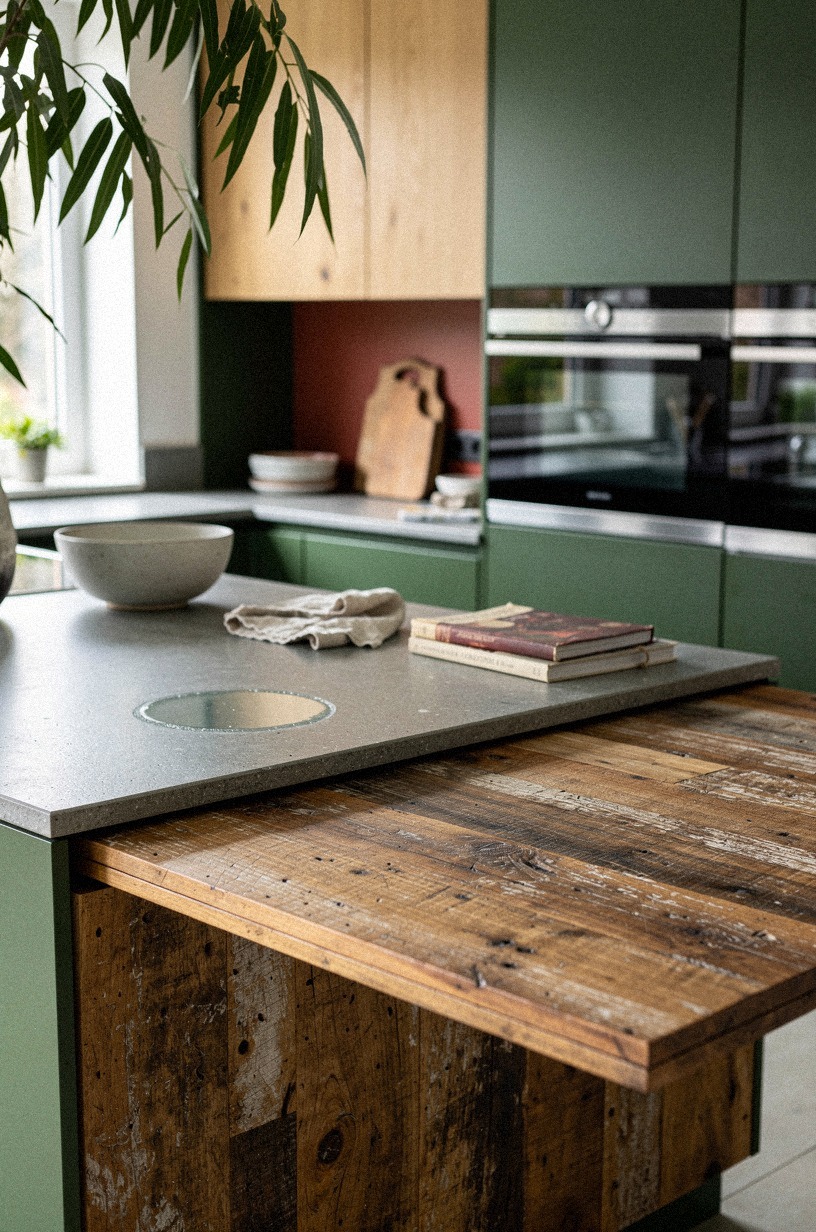
A 20-inch base with a 10-inch drop-leaf on each side gives you a 40-inch prep surface when you need it and a 20-inch console when you don't. I've seen this built from an IKEA TONSTAD cabinet with a custom oak top, and the total cost landed under $400.
The leaf hardware is the part you don't cheap out on. Brusso or Sugatsune hinges hold the weight without sagging.
Use the folded position as a console against the wall. Open both leaves when you're rolling dough or plating a dinner party.
And if you're renting, this is the island that moves with you. It breaks down to a cabinet and a top, nothing permanent, nothing to explain to a landlord.
Total win! If you need more rental-friendly kitchen ideas, my rental kitchen makeover ideas guide has moves that leave no trace.
6The Open-Shelf Base
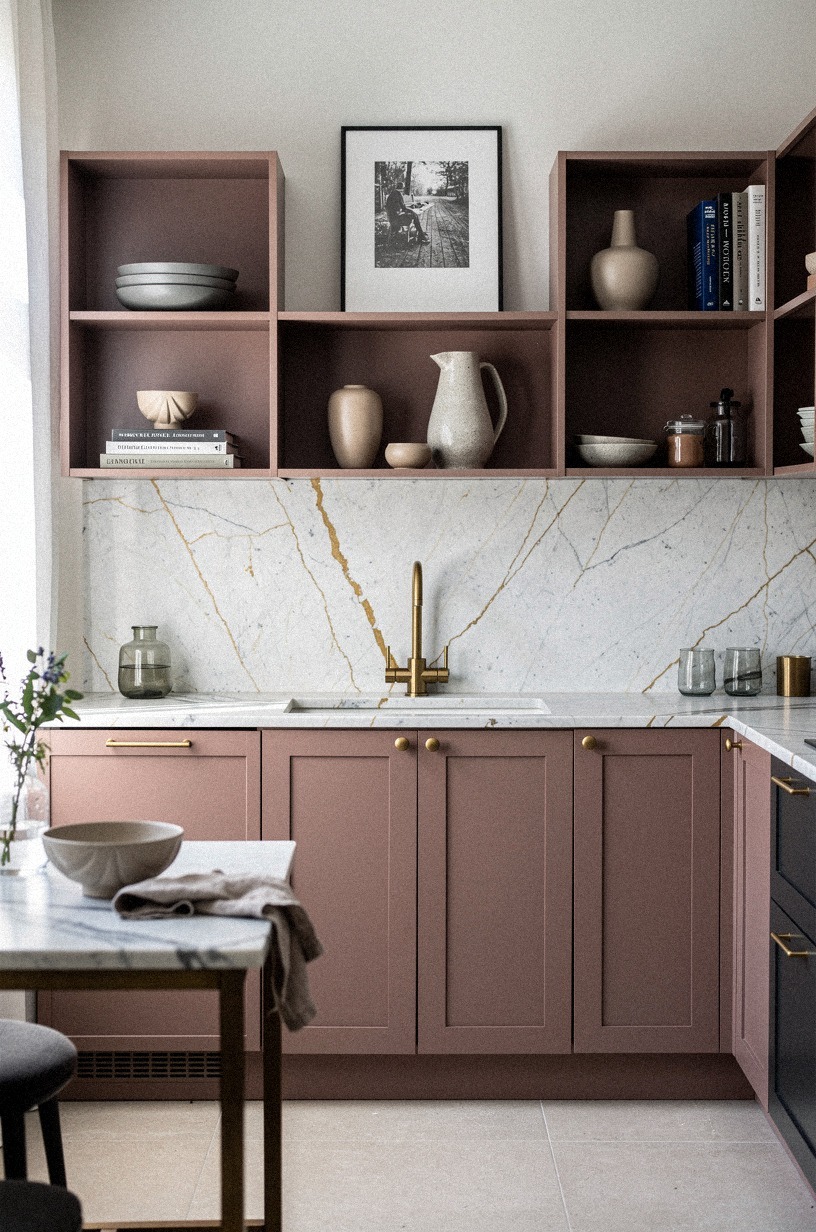
Closed cabinets on an island make a small kitchen feel like a corridor of boxes. An open-shelf base at 18 inches deep stores the things you use daily, cutting boards, mixing bowls, a few cookbooks, and keeps the visual weight low. I've built one from cerused white oak with a Carrara marble top, and the combination of warm wood and cool stone is the texture that makes a room feel finished.
The discipline is what you put on those shelves. If it's ugly, it goes in a drawer.
If it's beautiful, a copper pot, a stack of Belgian flax linen towels, a wooden bowl, it lives in the open. This isn't storage for everything.
It's curation for the things that earn the space. For more on open storage that looks intentional, my open shelving kitchen ideas guide covers the styling rules that keep it from looking cluttered.
7The Slim Console with Stools Tucked Under
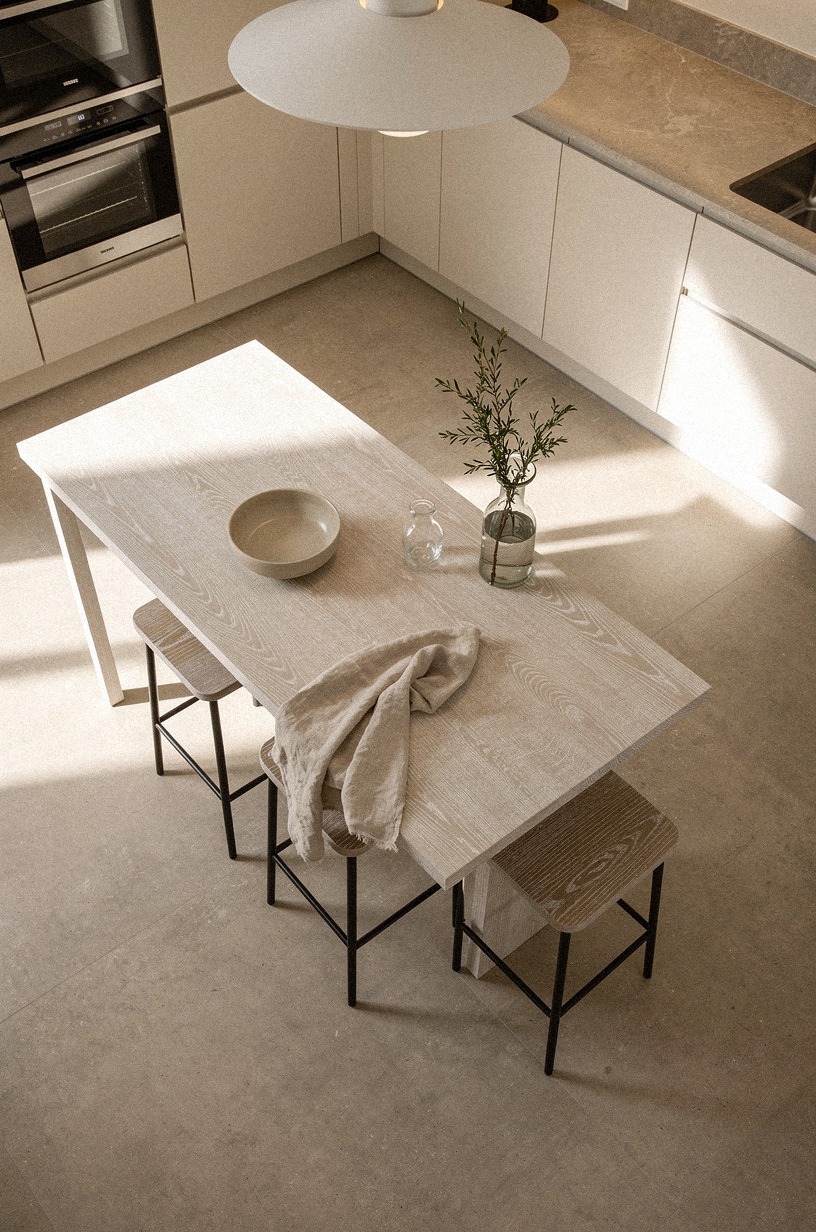
A 12-inch-deep console with a 10-inch overhang and backless stools that slide completely underneath is the island for kitchens that don't have island space. I've seen this done at 48 inches long in a studio apartment, and it turned a blank wall into a breakfast spot and a prep extension. The stools disappear when you're not using them, and the console reads as a sideboard, not a kitchen island.
The top needs to be durable. Quartz at 1.25 inches thick with a simple eased edge works.
Wood is warmer but needs oiling. Laminate has come a long way, Formica's Calacatta Marble pattern fools the eye from four feet away and costs a fraction.
If you're going slim, go long. A 12-by-60-inch console has more usable surface than a 24-by-30-inch block because you can work along the length.
For more small-space seating tricks, my small dining room ideas guide has the footprint math.
8The Repurposed Dresser Island
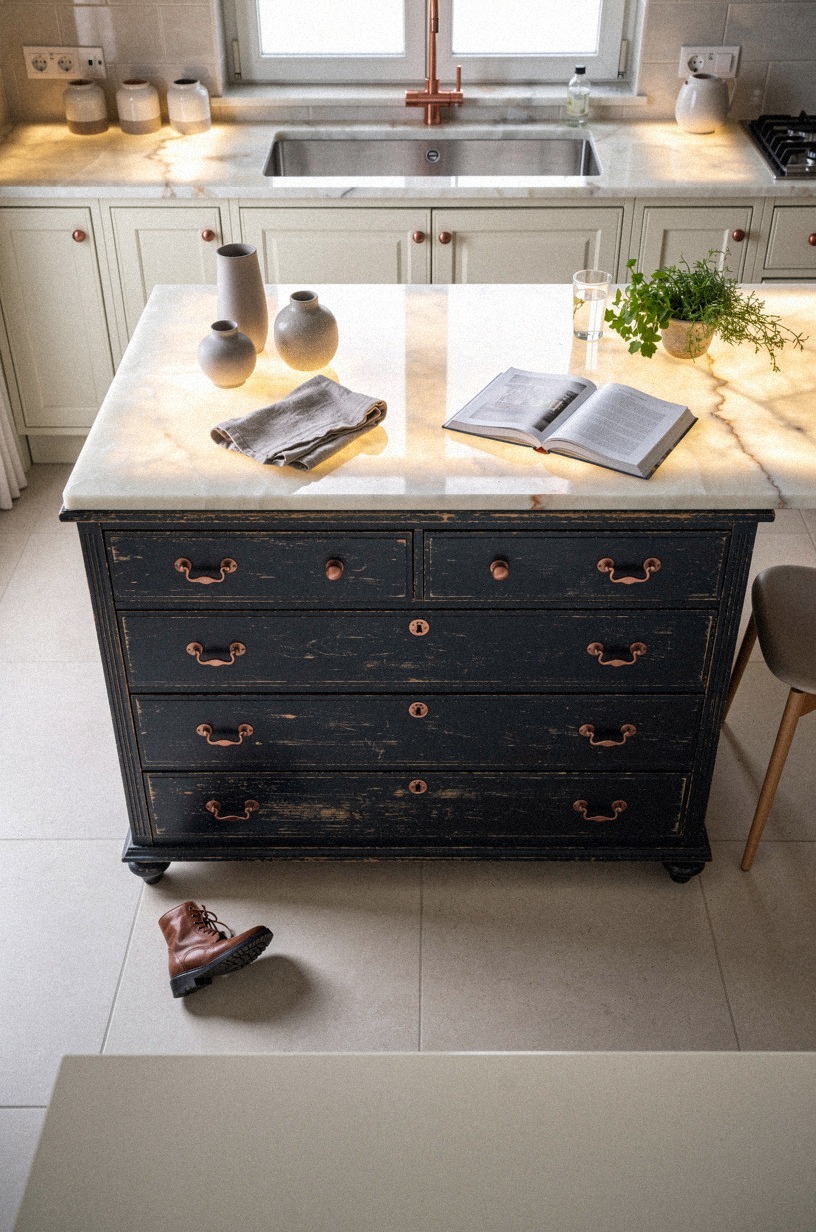
An old dresser with the top drawers removed and a butcher block or quartz slab laid across is the budget move that looks expensive. I've done this with a HEMNES dresser I found on Facebook Marketplace for $60.
Removed the top two drawers, added a plywood shelf inside the cavity, and set a 36-inch IKEA KARLBY walnut-veneer top on it. Total: under $200, and it looked like a custom piece.
The dresser legs give it furniture proportions that cabinet boxes don't have. The existing drawers hold linens and tools.
And the best part? If you hate it in two years, you haven't committed to built-ins.
You sell the dresser and start over. That's the freedom a small kitchen needs. For more upcycled furniture ideas, my upcycled furniture kitchen ideas guide has the best sources and what to avoid.
9The Pegboard Side Panel
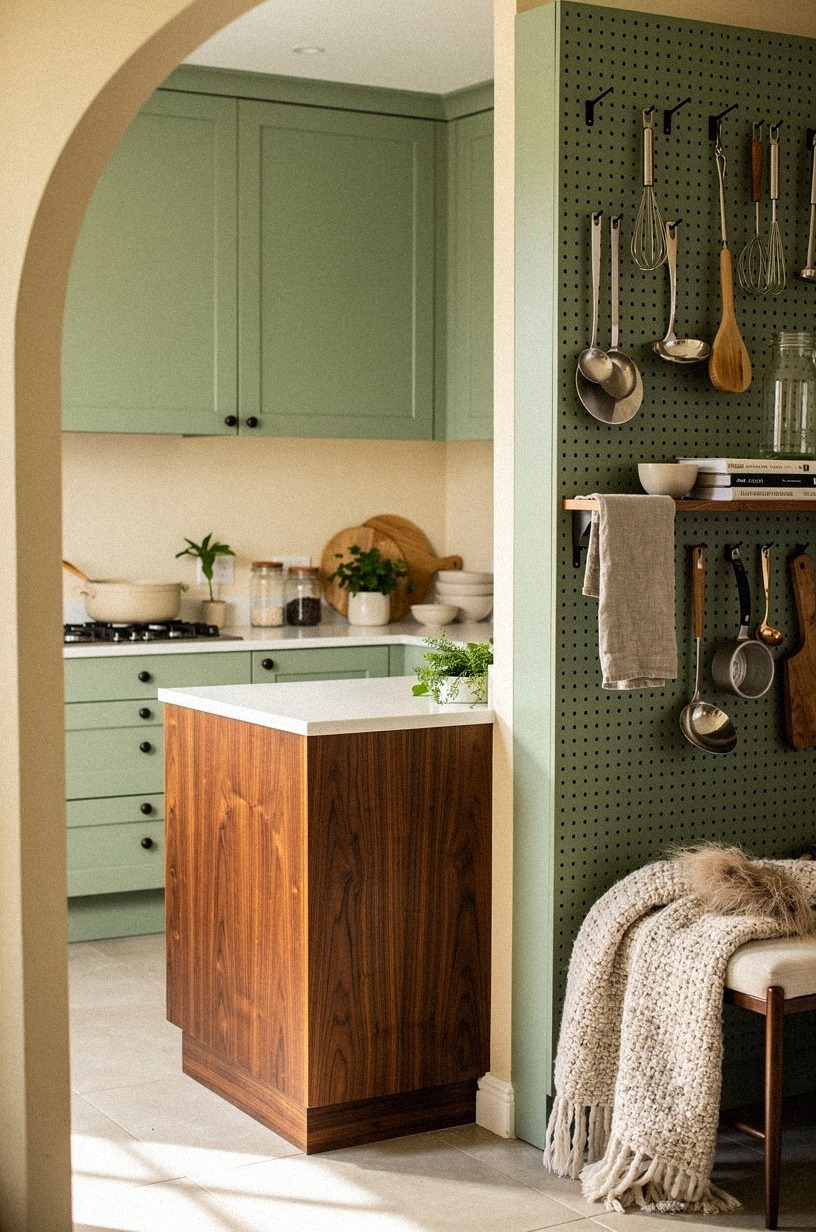
Adding a metal pegboard or cane webbing panel to the side of an island turns dead space into utility. Hooks hold pans, colanders, the tools you reach for ten times a meal. I've seen this done with a Wall Control pegboard in galvanized steel, and the industrial texture against painted wood is the kind of contrast that makes a kitchen feel personal.
The side panel works best on the non-walkway face. If your island is in the center, both sides are fair game. If it's against a wall, the exposed side becomes your tool rack.
Keep the color consistent with the island base or go one shade darker. A pegboard that matches the wall disappears.
One that contrasts becomes architecture. For more on mixing textures in a kitchen, my mixed material kitchen ideas guide covers the rules that keep it from looking chaotic.
10The Integrated Cutting Board Top
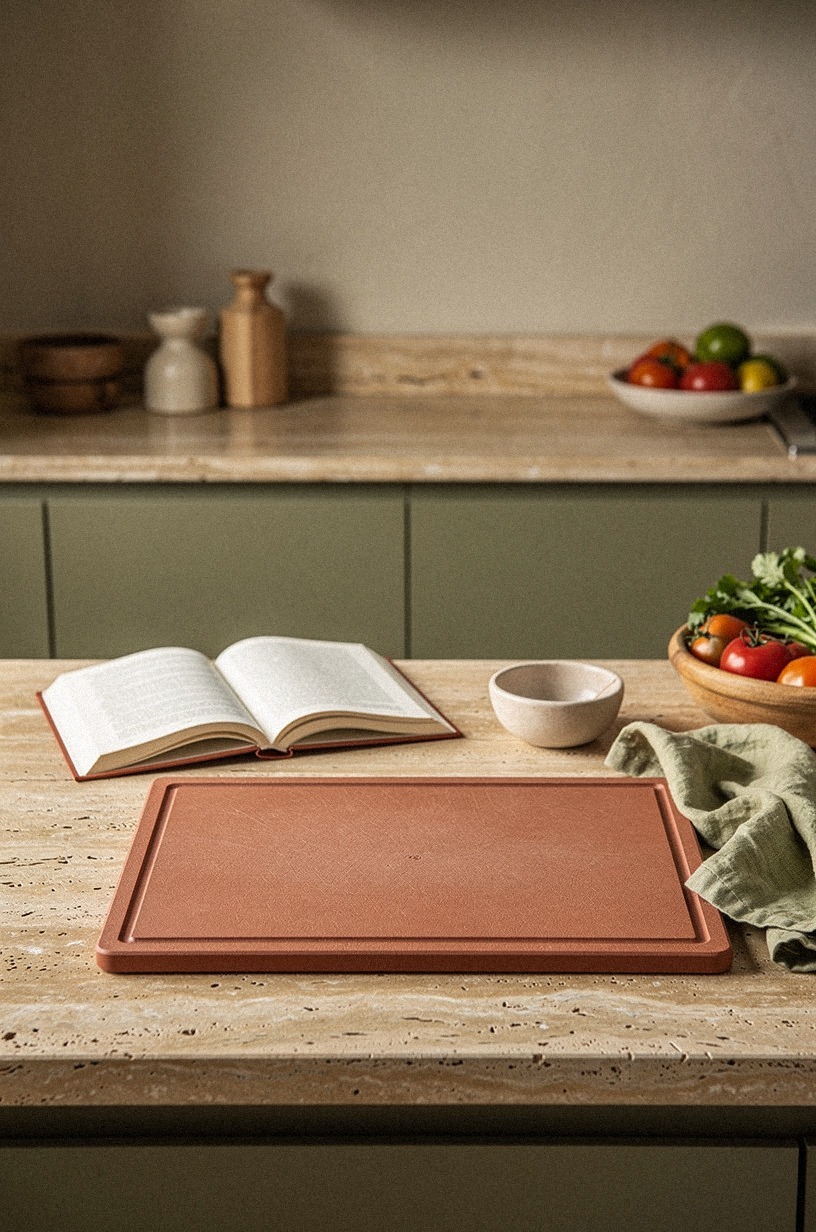
A 3-inch-thick end-grain maple slab set flush into a quartz or laminate counter gives you a dedicated prep zone that doesn't slide around. I built one into a 24-inch island and the difference was immediate.
No more chasing the board across the counter when you're mincing garlic. The maple is gentle on knives, and the flush edge means you sweep scraps straight into the sink without lifting anything.
The trick is the grain direction. End-grain shows the growth rings face-up, so the surface is self-healing. Face-grain would look similar but scar faster.
Oil it with mineral oil or beeswax monthly, and it'll outlast the counter it's set into. I routed a shallow juice groove around the edge to catch runoff.
It's the kind of detail that makes cooking feel considered, not improvised. For more on built-in prep zones, my kitchen prep station ideas guide has the full workflow breakdown.
11The Appliance Garage Island
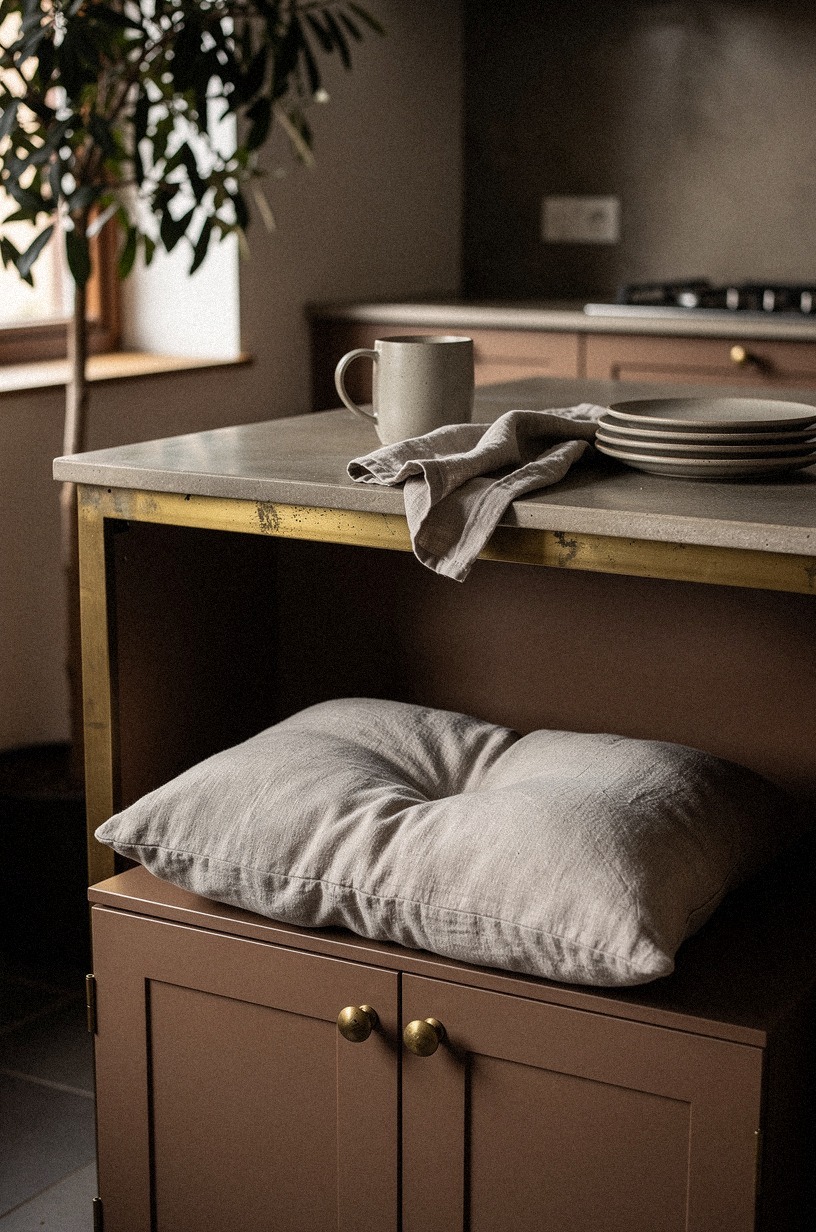
An island with a lift-up or roll-back door that hides a KitchenAid stand mixer, a toaster, or a coffee grinder is the clutter solution that really works. I've seen this built into the back of a 30-inch island, and the countertop stayed clear all day. The door was rattan cane on a hardwood frame, and the texture was beautiful even when it was closed.
The interior needs an outlet. Run a strip inside the garage and plug the appliances in there.
When you want toast, you slide the door up. When you're done, you slide it down.
The counter never sees the appliance. This is the detail that separates a kitchen that looks styled from one that looks lived-in.
Both are real. One photographs better. For more on hiding kitchen clutter, my hidden storage kitchen ideas guide covers the best concealment moves.
12The Live-Edge Slab on Hairpin Legs
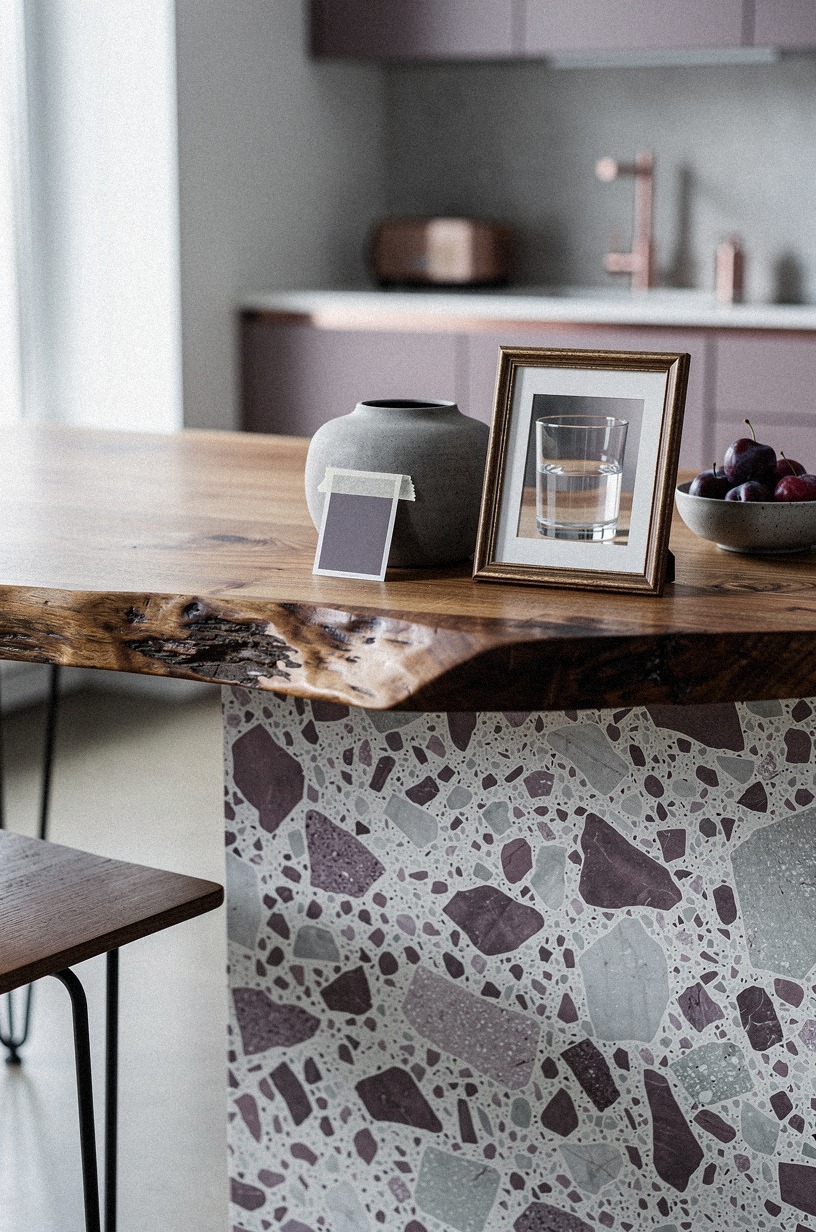
A single black walnut live-edge slab on three or four hairpin legs is the island that brings nature into a small kitchen without rustic overload. I've worked on one that's 60 inches long and 22 inches deep, and the organic edge softened the whole room.
The legs are 28 inches tall, so you add a 2-inch top and land at counter height. Or keep it at 30 inches total and use it as a bar-height prep station.
The live edge goes toward the room, not the cabinets. You want the straight cut against the wall or the work triangle, and the natural curve facing where people sit or stand.
Finish with Osmo Polyx in Clear Matt. It highlights the grain without a plastic film, and you can spot-repair it when someone sets a hot pan down without thinking.
For more on natural wood in kitchens, my natural wood kitchen ideas guide has the best species and finishes.
13The Tiled-Base Statement
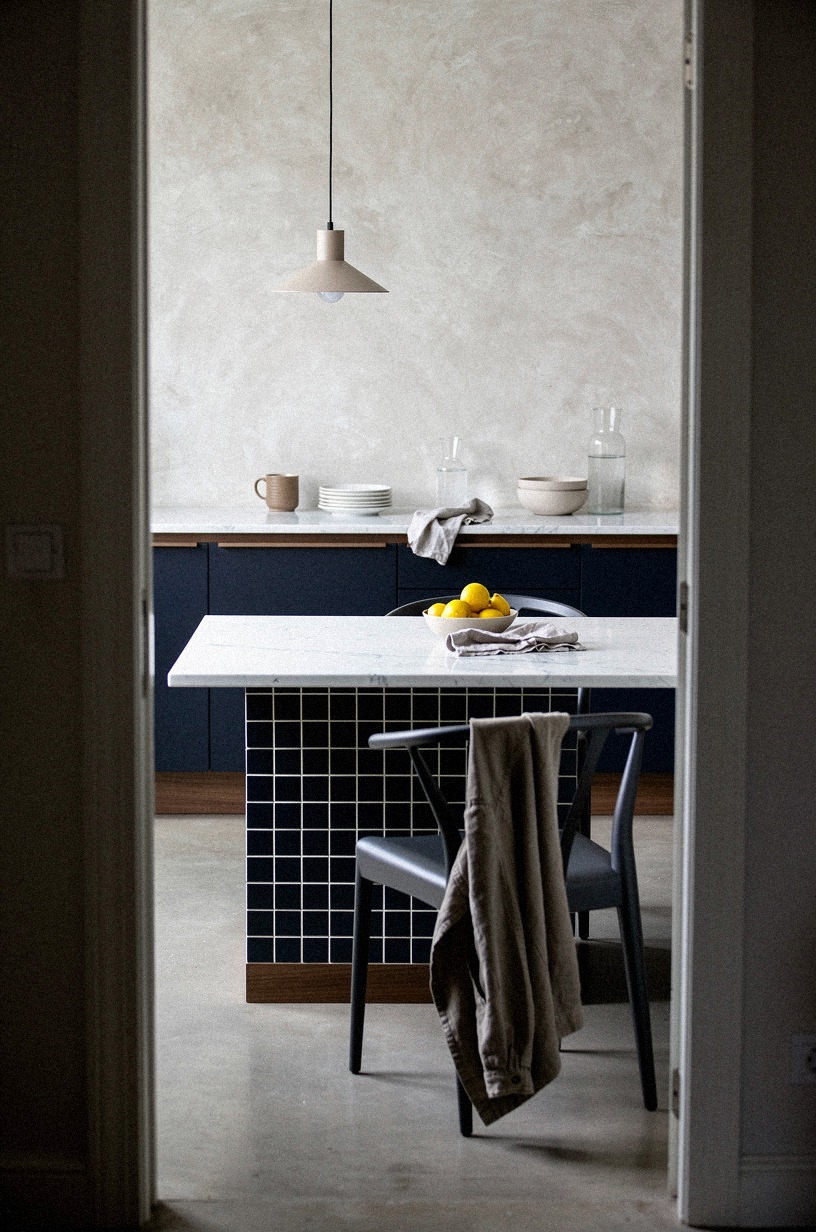
Wrapping the base of an island in hand-glazed emerald zellige or subway tile turns the structure into a piece of craft. I've seen this done with a simple plywood box and a Carrara top, and the tile made it look like a found object from a Moroccan riad. The grout is Mapei Warm Gray, and the variation in the handmade tiles catches light differently all day.
This works best when the rest of the kitchen is quiet. White cabinets, wood floors, simple hardware. The island becomes the one moment of pattern, and in a small room, one moment is enough.
Don't tile the top. Tile the base, cap it with stone or wood, and let the two materials talk to each other. The contrast is the point.
For more on tile as a focal point, my tile accent kitchen ideas guide covers the best patterns and where to stop.
14The Library-Ladder Island
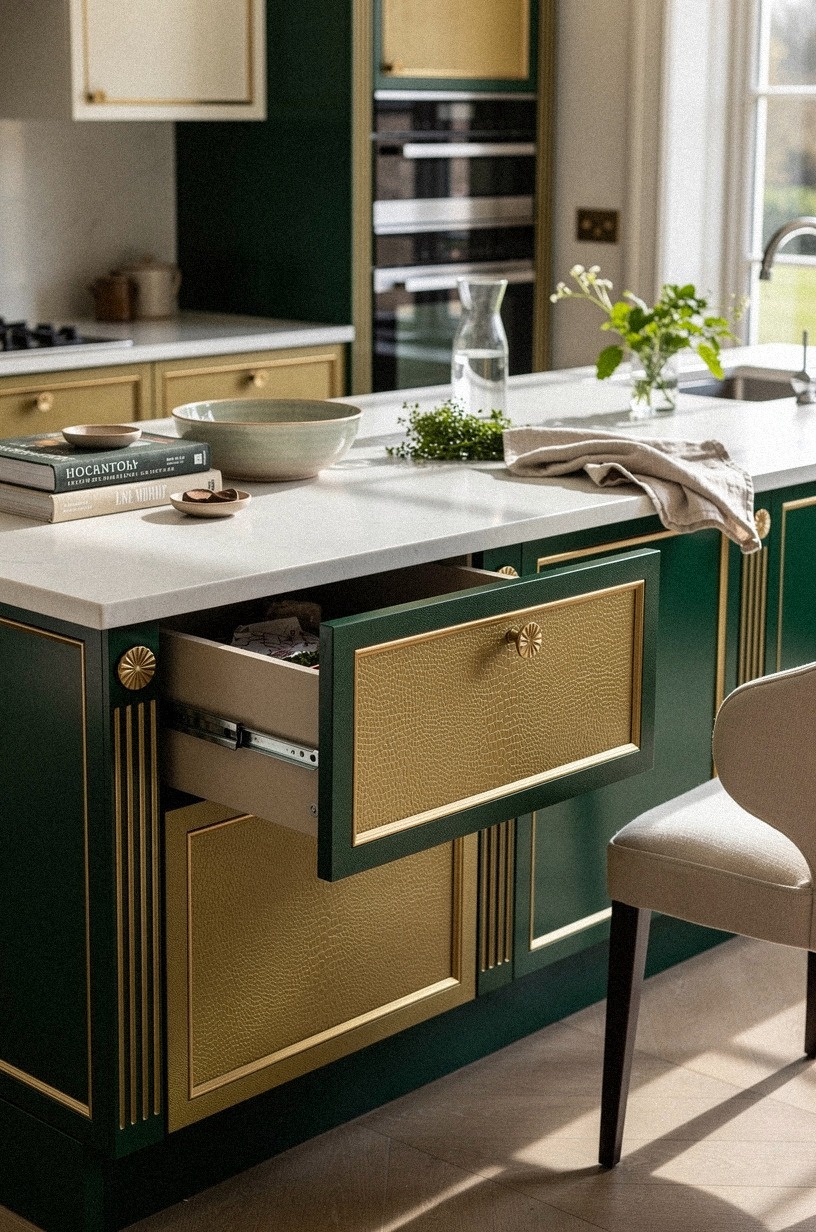
A tall island, 42 inches to the counter, with open shelving above to the ceiling, is the storage solution for kitchens with no upper cabinets. I built one in a loft kitchen where the ceiling was 10 feet and the walls were bare brick. The island became the pantry, the prep station, and the room's vertical anchor all at once.
The shelves need to be shallow, 8 inches deep max, or they become black holes for lost spices. I used white oak with a clear lacquer finish and kept the objects neutral: glass jars, white ceramic, wicker baskets.
The ladder is brass on a steel rail, mostly for show, but it does get used for the top shelf. The height draws the eye up and makes the whole kitchen feel larger than it is.
For more on vertical storage, my vertical storage kitchen ideas guide has the best hardware and spacing rules.
15The Under-Counter Fridge Niche
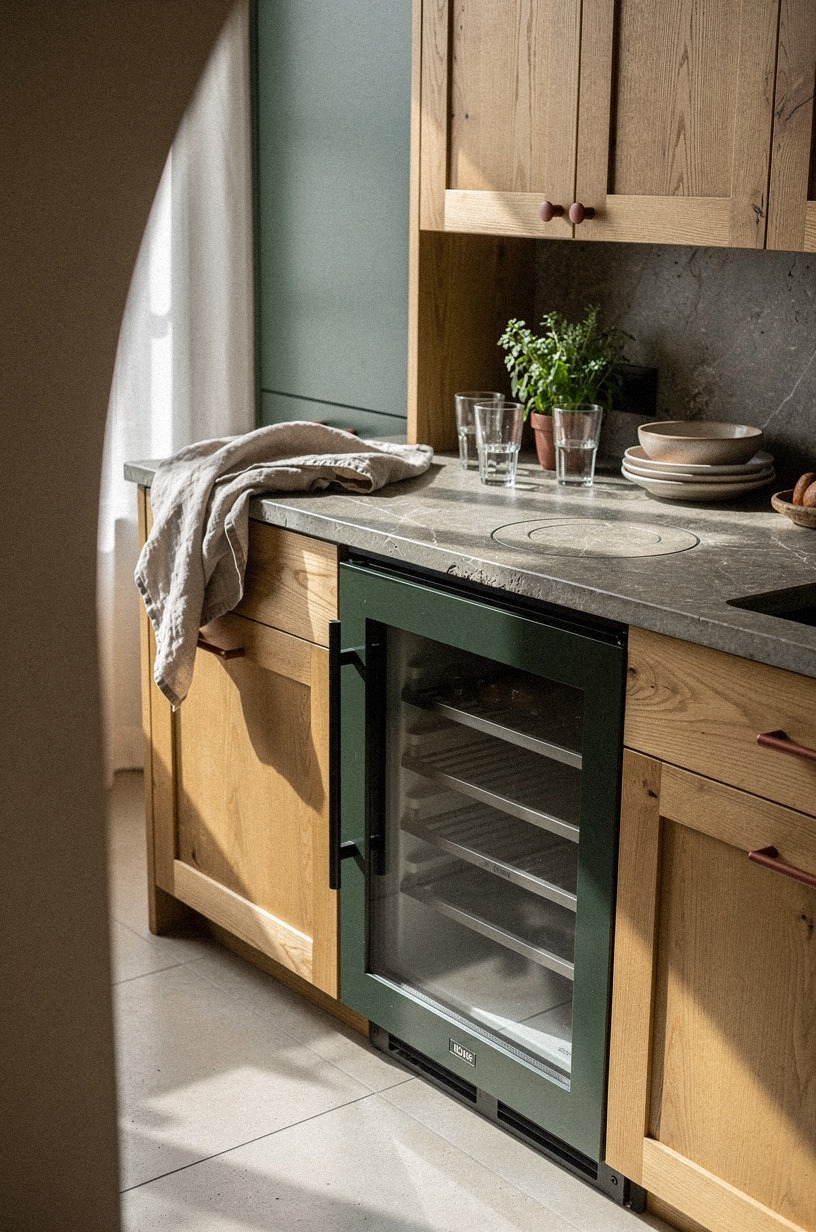
Building a 24-inch-wide niche into the island for a dual-drawer refrigerator or a wine fridge is the move that frees your main fridge for groceries and keeps your prep ingredients within arm's reach. I've worked with a KitchenAid 24-inch double-drawer unit set into the end of an island, and it changed how the kitchen functioned. Vegetables in the top drawer, proteins in the bottom, no cross-traffic to the main fridge during cooking.
The niche needs ventilation. Leave 2 inches above the unit and vent the toe-kick.
The counter above the niche can be standard depth, the fridge doesn't need a full 24-inch counter run, just a 24-inch base. If you're not ready for a built-in, a Miele under-counter wine unit on a rolling platform under a standard island gives you the same reach without the remodel.
For more on fridge placement, my kitchen appliance layout ideas guide covers the triangle rules that actually matter.
16The Magnetic Knife Strip End
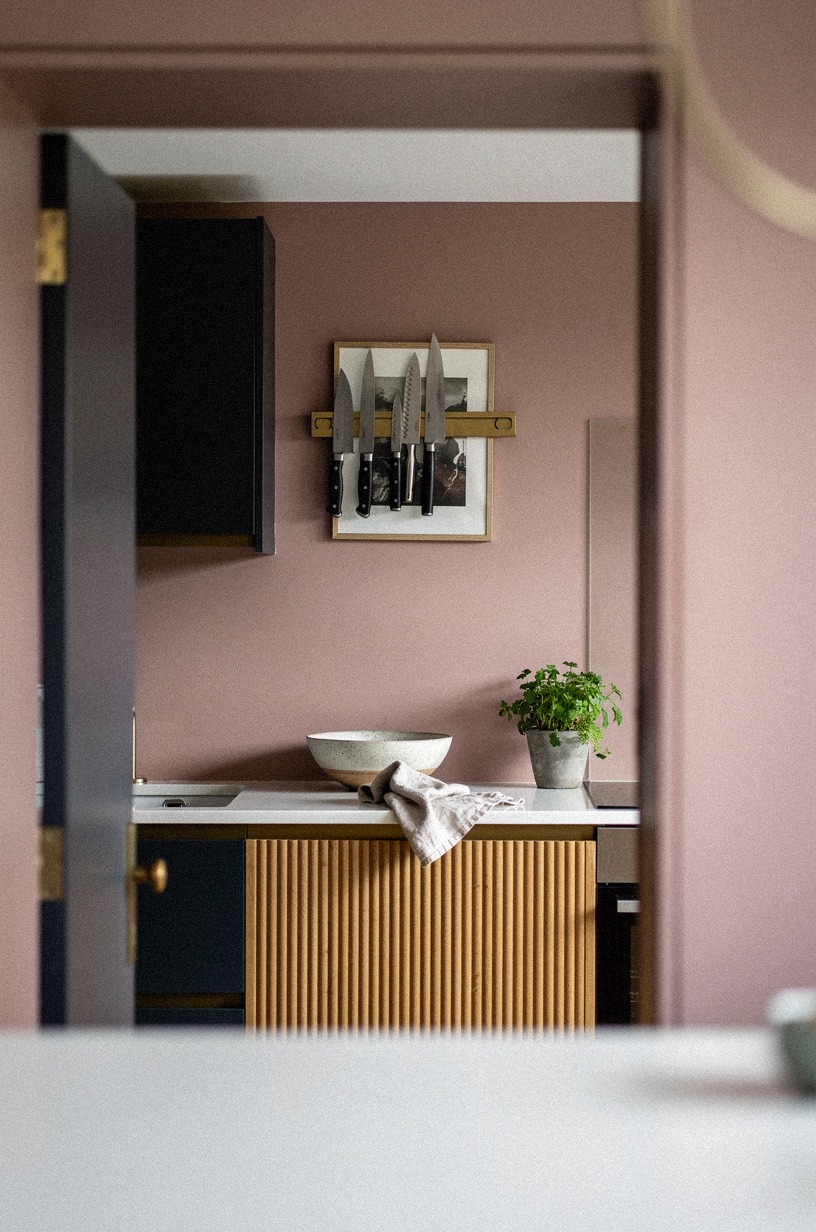
A walnut magnetic knife strip mounted on the end of an island keeps your blades accessible and off the counter. I've used one that's 18 inches long and holds six knives, and it's the first thing people comment on when they walk in. The wood is warmer than metal, and the magnets are strong enough that nothing shifts when you bump the island.
Mount it at 40 inches from the floor, which is comfortable reach for most adults and high enough that small hands don't find it. The end of the island is the right spot because it's visible from the prep zone but not in the traffic path.
If your island is against a wall, the front face works too. Just keep it away from the sink side, water and high-carbon steel are not friends. For more on kitchen storage that looks good, my kitchen wall storage ideas guide has the best racks and rails.
17The Double-Height Breakfast Bar
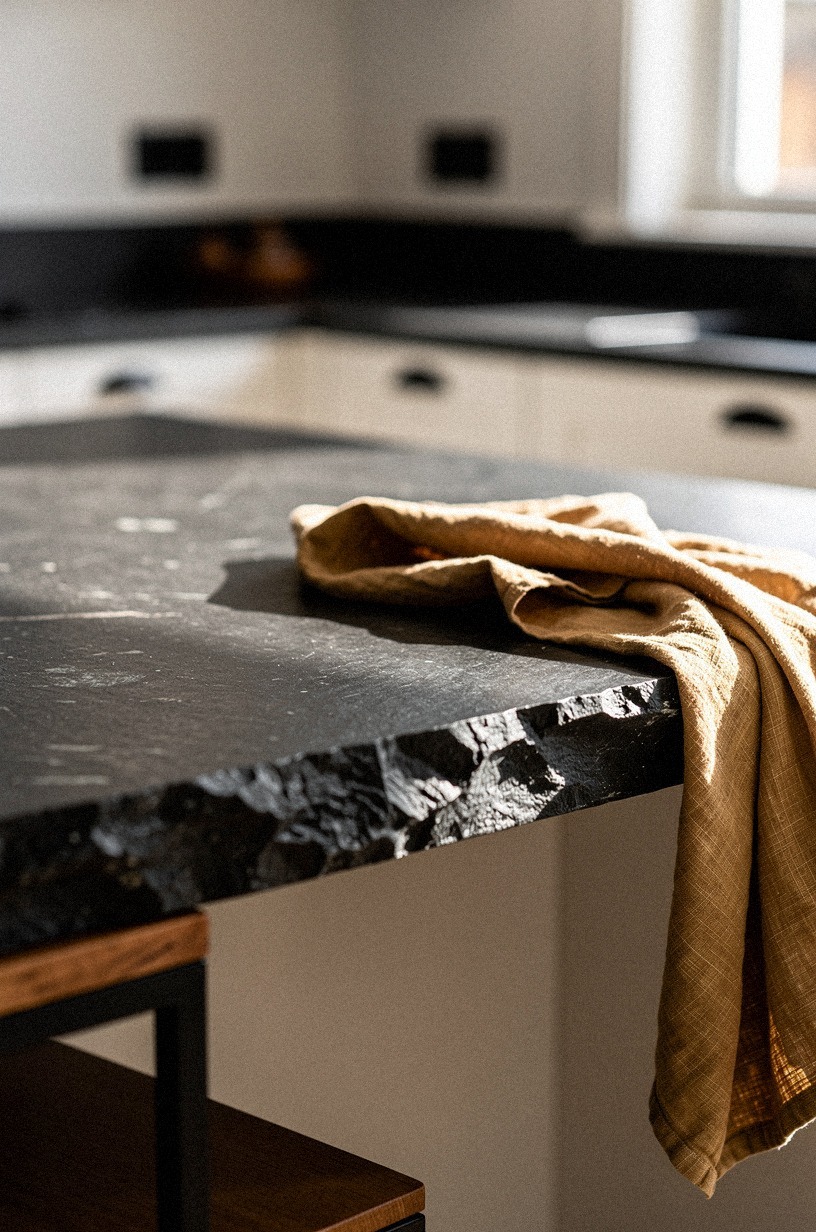
A two-level island, 36 inches for prep, 42 inches for eating, is the classic solution that still works because it separates the mess from the meal. I built one in a narrow kitchen where the aisle was only 48 inches wide, and the raised bar hid the dishes from the living room while still letting the cook talk to guests.
The key is the overhang. You need 12 inches of knee space minimum, 15 if you want adults to sit comfortably. The raised portion should be 12 to 18 inches wide, enough for a plate and a drink, not a workspace.
I used quartz for the lower surface and butcher block for the upper bar to create a material contrast that reads as two pieces of furniture, not one bulky block. For more on multi-level kitchen design, my kitchen breakfast bar ideas guide has the dimension rules and material pairings.
What These Ideas Actually Cost
I've renovated enough small kitchens to know that the budget conversation is the one people avoid until they're halfway through. Here's the honest breakdown, using real numbers I've paid or quoted in the last two years.
And if you're just buying an island, not renovating the room:
The butcher block rolling island I built cost $340. The waterfall quartz island in my friend's condo cost $4,200.
The vintage work table I found at a restaurant supply store was $180. The range is the point.
You can enter this conversation at almost any number, and the island will still do its job if you size it right and finish it well.
The Small Kitchen Island Philosophy
The islands that work in small kitchens share a trait that sounds contradictory: they don't look like islands. They look like furniture that happens to be in the kitchen.
A butcher block on casters reads as a table. A waterfall counter on a narrow base reads as a console.
A repurposed dresser reads as an antique. This is the principle I keep coming back to, and it's the one that took me three apartments to understand.
When an island looks like cabinetry, same material, same hardware, same proportions as the perimeter cabinets, it adds mass without adding character. The eye reads it as more of the same, and more of the same in a small room is claustrophobia.
When an island introduces a new material, a new height, or a new era of design, it becomes a focal point. The eye rests there, and the perimeter cabinets recede into background.
That's how you make 80 square feet feel like enough.
I learned this the hard way. My first island was a matching cabinet box with a laminate top, same white as the walls, same brushed nickel as the pulls.
It functioned. It held my microwave and my mail.
But it made the kitchen feel like a hospital corridor. I replaced it with a stained oak base and a Carrara remnant I bought from a stone yard for $200. The room changed immediately.
Not because the materials were expensive, the remnant had a flaw that made it unsellable at full price, but because the island became a thing with its own identity.
The best islands are the ones you can move. Not because you'll move them often, but because the possibility of movement changes how you think about the space.
A built-in island says "this is the kitchen." A rolling island says "this is the kitchen today." That flexibility is psychological as much as practical. It makes the room feel like yours, not like a floor plan you inherited.
What People Always Want to Know
What is the best small kitchen island for a tiny kitchen?
A rolling butcher block on locking casters. It's 36 inches high, matches your counter, and rolls away when you need the floor. IKEA's VADHOLMA is a solid starter, or build your own with a KARLBY top and a simple base.
The mobility matters more than the material in a tight space. If you're also optimizing your sleep setup, my cold room sleep temperature guide covers how to make any room feel more comfortable.
Where can I buy small kitchen island pieces on a budget?
IKEA for tops and base cabinets. Wayfair for finished islands under $500.
Target Threshold for stools and open storage. And don't skip Facebook Marketplace or estate sales, I've found solid oak dressers for under $100 that became islands with nothing more than a sander and a coat of Osmo Polyx.
The second-hand route is where the character lives. For more budget kitchen moves, my budget kitchen makeover ideas guide has the best sources under $200.
How much does a small kitchen island cost?
A budget DIY island runs $150 to $600. A mid-range bought island with a decent top lands at $800 to $2,500.
A custom built-in with stone and cabinetry starts at $3,000 and climbs. The paint and hardware refresh on an existing island?
That's often under $200, and it's the best return I've seen. If you're planning a full kitchen refresh, my kitchen renovation cost guide has the line-by-line breakdown.
Can I create a small kitchen island on a budget?
Yes, and you should start with what you have. A repurposed dresser with the top drawers removed and a plywood shelf added costs almost nothing.
A rolling metal cart from a restaurant supply store is usually under $200. Even a folding table against the wall with a cutting board on top gives you prep space and a place to eat. The island is a function, not a purchase.
For more rental-friendly moves, my rental kitchen makeover ideas guide has changes that leave no trace.
Is a small kitchen island worth it in a small space?
Absolutely, if it's sized right. A well-proportioned island adds prep space, storage, and a social anchor without closing the room. The key is the clearance.
Keep 42 inches between the island and the cabinets, and the kitchen feels bigger, not smaller. I've lived both ways, and the island version is the one I'd choose every time. If you're also choosing a mattress for a tight bedroom, my queen vs king room size guide breaks down how much bedroom your mattress really needs.
Is a small kitchen island a good idea for a rental?
It's one of the best rental upgrades because it's completely removable. A rolling island, a console on legs, or even a sturdy cart can move with you. Use peel-and-stick tile on the base if you want pattern, and skip anything that drills into the floor.
When your lease ends, you roll it out and the kitchen looks untouched. That's the kind of change a landlord can't argue with. For more rental-friendly sleep tips, my room sharing sleep tips guide has additional smart moves.
If I Had to Pick One...
If I had to pick one, I'd start with the rolling butcher block. It's the only idea that gives you prep space, storage, and the freedom to change your mind.
Get the size right, 30 inches wide and 36 inches high, and everything else follows. You can't layer a great kitchen on top of a bad footprint. The island is where that footprint starts.
Pin the rolling butcher block idea for later and browse my guide on kitchen prep station ideas if you're trying to make your workflow smoother. And if you're ready to think about where you actually rest, my guide on queen vs king room size breaks down how much bedroom your mattress really needs. Happy cooking.