
 by
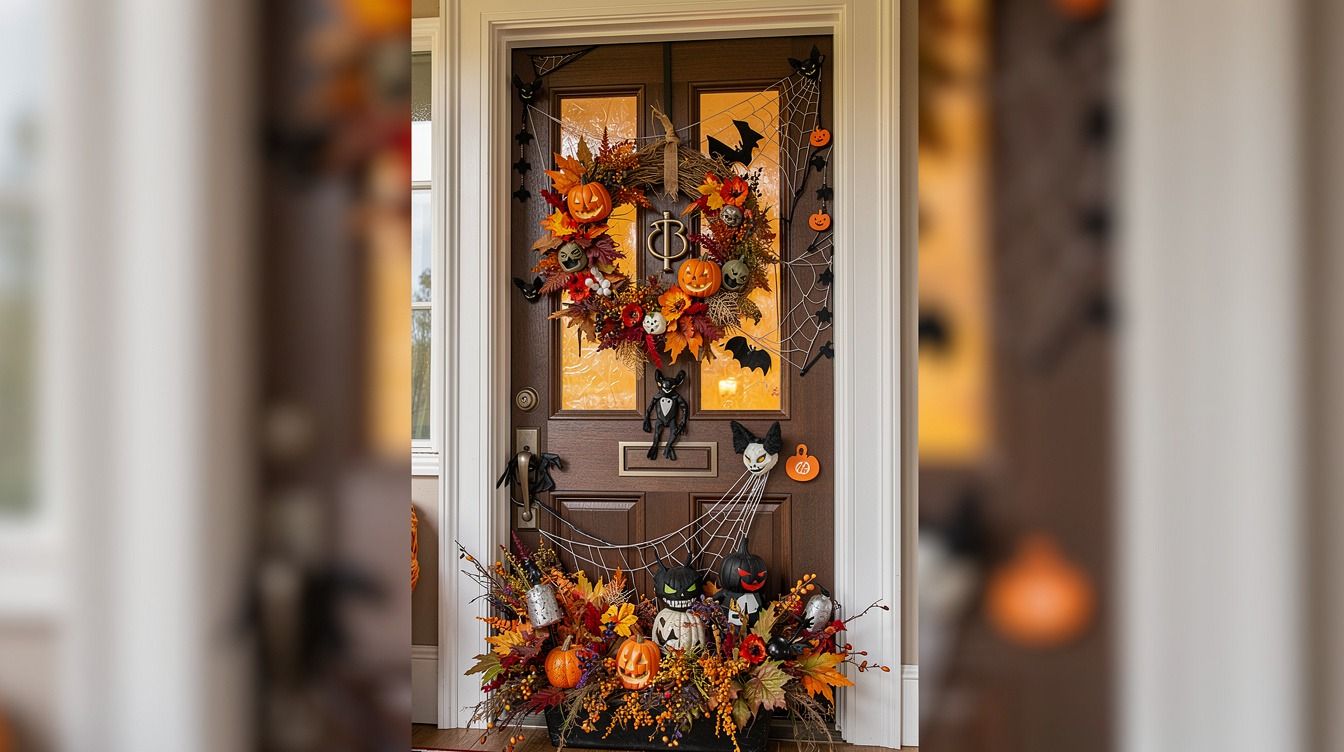
by Halloween door contest ideas win when you build one clear story, use a few oversized pieces, and leave enough empty space for people to read it from the hall. I’ve watched busy doors disappear beside one giant moon and a crooked black cat. Your door doesn’t need more stuff. It needs a point of view!
- Start with the Two-Minute Story Test
- Measure your door before the Big-Shape Rule
- Anchor the Halloween door decorating contest with one focal point
- Build the Three-Height Spell Stack
- Layer paper shadows instead of buying plastic clutter
- Hang a title people can read while walking
- Mix warm light with safe removable glow
- Choose texture over a crowded door competition decorating idea
- Frame the handle with the No-Touch Zone
- Can your Halloween door contest idea survive the hallway test?
- Add one handmade detail that the overachiever can’t buy
- Photograph the finished school Halloween door decorating contest entry
- Pack a fast repair kit for contest day
1Start with the Two-Minute Story Test
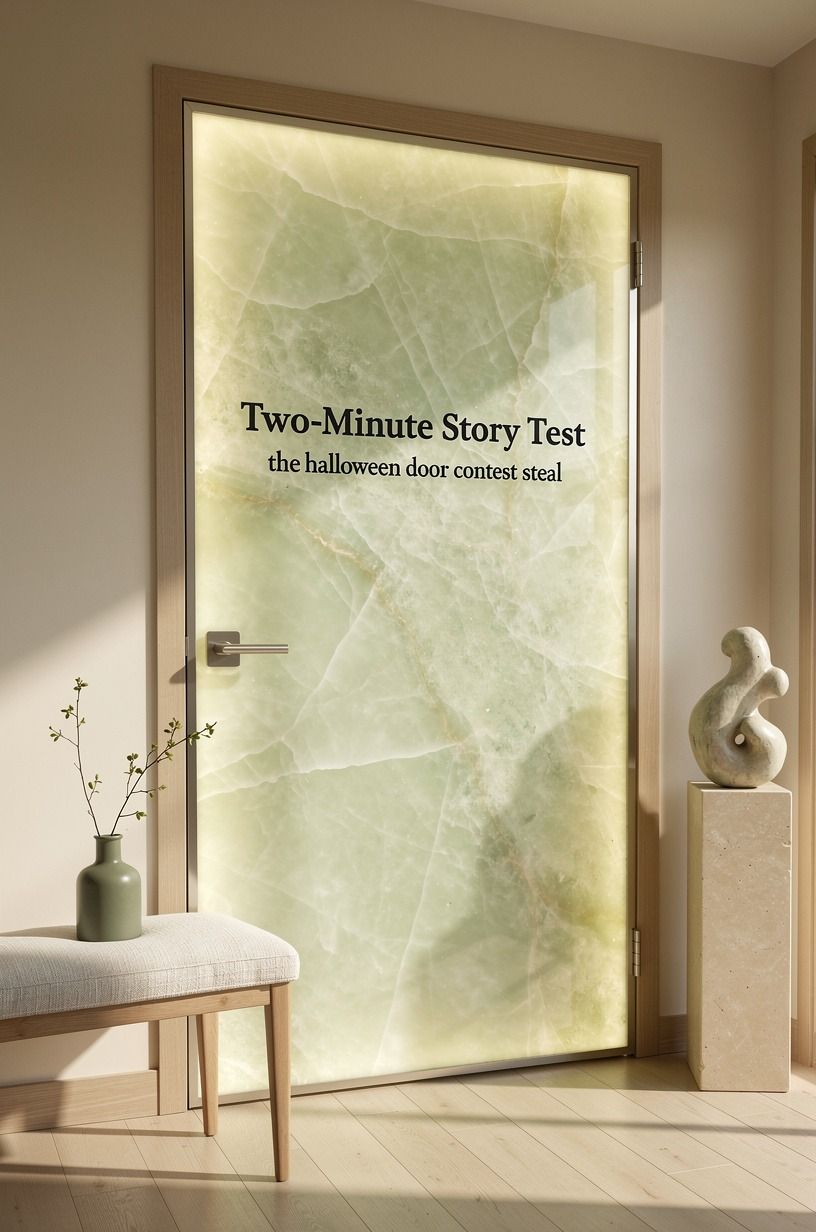
Before you buy paper, decide what your door says in two seconds: haunted library, monster bakery, witch’s apothecary, or a graveyard disco. You’ll make faster choices once your story has a setting and one main character. I’d skip the vague “spooky everything” route because your eye can’t land anywhere.
Write your title in large letters on scrap paper, then stand 10 feet away. If you can’t read it, neither can the judge walking past with coffee. Sage-green paper, warm cream cardstock, and a Sharpie Magnum marker give you a bold, readable start without a craft-store cart full of leftovers.
For a scarier direction, borrow the scale ideas in these Halloween door decorations for move-or-treaters. A translucent onyx-style moon can give the story one luminous detail without needing an explanation taped beside it.
2Measure your door before the Big-Shape Rule
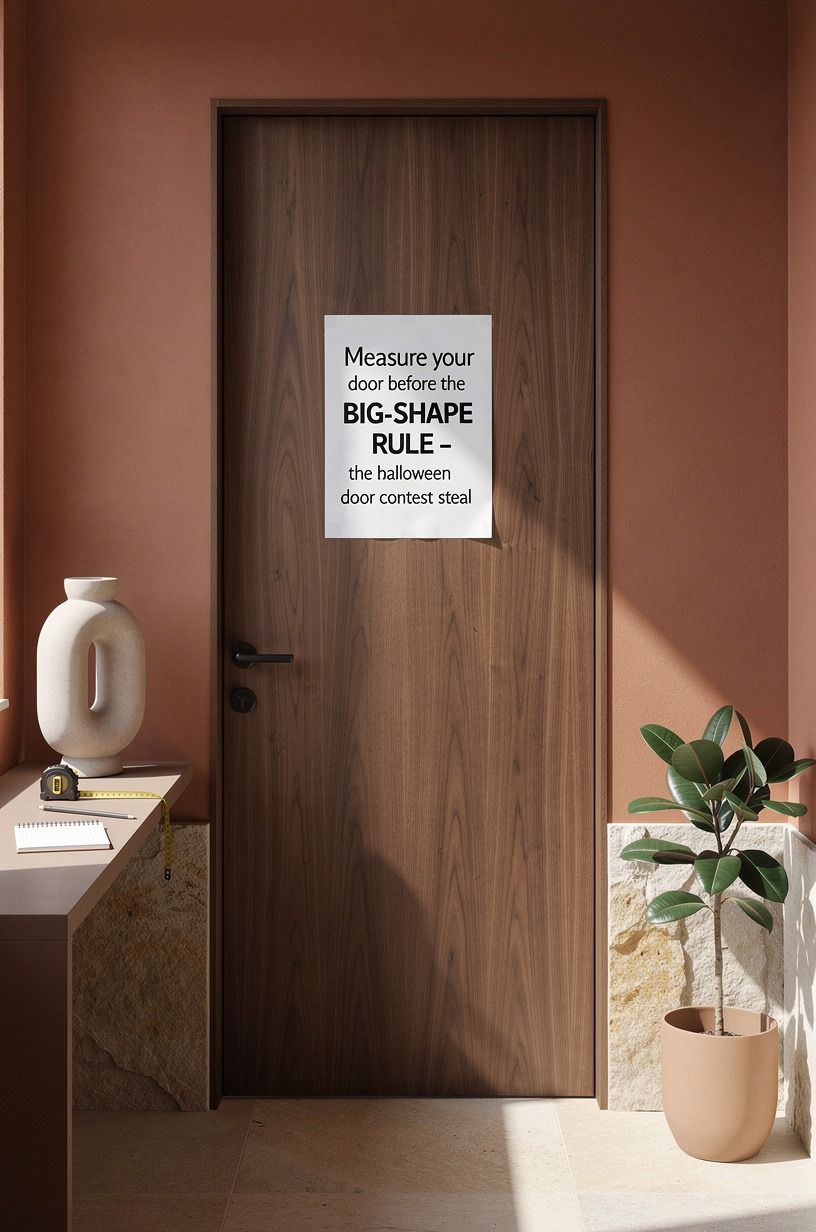
Measure the width, height, handle, window, and swing space before you cut a single bat.
3Anchor the Halloween door decorating contest with one focal point
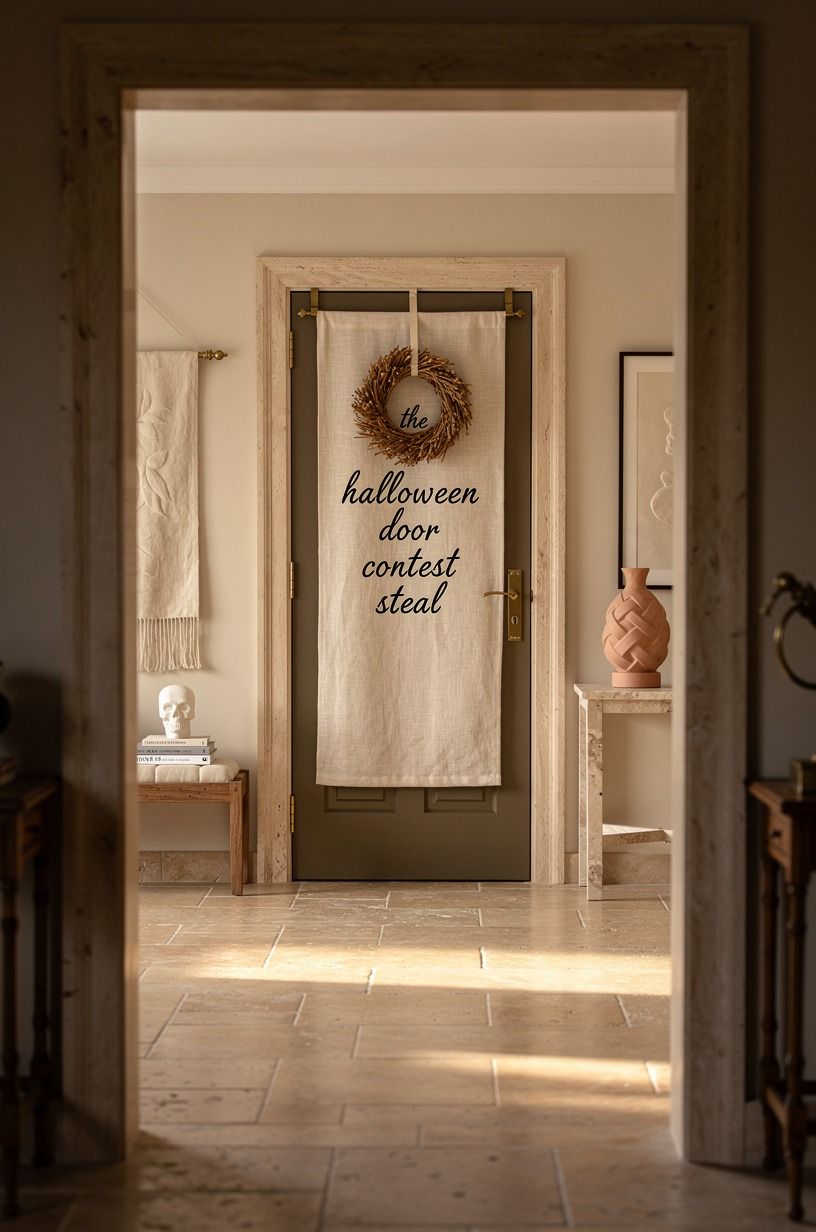
Choose one focal point that looks good from the far end of the hallway: a crescent moon, a monster mouth, a potion cabinet, or a huge striped stocking for a “Nightmare Before Christmas” mood. Your focal point needs contrast, so pair clay-colored paper with aged brass details or a warm linen backdrop.
I like Farrow & Ball Pigeon No. 25 as inspiration for a dusty witchy blue-green, especially beside coppery orange. It feels moody without turning into a black blur under fluorescent lights. You can paint a cardboard moon with that shade, then dry-brush a little cream across the craters.
But don’t make the focal point tiny and hope the smaller decorations will rescue it. Your judges will remember the large silhouette first. Make it captivating, then let the details earn the closer look.
4Build the Three-Height Spell Stack
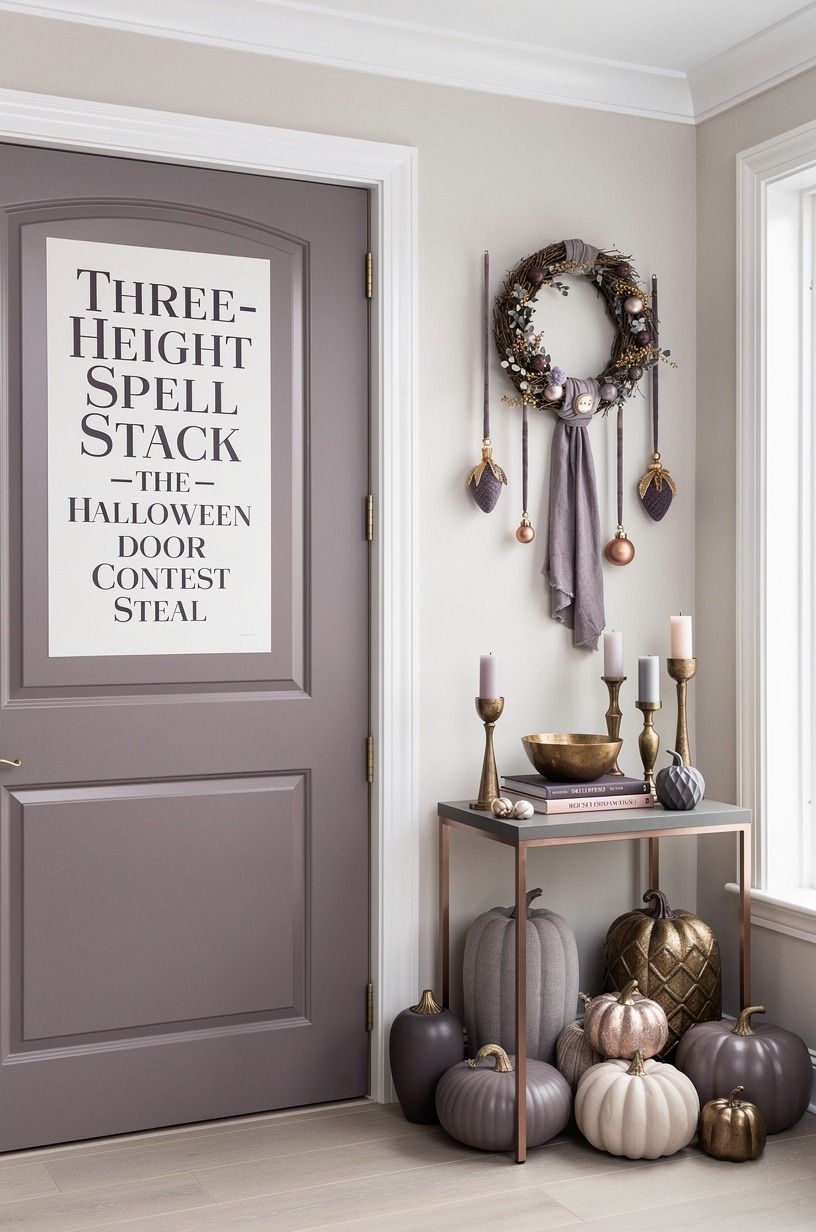
Give your scene three heights: something near the floor, something at eye level, and something reaching high above the title. Your door will feel layered even if every piece is flat. A stack of corrugated cardboard tombstones, a 12-inch plastic cauldron, and paper bats climbing toward the frame works far better than thirteen items lined up at one level.
For a school Halloween door decorating contest, use removable loops of 3M Command Poster Strips behind the heavier cardboard. Your low piece can be a paper “fog” border. Your middle piece can be a witch’s face.
Your high piece can be a crooked moon with fishing line clouds.
And yes, you can make the bottom layer simple. Plum paper, soft gray smudges, and a few rose-gold highlights give your eye a quiet zone before it climbs to the enchanting stuff above.
5Layer paper shadows instead of buying plastic clutter
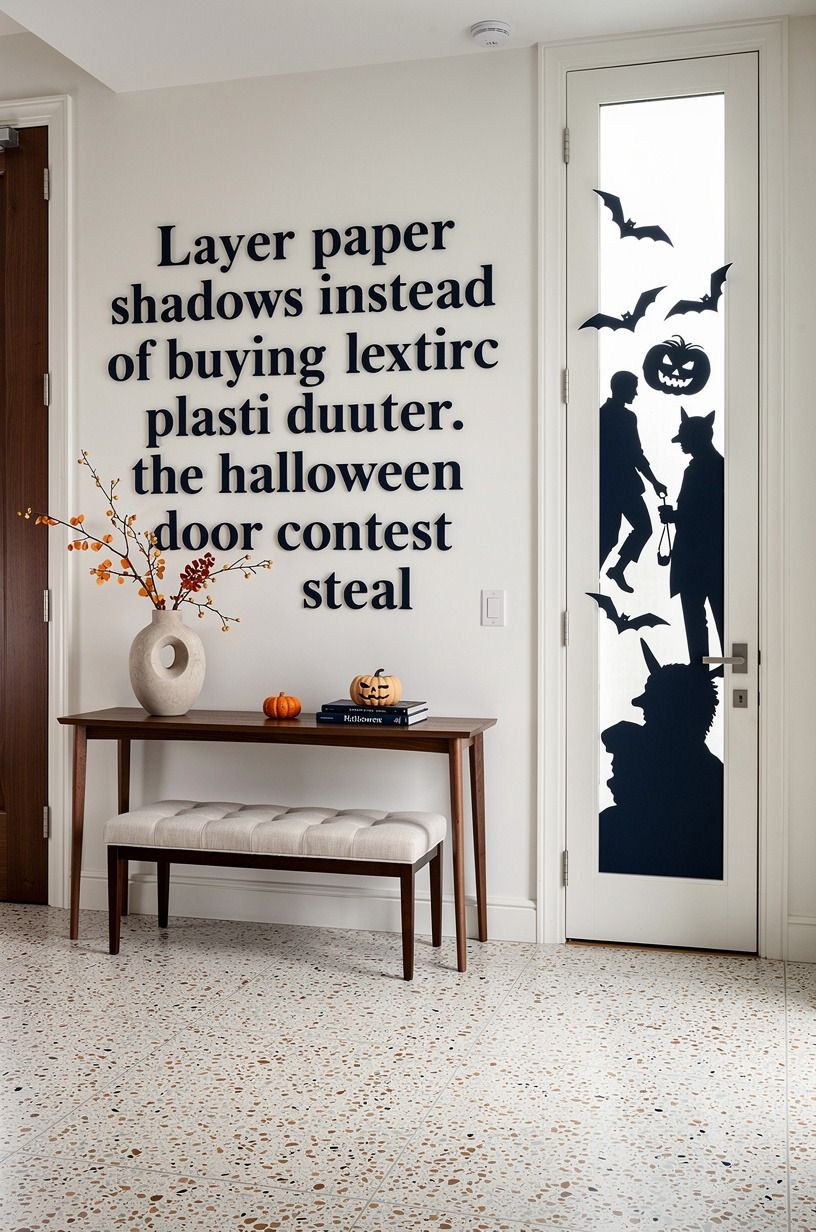
Cut each major shape twice: one dark backing shape and one colored top shape shifted about half an inch. That tiny offset creates a shadow that makes your door look more polished from the hallway. You’ll spend more time cutting, but you won’t need flimsy plastic spiders falling off every period.
Try Bazzill Basics Raven cardstock behind navy, white, or walnut-toned pieces. For a haunted house, use dark paper behind windows; for candy corn, use a crisp shadow behind each triangle. The shadow line stays clean under overhead lights, and your design feels bold rather than flat.
I’d skip glitter here. It sheds, catches every harsh light, and reads messy before it reads magical. Your Halloween door competition ideas need clean edges, especially if the contest judges are looking at ten doors in a row.
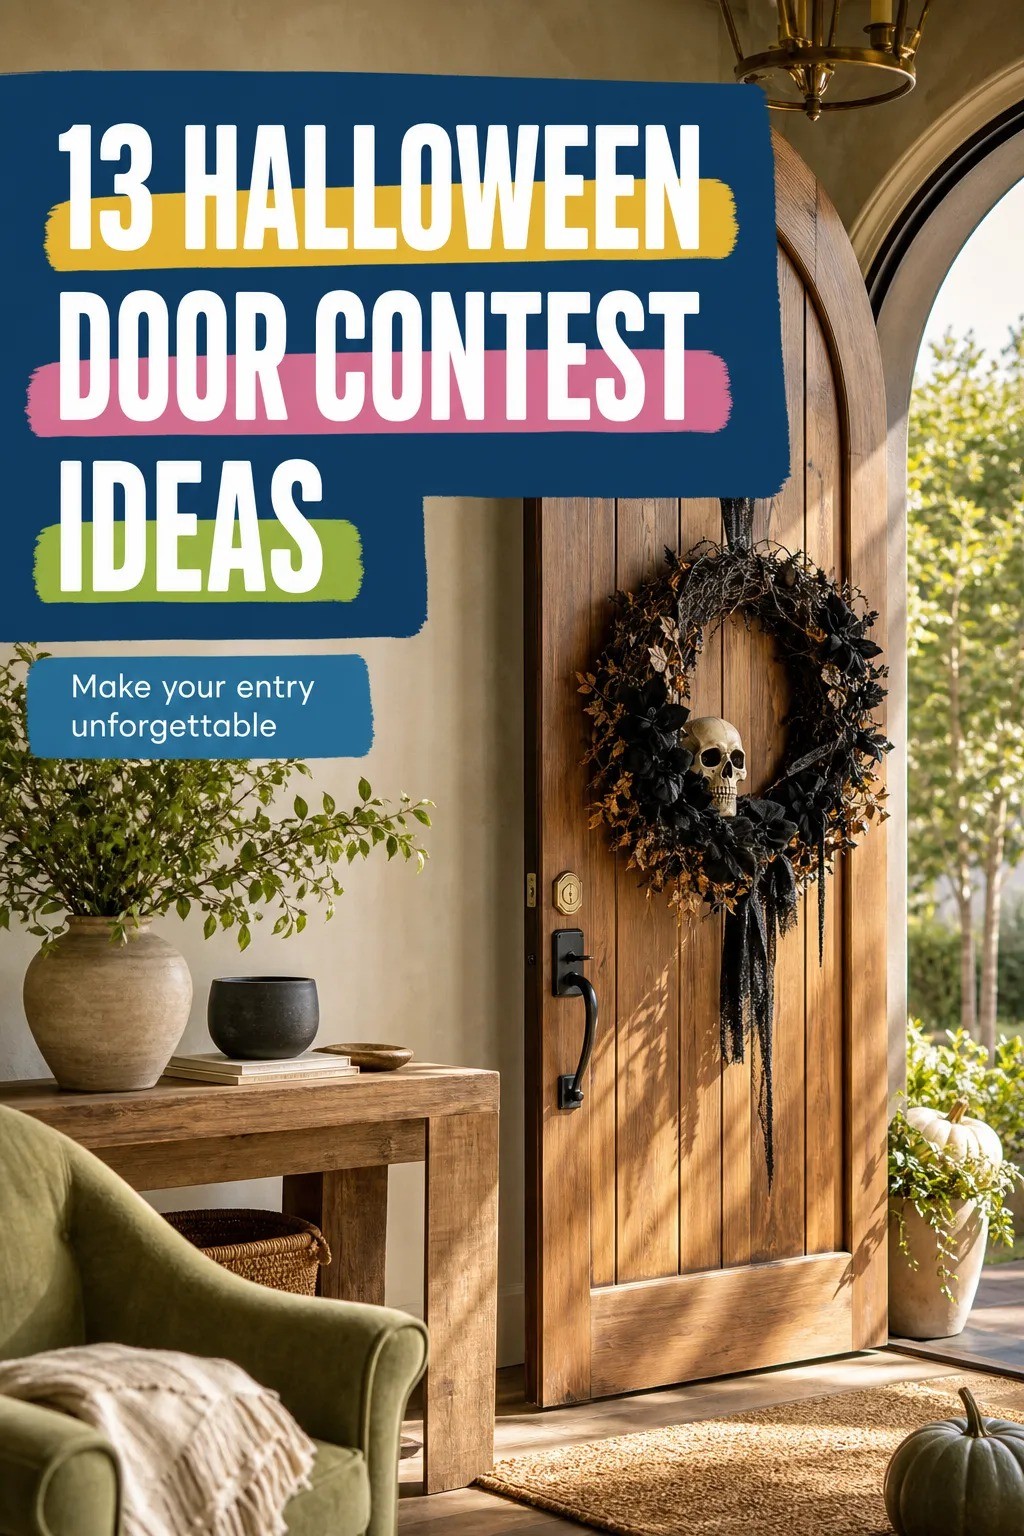
6Hang a title people can read while walking
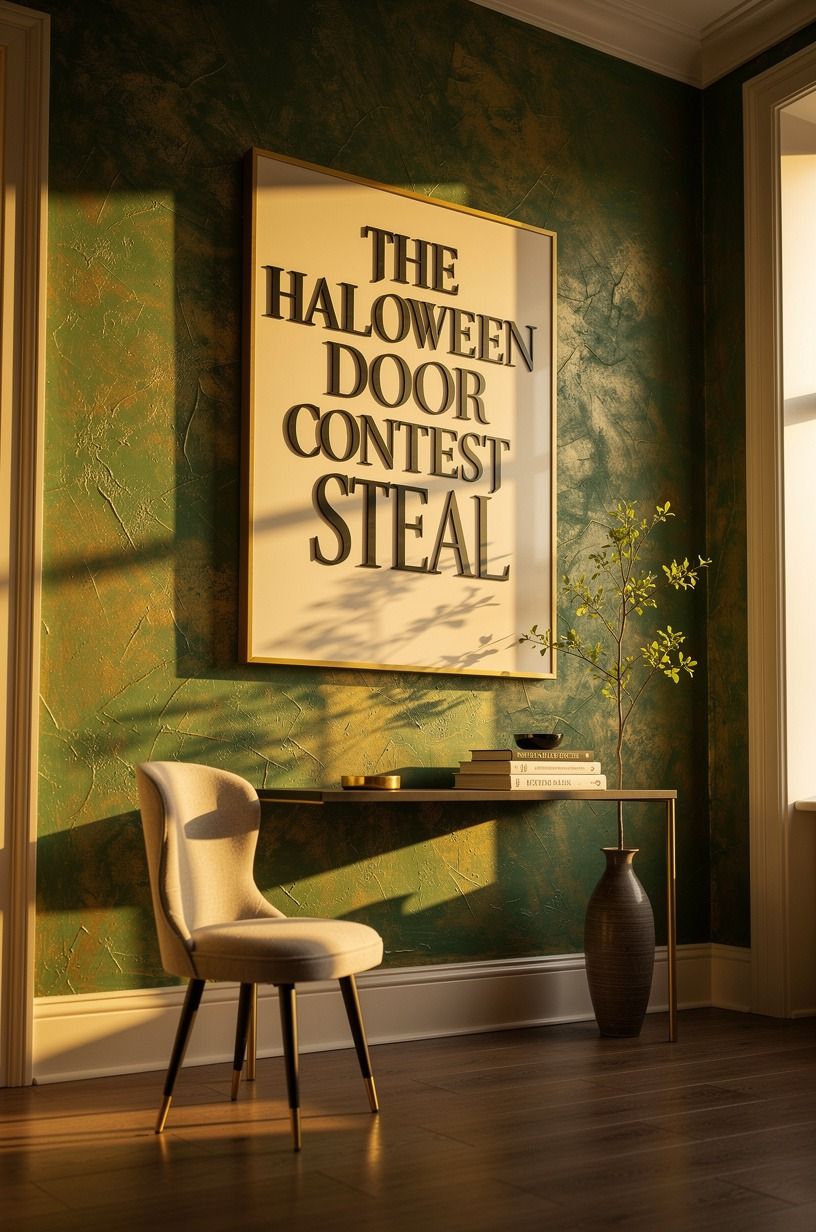
Your title should be short, loud, and tied to your story: “Boo-tique Hotel,” “The Monster Mash Cafe,” or “Potion Patrol.” Use no more than five or six words if you can. You want people to grin while walking, not stop to decode a paragraph.
Cut letters from cream foam sheets and mount them on emerald poster board for a simple outline. A wide block font beats delicate cursive every time. If your door has a window, frame the title around it instead of covering the glass, because that window can become a moon, a laboratory tank, or a ghost’s face.
For more quick-prep lettering and classroom-friendly layouts, see Halloween classroom door ideas you can finish in one prep period. A hand-applied plaster-style background can make the lettering feel more considered while staying bright, clear, and charming.
7Mix warm light with safe removable glow
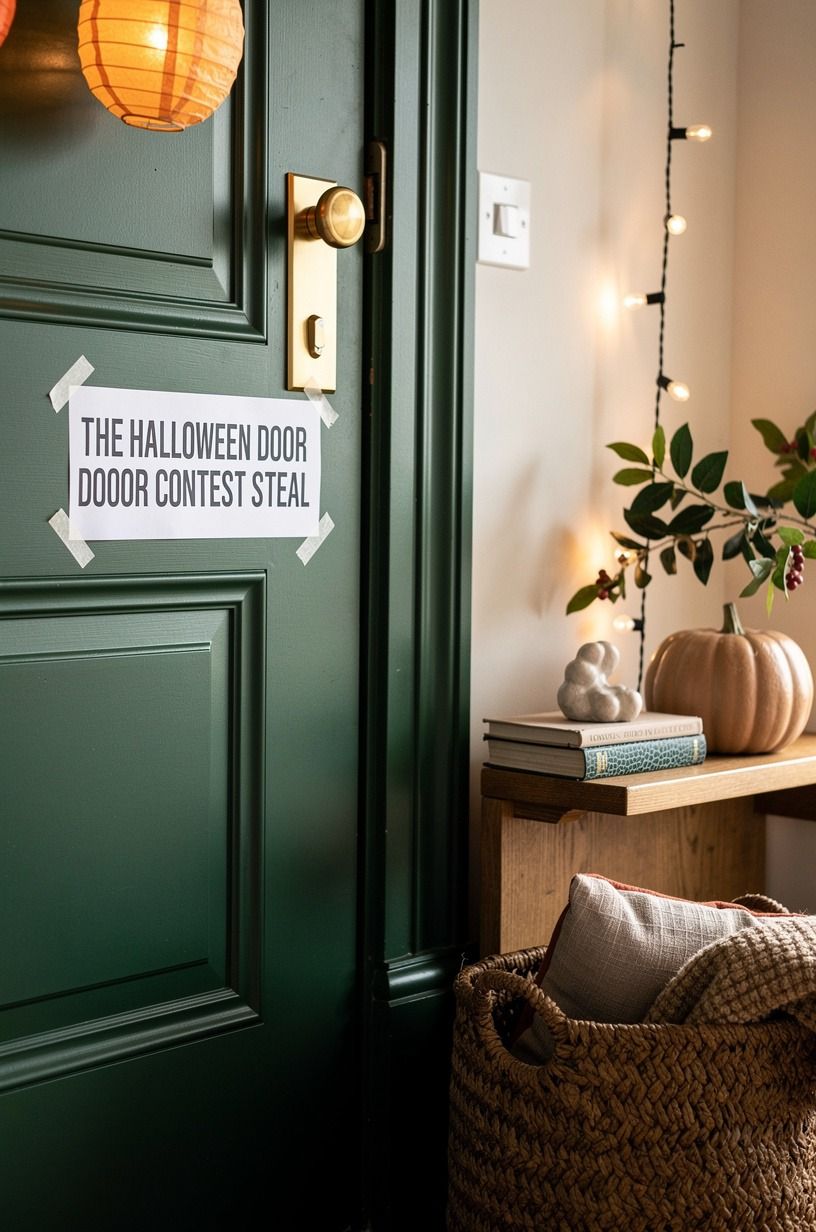
Battery lights can make a Halloween door contest entry feel theatrical, but use them as an accent, not a tangled outline around every edge. A single strand of warm-white LED fairy lights tucked behind a paper moon or potion shelf creates a soft glow that people notice after the first look.
You’ll want lights with a small battery pack, painter’s tape, and no loose cord near the hinge. I once tried cool blue lights behind a ghost, and the whole thing looked like a dentist’s waiting room. Forest green, rust, and natural oak tones work beautifully with warm light and feel much easier on orange paper.
Three sources per room is a useful styling rule, and your door can borrow it: overhead hallway light, your glowing focal point, and one reflective detail such as a shagreen-inspired accent. That’s enough. More light usually flattens the mood.
8Choose texture over a crowded door competition decorating idea
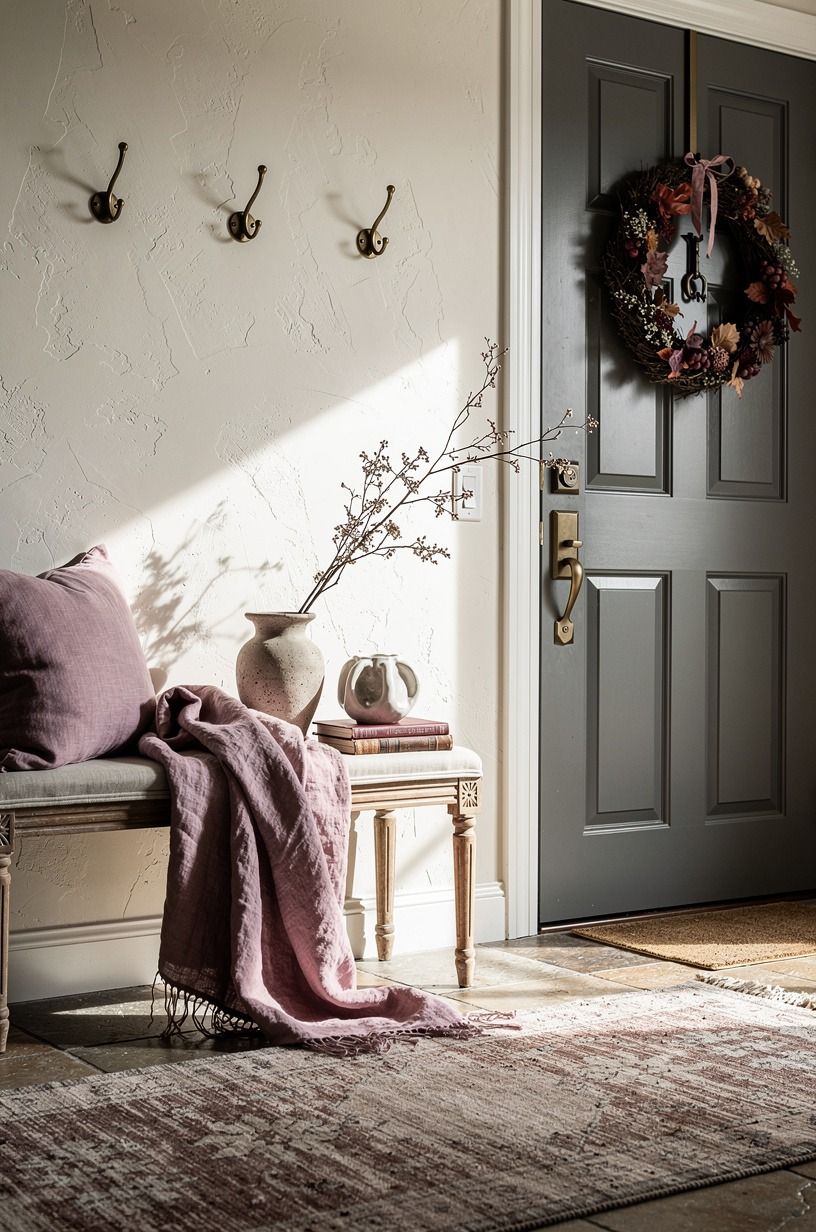
Texture lets your door look rich without adding another character. Use cheesecloth, brown kraft paper, cotton batting, or torn grocery bags depending on the story. A haunted library gets crumpled book-page borders.
A mummy gets gauze strips. A pumpkin patch gets kraft-paper vines and soft cotton clouds.
Your materials should support the story, not compete with it. I’d choose washed Belgian linen ribbon over shiny polyester ribbon for a rustic scarecrow door because it has a quieter, earthy surface. Dusty rose, charcoal, and brass details can make that handmade texture feel intentional, not costume-aisle loud.
Want a calmer color pairing? Pull the warm gray from Sherwin-Williams Agreeable Gray SW 7029 into your gravestones, then add black lettering and one orange accent. Your door will still feel Halloween-ready, just more refined.
9Frame the handle with the No-Touch Zone
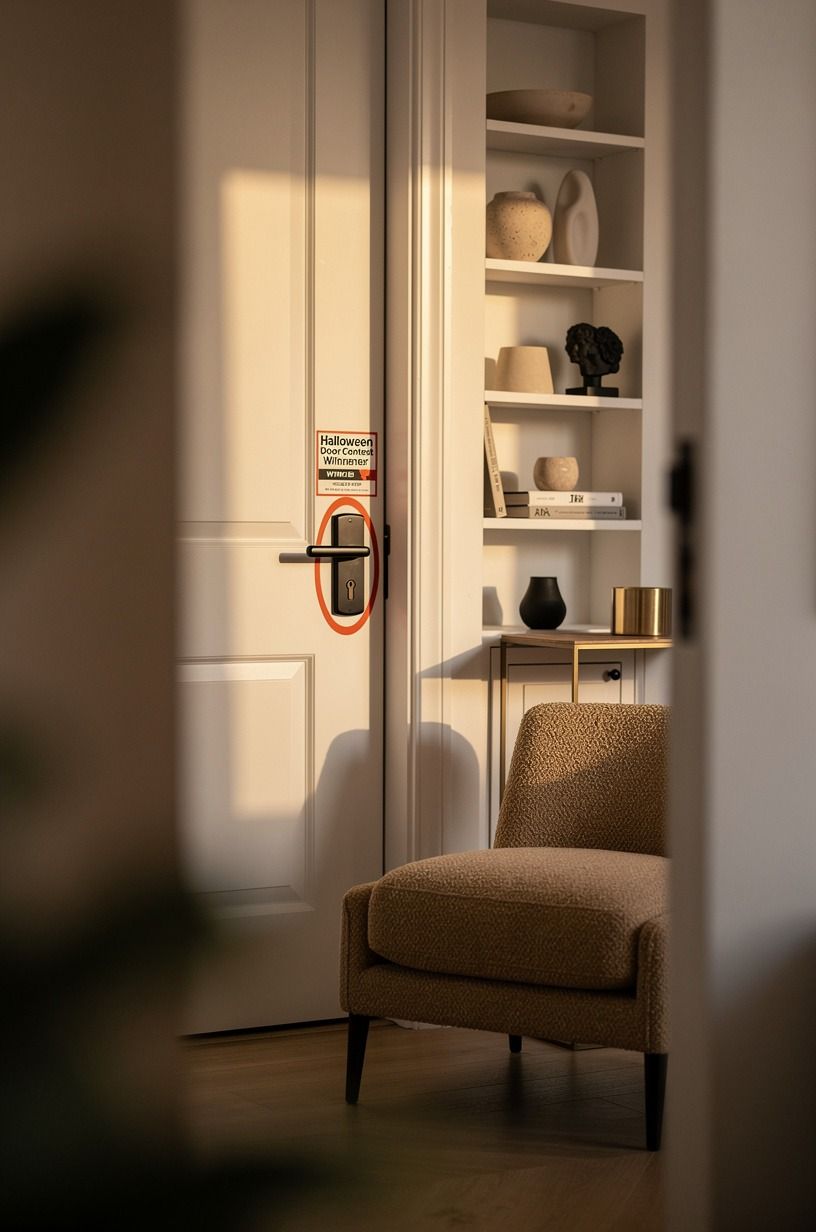
Treat the handle like a piece of architecture.
10Can your Halloween door contest idea survive the hallway test?
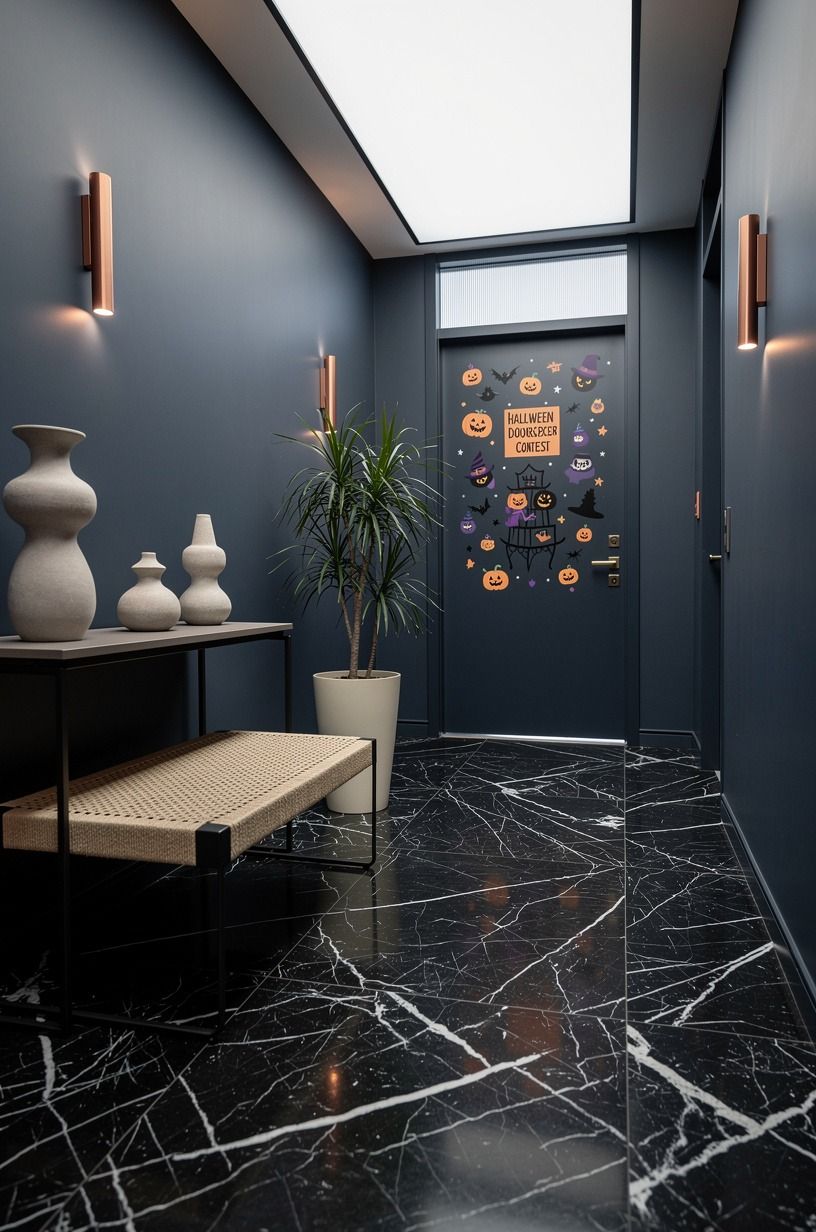
Test it before the contest begins. Open the door fully, view it from 10 feet away, then take a photo in the same lighting your judges will see. Your phone will expose clutter and weak contrast faster than your hopeful brain will.
Ask one person what story they see without giving them hints. If they say “Halloween?” instead of “haunted bakery,” your title or focal point needs help.
Add one readable sign, enlarge the main character, or remove a competing color. You don’t need a total redo.
I keep a small ScotchBlue painter’s tape roll nearby for this stage because you’ll probably shift something. That’s normal. Midnight blue, copper, and ivory create strong contrast, especially with a black-marble pattern for one polished accent once the fluorescent lights switch on.
11Add one handmade detail that the overachiever can’t buy
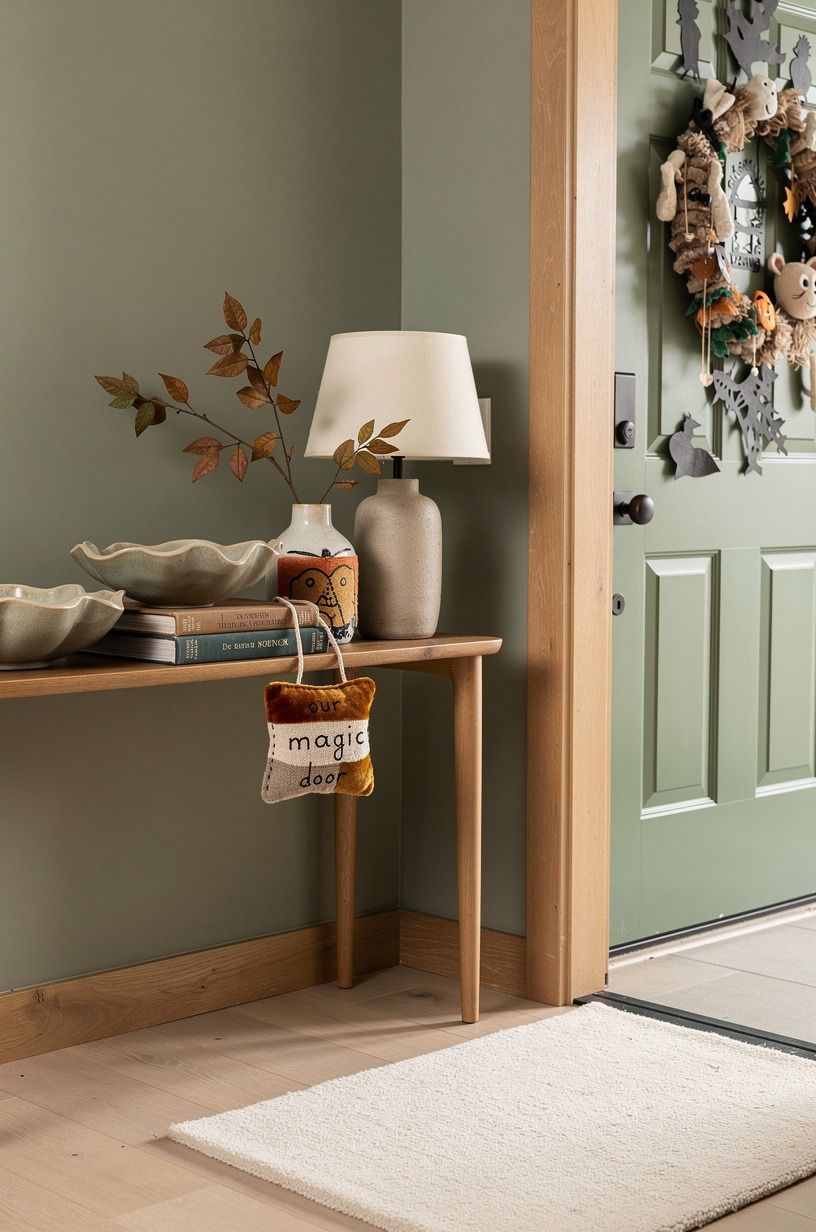
Give your entry one detail that looks touched by a real person: handwritten “spell labels,” painted teeth, a class-photo ghost gallery, or tiny paper portraits inside potion bottles. This is where your door stops looking like a kit. Your personality shows up.
Use Posca paint markers on matte paper for labels such as “Moon Dust,” “Frog Choir,” or “Homework Hex.” Your handwriting doesn’t have to be neat. Slightly crooked lettering can feel more intimate and funny, particularly on a witch’s shelf.
And make the handmade detail visible from close range, not as the entire concept. I’ve seen doors covered in dozens of tiny drawings that were sweet but invisible from the hall.
One deep-pile mohair velvet detail in sage green or warm cream can give the design a memorable handmade softness. Every single time!
12Photograph the finished school Halloween door decorating contest entry
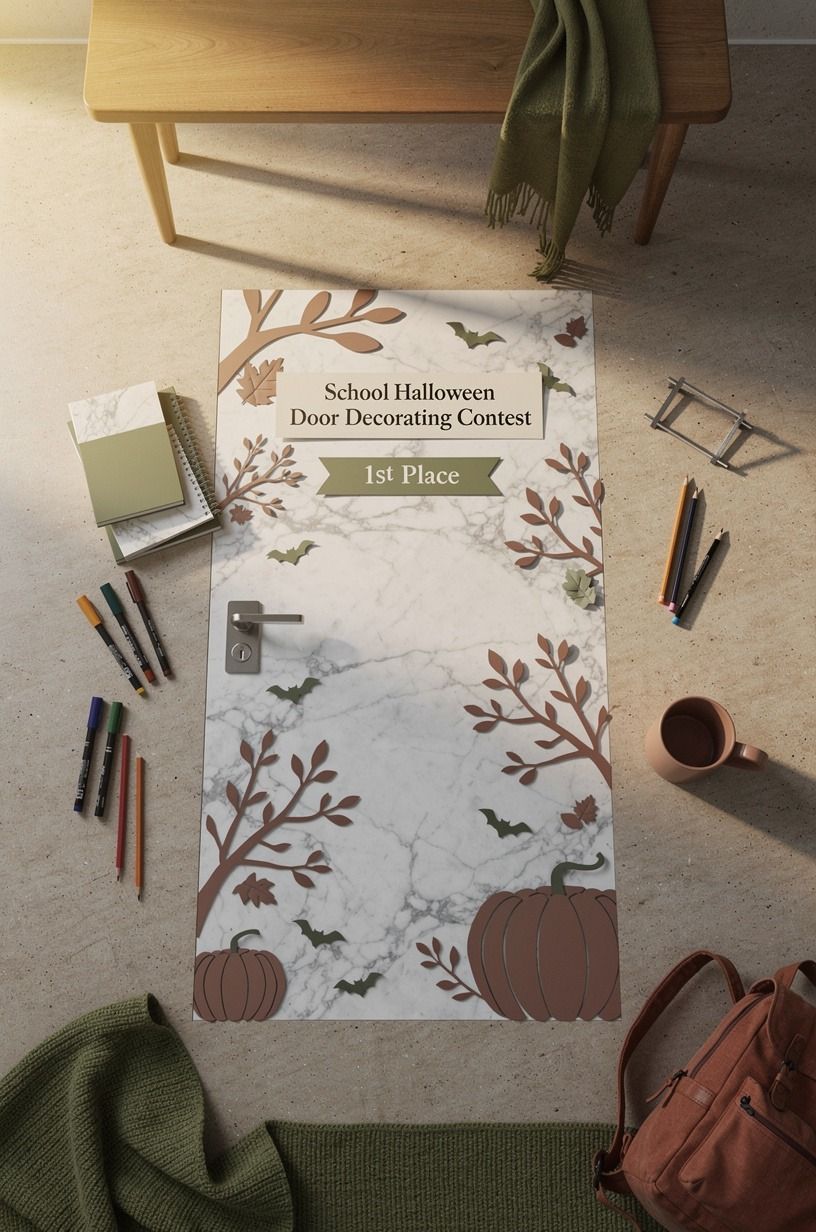
Take your final photo straight on, then take one angled shot showing the layered edges and lights.
13Pack a fast repair kit for contest day
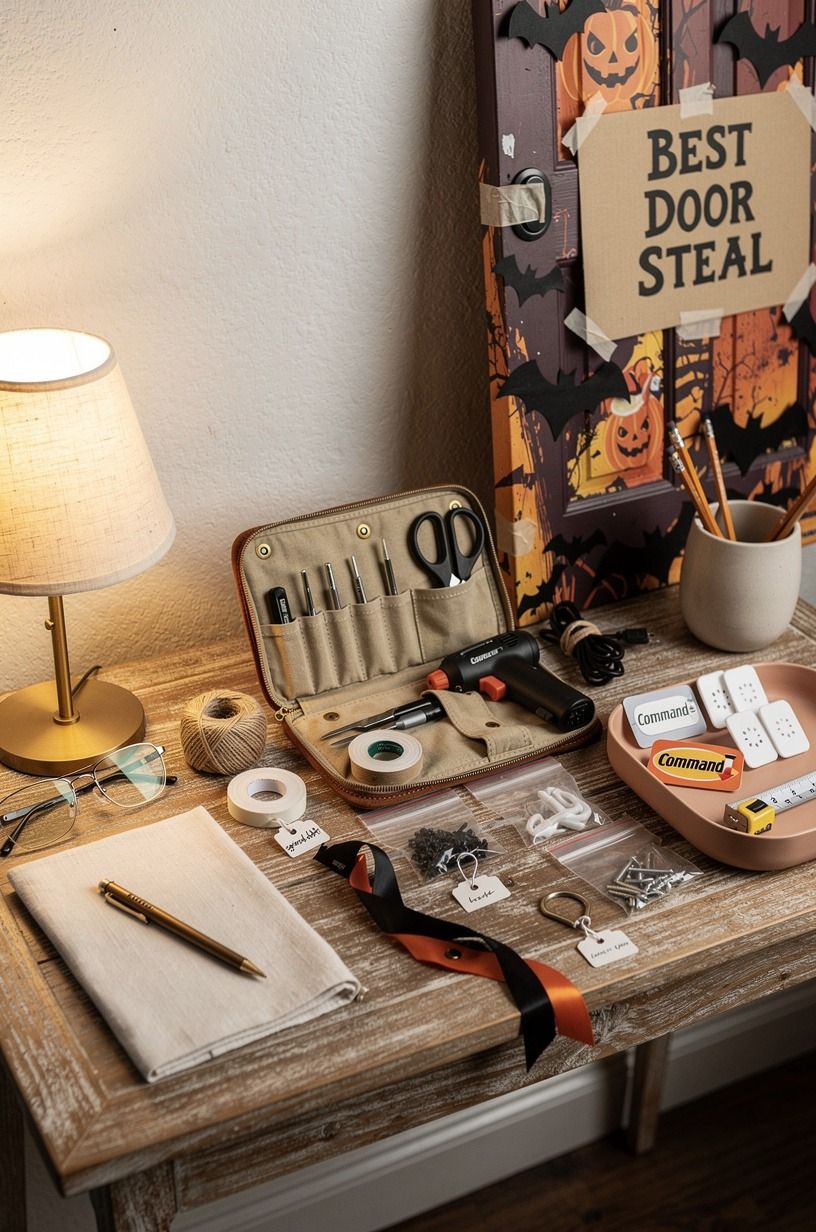
Bring a small repair kit because paper corners lift, lights blink out, and somebody always brushes past the best detail. Your kit can live in a zip bag behind the door: Command Strips, double-sided tape, black marker, spare batteries, scissors, and two extra paper shapes.
Keep replacements in the same colors as your focal point. A spare terracotta cardstock pumpkin, olive bat, or stone-colored letter can save the design without forcing you to rebuild anything. You’ll feel calmer knowing your door has backup.
For a budget-minded supply run, look at what to buy first with $500 for a healthier bedroom for the broader lesson: spend on the pieces you touch and see most, then use simple materials everywhere else. Your Halloween door decorations contest entry doesn’t need expensive supplies. It needs reliable ones.
The Honest Cost and What Your Money Buys
You can make a memorable Halloween door contest entry for the budget tier, especially if your base paper and cardboard are already on hand. The wider home-decor cost ranges below are useful perspective: for a single door, you’ll usually stay at the low end by choosing paper, textiles, and reusable lighting rather than furniture-scale props.
For your door, put your cash into removable adhesive, a readable lettering material, and one durable light source. Save money on filler. Brown paper, cardboard, and old white sheets can become fog, books, mummy wraps, or clouds.
Why a Door With Restraint Wins
I’ve been the person with a table full of supplies, convinced that more bats, more cobwebs, and more colors would make the door better. It didn’t.
The door looked busy, and busy has a strange way of making handmade work look less cared for. The judge couldn’t see the big idea because every inch asked for attention.
Now I start by deciding what I want someone to remember after they turn the corner. A giant green monster eye?
A glowing moon over a crooked black house? A candy shop that looks slightly cursed?
Then I make that one thing large enough to carry the whole door. Your smaller details become rewards for the person who walks closer, which is exactly how a good display should work.
The hard part is editing. You’ll probably make a cute item that doesn’t belong, and it will feel rude to leave it out.
Leave it out anyway. I’d rather see one hand-painted cardboard moon with real depth than eight random plastic skeletons stuck around the frame.
The moon gives your door a memory. The skeletons give it inventory.
There’s also a practical reason to keep it simple. Doors move. Kids brush by them.
Tape loses its nerve overnight. A focused composition has fewer failure points, and you can repair it in thirty seconds if a bat slides down.
That’s not less creative. It’s smart craft work.
And your door should make you laugh a little. That’s the whole assignment, really. Make the weird idea you’d want to see on the way to lunch, then give it enough space to land.
A Few Things Worth Answering
What is the best Halloween door contest idea for a small door?
A giant monster face or one oversized moon works best because your theme reads quickly. Choose sage-green paper with one warm cream accent, and keep your title short. Your small door gains clear visual impact when you avoid tiny scattered decorations.
Where can I buy Halloween door contest pieces on a budget?
Start with Target Mondo Llama, IKEA, and a local dollar store for paper, lights, and storage bins. You can also check Facebook Marketplace for fabric and baskets. Your best savings come from reusable basics, especially lights and removable adhesive.
How much does a Halloween door contest makeover cost?
A simple Halloween door contest setup can cost about $100 to $300, depending on lights and reusable supplies. Cardboard, old sheets, and handwritten signs can be free. Your money goes furthest on durable mounting supplies and a visible focal point.
Can I create Halloween door contest ideas DIY on a budget?
Yes, and your DIY version can look more personal than store-bought decor. Use free cardboard, brown paper, and paint-marker labels, then add one battery LED strand. Your door gets handmade character without a huge shopping list.
What is the most common Halloween door decorating contest mistake?
The most common mistake is making every item the same size. Give your door one huge focal point, a medium title, and small supporting details. Your design becomes easy to read instead of looking like a supply shelf exploded.
Is a Halloween door contest worth it in a small space?
Yes, because a small space forces you to edit. Keep the center open, frame the handle, and build vertically with bats or clouds. Your limited area creates stronger focus, which helps a door competition entry look deliberate.
Is a Halloween door contest a good idea for a rental or shared classroom?
Yes, if you use removable materials. Try 3M Command Poster Strips, painter’s tape, and lightweight paper instead of staples or glue. Your door stays damage-free, and you can remove the whole scene without a stressful cleanup.
Where I’d Start First
If I had to pick one step, I’d start with the oversized focal point. A giant moon or monster face gives every smaller piece a job, while a pile of cute supplies just competes for attention. Pin your favorite theme for later, then cut the biggest shape first.