

 by
by A microcement shower and wet room can remove grout lines, but only when waterproofing, drainage, and sealing are handled in the right order. I learned that after one rushed bathroom job left water sitting at the threshold. Your finish can be warm and calming, but the prep has to be boringly exact.
- Measure the Microcement Bathroom Shower Before You Buy Anything
- Check the Substrate Before You Plan the Microcement Wet Room
- Choose Microcement Over Tile for a Quieter Wet Room Bathroom Design
- Build the Two-Surface Rule Into Your Microcement Shower Room
- Protect the Comfortable Shower With a Real Slope
- Shape the Drain Around the Microcement Shower Floor
- Layer the Waterproofing Before You Trowel Anything Decorative
- Trowel the First Coat in the Microcement Wet Room
- Sand Between Coats for a Softer Microcement Bathroom Shower
- Create the Three-Height Light Stack for Your Wet Room Bathroom Design
- Paint the Dry Zone With a Named Color
- Anchor the Vanity at the Right Height
- Hang a Frameless Screen With One Clear Threshold
- Price the Microcement Project With Realistic Tiers
- Solve the Rental Version Without Permanent Work
- Should You Seal the Microcement Shower More Than Once?
- Style the Finished Microcement Shower Room With Restraint
1Measure the Microcement Bathroom Shower Before You Buy Anything
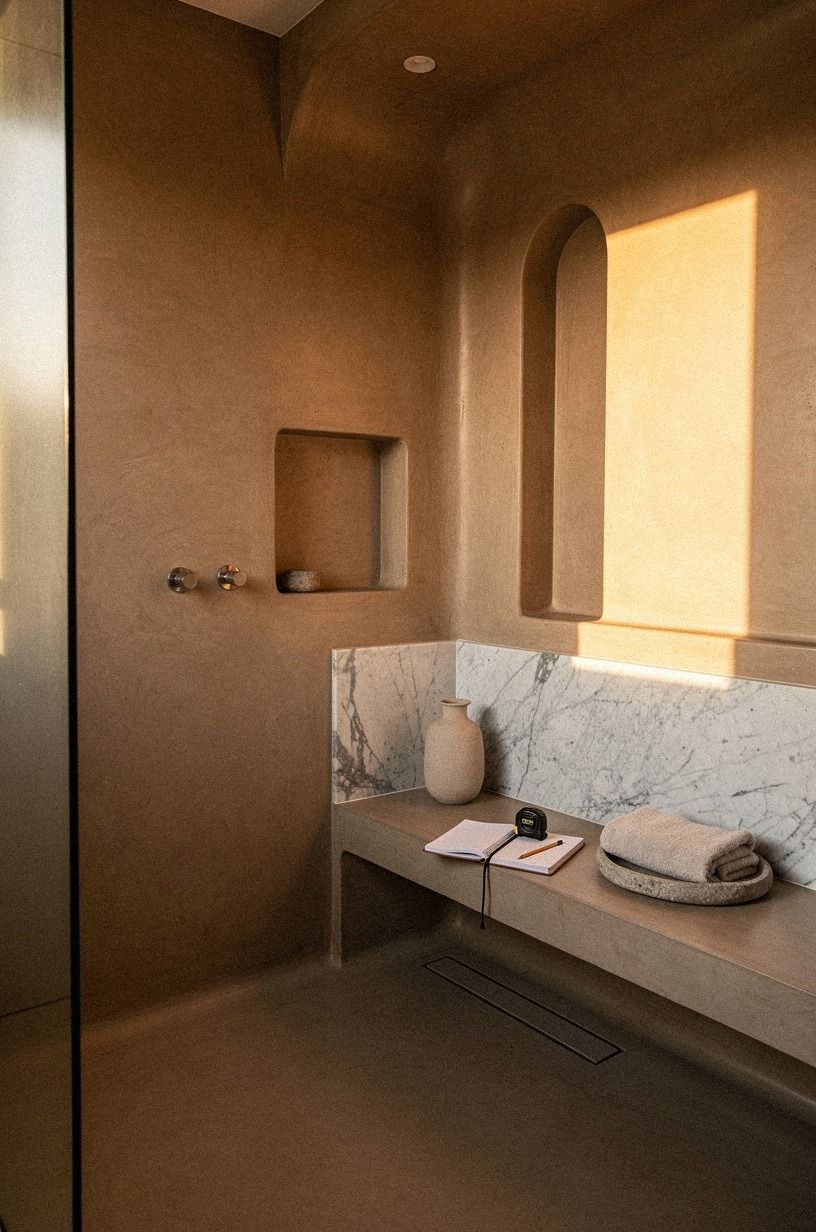
Start with the room’s hard dimensions. Measure the shower footprint, doorway, drain position, vanity wall, and toilet clearance before you choose a color or sample.
A comfortable shower is at least 36 by 36 inches, while a toilet needs 21 inches of clear space in front. You’ll want those numbers written on paper because a wet room can feel airy until one fixture steals six inches.
I’d skip ordering a full microcement kit from a random marketplace before checking your substrate. Microcement is thin, so it won’t hide a crooked wall or a soft floor.
My first sample looked rich and earthy in daylight, then gray under the ceiling bulb. If you’re comparing finishes, tape samples beside the drain and vanity, then check them morning and evening.
This microcement bathroom ideas guide will help you compare warmer and cooler applications.
2Check the Substrate Before You Plan the Microcement Wet Room
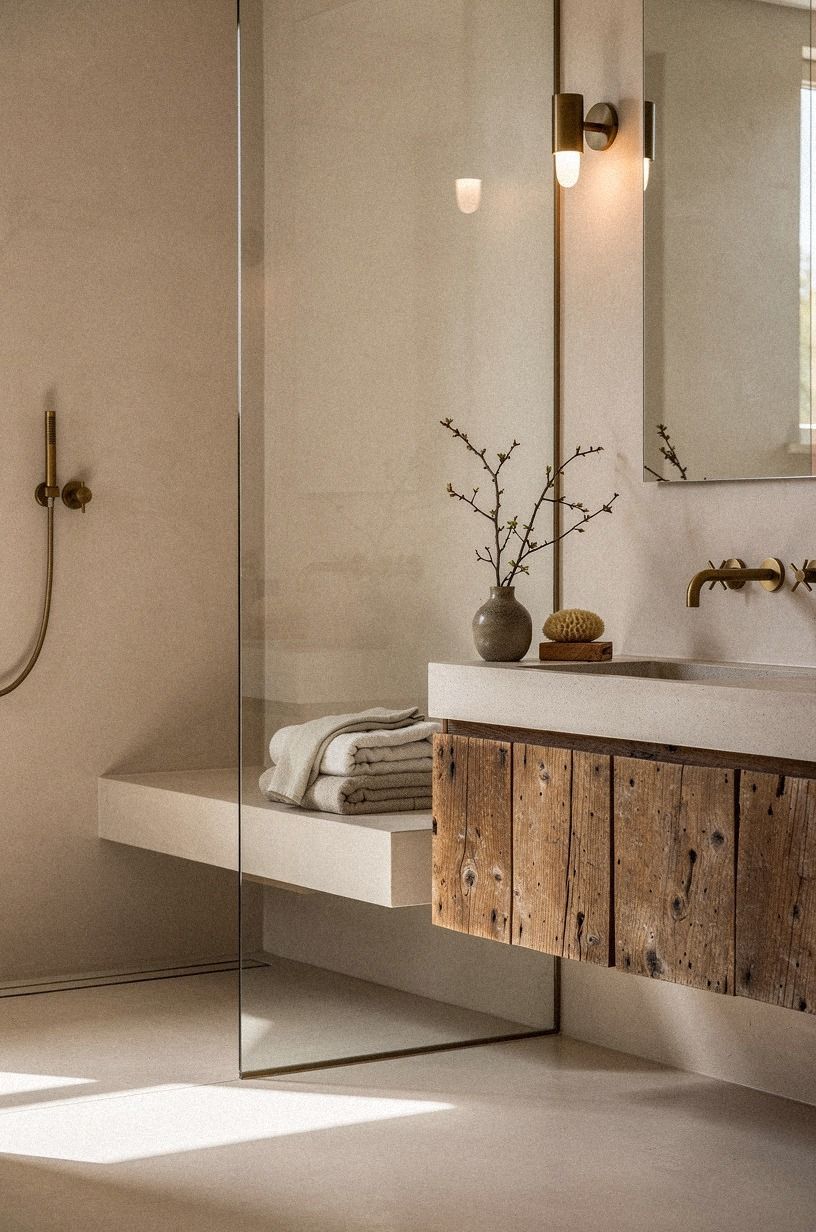
Inspect the walls and floor with your hand, not just your eyes. Your surface needs to be firm, clean, dry, and free of movement.
Press around old tile edges, look for hollow sounds, and check whether the floor slopes toward the drain. If the base flexes, your finish can crack no matter how expensive the powder was.
Use cement board or approved waterproof backing where the shower receives direct spray. Cement board with sealed joints gives you a calmer starting point than painted drywall, and it won’t soften when your shower stays steamy.
I once tried to save a day by coating over a questionable corner. It saved one afternoon and cost me a full Saturday later.
But you don’t need to demolish everything if the backing is sound and flat. For a softer natural direction, compare this limestone shower approach before you commit.
3Choose Microcement Over Tile for a Quieter Wet Room Bathroom Design

Choose microcement over tile when you want fewer visual breaks and a surface that reads like plastered stone. It’s especially effective in a narrow room because your eye doesn’t stop at dozens of grout joints. The result can feel sophisticated and serene, even when the footprint is modest.
That doesn’t mean tile is useless. Hand-glazed zellige brings lively variation, but I’d avoid it inside a tiny shower if your priority is visual calm. The uneven edges collect more cleaning work, and the glossy spots can look busy beside rose-gold fixtures.
If you’re choosing for your home, order one microcement sample and one tile board, then stand three feet away. Which one lets you notice the room first?
That’s the better answer. You’ll find more context in why microcement suits organic modern bathrooms.
4Build the Two-Surface Rule Into Your Microcement Shower Room
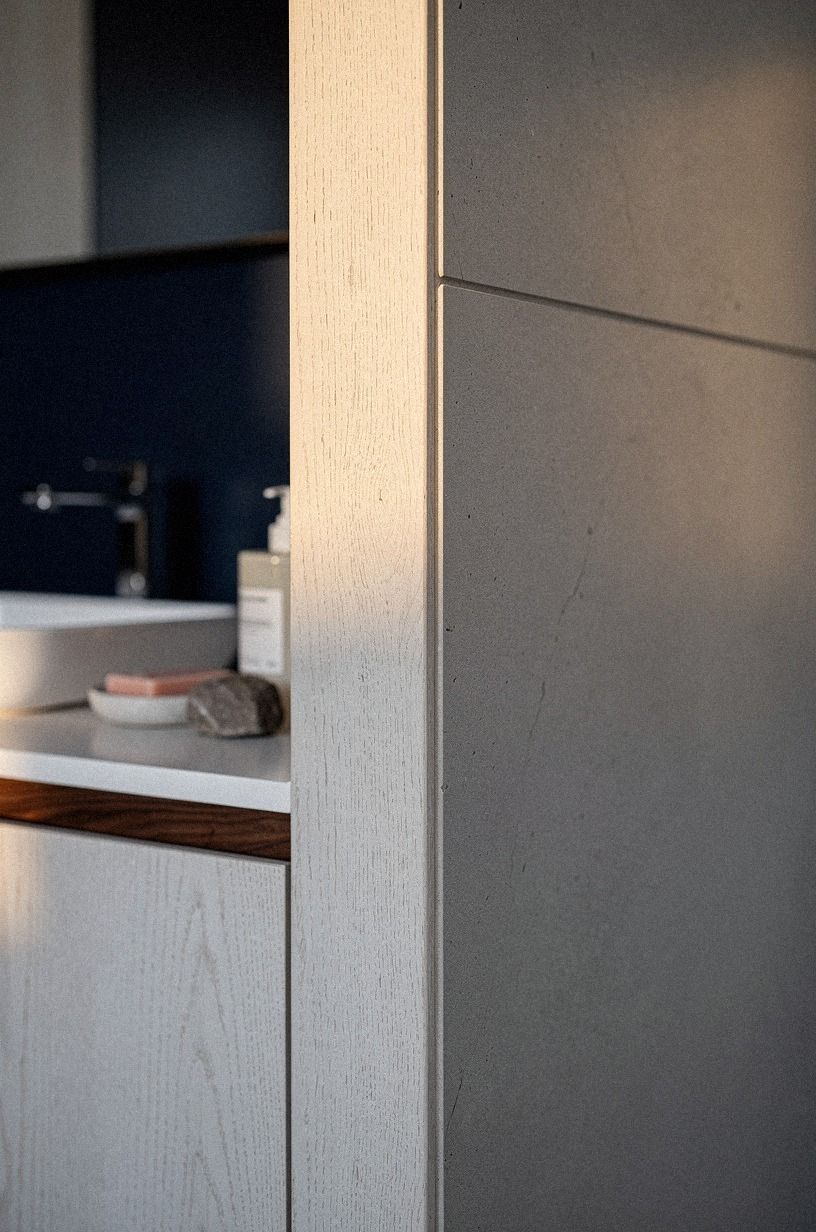
Use the Two-Surface Rule: keep the shower walls and floor in one quiet finish, then give one dry-zone element a different texture. Your contrast might be a cerused white oak vanity, a ribbed glass screen, or a brushed metal mirror frame. This keeps the room warm without bringing back the chopped-up effect you were trying to lose.
I’d choose one material with visible grain and one with a soft mineral finish. Oak veneer catches afternoon light, while microcement absorbs it, so your room won’t look flat.
And if you’re working with a dark finish, keep the contrast lighter than you think. Farrow & Ball Hague Blue No. 30 outside the shower can look dramatic, but too much deep color inside a small wet room may feel heavy.
Pin this white microcement bathroom reference before you select your palette.
5Protect the Comfortable Shower With a Real Slope
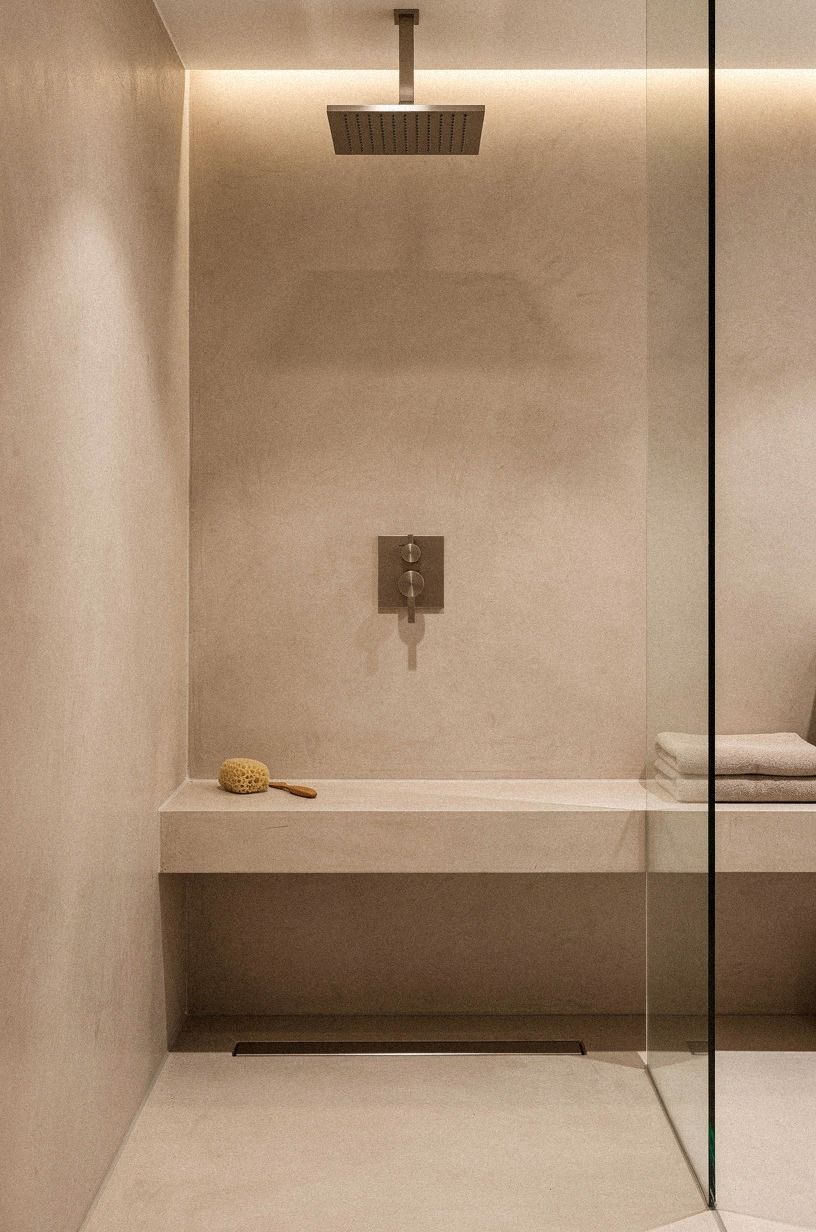
Build the shower slope before the decorative finish goes on. Water should move toward the drain without puddling at the entrance, and your installer should confirm the fall with a level rather than relying on appearance. A lovely floor that holds a shallow lake is neither relaxing nor practical.
Your drain location matters here. A centered drain makes the slope predictable, while a linear drain can let one plane run toward the wall.
Brushed brass linear drain systems are my preference for a long wet room because the direction feels intentional and the floor has fewer awkward cuts. I’d skip a decorative round drain placed wherever the old pipe happened to land.
It may be cheaper, but it can force four slopes that look busy. If you’re planning a full shower conversion, compare the drainage logic in this natural limestone wet space guide.
Get the fall right and the whole room feels easier!
6Shape the Drain Around the Microcement Shower Floor
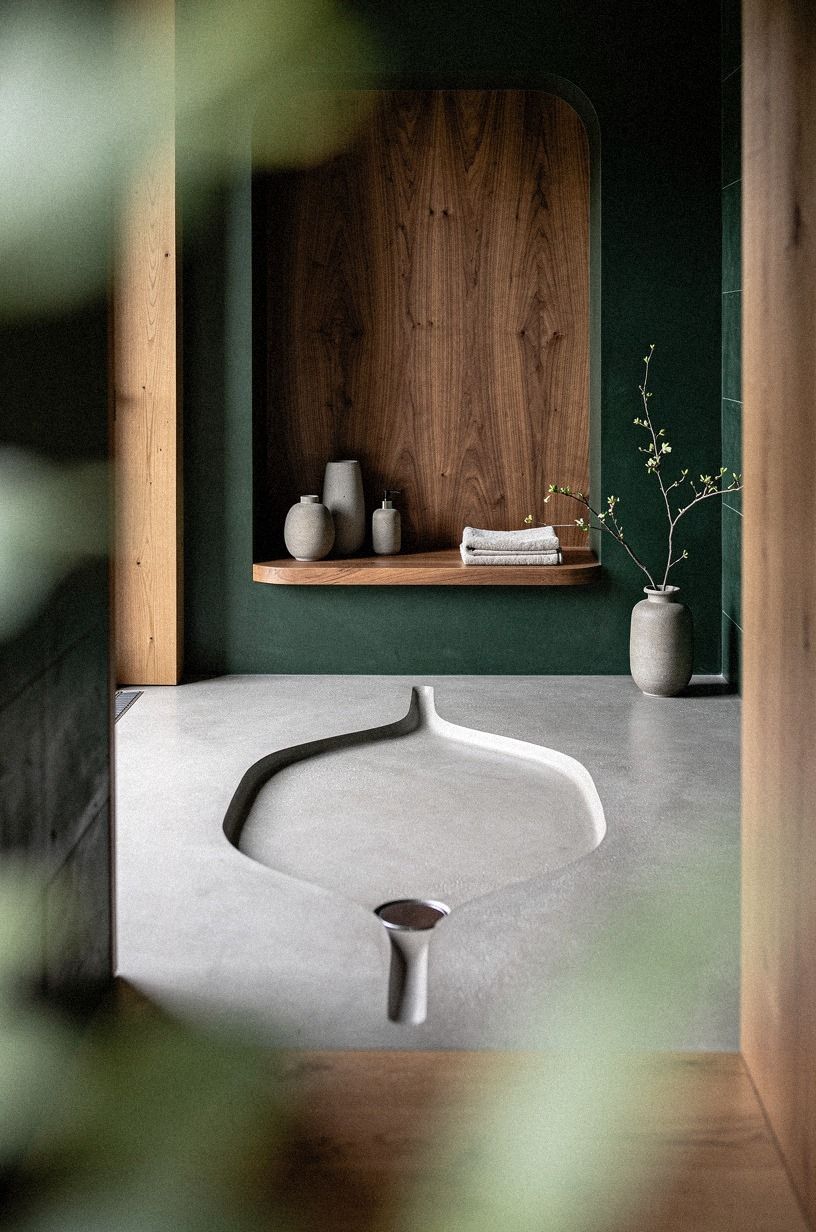
Set the drain height before you calculate your finish thickness. Microcement is thin, but primer, base coats, decorative coats, and sealer still add layers. Your drain grate must finish flush with the final surface, or you’ll create a lip that catches water and toes.
Use a removable grate so you can clean hair and soap without damaging the coating. Aged brass works well beside a book-matched walnut surround, while rust-toned metal makes the drain more visible and graphic.
I’d use aged brass for a small room because it sits quietly with the forest-green and natural-oak palette. You’ll want your contractor to protect the grate during every coat, and you shouldn’t accept tape residue as a finished detail. This seamless microcement bathroom reference is useful when you’re comparing quiet hardware choices.
7Layer the Waterproofing Before You Trowel Anything Decorative
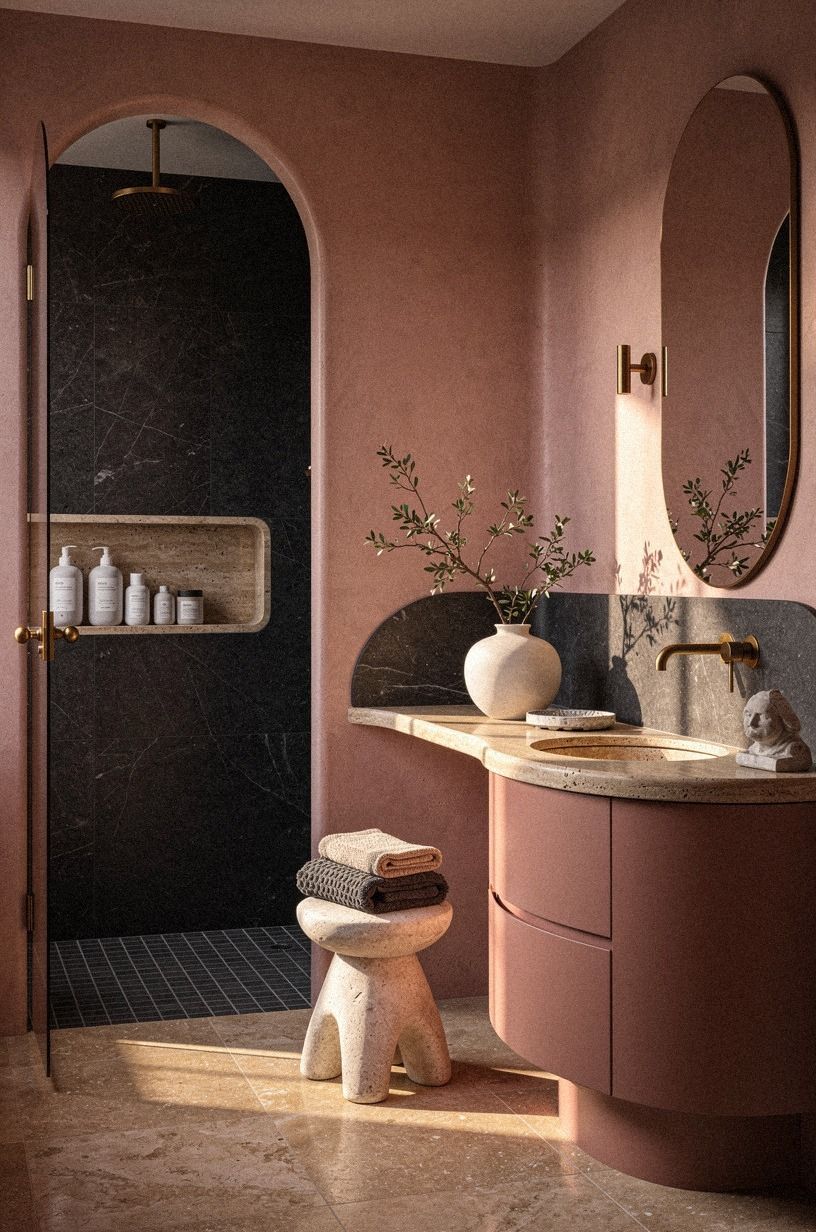
Treat waterproofing as its own system, not as a hidden detail beneath the pretty part.
8Trowel the First Coat in the Microcement Wet Room
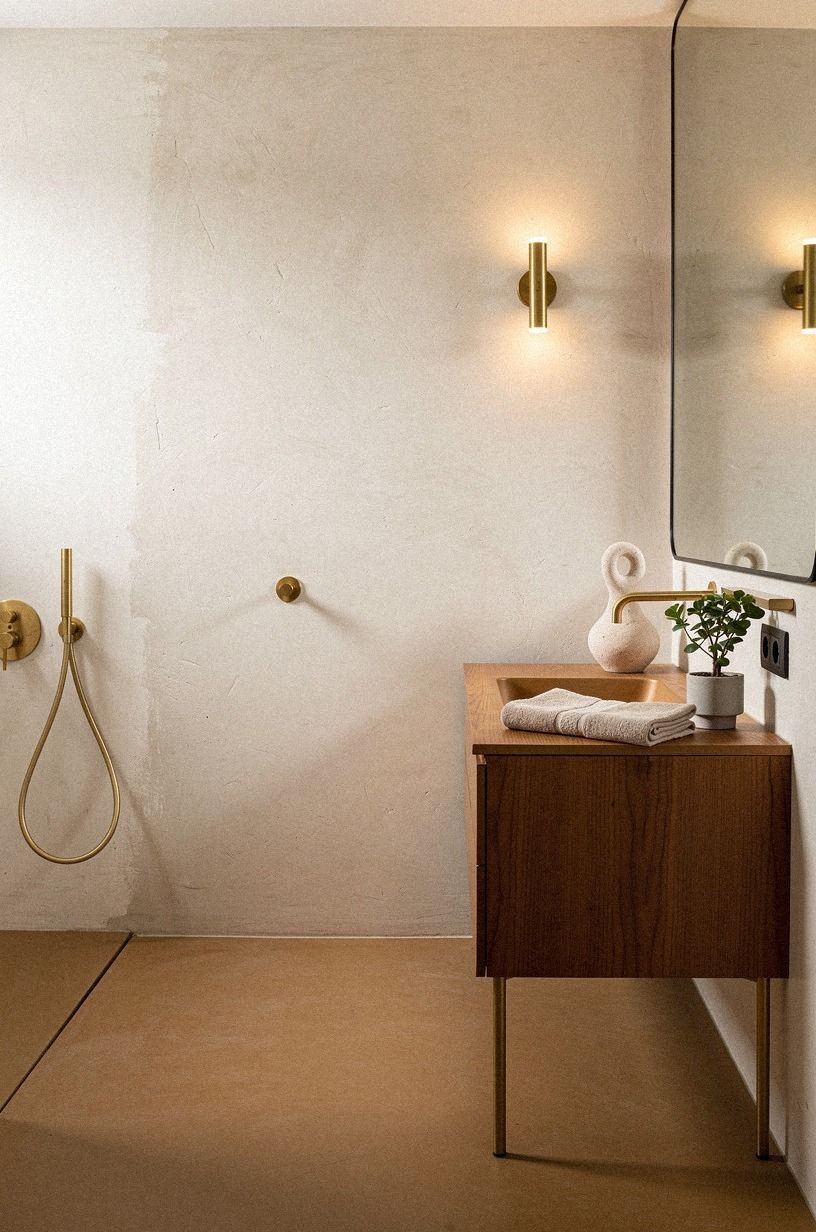
Apply the base coat in thin, controlled passes with a clean steel trowel. Your goal is an even foundation, not the final color. Keep edges feathered, watch the corners, and follow the product’s drying time instead of pushing ahead because the surface feels dry.
The first coat can look patchy. That’s normal, but the mineral base coat still needs consistent coverage over every transition.
I’d avoid trying to create decorative movement at this stage because the irregularity can telegraph through later layers. My favorite finish has gentle variation, not obvious swirls.
And when you’re working around a niche, slow down. A sharp inside corner looks refined; a lumpy one catches every shadow.
Let the construction layer stay boring. It pays off!

9Sand Between Coats for a Softer Microcement Bathroom Shower
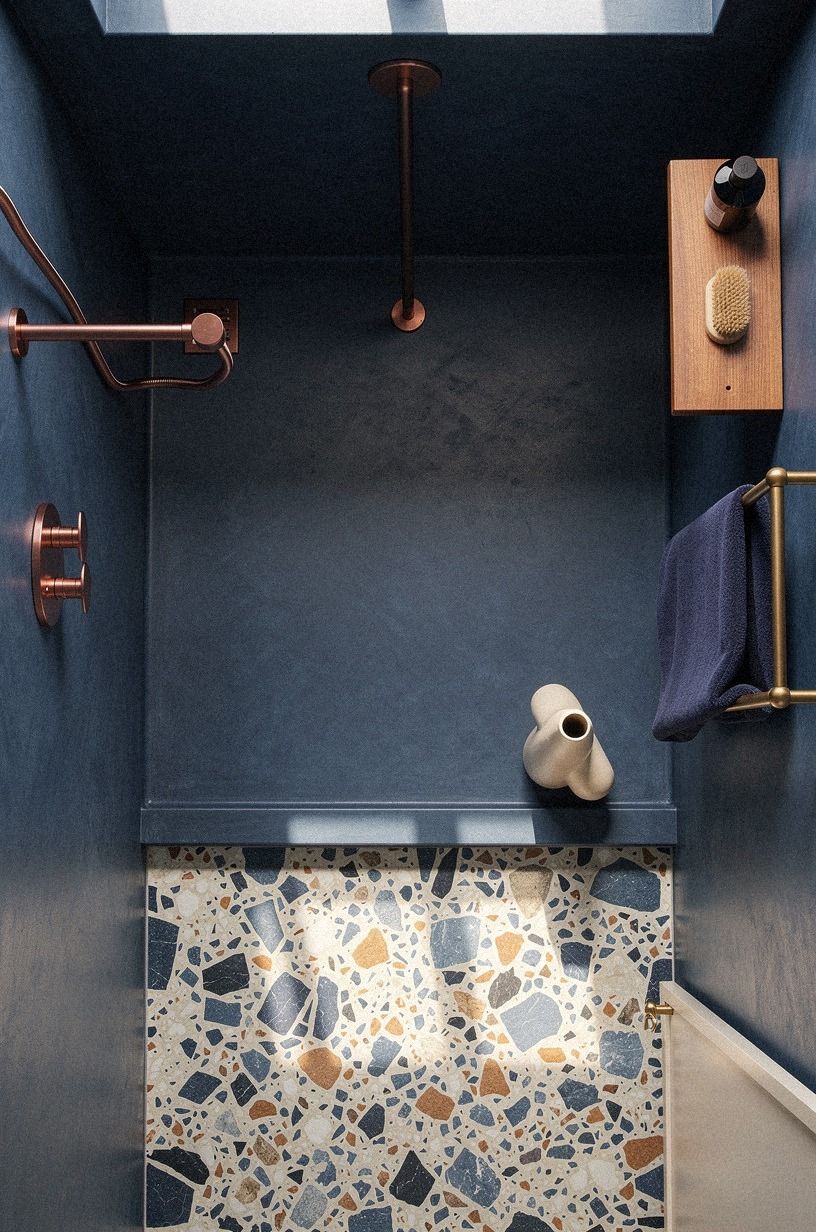
Sand between coats only as much as the system requires.
10Create the Three-Height Light Stack for Your Wet Room Bathroom Design
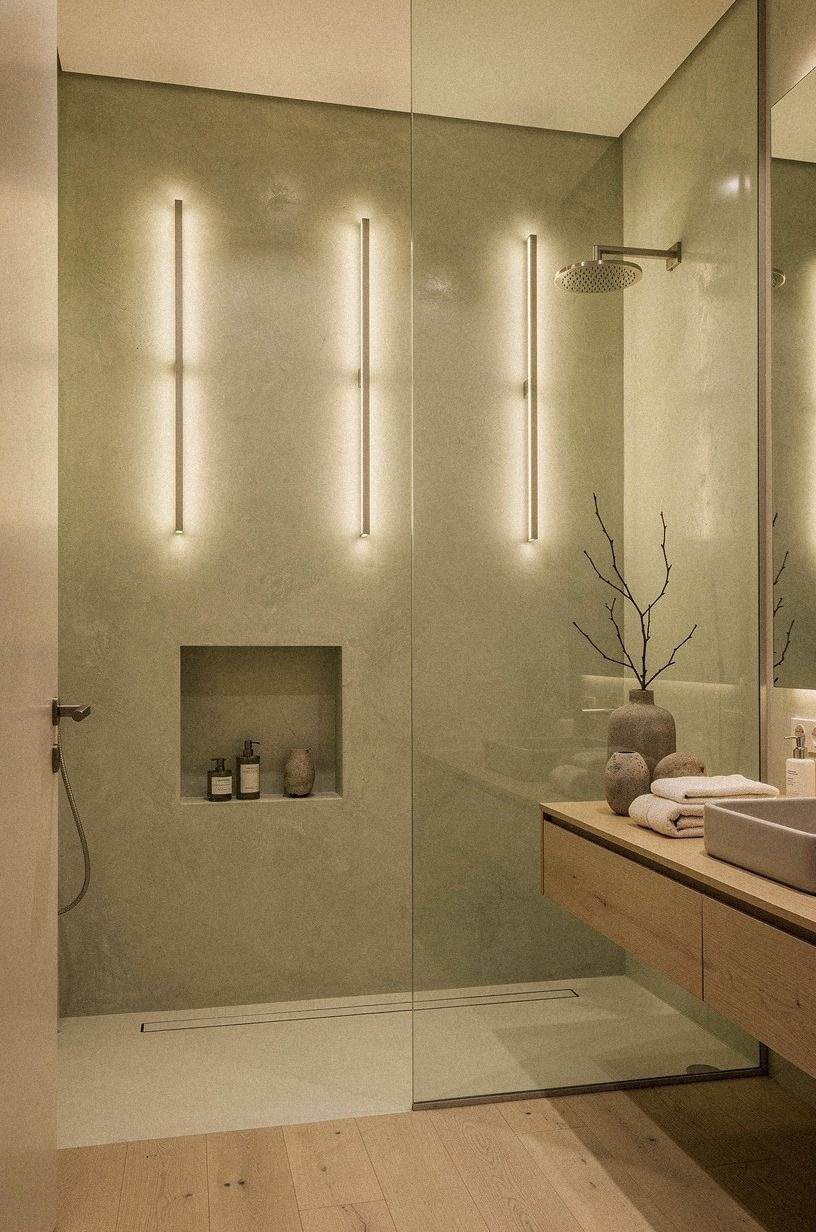
Build three light levels: ceiling light for cleaning, mirror light for your face, and a low warm source for evening. Your shower will feel more inviting when the room doesn’t depend on one bright fixture overhead. Use a dimmable LED plan wherever the electrical layout allows it.
A three-height light stack works especially well with microcement because the finish changes subtly as light moves across it. Choose a warm white bulb for the vanity, then keep the ceiling fixture less dominant.
I’d skip a single blue-white downlight because it makes Venetian plaster look cold and every water mark more obvious. Opal glass sconces soften the mirror without throwing harsh points across the wall.
If you’re planning a bedroom-to-bathroom connection, this guide about room factors that affect sleep has useful lighting context. The difference at night can be astonishing!
11Paint the Dry Zone With a Named Color
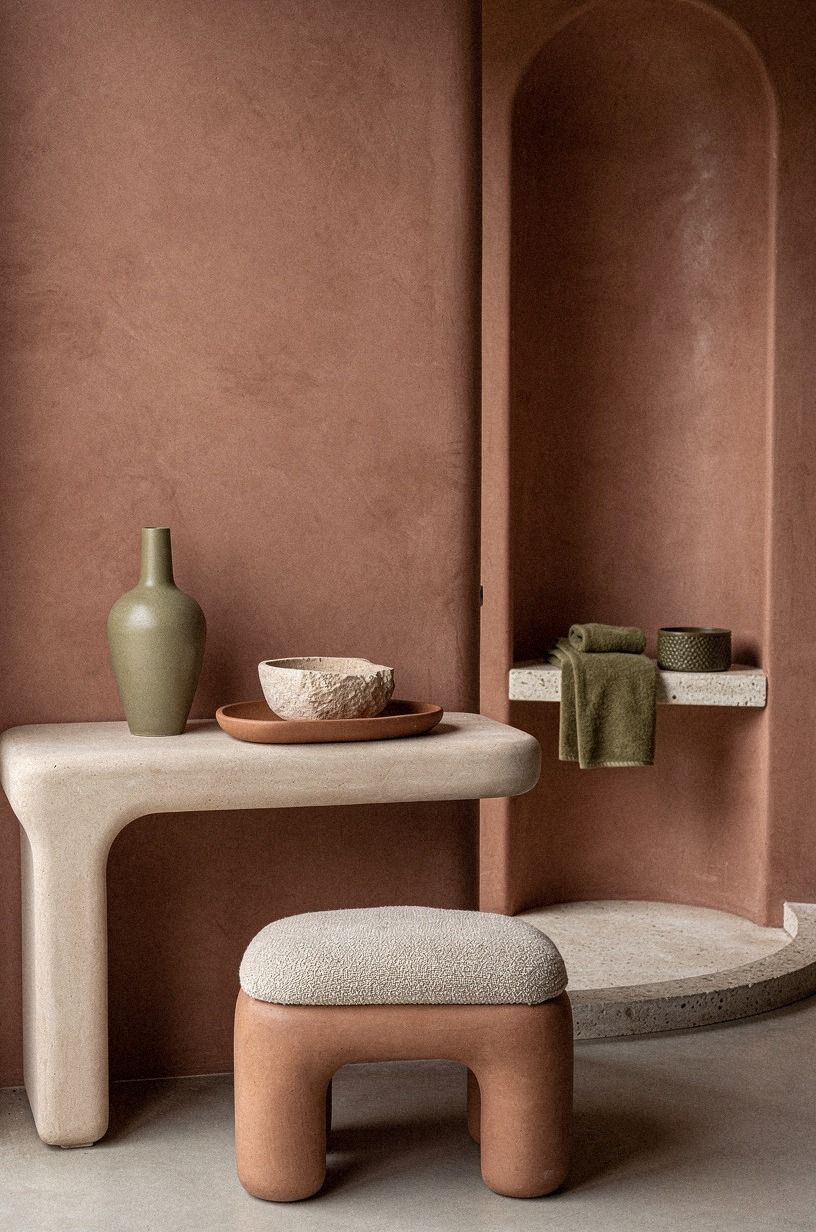
Paint the dry walls after the wet finish has cured and been protected.
12Anchor the Vanity at the Right Height
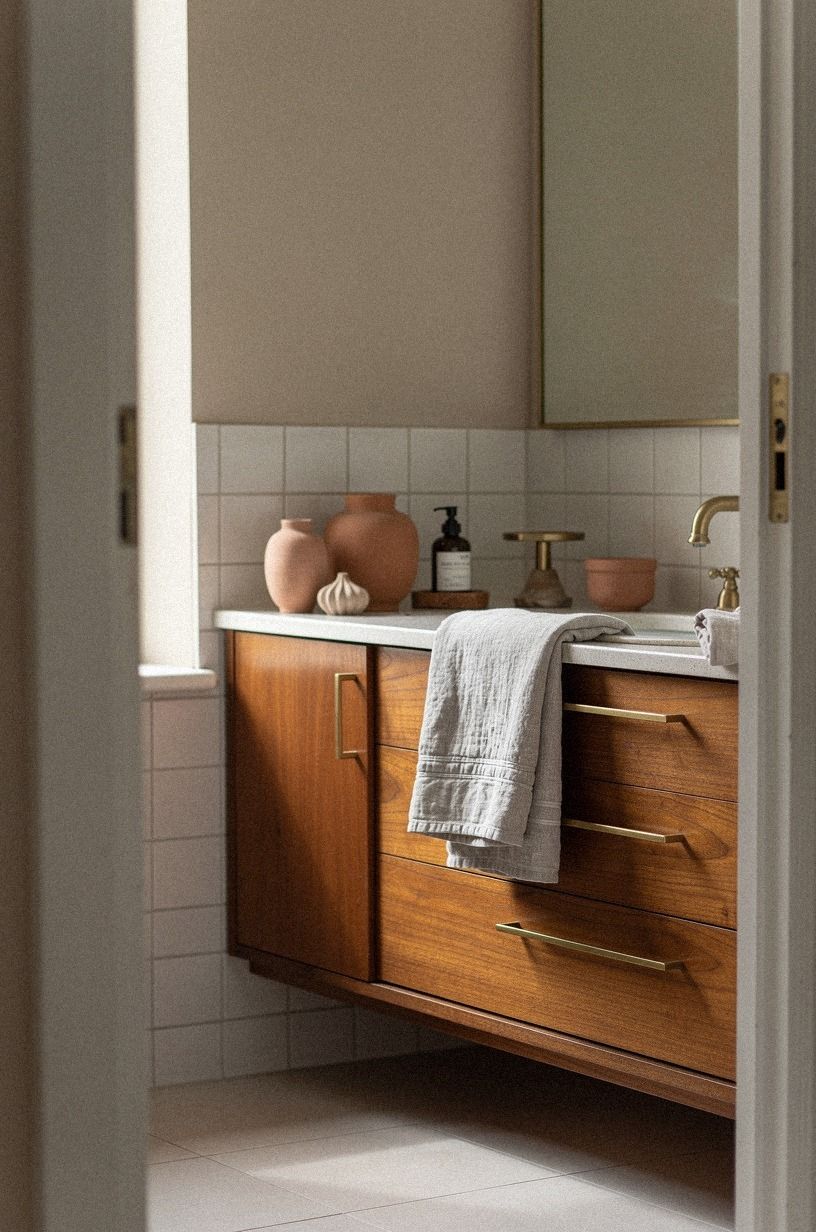
Set the vanity between 32 and 36 inches high, depending on your household and countertop thickness. Your sink, faucet, mirror, and wall light should read as one vertical group rather than four unrelated decisions. Mark the heights with painter’s tape before drilling anything.
A floating vanity in a washed-linen tone makes the floor continue beneath it, which helps a compact wet room feel lighter. IKEA TONSTAD can give you a useful starting proportion, but I’d avoid a deep cabinet if your toilet clearance is tight. The extra storage won’t feel worthwhile when you’re turning sideways to open the door.
I once installed a vanity that looked generous on paper and cramped the walkway by enough to annoy everyone. You’ll notice that mistake every morning.
Keep the front edge practical, then let the material provide the character. This white microcement vanity reference is helpful when you’re balancing pale surfaces with aged brass.
13Hang a Frameless Screen With One Clear Threshold
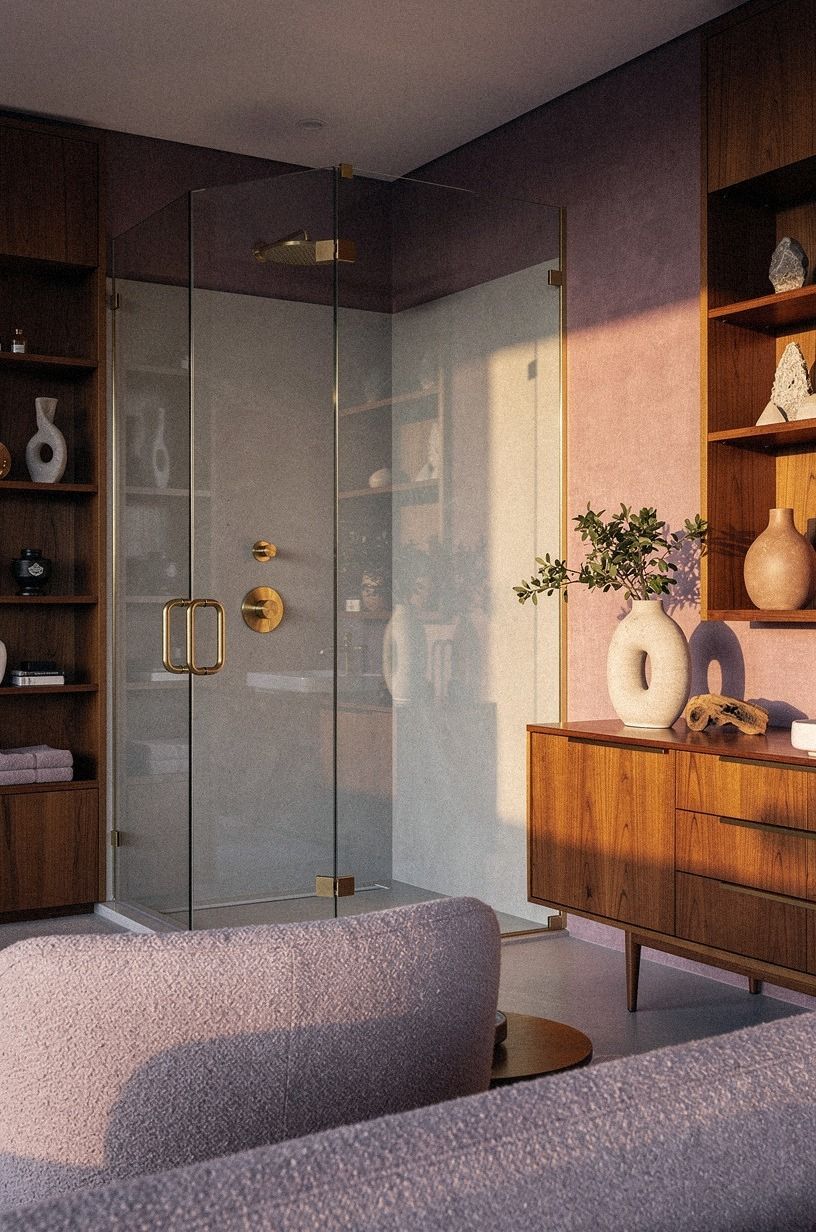
Install a frameless glass screen that protects the dry zone without dividing the room into two visual boxes.
14Price the Microcement Project With Realistic Tiers
Price your project before you choose the finish, and separate cosmetic spending from plumbing or structural work. A new mirror and paint won’t belong in the same mental bucket as moving a drain. Your choices get easier when you know which tier you’re working within.
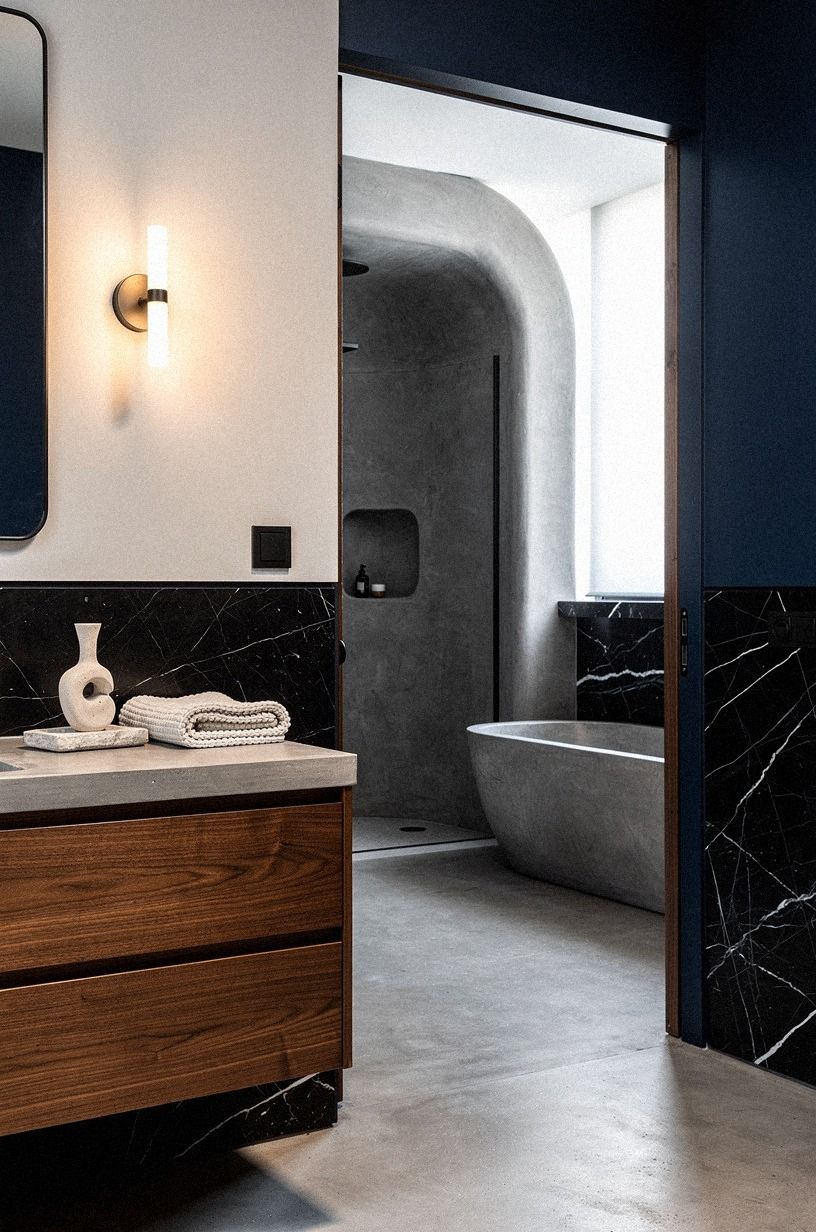
For material comparisons, zellige tile typically runs $15-$35 per square foot, subway tile $2-$10 per square foot, a Nero Marquina marble top $50-$100 per square foot, and a brushed brass faucet $120-$450. I’d spend first on waterproofing and drainage, then on the visible finish.
You can live with a basic mirror, but you shouldn’t gamble on the layer keeping your walls dry. This microcement bathroom planning guide can help you separate surface choices from construction costs.
15Solve the Rental Version Without Permanent Work
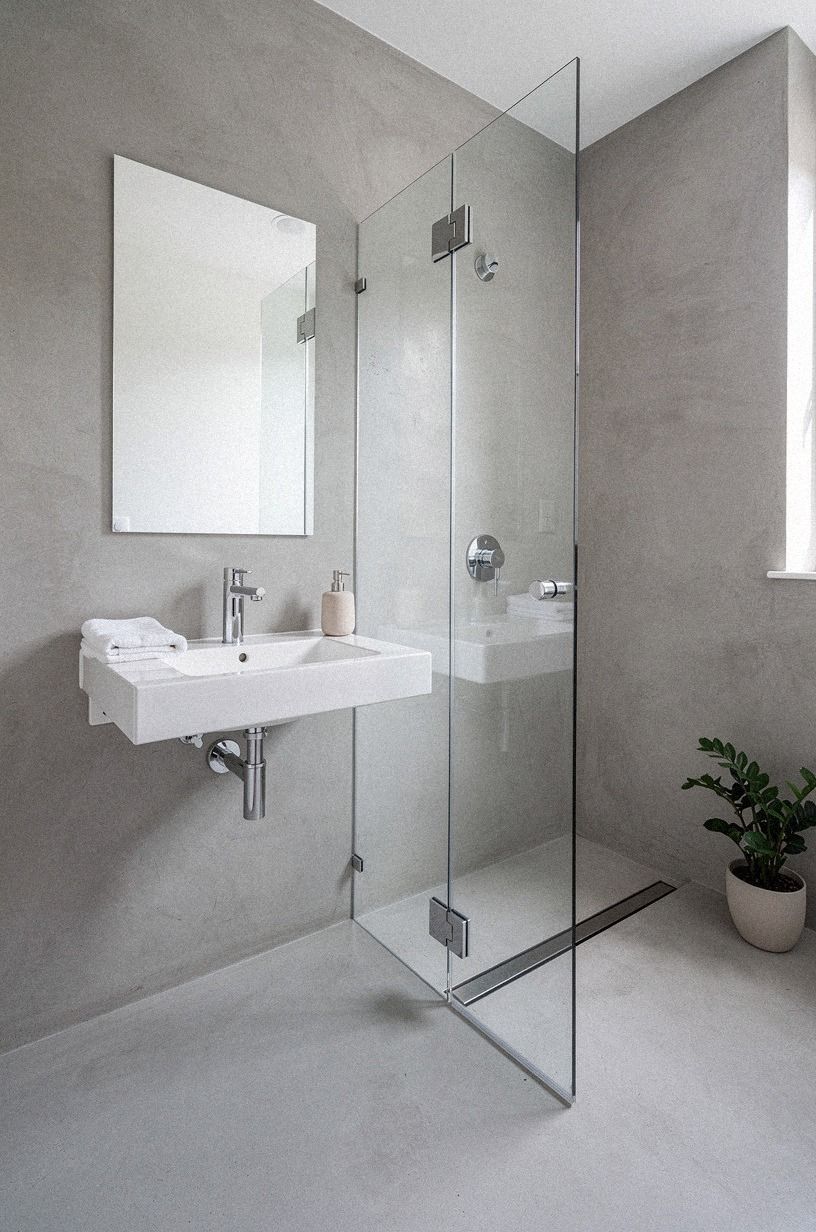
Create a rental-friendly version with removable pieces around the permanent bathroom. Your landlord may not allow microcement over tile, but you can still borrow the mood through a warm paint color, a tension-mounted shower shelf, and a removable mirror.
Use peel-and-stick wall panels only outside direct spray unless the manufacturer approves wet areas. A washable curtain in a deep emerald tone, a compact stool upholstered in deep-pile mohair velvet kept outside the splash zone, and a removable adhesive hook can give you a more organic, inviting direction without drilling into tile. I’d skip cheap contact paper in the shower because steam and standing water will test every edge.
If you’re saving for a permanent renovation, take photos of your rental layout now. You’ll learn what your body needs before you spend on the next room. The organic modern bathroom approach also works well as a rental mood board, even when the permanent materials have to wait.
16Should You Seal the Microcement Shower More Than Once?
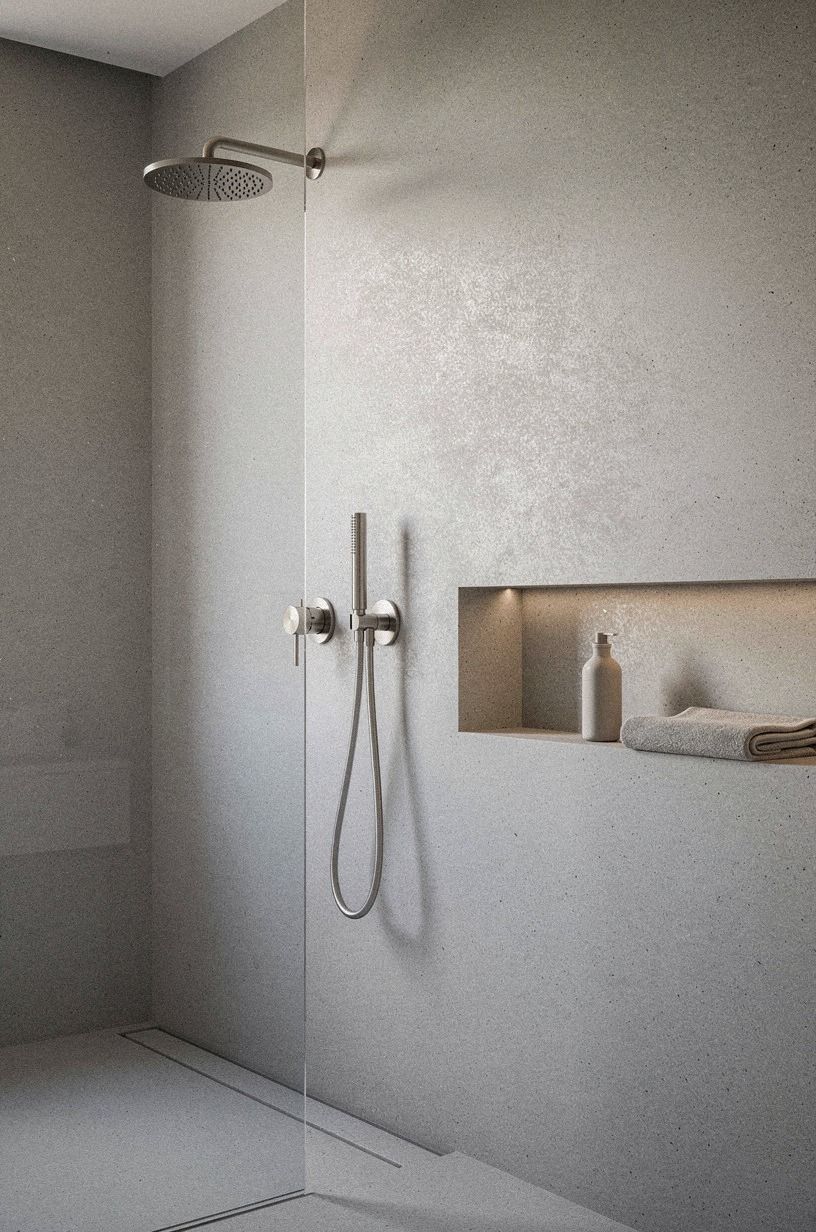
Yes, seal the shower according to the product system and respect the full cure time.
17Style the Finished Microcement Shower Room With Restraint
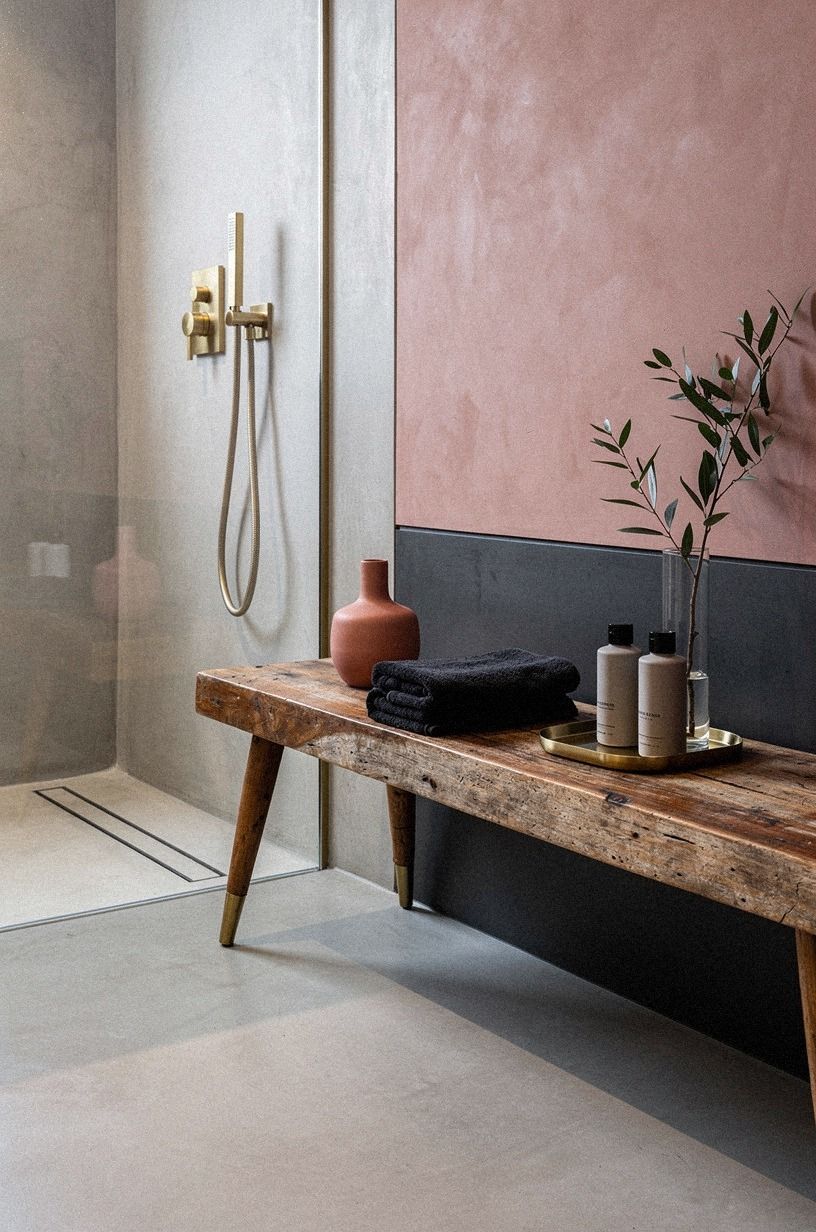
Style the finished room with fewer, stronger pieces. Your materials already provide texture, so add one 18 oz cotton waffle towel, one reclaimed weathered teak stool, and a small ceramic vessel rather than filling every ledge. The best result feels comforting because the surfaces have room to breathe.
Use a restrained palette of dusty rose, charcoal, and aged brass. Unlacquered brass can develop a soft patina beside warm microcement, but I’d avoid matching every fixture and accessory.
Too much brass makes the room feel staged instead of lived-in. You’ll want a washable runner outside the splash zone, a low plant only if the light supports it, and storage that closes.
The room should still work when you’re carrying laundry or helping a child. That practical test matters more than a perfect room. For a final palette check, revisit these microcement shower ideas and notice which rooms leave some surfaces intentionally quiet.
Why I’d Choose a Groutless Room Carefully
I like microcement because it changes the emotional volume of a bathroom. Tile gives you a pattern to read, while microcement gives your eye a slower surface.
When the light moves from the mirror to the shower wall, the room feels earthy and quiet instead of busy. That matters in the morning, when you’re not looking for another visual demand.
But I don’t think groutless automatically means easier. The finish removes regular joints, yet it makes poor preparation more visible.
A crooked corner becomes a crooked corner in a large uninterrupted field. I’d rather see a modest, well-waterproofed room with a slightly varied finish than an expensive bathroom where the drain, threshold, and wall transitions were treated as afterthoughts.
The decision also depends on how you live. If you want a bathroom that can handle strong cleaners, rough storage baskets, and constant splashing without thought, conventional tile may be the more forgiving choice.
If you’ll use a gentle cleaner, wipe standing water, and respect the sealer, microcement can feel luxurious without becoming precious. I’ve gone back and forth on that tradeoff, especially in family bathrooms.
My strongest opinion is this: spend your money below the surface first. Waterproofing, slope, substrate, and glass placement determine whether the room works. Color comes later.
When those foundations are right, even a restrained shade such as Sherwin-Williams Sea Salt SW 6204 can feel warm, peaceful, and considered. When they’re wrong, no finish will rescue the morning puddle beside your toilet.
The organic modern microcement guide makes the same case through a softer material palette.
The Questions I Get Asked Most
What is the best microcement shower and wet room idea for a small bathroom?
A continuous warm-gray microcement floor and shower wall usually work best because fewer visual breaks make the room feel larger. Pair it with a shallow floating vanity, a frameless glass panel, and one soft wood accent. You’ll get more calm without sacrificing storage.
Where can I buy microcement shower and wet room pieces on a budget?
Look at IKEA, Wayfair, and Target for accessible bathroom basics, then check Facebook Marketplace or local thrift shops for mirrors and stools. You can save on accessories, but your waterproofing materials and professional installation should come from reliable bathroom suppliers.
How much does a microcement shower and wet room makeover cost?
A cosmetic bathroom refresh can fit inside the $200-$1,200 budget tier, while a mid-range project often reaches $3,000-$9,000. Structural work, such as plumbing, drainage, or a fully rebuilt shower, is usually the expensive part rather than paint or styling. Use the microcement bathroom cost and planning reference to separate the visible finish from the work beneath it.
Can I create a microcement shower and wet room on a budget?
Yes, and you can start with paint, a second-hand mirror, new textiles, and better lighting. Free layout planning costs nothing, while a small vanity update can stay below a full renovation. Don’t reduce the waterproofing budget to make the decorative finish fit.
Is a microcement shower and wet room worth it in a small space?
Yes, when your substrate and drainage are sound. Continuous surfaces help a small room read larger, especially with a clear glass screen and floating vanity.
Keep the shower at least 36 by 36 inches when possible, and protect the walking path around the toilet. This seamless bathroom design guide is useful when you’re comparing pale finishes for a tight footprint.
Is a microcement shower and wet room a good idea for a rental?
Only as a removable style direction unless your landlord approves permanent work. No-damage changes include a tension rod, washable curtain, removable mirror, peel-and-stick panels outside direct spray, and warm towels. Save permanent microcement for a home you control.
Where I’d Start First
If I had to pick one step, I’d start with the waterproofing and drain plan. A beautiful finish can’t correct standing water or a soft wall, and those problems get expensive once covered. Pin this guide for later, then measure your shower before choosing a color.