
 by
A Three-Rex birthday party works best when the theme gives children something to do, not just something to look at. Three-year-olds need large, simple choices and clear movement routes. Four-year-olds can usually handle short instructions, pretend roles, and slightly more detailed crafts. You’ll create a smoother celebration when you combine both needs with familiar snacks, washable activities, and enough open floor space for safe movement.
Don’t overthink: Layer the Dig-Site Table.
The ideas below keep the dinosaur story consistent without turning the room into a crowded display. Paper fossils, removable backdrops, a short cooperative hunt, and a calm exit station can make your party feel complete while remaining practical for adults. Each idea includes an easier option for younger or easily distracted guests, a harder variation for confident four-year-olds, and an alternative when your space, time, or supplies are limited.
- Build a Three-Color Fossil Palette
- Layer the Dig-Site Table
- Hang the 57-Inch Fossil Wall
- Swap the Balloon Arch for a Low Canopy
- Create the Three-Height Light Stack
- What Belongs on the Snack Safari Table?
- Mix the Texture Trail
- Anchor the Room With a Soft Play Zone
- Build the Fossil Hunt Route
- Make a Paper Backdrop Instead of Painting a Wall
- Finish With a Take-Home Nest
1Build a Three-Color Fossil Palette
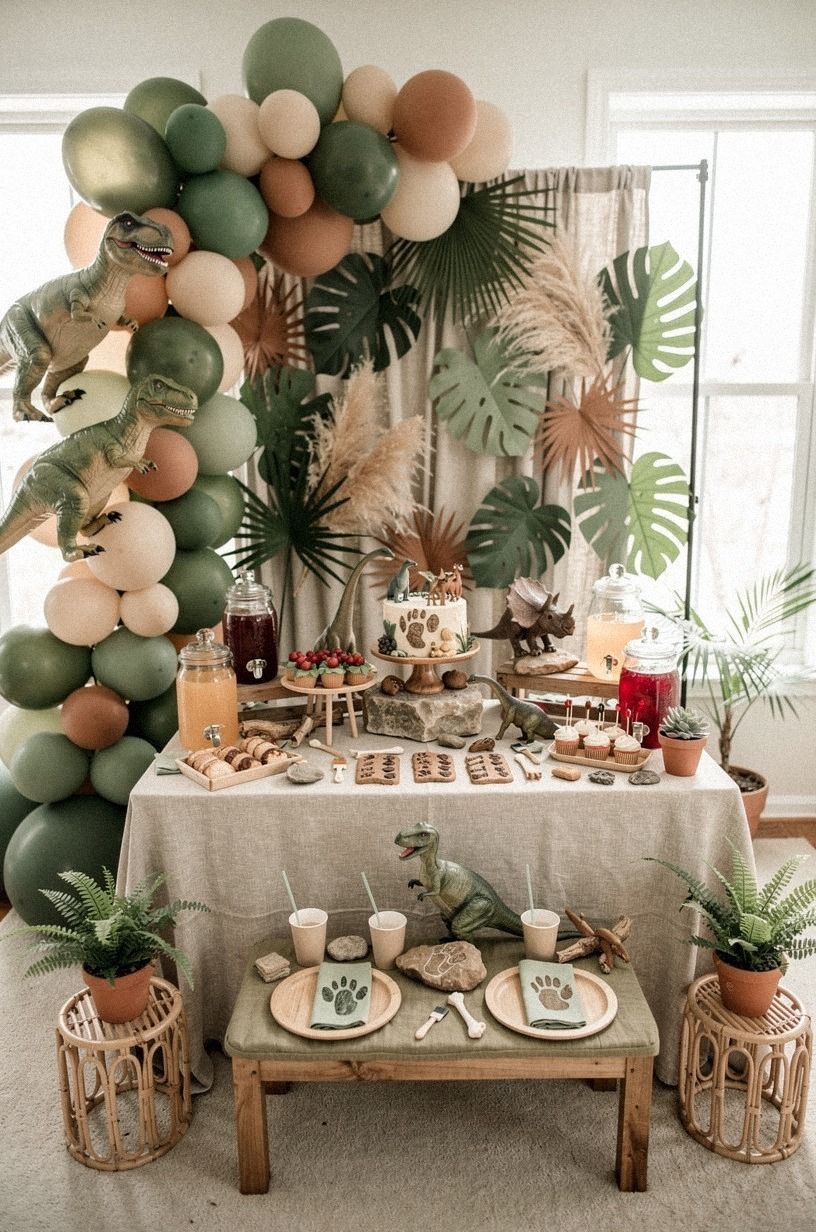
Choose three colors before gathering decorations: fern green, sandy tan, and one warm accent such as rust, mustard, or terracotta. You’ll use the palette on paper plates, napkins, table signs, paper leaves, and fossil drawings. Repeating three colors makes your homemade decorations look connected without requiring every product to match.
Cut large leaf shapes from green construction paper and tape them around a tan paper sign reading “Three-Rex Base Camp.” Add rust-colored paper footprints across the floor or along the wall. For paper fossils, draw shell spirals, claws, and simple bones on cardboard. Children can decorate them with washable crayons while you keep the shapes large and easy to handle.
For three-year-olds, offer only two color choices at the craft table. You can prepare the shapes ahead of time, so your child can choose, place, and decorate without waiting. Four-year-olds can sort materials by color or design a repeating pattern.
They’ll enjoy having a small job, but they don’t need a complicated explanation.
The tradeoff is that a restrained palette may feel less flashy than a rainbow display, yet it keeps your room visually calmer. If matching supplies aren’t available, use plain kraft paper, white tableware, and one bright accent color. The party will still read clearly through footprints, fossils, and dinosaur labels.
2Layer the Dig-Site Table
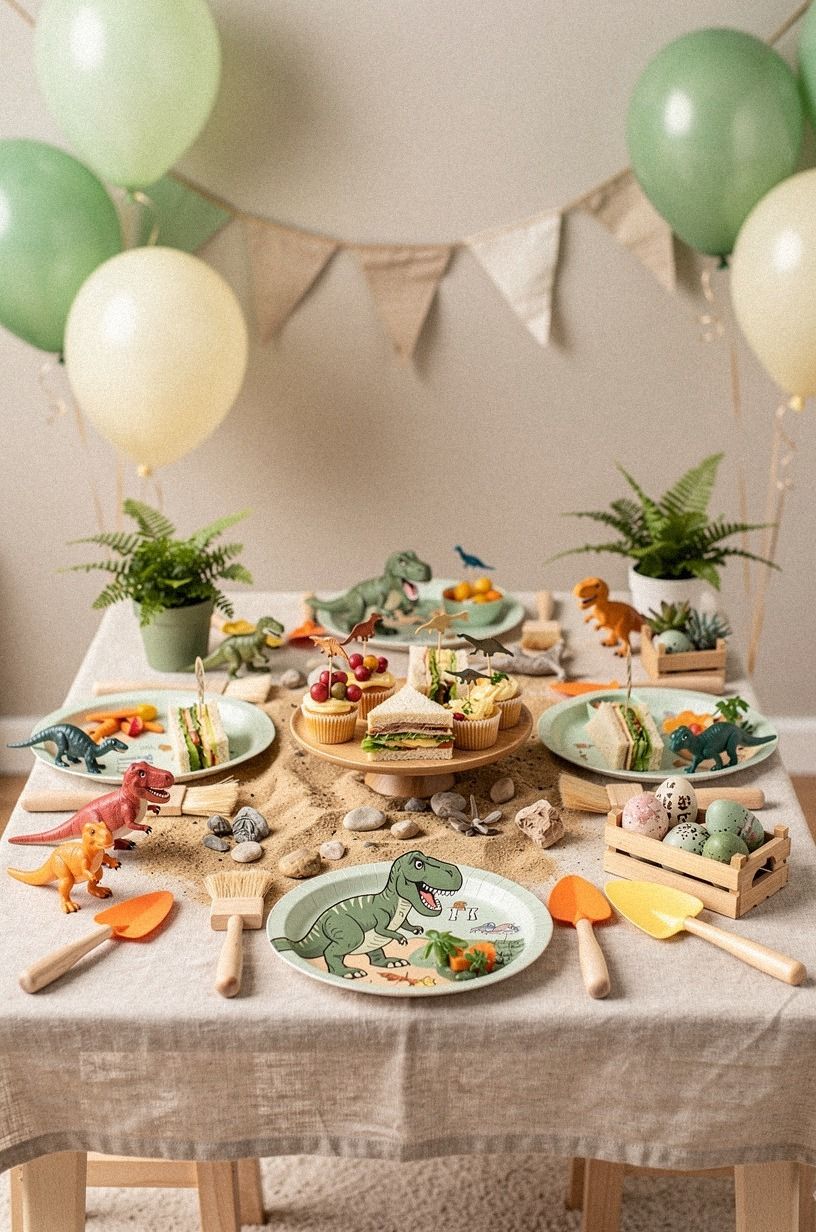
Turn the food table into a small dig site with three practical layers. Cover the surface with kraft paper or a washable neutral cloth.
Add a paper sign that says “Dino Base Camp,” then place snacks, napkins, cups, and wipes in separate trays. You’ll find supplies faster when each item has a clear home.
Use a shallow cardboard box as a fossil display. Fill it with large paper bones, cardboard eggs, or decorated paper leaves rather than loose sand. Sturdy containers can hold crackers, fruit, and sandwiches while keeping the table easy to wipe.
Leave the front edge clear so children can reach without pulling at the cloth or knocking over a bowl.
Three-year-olds can help place napkins or match cups to colored signs. Four-year-olds can act as “camp helpers” and point guests toward the water or craft station. You’ll give older preschoolers responsibility without asking them to serve food or manage younger children.
The tradeoff is that a decorated table takes a little preparation, but labeled zones reduce questions during the party. If your room is small, replace the full display with one tray for food and one basket for supplies. A folding table or picnic blanket can create the same base-camp feeling when floor space is limited.
A useful planning guide can help you decide how much preparation fits your schedule. These are illustrative estimates, not researched prices or requirements.
The budget rows are optional categories, not a shopping list. Reusing supplies can reduce each allowance to zero.
3Hang the 57-Inch Fossil Wall
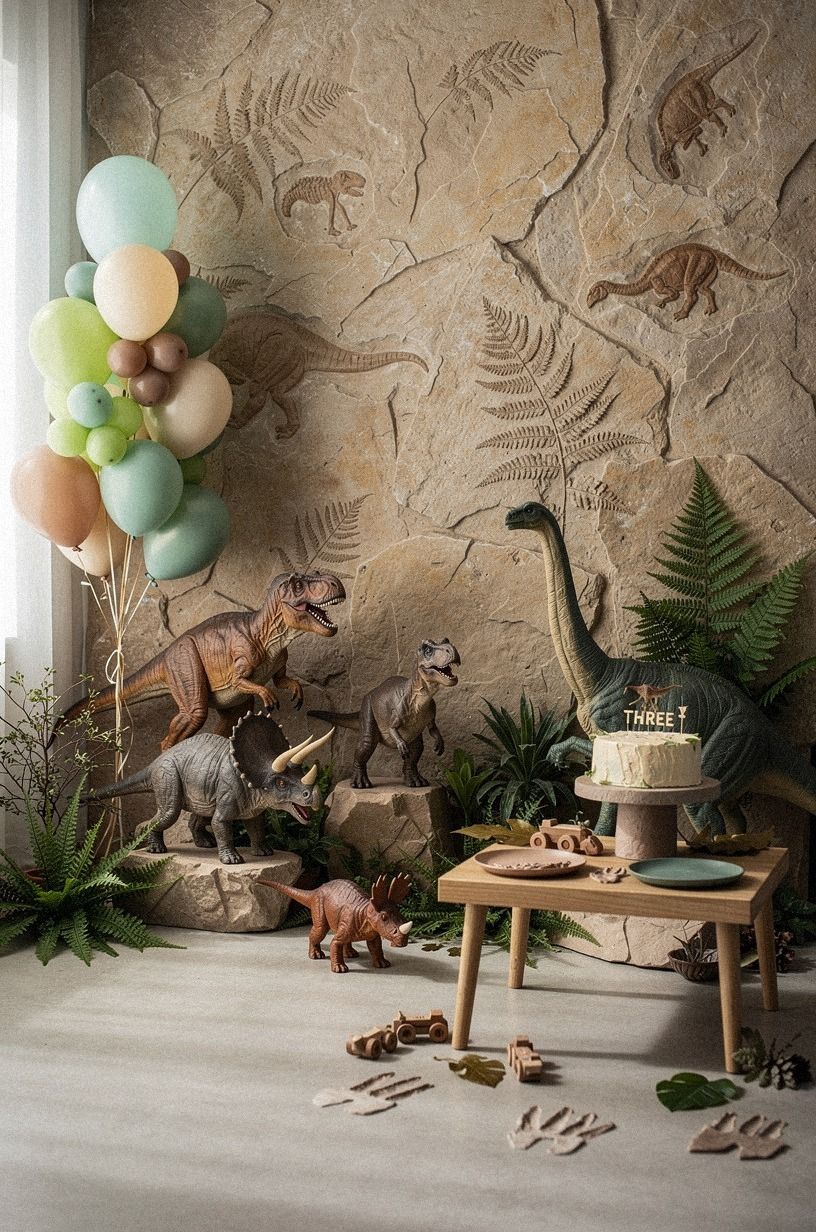
Create a focal wall with a large paper dinosaur skeleton positioned so the center sits roughly 57 to 60 inches above the floor. Use black or dark brown paper for bones, beige paper for fossil shapes, and green paper leaves around the edges.
Exact anatomy doesn’t matter. An oversized tail, a large head, and broad feet will make the visual easy to recognize.
Draw the shapes on the reverse side of paper, cut them out, and attach them with removable strips or painter’s tape. Add the birthday child’s age in large lettering. Your three-year-old can choose whether the dinosaur looks friendly, sleepy, or fierce.
Your four-year-old can name the dinosaur and add paper labels such as “tail,” “tooth,” or “fossil.”
The tradeoff is that a large wall display creates a strong photo area, but it requires careful attachment and removal. You’ll want to test tape on an inconspicuous spot first. If the wall surface is delicate, place the skeleton on a freestanding cardboard panel or easel instead.
Keep the lowest bones above grabbing height if younger toddlers will attend. You can display large paper fossils nearby without using tiny pieces. If you’re adding a photo spot, leave enough space in front of the wall for children to stand, turn, and move away safely.
4Swap the Balloon Arch for a Low Canopy
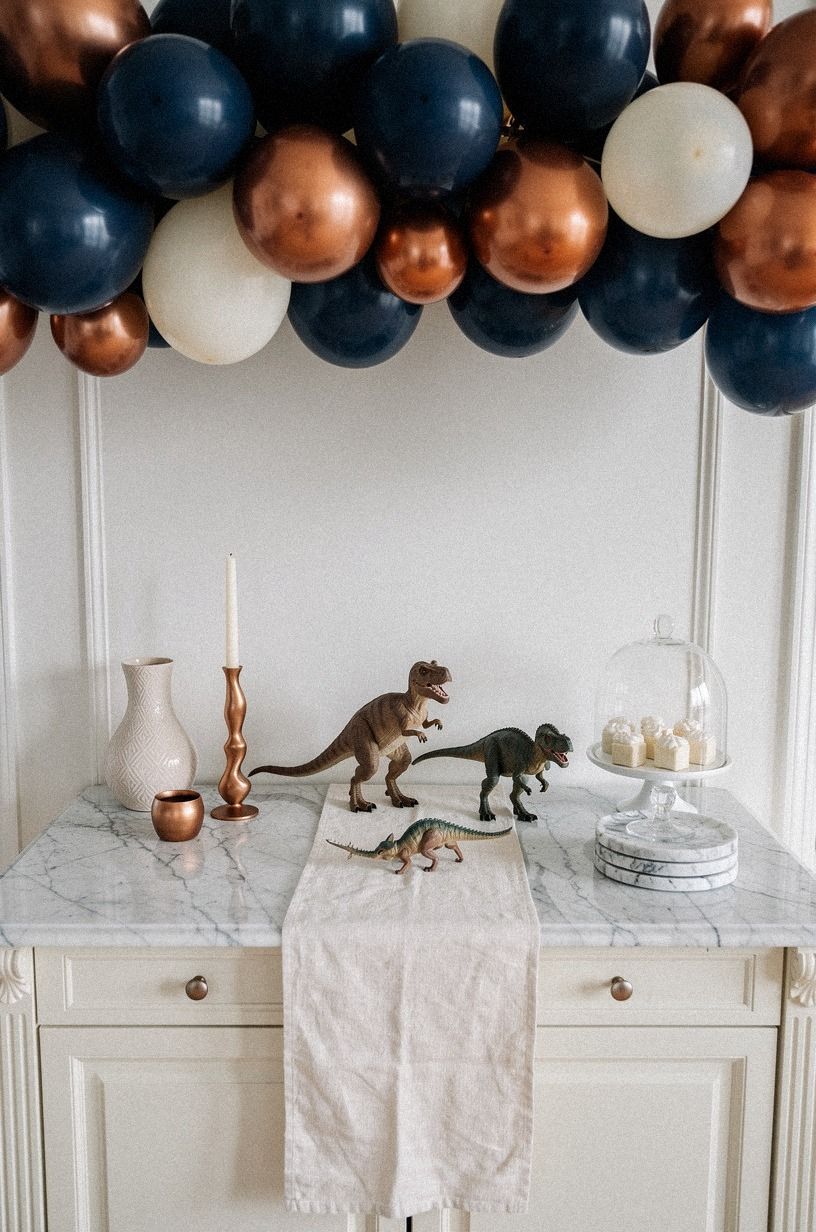
Use a low paper canopy to suggest a prehistoric fern forest without blocking sightlines. Cut broad leaves from green paper, fold each leaf down the center for dimension, and attach them to a string or removable paper strip above the snack table. Keep the canopy high enough that adults can walk beneath it comfortably and children can’t pull it down.
Add a few tan paper footprints leading toward the canopy. A three-year-old can count the footprints with an adult or search for one large “dinosaur egg.” A four-year-old can help identify which leaves are large, small, pointed, or round. The activity stays visual and brief rather than becoming a complicated lesson.
The tradeoff is that paper leaves take longer to cut than buying a balloon cluster, but they’re lighter, quieter, and easier to store or recycle. Don’t hang anything over a doorway, light fixture, or busy walking route. You’ll keep the dinosaur feeling strong when every decoration leaves the main path open.
When ceiling space is limited, create a paper leaf border around one backdrop instead. A row of oversized leaves gives the same jungle impression while keeping every route open. You can also place a few leaves at child height on a freestanding panel, where guests can point to them without tugging overhead decorations.
5Create the Three-Height Light Stack
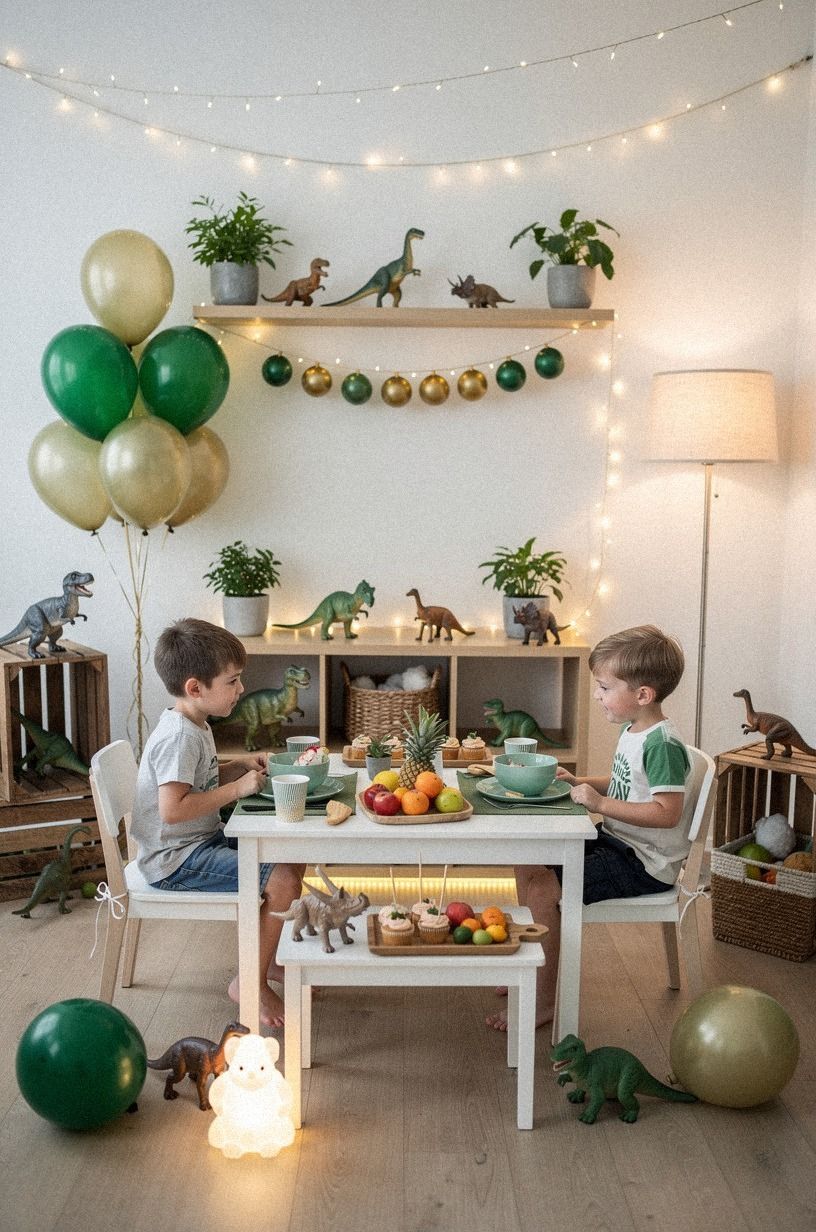
Use three simple lighting levels: the existing overhead light, a clear task light near crafts, and a gentle lower glow near the reading or favor area. A warm-white lamp can soften a harsh room, while a battery-operated light inside an opaque paper lantern can add atmosphere without an open flame.
Keep every cord against a wall and outside the walking path. Don’t use candles, exposed bulbs, or lights that flash or change color rapidly.
Children need to see paper, crayons, and food clearly, especially during transitions. You’ll also want an adult to control switches throughout the party.
For three-year-olds, keep the lighting steady. Four-year-olds can help choose whether the lantern belongs near the “nest” or “base camp,” provided the light remains out of reach. The tradeoff is that extra lighting adds setup and battery checks, but it can make your craft and snack zones easier to distinguish.
An easier alternative is to use daylight and one table lamp. A paper sun cutout near the window can create the visual theme without adding another electrical item. If the room already has comfortable lighting, you don’t need to add anything beyond a dinosaur sign near the main activity.
6What Belongs on the Snack Safari Table?
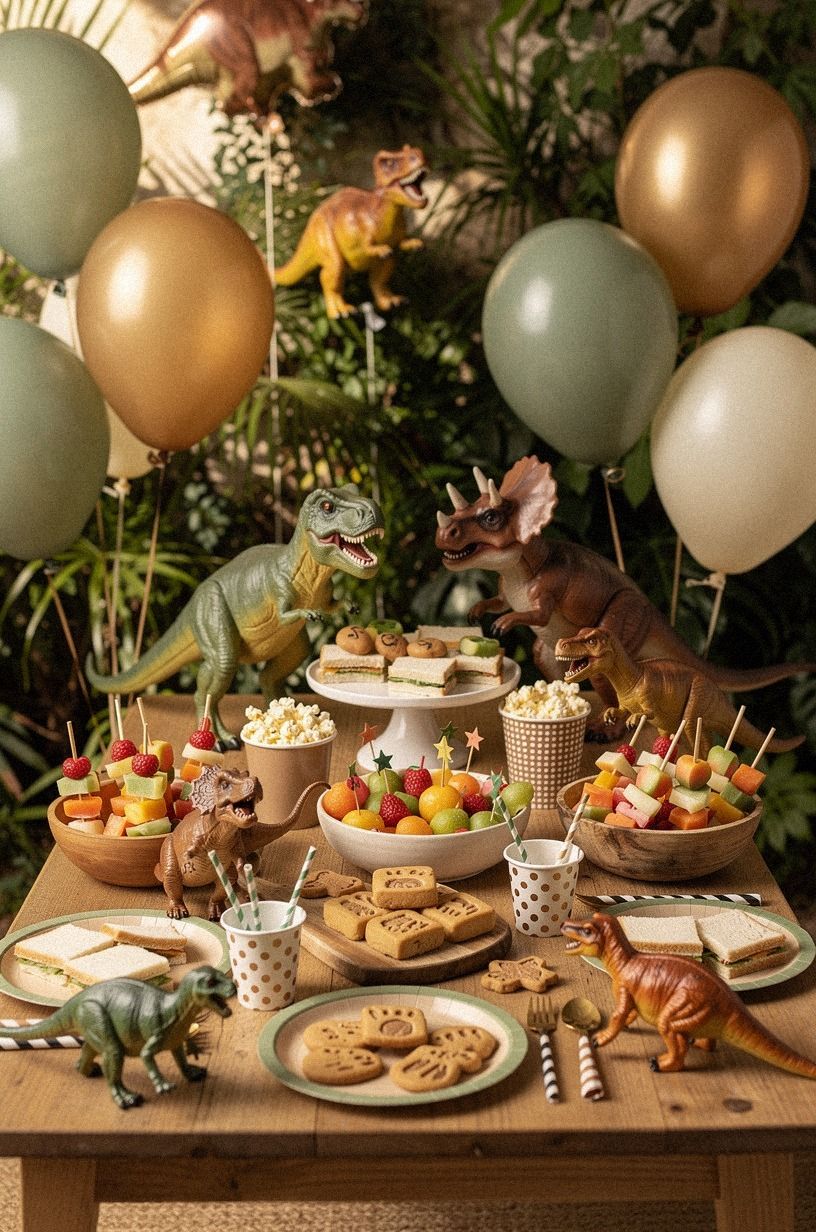
Give familiar foods dinosaur names while keeping the actual menu simple. “Fossil crunch” can be plain crackers, “jungle bites” can be soft fruit, and “three-toe triangles” can be small sandwiches cut into triangles. Include water and at least one ordinary food that children recognize without a themed label.
Snack safety needs priority over presentation. Seat children while eating and keep an adult nearby.
Cut grapes lengthwise into smaller pieces, avoid whole nuts, popcorn, hard candy, and other foods that may be difficult for young children, and check ingredient information for known allergies. Keep food away from craft materials and washable paint.
Three-year-olds can choose between two prepared options. Four-year-olds can select one item for a paper “dino plate” card.
You’ll add fun through the names without needing elaborate recipes or special equipment. If a child doesn’t want a themed food, offer the familiar item plainly.
For the simplest alternative, serve a familiar snack box with fruit, crackers, cheese, and water. Use paper dinosaur picks only where they can’t become loose hazards, and remove them before children eat. You don’t need a special dessert shape; a small cake or ordinary cupcakes can fit the dinosaur theme with a paper sign nearby.
7Mix the Texture Trail
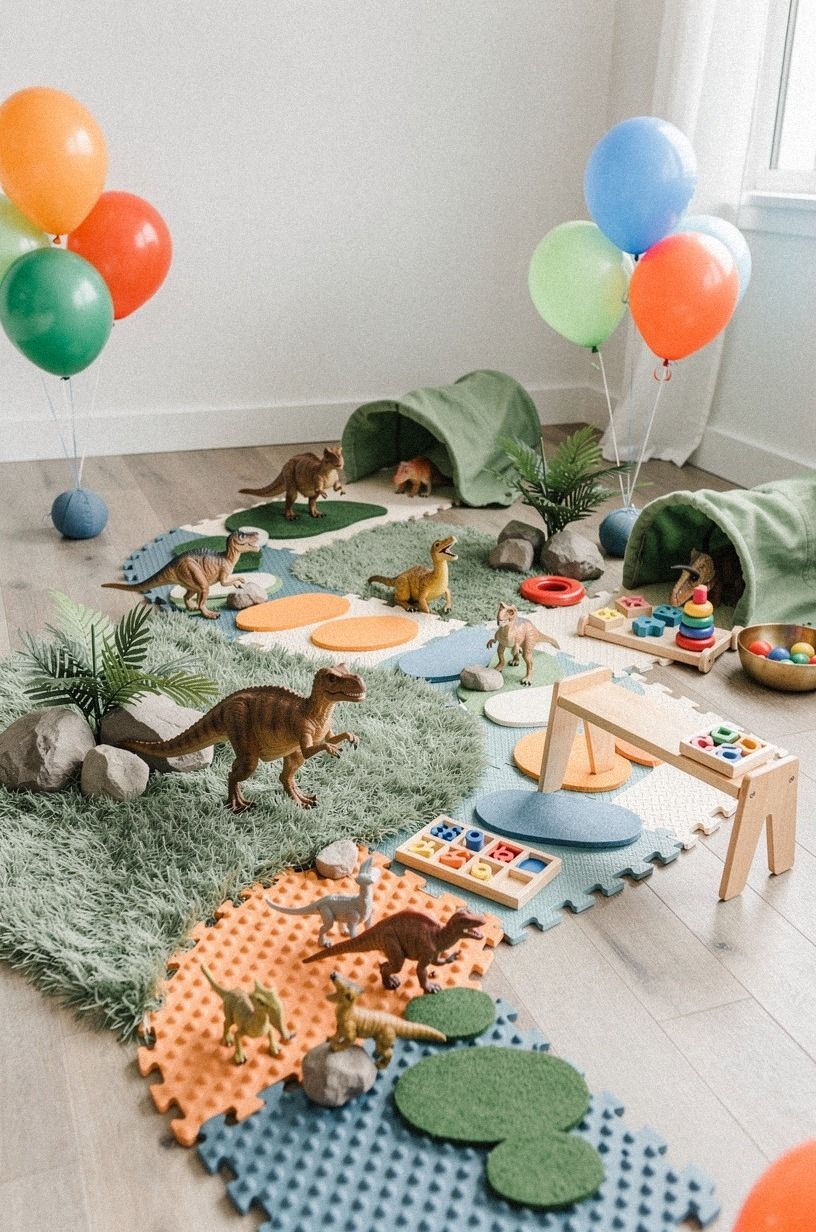
Create a short texture trail with large, washable materials: corrugated cardboard, felt, smooth cotton, a clean silicone mat, and sturdy paper leaves. Place each material in a separate shallow tray or tape it to a large cardboard board. Invite children to touch one surface at a time and decide whether it feels rough, soft, smooth, or crinkly.
Add washable art by giving children large paper fossils to rub with crayons or paint with child-safe tempera. Protect the table with kraft paper and keep a damp cloth nearby.
Three-year-olds can choose a favorite texture and add one color to a fossil. Four-year-olds can make a simple “dinosaur nest” by arranging three textures in a sequence.
The tradeoff is that tactile activities require more supervision than a coloring sheet, especially when paint is available. Use large materials only, remove loose pieces promptly, and keep anything small enough to fit in a child’s mouth away from the station. You’ll also want to check that each surface is clean and free of sharp edges.
If cleanup time is short, skip paint and use washable crayons, stickers, and pre-cut paper shapes instead. Your child can still compare textures, decorate a fossil, and carry the finished piece to the soft play zone.
8Anchor the Room With a Soft Play Zone
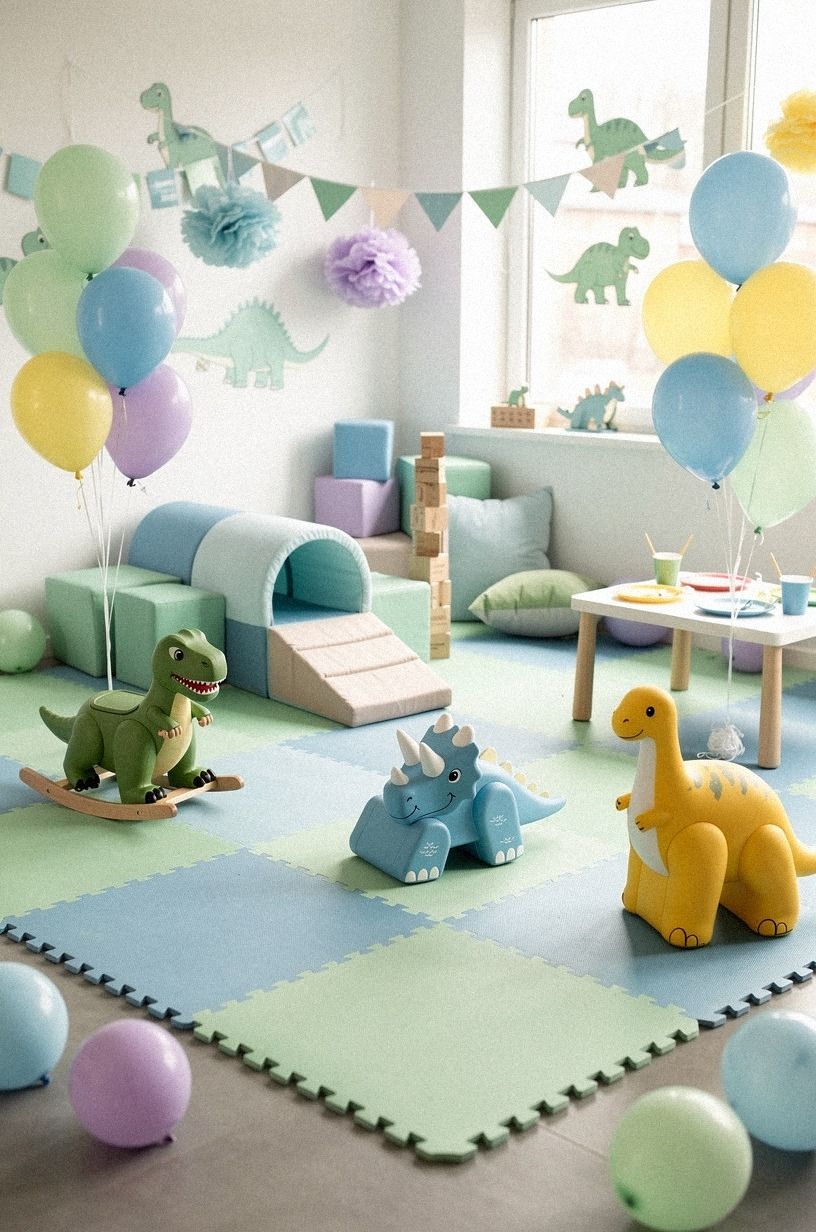
Set aside one clear area for sitting, crawling, reading, or examining fossils. Use a washable play mat or low-pile rug, then remove coffee tables, fragile ornaments, narrow stools, and sharp-edged objects from the route around it. Keep a wide path between the entrance, snacks, and bathroom.
Place a basket of large board books and cardboard dinosaur shapes beside the mat. A three-year-old can look at pictures or carry one large fossil to the basket.
A four-year-old can arrange the shapes into a nest or help read a short dinosaur story to a stuffed toy. You’ll give guests a place to pause when the room feels busy.
The tradeoff is that a soft zone uses floor space that could hold more decorations, but open circulation is more useful than extra display. Don’t stack furniture around the mat, since children may move unpredictably during transitions. Keep the basket low, stable, and easy for children to reach.
For a smaller room, use a folded quilt or play blanket that can be rolled away between activities. A paper backdrop behind the zone can define it visually without adding furniture. If you’re expecting several children, leave the middle of the room open and place the reading materials along one edge.
9Build the Fossil Hunt Route
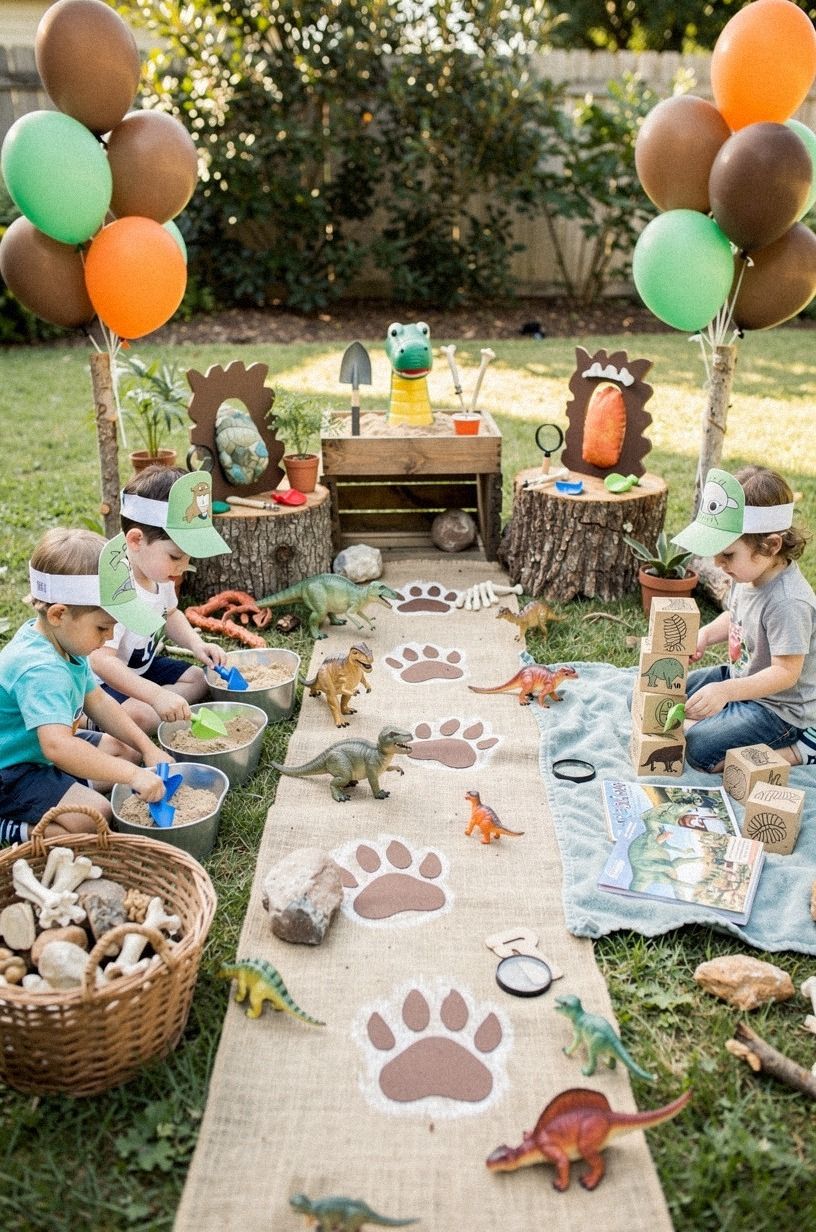
Plan a short route with three stops: “Dig,” “Sort,” and “Roar.” Tape large paper footprints from the entrance to a cardboard digging tray, then place a basket of paper fossils at the second stop and a dinosaur picture or puppet at the third. Keep the route short enough to finish in five to ten minutes.
Use a cooperative rule: every child helps find one fossil, and all fossils return to the basket before the group moves on. Three-year-olds can follow three or four large footprints with an adult.
Four-year-olds can match fossils to simple picture cards or lead the group to the next sign. No winner is needed, so children can focus on searching together.
The tradeoff is that a route creates structure but can become crowded if too many children start at once. You can release children in small groups or let guests explore the stations in any order. If a child loses interest, there’s no need to insist on finishing every stop.
For an easier version, place all three signs around one table. For a harder version, add picture clues such as a leaf, egg, or footprint.
Outdoors, replace tape with sidewalk chalk. Indoors, use removable tape and paper signs.
You’ll preserve the dinosaur story while keeping the activity flexible.
10Make a Paper Backdrop Instead of Painting a Wall
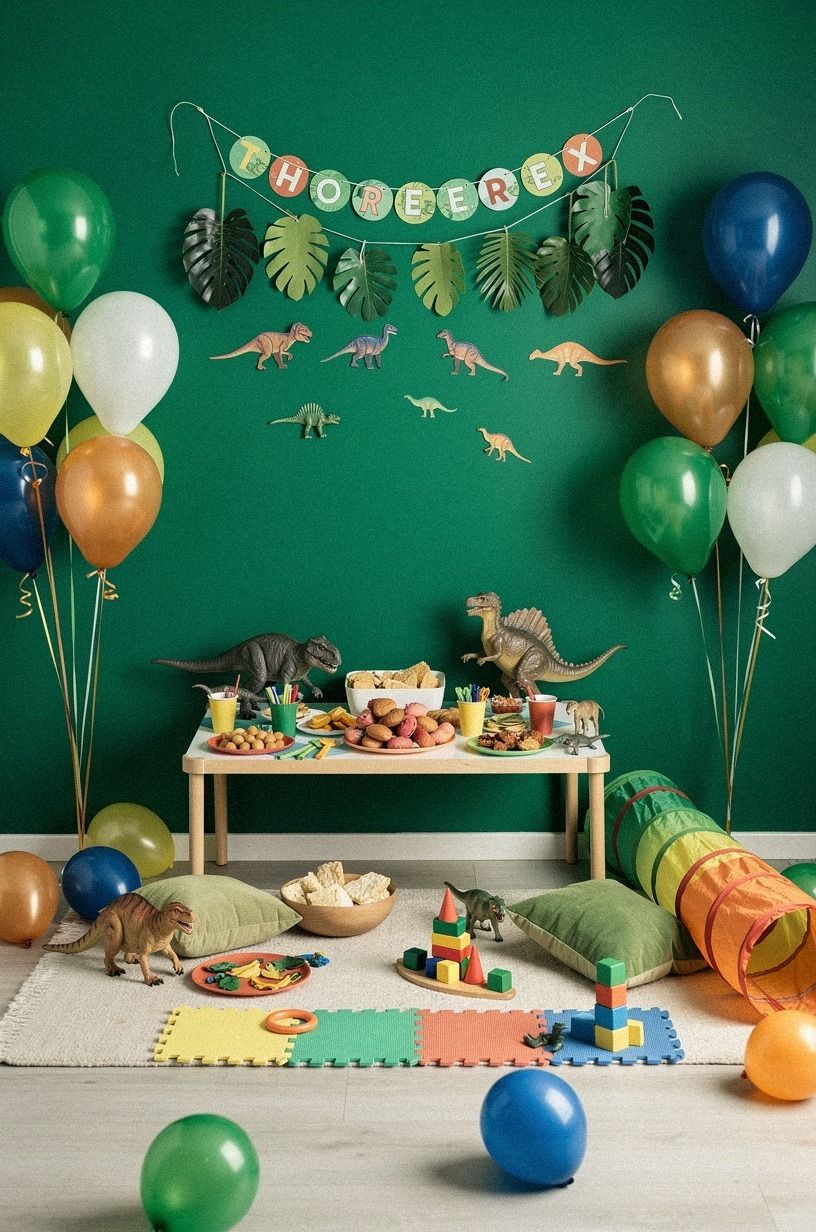
Create a large temporary backdrop from kraft paper, butcher paper, or joined sheets of construction paper. Draw a fern-green horizon, tan ground, and oversized dinosaur shadows. Add a paper sign with the child’s age and a few large fossils so the area works for photos, crafts, or the cake table.
A three-year-old can add large sticker fossils or sponge-painted dots using washable paint. A four-year-old can draw footprints, name the dinosaur, or attach paper leaves in a chosen pattern. Cover the floor and place art materials in shallow trays to keep the activity contained.
You’ll have a themed area that can also become a collaborative project.
The tradeoff is that paper can wrinkle or tear, especially near busy areas, but it avoids permanent changes and can be recycled after the party. Attach it to a freestanding board, easel, or tension rod where possible. If tape is necessary, test a small section first.
An easier alternative is a single tan paper roll with a green leaf border. A fabric sheet or plain curtain can serve as a reusable backdrop when paper supplies are limited. Don’t place it where children can trip over a loose bottom edge, and keep the route in front of it clear.
11Finish With a Take-Home Nest
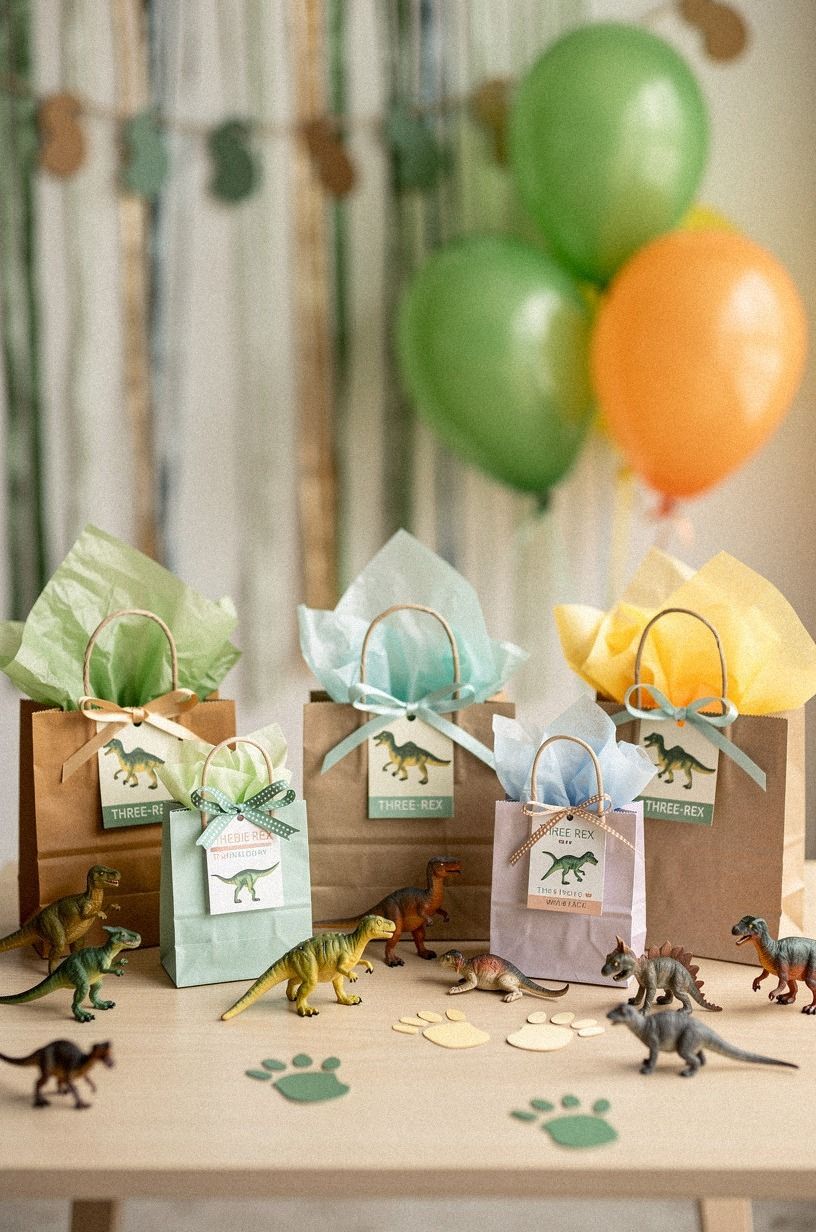
Prepare a small paper-based favor for the final transition. Use a paper lunch bag, cardboard egg, or canvas pouch containing a decorated paper fossil, a folded coloring sheet, one washable crayon, and a dinosaur sticker. Place each favor in a basket near the exit rather than beside the cake.
Three-year-olds can choose between two paper fossil colors and carry the favor with adult help. Four-year-olds can write or copy a dinosaur name on a simple tag.
Add each guest’s name before the party to avoid a rushed handoff at pickup. You’ll make departure calmer when every favor is ready before families arrive.
The tradeoff is that handmade favors take preparation, but they avoid a pile of noisy plastic toys and can be adjusted for different ages. Skip candy-heavy favors, especially when children have already eaten sweets. Check stickers and small objects for age suitability, and remove any item that could become a choking hazard.
For an even simpler alternative, send each guest home with the paper fossil created during the party. A labeled envelope keeps the craft flat and turns the activity into the favor. Your child can help place envelopes in the basket, while an adult handles the final check at pickup.
Practical Preparation Checklist
Two to three days before the party:
- Choose the three-color palette and decide which decorations will be paper-based. - Cut paper leaves, footprints, fossils, dinosaur bones, backdrop pieces, and station signs. - Prepare the fossil hunt route and select a short cooperative game. - Check the play area for sharp edges, loose cords, fragile objects, and small items. - Confirm food allergies and plan familiar snacks with safe serving sizes. - Set aside washable crayons, washable paint, wipes, table coverings, and spare clothing. - Assemble favors and label them before guests arrive. - Test removable tape or strips on the intended wall or backdrop surface.
On the party day:
- Set up the food table away from art supplies. - Place water, wipes, napkins, and trash containers where adults can reach them. - Keep paper fossils and craft materials in large trays. - Put the soft play zone and hunt route in areas with clear sightlines. - Cut and portion snacks before children arrive. - Keep a simple backup activity ready, such as coloring or a picture book. - Turn on steady lighting and secure all cords. - Place favors near the exit only after the main activities are ready.
You’ll have fewer last-minute decisions if you pack each station separately. A craft tray can hold paper, crayons, and wipes.
A hunt basket can hold fossils and signs. A snack tray can hold serving tools and napkins. If something changes during the party, you can move one complete station instead of searching through every supply bag.
Illustrative planning allowances can be assigned by household budget, but no special renovation or expensive prop is necessary. Paper, cardboard, washable art supplies, familiar food, and reusable containers cover most of the setup. You can also ask another adult to monitor the snack table or welcome arriving guests while you guide the first activity.
The Questions Worth Answering First
What party length suits three- and four-year-olds?
About 90 minutes to two hours usually provides enough time for arrival, one craft, the fossil hunt, food, and favors without requiring a packed schedule. You’ll want to leave a little unplanned time because children may arrive at different moments or need a quiet break. If your child becomes tired sooner, you can move directly to the snack and take-home nest.
How can three-year-olds participate alongside four-year-olds?
Offer the same activity at two levels. Younger children can choose colors or follow pictures, while older children can sort, label, or lead a short step. You’ll keep the group together without expecting every child to use scissors, wait equally well, or follow the same number of instructions.
What should replace loose sand?
Use kraft-paper scraps, large cardboard fossils, felt, or washable fabric. These materials suggest a dig site with less mess and fewer small particles. You can place the alternatives in a shallow tray and let children search, sort, and return each piece when the activity ends.
Are balloons necessary?
No. A paper canopy, leaf border, fossil wall, or temporary backdrop can provide strong visual decoration while preserving sightlines and floor space.
You’ll also have more control over the height and placement of paper decorations. Choose the option that leaves your walking routes open.
How can snacks stay safe?
Keep children seated while eating, supervise closely, cut suitable foods into age-appropriate pieces, avoid common choking hazards, and check ingredients for allergies. You’ll also want to keep craft materials away from the food area and provide water within adult reach. When you’re uncertain about a specific food, choose a simpler familiar option.
What is the easiest favor?
Send home the paper fossil made during the party in a labeled envelope. It’s inexpensive, personal, and doesn’t require another collection of small toys. Your child can help choose the envelope color or place a dinosaur sticker on the front.
A successful Three-Rex party needs only a clear story and a manageable rhythm: enter the expedition, follow the fossils, make something washable, eat familiar food, and leave with a small paper treasure. Large visual shapes, open routes, and age-appropriate choices give three-year-olds room to explore while giving four-year-olds enough responsibility to feel involved. You’ll create a welcoming dinosaur setting when the decorations support the activities rather than crowding them.
Your Next Step
Choose three ideas that fit your space and schedule today. Write down the supplies you already have, mark the missing items, and prepare one activity tray first.
Then set aside a clear route for the fossil hunt, check the snack area for safe seating, and place a labeled favor basket near the exit. Your Three-Rex party can grow from those simple, practical choices.