
 by
The short answer: a white limewash bathroom costs about $200 to $400 in materials and takes one weekend, start to finish. I put off doing mine for two years because I thought plaster meant hiring someone. It doesn't. You need a bucket, a block brush, and the willingness to let the wall look terrible for about forty minutes.
- Start by stripping the wall back to something limewash can grab
- Mix the limewash thinner than the tub says
- Buy the block brush, skip the roller
- What you'll need before you start
- Tape the edges, then plan to touch them up anyway
- Lay the first coat in a crosshatch, fast and loose
- Does limewash actually hold up in a wet bathroom?
- Layer coat two in the opposite direction
- Build the warmth in with wood before you add anything else
- Hang a mirror with weight, not a frameless rectangle
- Swap the overhead light for something at face height
- Mix textiles that can hold their own against a chalky wall
- Paint the trim and door to disappear, or to contrast hard
- Limewash over wallpaper removal, every time
- Seal only the spots that need it
- Let it cure three weeks before you judge it
1Start by stripping the wall back to something limewash can grab
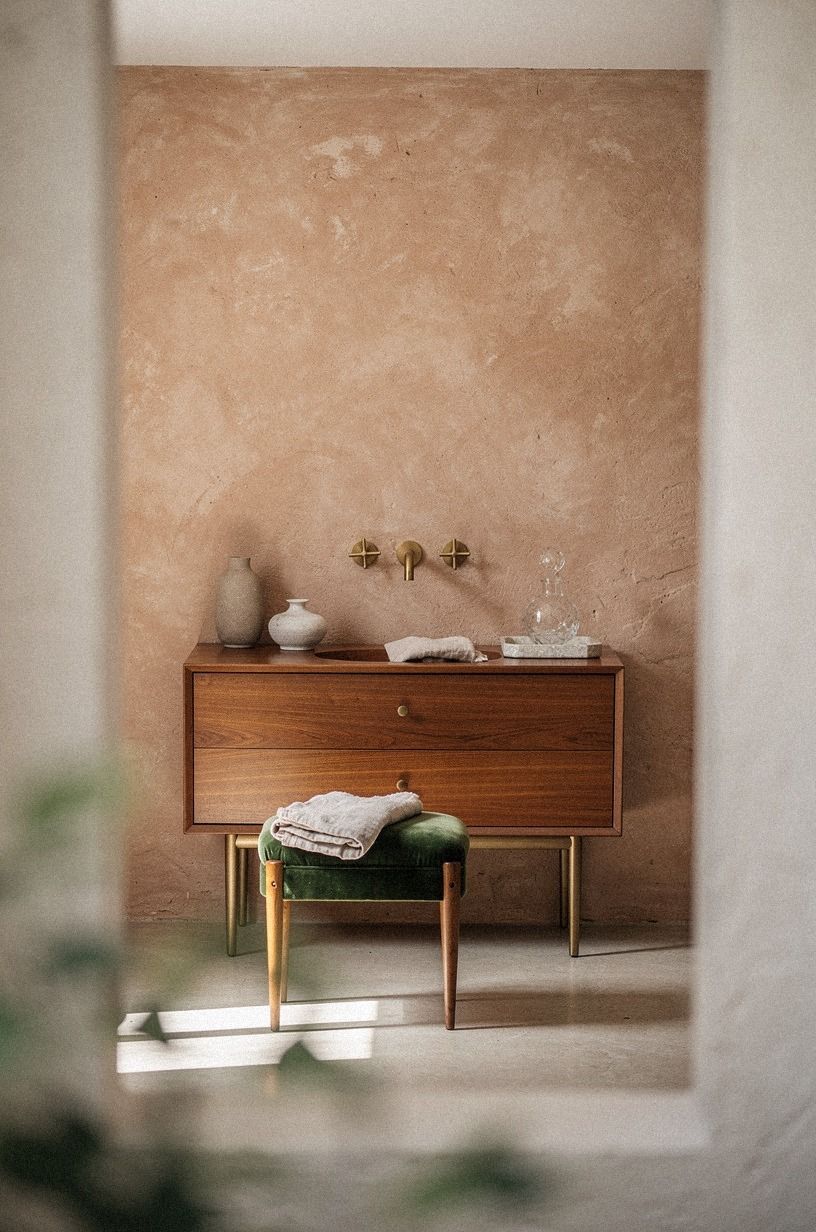
Limewash is mineral paint, and minerals need tooth. On a glossy latex wall, it'll bead up, dry powdery, and wipe off on your towel, which is how most people decide the finish “doesn't work” in bathrooms. Scuff the surface with 120-grit, wipe the dust with a damp cloth, and let it dry overnight.
If your walls are already flat latex or raw plaster, you're in good shape. Semi-gloss is the one that fights you. I'd use a 120-grit sandpaper and take my time around corners, because rushed prep leaves ugly glossy islands behind.
For slick walls, I'd choose a mineral-based bonding primer instead of a standard acrylic one. Acrylic gives you a plastic film, while limewash needs a surface that can breathe and grip. That breathable quality is one reason I like this finish in a bathroom.
Before you commit to every wall, test a small patch behind the door. You can compare it with these white zellige tile bathroom ideas if you're deciding where texture should stop and tile should begin.
2Mix the limewash thinner than the tub says
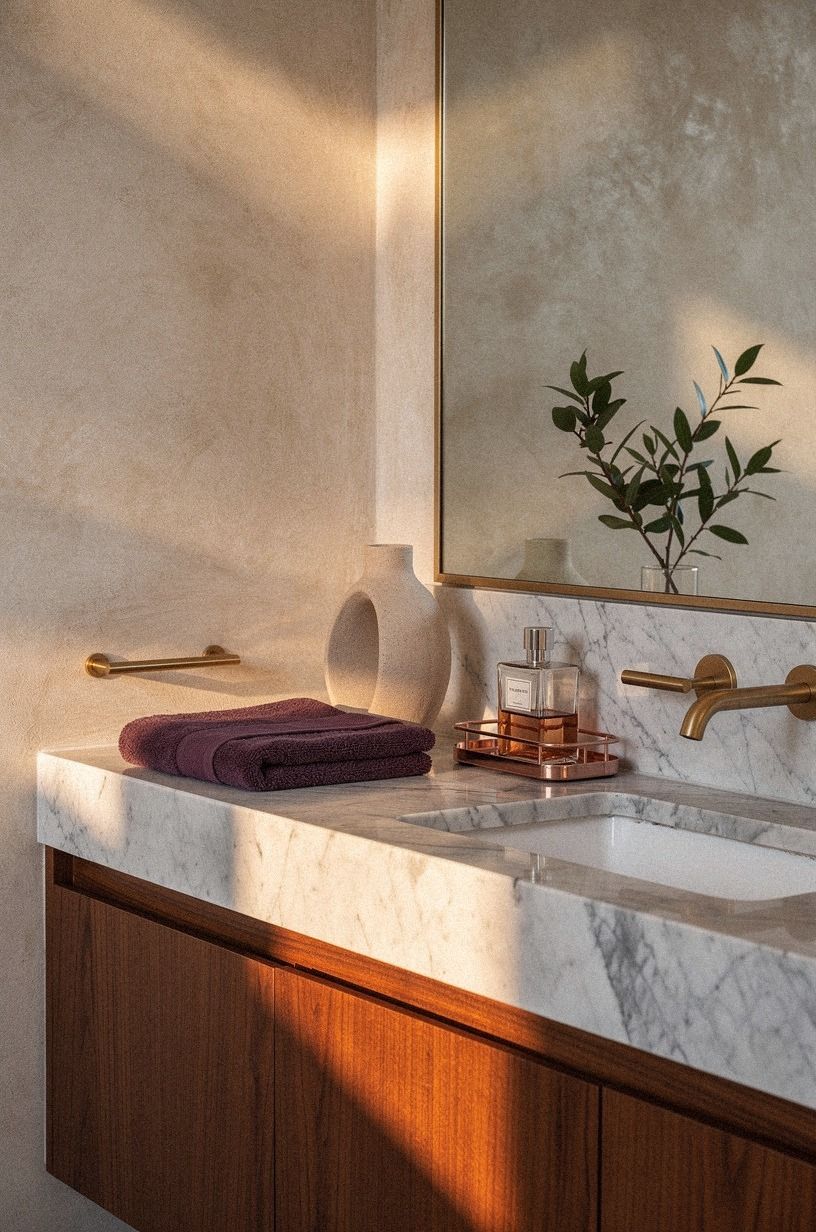
Straight from the pail, limewash goes on like frosting and dries like a bad stucco job.
3Buy the block brush, skip the roller
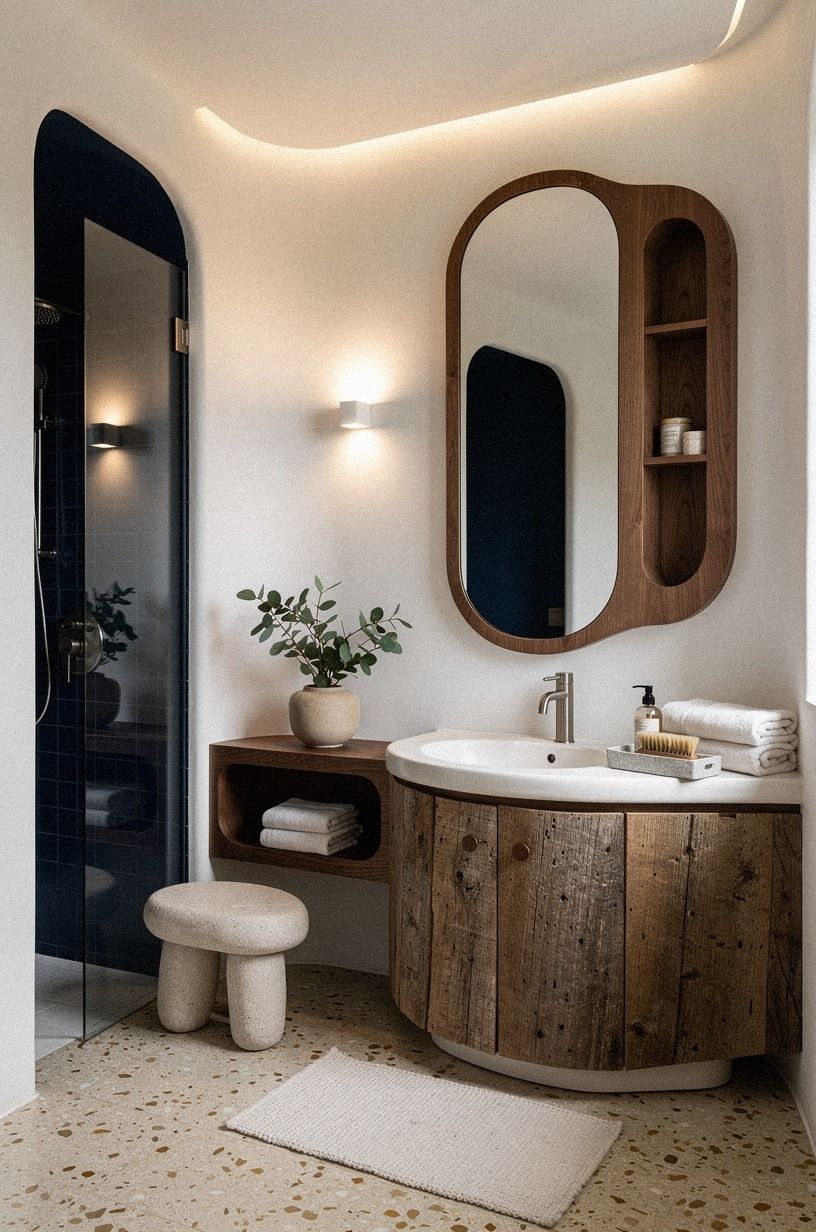
You cannot roll limewash. People try, the texture comes out stippled and uniform, and uniform is the opposite of what you want from luminous white walls.
Get a six-inch masonry block brush with loose natural bristles. It runs $25 to $40, and it's the single most important thing you'll buy for this project. The wide brush leaves a soft crosshatch that catches morning light differently from evening light.
Choose natural bristles if you can. They flex unevenly, which gives your wall a more tactile, handmade surface. That slight irregularity is what makes the room feel soulful rather than manufactured.
A synthetic brush lays material down too evenly. I bought the cheap version first and repainted the whole wall.
Learn from me! The first brush seemed economical, but it produced a flat, disappointing finish.
4What you'll need before you start
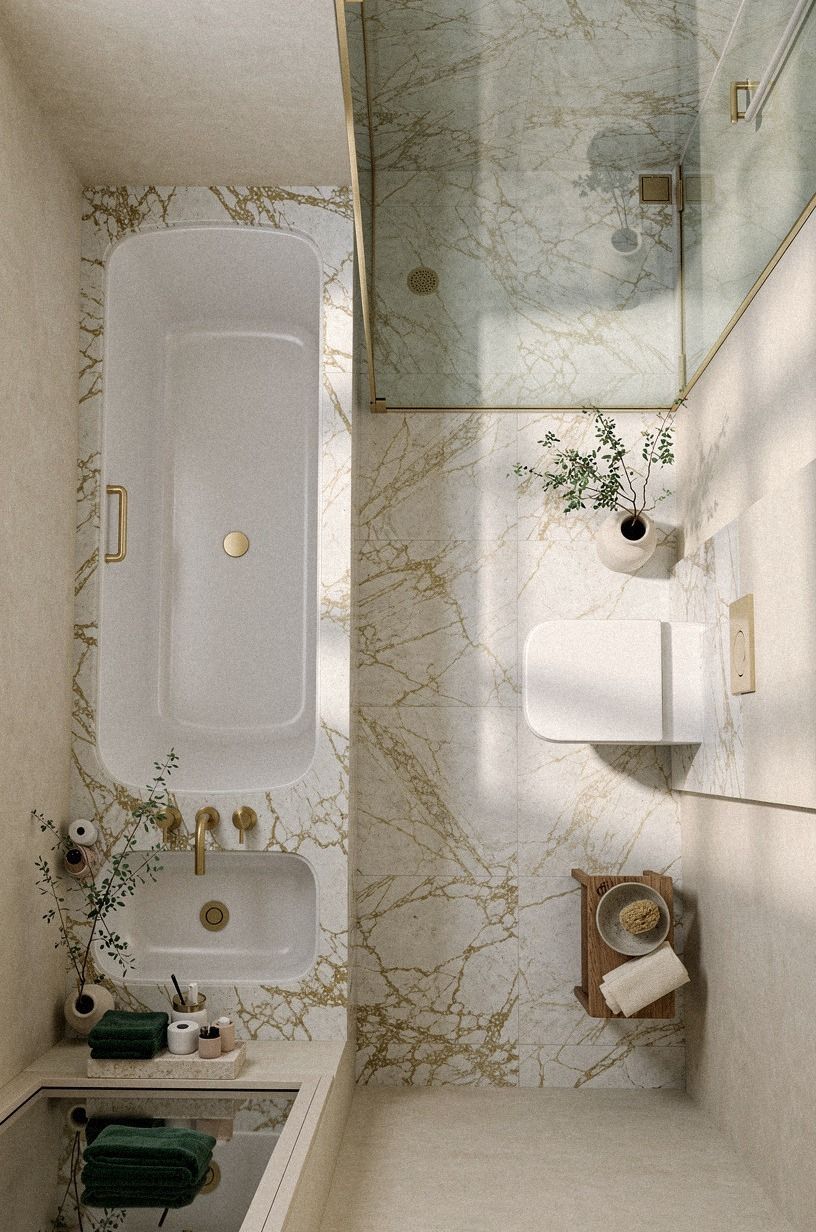
Here's my honest material list for a standard bathroom with roughly 80 to 120 square feet of wall.
5Tape the edges, then plan to touch them up anyway
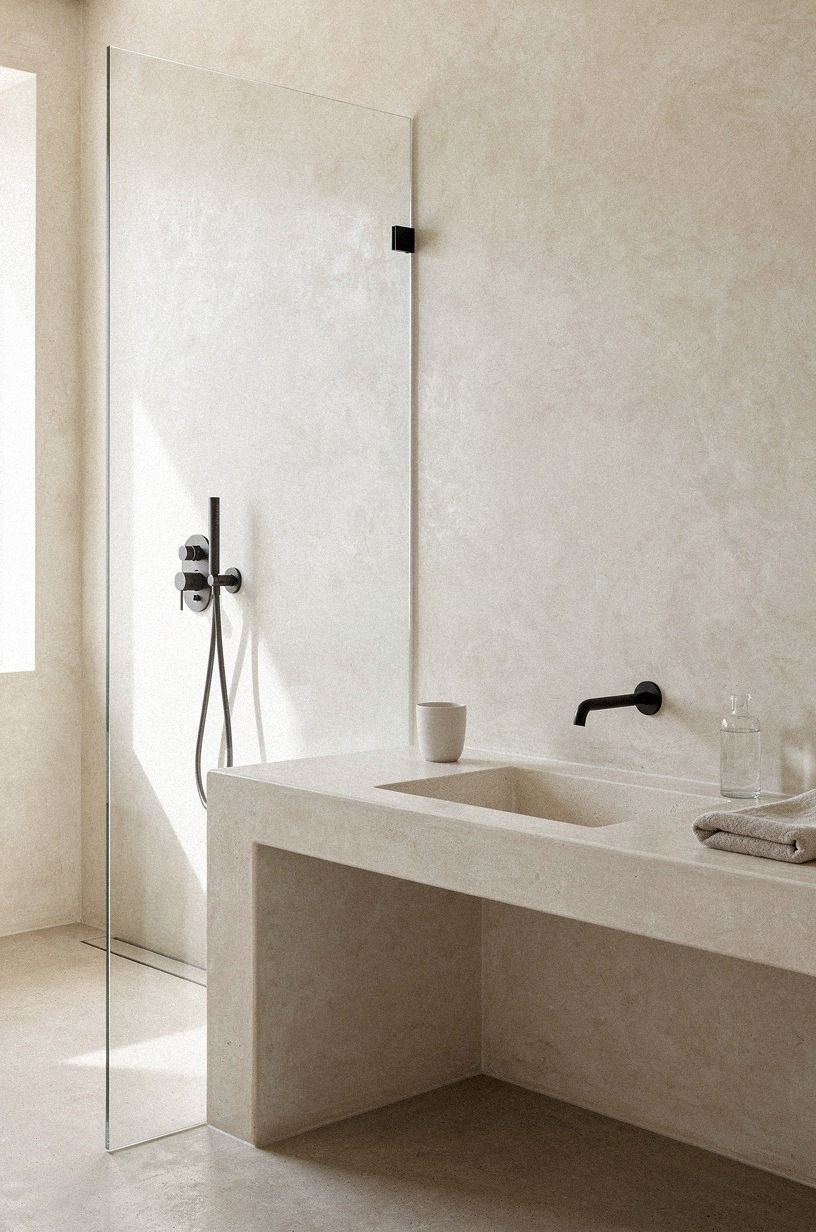
Limewash bleeds under tape. It's water-thin at the edges and finds every tiny gap, especially around old trim.
Tape anyway. I use delicate-surface tape, press the edge down with a putty knife, and remove it while the final coat is still slightly damp. That gives me a cleaner, calmer line.
Then I accept that I'll be running a small artist's brush along the trim afterward. Budget twenty minutes for cleanup. It's the least enjoyable part of the day, but it gives the finished wall a crisp, intentional edge.
6Lay the first coat in a crosshatch, fast and loose
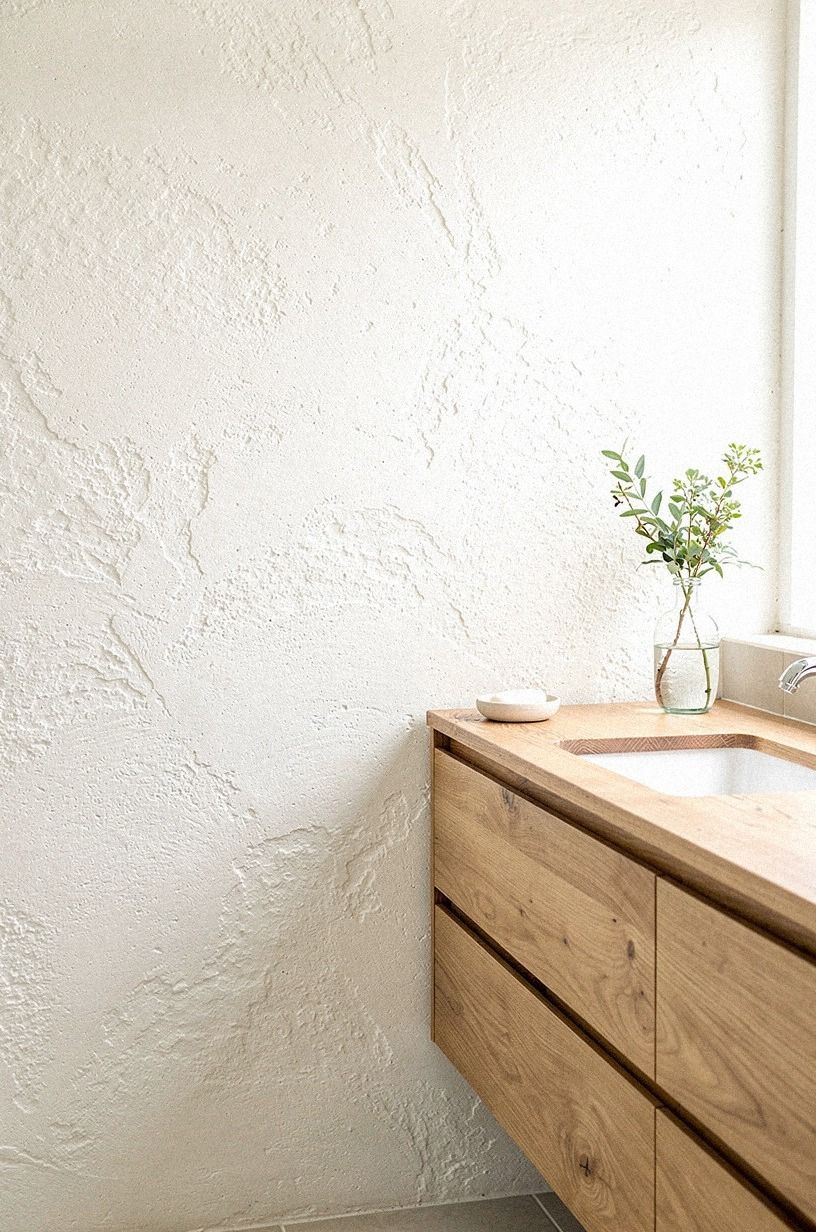
Work in rough three-foot sections and move your brush in overlapping Xs, rather than straight up and down. Straight strokes read as stripes once the wall dries.
I keep my wrist loose and avoid trying to make every section identical. The variation creates that atmospheric, cloudy movement that makes white limewash feel warm instead of sterile.
Keep a wet edge. Limewash dries chalky-pale and much lighter than it looks going on. Once a section has set, you can't blend into it cleanly without leaving a seam.
This coat will look bad. Streaky, patchy, translucent, and a little alarming.
That's normal. I don't chase coverage on coat one, and you shouldn't either.
Walk away, make coffee, and let it dry for at least four hours. If you keep brushing at it, you'll create a muddy, unhappy surface.
7Does limewash actually hold up in a wet bathroom?
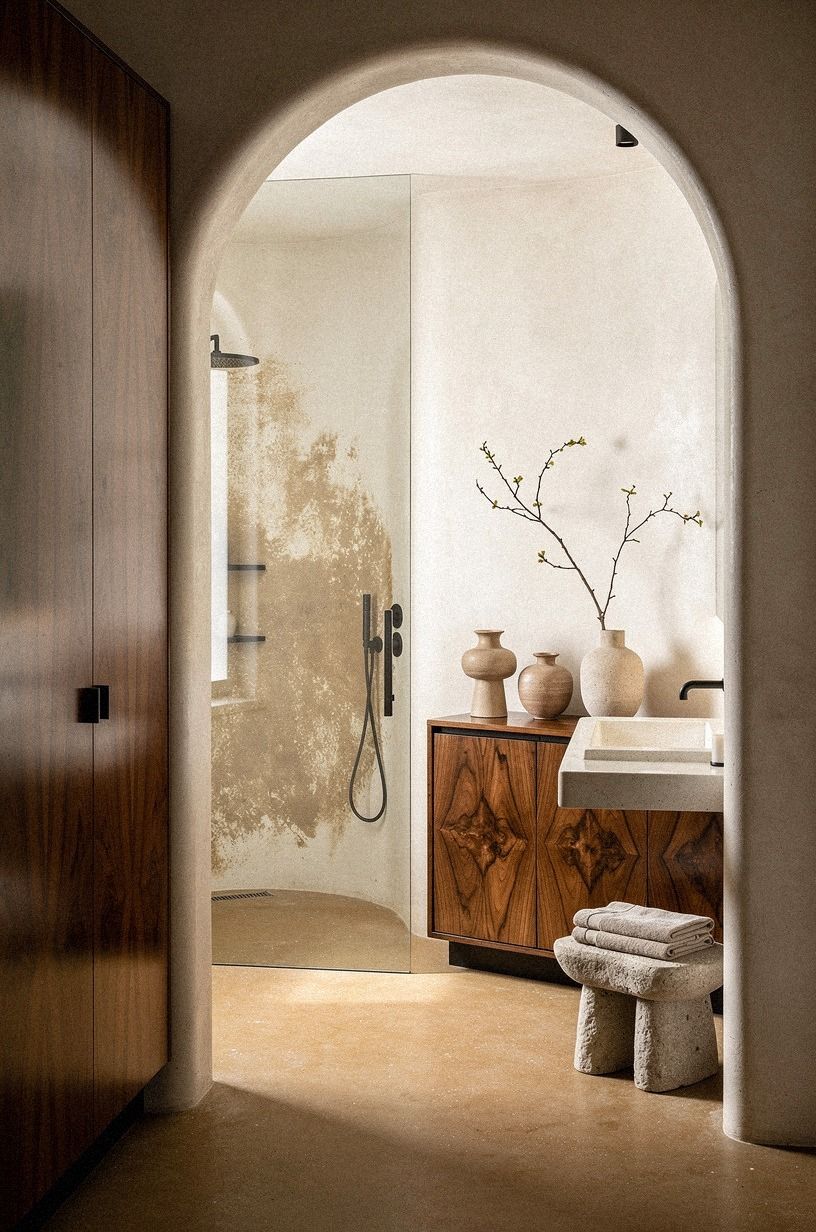
Yes, with one caveat: keep it away from the shower surround and out of direct spray. The finish is beautiful and practical above the splash zone, but it isn't a waterproof coating.
Lime cures by absorbing carbon dioxide and turning back into limestone. That means the surface gets harder over time, which is a fascinating, reassuring process. It's naturally alkaline, so mildew has a tougher time settling in.
The vapor-permeable finish also gives damp walls somewhere to release moisture. I like that quality in an older bathroom where the substrate may already have a complicated history.
What limewash won't survive is standing water and daily scrubbing. For the wet zone, tile is the sensible choice. This guide to white zellige tile for a bright, imperfect glow shows the pairing I'd choose.
You can also compare it with a white tadelakt bathroom if you want a smoother, more water-resistant mood. My favorite setup is simple: limewash above the tile line and a durable surface below it.
8Layer coat two in the opposite direction
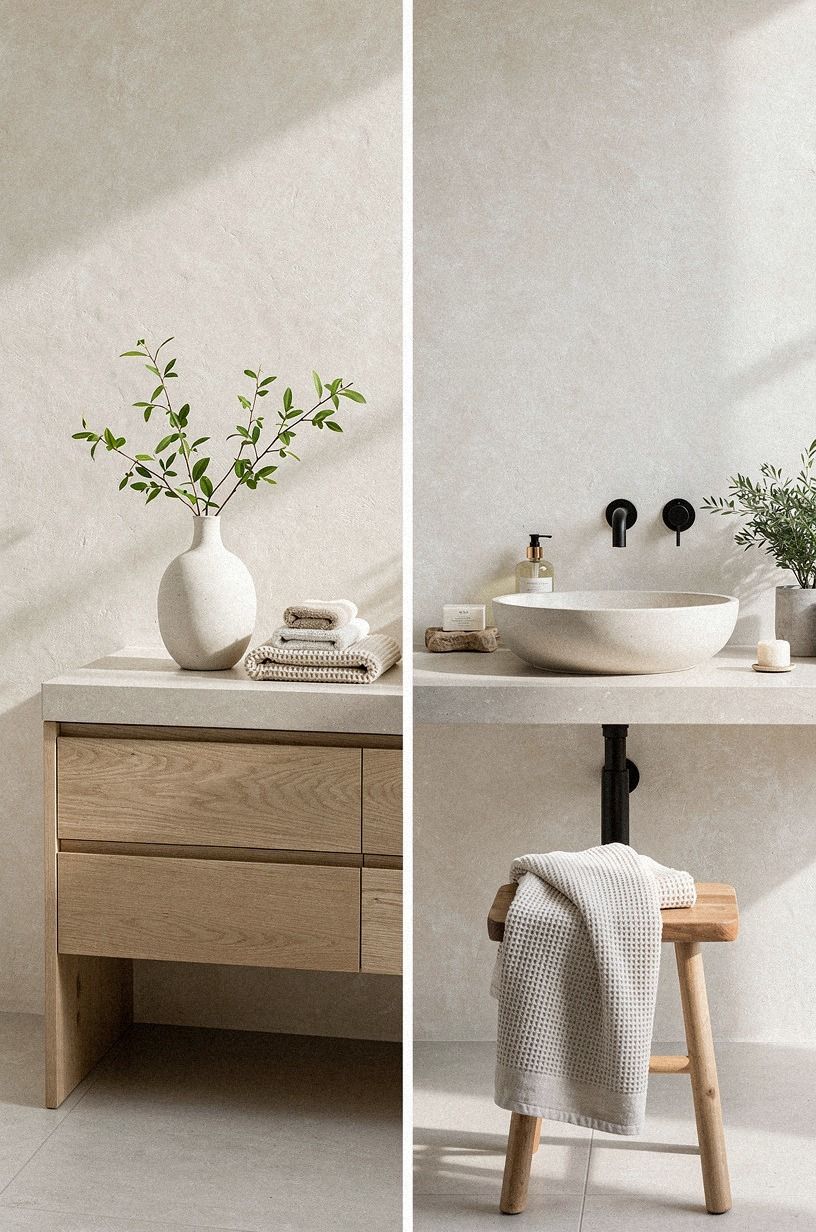
The second coat is where the finish shows up.
9Build the warmth in with wood before you add anything else
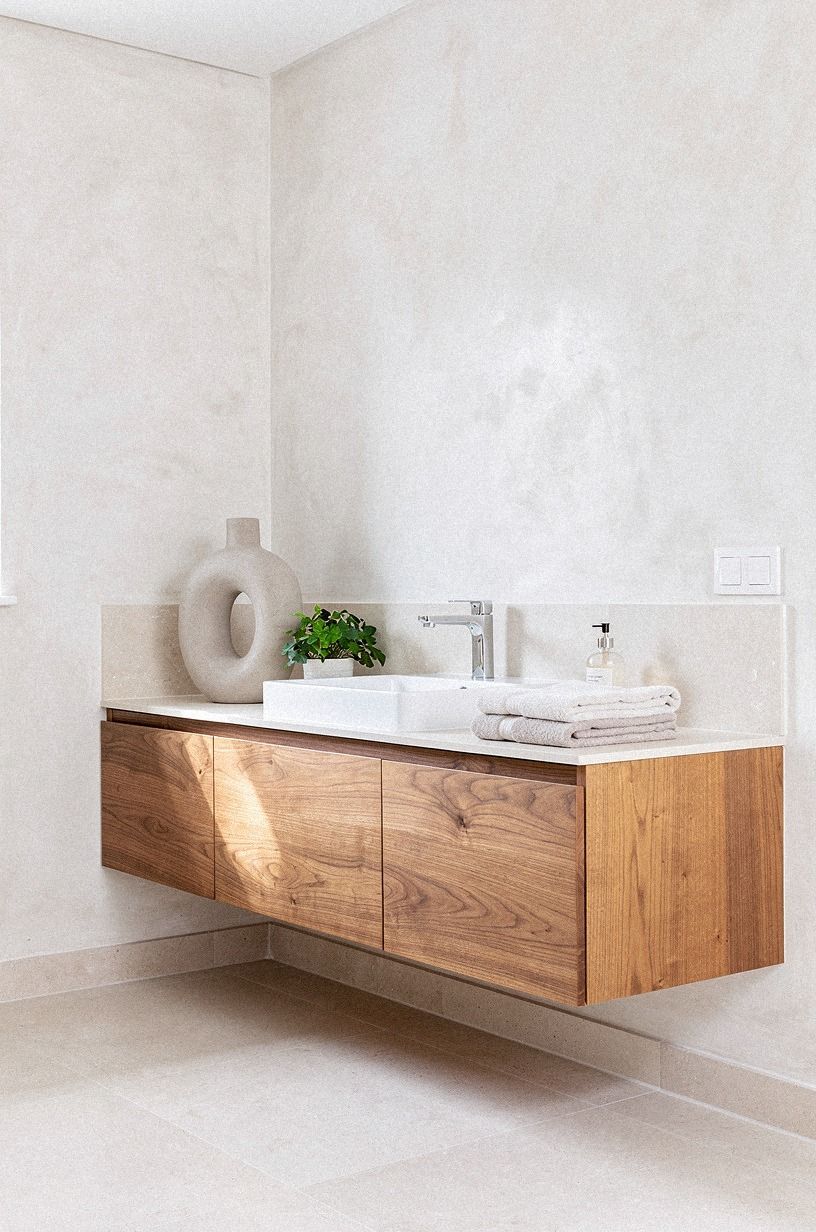
A white room with white limewash needs one warm anchor or it tips cold fast. Wood is the simplest way to bring in depth.
An unlacquered brass faucet, left to develop a gentle patina, or a plain shelf in natural ash can make the room feel welcoming within minutes. The warm metal and soft grain pick up the chalkiness of the wall, and the whole space starts feeling lived-in.
I went back and forth on choosing a bright polished fixture, and I'm glad I didn't. Matching every surface would have flattened the room. You want one material that disagrees gently.
If your bathroom is tiny, you don't need much wood or brass. A stool, frame, shelf, or faucet can do the work. These small limewash bathroom ideas show how restrained materials can still feel rich.
10Hang a mirror with weight, not a frameless rectangle
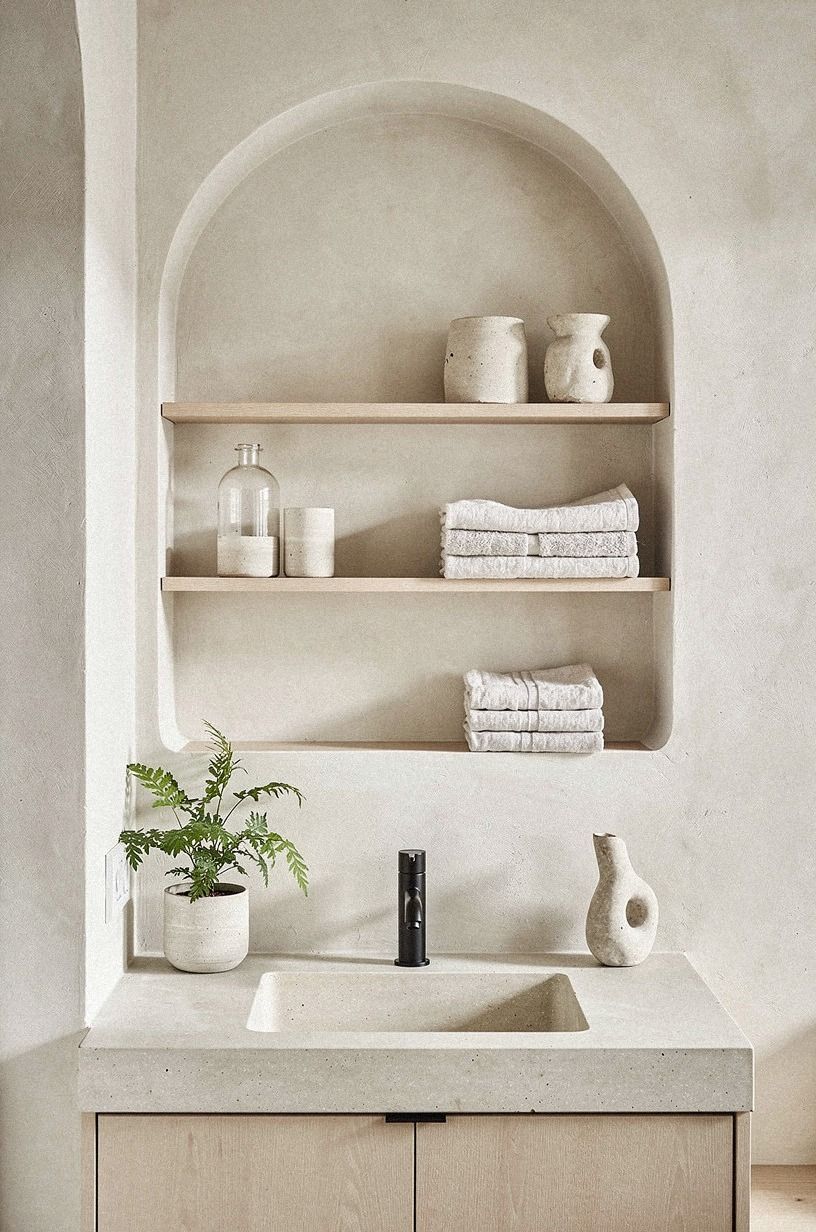
The builder-grade frameless mirror is the fastest way to undo a plaster-style bathroom. It reads as cheap beside a handmade finish.
I would choose an arched mirror with a real oversized-chip terrazzo frame in soft stone, terracotta, or olive tones. A 24-by-36-inch mirror usually suits a standard 32-to-36-inch vanity, but you should measure your wall before ordering.
The curve softens all those straight tile lines and adds a quietly elegant focal point. CB2 and Rejuvenation both carry versions under $300, and thrift stores often have heavy old frames you can re-silver.
Hang the center of the glass at eye level for the shortest person who uses the room. I ignored that rule once, and everyone else had to tilt their head. It looked awkward and felt worse.
For a more seamless, contemporary mood, you can see how a framed mirror works alongside the surfaces in this microcement bathroom inspiration.
11Swap the overhead light for something at face height
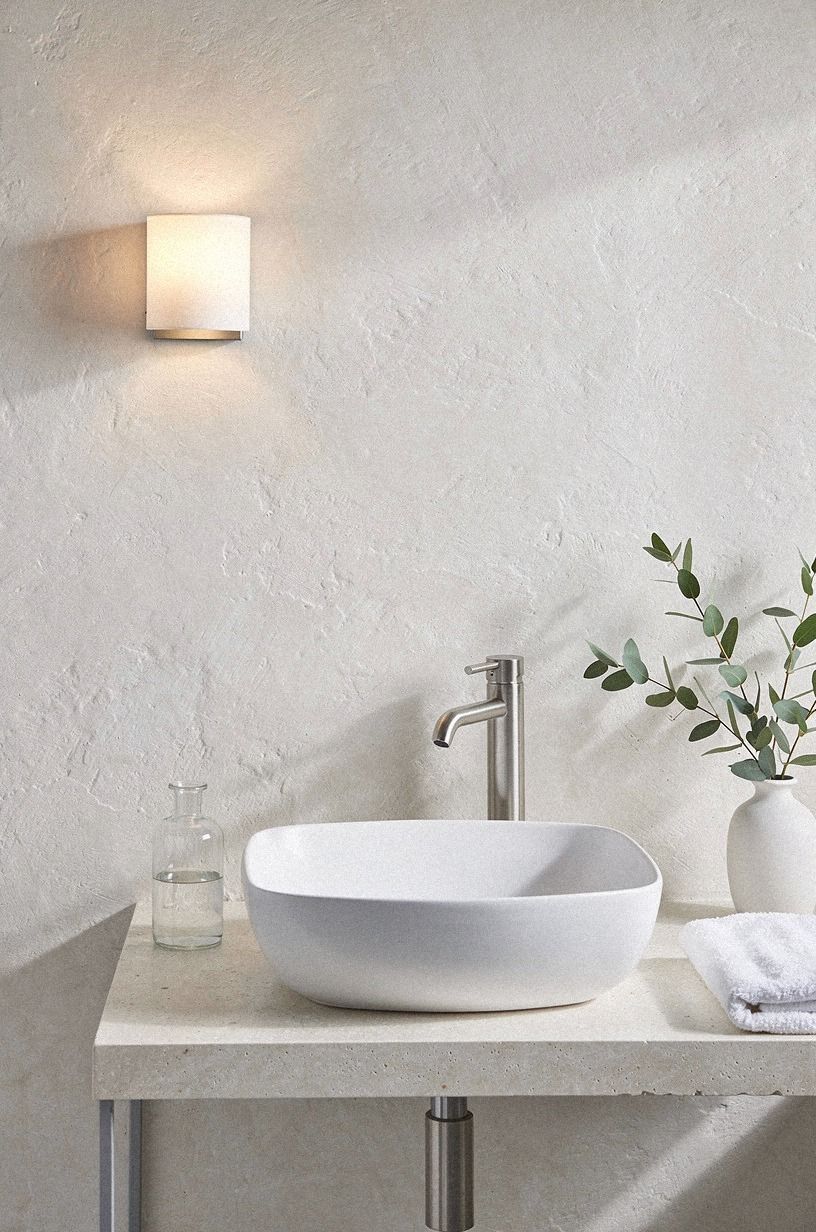
Overhead-only lighting flattens limewash into a single pale sheet and puts shadows under everyone's eyes. You lose the moody, dimensional quality that made you choose the finish.
Put light at face height instead. Two sconces flanking the mirror, roughly 36 to 40 inches apart, create a much more flattering room.
Choose warm 2700K bulbs and make them dimmable if your switch allows it. I like light that feels golden at night but still clear enough for shaving or makeup.
Here's the thing about limewash and hand-applied Venetian plaster: both are surfaces that change with the direction of light. Raking light from the side makes the wall resemble real plaster, while flat light from above makes it seem like primer.
The warm microcement bathroom look runs into the same issue, and the fix is identical. Give the texture a side glow, and you'll see why the finish feels so atmospheric.
12Mix textiles that can hold their own against a chalky wall
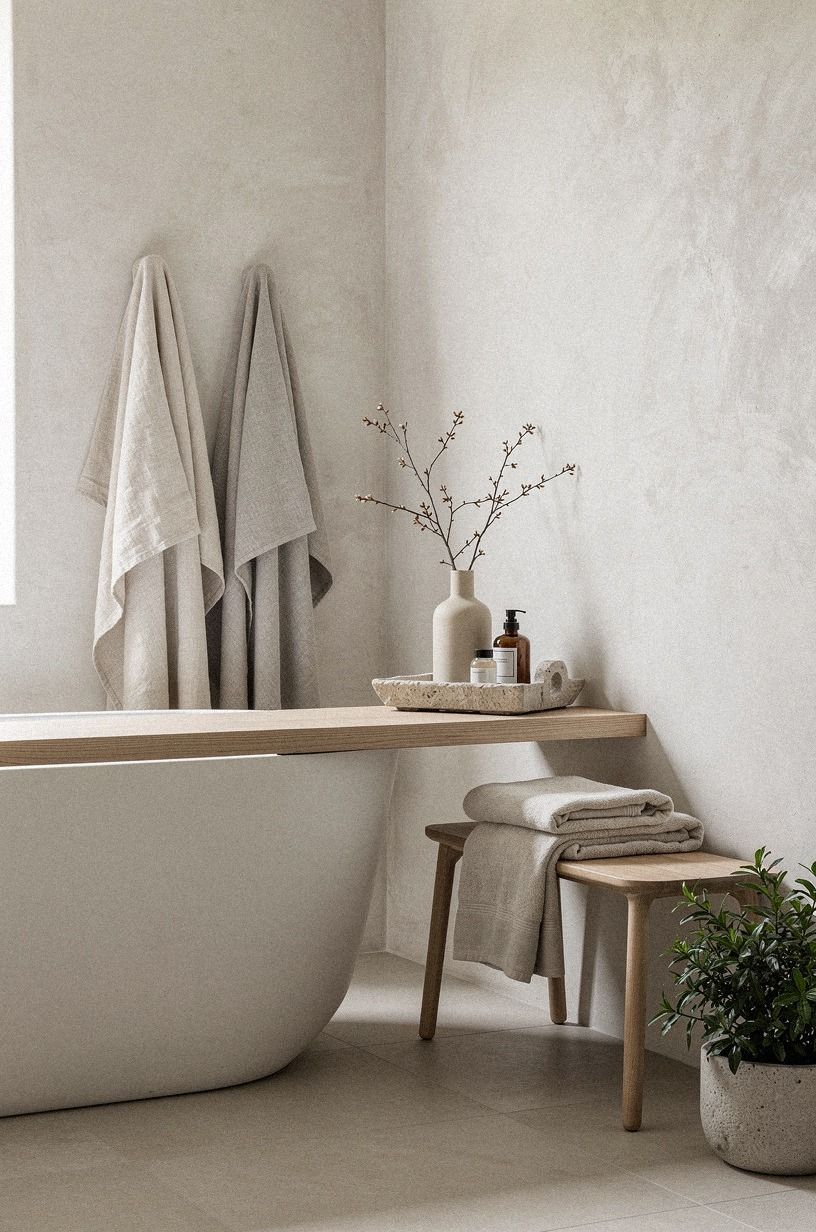
Thin, shiny towels look wrong against limewash. The wall is matte and absorbent, so the fabric needs substance to answer it.
I like 600gsm Turkish cotton in bone or natural. It feels plush without becoming hotel-like, and its soft texture brings a comforting note to the room.
Add a flatweave cotton bath mat and a waffle robe on a brass hook. Skip anything with a glossy sheen. You want tactile layers that feel calm when you touch them.
A waffle robe can hang beside the vanity or behind the door. I buy towels in one color and rotate them, because a stack of mismatched prints fights the quiet of the wall.
Three towels you actually like beat eight you tolerate. Everyone who stays over asks about the towels, every single time! If you want to see how tile texture can balance these softer materials, browse these white zellige bathroom ideas.
13Paint the trim and door to disappear, or to contrast hard
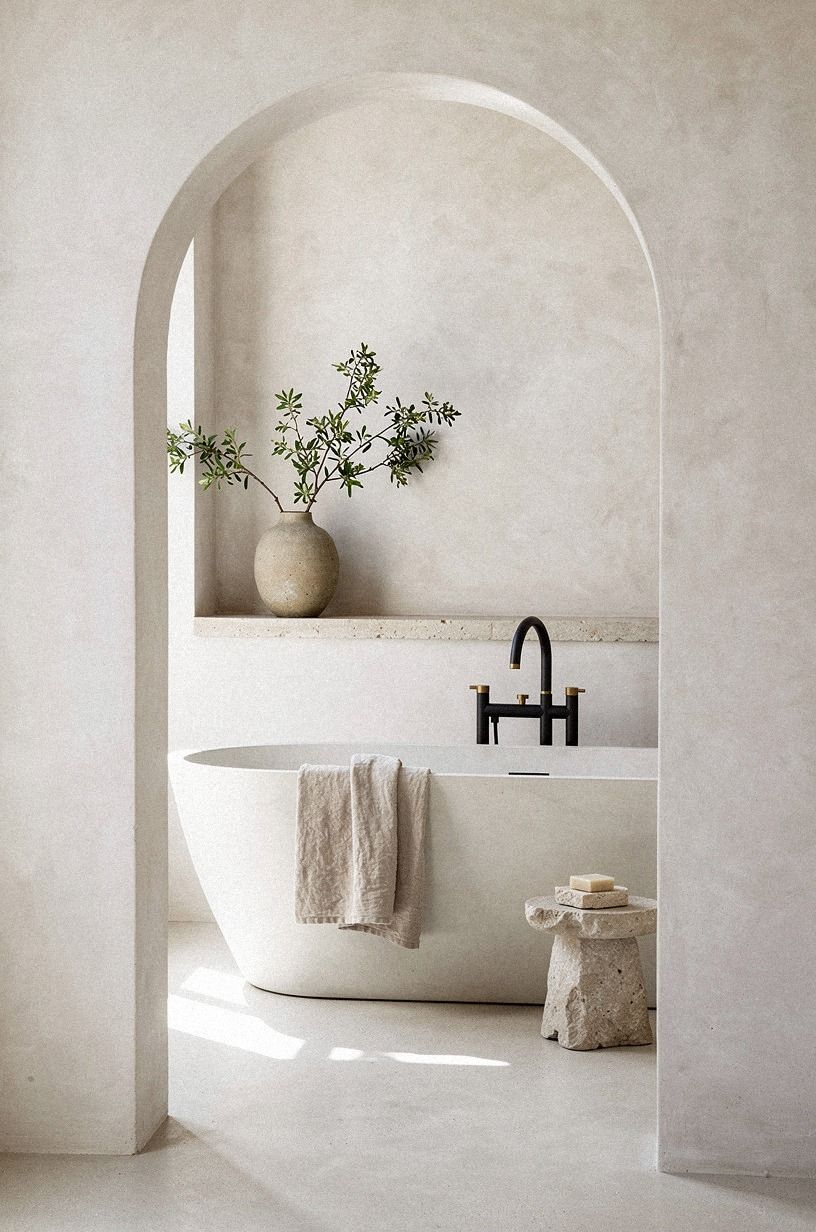
Half-measures on trim are what make a limewash bathroom look unfinished. Pick a side and let the decision feel deliberate.
Disappearing means matching the trim to the wall with flat white paint or a quiet eggshell. That gives you a serene, minimalist master bath where texture becomes the main event.
Contrasting means going dark. Farrow & Ball Hague Blue on the door and window casing against chalky white walls is gorgeous, and it makes the limewash read brighter.
What doesn't work for me is beige trim with white walls. It feels accidental rather than warm. If you want softness, choose a named creamy white and repeat it somewhere else.
For a small room, keep the trim decision simple. This small limewash bathroom texture guide shows how a restrained palette can still feel dramatic.
14Limewash over wallpaper removal, every time
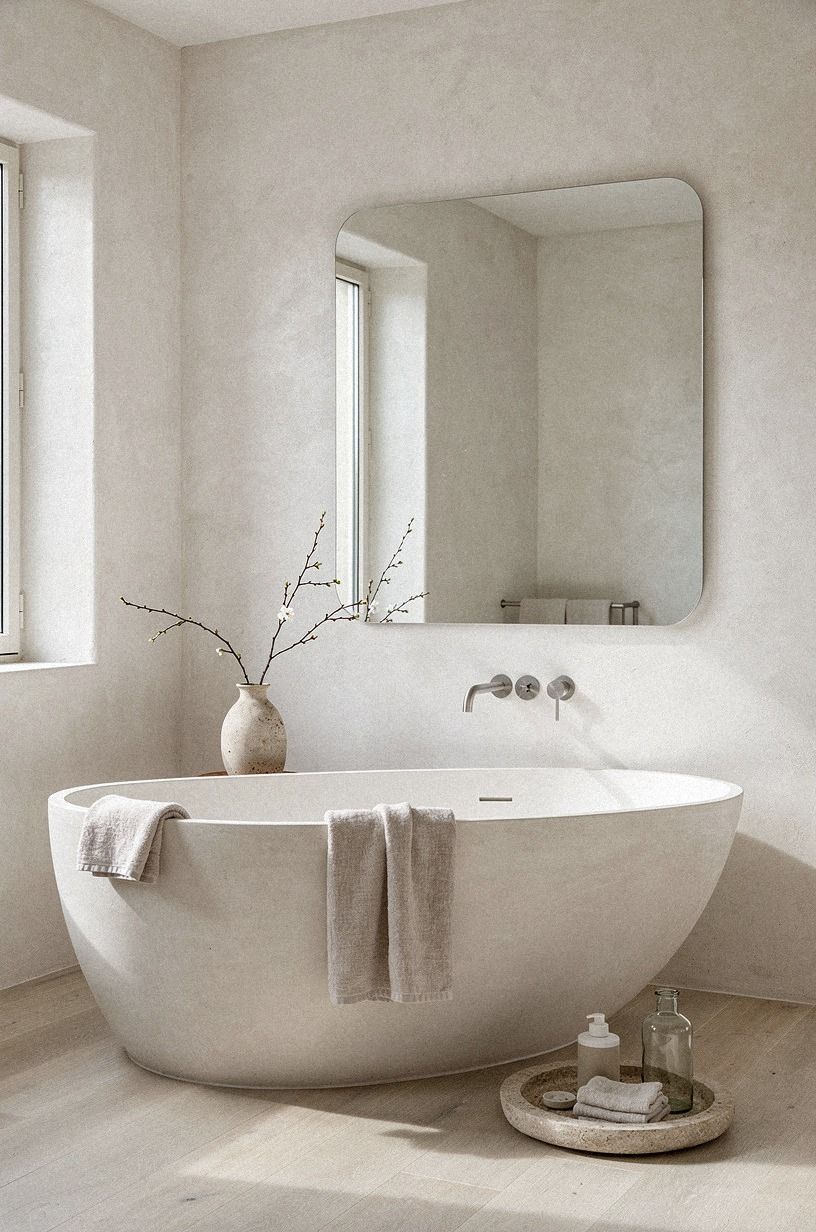
If you're deciding between stripping wallpaper for fresh paint and committing to a textured finish, limewash wins in an old bathroom. It gives you a forgiving, soulful surface with less perfectionism.
Fresh paint shows every uneven patch under side light. A smooth finish demands a smooth substrate, and you probably don't have one in an older room.
Old walls are rarely flat. Settling cracks, previous repairs, and layers of adhesive create visual noise. Limewash absorbs those imperfections instead of advertising them.
Skim-coating a whole bathroom can cost $800 to $2,000 with a professional. Skim-coating also creates a long, dusty process before you even begin painting.
Two gallons of limewash costs around $180. These small bathroom limewash ideas go deeper on tight rooms where that forgiving quality matters most.
If your walls are badly damaged, you still need basic repairs. I fill holes and sand ridges first, but I don't chase an immaculate, gallery-smooth surface.
15Seal only the spots that need it
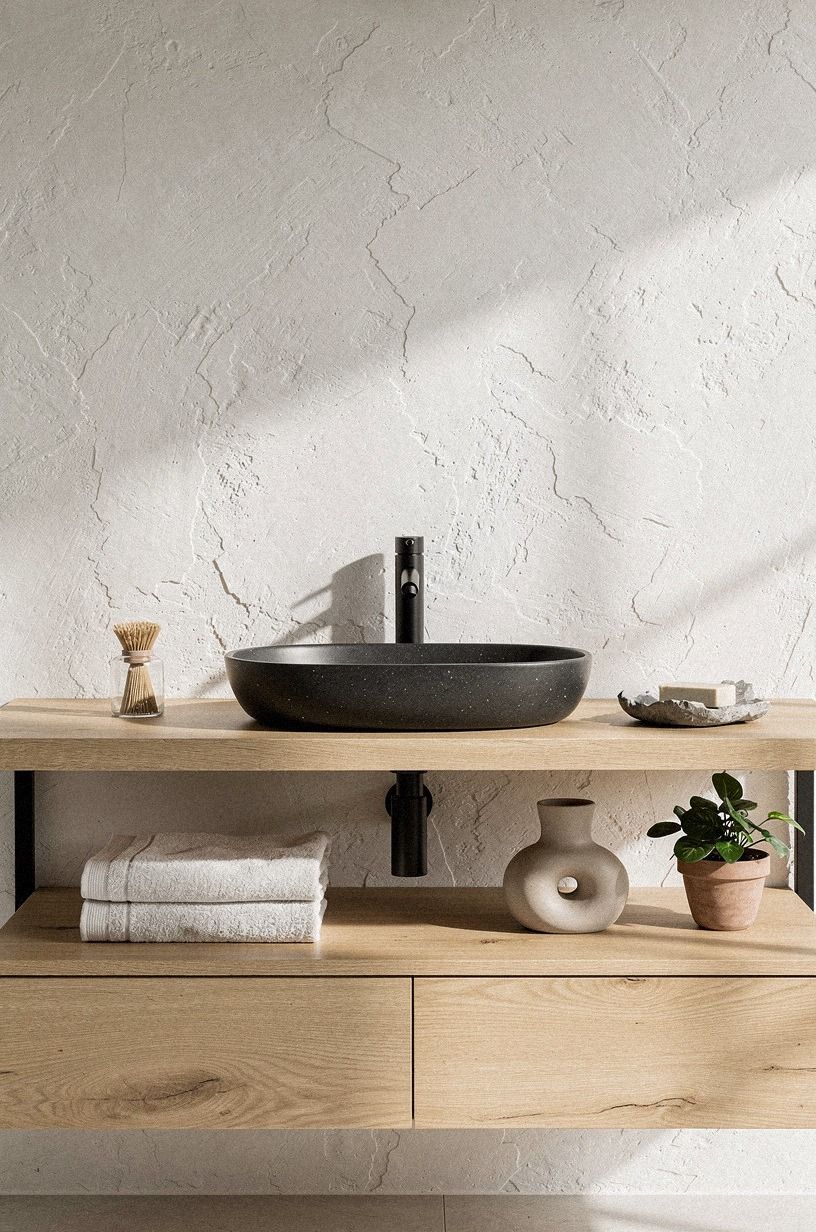
Full sealing is the mistake I see most often. A full-wall sealer can kill the breathability and chalky hand that made you choose limewash.
Spot-seal behind the sink where splashes land, along the backsplash edge, or on the lower two feet near a tub. I treat each vulnerable area according to how much water it actually receives.
Use a mineral silicate sealer, rather than acrylic. Apply one thin pass with a brush, then feather the edges so you don't create a visible transition.
Always test it on a scrap board first. Some sealers darken the finish by a shade or two, and you want to know that before the product touches your wall.
If the room has a genuinely wet wall, I'd choose tile or a tadelakt-style surface instead. These white tadelakt bathroom ideas can help you compare the more water-friendly direction.
16Let it cure three weeks before you judge it
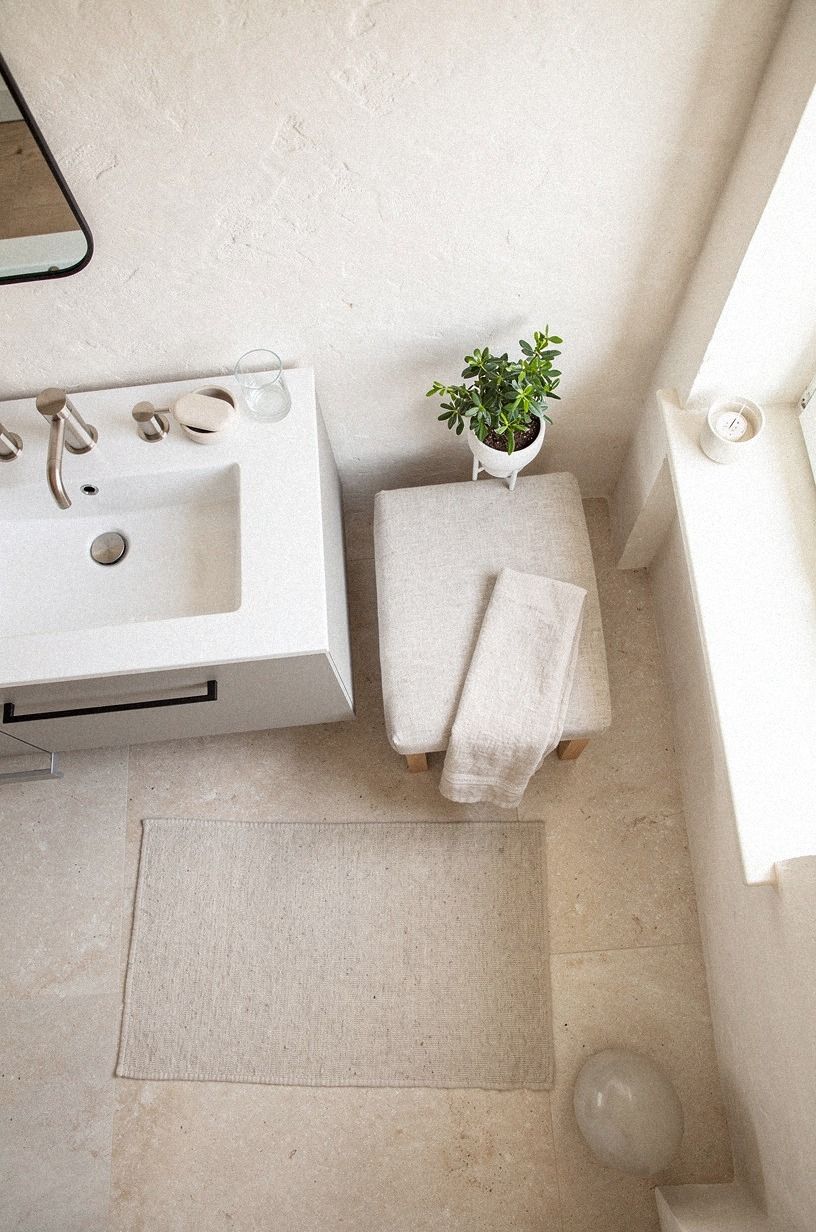
The wall you see on Sunday night isn't the wall you'll have in a month. Give it time before you decide whether the color or texture feels right.
Limewash keeps changing as it cures. Three weeks is a useful minimum before heavy cleaning or final judgment, especially in a humid bathroom.
It lightens, hardens, and settles into something subtler. Mine looked blotchy for about ten days, and I genuinely thought I'd ruined it. Then it evened out into the softest surface in the house.
The carbonation process is slow and oddly beautiful. I watched the wall change through different weather, and the variation made the room feel alive.
Run the bathroom fan more than usual for the first week. Keep the door open when you can, ventilate the room, and don't wipe the walls with anything for the full curing period.
If you notice a little unevenness, wait. The bright, imperfect quality shown in these white zellige bathroom examples is a useful reminder that variation can be part of the appeal.
What two years of living with a limewashed bathroom taught me
I'll be honest about why I hesitated so long. Limewash looked like one of those finishes that looks beautiful in styled rooms and falls apart in real life, especially in a room that gets steamed twice a day. I was wrong, but I wasn't entirely wrong, and that nuance matters.
Here's what's true. The finish is tougher than it looks where it belongs and fragile where it doesn't. My wall behind the toilet and above the wainscot has taken two years of daily humidity without a single issue.
There has been no blistering, no mildew spotting, and no chalking onto clothes. The alkaline surface does real work there. I also put a test patch inside the shower enclosure, and it was gone in three months.
Water that sits on the surface dissolves limewash. So my rule is simple: keep the finish above the splash line. For the lower, wetter areas, this seamless microcement bathroom approach offers a different kind of protection.
The second thing I learned is about expectations. I spent the first week comparing my wall to styled interiors, and that was a mistake. Those rooms were arranged with directional light at a specific hour, often on walls three times the size of mine.
Limewash in a small bathroom with one window reads much quieter than it does in a sunlit European farmhouse. It's lovely, but it's a subtle, peaceful kind of lovely. If you want drama, choose stronger color and let the texture stay quiet.
The third lesson is that I'd do it again, and I'd do it faster. Two years of hesitation over a project that cost less than $300 and took one Saturday seems ridiculous now.
What finally pushed me was realizing that if I hated it, I could prime over it in an afternoon. That's the real argument for limewash. The downside is a wasted weekend, not a wasted budget.
When I want a fresh idea, I look back at these small limewash bathroom examples and remember how little material the room actually needs. Most of the decisions we agonize over in a house are like that.
The Questions I Get Asked Most
What's the best limewash approach for a small bathroom?
Use two thin coats of a soft white, left unsealed above the splash line. Bauwerk Colour makes warm whites that stay gentle instead of gray, while Portola Paints has lovely mineral shades with a more earthy character.
I would keep the palette restrained and let the texture do the work. These small limewash bathroom ideas are useful if you want the room to feel luminous without making it busy.
Where can I buy limewash supplies on a budget?
Start with Home Depot, which often stocks Behr Limewash around $45 a gallon. Wayfair carries block brushes, and local masonry suppliers sometimes sell plain lime putty for less than a paint brand.
I also check local resale listings. Facebook Marketplace can have half-used pails from finished projects, usually under $20. You should inspect the container and label before buying anything.
How much does a limewash bathroom makeover cost?
Expect about $200 to $400 for materials on a standard bathroom, including brush and primer. Labor is the free part if you do the work yourself.
A professional plaster finish on the same walls can run $1,200 to $3,000. If you already own basic tools, you can put the savings toward a beautiful mirror, better lighting, or the prep that makes the finish last.
For a different smooth-wall comparison, this white microcement bathroom guide explains where the extra cost can make sense.
Can I do this on a budget?
Yes, and the budget version doesn't have to feel compromised. Buy one gallon instead of two and do one accent wall. Skip the mineral primer if your walls are already flat latex.
Use a $25 masonry brush instead of a $60 one. I would spend money on prep before decorative accessories. The finish quality comes from technique, patience, and a surface that can accept the wash.
Is limewash worth it in a small space?
More than in a large one. Small bathrooms have less natural light, and a flat painted wall can sit there looking dim. Limewash catches whatever light you've got and gives it movement.
Keep it to three walls maximum if one wall is exposed to water. Leave the tile wall alone, or use a durable surface such as the one shown in these white zellige bathroom ideas.
Is limewash a good idea for a rental?
Yes, if you're staying a while. It can prime over in one coat, so it's genuinely reversible. For a shorter lease, I'd choose removable options instead.
Try peel-and-stick tile behind the sink, a tension rod with linen curtains, or a leaning mirror. This white tadelakt bathroom look also has ideas for creating a soft, mineral mood without covering every wall.
How long does the whole project take?
One Saturday of work, followed by three weeks of curing. Prep and primer take about two hours, each coat takes around ninety minutes, and you need roughly four hours of dry time between them.
The waiting is longer than the working. I would plan a quiet project for the next day, then leave the wall alone while it settles.
The Step I'd Do This Weekend
If I had to pick one step, I'd start with the block brush. Everything else is paint and patience, but a synthetic brush can give you a flat, machine-made wall that no number of extra coats will fix.
Buy the brush, test your mixture, and paint one small section first. If you want to compare the texture with other soft mineral finishes, these small limewash bathroom ideas are a good place to start.
Forty dollars decides more of the final finish than most people expect. Buy it first.