
 by
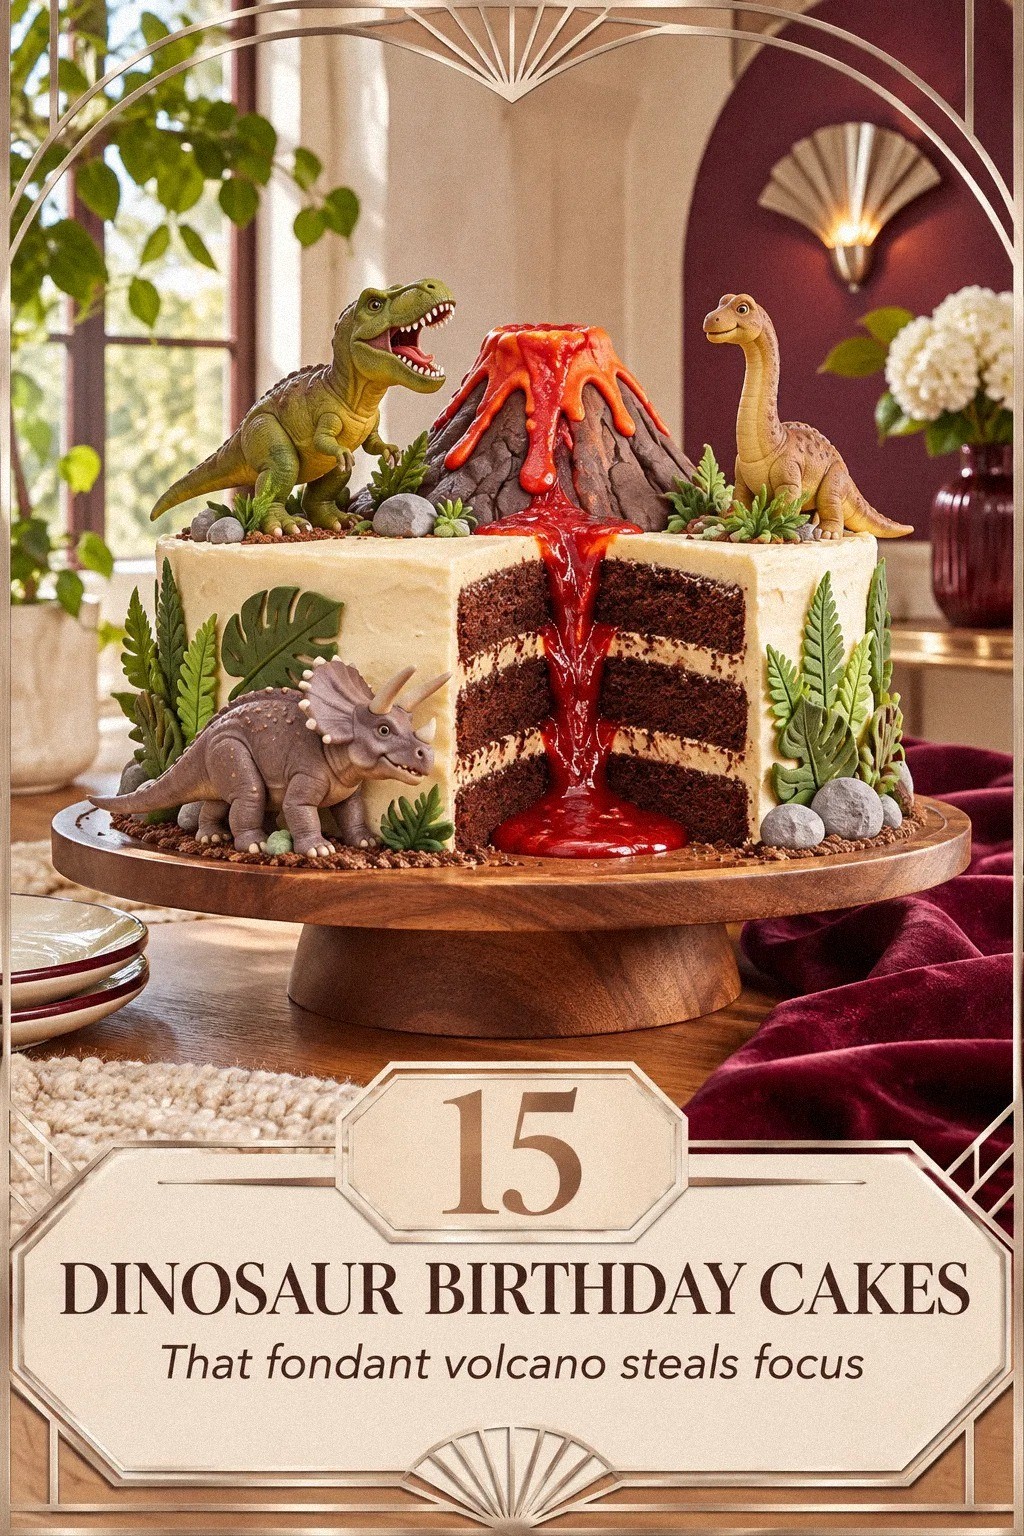
Dinosaur cakes can look dramatic without advanced sculpting. You’ll get the clearest result when you choose one recognizable shape, limit your palette to three or four colors, and build texture with crumbs, piped icing, or edible details. Round cakes, sheet cakes, and cupcakes all work because your design can come from the surface rather than complicated carving.
Before decorating, confirm allergies and dietary needs with every household attending. You’ll want to check labels on cookies, candies, fondant, food coloring, toppers, and cake boards for milk, eggs, wheat, peanuts, tree nuts, sesame, and soy.
Don’t assume a familiar product is suitable. Keep separate utensils and work surfaces available when cross-contact matters.
The ideas below preserve a range of dinosaur styles, from an erupting volcano to a gentle triceratops face. Approximate quantities are planning guides, not recipes.
You can adjust them for your cake size, icing consistency, serving count, and preferred ingredients. If you’re decorating ahead, remember that crunchy toppings and tall toppers may need to wait until the final setup.
Illustrative planning estimates
These are illustrative estimates, not researched prices or fixed requirements. Your ingredients, serving plan, climate, and local costs may change the amounts.
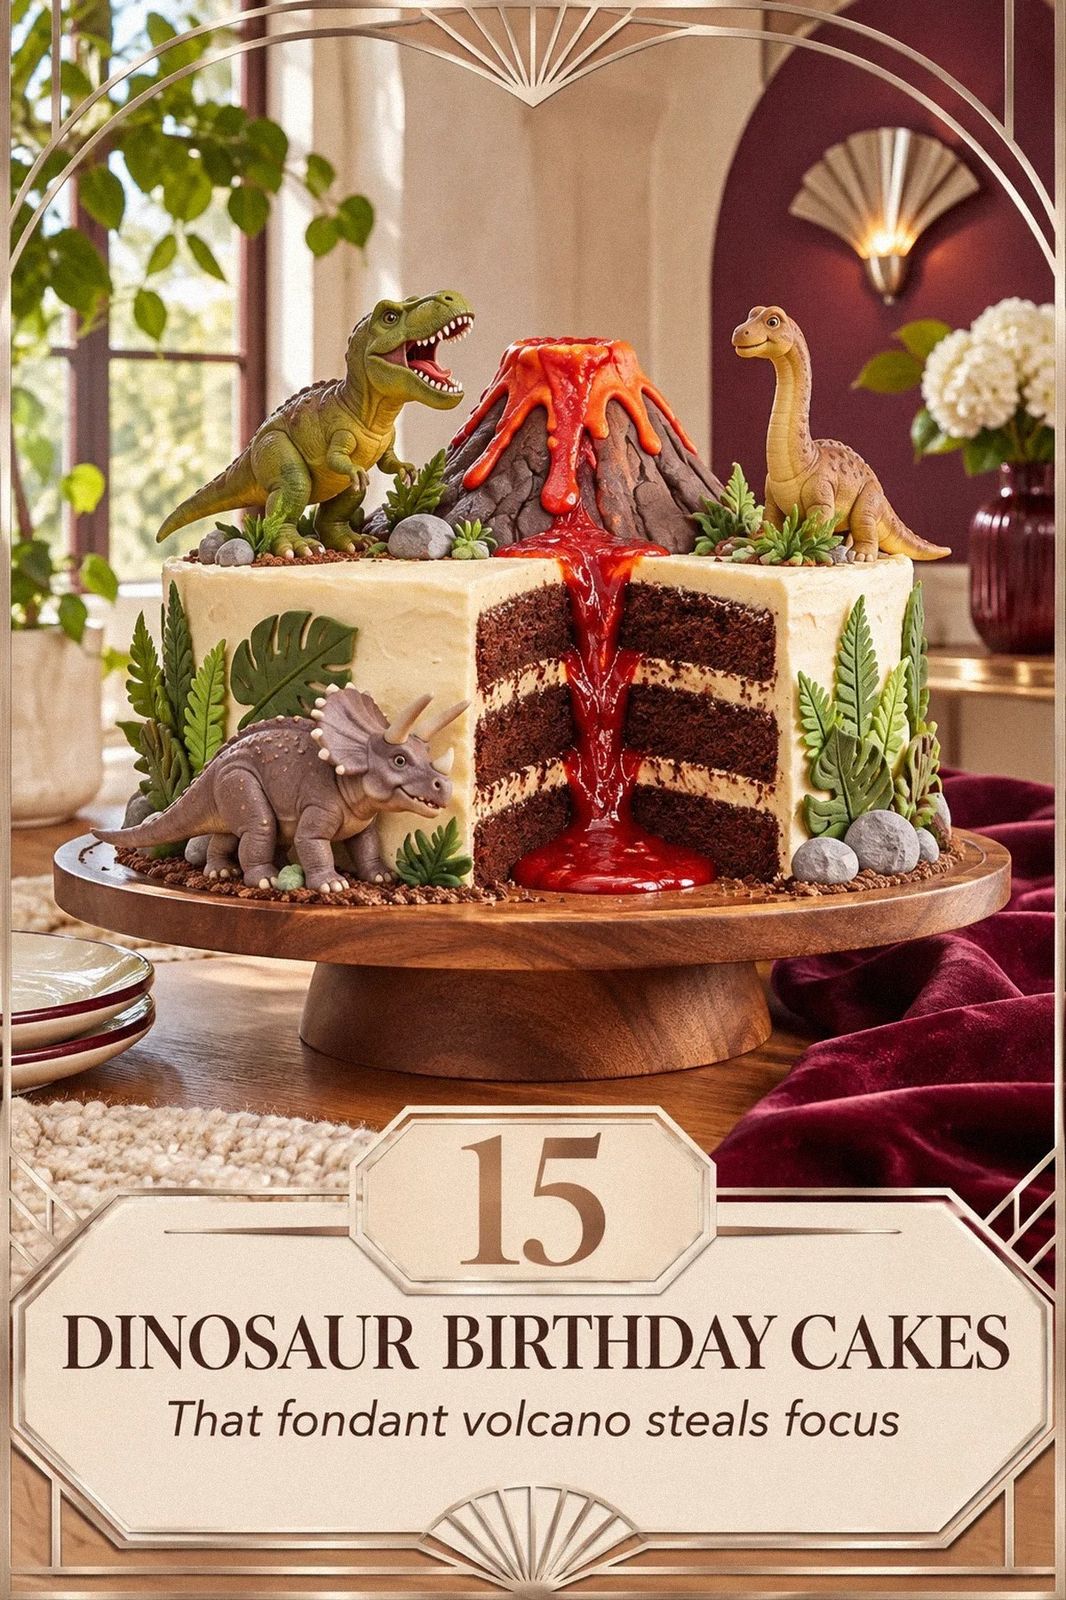
- Layer a Volcano Cake With a Red Lava Center
- Build the Three-Height Dinosaur Scene
- Create a Refined Fossil Cake
- Frame a T-Rex With a Jungle Border
- Swap a Tall Cake for Dinosaur Cupcake Claws
- Use a Two-Color Dinosaur Egg Nest
- Shape a Long Brontosaurus Across the Cake
- Make a Soft Triceratops Face
- Stack a Dinosaur Dig Site With Cookie Soil
- Contrast Black Cocoa With Bright Dinosaur Eggs
- Give a Gentle Giant a Leaf Border
- Mix Dinosaur Footprints Into a Stone Path
- Build the Party Table Around the Cake
- Choose Frosting Over Fondant for a Softer Finish
- Finish With One Oversized Dinosaur Topper
1Layer a Volcano Cake With a Red Lava Center
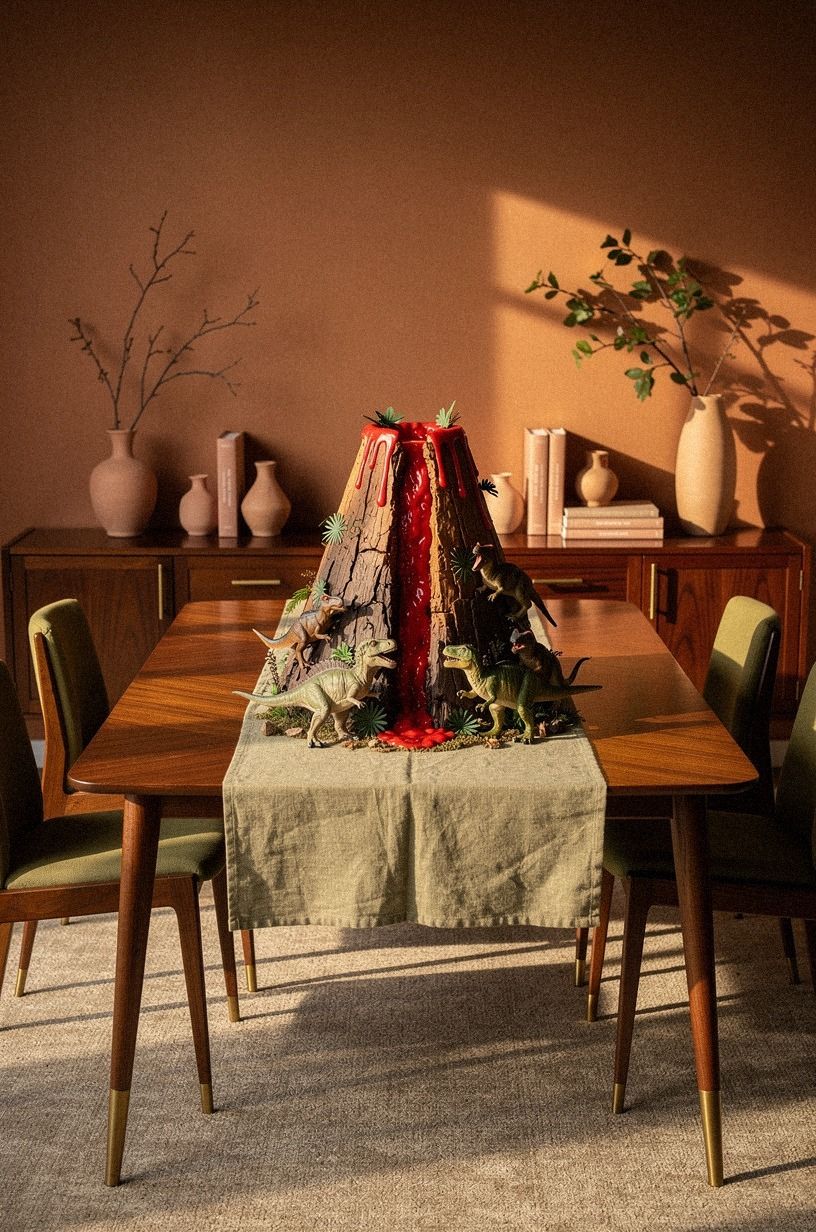
Stack two round cakes, approximately 8 inches wide, with a thin layer of buttercream between them. Trim a shallow hollow from the top center, stopping well before the base.
Apply about 3 cups of terracotta-toned buttercream over the sides and upper surface, leaving the hollow visible. You can use a small offset spatula to create ridges that suggest volcanic rock.
Don’t worry about making every ridge even. Natural variation makes the dinosaur volcano feel more convincing.
Fill the center with roughly ½ to ¾ cup of thick red or red-terracotta frosting. You’ll want the lava firm enough to stay in place.
Let a few spoonfuls run down the sides in uneven trails, using a piping bag or the back of a spoon. If your frosting is loose, chill the cake before adding more.
A food-safe dinosaur figure can stand at the summit, supported by a trimmed dowel if it is tall. Remove the figure and any other nonfood topper before slicing.
Scatter ½ cup of fine chocolate or stone-colored cookie crumbs around the base, then add a few olive-green fondant rocks. You can place a small dinosaur near the lava edge for a story-like scene, but leave enough open surface for candles and clean portions.
The tradeoff is a smaller central serving if the hollow is deep. If you’re concerned about that, use a flat red frosting pool instead.
It’s easier, and you won’t lose as much cake.
2Build the Three-Height Dinosaur Scene
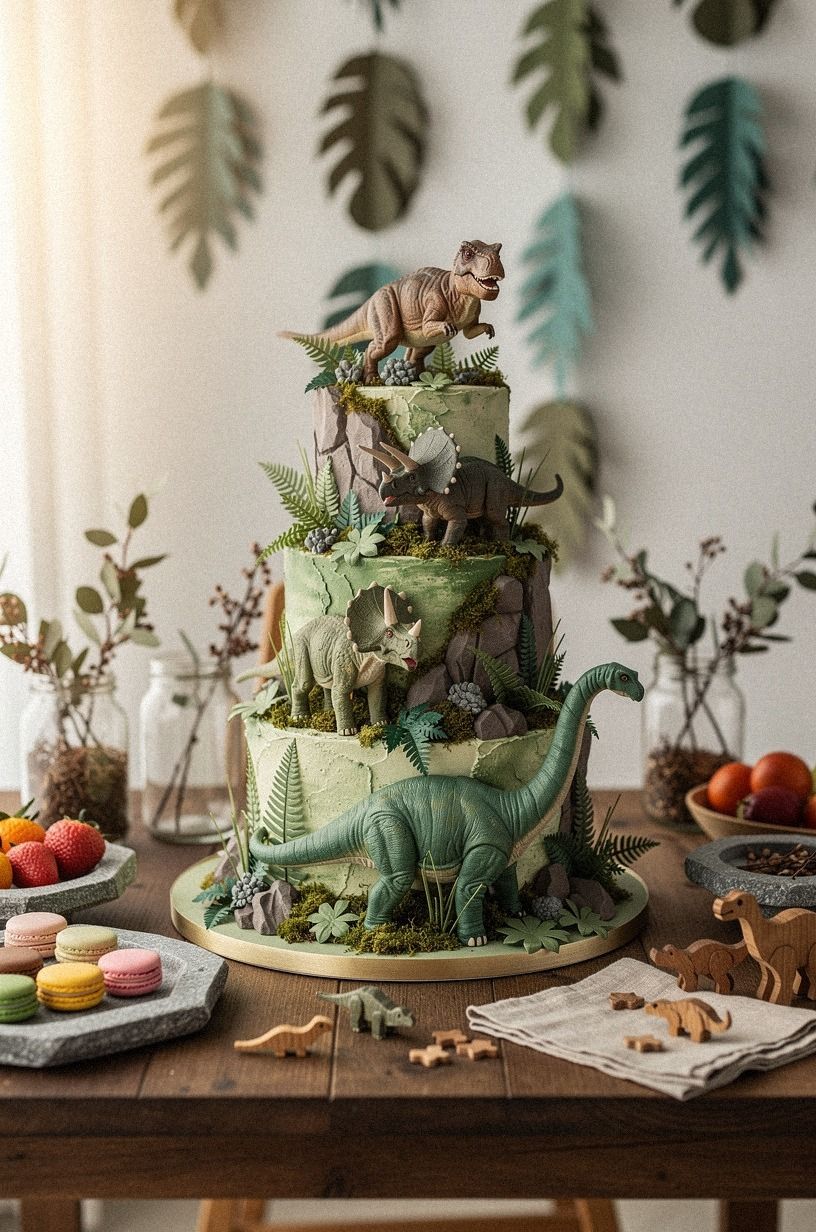
Create a miniature valley with three cake heights: a 9-inch round cake as the base, a 6-inch cake toward the back, and one cupcake or small mound near the front. Secure each layer with a little buttercream so your display stays stable.
Cover the cakes with approximately 4 cups of clay-colored frosting, leaving the surfaces slightly textured. You don’t need perfectly smooth icing for this dinosaur landscape.
Use ½ cup of brown cookie crumbs for soil, a handful of edible wafer grass pieces, and several small edible stones to connect the levels. Place the tallest dinosaur at the rear, a medium figure beside the middle cake, and the smallest figure near the front. You’ll want a few inches of open frosting around each character so the scene remains readable.
If you’re transporting the cake, use a rigid carrier and keep the display level. The three-height arrangement needs more refrigerator space, so a single two-layer cake with one raised mound may suit your table better. Remove all figures, picks, and supports before serving.
3Create a Refined Fossil Cake
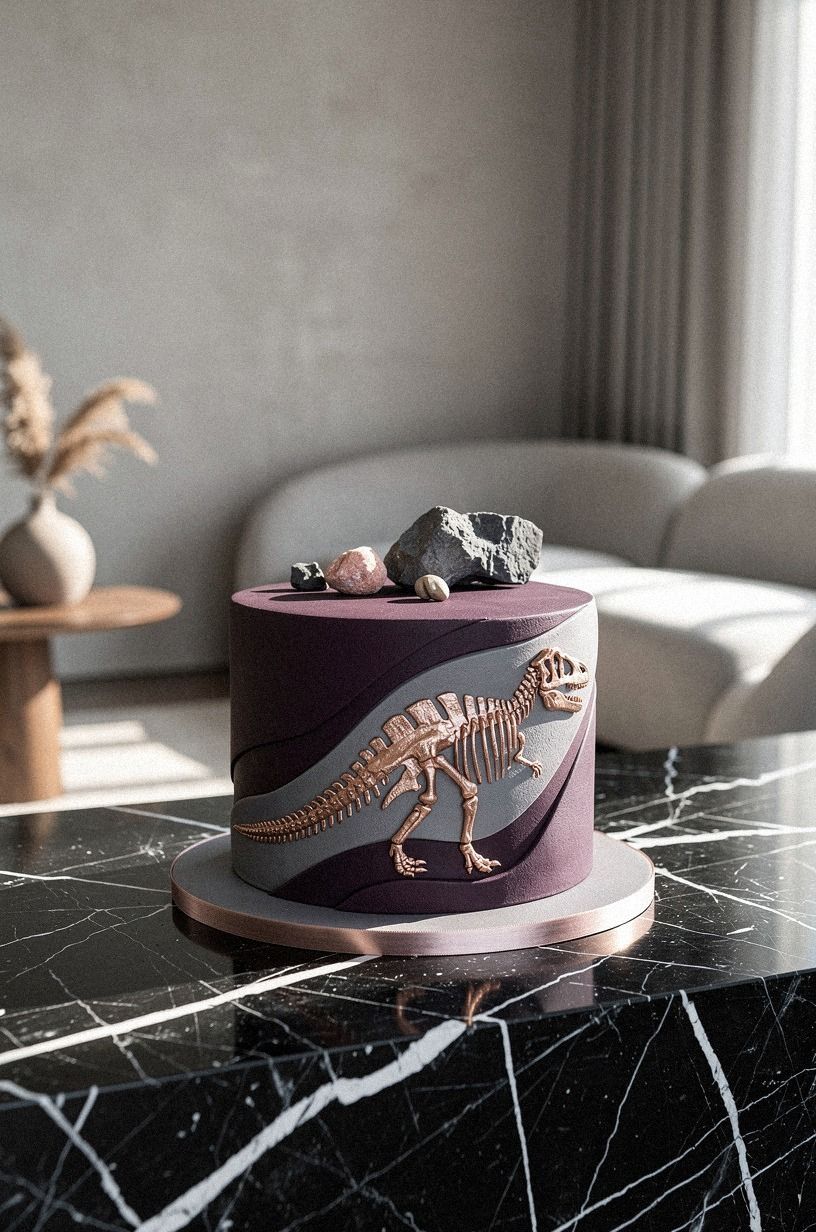
Cover a two-layer round cake with approximately 3 cups of plum buttercream or another muted purple shade. Smooth the sides with a scraper, then press a thin layer of fine gray cookie crumbs around the lower edge. Leave the upper surface mostly open for a museum-like finish.
You can use a dark serving board with pale veining to reinforce the fossil-display look without adding extra cake decoration.
Arrange three to five edible fossil details on top. You can mold simple bone shapes from pale fondant, pipe ivory buttercream fragments, or use clearly labeled edible candies. Add one restrained rose-gold accent, such as a few edible pearls or a narrow line of colored icing.
Keep the details separated so the dark surface remains visible. If you’re decorating for younger children, a friendly plastic dinosaur can add a stronger character reference, provided it sits on a food-safe barrier and is removed before cutting. A fully edible alternative is a small dinosaur footprint piped beside the fossil shapes.
4Frame a T-Rex With a Jungle Border
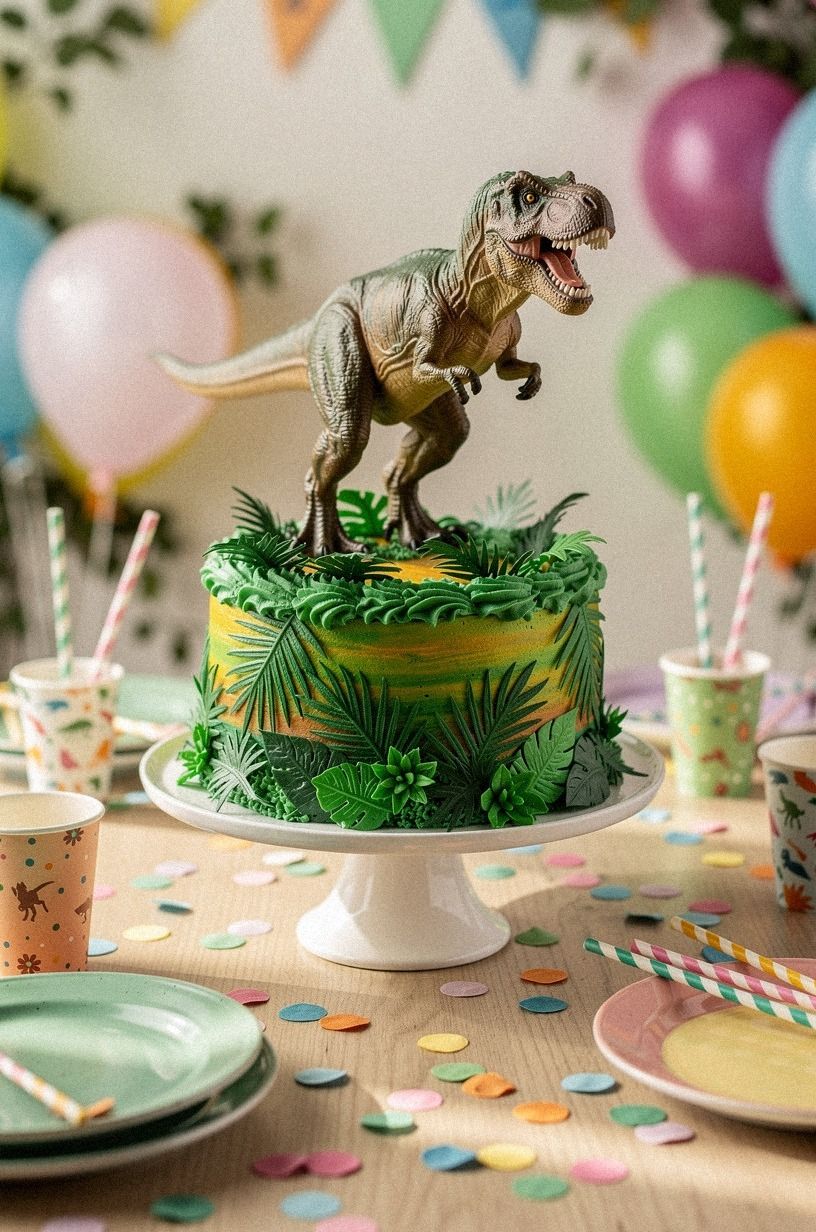
Bake a two-layer round cake and cover it with approximately 3 cups of white or pale buttercream. Pipe a low navy buttercream border around the base, using a star tip for texture.
Position a T-Rex figure or edible T-Rex cutout slightly off-center, with the head angled toward the candles. You’ll get a clearer silhouette if you leave open icing around the head and shoulders.
Create two or three large white fondant leaves behind the dinosaur and add smaller green buttercream leaves around the sides. Five to seven leaves are usually enough.
Don’t let the foliage hide your character. Candles should sit above or beside the shoulders, never inside the dinosaur’s open mouth or close to fondant foliage.
If you’re worried about transport, replace the tall border with a flat piped leaf pattern around the lower edge. It gives your cake a similar frame and travels more safely.
Remove the dinosaur, fondant supports, and picks before slicing.
5Swap a Tall Cake for Dinosaur Cupcake Claws
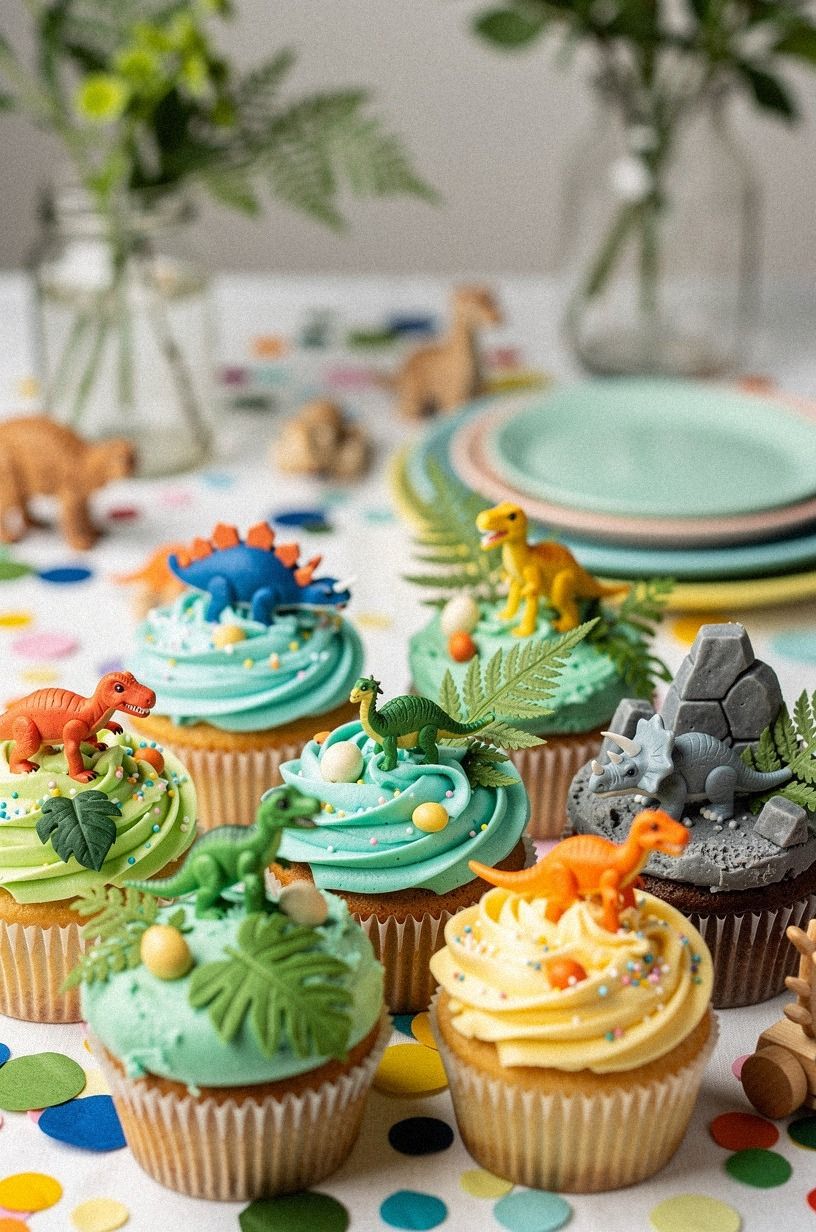
Bake approximately 18 to 24 cupcakes and arrange them in a curved footprint or three-toed claw shape on a large board. Leave narrow gaps between the cupcakes so the outline remains visible.
Pipe about 2 tablespoons of emerald buttercream onto each cupcake, using a large star tip or broad swirl. You can keep the frosting slightly lower on the outer cupcakes to clarify the shape. If you’re serving younger children, individual portions make handing out the dinosaur claws simple.
Use one central cupcake for the birthday child and add a larger edible gold claw or a small food-safe decoration. Three to five gold fondant triangles can suggest claws across the arrangement, but place them on top of the icing rather than pushing them deeply into the cake.
A few edible gold stones around the board can complete the design. You’ll want the board to be large enough for the footprint without crowding the cupcakes.
Cupcakes simplify serving and reduce the need for a knife, making them useful for larger groups. The tradeoff is less room for a detailed dinosaur scene. A single 6-inch cake with three piped claws offers a compact alternative if your guest list is small.
Don’t use a reusable dinosaur figure without planning its removal. Any nonfood decoration must come away before portions are handed out. If you’re carrying the cupcakes, keep the board flat and use a box with enough height for the frosting.
6Use a Two-Color Dinosaur Egg Nest
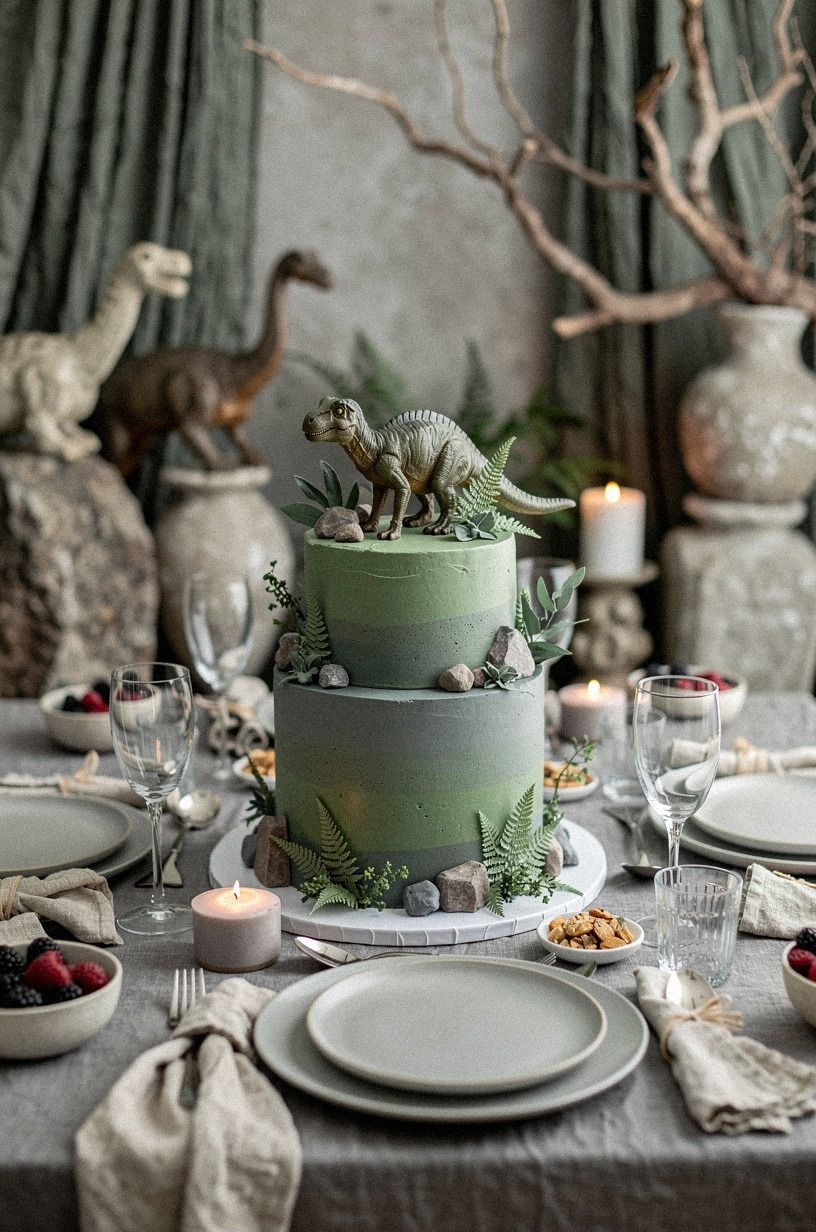
Cover a two-layer cake with approximately 3 cups of muted blue-gray or soft green buttercream. Reserve a small bowl of rust or cream icing for accents.
Build a nest on top with about 1 cup of toasted coconut, shredded cereal, or allergy-appropriate cookie crumbs. Form the nest as a ring, leaving a shallow center for three edible eggs.
You can vary the egg sizes slightly so the dinosaur scene feels natural.
Use cream, pale blue-gray, or muted rust eggs, keeping the palette controlled. A small dinosaur can sit beside the nest rather than directly on it, so your eggs don’t become crowded. Pipe a few short green buttercream leaves around the base, but don’t cover the entire cake in foliage.
Toasted coconut and some cookies may contain or encounter common allergens, so you’ll need to check labels carefully. For a nut-free, coconut-free alternative, use crushed plain biscuits or piped buttercream strands. Add crunchy nest materials shortly before serving because refrigeration can soften them.
7Shape a Long Brontosaurus Across the Cake
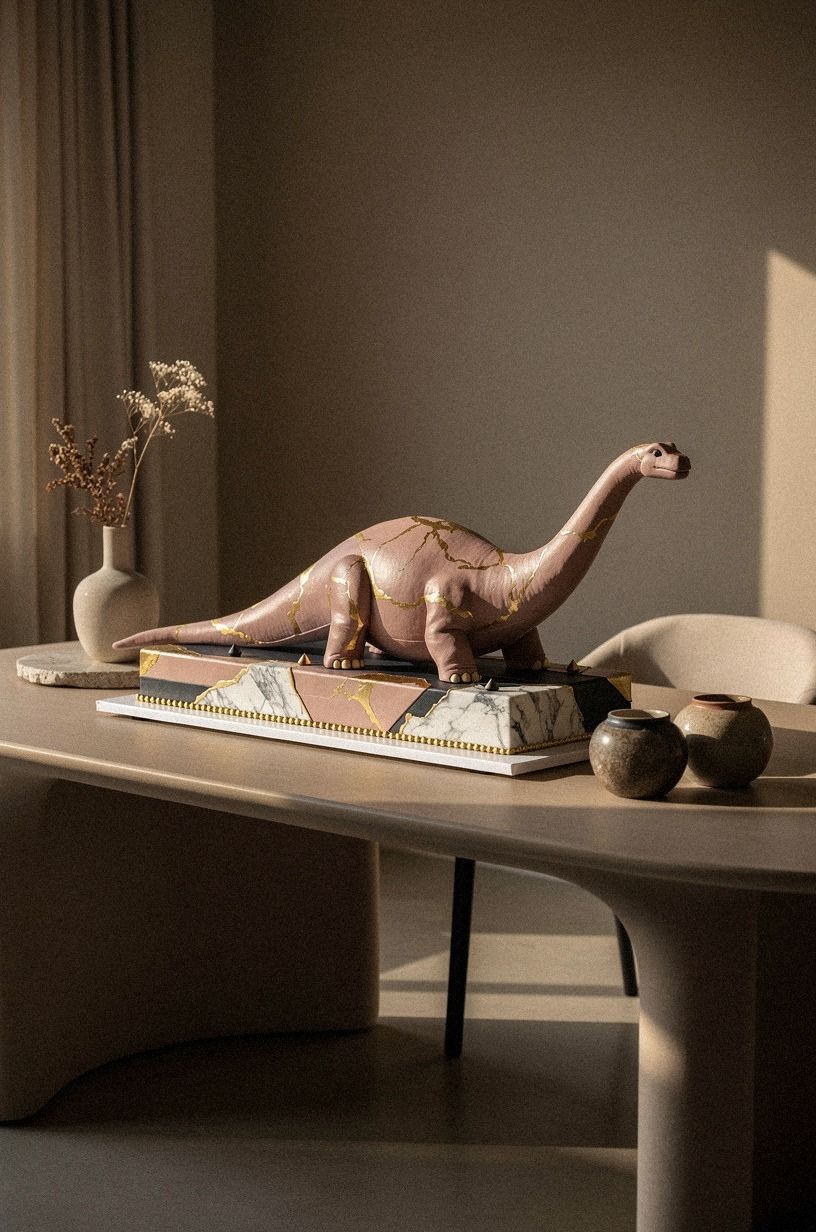
Bake a rectangular sheet cake, approximately 9 by 13 inches, and cover it with about 3 cups of dusty-rose buttercream. Use a piping bag to draw a wide charcoal dinosaur body from one short end to the other. Build the neck upward toward the candles and extend a tapered tail across the opposite side.
Keep the silhouette broad enough to survive slicing. You’ll want the body to remain recognizable even after individual portions are removed.
Pipe four simple legs beneath the body and add small edible gold or dark sugar pearls for eyes. Cookie pieces can form feet, while a few cream or green buttercream plants can fill unused corners.
Avoid placing decorations directly along your intended cutting lines. Otherwise, you may find it difficult to serve even portions.
If you’re using candles, keep them away from the dinosaur’s neck and tail so the outline remains clear.
This layout gives you a generous cake and avoids wasting pieces through extensive carving. The tradeoff is that the dinosaur is viewed from above rather than in three-dimensional profile.
A friendly sauropod topper on a flat sheet cake offers a faster alternative. Use a small amount of buttercream beneath any topper to prevent sliding, but don’t rely on it as a substitute for a suitable support.
Remove all nonfood parts before cutting, and keep the cake level during transport.
8Make a Soft Triceratops Face
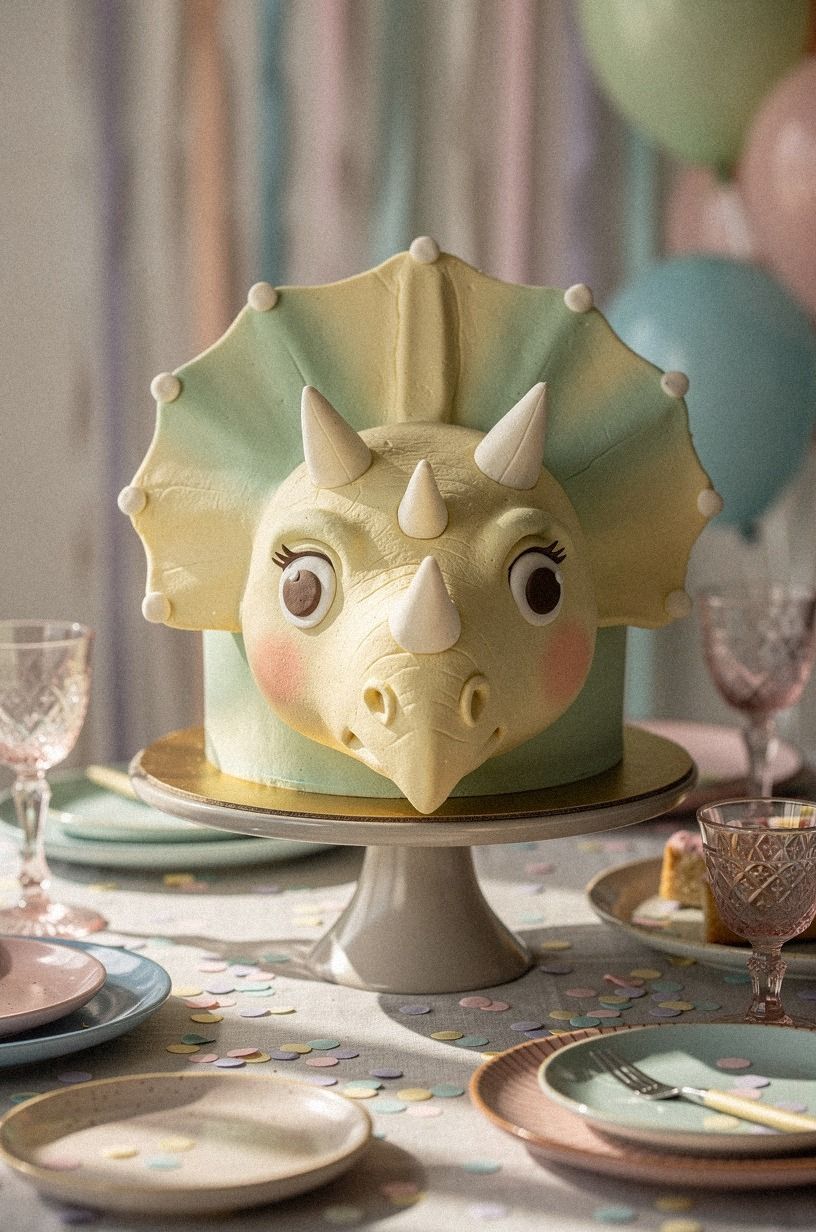
A triceratops face can be built on a 6- or 8-inch round cake without complicated sculpting. Cover the cake with approximately 3 cups of warm-white buttercream, smoothing the sides and leaving the top flat.
Pipe two rounded camel-colored horns near the upper edge, then add a smaller central horn between them. You can keep the shapes broad and simple so they remain visible from across the table.
Use black buttercream or edible chocolate details for two eyes and a short smiling mouth. A broad camel or pale brown buttercream line can define the frill around the face.
Keep the features large and widely spaced so they remain recognizable after your cake is moved. Small edible black dots can suggest nostrils without adding excessive detail.
If you’re concerned about pale icing showing crumbs, apply a thin chilled crumb coat first. A rectangular cake can carry the same face if you need larger portions.
Remove candles, picks, and fondant supports before slicing.
9Stack a Dinosaur Dig Site With Cookie Soil
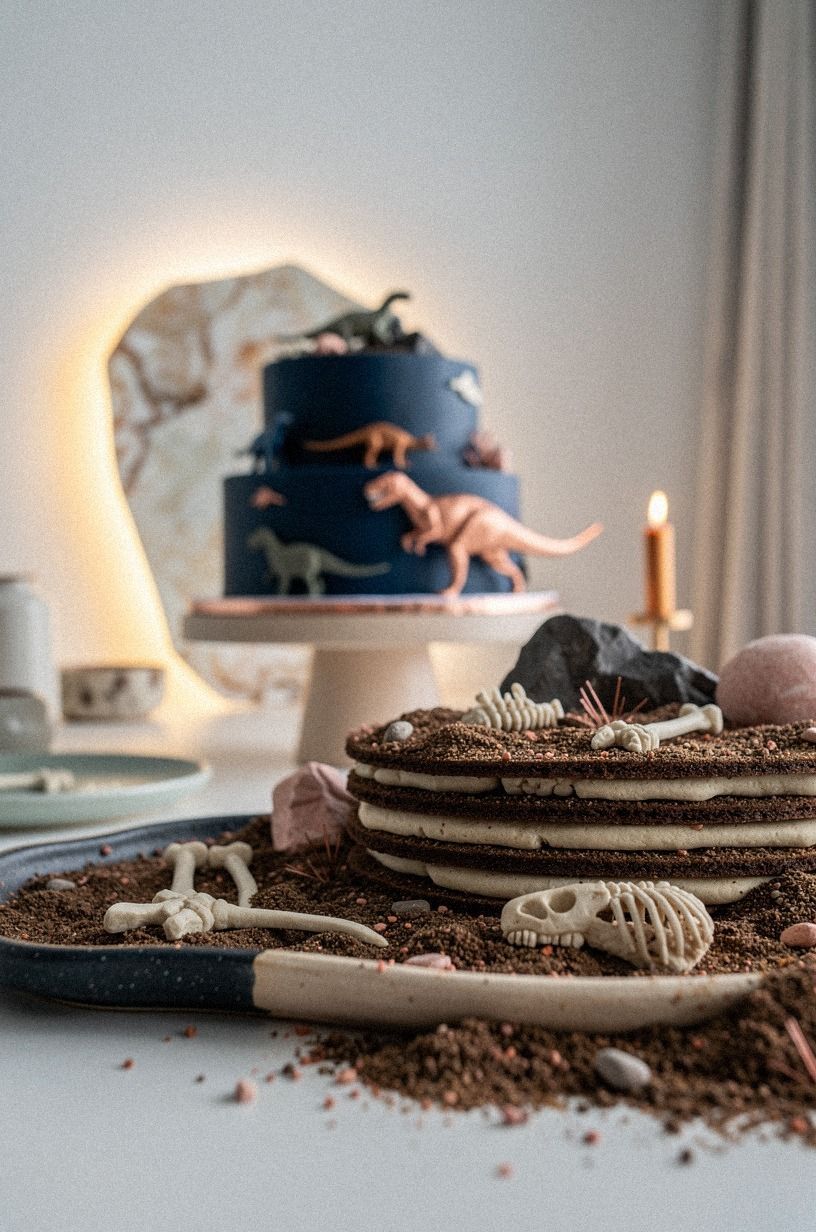
Cover a two-layer cake with approximately 3 cups of ivory or pale vanilla-colored buttercream. Pipe midnight-blue frosting around the sides, keeping the top light so the dig site stands out. Crush about 1½ cups of chocolate sandwich cookies or a suitable allergy-safe substitute, then spread the crumbs across the top shortly before serving.
You’ll get strong contrast between the pale cake and the dark dinosaur soil.
Tuck edible ivory bones, copper-colored candies, and small edible dinosaur shapes into the crumb surface. Leave some pieces partly exposed so children can identify the discoveries.
A small paper flag labeled “Fossil Zone” may sit in a food-safe holder beside the cake, never directly in contact with frosting unless its base is protected. If you’re adding paper, check that it cannot shed ink or fibers onto the food.
The crumb topping can soften in a humid refrigerator, so add it during the final 15 to 30 minutes of setup. The cake also needs a level board because loose crumbs may shift during transport. A shallow tray of crumbs beside a plain cake offers an alternative when digging details need to remain separate.
Don’t promise that every child will enjoy the texture; simply offer clear portions and explain the edible elements. Remove every paper flag, figure, pick, and support before cutting.
10Contrast Black Cocoa With Bright Dinosaur Eggs
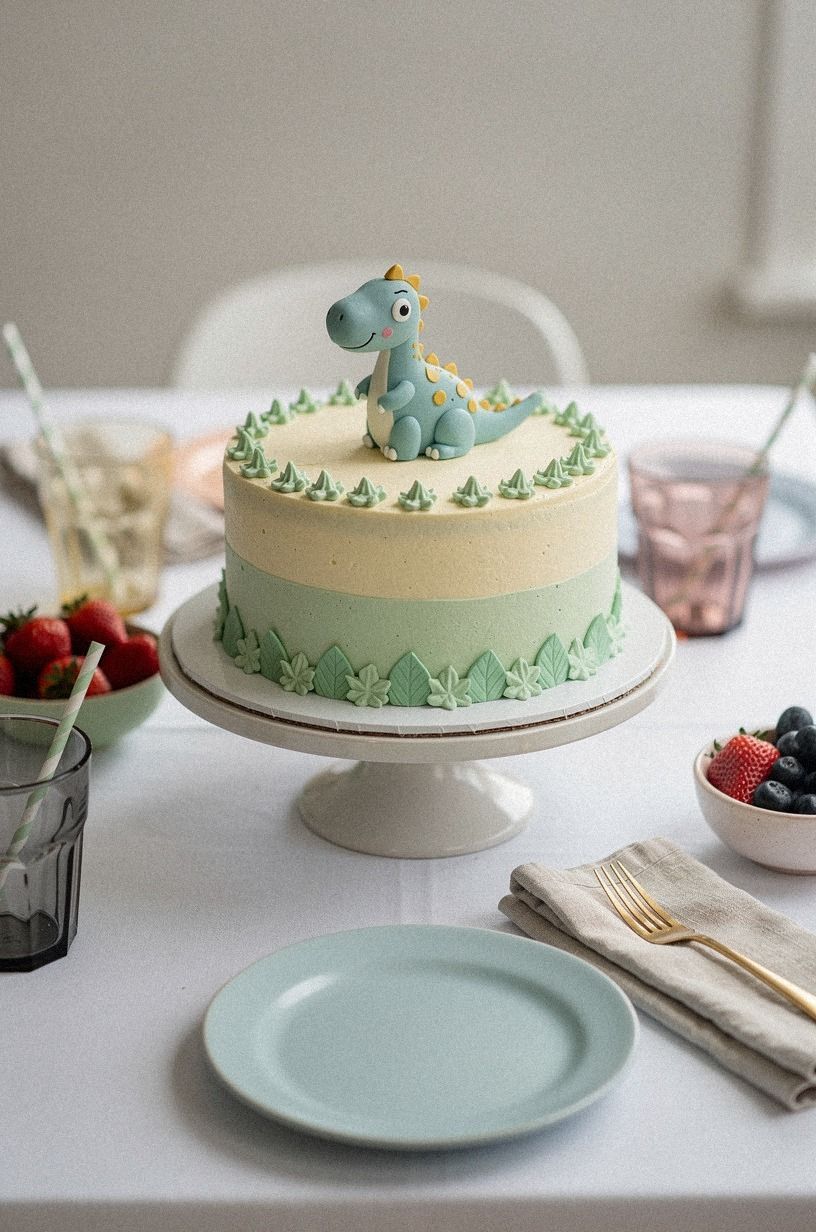
Frost the sides of a two-layer cake with approximately 3 cups of sage-green buttercream. Reserve about ½ cup of black cocoa frosting for a narrow base border or a patch of soil on top.
Add six to eight cream-colored edible eggs across the upper surface, placing them in a loose cluster rather than a perfect line. You’ll want enough open space for the dinosaur theme to read clearly.
A single pale dinosaur figure can stand slightly off-center, leaving room for the eggs to remain visible from across the room. Crushed chocolate cookies around the base connect the black cocoa to the dig-site theme.
Keep sprinkles limited to a few cream or gold pieces because too many colors will compete with the eggs. If you’re using black cocoa, remember that it can darken hands and serving utensils.
Check egg candies and cookies for milk, soy, wheat, and nut warnings before use.
11Give a Gentle Giant a Leaf Border
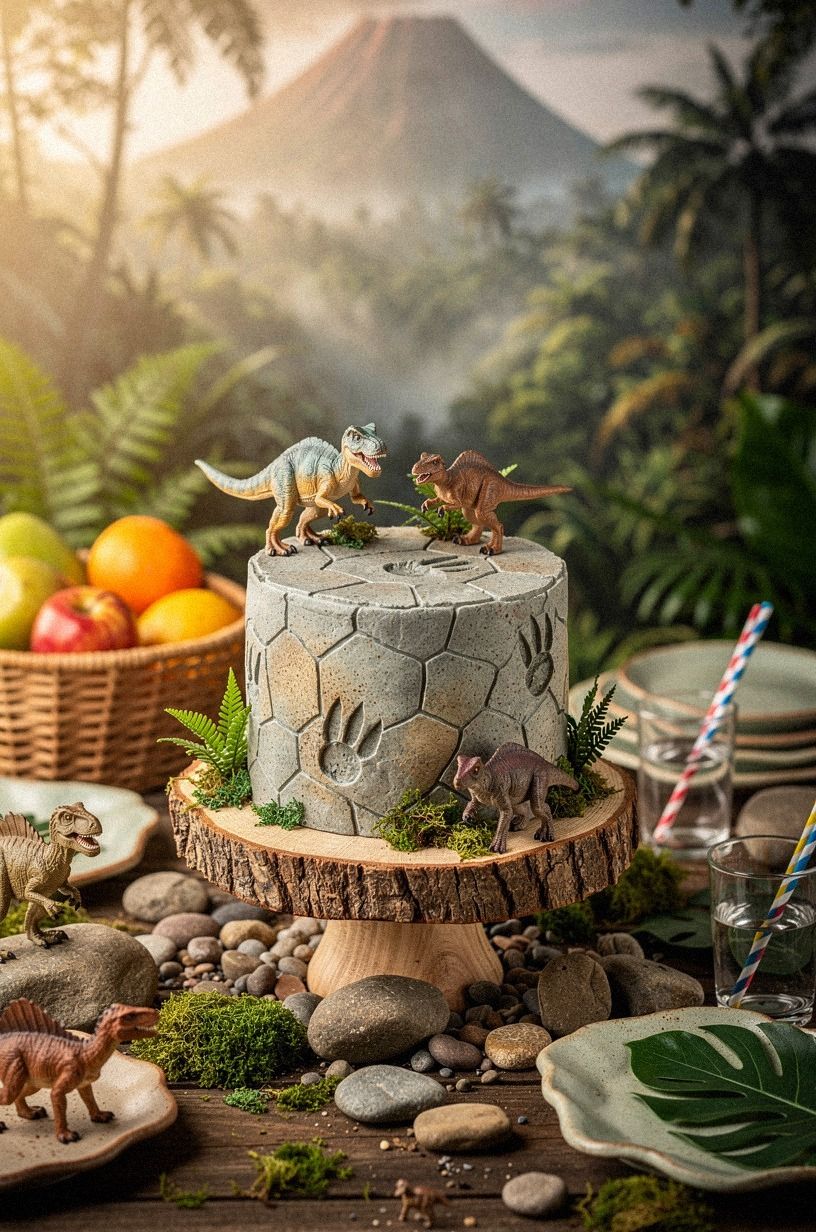
Cover a two-layer cake with approximately 3 cups of terracotta buttercream or warm orange icing. Pipe a low olive-green leaf border around the lower edge using a leaf tip, alternating short and medium leaves.
Add a few stone-colored buttercream dots or edible pebble-shaped candies near the base. You can leave the center open for candles and a clean serving area.
Place a small, friendly dinosaur topper near the back edge rather than in the center. A long-necked dinosaur works especially well because the neck can rise above the border while the body remains visible.
Keep the front half of the cake open for candles and slicing lines. A warm stone-colored serving board can reinforce your earthy palette without adding more decoration.
The leaf border adds handmade texture without requiring a detailed jungle scene. The tradeoff is that piped leaves can become soft if your cake remains warm.
Chill the decorated cake until the frosting is firm, then transport it in a level box. For an easier alternative, use edible paper leaves or small fondant leaves placed immediately before serving.
If you’re using a reusable topper, keep it on a food-safe barrier and remove it before portions are cut.
12Mix Dinosaur Footprints Into a Stone Path
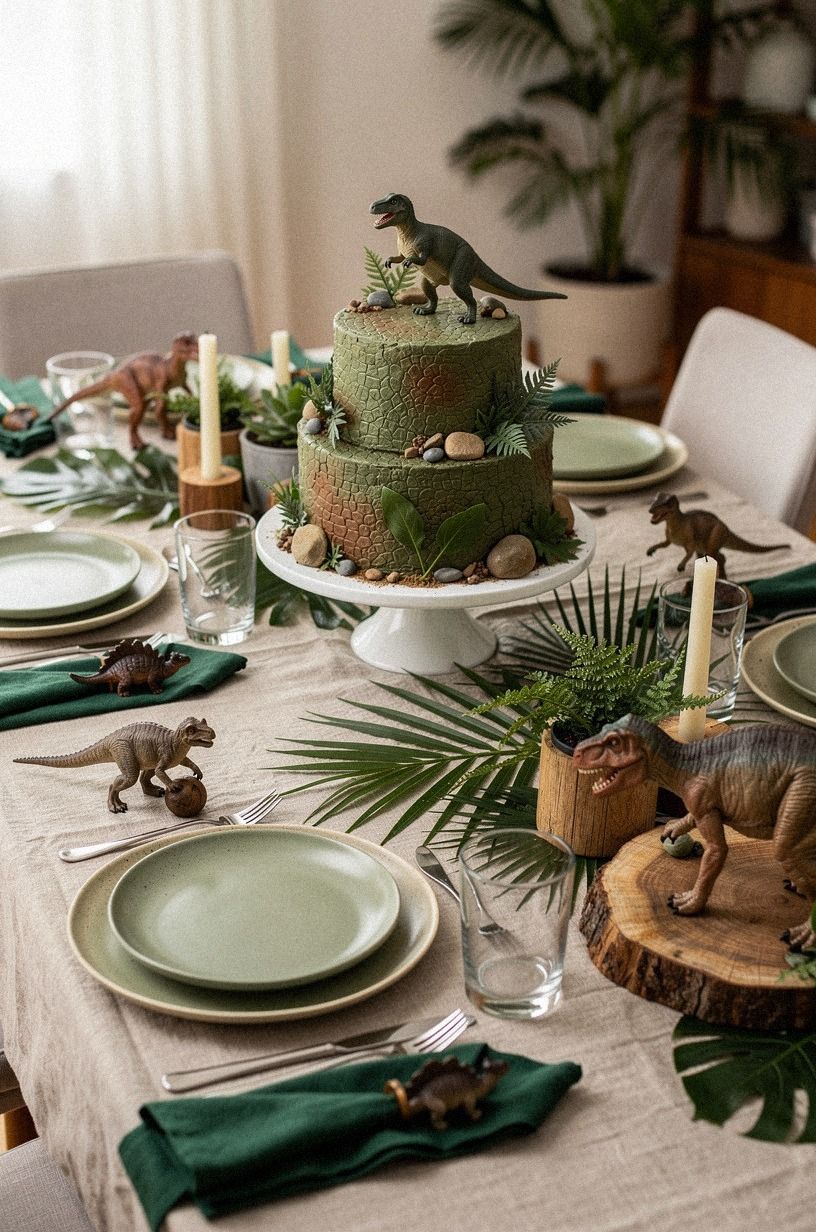
Cover a chilled sheet cake or round cake with approximately 3 cups of clay-colored fondant or firm buttercream. If you’re using fondant, roll it evenly and smooth it over a thin layer of buttercream.
Mark a gently curving path from one edge toward the center with three-toed dinosaur footprints. A clean stencil or lightly pressed food-safe cutter can keep the marks consistent.
Dust the footprints with a small amount of cocoa powder using a dry, soft brush. Keep the dusting light so the surface doesn’t become bitter or messy. Pipe linen-colored buttercream tufts on both sides of the path, leaving the center clear.
A dinosaur figure or edible silhouette can stand at the end of the trail. Fondant may crack if rolled too thin, so buttercream with cocoa footprints is a softer alternative.
Any brass-colored marker must be edible or separated from the cake by a food-safe barrier. Remove every marker, stencil, and topper before slicing.
13Build the Party Table Around the Cake
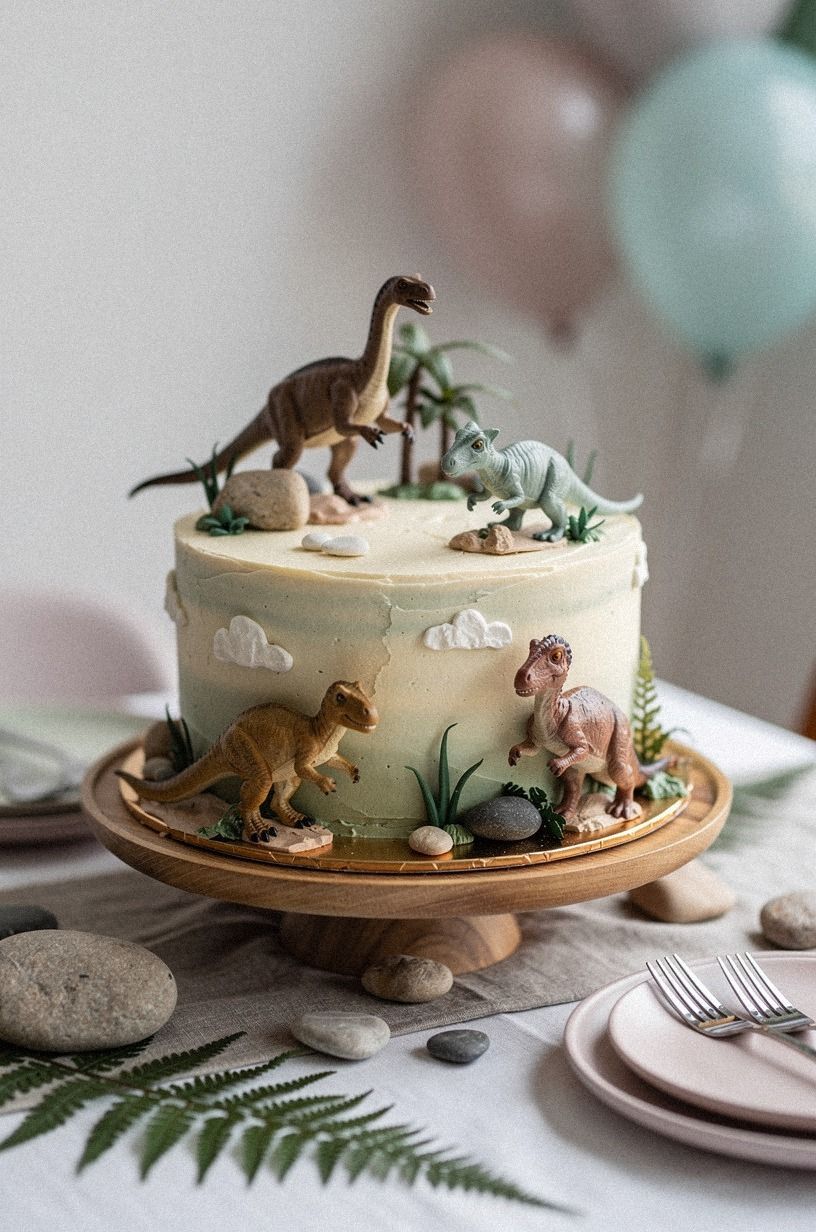
Use a simple two-layer cake on an oversized terrazzo-style or neutral serving board, leaving several inches of open space around it. Plum, gray, and rose-gold decorations can echo the cake without creating a competing dinosaur scene.
Keep plates low and position paper leaves or a small bowl behind the cake rather than directly in front of it. You’ll want guests to see the dinosaur shape before they see the surrounding tableware.
If a hanging sign is used, place its main lettering at a comfortable viewing height and keep it clear of candles. A small lamp or warm room light can improve visibility after sunset, but paper decorations and fabric must remain well away from flames.
A large balloon arch directly behind the cake may obscure the dinosaur shape, so a few separated balloons are usually easier to manage. If you’re working in a narrow room, choose one focal point instead of filling every surface.
The main tradeoff is that this idea focuses on presentation rather than a complicated cake structure. It works with nearly any of the other designs.
A narrow table can use one cake board, a small plate stack, and a single decoration behind the cake. Any tabletop material must be clean, stable, and non-toxic, with the cake protected by its board or a food-safe liner.
Don’t place loose craft materials where children can mistake them for edible dinosaur decorations.
14Choose Frosting Over Fondant for a Softer Finish
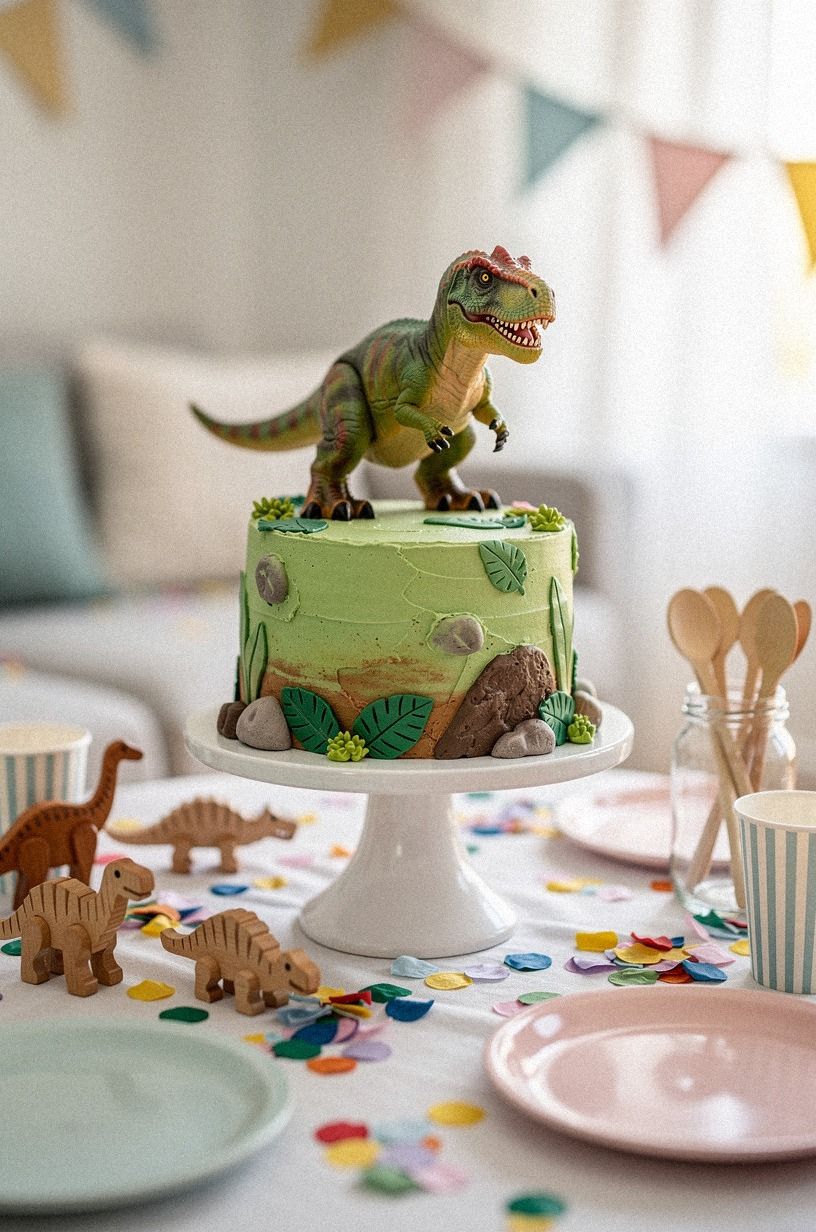
Cover a two-layer cake with approximately 3 cups of buttercream, using navy on the lower half and white on the upper half. Smooth the transition gently or pipe a narrow row of stars where the colors meet.
Add a simple white dinosaur silhouette, navy footprints, or a few pale edible stars to keep the surface open. You can create a clear dinosaur theme without covering every inch of the cake.
Buttercream gives your cake a softer, more homemade appearance and is generally easier to portion than a thick fondant covering. The tradeoff is lower resistance to heat, fingerprints, and rough transport.
Chill the cake until the surface is firm, then place it in a level carrier with space around the sides. Don’t rest plastic wrap directly on piped decorations. A fondant dinosaur cutout provides a crisp alternative if you want a sharper silhouette, while an all-buttercream dinosaur can be piped with a star tip.
Remove any picks or supports before serving.
15Finish With One Oversized Dinosaur Topper
Cover a two-layer cake with approximately 3 cups of emerald buttercream, smoothing the sides and leaving the top mostly uncluttered. Add a few cream and gold stars, edible stones, or small buttercream dots around the outer edge.
Place one large dinosaur topper in the center, choosing a clear silhouette that can be recognized from several feet away. You’ll want the surrounding decoration to support the dinosaur rather than compete with it.
A long tail or tall back plates may make the topper unstable, so insert food-safe supports only when appropriate for the topper material and cake height. Keep supports visible to the serving adult and remove them before cutting. A small name banner can sit at the base of the topper rather than across the front, preserving the dinosaur’s outline.
If you’re using a reusable figure, keep it separate during refrigeration and transport.
The oversized topper is efficient because it creates a strong focal point with little piping. The tradeoff is that your cake depends on one object, so a damaged or missing topper leaves less decoration. An edible fondant dinosaur offers a safer all-in-one alternative.
Keep the topper separate during transport, then add it after the cake reaches the serving table. Don’t place candles close to tall decorations, and remove every support before portions are served.
Preparation Checklist
- Confirm guest allergies and dietary requirements before choosing cake, fillings, cookies, candies, fondant, coconut, or toppers. - Check labels for cross-contact warnings and use separate tools when required. - Select a cake board that fits the design with at least 2 inches of clearance. - Assemble layers with a thin buttercream layer and apply a crumb coat before final icing. - Chill the cake until the frosting is firm, usually long enough for the surface to resist a light touch. - Add cookie soil, wafer grass, coconut, and other crunchy details close to serving time. - Keep candles, paper signs, fabric, balloons, and lamps away from open flames. - Transport the cake level in a rigid carrier with a nonslip mat; keep the topper separate. - Refrigerate fillings or frostings that require chilling, and follow the storage guidance for the chosen ingredients. - Allow the cake to stand briefly before serving if refrigeration makes the icing very firm. - Remove every plastic figure, paper flag, dowel, pick, metal marker, and other nonfood support before slicing. - Use a clean knife and identify allergen-free portions before serving mixed dietary groups.
A Few Things Worth Answering
What is the easiest dinosaur cake for a small party?
The oversized topper cake or cupcake claw arrangement requires the least complicated assembly. You can keep the dinosaur shape visible without extensive carving. If you’re short on refrigerator space, a single round cake with one clear topper may suit your plans better.
How much cake should be planned?
As a general planning guide, a two-layer 8-inch round cake often suits a small gathering, while 18 to 24 cupcakes provide flexible individual portions. Adjust your amount for other desserts, guest appetites, and whether some guests will want smaller pieces.
Can dinosaur figures go directly on a cake?
Only food-safe figures should touch frosting. Reusable plastic figures should sit on a food-safe barrier when possible and must be removed before slicing. You’ll also need to remove dowels, picks, paper flags, and any other support that isn’t edible.
How can a decorated cake be transported?
Chill the cake until firm, place it on a level nonslip surface inside a rigid carrier, and keep tall toppers separate. Transporting the cake on a flat vehicle floor is safer than holding it on a passenger’s lap. Don’t leave the cake in a hot vehicle, and keep the carrier level during turns.
Can these designs be made without fondant?
Yes. Buttercream, cookie crumbs, piped leaves, edible candies, and chocolate details can replace most fondant elements.
Buttercream is softer but usually requires more careful chilling. If you’re avoiding fondant for texture or ingredient reasons, choose a footprint path, piped dinosaur face, or leaf border.
What is an illustrative cake budget?
A simple homemade design might use a planning allowance of $20–$50 for ingredients and basic decorations, while additional toppers, specialty candies, or serving supplies can raise the total. These figures are illustrative allowances, not researched prices. Your local costs and dietary requirements may change the amount.
A successful dinosaur cake needs a recognizable character, a controlled palette, and practical planning for chilling, transport, candles, and slicing. The volcano creates drama, the dig site invites discovery, and the soft triceratops offers a gentler face. Choose the design that matches your serving needs, confirm every ingredient and decoration, and let one strong dinosaur detail carry the theme.
Your Next Step
Choose one dinosaur design and write down your cake size, guest count, color palette, and decoration list. Check every label before shopping, then prepare the cake board and storage space first.
If you’re using a topper, decide exactly when it will be added and removed. Begin with the simplest recognizable shape, keep your work surface organized, and leave enough time for chilling before the dinosaur party begins.