
 by
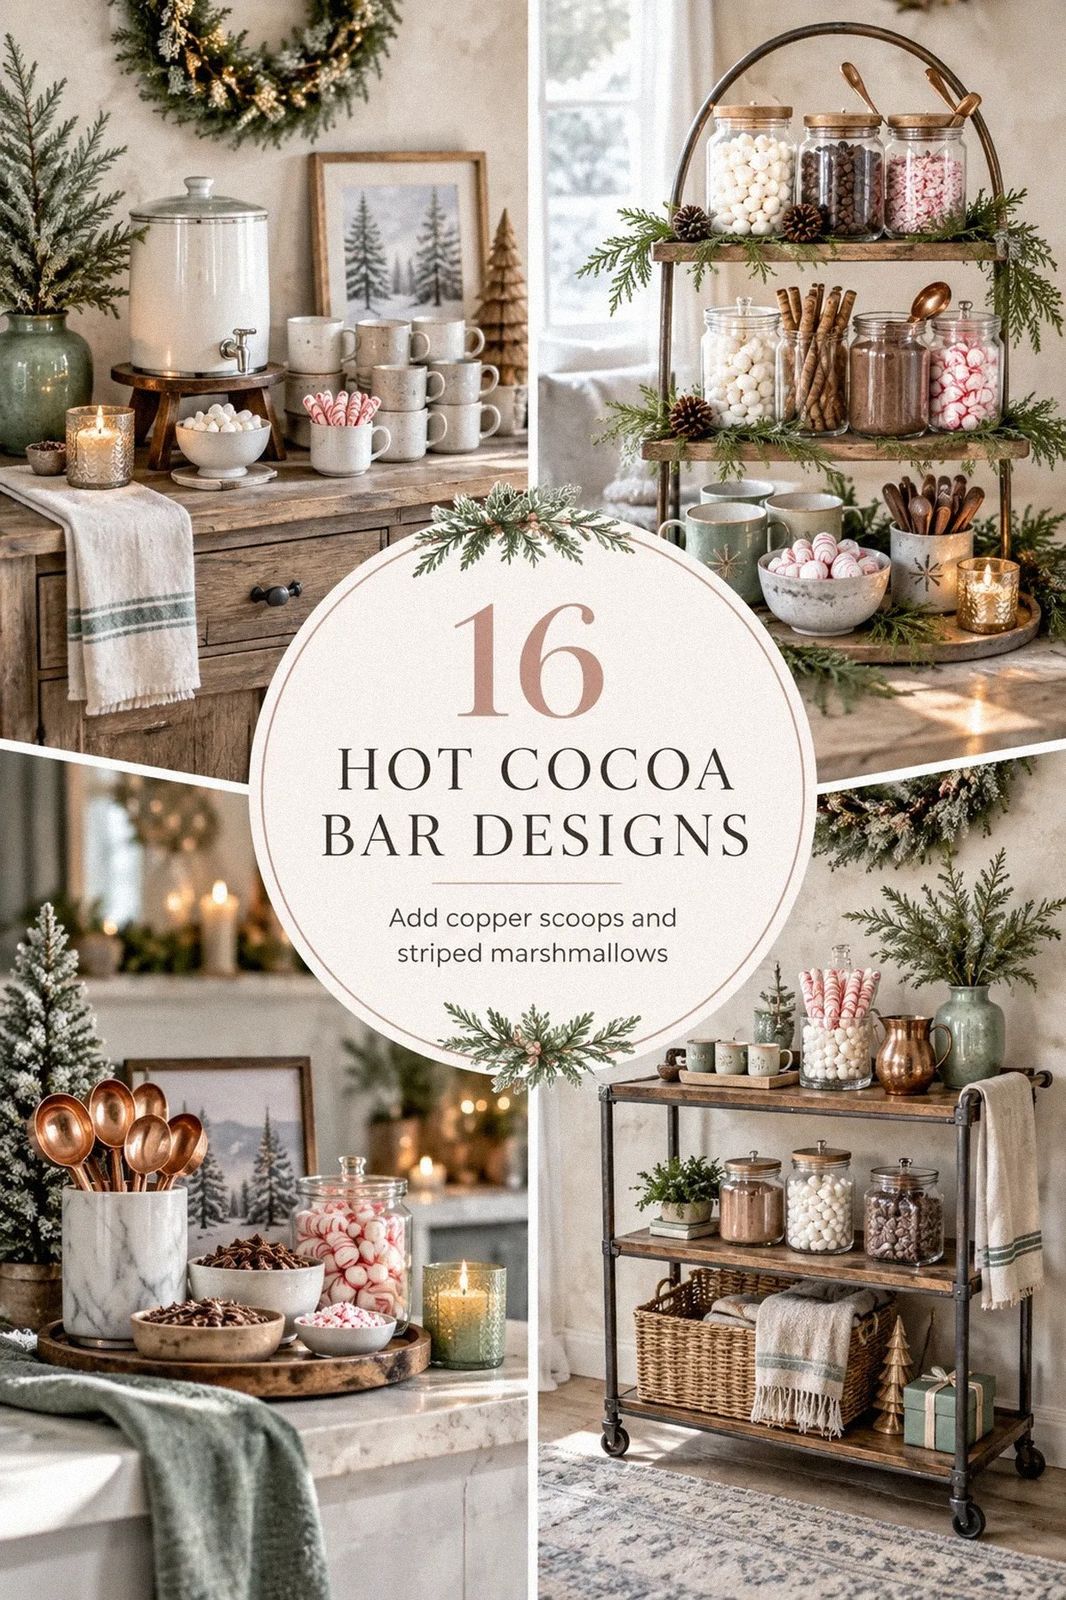
by The best hot cocoa bar ideas for a holiday gathering use three heights, one warm light source, and toppings guests can reach without crowding the counter. I once lined everything up flat, and nobody could find the marshmallows. Now I build the station like a tiny room. It feels inviting before anyone pours a cup.
- Layer the Three-Height Pour for a Christmas Cocoa Station
- Build the Steam-and-Glow Rule Around One Lamp
- Frame the Holiday Drink Bar With Garland and Paper
- Layer the Three-Height Pour for a Christmas Cocoa Station
- Build the Steam-and-Glow Rule Around One Lamp
- Frame the Holiday Drink Bar With Garland and Paper
- Mix the Two-Texture Topping Rule
- Can a Tiny Hot Cocoa Bar Still Feel Generous?
- Hang a Menu Beside the Cocoa Bar
- Swap Plastic Trays for Warm Wood
- Anchor the Setup With a Simple Cost Plan
- Choose Warm Wood Over Shiny Plastic
- Stack the Cinnamon Ladder for Easy Refills
- Paint a Backdrop in a Soft Neutral
- Float the Mugs on a Holiday Cocoa Shelf
- Make the Peppermint Cloud Feel Less Sugary
- Could Your Cocoa Station Work Outdoors?
- Serve a Sleepier Evening With Decaf Options
- Finish With the One-Spoon Guest Test
1Layer the Three-Height Pour for a Christmas Cocoa Station
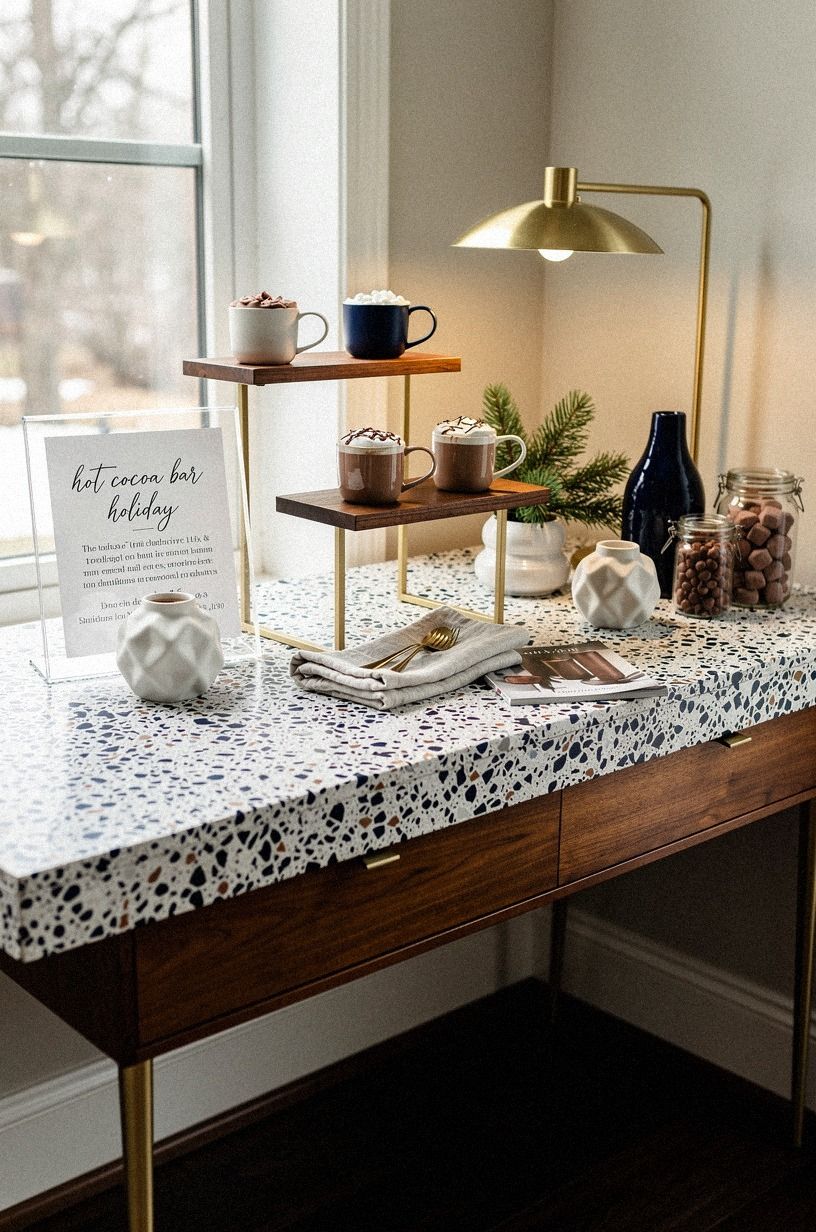
Give your cocoa station a tall back row, a middle row, and a low front row. Your ceramic beverage dispenser belongs at the back, mugs sit on a riser, and toppings stay closest to your guests. You'll create a clear path from pour to finish, so nobody has to reach across a bowl of peppermint.
I like a walnut serving board under the mugs because the grain warms up plain counters. You can use a cutting board you already own, and you'll still get that refined, rustic feeling. A stack of small plates keeps spoons from wandering into the sugar.
And don't make every container the same height. Your eyes need a little movement, while your guests need to see every topping. For a holiday tablescape that carries the same relaxed rhythm, borrow ideas from this renter-friendly holiday tablescape guide.
2Build the Steam-and-Glow Rule Around One Lamp
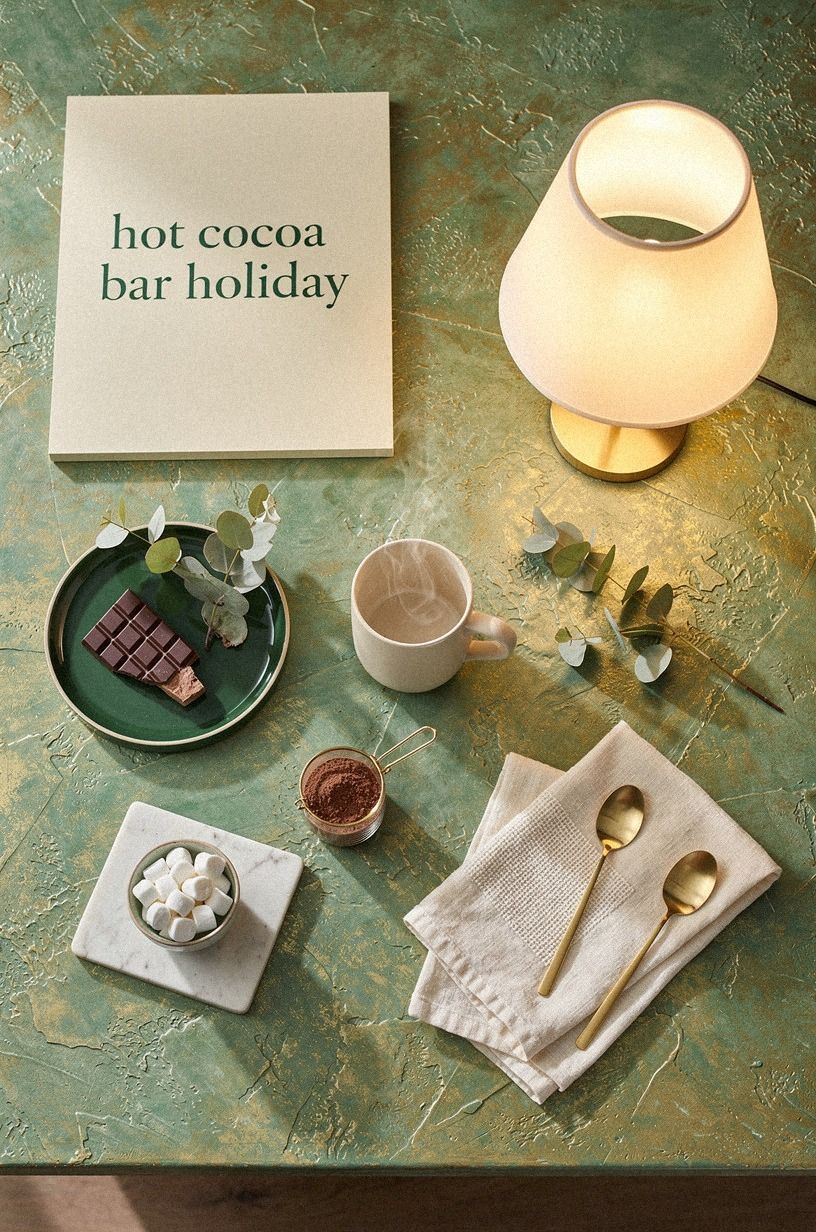
Set your cocoa pot near a small lamp, candle lantern, or string of warm bulbs. The light should touch the steam without shining directly into your guests' eyes. A brushed brass table lamp gives the station a gentle glow, and you won't need a full room makeover to make the corner feel dramatic.
Use a heat-safe tray beneath the pot, especially if you're serving from a slow cooker. I learned that after one crowded party when a spoon caught on the cord and sent cocoa across the counter. Keep your napkins and stirrers on the opposite side, so the serving path stays calm.
But skip blue-white bulbs. They'll make chocolate look gray and your room feel clinical. Your guests should see amber light on the mugs, not a glare from the ceiling.
If your gathering runs late, this guide to winter holiday travel sleep has useful ideas for keeping a guest room peaceful afterward.
3Frame the Holiday Drink Bar With Garland and Paper
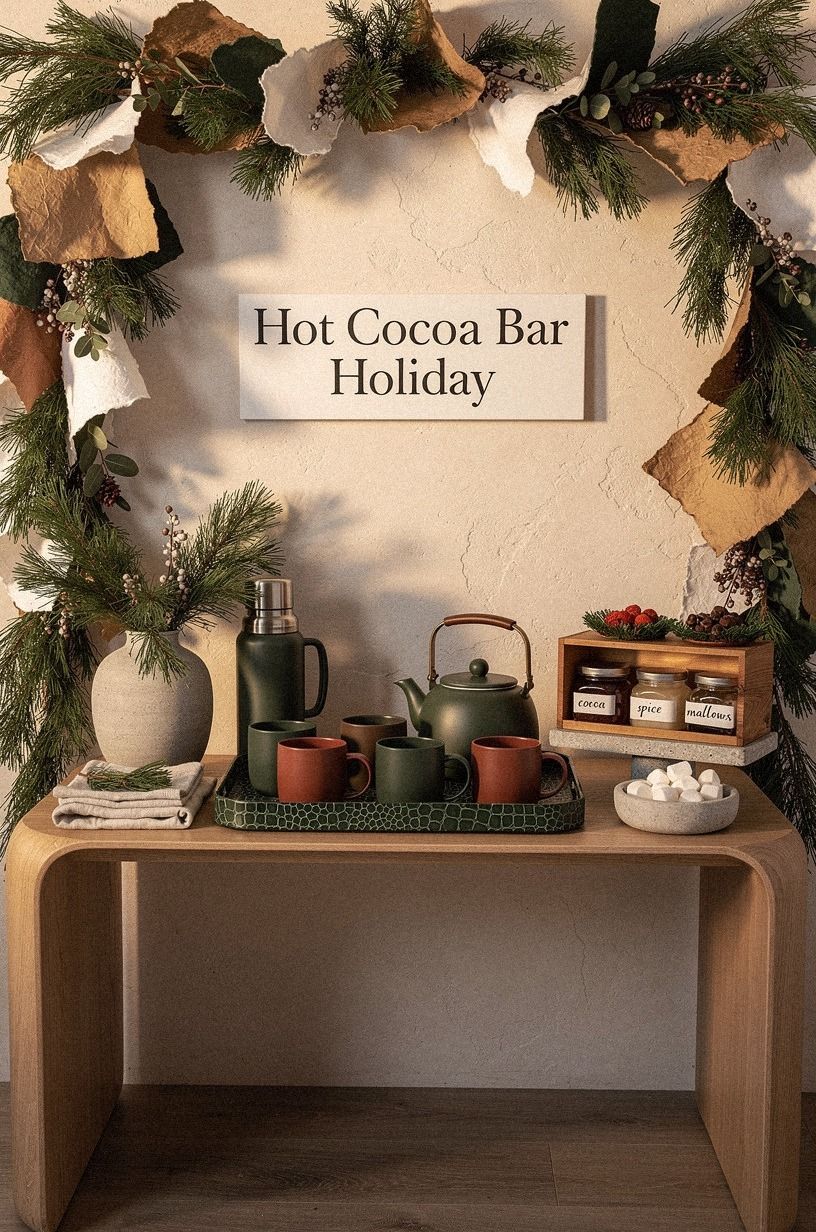
A narrow garland behind the station makes your cocoa setup feel intentional without taking counter space.
4Mix the Two-Texture Topping Rule
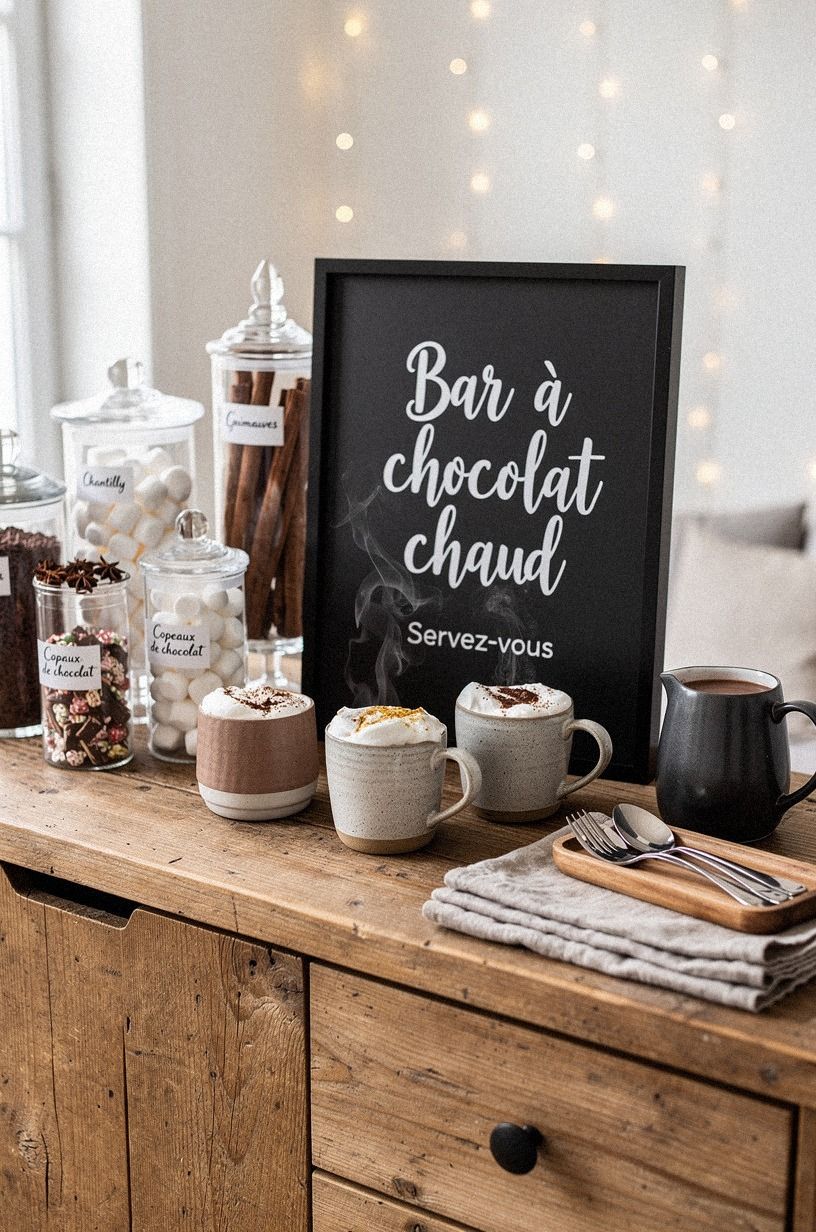
Choose one soft topping and one crisp topping for every flavor family. Dusty rose linen ribbon around the jars adds softness to the display, while crushed peppermint, toasted coconut, or chopped nuts give your guests a clean contrast in the cup.
I use clear glass apothecary jars for dry toppings because you can see when something needs refilling. Your guests won't have to lift every lid, and you won't spend the evening answering the same question. Put a short spoon in each jar, with the handle angled toward the room.
You don't need twelve toppings. Six thoughtful choices will feel more generous than a crowded pile of novelty candy.
Choose marshmallows, peppermint, cinnamon, chocolate curls, flaky salt, and whipped cream, then let your guests build their own combinations. If hot drinks affect your evening routine, you can read whether hot chocolate may help you sleep before planning a late-night version.
5Can a Tiny Hot Cocoa Bar Still Feel Generous?
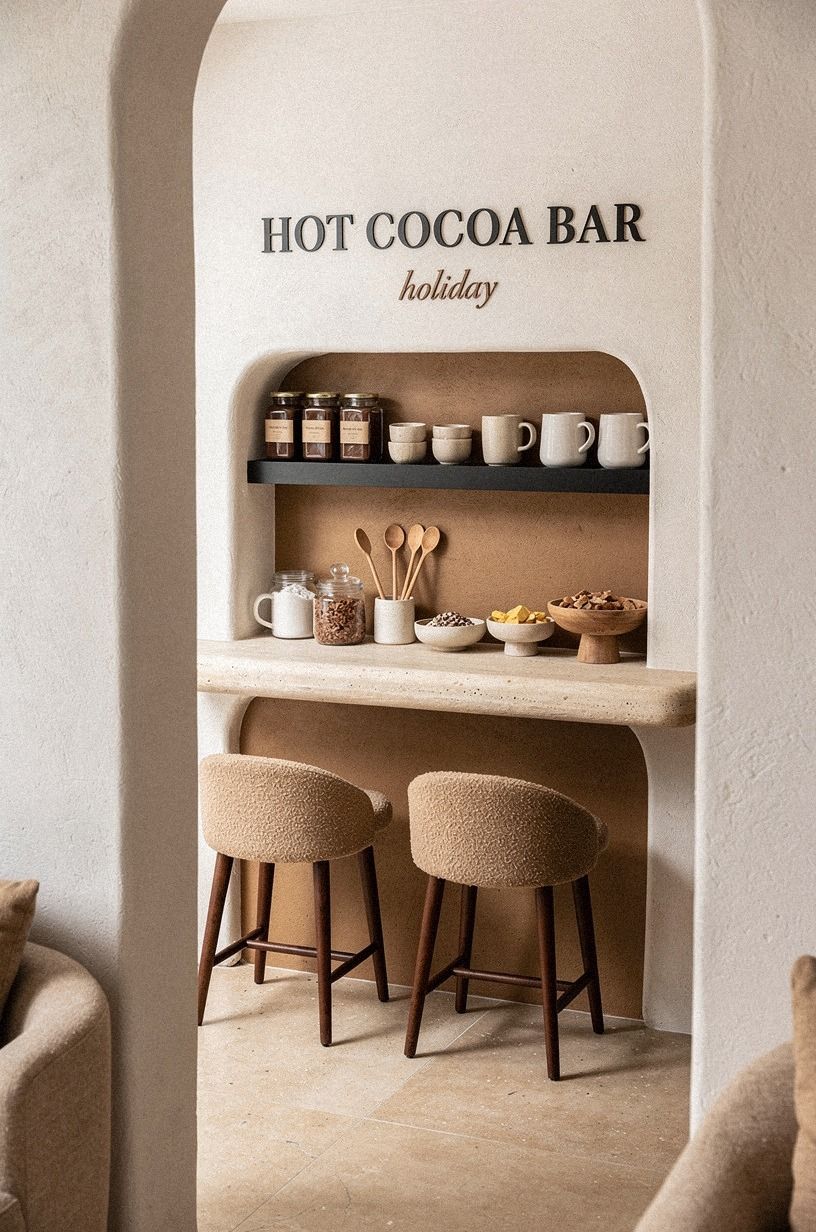
Yes, your small cocoa bar can feel abundant if you move upward instead of outward.
6Hang a Menu Beside the Cocoa Bar
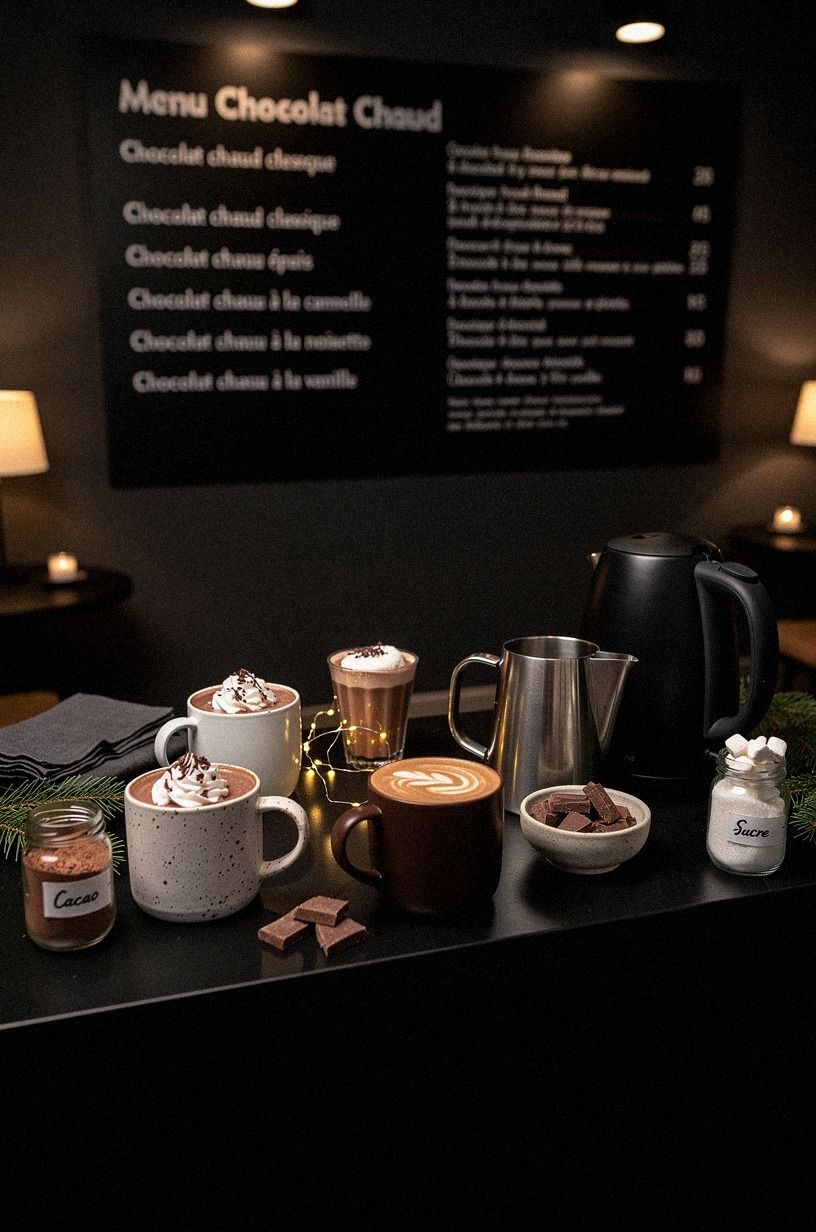
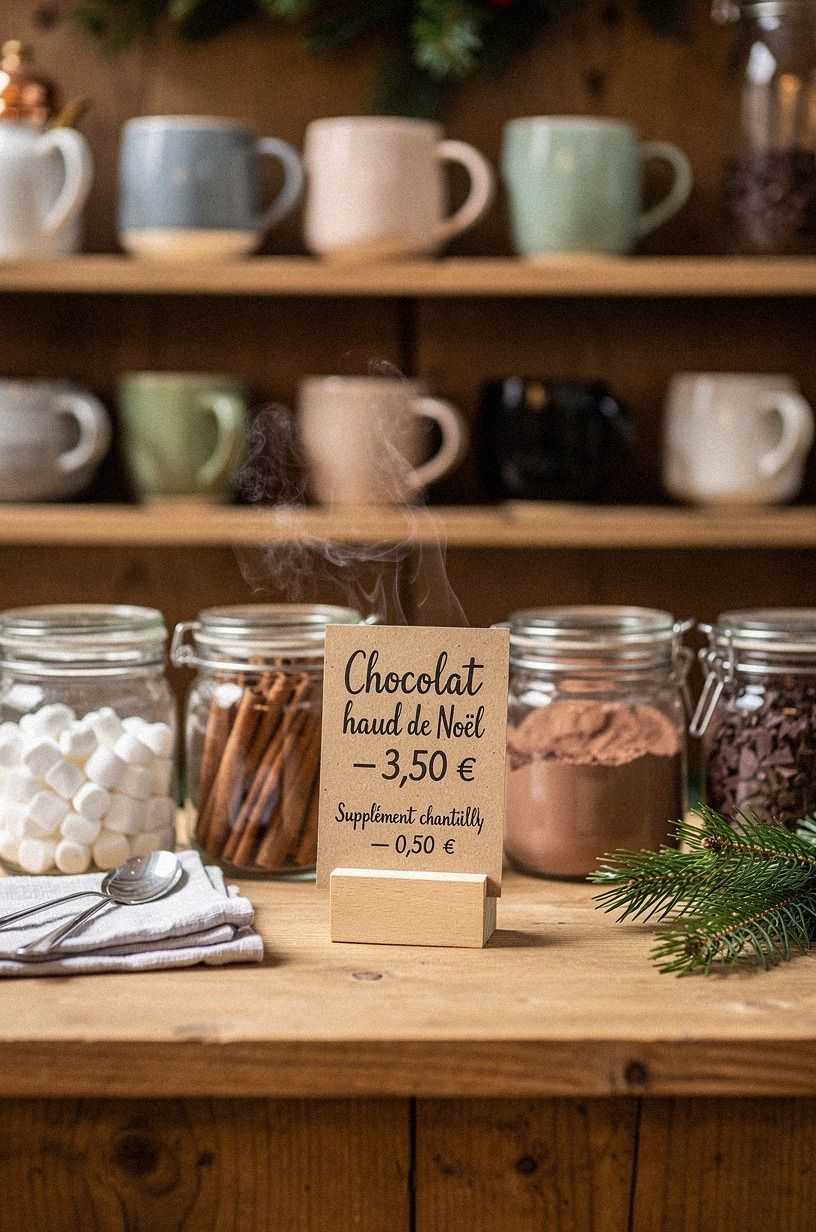
A menu gives your station the charm of a little café, and it helps guests understand what you've prepared. Hang a Nero Marquina marble menu board or clip a printed card to a small easel. You'll add height without buying another serving piece.
Write three combinations instead of listing every ingredient. “Peppermint Cloud” can mean cocoa, whipped cream, and crushed candy. “Salted Mocha” can point guests toward chocolate curls and flaky salt.
Your friends won't need to guess, and you can keep the labels short enough to read from across the room.
Hang the card with its center roughly 57 to 60 inches from the floor if it's on a wall. That standard keeps it comfortable for most adults.
But if children will serve themselves, place a second card lower on the counter. Your display should welcome the actual people at your gathering, not an imaginary showroom.
7Swap Plastic Trays for Warm Wood
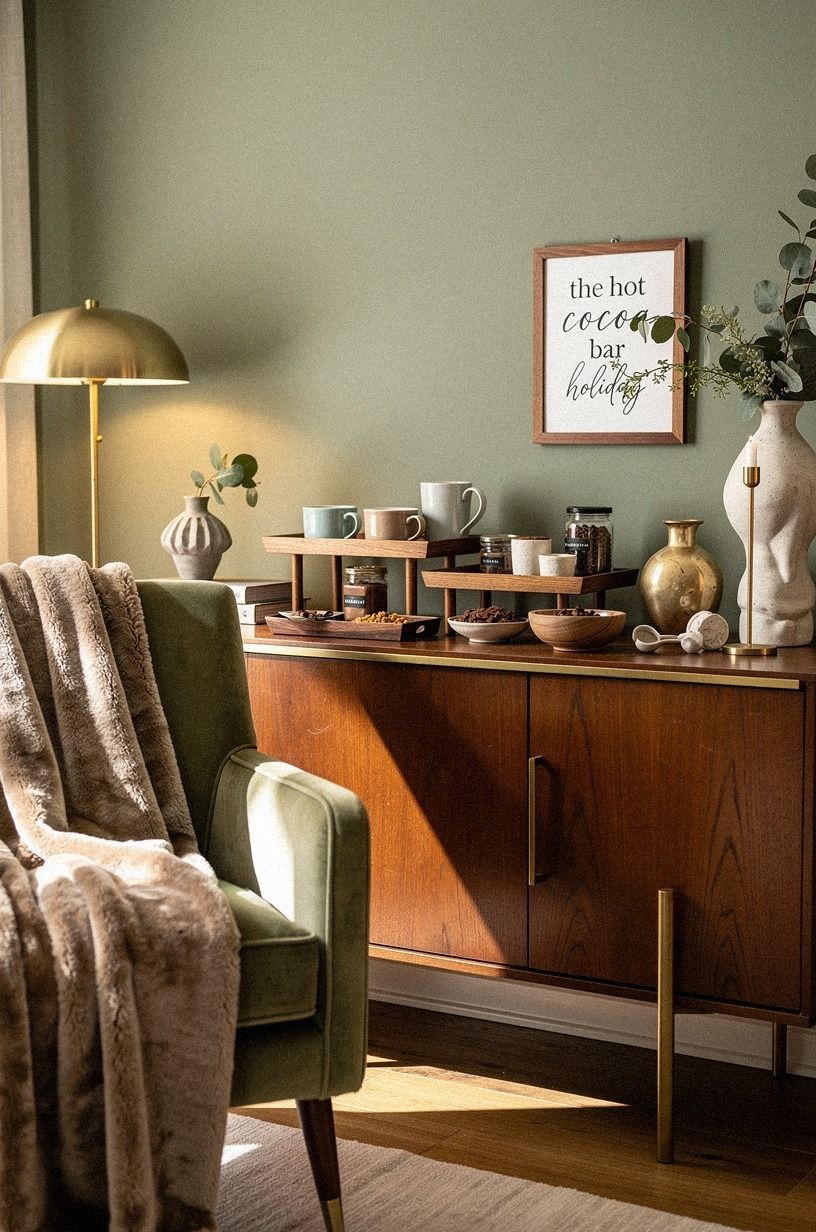
Your cocoa bar will look more collected when the serving pieces don't all come from one matching set.
8Anchor the Setup With a Simple Cost Plan
Your cocoa bar doesn't need the budget of a full room project, but a cost plan keeps small purchases from multiplying. Start with what you own, then spend on one serving piece guests will touch often. A terracotta stoneware pitcher can carry milk or cream, while thrifted bowls handle the toppings.
The broader styling ranges below are typical US reference points, not a requirement for one cocoa station. You'll probably stay at the low end when your mugs, tray, and linens are already in the cupboard.
If you're refreshing the room around the bar, paint can help more than another bowl. Benjamin Moore White Dove OC-17 keeps the setup bright and soft, while your cocoa and greenery provide the contrast. Choose the wall first, then decide whether you need anything else.
9Choose Warm Wood Over Shiny Plastic
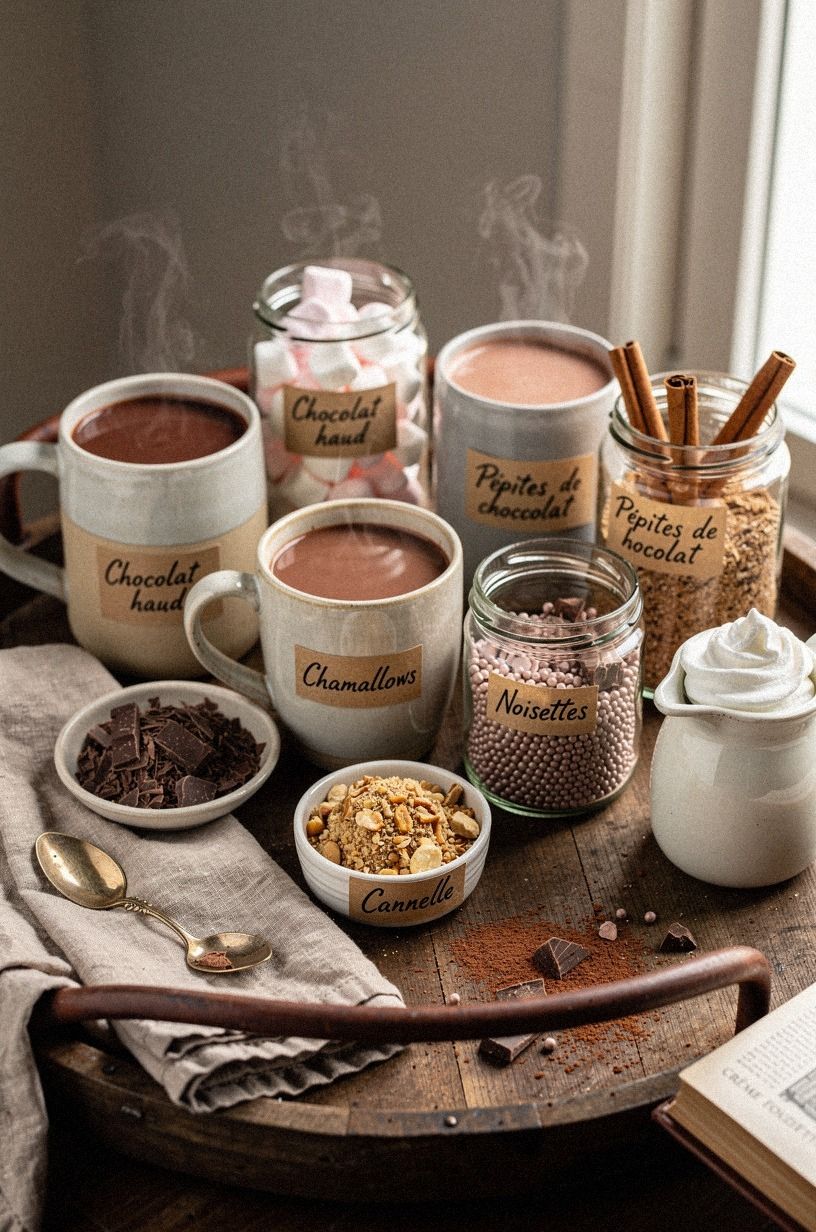
Warm wood makes a holiday drink bar feel grounded, especially when your kitchen has stainless steel or glossy white cabinets. Use a reclaimed weathered teak riser beneath the cocoa pot, then let the weathered grain repeat in a spoon or picture frame. You'll create depth without adding another holiday pattern.
I’d skip shiny red plastic unless you're hosting a children-only party. It photographs harshly, scratches quickly, and makes your thoughtful toppings feel like party favors. Your guests will respond better to a surface that feels tactile and lived-in.
Add one soft textile under the tray, such as 18 oz cotton velvet in cinnamon or cream. It will quiet the clatter of mugs and give your hands somewhere to rest when you're refilling the pot.
A short runner is enough, so you won't create a cleaning problem later. The result feels warm, not overproduced.
10Stack the Cinnamon Ladder for Easy Refills
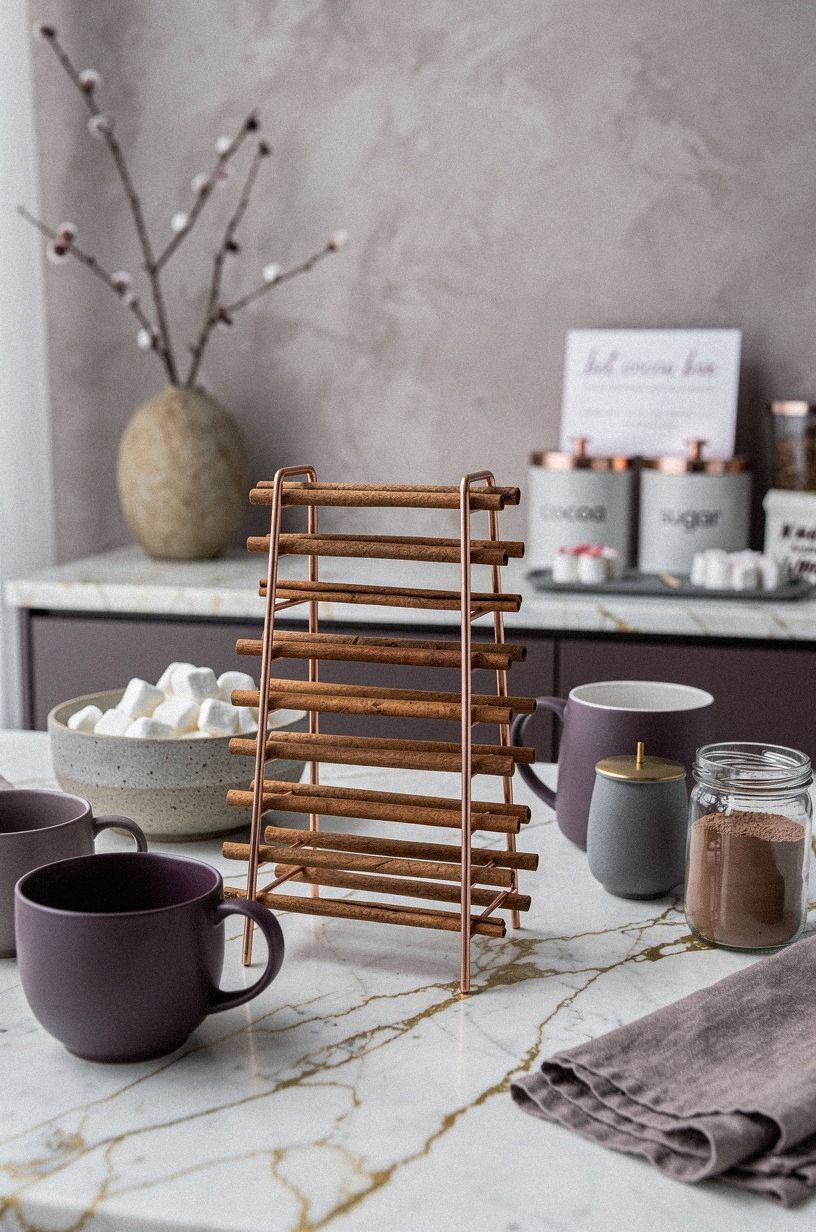
Place the ingredients you refill most often at the center of the station. A small cinnamon jar should sit beside sugar, cocoa, and spoons, while decorative toppings can move to the back. Your guests will follow the arrangement naturally, and you'll spot an empty container before it becomes a complaint.
Use three containers in graduated sizes, not six identical jars. The largest holds marshmallows, the middle holds chocolate curls, and the smallest carries flaky salt. You'll get a quiet visual rhythm, and the setup remains easy to carry when the party moves.
But keep cinnamon away from the steam. Moisture turns the powder lumpy, and your guests won't enjoy tapping a clogged shaker over their cup.
I place mine on a Calacatta marble saucer, which catches stray grains and echoes the plum-and-rose-gold palette. If your holiday gathering includes overnight guests, save this guide to the bedding I’d choose if I woke up hot.
11Paint a Backdrop in a Soft Neutral
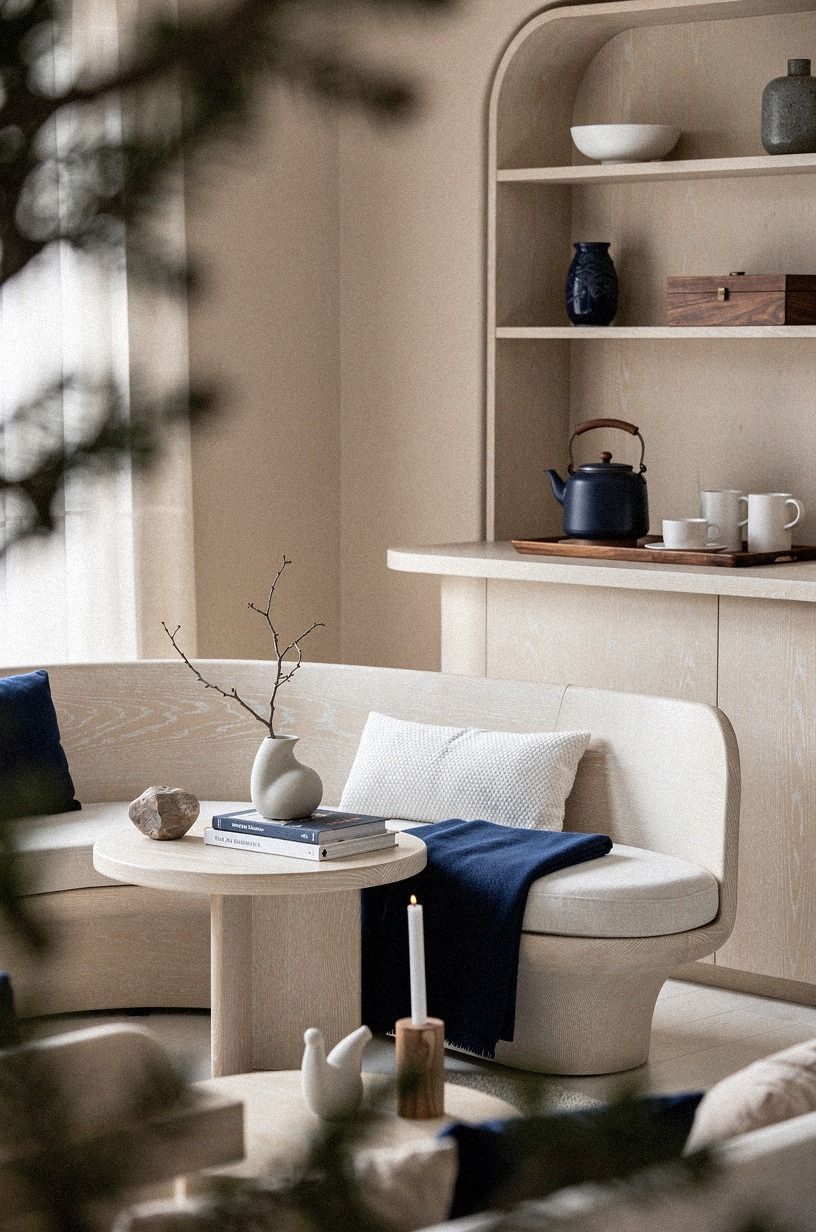
A painted backdrop can make your cocoa station feel finished, especially if it sits against a forgotten wall.
12Float the Mugs on a Holiday Cocoa Shelf
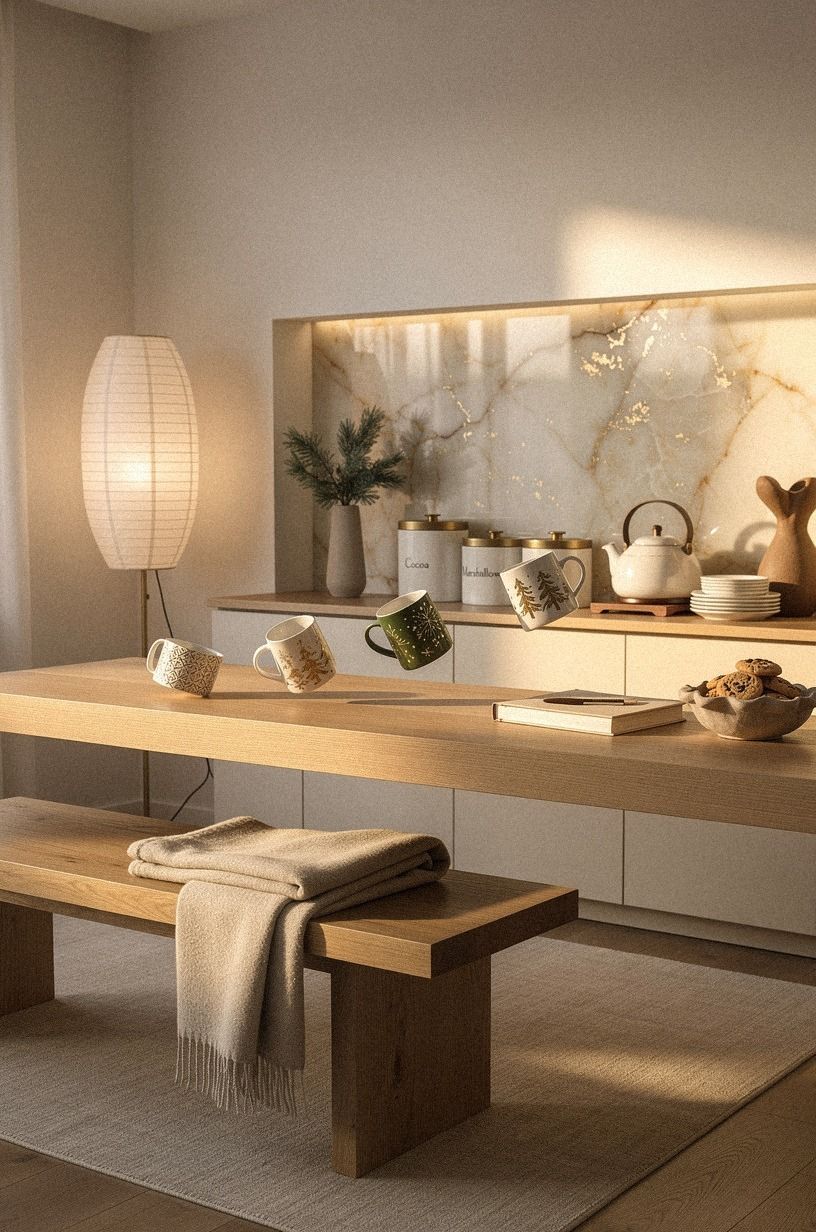
A shallow shelf above the counter gives your mugs a home and frees valuable workspace. Use a floating translucent onyx shelf with a soft backlight, or repurpose a picture ledge you already own. You'll keep the cups visible without stacking them in a risky tower.
Place larger mugs in the middle and smaller espresso cups at either end. Your guests can choose their size without moving every cup. I like one empty spot on the shelf because it makes the arrangement feel usable, not frozen in place.
Check the shelf depth before you load it. Your mug handles need room, and the cocoa pot should never sit beneath a sharp corner.
If you're mounting anything, find a stud or choose removable hardware that matches your rental rules. For a guest room with a similar sense of order, look at what Holiday Inn uses for mattresses, especially the practical balance between comfort and durability.
13Make the Peppermint Cloud Feel Less Sugary
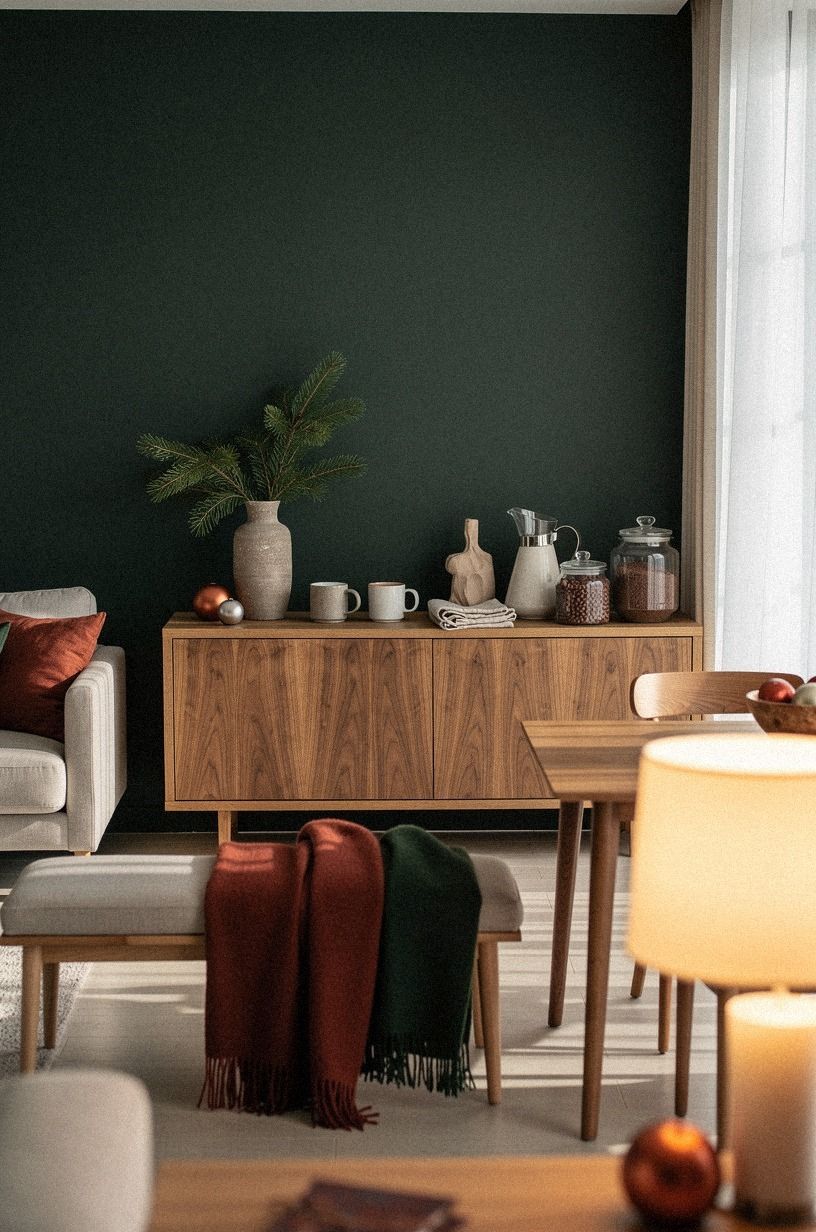
Peppermint can dominate a cocoa bar, so soften it with cream, wood, and one earthy accent. Use a terracotta pinch bowl for crushed candy, then place it beside oat-colored napkins and a brown ceramic spoon. Your display will feel inviting instead of aggressively red.
Serve peppermint in small portions. Guests can add more, but they can't remove a pile of candy once it has melted into the foam. I learned that after making one cup so sweet that even the children abandoned it.
Your best bar gives people control.
Balance the bright topping with a darker option such as cacao nibs or shaved bittersweet chocolate. A book-matched walnut tray can carry that deeper note without making the station gloomy. You'll create a more sophisticated palette, and your guests can choose between crisp, creamy, and earthy finishes.
14Could Your Cocoa Station Work Outdoors?
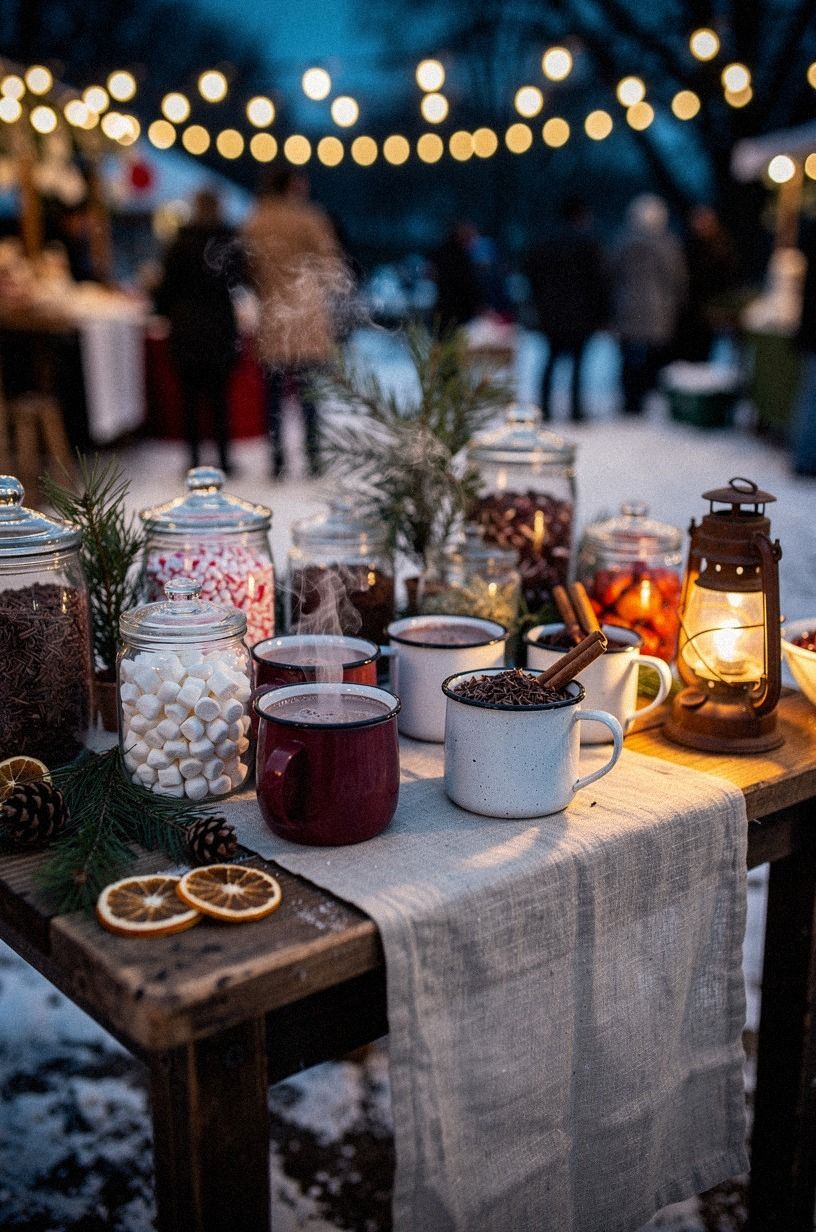
Yes, but your outdoor cocoa bar needs wind protection and a stable heat source. Place it under a covered patio with a weather-resistant cart topped with warm travertine, then use lidded containers for sugar and toppings. Your guests will appreciate the convenience, especially when coats and plates are already competing for space.
Keep candles inside glass lanterns, and don't leave hot liquid unattended. I’d skip an open flame beside paper napkins, even if the glow looks picturesque. Your station should feel relaxing, not like another thing you need to monitor.
Bring out only what can handle the temperature. Stoneware mugs, metal spoons, and a wool-blend throw on the nearby chair will work better than delicate glass. If anyone stays outside after dessert, a warm blanket helps, but check whether weighted blankets can feel too hot in this practical guide.
15Serve a Sleepier Evening With Decaf Options
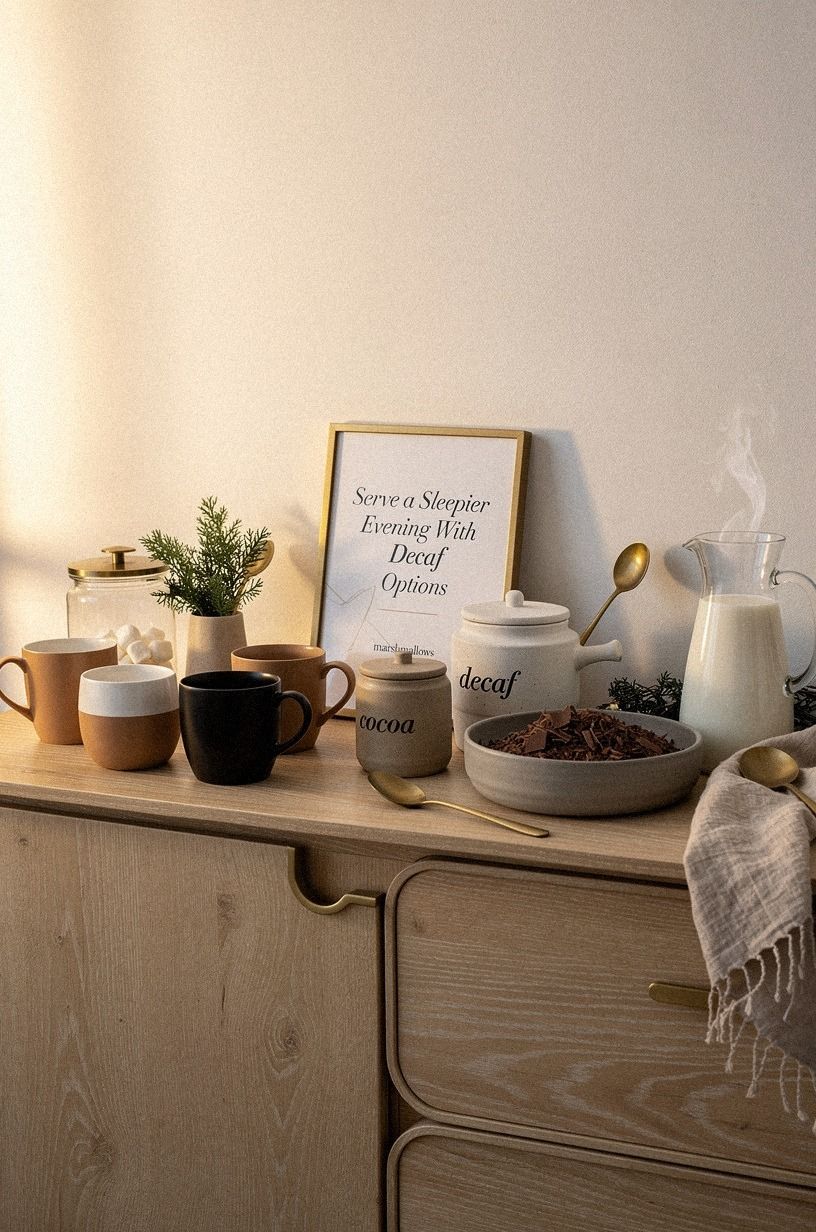
A late holiday gathering benefits from a decaf cocoa option, especially when children or overnight guests are involved. Label a caffeine-free cocoa mix clearly and keep it beside regular cocoa, not hidden in the pantry. Your guests can choose without asking, and you'll avoid a last-minute search.
Use two small pitchers with handwritten labels, one for regular milk and one for oat milk. Camel linen napkins can handle drips better than thin paper, while still feeling soft in the hand. You'll make cleanup easier without giving the table a cafeteria mood.
And don't assume everyone wants the richest cup. Offer cinnamon, vanilla, and a pinch of salt so guests can adjust the flavor.
I prefer a quieter finish at night, and your gathering can still feel luxurious without sending everyone home wired. If you want more context about hot drinks and bedtime, read will hot chocolate help you sleep.
16Finish With the One-Spoon Guest Test
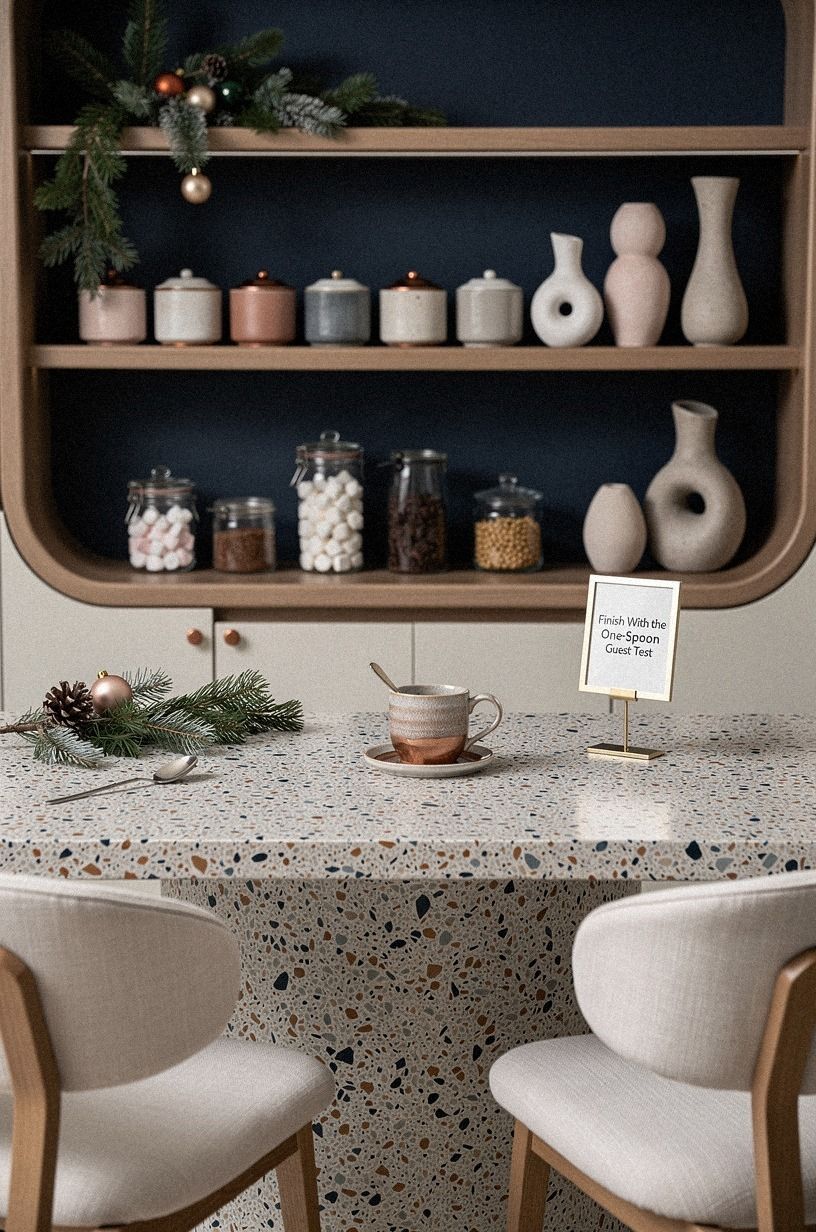
Before your guests arrive, stand at the edge of the room and test the station with one hand occupied. Can you pour, add a topping, and find a napkin without moving three objects? Your answer will tell you more than a styled photograph.
Put the spoon handles toward the front, the copper napkin ring beside the napkins, and the trash bowl within reach. You'll reduce the little pauses that make a self-serve bar feel awkward. I also leave one clean towel underneath the counter because spills don't wait for a convenient moment.
Take away anything that only looks good. A cocoa bar should be charming, but it also needs to work for your real guests, your real counter, and your real evening. Your final arrangement can be sophisticated and relaxed at once.
That balance is what people remember!
Why I’d Keep the Cocoa Bar a Little Imperfect
I’ve hosted enough holiday gatherings to know that the most remembered details usually aren’t the expensive ones. It’s the mug with a slightly uneven rim, the handwritten label that leans to one side, or the bowl that belonged to someone’s grandmother.
Your guests don’t need a showroom. They need a place that tells them where to stand, what to try, and how to make a second cup without interrupting you.
My own mistake was treating the bar like a photograph. I lined up identical jars, polished every spoon, and left no open space. It looked controlled, but it didn’t feel welcoming.
People hesitated because they were afraid to disturb it. Now I leave a little breathing room, keep the best toppings within reach, and let one practical object remain visible.
A towel, a stack of napkins, or a spoon rest can make the whole corner more comfortable.
The best material choice is also the least theatrical one. Wood feels better than plastic under a warm lamp.
Ceramic feels better than disposable paper in your hands. Unlacquered brass develops a soft patina, and that small change makes your station feel used rather than staged. You’ll notice it after the first gathering, when the room carries a faint cinnamon smell and the tray has one honest cocoa mark.
If you’re deciding where to spend, choose the thing people touch. Spend on mugs, a stable tray, or a good serving pot before you buy another decorative sign.
Your guests will remember the easy pour and the comfortable cup. And honestly, that’s enough to make the evening feel special!
The Questions Worth Answering First
What is the best hot cocoa bar idea for a small space?
A two-tier stand and one narrow tray are the best combination because they use vertical space. Choose IKEA stoneware mugs or thrifted cups, then keep only six toppings visible. Your guests will see their options without crowding the counter.
Where can I buy hot cocoa bar pieces on a budget?
Look at IKEA, Target, Wayfair, Facebook Marketplace, and local thrift shops. You can find stoneware bowls and wooden trays secondhand, then spend on one reliable pot. Your setup won't need matching pieces to feel inviting.
How much does a hot cocoa bar makeover cost?
A simple station can cost very little when you already own mugs, bowls, and a tray. For a wider room refresh, typical budget styling ranges from $200-$800, while your cocoa supplies can stay separate from that larger project.
Can I create a hot cocoa bar on a budget?
Yes, and you can start with three free moves: group what you own, use a cutting board as a tray, and write labels on paper. Add cinnamon sticks or thrifted mugs only where your guests will notice the difference.
Is a hot cocoa bar worth it in a small space?
Yes, because a small station gives your gathering one clear destination. Use a narrow tray beside the dining area and keep the cocoa pot near the wall. Your guests won't need to cross the room for every refill.
Is a hot cocoa bar a good idea for a rental?
Yes, especially when you use no-damage choices. Try a removable picture ledge, a tension rod for greenery, and a freestanding cart instead of mounted cabinetry. Your rental can still feel warm, and you'll be able to remove everything after the season.
Where I’d Start First
If I had to pick one, I’d start with the Three-Height Pour. It makes a small station easier to use, and guests can see every topping before the first spill. Pin that arrangement for later, then build it with the tray and mugs you already own.