
 by
by A DIY breakfast nook bench runs roughly $180 to $450 in materials if you build it yourself with 2x4s, birch plywood, and a bench cushion under $80, and that's the version I'm walking you through here, because it's the one that is still holding up three kids and one very round dog later. I built ours the weekend before my third was born, in a kitchen that wasn't even ours yet, and it is the only project from that month I'd actually repeat. This is the step-by-step I wish someone had handed me before I started measuring wrong twice.
Here's what it looked like before
Empty corner. Two builder-barstools that nobody sat on. A round pedestal table we kept bumping our knees into.
The kind of kitchen nook that gets used for mail piles and nothing else. The wall behind it was the standard 2005 almond beige, the floor was the same Pergo the rest of the house had, and there was about 63 inches of clear wall space between the window trim and the doorframe, which I measured three times because I didn't trust my tape.
That's the canvas I started with, and a few weekends later it became the busiest, coziest six feet of the house. If your corner looks anything like ours did, this guide will save you the awkward corner decisions in the roundup.
- measure the corner twice, then a third time
- build a 2x4 skeleton
- skip the decorative trim, do the birch plywood top
- anchor it to the wall (this is not optional)
- build the backrest as a separate piece
- paint it like you'd paint a piece of furniture
- add a cushion that you can actually wash
- soften the wall behind the nook
- layer lighting like the rest of the house forgot to
- pick a table that fits the bench
- use a runner, not a rug
- add a stool at the open side for the third eater
- style the corner with three things, full stop
- The Three-Wall Rule
- The Frame-First Cushion Rule
- skip the storage top (for now)
- test the height with a kid before you commit
- live with it for a week before you paint the wall
- What if you only have 48 inches?
- The IKEA HOLMVI Cushion Shortcut
1measure the corner twice, then a third time
You'll save yourself hours if you draw the corner to scale on graph paper before you cut anything. I used one square = six inches. Standard nook bench depth is 16 to 18 inches (deep enough to sit, shallow enough to walk past). Length is yours, but plan the seat height at 17 to 18 inches off the floor so adults can sit without their knees hitting the tabletop.
If your table is the standard 30-inch kitchen height, that puts the seat 12 inches below the top, which is right. Don't skip the outlet check.
There's an outlet behind our corner that I forgot about until the first Saturday. I had to shift the whole plan four inches to the left, which meant re-cutting the top.
A $5 outlet finder saves you a $40 sheet of plywood. The calmest build I ever did started with a soft pencil, a tape, and a quiet Saturday morning before anyone else woke up.
2build a 2x4 skeleton
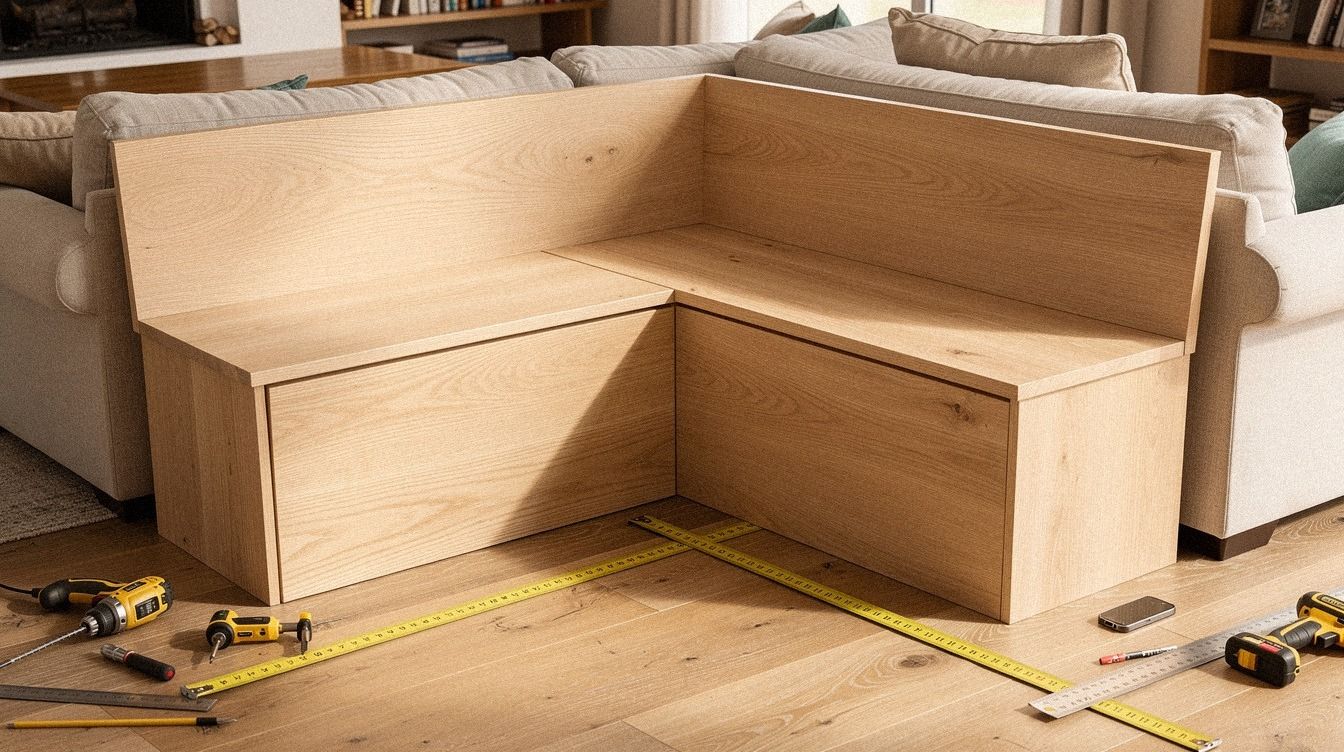
This is the part nobody glamorizes, and it's the part that decides whether your bench wobbles in year three. I used eight 2x4 studs for the base frame, two for the front rail, and four vertical legs (one in each corner, two in the middle for a six-foot bench).
Screws, not nails, and I pre-drilled every single one because splitting a 2x4 on a Saturday morning ruins your whole week. The move here is to build the frame on the floor, flip it upright, then shim the legs until the top is level.
I had to shim the back-left corner half an inch because our floor isn't. Don't fight the floor.
Shim it, caulk the gap later, move on. This is also the moment you'll thank yourself for buying a second sheet of 2x4 even if the calculator says you do not need it. I cut one stud an inch too short on Saturday morning and had to drive back to Home Depot with a kid in the car. Buy the spare.
It is $6 and it saves the morning. You will find a use for it later anyway (a cleat, a brace, a blocking piece between the legs).
For a full build walkthrough, our breakfast nook storage roundup has the same frame drawn out to scale, and if you're debating the bench vs chairs question before you commit, that piece settles it.
3skip the decorative trim, do the birch plywood top
Here's the move I'd make again: 3/4-inch birch plywood for the seat top, sanded to 220 grit, sealed with two coats of water-based polycrylic in satin. No decorative edge, no fancy router bit, no trim. Birch plywood is the right answer for a breakfast nook bench because it takes a beating, you can wipe yogurt off it, and the edges look intentional when you leave them square. I almost bought primed MDF and painted it.
Glad I didn't. The MDF would have swelled the first time someone spilled coffee.
If you're weighing plywood grades, Baltic birch is the move up if you want the edges to read as furniture. It's about 2x the cost of standard birch but the layered edge looks like a design choice when you leave it exposed.
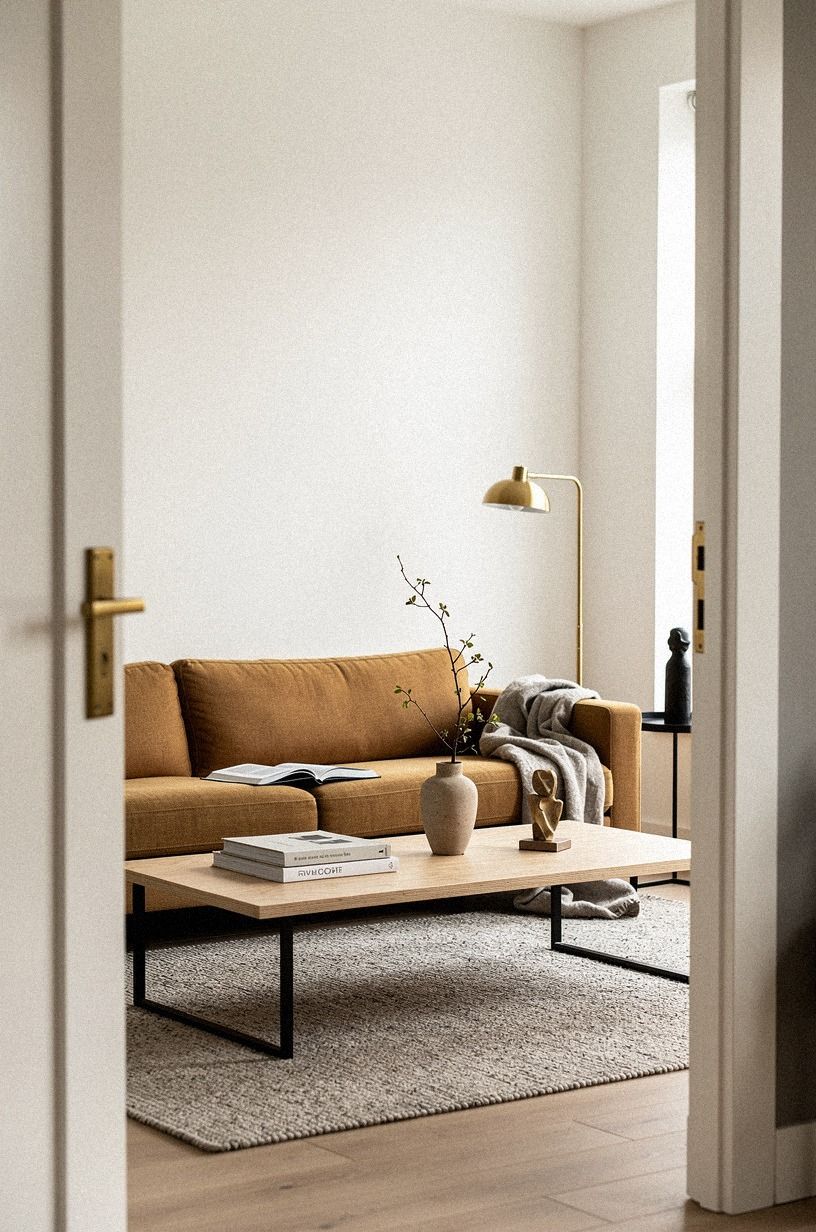
For a painted bench, standard birch is fine. For a clear-finished bench, spring for the Baltic. It is a Saturday you are not redoing. The wood reads warm and honeyed in afternoon sun, the kind of organic, lived-in glow that makes the corner feel rooted instead of installed.
4anchor it to the wall (this is not optional)
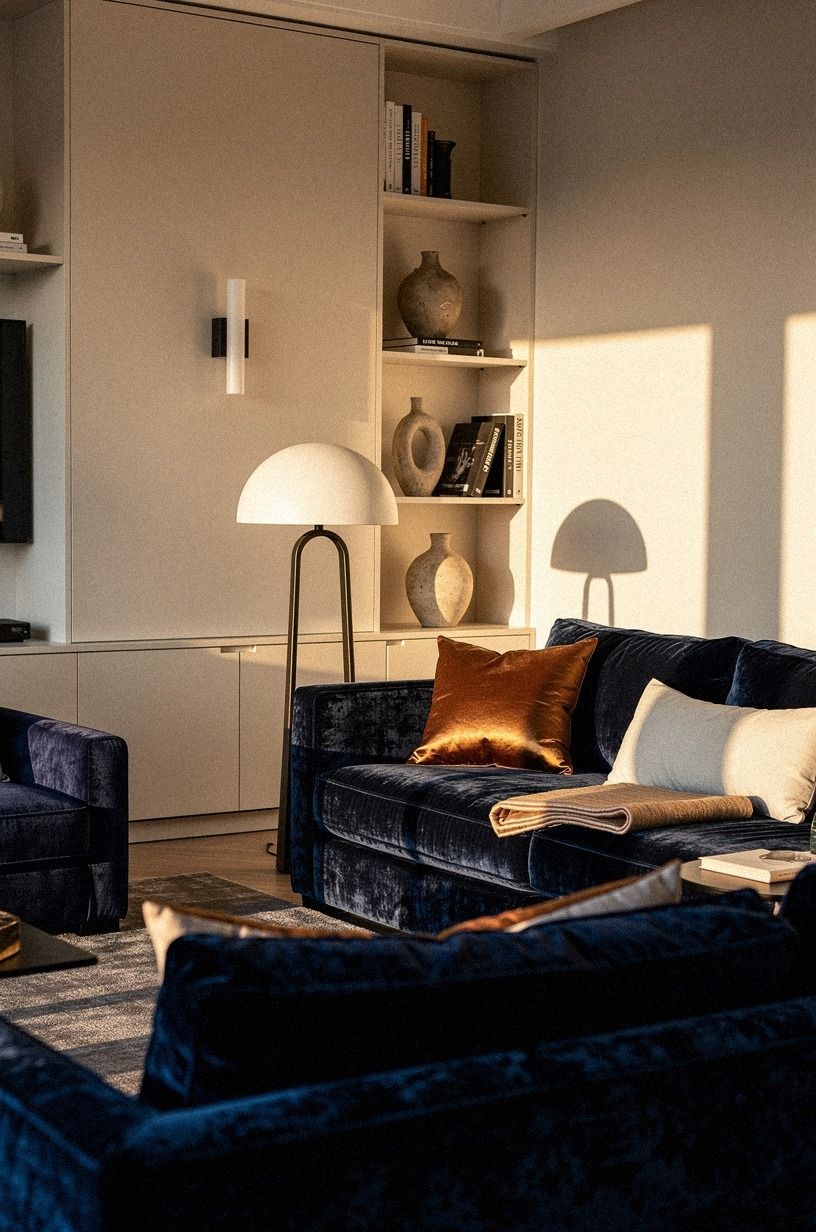
A freestanding bench tips over. A kid climbs it, your dog launches off it, you sit too hard on the edge, and suddenly the whole thing is on your linoleum.
I anchored ours to the wall studs with three L-brackets (about $4 total) and 2.5-inch wood screws into the studs, not the drywall. The bench is heavy enough now that it doesn't budge, and my five-year-old has tested it more than once.
That's the test, and it passes every time. Worth every minute of drilling! If you're a renter, swap the L-brackets for two furniture straps anchored into the studs with screws, and patch the holes when you leave. It's a five-minute swap at move-out and your deposit survives.
For other small-kitchen fixes that hold up to daily kid traffic, the apartment breakfast nook ideas for renters guide has the renter-safe version of basically every move here.
5build the backrest as a separate piece
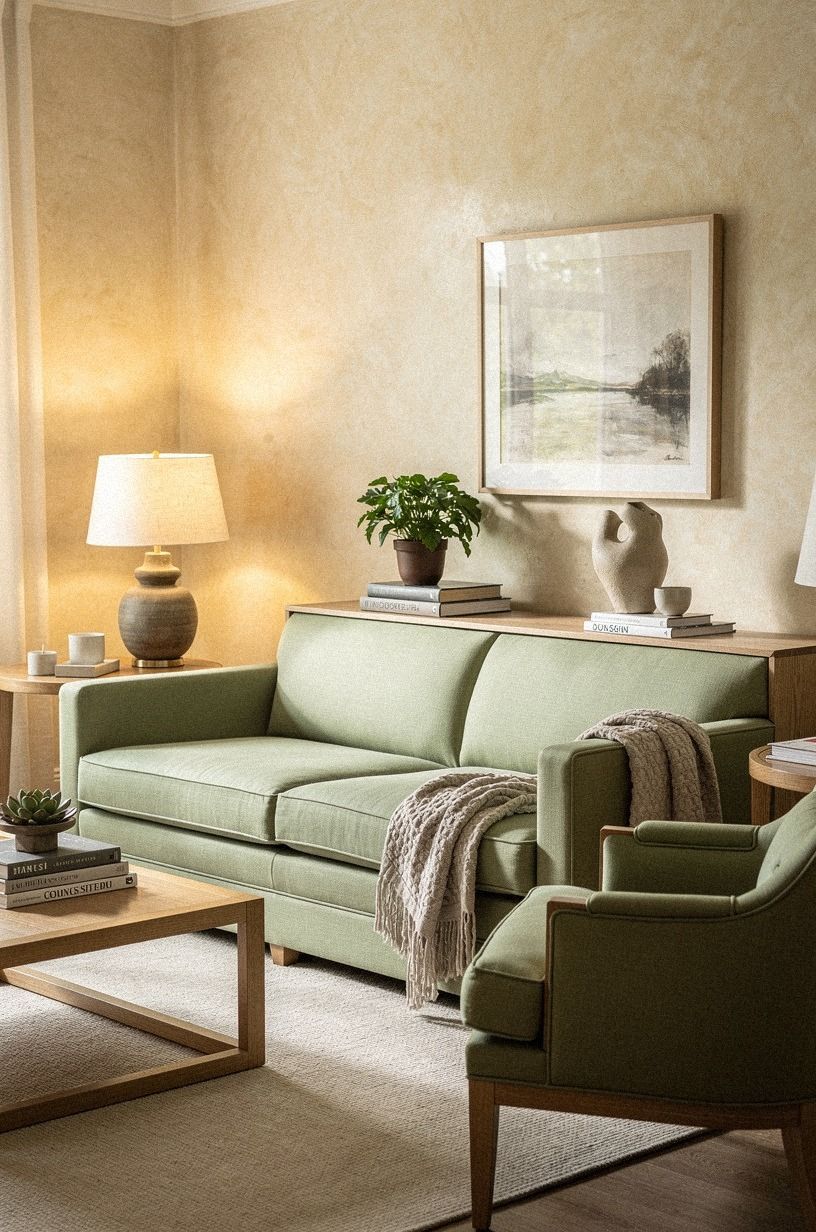
I made the mistake of trying to build the backrest into the bench frame on my first attempt.
6paint it like you'd paint a piece of furniture
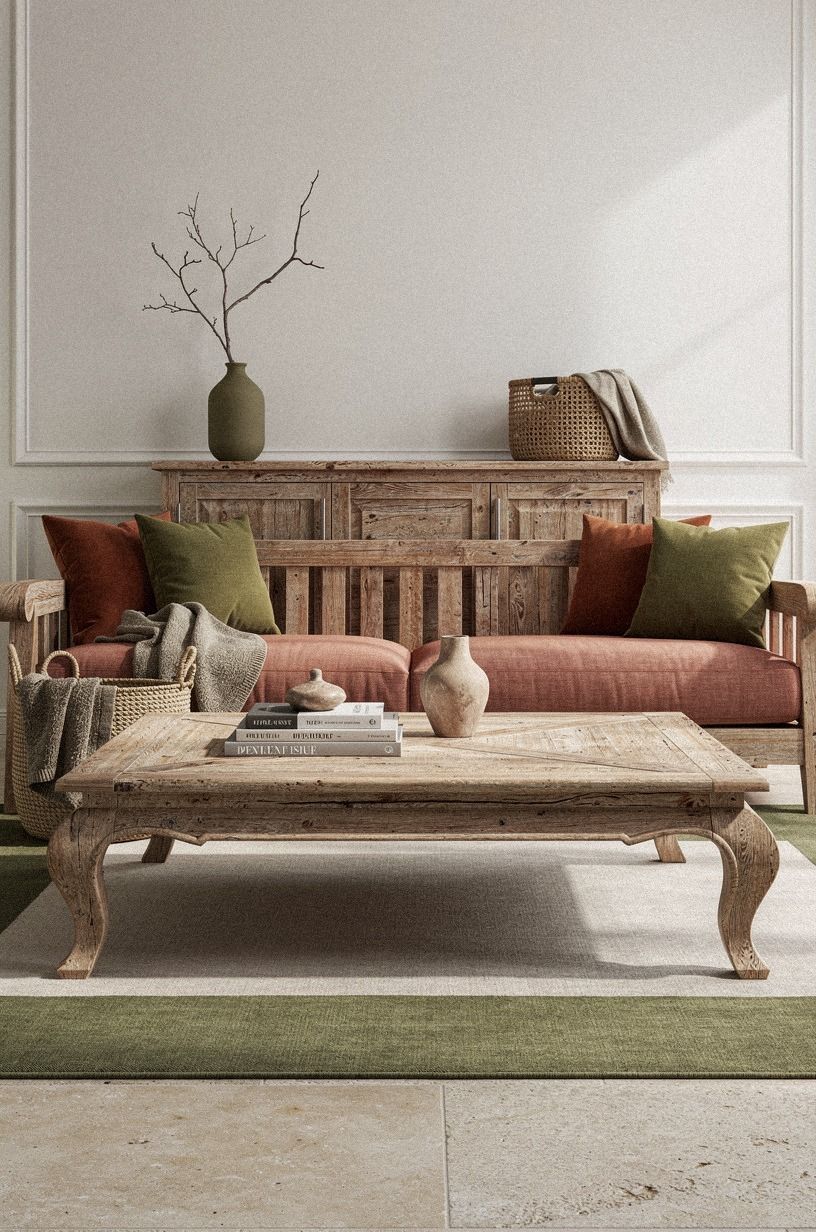
Don't use wall paint. Use cabinet-grade enamel or a furniture paint like Benjamin Moore Advance in satin.
I used Benjamin Moore White Dove OC-17 because it matches the trim in the rest of the house, and the Advance formula holds up to kid elbows in a way wall paint doesn't. Two coats, light sanding with 320 between, and a foam roller so you do not get brush texture.
Here is the rule I learned the hard way: caulk the seam between the seat top and the back panel with paintable silicone caulk before you paint. Otherwise crumbs collect in there forever and you'll curse yourself every Sunday morning, and that's a quick way to hate the bench by month three! The white reads soft and bright against whatever you put behind it, and the satin wipeable surface means the corner stays gentle-looking even after three years of sticky fingers.
If you're committing to white over the painted Benjamin Moore route, our breakfast nook with storage roundup has about a dozen white-painted banquettes where you can eyeball the same finish in real kitchens before you buy the gallon, and the farmhouse breakfast nook ideas gallery is the gentler, more rustic take on the same paint route.
7add a cushion that you can actually wash
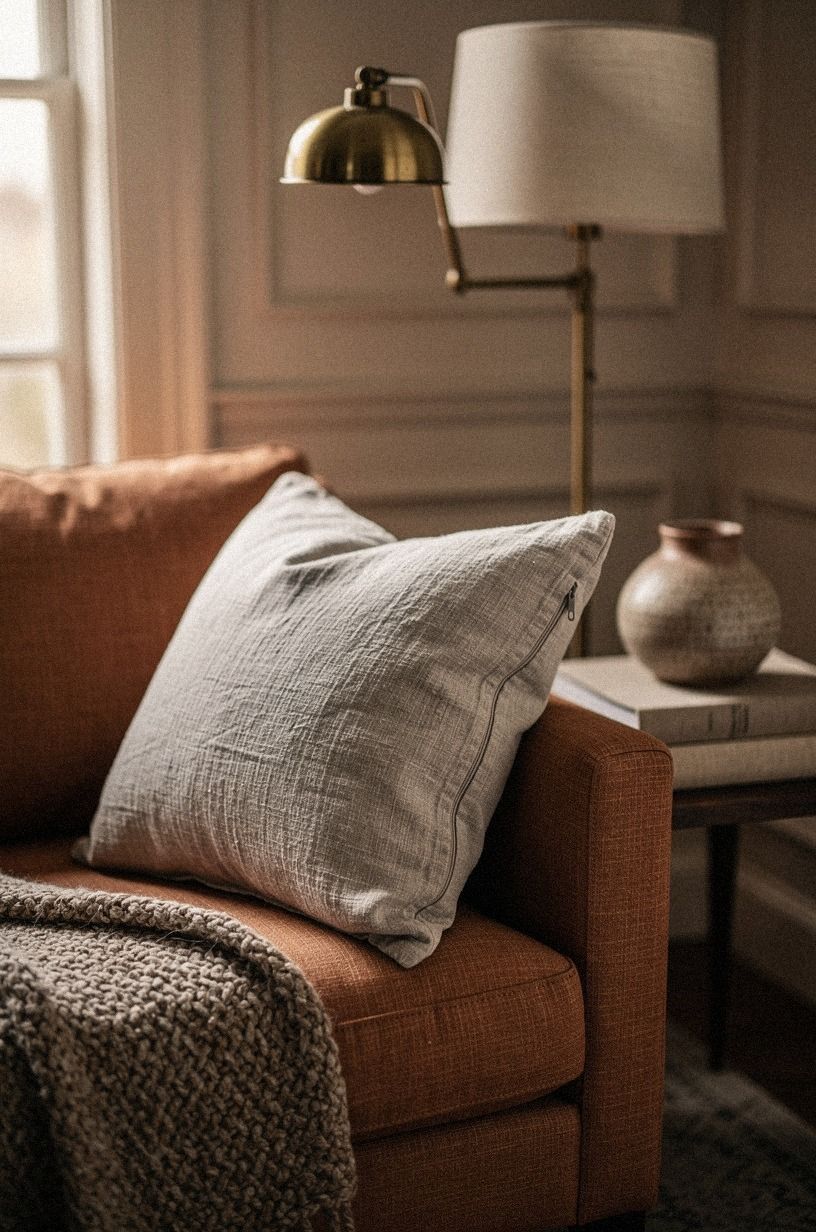
This is where most DIY breakfast nook bench builds fail, because people buy a cushion off Amazon that's outdoor fabric and call it done. I made mine. 2-inch high-density foam (about $40 for a 60x18 panel), wrapped in 6 ounces of polyester batting to soften the corners, inside a slipcover sewn from washable Belgian linen (about $22 a yard). Total: under $80.
The slipcover has a back zipper so I can pull it off, wash it in cold, and have it back on the bench by lunch. If you don't sew, buy a bench cushion from IKEA (the HOLMVI or the EKTANDRA) and skip the custom build.
Both fit a 60-inch bench and the covers come off. The cushion is the part of the nook that actually touches your kid's elbows at 7am, so a soft, washable linen beats any performance fabric I tried.
And honestly, if you skip the custom cushion you can have the whole bench built by sundown on Saturday! That is the win, and it's the single best part of the whole build.
8soften the wall behind the nook
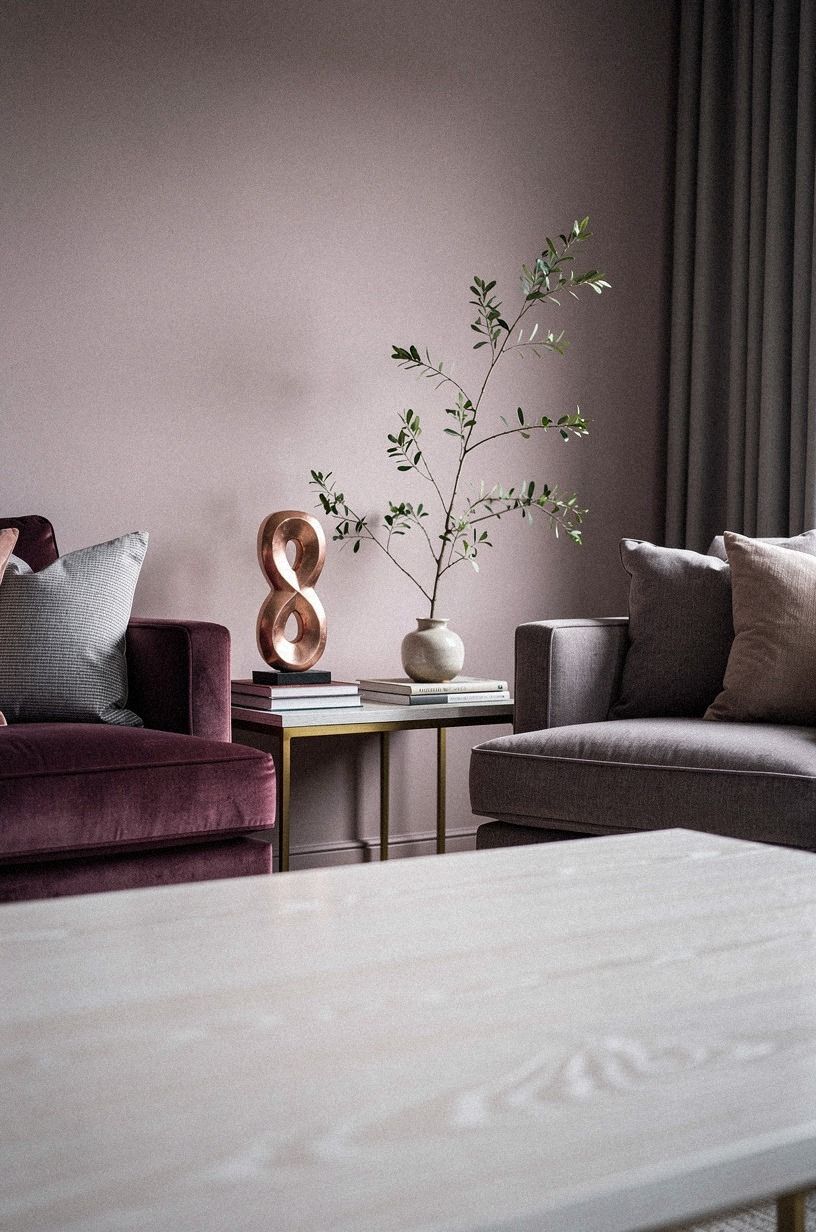
A bare wall behind a breakfast nook bench makes the whole corner feel like a waiting room. I painted ours Farrow & Ball Brassica No. 271 in flat, and it changed the corner from "we eat here" to "we live here." It's a deep plum with a grey undertone that grounds the wood of the bench top without competing with it.
If you want something closer to true grey, Farrow & Pelt sits in the same plum-grey family but reads cooler. If you want a north-facing-room mood, Benjamin Moore Kalamata AF-30 is the deeper, slightly more grape-leaning cousin at about $80 a gallon.
A small piece of art helps. I hung a 16x20 framed linen print about 12 inches above the backrest and centered on the bench.
Total cost: $28 from a local framing shop, and the brushed brass frame ties back to the warm rose-gold tone in the paint without matching it flat. If your nook sits next to a window instead, our sunroom breakfast nook ideas covers what to do when the wall behind the bench is mostly glass and art gets in the way of the light. If you're going moodier than the plum, our kitchens with a built-in breakfast nook gallery has a few Farrow & Ball Inchyra Blue and Hague Blue nooks that prove the deep colors work if your morning light is good.
For more painted wall inspiration in the same plum family, the breakfast nook wall decor ideas piece is the gentler styling follow-up to a paint choice like this.
9layer lighting like the rest of the house forgot to
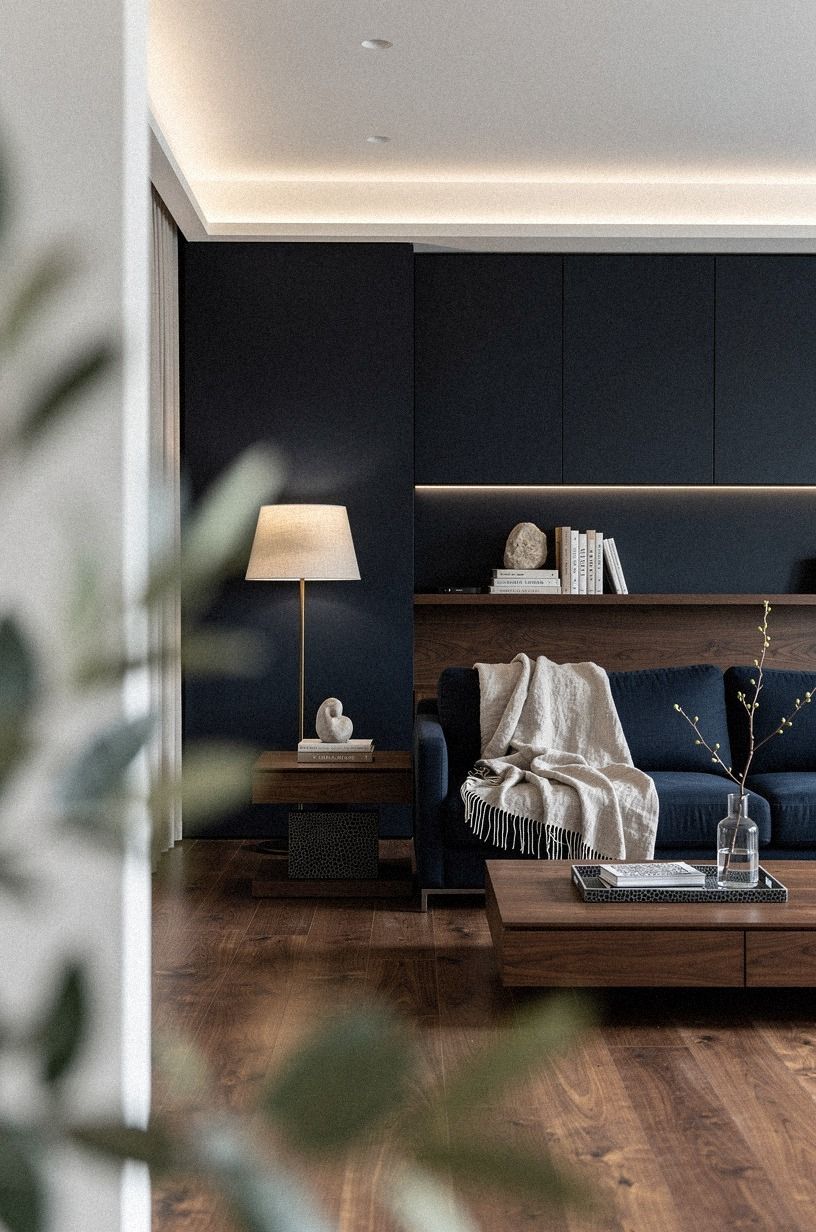
Most breakfast nooks get one overhead light and call it done. That's a mistake. I added a plug-in swing-arm sconce from Schoolhouse above the bench (about $180, no electrician needed) and it replaced the overhead entirely for breakfast. The arm lets me swing it over the table for dinner and back to the wall for the morning.
Warm 2700K bulbs, dimmable, and I keep them at about 60% in the morning. If a $180 sconce is too much, a picture light with a USB plug ($35 on Amazon, no affiliation, just a real product) clipped above the print does 80% of the same job. The warm pool of light is what makes the corner feel intimate at 6:30am, not fluorescent-office, not overhead-bright, just soft and golden on the bench top. If you're hanging the sconce above a window nook instead of a corner bench, our outdoor breakfast nook ideas walks through weather-rated options that hold up to morning humidity and the occasional splash from the sink.
For more warm-bulb layering in the rest of the kitchen, the 19 warm lighting ideas gallery is the best place to steal a sconce spec from.
10pick a table that fits the bench
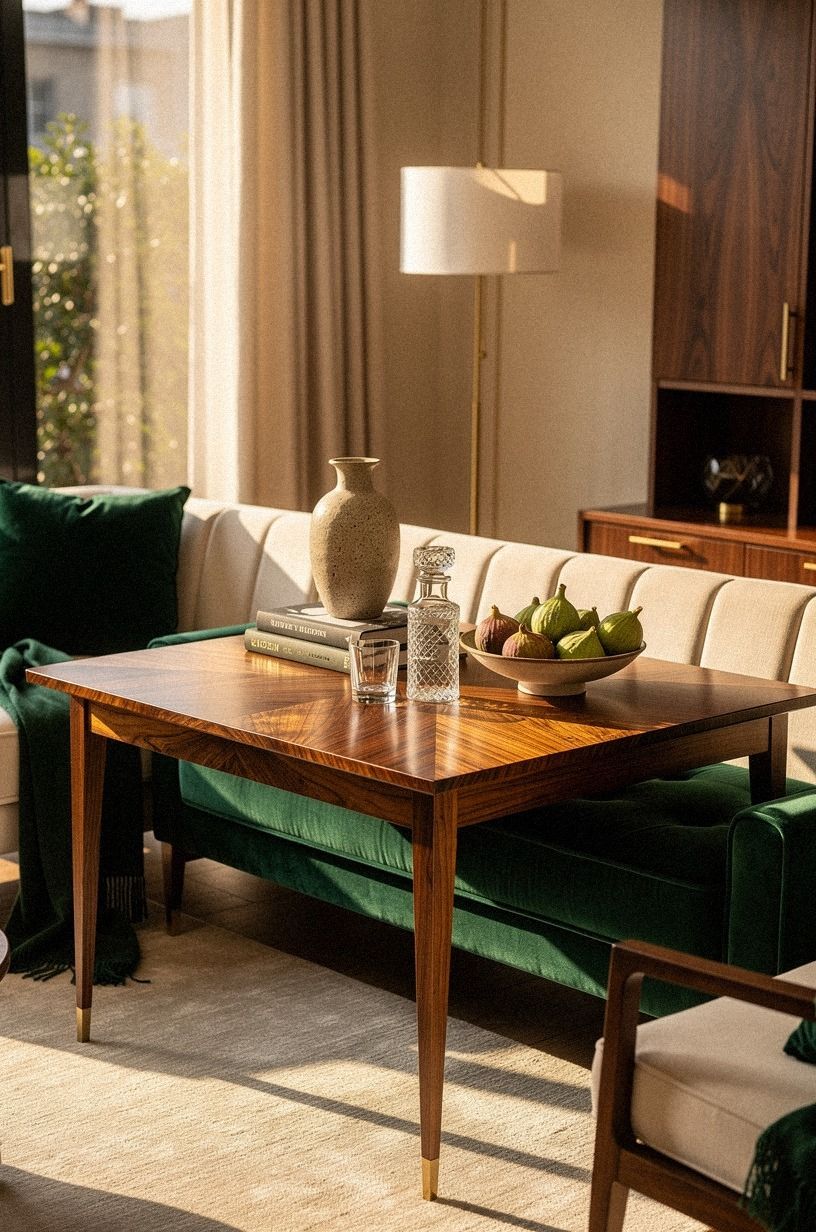
Standard kitchen tables are 30 inches tall and 36 inches wide. That's too deep for a 16-inch-deep bench if you want to slide past.
I went with a round 36-inch pedestal table because it lets two people sit on the bench and one at the open side without anyone bumping a leg. Pedestal is the move when the bench is L-shaped or against a wall, because corner legs are the enemy of a tight nook.
If you're buying new, Article has a round marble-top pedestal in the Tambara line for under $600, and IKEA has the DOCKSTA round top for about $130 if you want the cheap version. Both work.
The bench decides which one. For the rectangular-table version of the same corner, our round vs rectangular breakfast nook table guide walks through which one wins when the bench pushes tight against a wall on one side.
For more round-pedestal inspiration in real kitchens, the breakfast nook table roundup shows the gallery.
11use a runner, not a rug
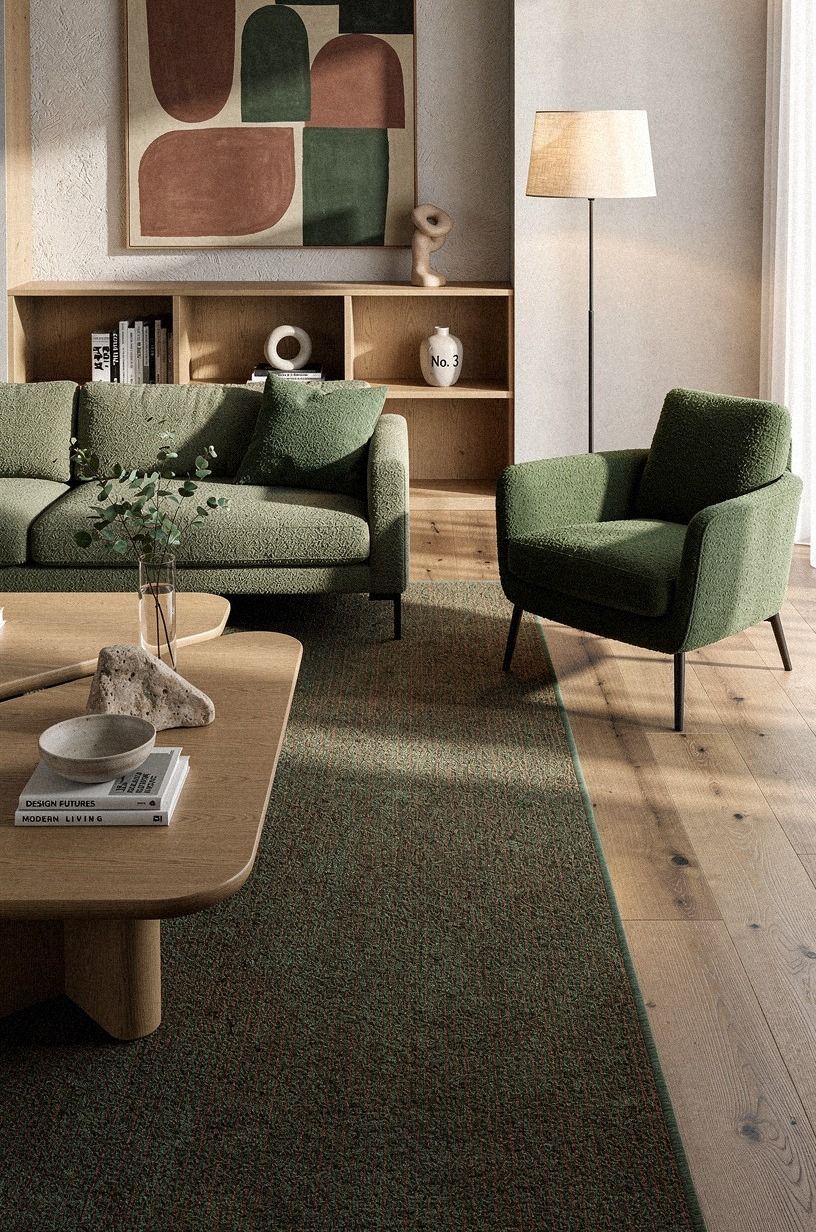
A 2x6 washable runner from Ruggable ($120) is the move I wish I'd found sooner.
12add a stool at the open side for the third eater
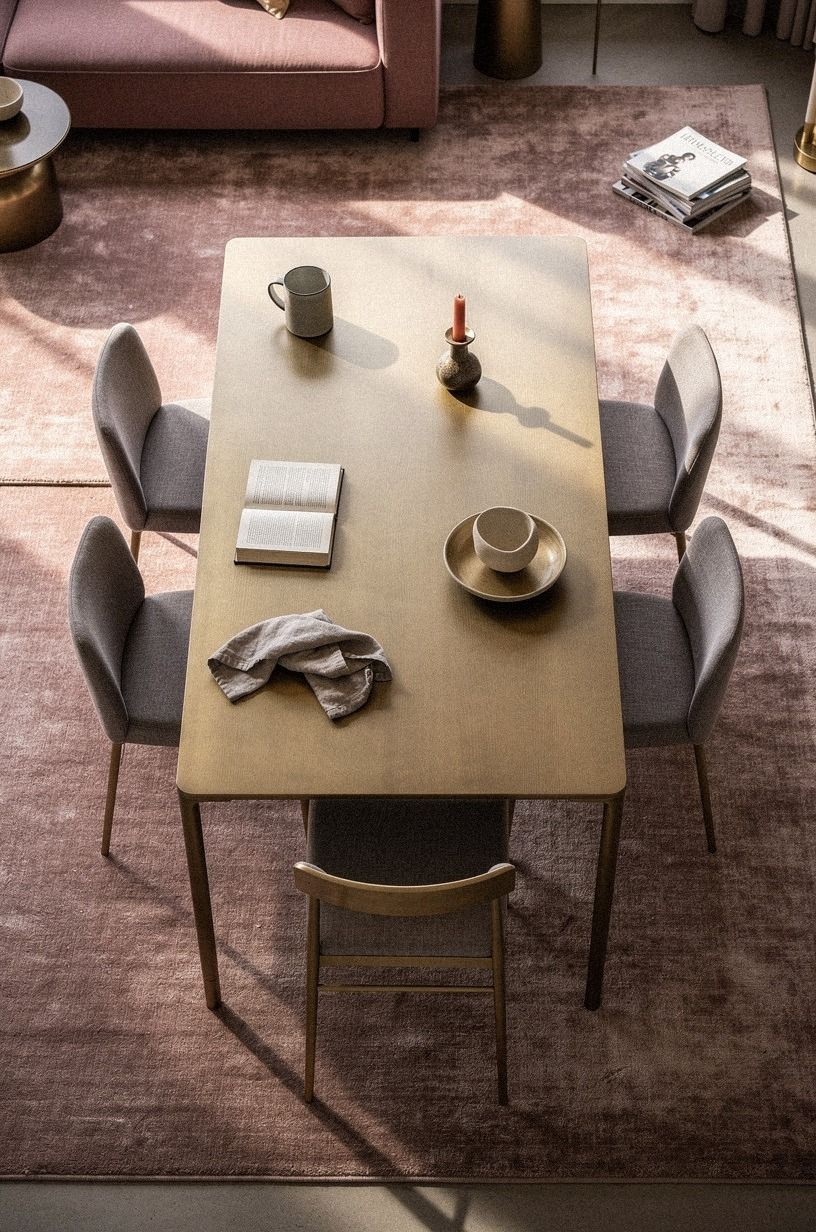
Two adults fit on a six-foot bench. A third person at the open end needs a stool that tucks all the way under the table, not a chair that blocks the path past.
I bought two backless counter stools from Target's Threshold line ($90 each, 24-inch seat height, the Fenn style) and they slide completely under the table when not in use. The Threshold line is the right answer for "IKEA quality at Target price" and the stools have held up to daily use for three years now.
A backless stool is the call here because anything with a back will block the path from kitchen to living room when the nook is in the corner. The stools also keep the corner from feeling overstuffed, and the matte black finish reads elegant against the warm wood of the bench.
13style the corner with three things, full stop
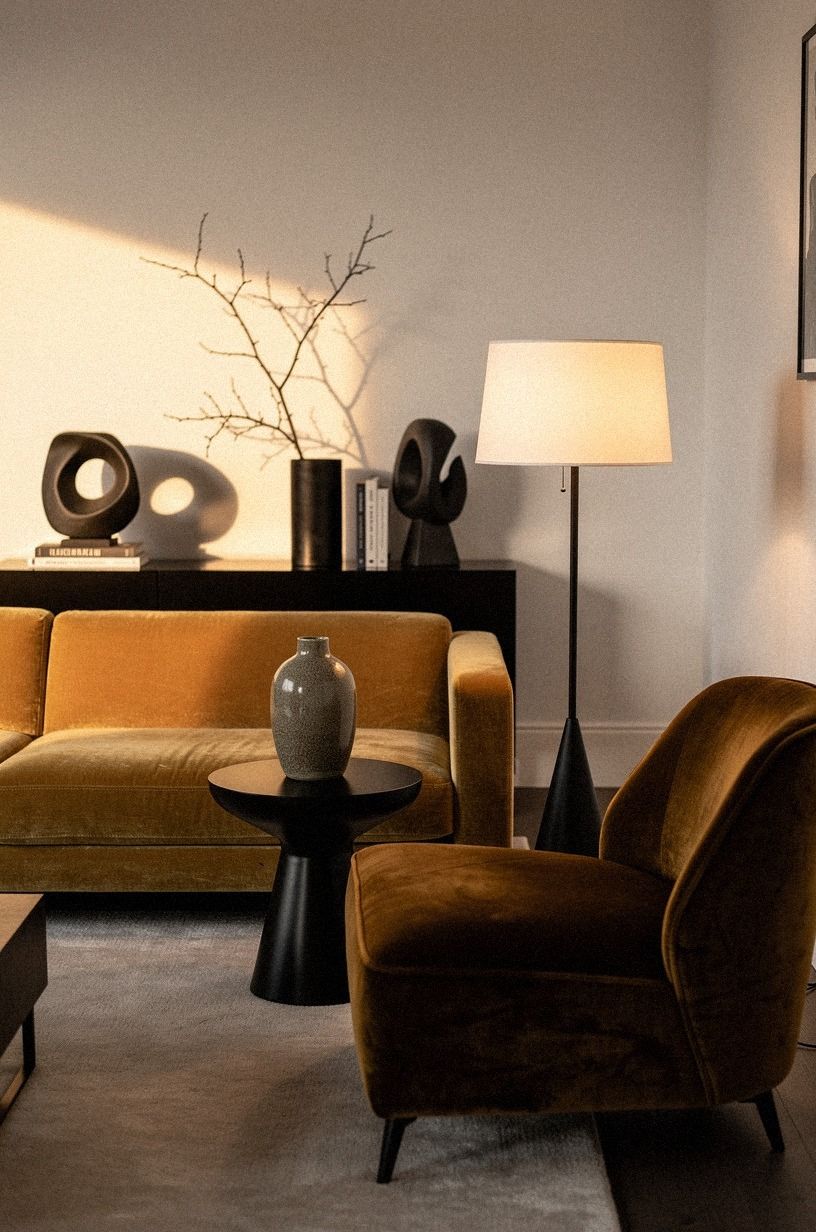
Most nooks turn into a garage sale of small furniture and decor. Resist it.
I styled ours with three things and the corner reads as intentional: a stoneware crock with wooden spoons, a small olive tree in a terracotta pot, and a stack of three cookbooks on the bench corner. That's it. Anything more is clutter, and clutter is what makes a built-in nook feel like a corner of a restaurant instead of a corner of your house.
The pattern is one of each material: stoneware (matte), terracotta (earthy), paper (soft). One wood, one plant, one object.
Then stop. You'll be tempted to add a fourth (a candle, a small art print, a vintage sugar bowl) and you should resist for at least a month. Live with three first. If something still feels missing in week four, add one thing, not three.
The simplicity is what makes the nook read calm and welcoming instead of staged. For more soft-styling inspiration in the same restrained key, the coastal breakfast nook ideas gallery is the breezy cousin of this corner.
14The Three-Wall Rule
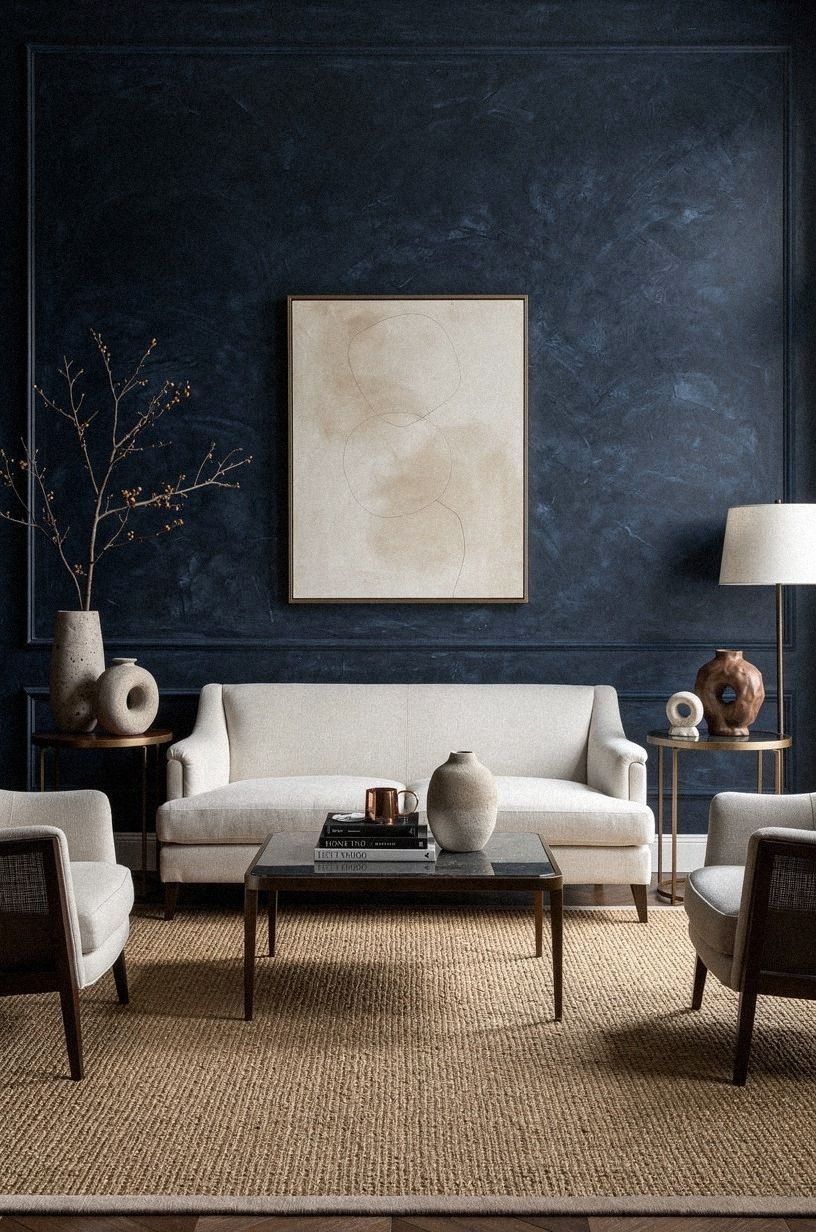
A breakfast nook bench only feels like a real nook if the corner reads as a half-room, and that happens when three planes close around it: the wall behind the bench, the wall at the open end, and the ceiling or a hanging light overhead. The bench is one plane. The wall art is the second.
The third is whatever makes the corner feel contained from above: a pendant, a chandelier hung low, a runner of trim, or a beam if you have one. Without that third plane, the bench floats in the kitchen like an island nobody walks around. I hung a 14-inch arteriors haldane pendant ($240, dimmable, 2700K) centered 30 inches above the table and the corner went from "bench by a wall" to "this is where we eat every morning." The cheapest version of the same trick is a plug-in swag pendant from World Market ($80) hung from a ceiling hook with a cord cover painted to match the trim. The shape of the light matters more than the price.
A drum shade reads warmer than a schoolhouse globe because it casts light downward onto the table instead of bouncing it off the ceiling. For more low-hung pendant inspiration in real nooks, the coastal breakfast nook ideas gallery shows how a single low pendant can do the work of a full ceiling treatment in six square feet of kitchen.
15The Frame-First Cushion Rule
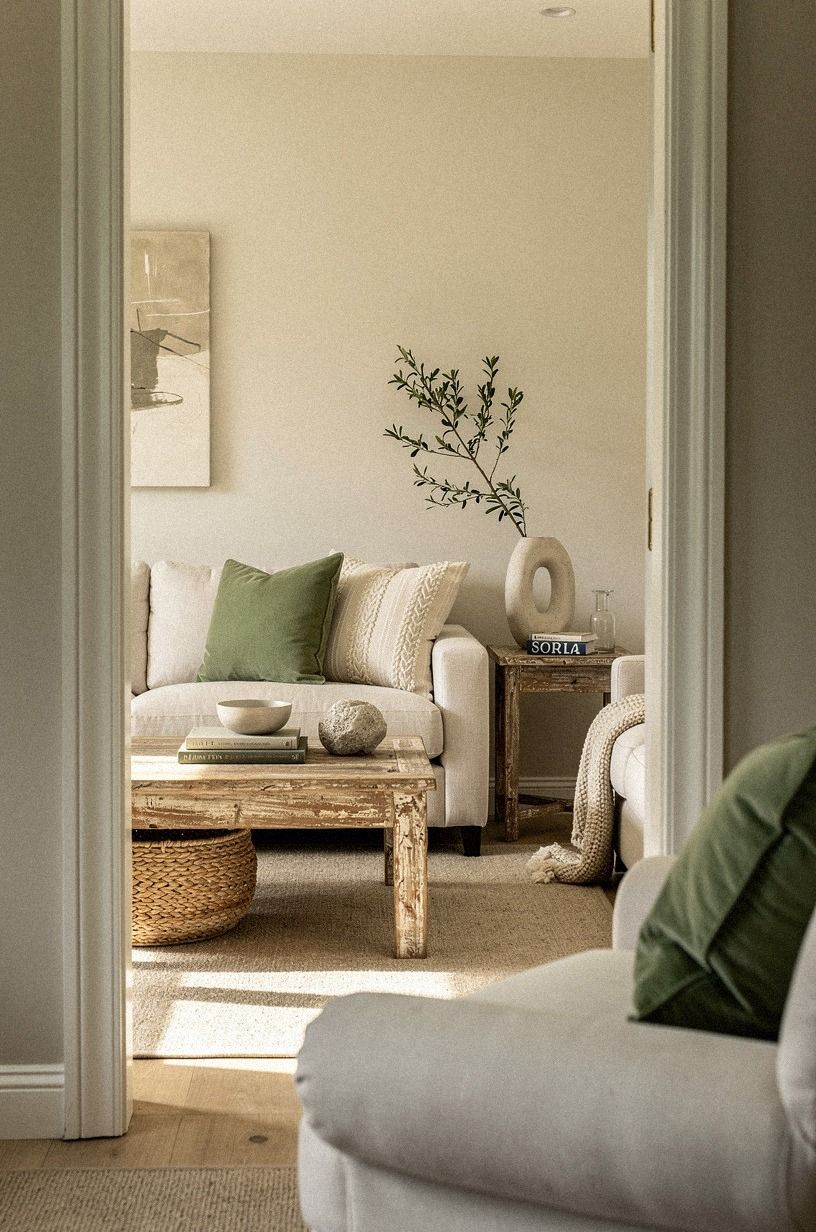
Buy the cushion after you finish the bench, not before. I had two custom cushions made to fit a 60-inch bench, and the second one came back 3/4 inch too narrow because I measured from the wrong edge of the trim.
I had to send it back, lose a week, and reorder. The rule: build the bench, measure the finished seat top across three points (front edge, back edge, middle), then order the cushion against the largest of the three numbers.
Cushion manufacturers round down. You need to round up.
The cushion is also the part of the bench that sets the whole mood. A soft linen cover in oat or fog reads warm and inviting.
A black performance fabric reads elegant and harder. Pick the fabric in person, in the kitchen light, against the wall paint. Photos of fabric on a website lie about the warm/cool balance.
The bolt doesn't.
16skip the storage top (for now)
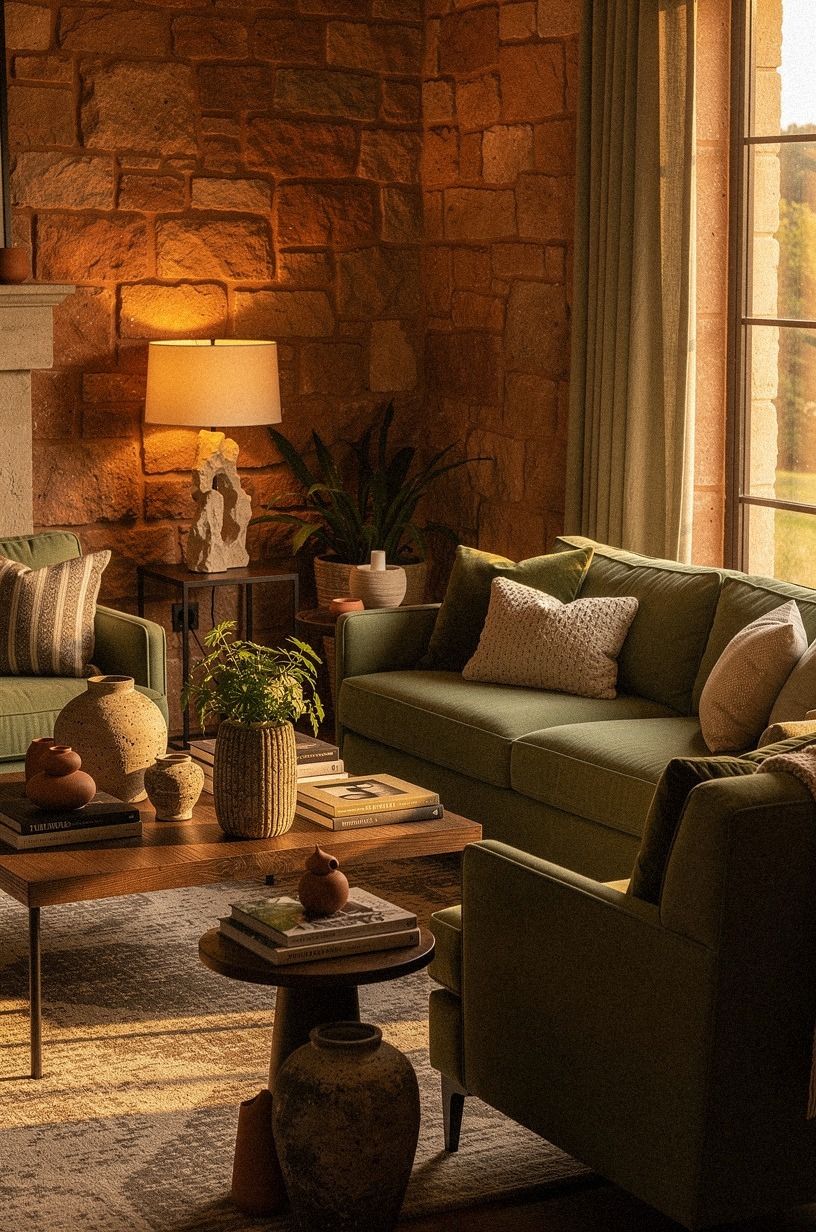
I built a hinged top on the first version so we could store placemats inside the bench. It was a mistake.
Hinges on a 60-inch plywood top sag in a year, kids use the storage compartment as a toy chest, and the lid never sits flush again after the first humid summer. If you want hidden storage, build a separate lift-top box to the side of the bench instead of inside it.
IKEA KALLAX units laid on their side do this for under $80 and the lids stay true. Our L-shaped vs U-shaped layout guide walks through the no-sag version.
For more storage-without-sag inspiration in the same room, the hidden storage ideas roundup is the gentle-restyled cousin of the lift-top box.
17test the height with a kid before you commit
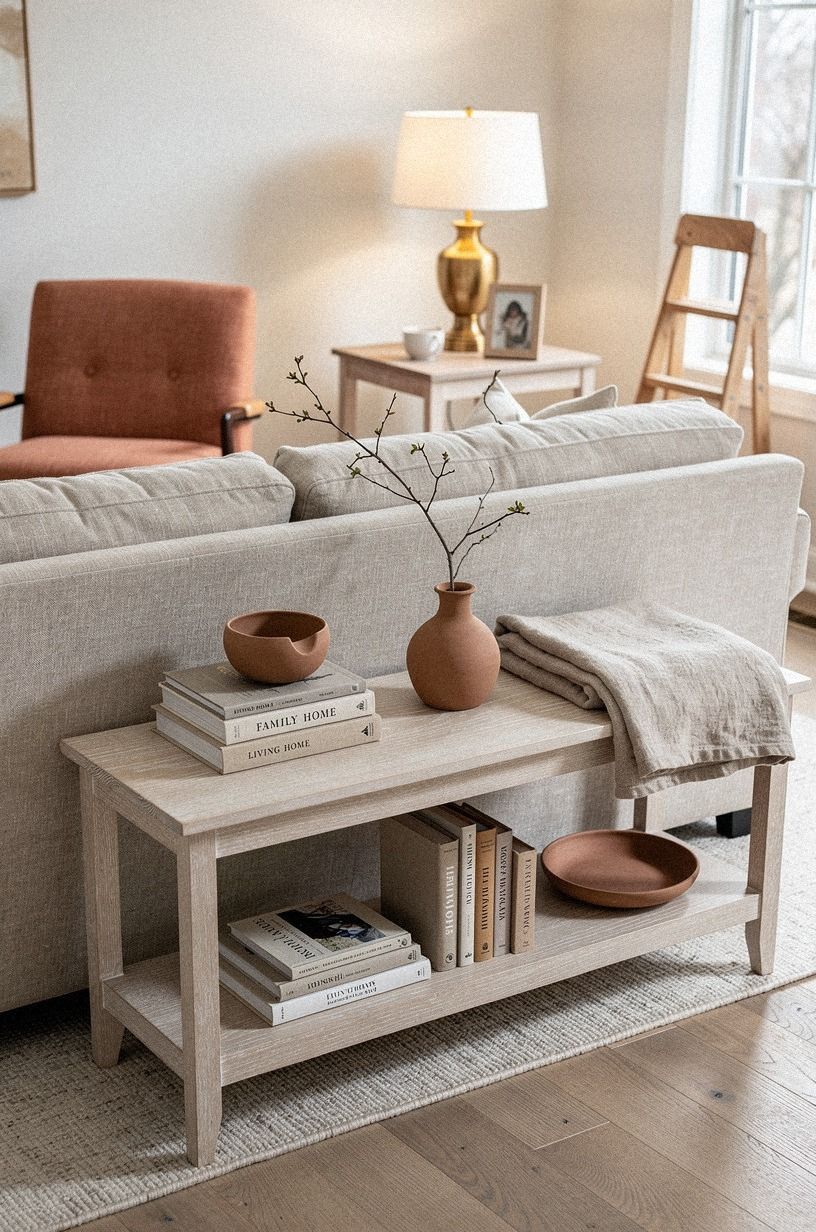
This is the test nobody mentions. Have a kid sit on the bench before you commit to the final height.
If their feet don't touch the floor, the bench is wrong for the next eight years of their life. Standard 17-inch seat height works for adults, but kids under eight need a 12 to 14 inch seat, which means a step stool or a built-in footrest.
I added a 1x4 footrest rail along the front base of our bench at 6 inches off the floor and it's the most-used detail in the whole build. My seven-year-old sits there every morning with both feet flat. That's the win, and it is the only reason I built it again when we moved last year. The footrest rail is also the one detail every adult notices within five minutes of sitting down.
You do not have to call attention to it. Their feet just find it.
18live with it for a week before you paint the wall
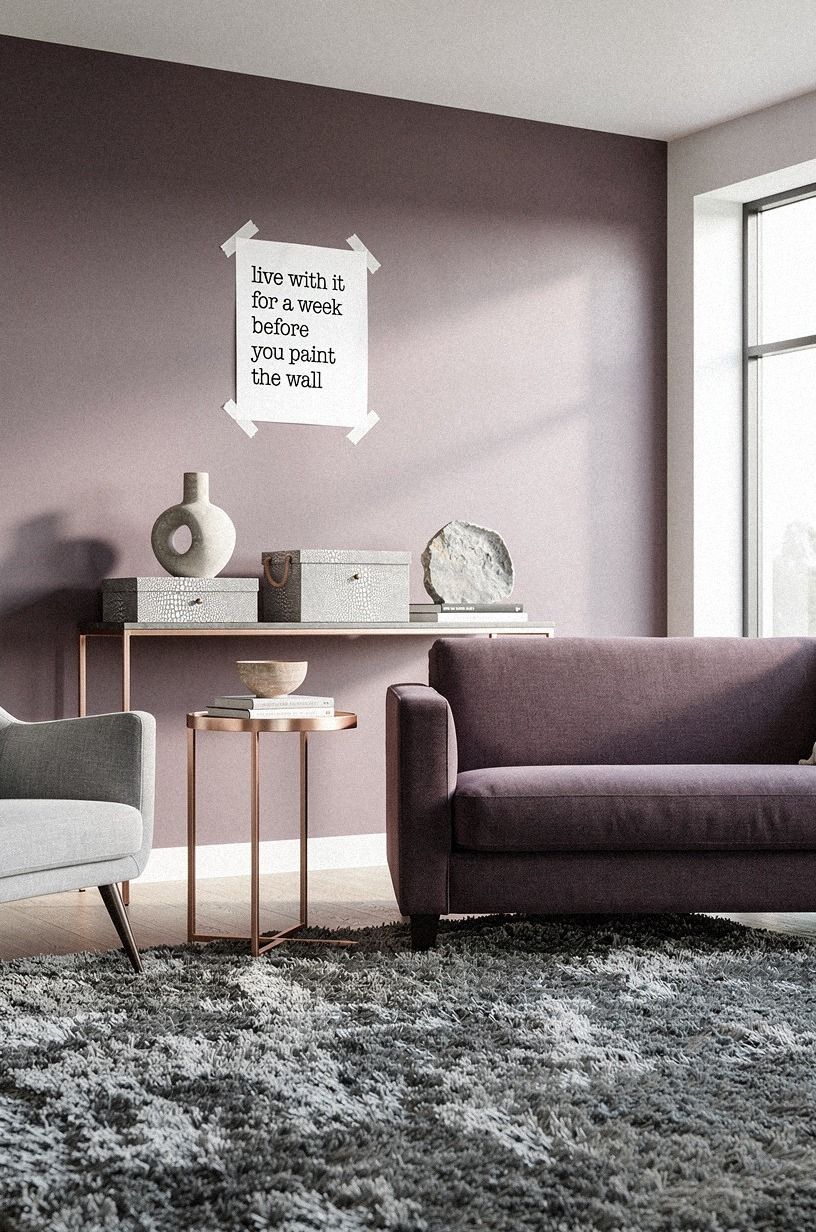
I painted the wall behind the bench the same weekend I built the bench. Regretted it. The bench was finished in white, and white next to the first plum-grey I tried looked too cool and heavy in the morning light.
I repainted the wall Farrow & Ball Pelt No. 254 a week later and never looked back. It's the same plum family but with a warmer rose-gold undertone that softens against the white instead of fighting it.
The rule: finish the bench, live with it for at least seven days in the corner, then pick the wall color against the actual bench, not against a paint chip. Paint chips lie.
The bench doesn't, and the morning light in your specific kitchen will read it differently than the store. And if you're choosing between three plums or three greiges at the counter, take home samples in the $3 jars, brush a 1-foot square on the wall, and look at it at 8am, noon, and 6pm.
That's the honest review.
19What if you only have 48 inches?
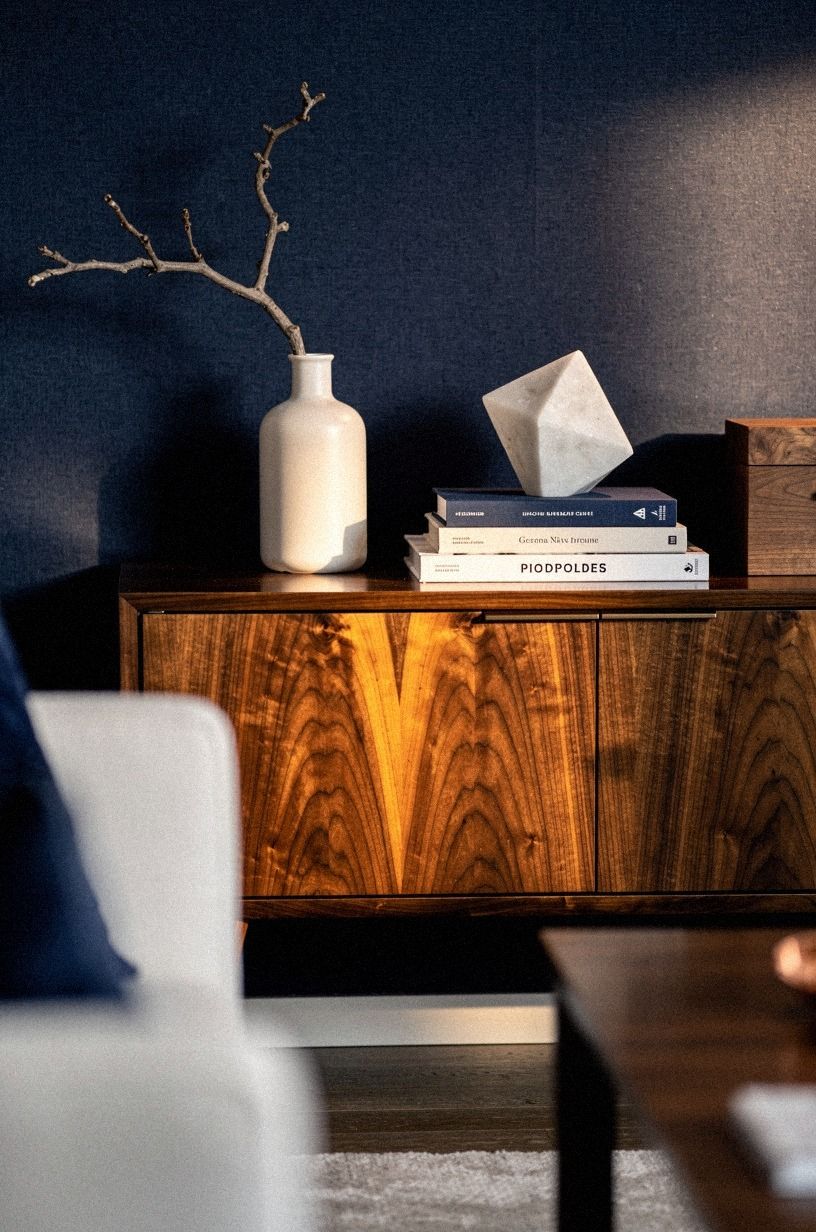
A 48-inch corner is the smallest footprint that still works for a two-person bench, and it's a different build than the 60-inch version. The depth stays at 16 inches, but you drop the middle legs and go with end-legs only, plus a single cleat across the back. The cushion is shorter, so the cost drops to about $120 in materials.
The trade-off: a 48-inch bench seats two adults comfortably but no third stool at the open end. If your corner is 48 inches or under, the apartment breakfast nook ideas for renters roundup is the version of this guide you'll actually use, because the furniture-strap anchor and the IKEA cushion shortcut were designed exactly for this footprint.
The morning still works. Two people, hot coffee, soft light, feet up.
That's the whole promise.
20The IKEA HOLMVI Cushion Shortcut
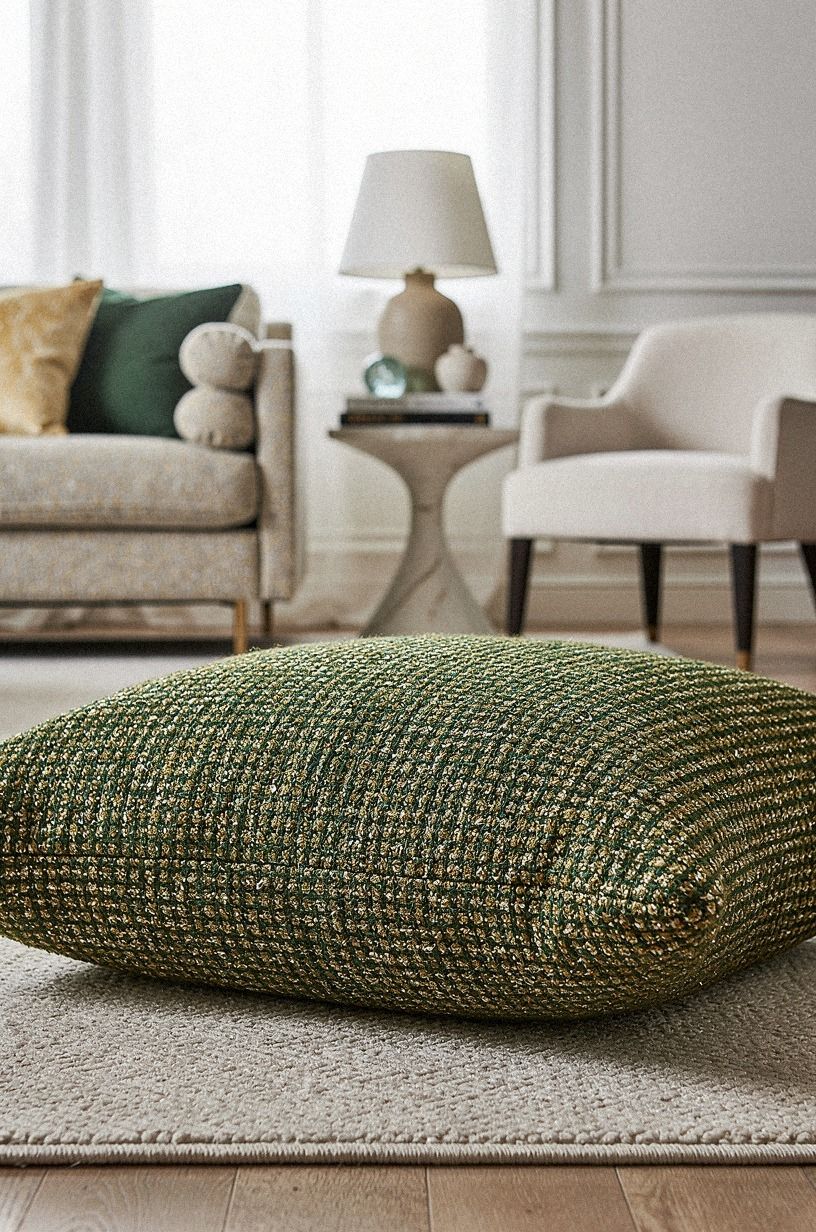
If you're not sewing and you don't want a custom bench cushion, the IKEA HOLMVI bench cushion ($75 for the 47-inch version, $95 for the 59-inch) is the shortcut that skips the whole cushion section. The cover zips off, the foam is dense enough to sit on for years, and the off-white linen-blend reads soft and elegant against the painted white of the bench. It is not custom.
The depth is fixed at about 16 inches, the same as the bench, so it lands flush. The cover is washable, which is the entire point.
The EKTANDRA foam version is the cheaper option (under $50) but the cover does not come off, so once your kid spills a smoothie on it in 2027, you're throwing the whole cushion away. Spend the extra $25 on the HOLMVI.
Your future self will thank you in three years when the corner still looks gentle and considered.
How much it cost
Honest total, materials only, no tools I already owned:
For a basic bench-only build (no sconce, no custom cushion, no runner, IKEA stool), the same project lands around $260 to $380. Mid-range with everything except the Schoolhouse sconce: about $550 to $700.
The high-end version with stone-veneer panels, down cushion, and a schoolhouse fixture: $1,200+. For comparison, a custom-built banquet from a local carpenter in our area runs $1,800 to $3,200 installed. The DIY version holds up the same and costs a third.
Three years in, ours is more solid than the one my neighbor paid $2,400 for. The bench does not care who built it.
Why a Plywood Bench Outlasts the Custom Carpenter
Three years in, I'd change three things about our build. First, I would angle the backrest 8 degrees instead of 5 because the difference between "you can lean back" and "you want to lean back" is exactly that three degrees, and you will feel it every morning for the next decade. Second, I would build the bench 2 inches shorter than I did, because the standard 60-inch fit pushed us right against the doorframe and I still bump my hip on it when I carry a plate through.
Two inches does not sound like much until you are pivoting with hot coffee. Third, I would spend the extra $40 on oak-veneer plywood instead of birch.
The birch has held up fine, but the oak would have aged into a deeper warm tone by now and I would have skipped painting the bench at all. Three years in, the painted white bench is the only thing in the kitchen I would undo.
The thing I would keep, no question: the footrest rail. My kids eat there every morning with both feet on a rail I screwed into the front of a 2x4 frame in my garage on a Saturday.
That is the kind of detail no one sees and everyone uses, which is the only kind of detail worth building. And the bigger lesson, the one that took me three projects to learn: a nook is not a furniture purchase, it is a habit you build into the corner of your kitchen.
The bench does not make the corner. The morning does.
If you build it right, the corner becomes the first place in the house where someone sits down, and once that pattern locks in, no amount of money buys it back. I have watched friends buy $4,000 banquettes from custom carpenters that nobody sits at, and I have watched a $300 plywood bench in a friend's rental become the default breakfast spot for the whole building.
The wood does not decide. The morning does. Build the bench, set the table, put a plant in the corner, and live with it for two weeks before you judge.
That is the only honest review.
The Questions I Get Asked Most
What is the best DIY breakfast nook bench for a small kitchen?
The IKEA NORDLI bench frame (about $200) gets you 80% of the way without cutting a single 2x4. It's a metal frame with a padded seat that fits a 47-inch space, and you can add a NORDLI storage drawer underneath if you want hidden space.
The downside: it is not custom, so the depth is fixed at about 16 inches. If your corner is odd-sized (which most small kitchens are), building the 2x4 version above is cheaper than custom and the only real option. For more renter-safe bench options in tight spaces, our apartment breakfast nook ideas for renters piece is the right follow-up read.
Where can I buy DIY breakfast nook bench parts on a budget?
Home Depot and Lowe's for the framing lumber and plywood, IKEA for the cushion (the EKTANDRA fits a standard 60-inch bench), Target Threshold for the stools, and Facebook Marketplace for the table (search "round pedestal table" and sort by newest, you'll find three within a week). For the fabric, JOANN has washable Belgian linen for half what the online fabric stores charge, and they'll cut it to your measurement for free.
How much does a DIY breakfast nook bench build cost?
About $180 to $450 in materials for the bench itself, $80 to $150 for the cushion if you build it, and $0 to $60 if you use an IKEA cushion. Add lighting and a runner and the corner lands between $260 and $900 total.
The reason the range is wide: the bench frame is the constant, and the styling around it is the variable. A free sconce from your sister's garage and a $30 rug put you at the low end.
The breakfast nook with storage ideas roundup shows the upper end of that budget.
Can I build a DIY breakfast nook bench on a tight budget?
Yes, and the order of operations matters. Build the bench frame first ($50 in 2x4s), skip the cushion and use two firm throw pillows or a $40 IKEA EKTANDRA, paint the wall behind it with leftover wall paint, and put a second-hand round table under $80 from Facebook Marketplace.
Total: about $170. The bench will outlast the table, the table will outlast the styling, and you can add cushions and lighting later when the budget allows.
Is a DIY breakfast nook bench worth it in a small kitchen?
Yes, more than almost any other small-kitchen change. A bench seats the same three people as three chairs in 4 fewer square feet, and it doubles as hidden storage if you build the lift-top version. The key is matching the bench depth to your table overhang: 16-inch-deep bench + 24-inch table overhang means adults can sit without their knees hitting the table base.
Measure twice. The bench vs chairs guide breaks down the math if you're still deciding.
Is a DIY breakfast nook bench a good idea for a rental?
Yes, with two swaps. Anchor the bench with furniture straps into the wall studs instead of L-brackets (you will patch two small holes at move-out), and skip the hinged storage top (it requires permanent hinges that damage the bench when removed). The bench itself can stay, because a built-in bench under 50 pounds is considered a fixture in most leases, but document its condition with photos when you move in so you do not lose your deposit on the way out.
The renter-safe breakfast nook guide covers the whole move-out sequence.
If I Had to Pick One Place to Start
If I had to pick one, I would start with the 2x4 frame. Everything else in this list is decoration, but the frame is what holds up the family.
Build it first, anchor it to the wall, and live with it for a weekend before you add anything else. The bench decides everything downstream.