
 by
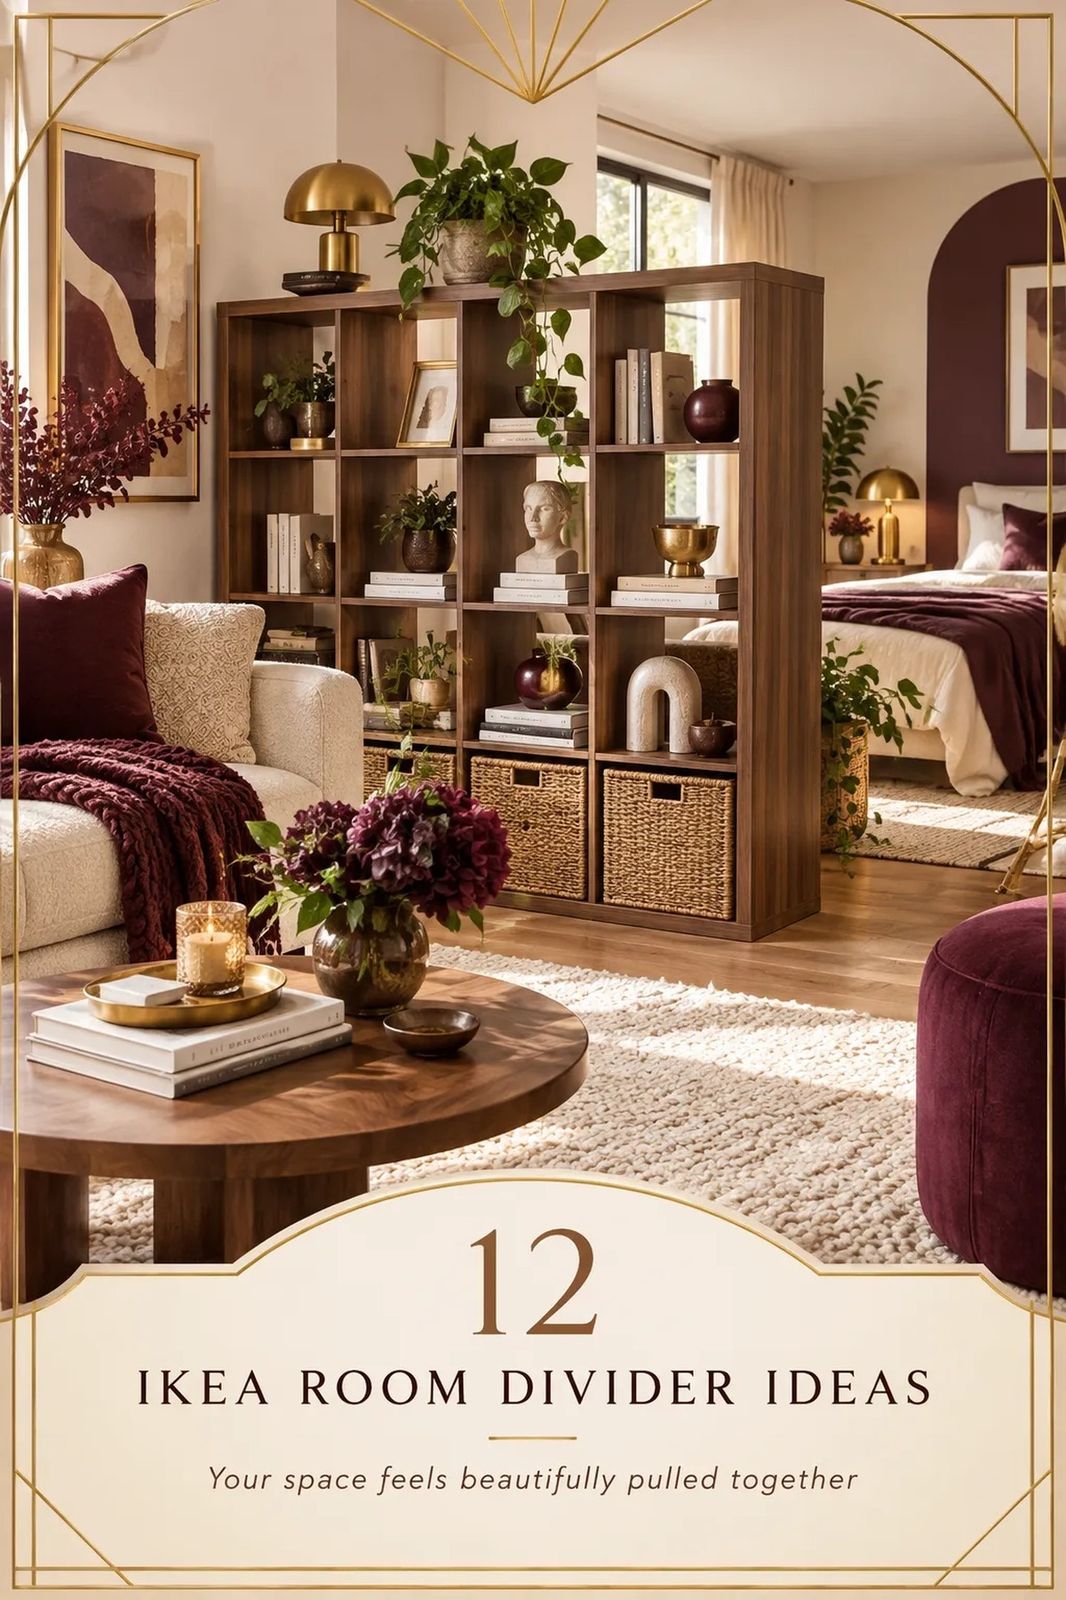
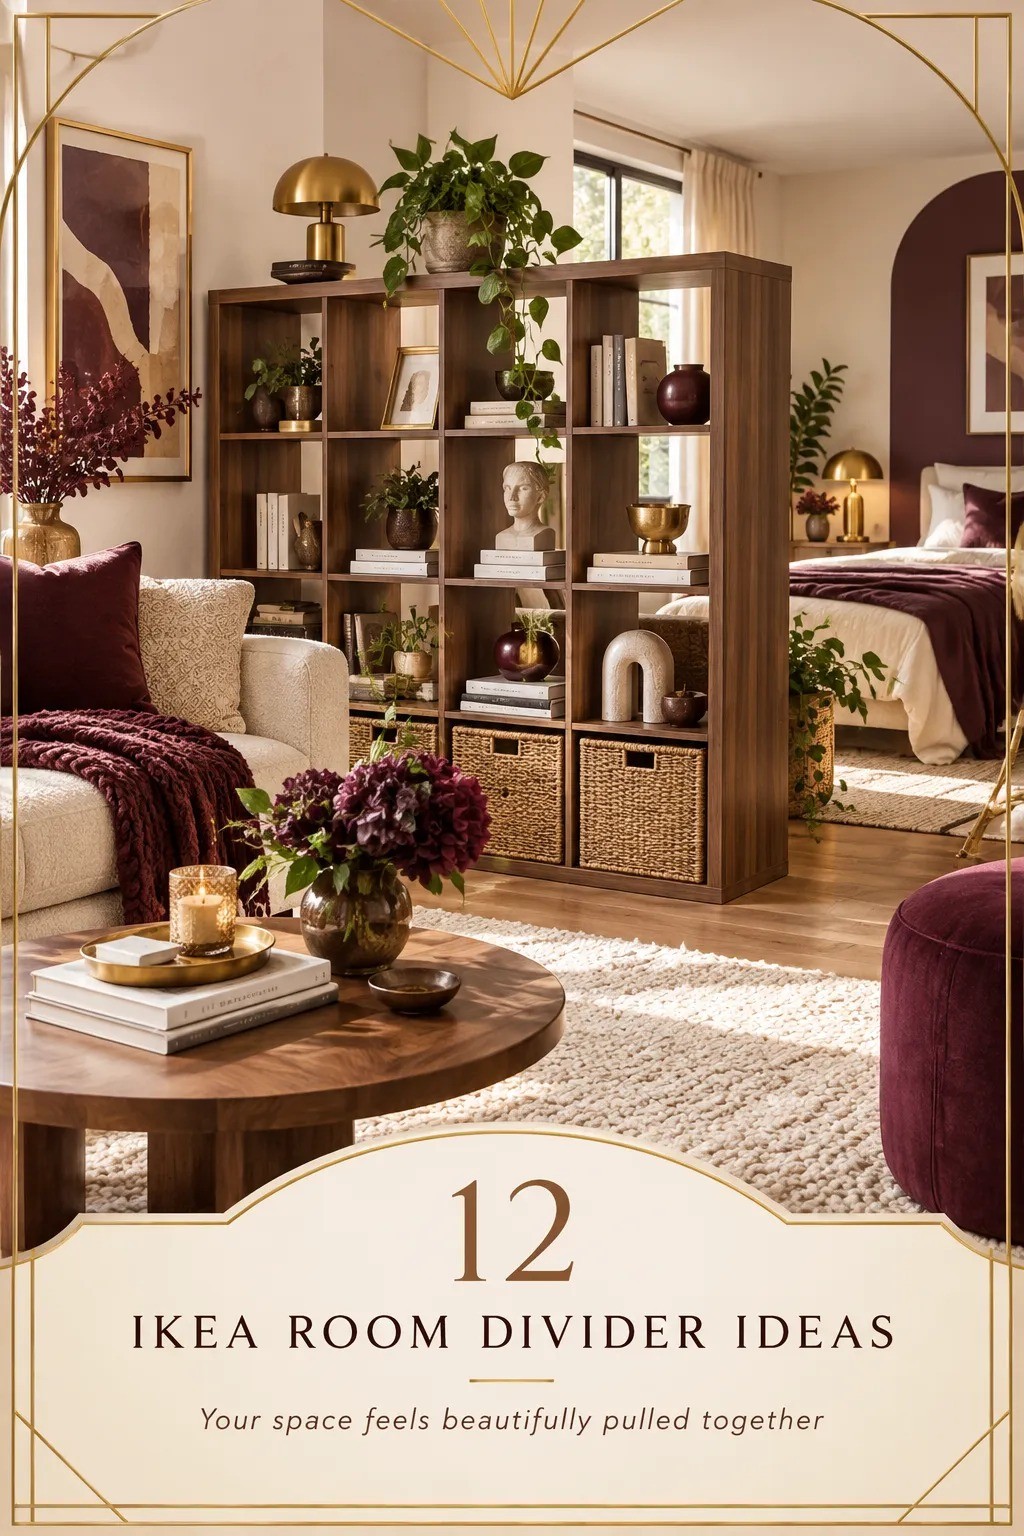
by The best IKEA room divider ideas create privacy without stealing every inch of light. I learned that after pushing a shelf too close to a window and making the room feel boxed in. KALLAX and IVAR work beautifully when you treat them as architecture, storage, and texture at once. Here are 12 practical ways to create a room that feels calmer, more flexible, and genuinely inviting.
- Layer a KALLAX Room Divider With Open Storage
- Float the IKEA Room Divider Away From the Wall
- Build the Two-Wood Rule With IVAR Shelves
- Frame an Open Shelving Over a Solid Wall
- Paint the KALLAX Back Panels in a Named Color
- Stack the Three-Height Light System
- Swap a Solid Back for a Curtain Room Divider
- Anchor a Dining Nook With an IKEA Room Divider
- Layer a KALLAX Room Divider With Open Storage
- Float the IKEA Room Divider Away From the Wall
- Build the Two-Wood Rule With IVAR Shelves
- Frame an Open Shelving Over a Solid Wall
- Paint the KALLAX Back Panels in a Named Color
- Stack the Three-Height Light System
- Swap a Solid Back for a Curtain Room Divider
- Anchor a Dining Nook With an IKEA Room Divider
- Hang Art at the Right Height Above IVAR
- Mix Low KALLAX With Tall IVAR
- Can a Small IKEA Room Divider Feel Airy?
- Choose Warm Materials for a DIY IVAR Project
1Layer a KALLAX Room Divider With Open Storage
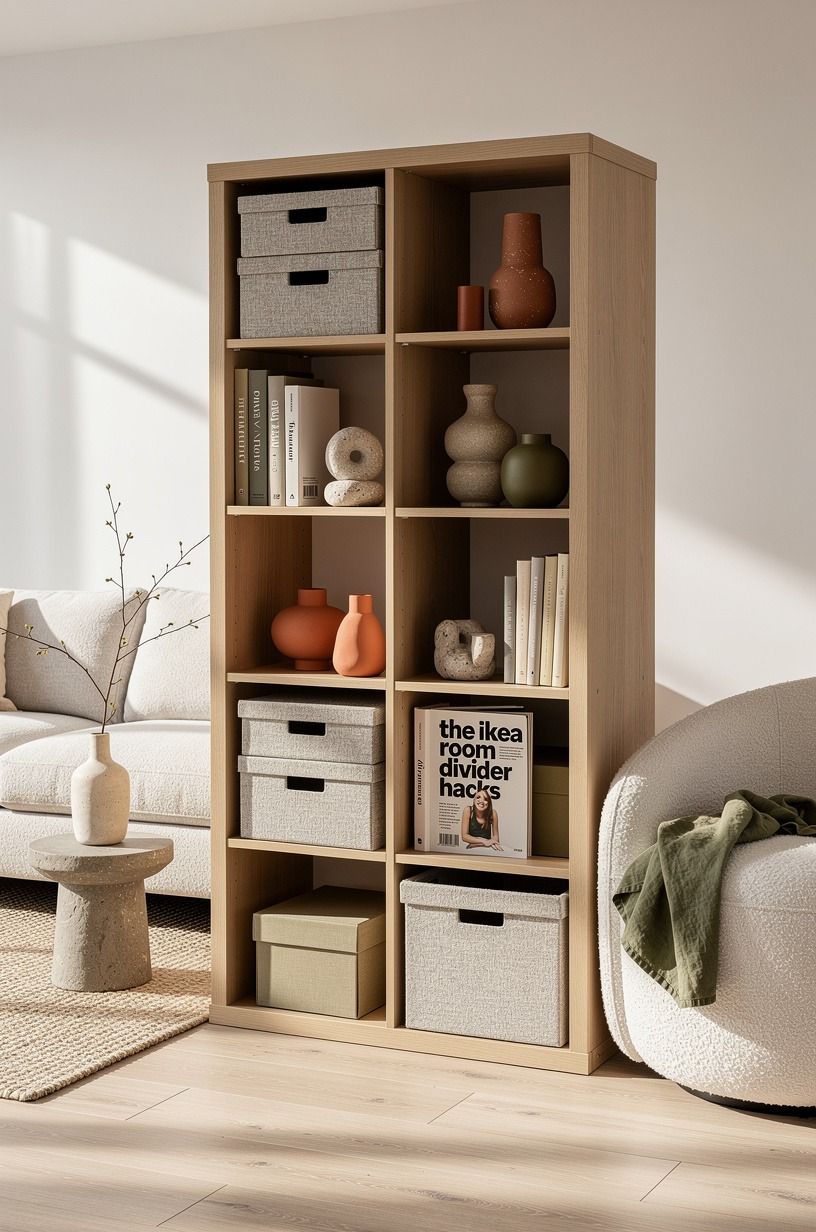
A KALLAX shelf can divide a studio, bedroom, or shared office without making either side feel forgotten. You’ll want the cubbies facing both zones, so books, baskets, and lamps become part of the view instead of a messy backside. The open grid keeps the sightline airy, while the square compartments give your eye enough structure to feel anchored.
I’d use IKEA KALLAX with a mix of closed boxes and empty openings. Too many filled cubes make the divider look heavy, and too many empty ones make it feel unfinished.
Start with a terracotta accent, an organic bouclé cushion, a stone-toned ceramic lamp, and a few art books. If you’re solving a rental layout, compare it with these curtain room divider ideas for renters before committing to furniture.
The winning rhythm is simple: storage, breathing room, storage. You’ll get a warm, practical boundary without losing the calm view across the room.
This approach can also be a strong value choice because you’re buying one piece that handles separation and organization. That matters when your budget is tight and every expensive mistake is frustrating.
Leave the top of the unit mostly open. A trailing pothos plant, one sculptural vase, or a single framed print gives the divider personality without turning it into a crowded display. You don’t need to fill every square for the shelf to look finished.
Typical cost by tier in the United States:
2Float the IKEA Room Divider Away From the Wall
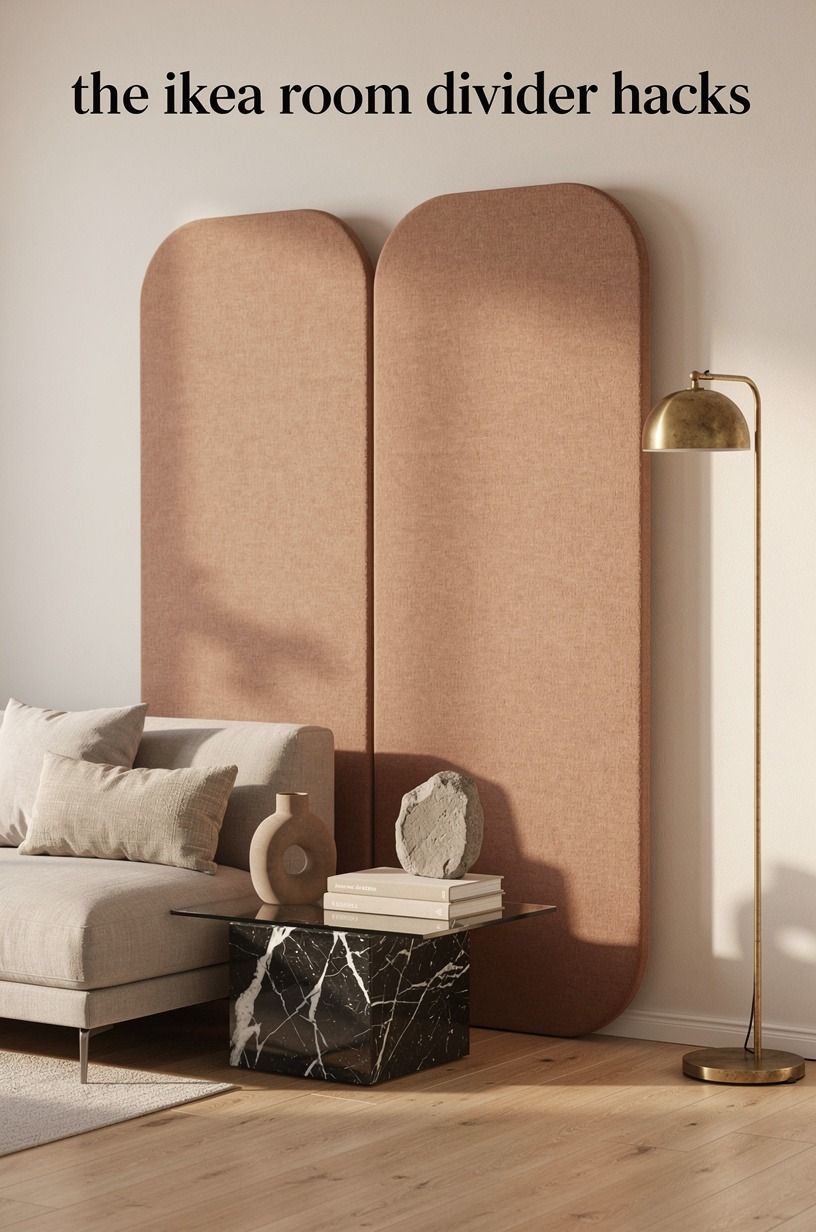
Pulling a shelf several inches away from the wall creates a narrow passage behind it, and that small change can make your room feel more intentional. You’ll gain access from both sides, which is useful when the divider separates a sleeping zone from a desk or living area.
Before you move the unit, measure the walking path, the baseboard, and the swing of nearby doors. I’d leave enough clearance for your shoulders and for a vacuum to pass through. If you have to turn sideways every time you walk behind the divider, the layout probably won’t feel worthwhile after the first week.
A floating arrangement also gives you room for a slim electrical cable, a wall-wash light, or a narrow plant stand with a Nero Marquina black marble top. Hide cords along the back edge with small clips instead of letting them hang visibly. The result feels more polished, and you won’t have to pay for complicated electrical work.
This shortcut works especially well in a studio apartment. You can face the useful side toward the bed, keep the living area visually open, and create a modest sense of privacy. If you’re comparing sleeping layouts, these twin cot bed divider ideas can help you judge scale before you spend money.
Try placing a linen runner behind the shelf to make the passage feel deliberate. A small aged-brass stool or slim console can also give that hidden strip a purpose. You’ll be surprised by how much more generous the room feels when circulation is planned carefully.
3Build the Two-Wood Rule With IVAR Shelves
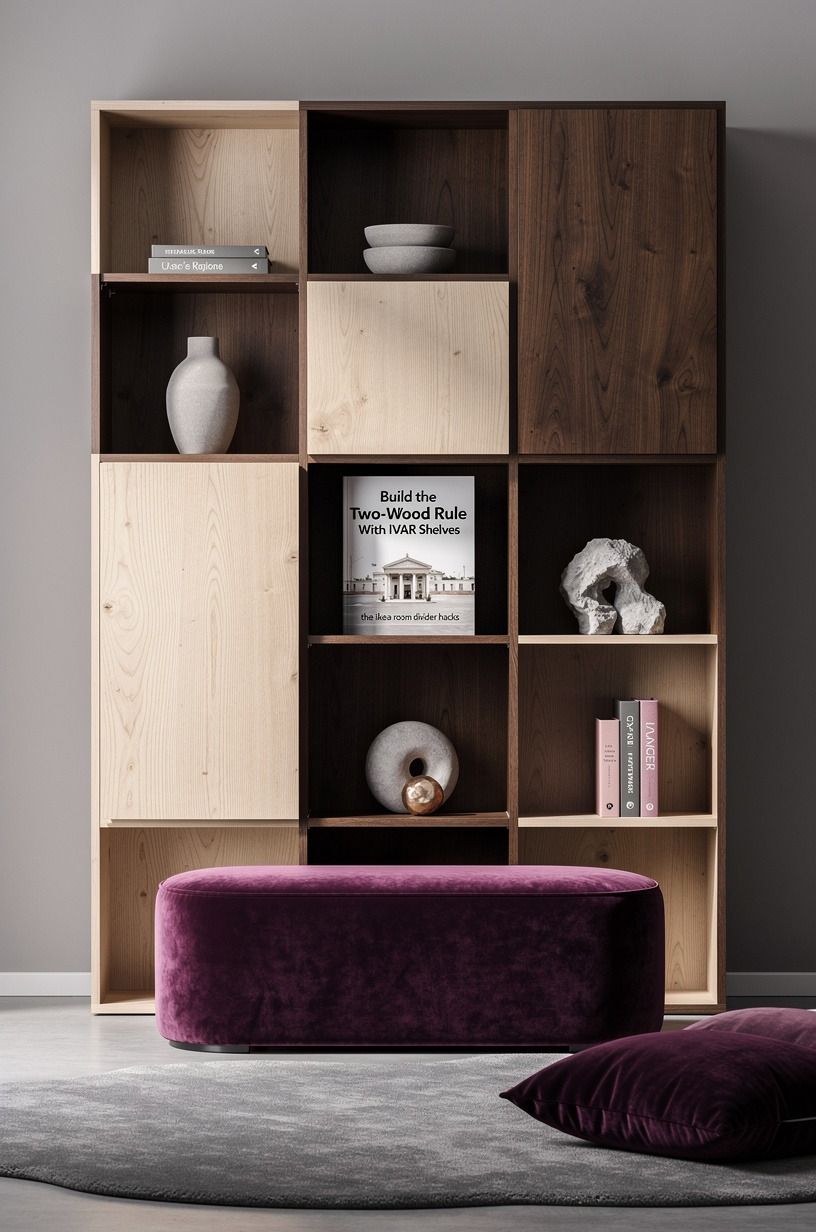
The Two-Wood Rule is my favorite way to stop an IKEA divider from looking flat-pack predictable. Choose one dominant wood tone for the shelf, then add a second wood only in small, repeated touches. You might pair IKEA IVAR pine with a darker walnut tray, a small oak stool, and one wooden frame.
You’ll want the contrast to feel deliberate, not busy. Pine has visible knots and a pale, rustic surface, so a glossy espresso finish beside it can look harsh.
I prefer smoked oak or medium-tone wood that lets the grain remain visible. It’s softer, more organic, and easier to live with than a collection of unrelated finishes.
But don’t sand away every mark. The little imperfections are what keep the divider from looking like office storage.
If you’re placing it beside a bed, use a plum deep-pile mohair velvet cushion or a gray linen textile to bridge the two finishes. For a compact sleeping zone, these twin cot bed divider ideas can help you think through scale before you build.
You can also make the wood rule work with a limited budget. Keep the shelf in its natural finish, then add one second tone through a tray, picture frame, or small table.
That single decision gives the room a curated, welcoming feeling without requiring custom carpentry. The best value usually comes from editing your materials carefully.
If the pine feels too yellow, test a matte wax or a diluted wood stain on an unseen area first. Lighting changes the result dramatically. I’d look at the sample in daylight, evening lamp light, and the gray hour before buying enough product for the whole unit.
4Frame an Open Shelving Over a Solid Wall
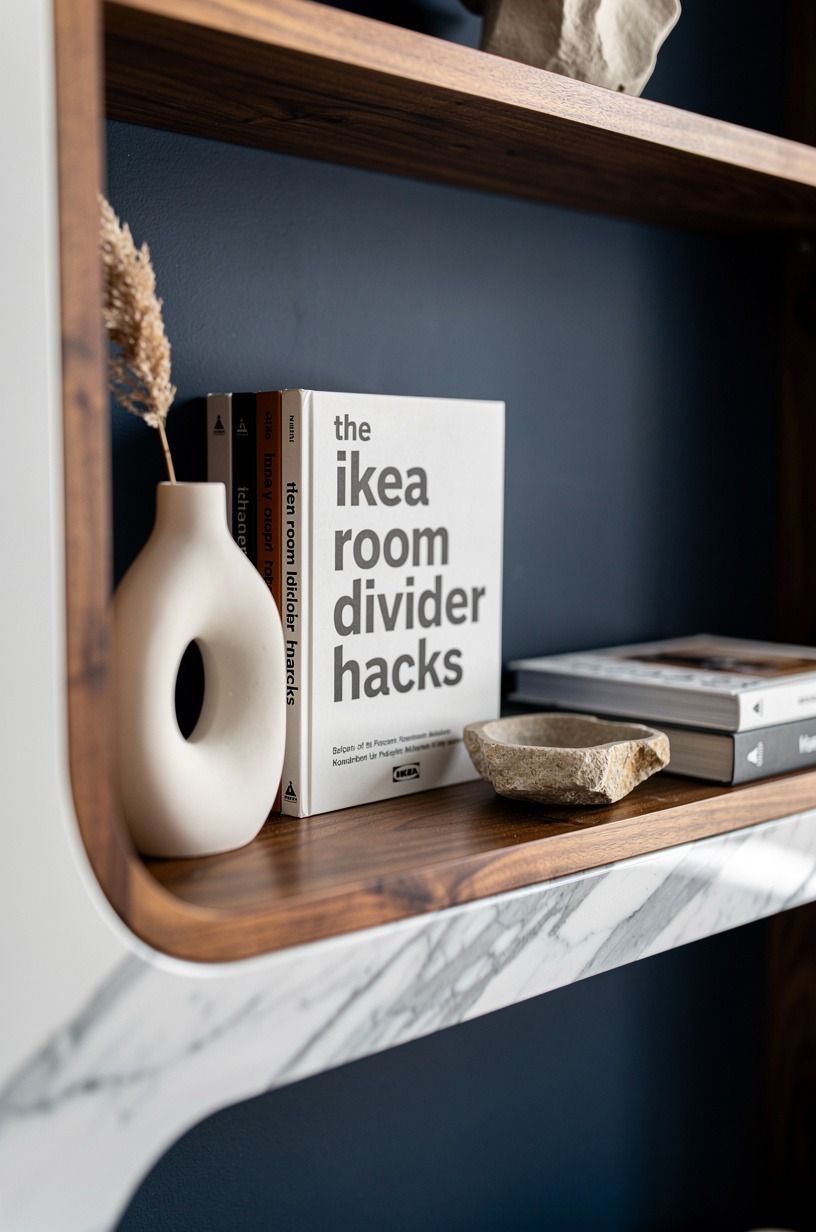
Open shelving over a solid wall is the better choice when you need separation but still want the room to breathe. Instead of placing a completely solid divider in the middle of the floor plan, let the wall provide visual weight while the shelf creates storage and rhythm.
This layout is particularly helpful behind a sofa, beside a dining nook, or at the end of a narrow bedroom. You’ll get a useful display surface without blocking every sightline.
Keep heavier objects near the bottom and lighter pieces at eye level. That balance makes the arrangement feel stable and graceful.
I’d paint the wall behind the shelves in a deep navy or warm white shade. A quiet background helps the walnut-toned shelving stand out while giving the whole composition more depth. If you’re considering a full refresh, estimate the paint, lighting, and storage costs together so you know the real project value.
Avoid lining up every object at the same height. Mix a low stack of design books, a medium Carrara marble vessel, and one taller branch arrangement or lamp.
You’ll create a more natural, collected display with fewer purchases. This is one of the most affordable ways to make a basic shelf feel thoughtful.
For a softer effect, place the shelf against Benjamin Moore Hale Navy HC-154 or Benjamin Moore Simply White OC-117. The navy-and-white background keeps the composition crisp and gives the walnut a more refined presence. You’ll have an inviting backdrop that works through every season.
5Paint the KALLAX Back Panels in a Named Color
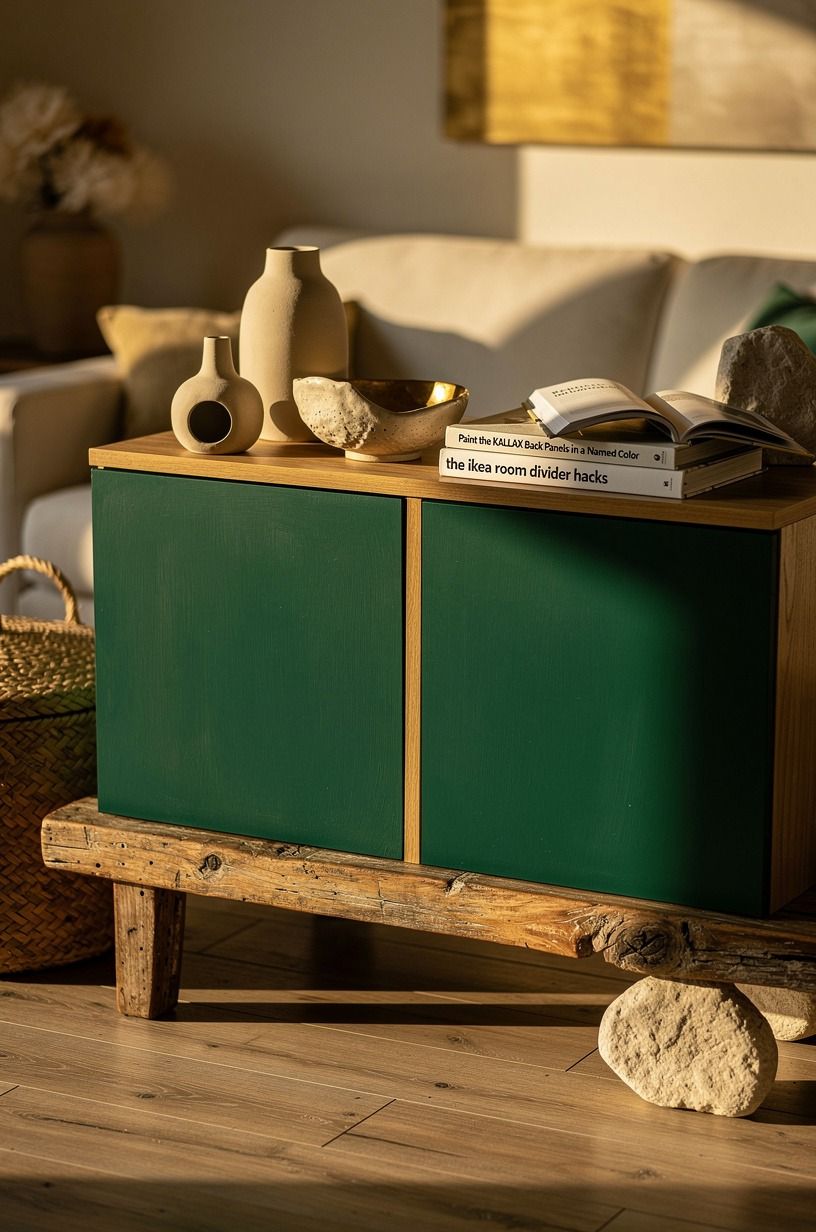
Painting the back panels, rather than the entire shelf, gives you a strong color moment without making the room feel swallowed.
6Stack the Three-Height Light System
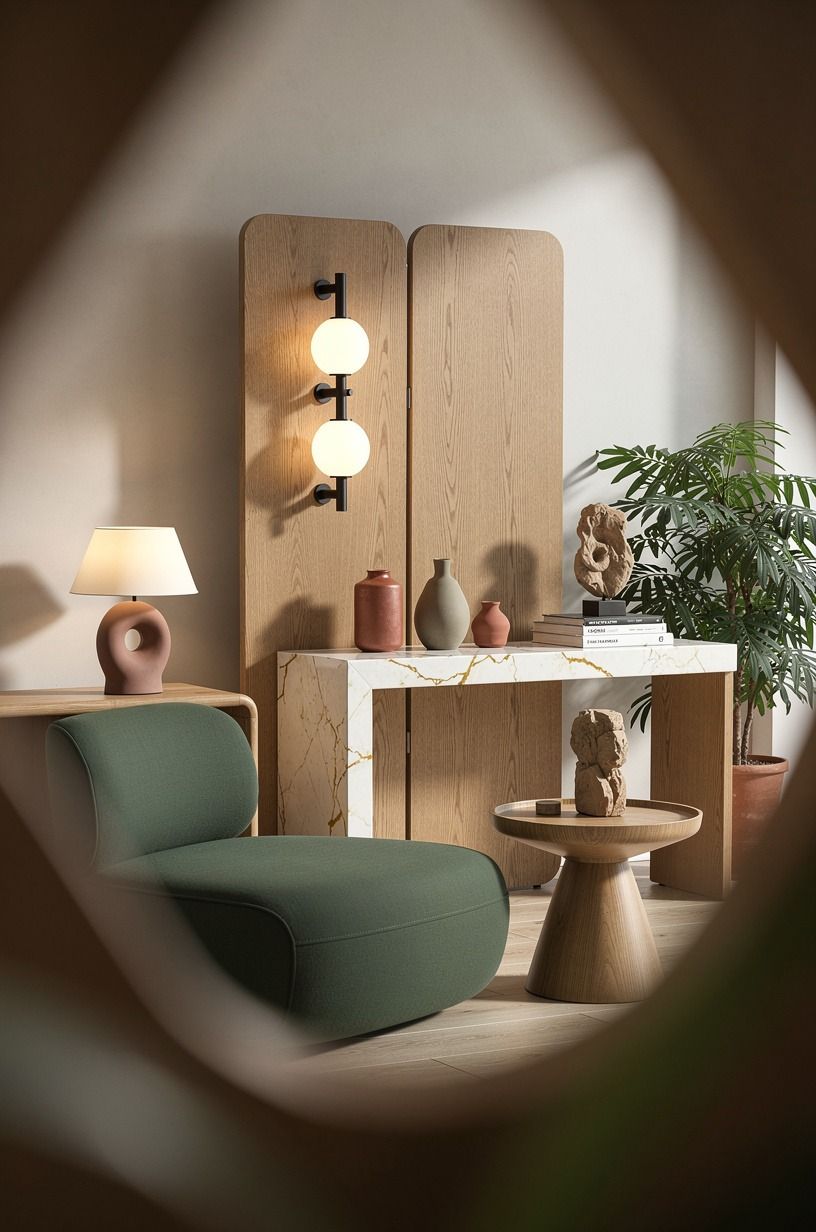
The Three-Height Light Stack gives a divider a real evening presence. Use one low light inside a cubby, one medium lamp on top, and one taller source nearby.
The goal is three lighting levels per room: overhead, task, and ambient. You’ll notice the difference as soon as the ceiling light goes off.
A small ceramic mushroom lamp inside the shelf can throw a soft pool across books, while a table lamp on the work side handles paperwork. Place a taller linen-shade floor lamp near the end so the arrangement doesn’t stop abruptly. The room will feel more serene because the light has somewhere to travel.
I’d avoid cool bulbs. They make natural oak look gray and turn a warm divider into something that feels temporary.
You’re aiming for a gentle glow that lands on the rug, so choose 2700K to 3000K bulbs with a warm color temperature. If your divider sits near a bed, check the proportions in this guide to twin bed room size before adding a tall lamp.
Look for brightness based on the task. A reading corner needs more output than a decorative cubby.
If you’re shopping on a budget, spend first on the bulb quality and shade shape. A simple lamp with beautiful light can feel more luxurious than an expensive lamp with harsh output.
You’ll also want to keep cords away from fabric and walking paths. Use cord covers where needed, and don’t overload one outlet behind the shelf. A safe, calm lighting arrangement is worth more than a dramatic but inconvenient one.
If you want a more atmospheric arrangement, add a small plug-in sconce on the wall behind the divider. Its glow can draw attention to the forest-green painted backing while keeping the floor clear. You’ll create a magical evening corner with very little equipment.
7Swap a Solid Back for a Curtain Room Divider
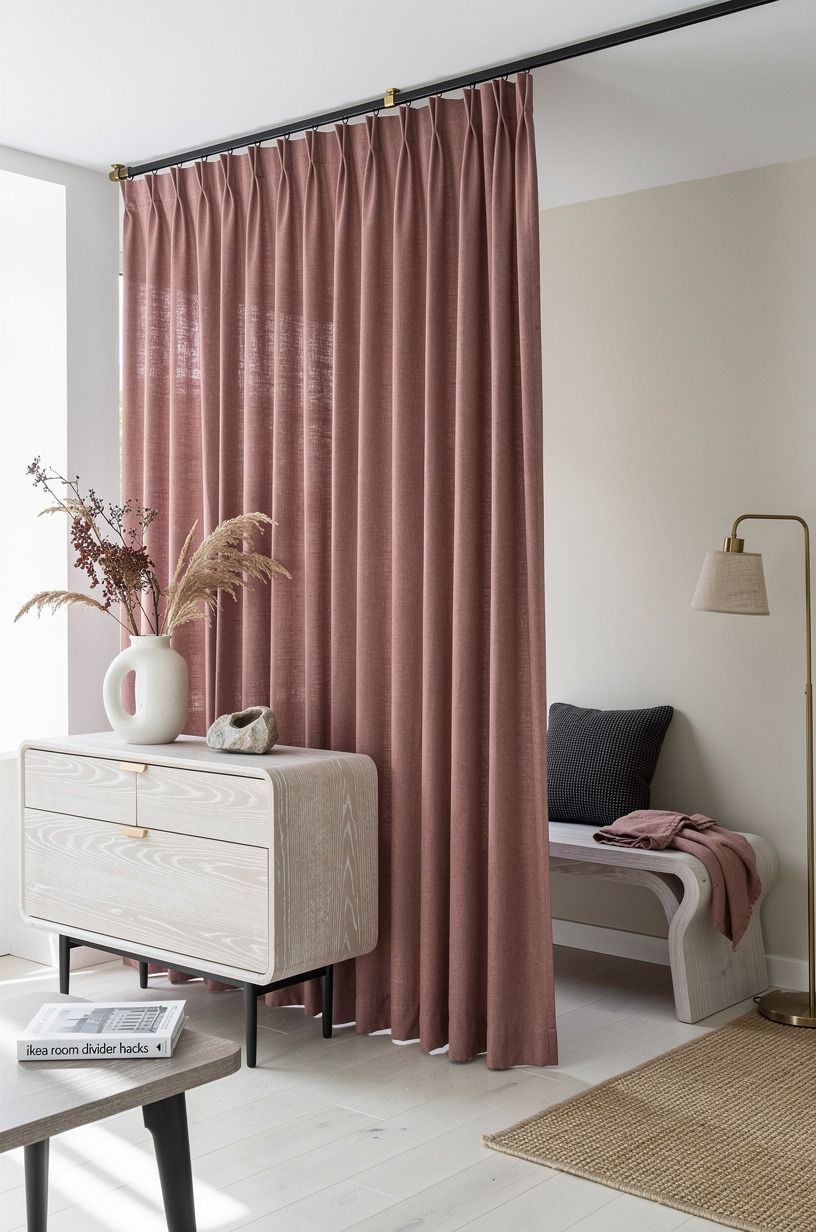
A curtain behind open shelving gives you privacy when you need it and openness when you don’t.
8Anchor a Dining Nook With an IKEA Room Divider
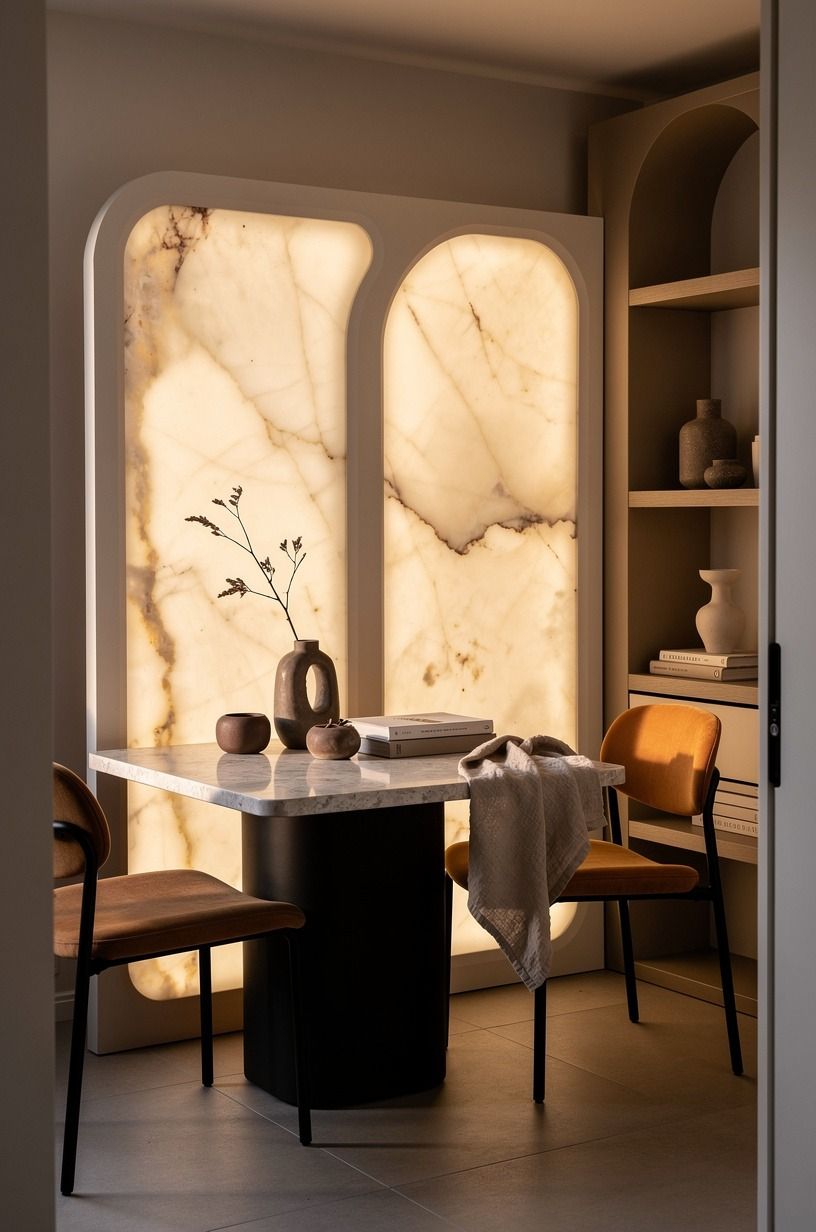
A low divider can make a dining nook feel separate without closing it off from the kitchen. Place a short KALLAX unit behind a banquette or at the edge of a small table, then use the top surface for a lamp, serving bowl, or one generous arrangement of branches.
You’ll create a clear boundary between eating and cooking while preserving conversation and daylight. This arrangement is especially helpful in an open-plan apartment where the dining table otherwise floats without a visual anchor.
Keep the objects useful. A basket for napkins, a stack of cookbooks, and a ceramic bowl will make more sense than a row of fragile accessories.
I’d also leave enough room for chairs to pull out comfortably. Measure the table, chairs, and walking path together before you decide the divider fits.
For a polished result, repeat one detail from the kitchen, such as a warm-white finish, camel upholstery, or a black accent. A backlit translucent onyx surface can also give the boundary a gentle glow.
That connection makes the divider feel integrated rather than randomly placed. The upgrade can be surprisingly affordable because you’re using the shelf to perform several jobs at once.
If the nook feels dark, add a wall sconce or pendant instead of placing a bright lamp directly in the center of the shelf. You’ll keep the table comfortable and make the boundary feel more intentional.
A small translucent onyx tray can gather salt, candles, or serving pieces without making the shelf feel cluttered. I’d leave one section open so the dining area still feels light and relaxed. Your goal is a welcoming nook that supports long lunches and quick weekday meals alike.
9Hang Art at the Right Height Above IVAR
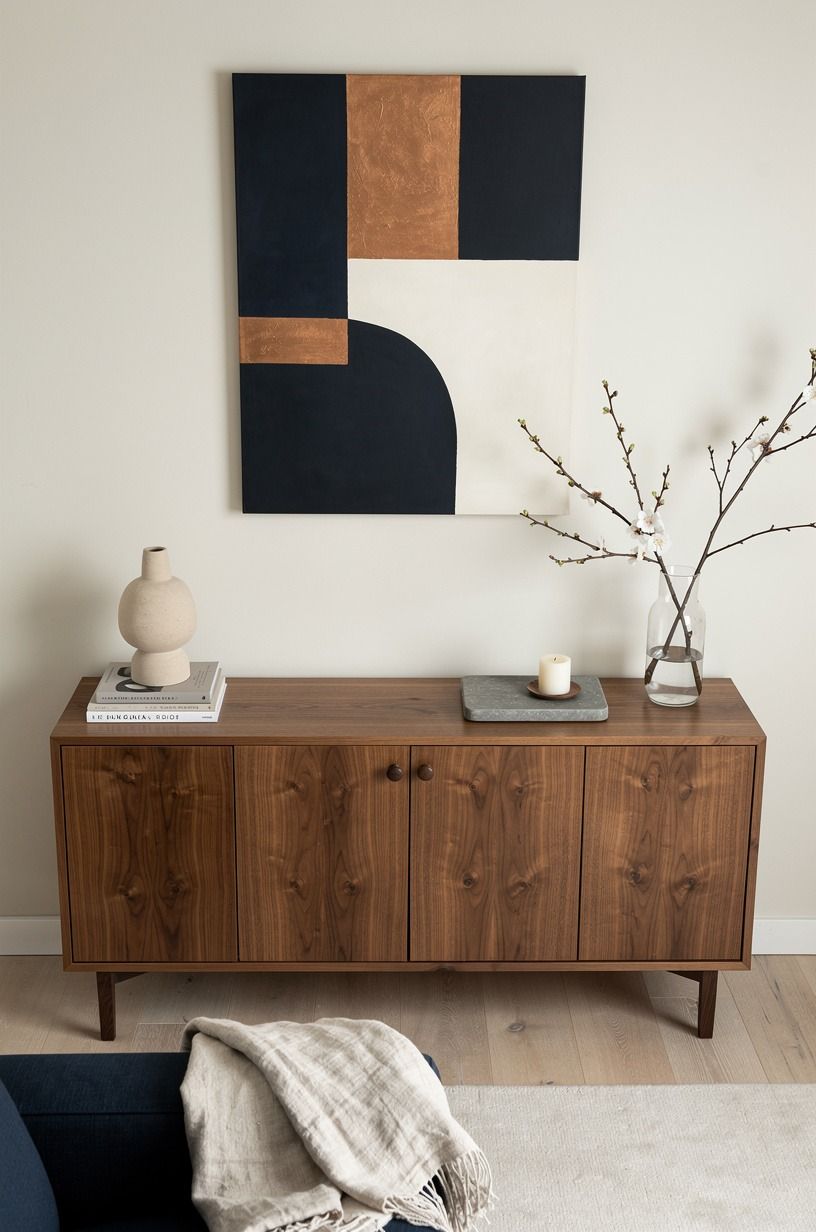
Art can make a tall IVAR divider feel connected to the rest of the room, but placement matters.
10Mix Low KALLAX With Tall IVAR
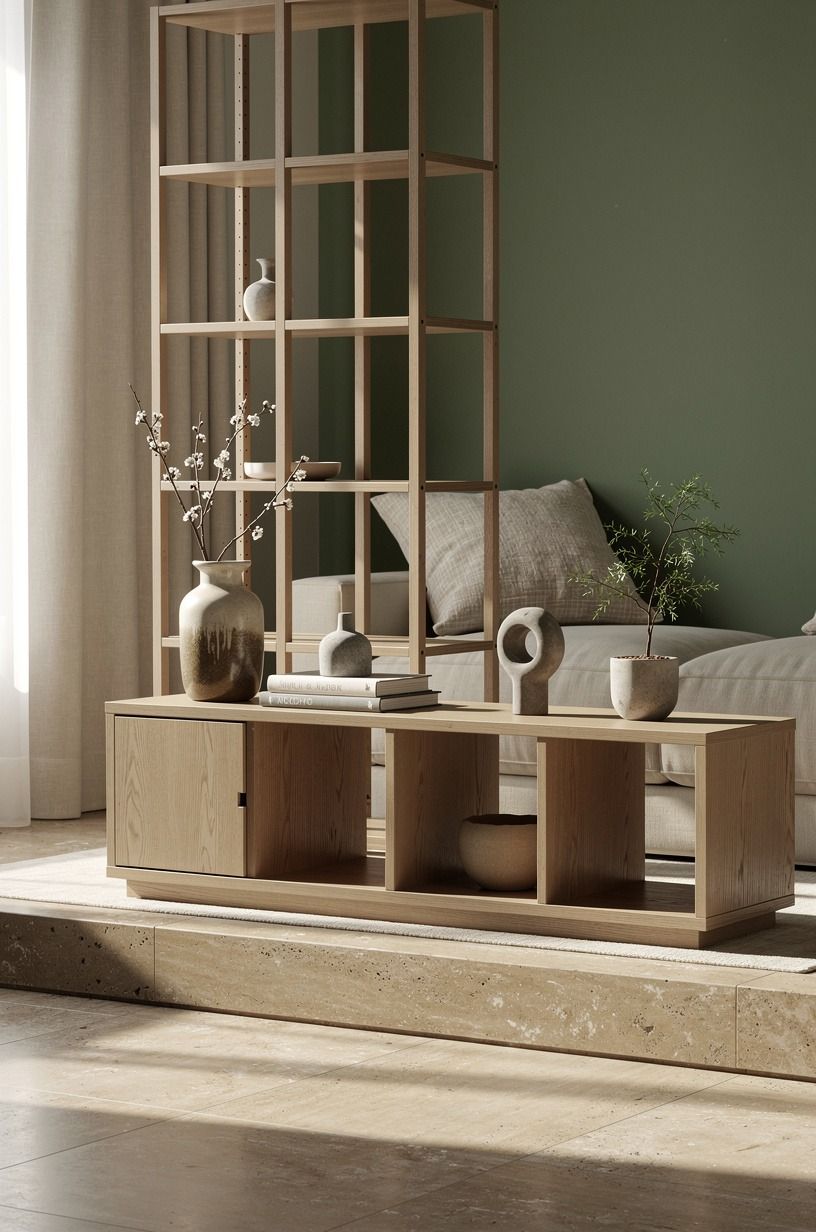
Combining a low KALLAX unit with a taller IVAR shelf creates a stepped divider that feels less rigid than one repeated block. The lower section can define a seating area, while the taller piece gives privacy near a bed, desk, or entryway.
I’d leave a small visual gap between the units if the room allows it. That break prevents the arrangement from looking like one oversized wall. You can bridge the two pieces with a linen runner, a plant, or a shared color detail instead of forcing their edges to line up perfectly.
Use the low section for heavier storage: woven baskets, records, folded blankets, or office supplies. Reserve the taller shelf for lighter objects and open space. This keeps the composition stable and protects the room’s airiness.
This combination may cost more than one shelf, so compare the complete value before you buy. You’re gaining flexible zoning, extra storage, and a more custom silhouette. If you’d otherwise purchase a room divider, cabinet, and bookcase separately, the mixed IKEA approach can be a practical budget solution.
Measure the ceiling height carefully. The tall section should feel anchored, with comfortable breathing room above it. You’ll want enough space to keep the room relaxed and avoid a cramped, top-heavy effect.
Repeat one detail across both units so they feel related. Brass knobs, cream baskets, or a shared sage green accent can connect the two heights. I’d keep the rest restrained because the stepped outline already brings energy and movement.
11Can a Small IKEA Room Divider Feel Airy?
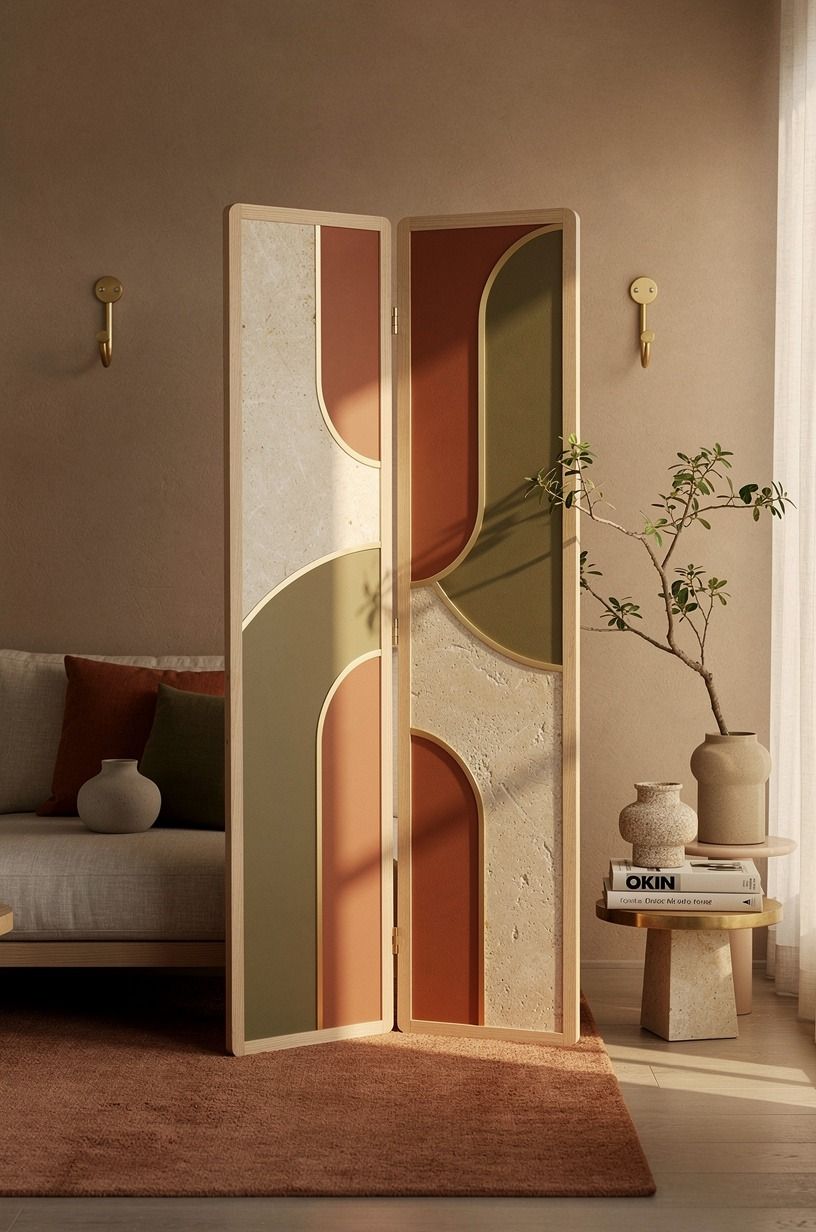
Yes, a small IKEA room divider can feel airy when you protect the sightlines around it. Keep the top open, use a terracotta, stone, or olive finish, and limit the number of solid objects inside the compartments. Sherwin-Williams Cavern Clay SW 7701 on nearby walls can soften the transition without making the unit disappear.
You’ll want at least a few empty openings at eye level. Those gaps let daylight pass through and keep the divider from reading as a wall. An unlacquered-brass vase developing a soft patina, a narrow plant, and one linen-covered box can add texture without filling the grid.
And don’t push the unit into the narrowest part of the room just because it fits there. Give your walking path enough breathing room, then measure the rug and furniture together. If you’re dividing a sleeping zone, this twin cot divider guide can help you compare low and tall layouts before you move everything twice.
The most common mistake is adding storage until the shelf becomes visually solid. I’d begin with only half the compartments filled, then add pieces slowly. You may discover that the empty areas are doing more for the room than another basket would.
Light-colored textiles, reflective ceramics, and slim-legged furniture can make the layout feel even more spacious. Choose one or two of those elements instead of trying to use every idea at once. A calm room usually comes from restraint.
If you’re shopping for a small apartment, write down the exact dimensions before browsing. The cheapest divider is not a bargain if it blocks a doorway or makes the furniture impossible to rearrange. Your best choice will leave room for daily life, guests, laundry baskets, and the occasional change of heart.
12Choose Warm Materials for a DIY IVAR Project
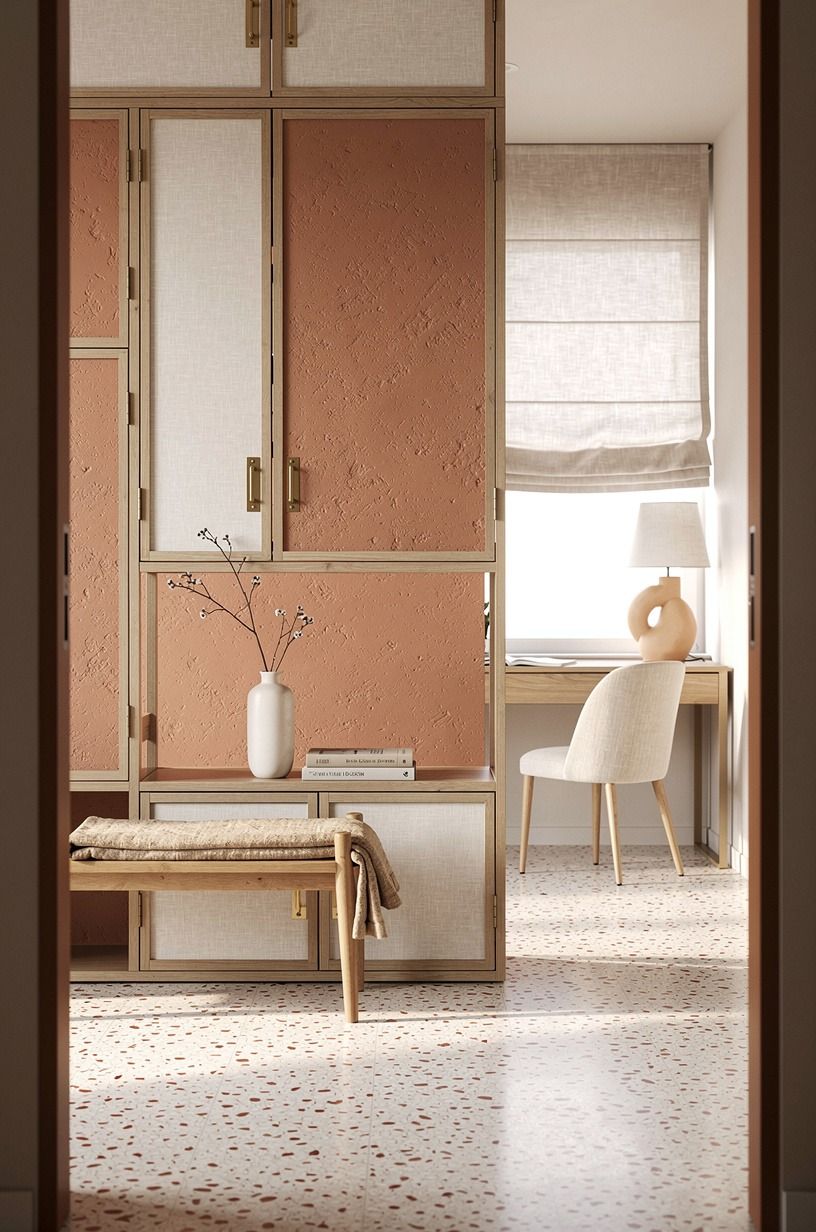
The best DIY IVAR projects feel warm because the materials have variation.
The Room Divider Rule I’d Keep
I’ve tried room dividers that looked impressive in photographs and felt irritating by the third day. The problem wasn’t the shelf.
It was the decision to make one piece of furniture solve every problem at once. A divider needs to separate zones, let light move, give you storage, and leave a clear path through the room.
If it blocks all three, you’ll resent it quickly.
My strongest preference is a divider with one quiet side and one useful side. The living-room face can hold books and a lamp, while the bedroom face stays mostly open for a basket and a hook.
That contrast gives you flexibility without visual noise. I’d skip the fully styled shelf packed with plants, framed quotes, and tiny objects. It photographs well, but you’ll dust it constantly and lose the room’s calm.
The material mix matters more than the brand name. A clay-colored finish, linen, aged brass, and oversized-chip terrazzo have small shifts in texture that make the divider feel lived-in.
A completely uniform white unit can work, but it needs shadow and warm light around it. Otherwise, it reads like office storage.
You’re allowed to leave some shelves empty. In fact, those empty squares often do more for the room than another decorative object.
The final test is practical. Can you walk around it without turning sideways?
Can you reach the storage from the side where you’ll use it? Can daylight pass through at least part of the arrangement?
I’d measure those questions before buying anything. A divider should make your room easier to live with and more welcoming to enter.
If you’re unsure whether the project is worth the cost, mock up the footprint with painter’s tape first. Live with that outline for a day or two. You’ll learn more from moving around the proposed layout than from staring at a product photograph.
The Questions I Get Asked Most
What is the best IKEA room divider for a small space?
KALLAX is the best starting point because its open cubbies provide flexible storage without closing off the room. IVAR works better when you want taller vertical separation and a lighter pine texture.
Keep at least a few openings clear so your space won’t feel crowded. I’d choose based on your ceiling height, walking path, and storage needs.
Where can I buy IKEA room divider pieces on a budget?
Look at IKEA first, then compare Wayfair and Target for baskets, curtains, and lighting. Facebook Marketplace and thrift stores can be useful for second-hand shelves. You’ll often save more by buying the divider used and spending on a good rug.
Before you buy, compare the full cost of delivery, hardware, paint, and accessories.
How much does an IKEA room divider makeover cost?
A small makeover can run about $100 to $300 when you reuse the shelf and add paint, textiles, or lighting. The free pieces are rearranging furniture, editing clutter, and using books or baskets you already own. Costs rise when you add a rug or new lamp.
I’d set a budget ceiling before shopping so the makeover stays worthwhile.
Can I create an IKEA room divider on a budget?
Yes, and you can start with three low-cost moves: rearrange the shelf, paint a backing panel, and repurpose baskets or fabric you already have. A partial update often changes the room more than buying every accessory at once. I’d begin with the layout, because placement usually creates the biggest improvement for the least money.
Is an IKEA room divider worth it in a small space?
Yes, especially when the shelf separates two functions without building a wall. Place the open side toward the brighter zone, keep the walkway clear, and use a low unit near seating.
You’ll gain storage and structure without losing the room’s visual width. In my experience, the purchase is worthwhile when you’ll use both sides every day.
Is an IKEA room divider a good idea for a rental?
Yes. Choose freestanding KALLAX or IVAR, use a tension rod for fabric, and hang art with removable strips.
No-damage flexibility matters more than a permanent finish when you may need to change the layout later. These rental curtain divider ideas are useful for that setup.
I’d also keep every modification reversible before you move in.
Where I’d Start First
If I had to pick one, I’d start with the partial-back KALLAX divider. It gives you storage without stealing daylight, and the open squares keep a small room from feeling boxed in.
Pin this layout for later, then test it with your furniture before buying accessories. Measure the walking path, mark the footprint with tape, and live with the arrangement for a day.
If the room still feels easy to move through, you’ve found a practical starting point.