
 by
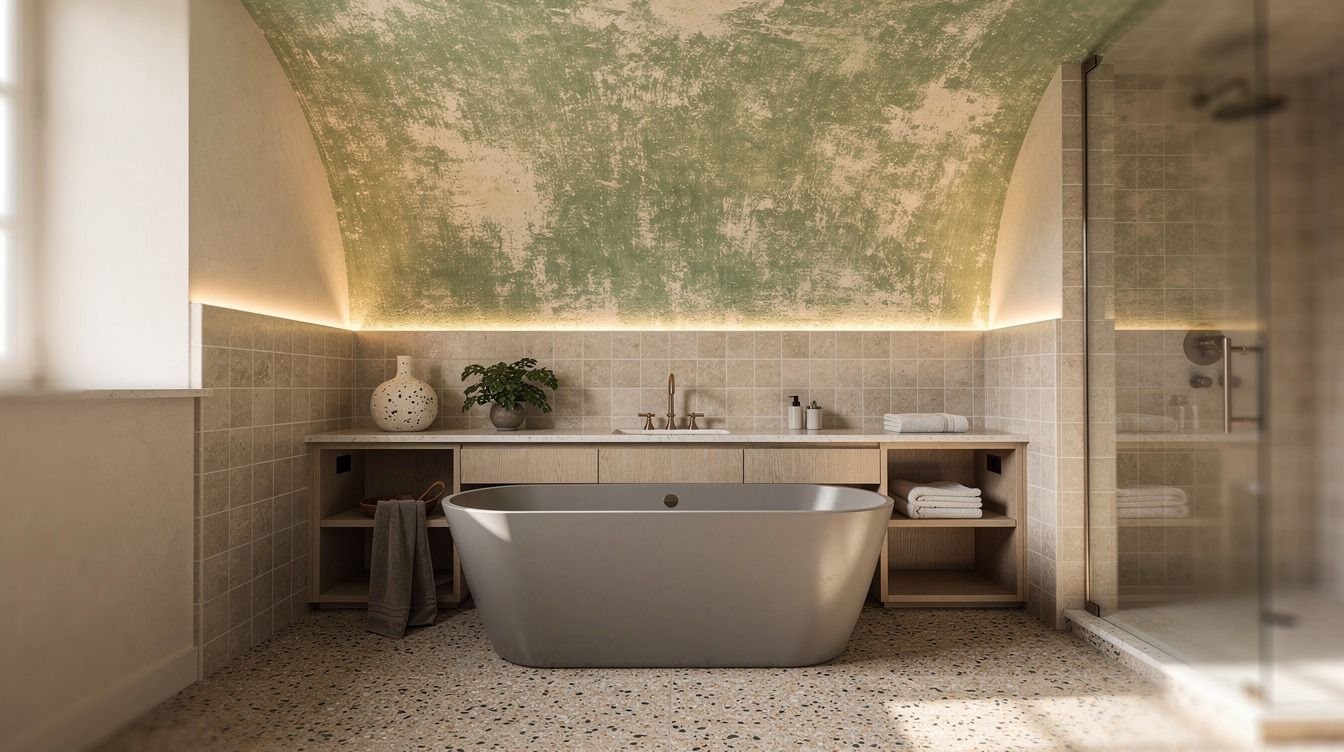
by Limewashing the bathroom ceiling works when you treat it as a breathable finish, not regular wall paint. I learned that after living with a flat white ceiling that made every warm fixture look oddly clinical. Start with the surface, choose a quiet color, and let the brush marks stay visible. That’s where the charm lives.
- Start by checking whether your ceiling can breathe
- Measure the fifth wall before choosing a limewash color
- Build the Two-Light Test before committing to a shade
- Choose mineral limewash over a flat latex look
- Protect the room with the Dry-Zone Rule
- Clean the ceiling without leaving a slippery film
- Repair hairline cracks before the first coat
- Mix a loose batch with the Cloud-Edge Method
- Cut around fixtures before the ceiling opens up
- Apply the first coat in changing directions
- Let the first layer dry before judging it
- Add a second coat only where the ceiling needs depth
- Keep Hague Blue for a moody powder room
- Pair the finish with honest, warm materials
- Use the Three-Height Light Stack after the finish dries
- Match the ceiling to the right renovation tier
- Balance texture with a clean vanity line
- Frame the ceiling with tile instead of more paint
- Maintain the finish with restraint, not constant touch-ups
1Start by checking whether your ceiling can breathe
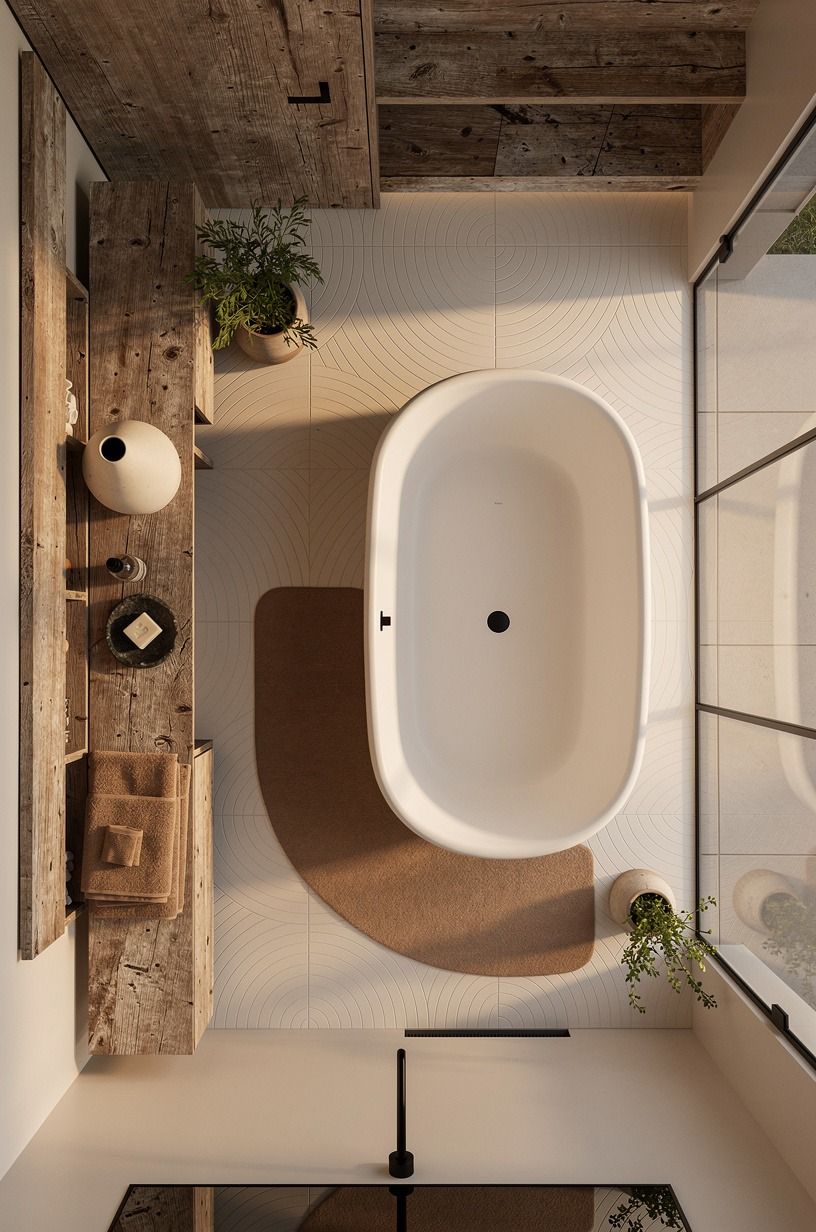
Run your hand over the ceiling before you buy anything. If you’ve got peeling paint, mildew, or a glossy acrylic layer, limewash won’t behave well until you fix that surface. Portola Paints Roman Clay primer is the sort of prep product worth considering for a sealed ceiling, because it gives the finish something with tooth.
You’ll want the bathroom fan working first. Limewash can handle ordinary bathroom humidity, but it doesn’t enjoy trapped steam from a weak fan. I’d skip this project in a bathroom with an active leak.
Warm white walls, reclaimed weathered teak, and camel accents will still feel inviting once the room is dry enough to hold the finish.
Typical cost by tier (US averages):
2Measure the fifth wall before choosing a limewash color

Your ceiling is a real surface area, even if you usually ignore it. Measure length times width, then look at how much of that plane you’ll see from the door, tub, and vanity. A standard 60x30-inch tub makes a small bathroom feel even tighter when the ceiling is painted too dark.
For small bathroom ceiling color ideas, keep the ceiling one or two steps lighter than the walls. Sherwin-Williams Sea Salt SW 6204 has a calm gray-green cast that won’t shout above ivory tile, midnight blue accents, or Calacatta marble with gold veining. You’re aiming for a gentle veil, not a theatrical lid.
3Build the Two-Light Test before committing to a shade
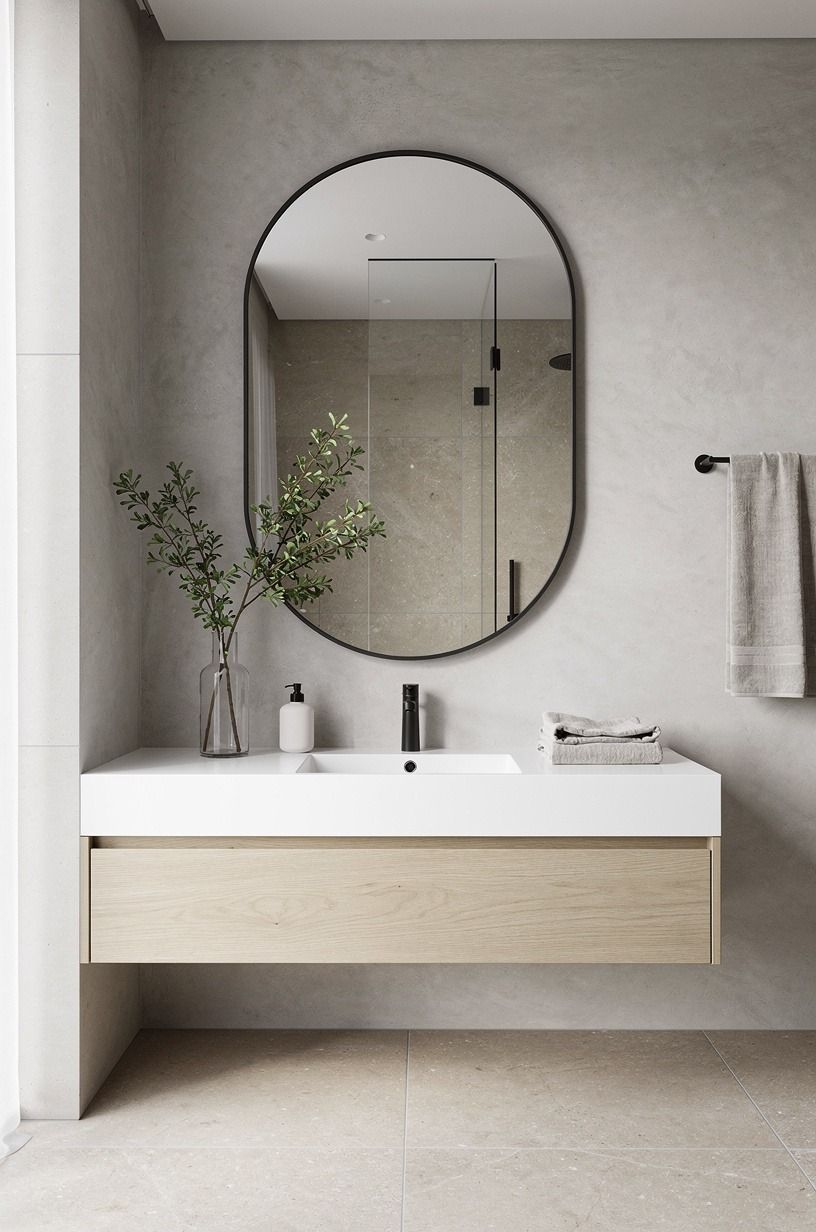
Test your sample in daylight and after sunset. Bathroom ceilings catch light differently than walls, especially above a mirror where bulbs throw glare upward. Put one sample near the window and one over the vanity, then live with both for two evenings.
I’ve watched Farrow & Ball Hague Blue No. 30 turn nearly black on a ceiling with weak lighting. It’s moody, yes, but you don’t want your morning shower to feel like a basement bar. Use a warm bulb, let sage green, warm cream, and cerused white oak guide the room, and give your eye a full day before deciding.
4Choose mineral limewash over a flat latex look
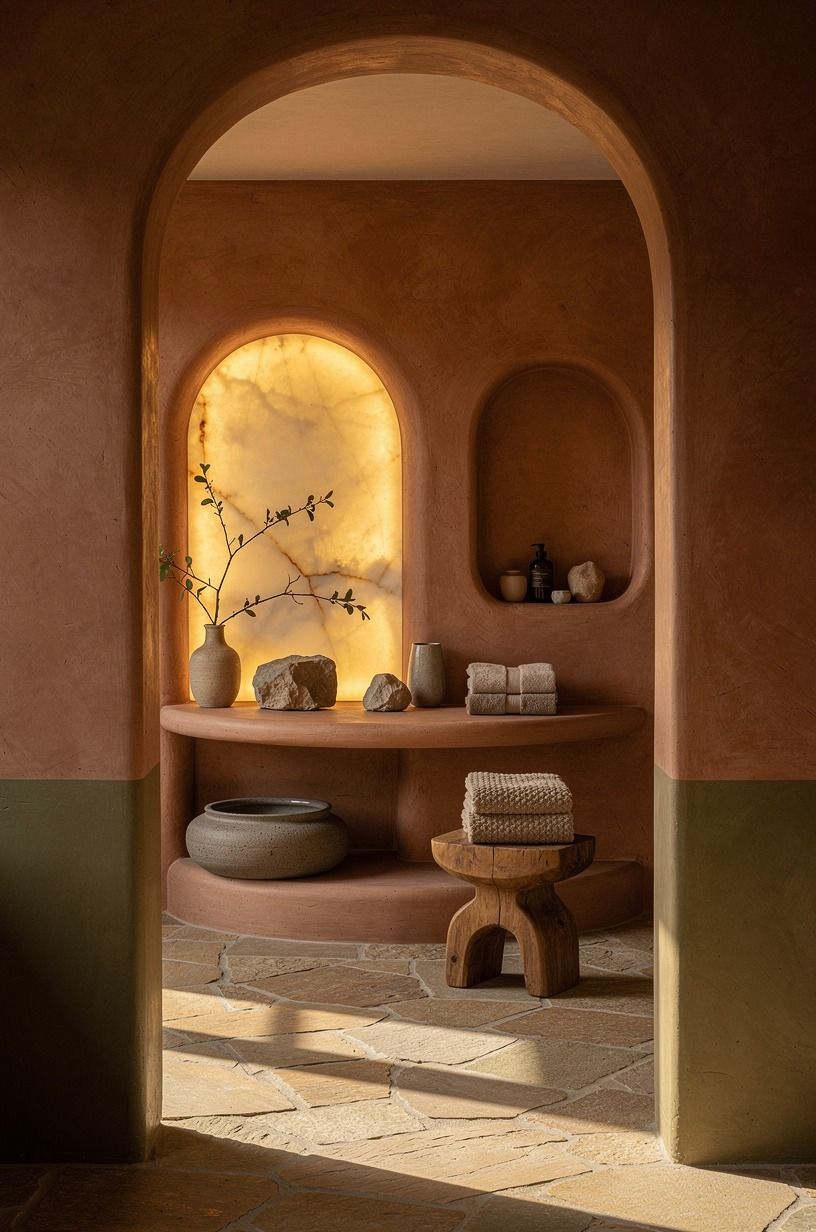
A proper mineral finish has cloudy patches, soft overlap, and an organic matte surface. It looks especially good beside terracotta, olive, and stone, where a translucent onyx accent can bring in a little glow without making the room feel polished to death.
5Protect the room with the Dry-Zone Rule
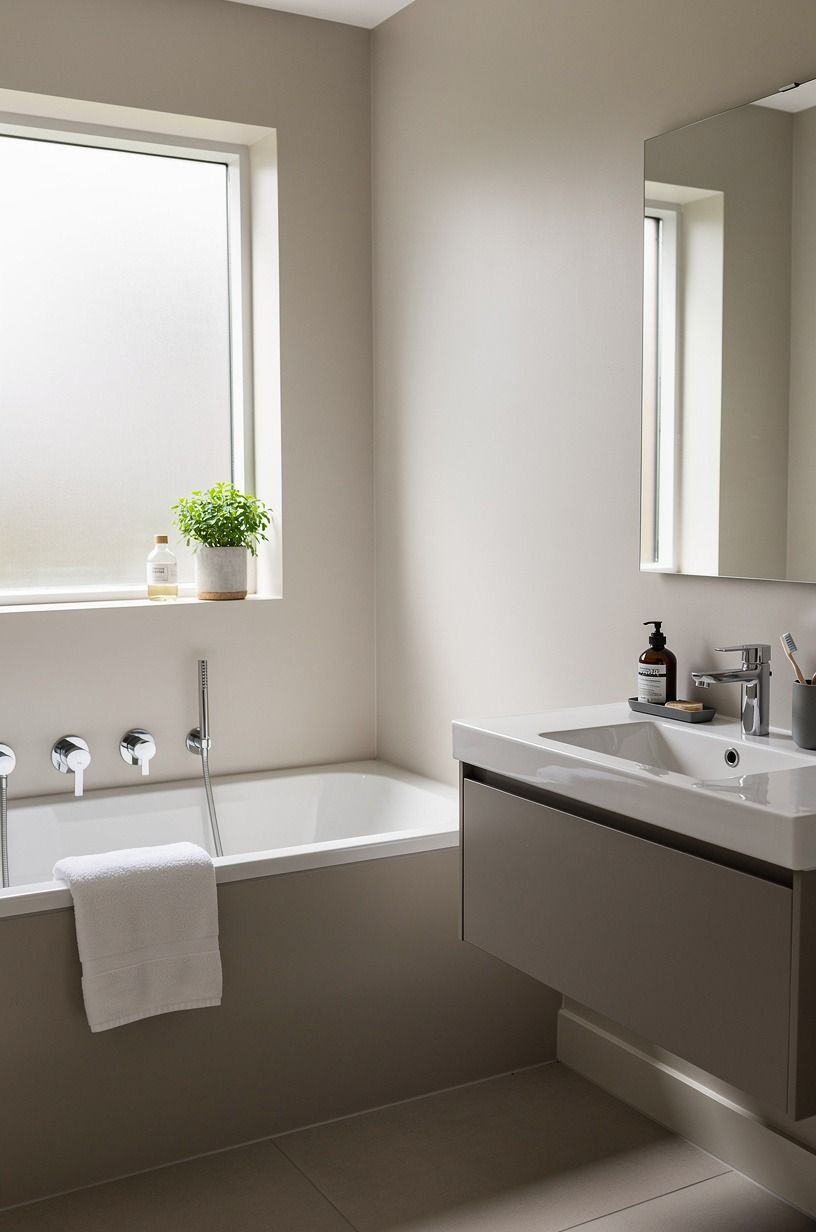
Move towels, paper goods, and electronics out before you begin. Cover the vanity, floor, mirror edges, and light fixtures with canvas drop cloths instead of thin plastic where you can. Canvas stays put, and you won’t hear it crackle under every step.
Keep your working zone dry. A shower that was used twenty minutes ago is not ready, even if the tile looks dry.
You need the ceiling surface to feel cool but fully dry to the touch, otherwise your limewash can grab in uneven rings. Clay, linen, aged brass, and book-matched walnut deserve a finish that settles evenly.
6Clean the ceiling without leaving a slippery film
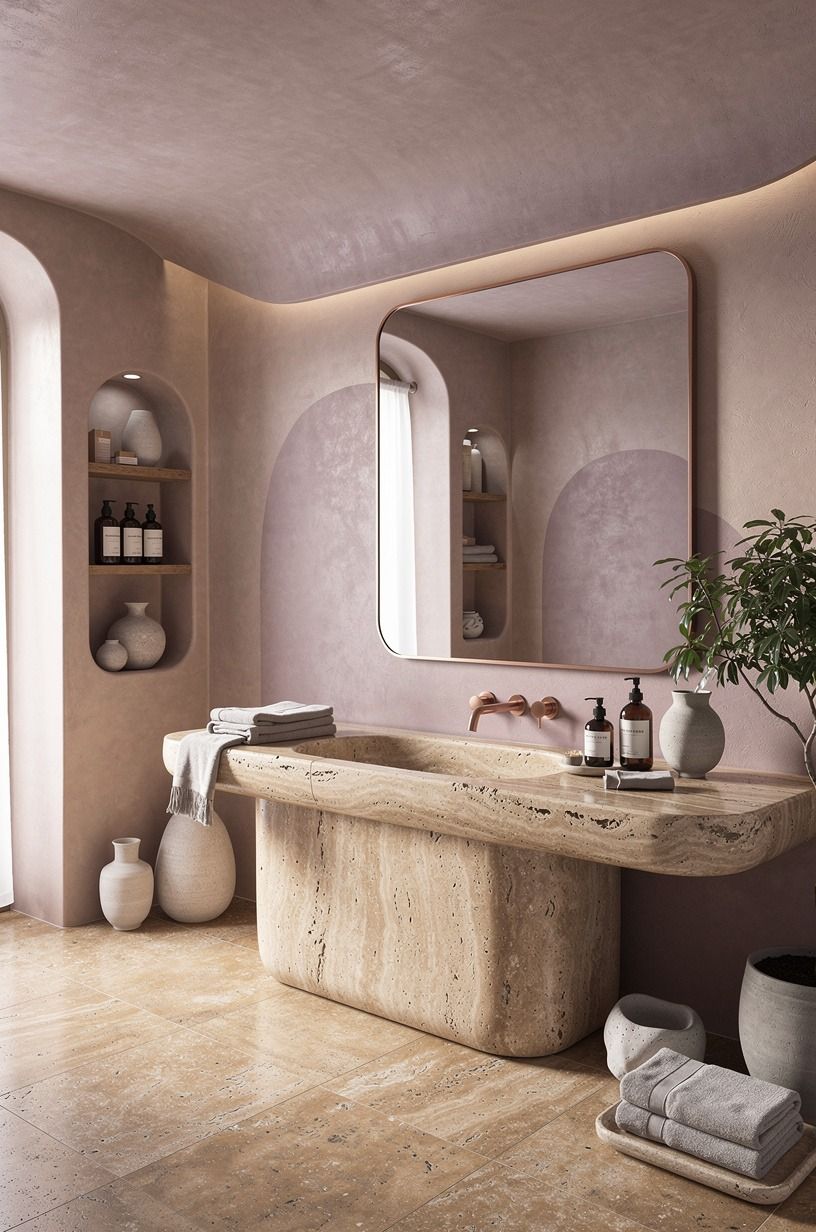
Use a mild cleaner, then wipe again with clean water. In a plum and grey bathroom, warm travertine and rose-gold details will look calmer once the ceiling is free of leftover soap film.
7Repair hairline cracks before the first coat
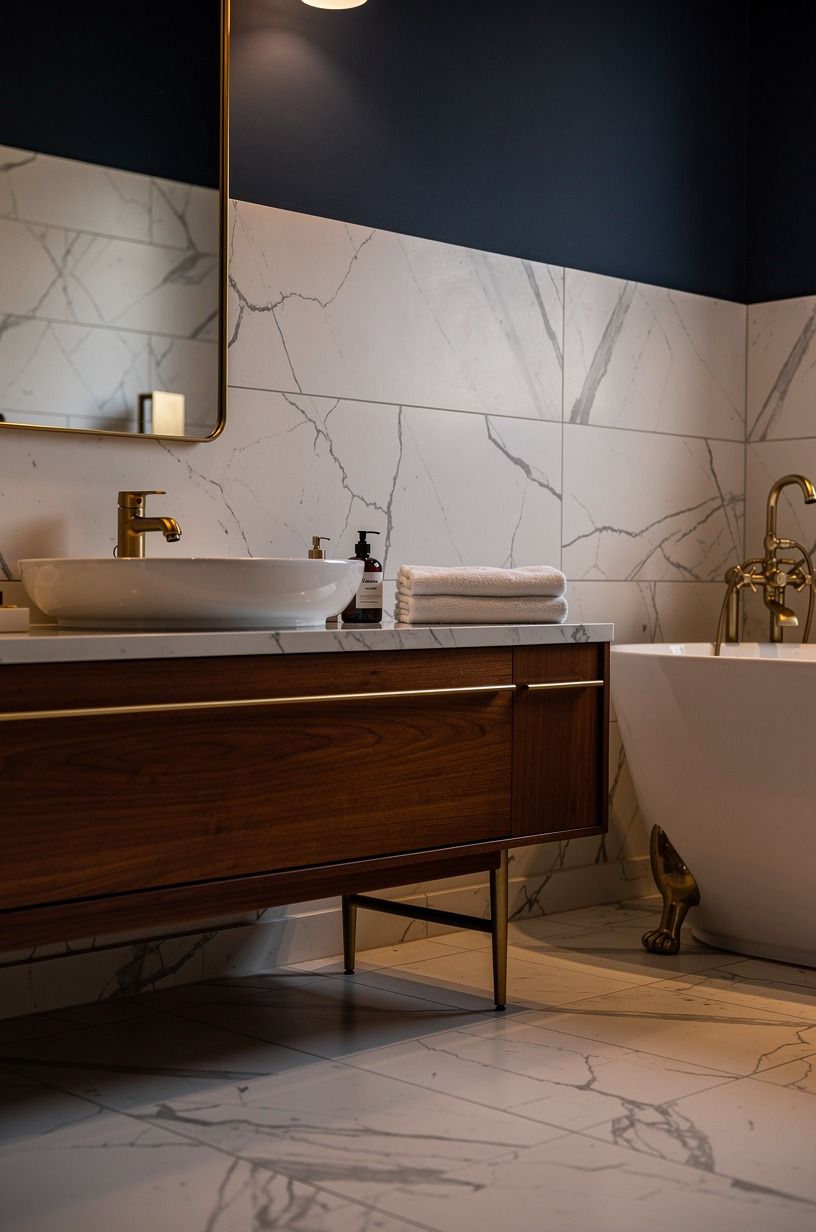
Fill cracks, sand lightly, and let repairs dry completely. On a ceiling, those lines become more obvious once a mottled finish lands over them. Use paintable flexible filler for tiny movement cracks, then prime only the patched areas if your limewash system calls for it.
You don’t need a showroom-smooth ceiling. Limewash loves a little age.
But you do need to stop active cracking, because a dramatic vein over the shower isn’t character, it’s a repair waiting to announce itself. Navy, white, walnut, and unlacquered brass with natural patina make a better kind of lived-in.
8Mix a loose batch with the Cloud-Edge Method
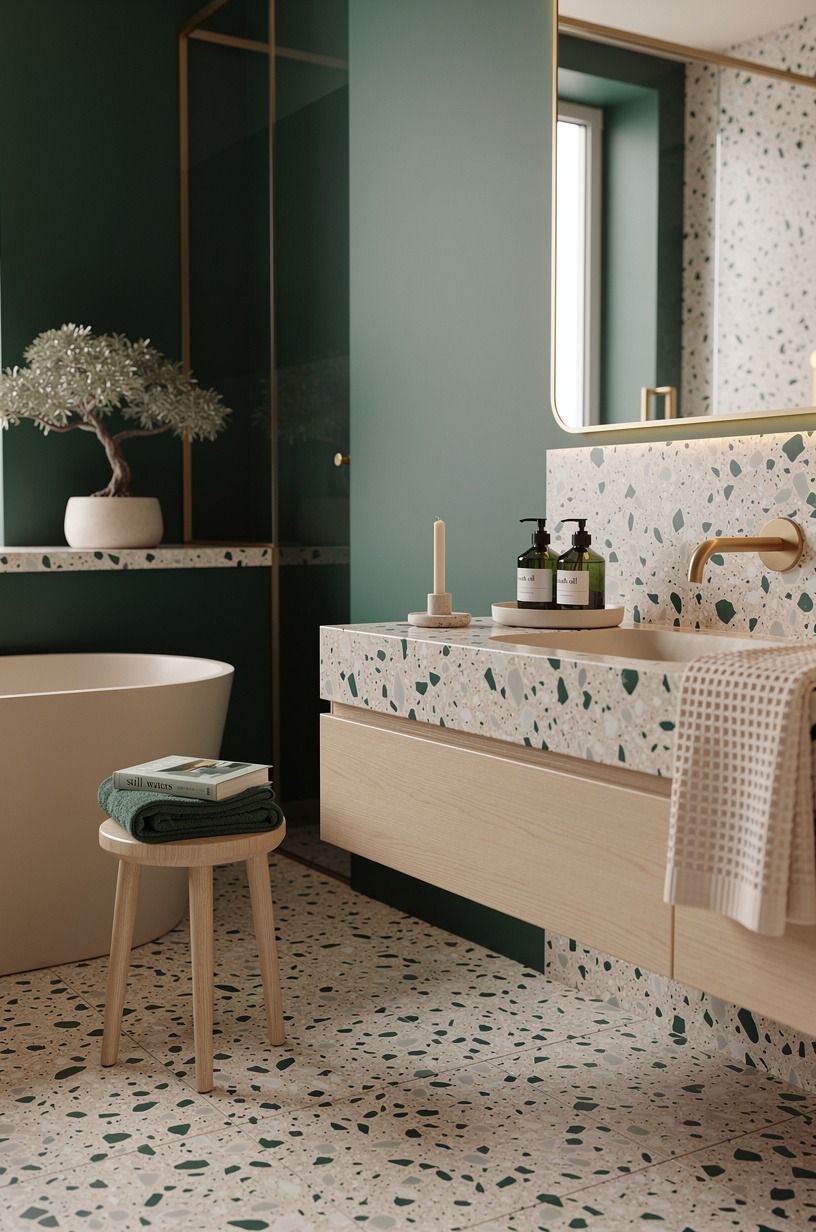
Stir until the mixture feels consistent, then keep stirring during the project. An emerald, gold, and cream scheme with oversized-chip terrazzo can take a more relaxed finish, but only if every batch stays evenly mixed.

9Cut around fixtures before the ceiling opens up
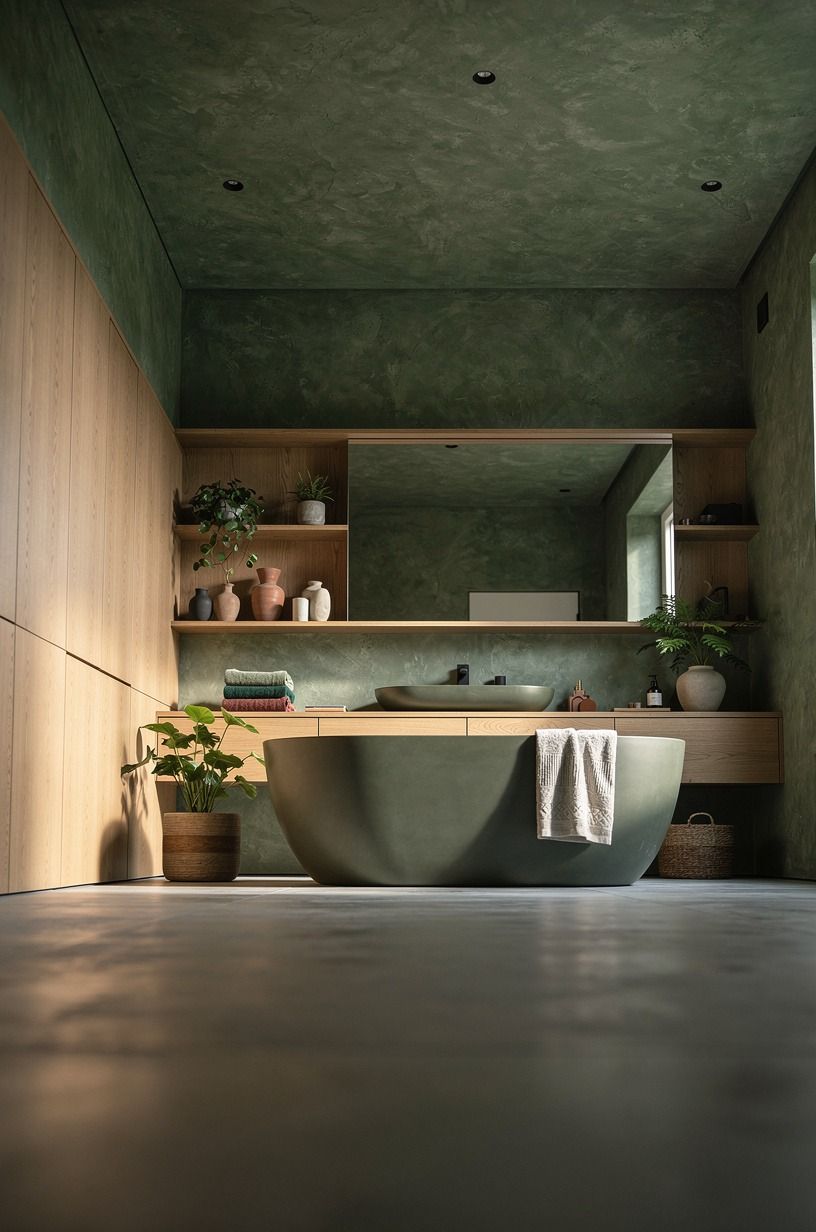
Brush around recessed lights, vents, and ceiling corners first. A small angled sash brush gives you better control than trying to force a large brush beside a fixture. Keep your edge loose where the ceiling meets a limewashed wall, because a hard outline can make the room feel boxed in.
And don’t overload the brush. Thick puddles beside a vent dry darker and look obvious later.
You’ll get a more refined finish with several thin passes than one heroic, messy coat. Forest green, rust, natural oak, and hand-applied Venetian plaster give that softness somewhere to belong.
10Apply the first coat in changing directions
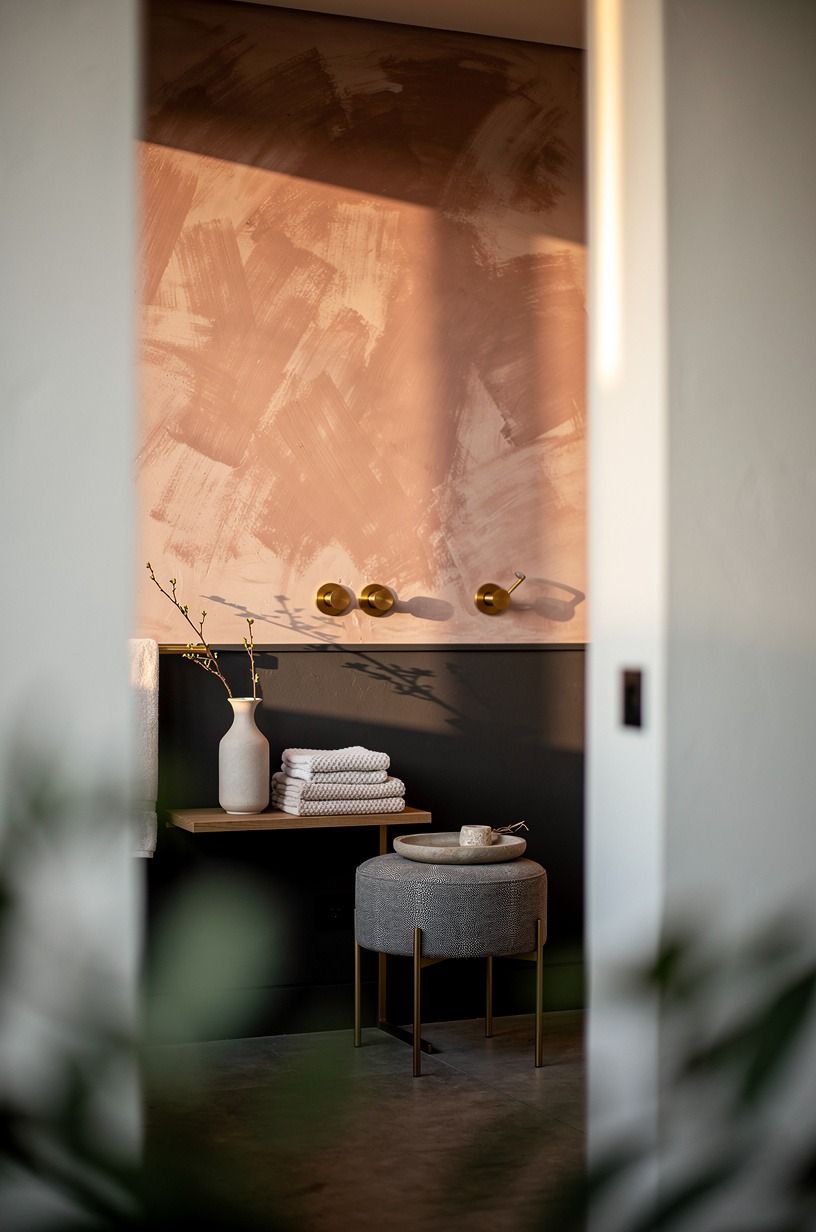
Start at the farthest corner and work toward the door. Change direction as you move so the brush pattern doesn’t read like stripes from below.
Your first coat will look patchy. Good.
It’s supposed to.
Use Benjamin Moore Chestertown Buff HC-9 only as inspiration if you want a muted sand tone, not as a direct substitute unless your chosen limewash brand can match it. Dusty rose, charcoal, brass, and a small shagreen detail can keep the room warm while the walls still carry the visual weight.
11Let the first layer dry before judging it
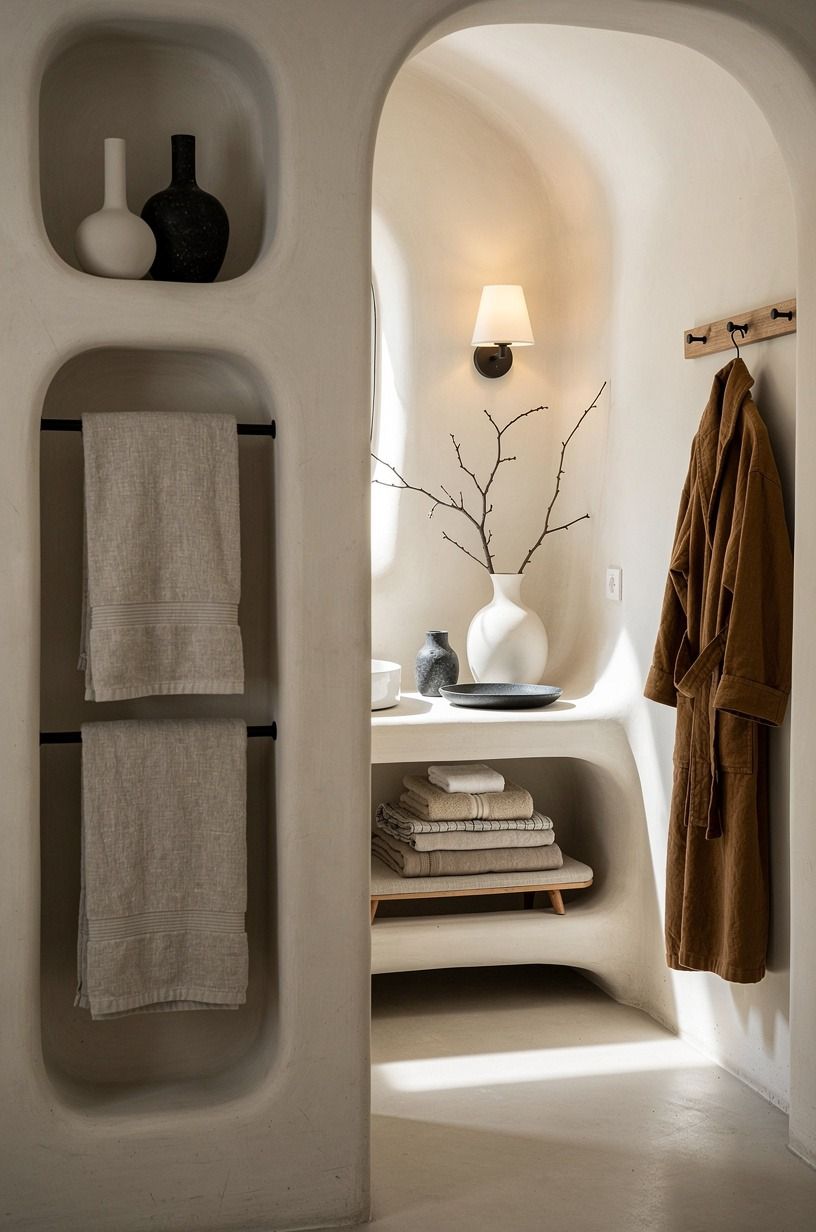
Limewash often looks harsher while it’s wet. Wait until the finish dries before you decide whether it needs another layer, because moisture deepens pigment and hides its final chalky softness. Most bathrooms need patience more than pigment.
I made the mistake of correcting a wet patch too soon once. The result was a heavy, darker blotch over the mirror that caught every bulb reflection. Let it settle.
Then you’ll see what your ceiling is really doing. Warm white, camel, black, and washed Belgian linen are forgiving companions for that quieter finish.
12Add a second coat only where the ceiling needs depth

A second coat can make the color more even, but it can also erase the quiet movement you liked in the first place. Stand in the doorway and look up from the tub.
Where does your eye snag? That’s where you should adjust.
Use a small amount of mineral limewash on thin areas rather than repainting the whole ceiling by reflex. I’d choose this restrained approach over three full coats. Midnight blue, copper, ivory, and organic bouclé can handle depth without making the bathroom feel armored.
13Keep Hague Blue for a moody powder room
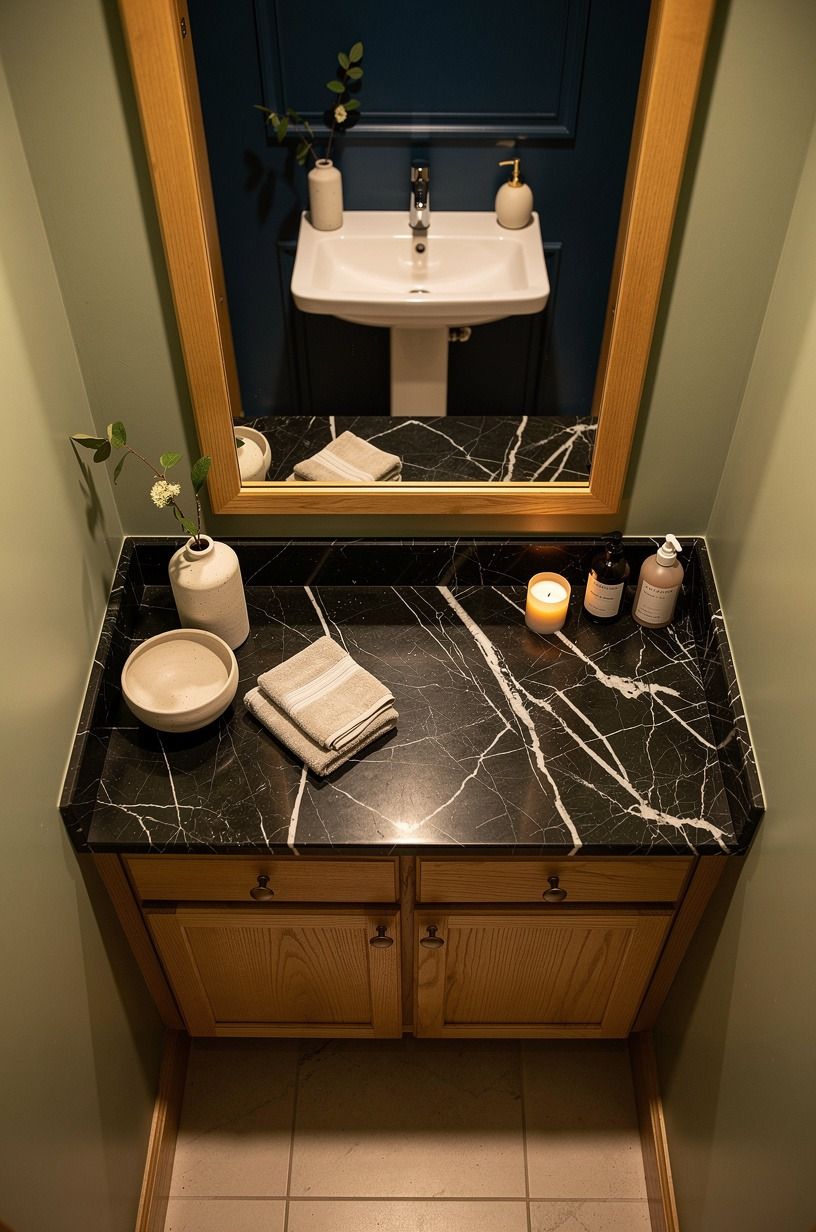
Dark ceilings can work, especially in a powder room with no shower steam. Farrow & Ball Hague Blue No. 30 paired with aged brass, Nero Marquina black marble, and a warm white wall can feel dramatic in the best way. You’ll want a mirror with enough presence to ground it.
For a full bath, I’d skip the navy ceiling unless you’ve got strong natural light and a good exhaust fan. The darker option is captivating at night, but it can make toothpaste-and-school-morning light feel unforgiving. Why make 7 a.m. harder?
14Pair the finish with honest, warm materials
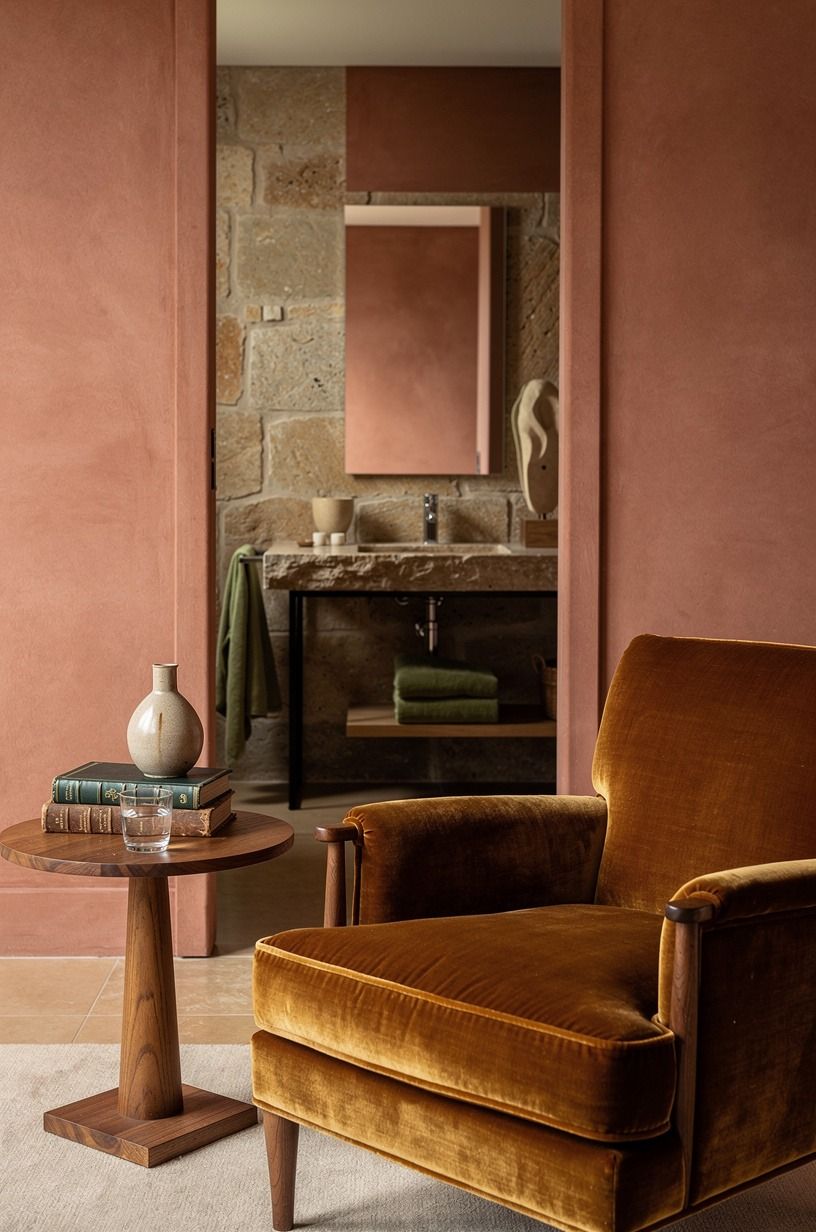
Limewash needs company that doesn’t look too polished. Deep-pile mohair velvet, a woven oak stool, and terracotta or olive accents give the ceiling something to talk to. You don’t need every surface to match.
Try a tactile pairing:
- Hand-glazed emerald zellige - Cerused white oak vanity trim - 600gsm Turkish cotton bath mat
If glossy tile is your thing, browse these zellige tile bathroom ideas for handmade glossy character. The shine underneath makes the matte ceiling feel even more intentional.
15Use the Three-Height Light Stack after the finish dries

Your ceiling color only works as well as the light that touches it. Use ceiling light, mirror light, and one lower warm source such as a shaded sconce. That three-height stack stops the room from looking flat, especially after dark.
Choose 2700K dimmable LED bulbs for a relaxing glow. Carrara marble with subtle grey veining, clay-toned walls, linen, and aged brass will keep the limewash texture readable without making green or beige undertones go gray.
But avoid cool daylight bulbs. They flatten the whole reason you chose limewash.
16Match the ceiling to the right renovation tier
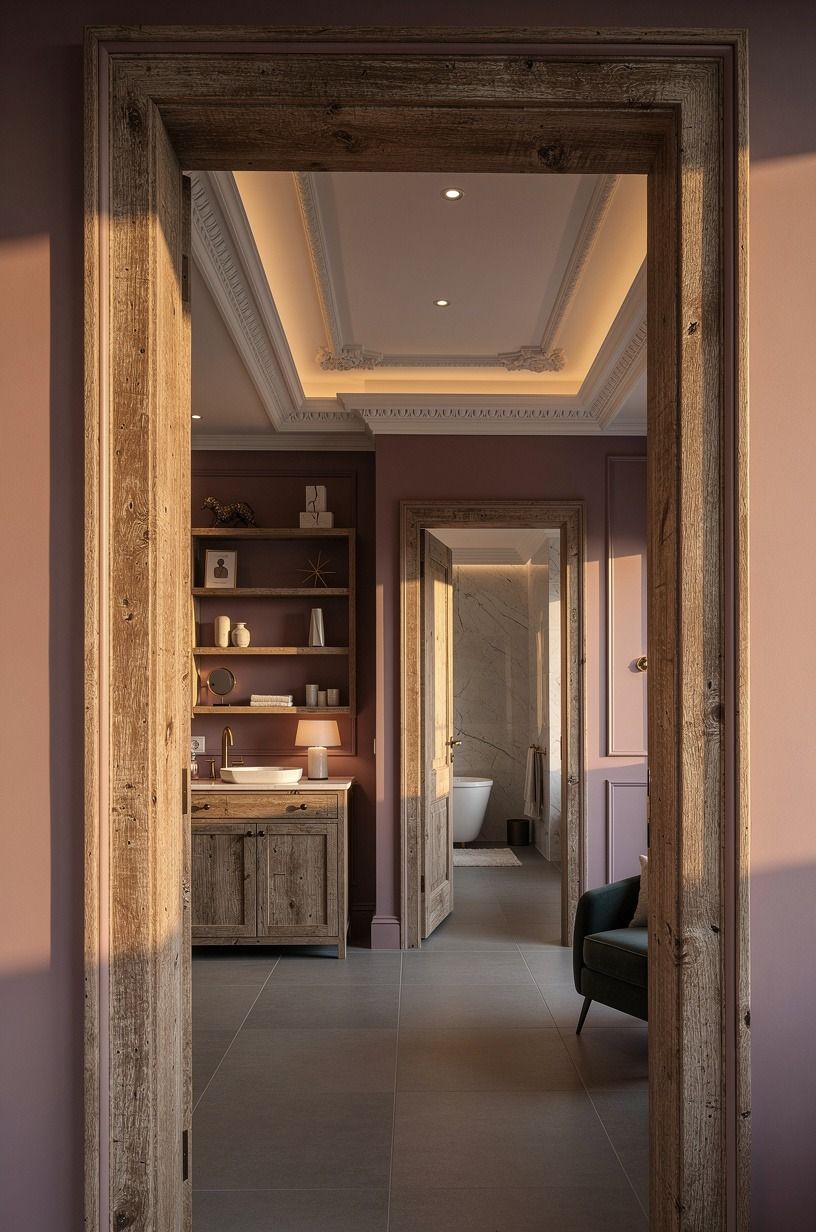
Limewashing is a smart visual upgrade because it can make ordinary fixtures feel more considered without replacing them. In a plum, grey, and rose-gold room, reclaimed weathered teak gives even a modest renovation a more settled, lasting feel.
17Balance texture with a clean vanity line
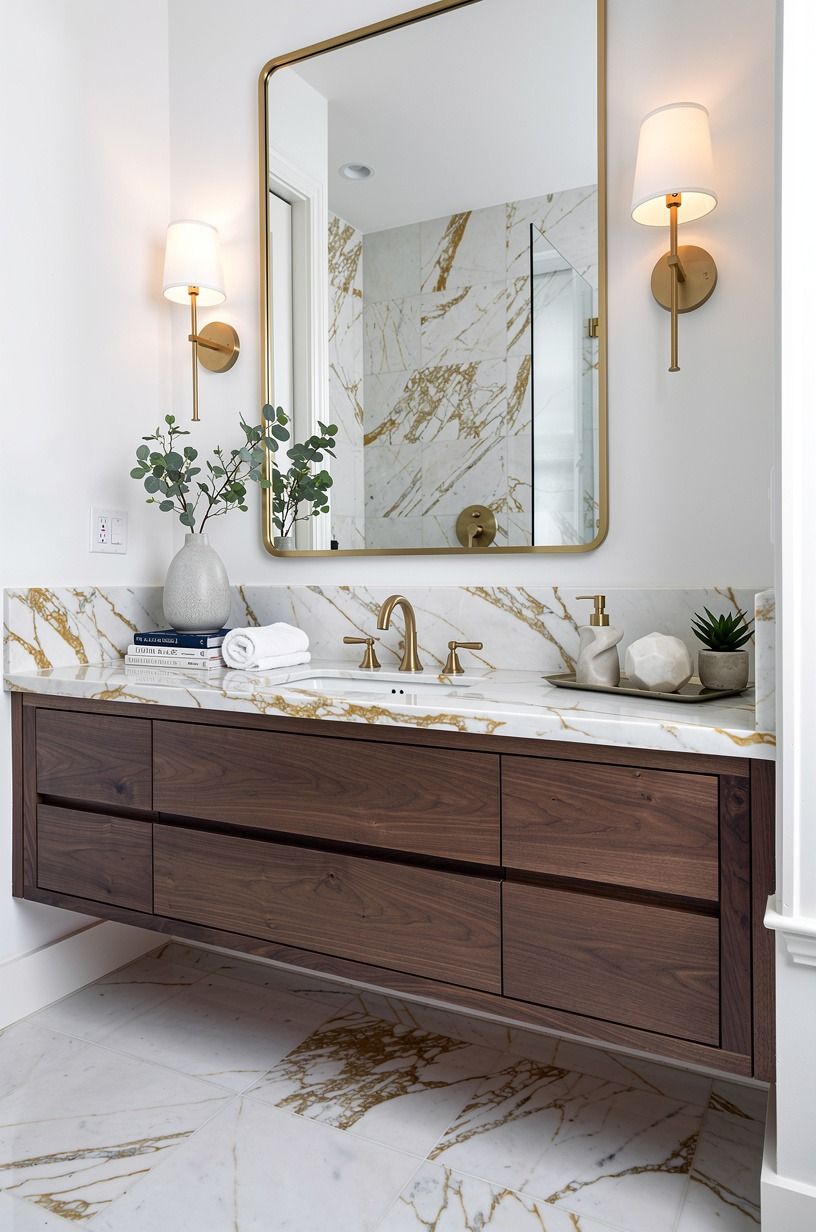
A textured ceiling needs one calm plane below it. Keep the vanity simple, especially if your room is narrow. A 32-36-inch vanity height is standard, and a slab-front oak cabinet reads more serene than a fussy, over-detailed piece.
I like IKEA HAVBÄCK in a pale finish for a budget-minded bathroom because it doesn’t compete with the ceiling. Calacatta marble with gold veining can add a little richness at the counter, while your eye still has somewhere quiet to land.
18Frame the ceiling with tile instead of more paint
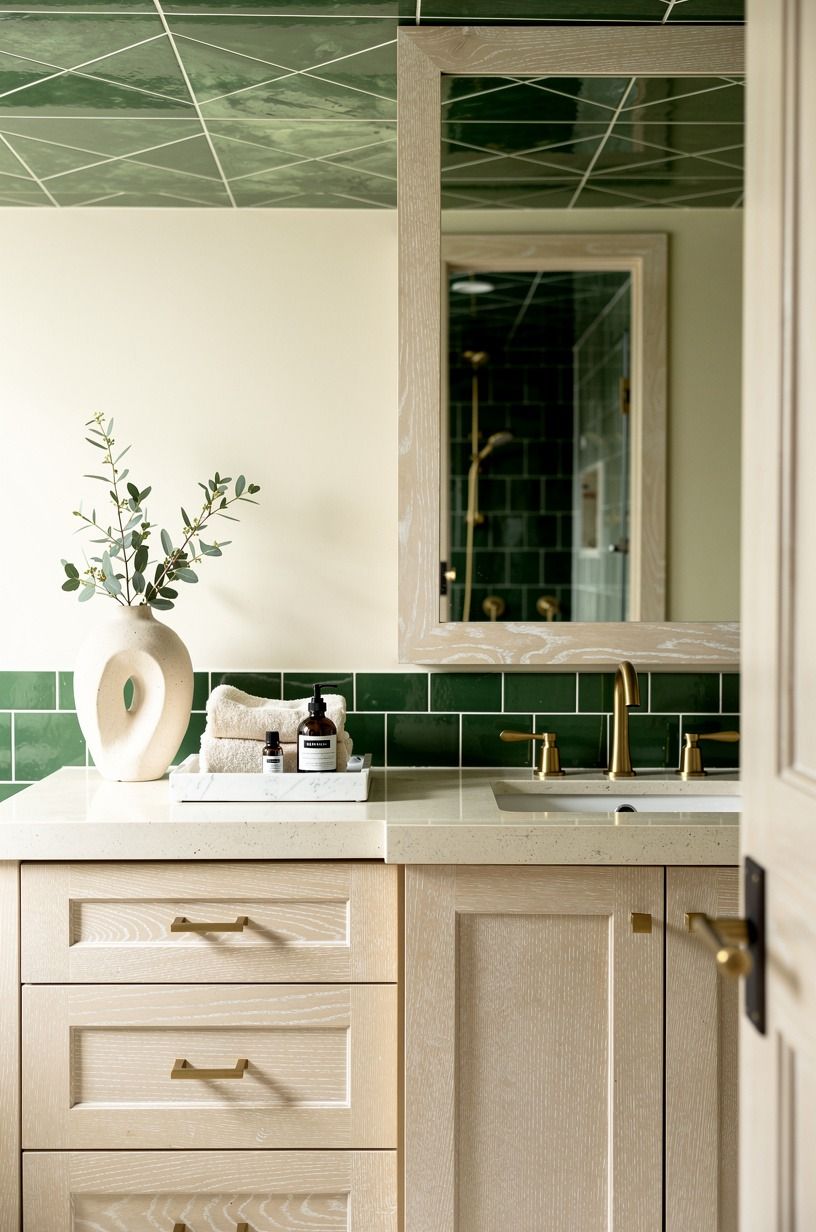
If you want contrast, use tile around the wet zone rather than adding a second strong paint color overhead. White zellige tile gives you imperfect reflections that keep a limewashed ceiling from feeling dusty. Cerused white oak, emerald, gold, cream, and a little handmade variation make a better pairing than a sharp black-and-white ceiling line.
Zellige typically runs $15-$35 per square foot, while subway tile often lands around $2-$10 per square foot. You don’t have to tile every wall.
A shower surround can be enough. These white zellige bathroom ideas show why.
19Maintain the finish with restraint, not constant touch-ups
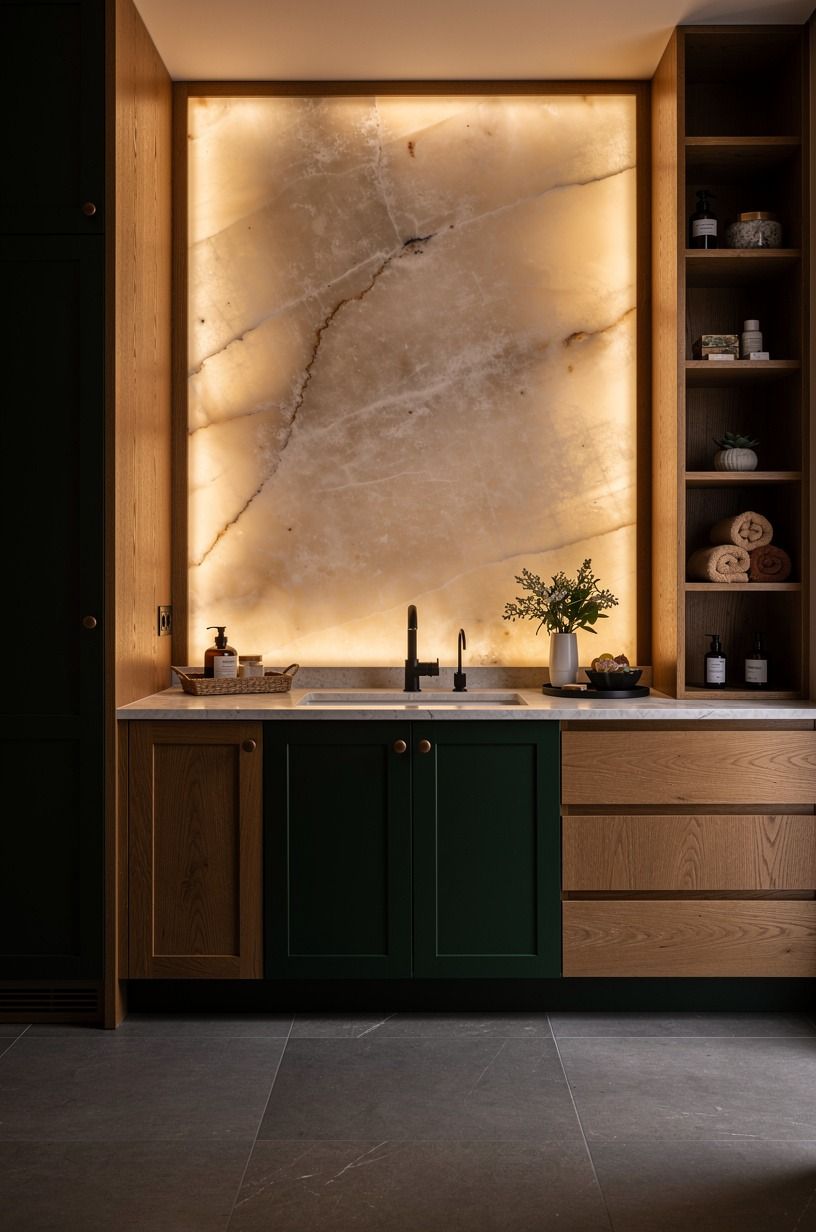
Let your limewashed ceiling age a little. Wipe splashes quickly, run the fan after showers, and repair only true damage. Forest green, rust, natural oak, and a backlit translucent onyx detail make a bathroom feel more charming than one you keep trying to freeze in place.
If you need to patch later, test the diluted mix on cardboard first. You’ll want the new area to fade into the old one, not sit there like a bandage.
Gentle maintenance. That’s the whole assignment!
Why I Think the Ceiling Matters More Than Another Accessory
I used to treat bathroom ceilings as the part you paint white while you make the “real” decisions below. Then I finished a small bath with warm tile, a decent oak mirror, and a ceiling that was still bright contractor white.
Everything felt disconnected. The tile had texture, the towels had weight, the faucet had a soft brass tone, and above it all was this blank, cold plane acting like it belonged to another room.
So I limewashed it. Not perfectly, either.
The first pass was too timid, and I went back over the area above the vanity because it looked more beige than I wanted. But once it dried, the room changed in a way that a new soap dish never could.
The ceiling stopped reflecting harsh light straight down and started holding it. You noticed the texture only when you looked, which is exactly right.
Here’s my strong opinion: don’t spend money on decorative clutter before you deal with the surfaces surrounding you. A fancy tray can’t rescue a ceiling that makes your warm bathroom read blue and sterile.
Nor can a gallery wall, though I’ve certainly tried. In a small space, every plane is close enough to matter.
That doesn’t mean every ceiling needs dark pigment or theatrical movement. I’m not arguing for drama just because it photographs well.
The best limewashed bathroom ceiling is often quiet, a pale mineral wash that makes the room feel more peaceful without demanding attention. You’ll know you got it right when guests can’t name the change but linger a little longer at the mirror.
The Questions I Get Asked Most
What is the best limewashing the bathroom ceiling for a small bathroom?
A pale mineral wash is the best choice for a small bathroom because it keeps the ceiling visually open. Sherwin-Williams Sea Salt SW 6204 is a useful color direction if you want muted green-gray warmth.
- Soft, low-contrast ceiling - Warm 2700K bulb light - Simple IKEA HAVBÄCK vanity line
Where can I buy limewashing supplies on a budget?
You can find budget basics at IKEA, Target, Wayfair, and local paint stores, then buy the mineral finish from a specialty paint retailer. Facebook Marketplace is useful for mirrors, stools, and vintage lighting.
- Canvas drop cloth - Masonry brush - Secondhand wood stool
How much does a limewashed bathroom ceiling makeover cost?
A limewashed bathroom ceiling makeover can cost about $100 to $300 when the ceiling is sound and you’re doing the work yourself. Surface prep is where you shouldn’t cut corners, because poor adhesion costs more later.
- Limewash finish - Primer, if required - Brush and protection materials
Can I create this look on a budget?
Yes, and you can get the feeling without replacing your vanity or tile. A mineral ceiling finish plus clean textiles and better bulbs does much of the visual work.
- Existing fan kept running - Reused mirror frame - Fresh Turkish cotton towels
Is limewashing the bathroom ceiling worth it in a small space?
Yes, it’s worth it in a small bathroom because you see the ceiling constantly. Soft visual depth can make a compact room feel more finished without taking up any floor space.
- Lighter ceiling than walls - Clear 21-inch toilet clearance - One warm material at eye level
Is limewashing the bathroom ceiling a good idea for a rental?
It can be, if your landlord approves the finish and you understand whether it’s removable. Low-damage alternatives include peel-and-stick ceiling panels, a tension-rod shower curtain, and removable wall treatment.
- Landlord approval in writing - Removable accessories - Existing paint tested first
Where I’d Start First
If I had to pick one step, I’d start with the two-light test. You can’t judge a ceiling color under one bulb, and the wrong undertone will fight every brass fixture and towel you own. Pin the test for later, then live with your samples overnight.