
 by
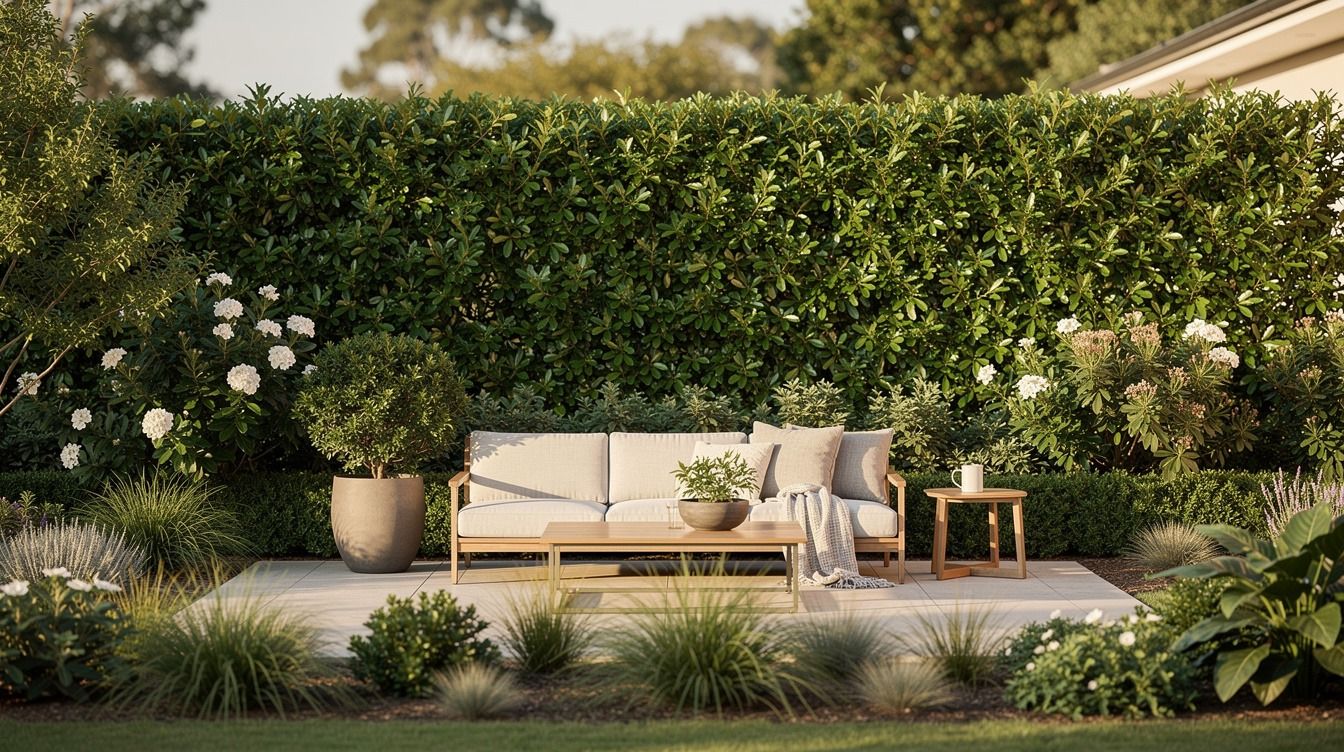
by Privacy hedge and shrub ideas can give your yard a living screen for about $100 to $300, depending on your space, soil, and plant choices. I’ve learned that the warmest fences don’t look like fences at all. They look layered, leafy, and lightly imperfect. You can build yours in sixteen clear steps.
- Start with the View You Want to Hide
- How Long Is the Planting Line?
- The Three-Height Green Stack
- Set a Budget Before You Pick the Shrubs
- Match Plants to Your Light
- The Root-Room Ledger
- Anchor the Corners First
- Living Screen or Solid Screen?
- Bring Flowers Along the Privacy Fence
- Let the Empty-Gap Principle Breathe
- Add Rental-Friendly Height Without Digging
- Evergreen Structure Meets Seasonal Change
- Give the Greenery a Benjamin Moore Backdrop
- Where Should the Watering Route Go?
- Light the Greenery From Below
- Prune for Density, Not Perfection
1Start with the View You Want to Hide
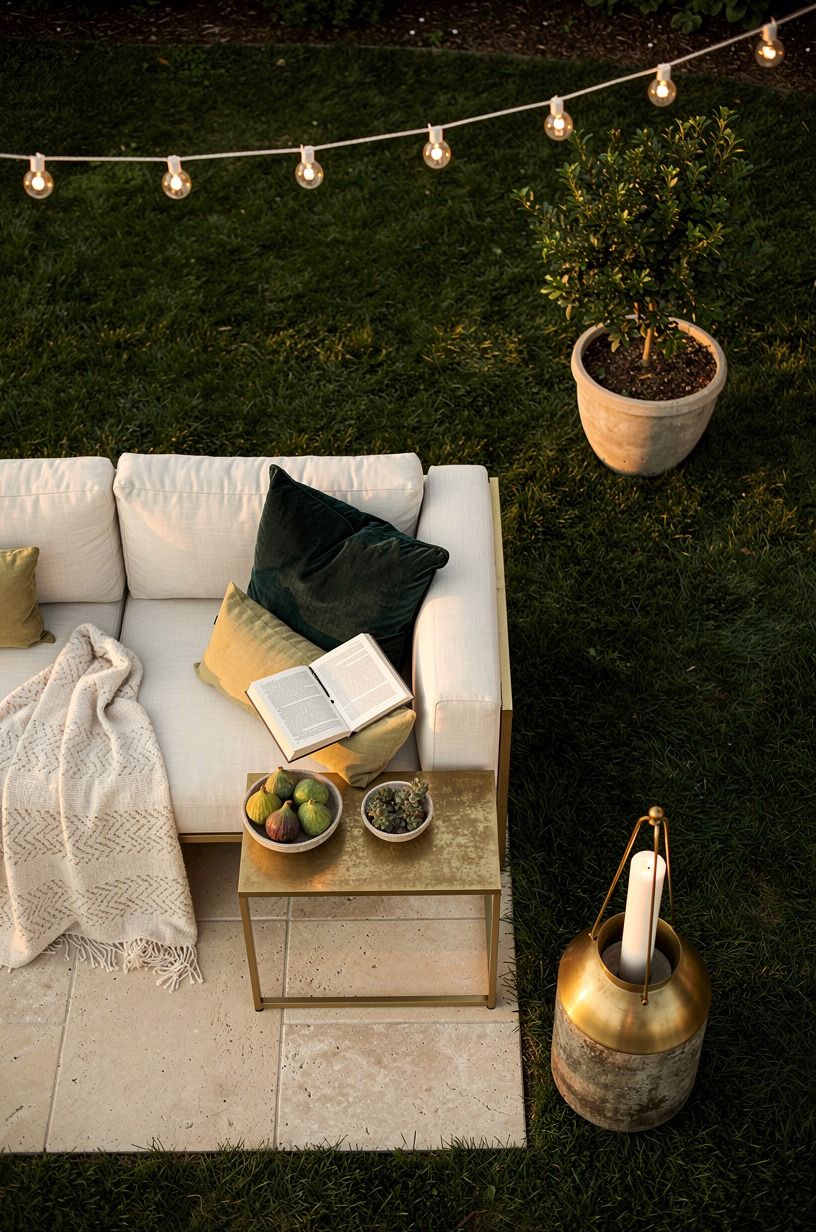
Stand where you usually sit, then mark the exact sightline you want to soften. Your neighbor’s patio, a parking area, or the living-room window across the yard may need different planting heights. I’d start with the most annoying view, not the longest boundary.
That keeps your living fence focused instead of letting it swallow the whole yard.
Walk the line at morning and late afternoon. You’ll notice where the sun hits the leaves, where wind pushes through, and where an evergreen screen would cast shade.
If you’re screening a window, leave enough breathing room for light. Nobody wants privacy that turns the room gloomy.
My favorite starting move is a quick sketch with three marks drawn over it: sightline, planting line, and walking path. You’ll see the problem before you buy a single shrub.
That one sketch changes the whole plan! For a lush comparison, browse these privacy fence ideas with plants for a living wall.
Typical project costs:
2How Long Is the Planting Line?
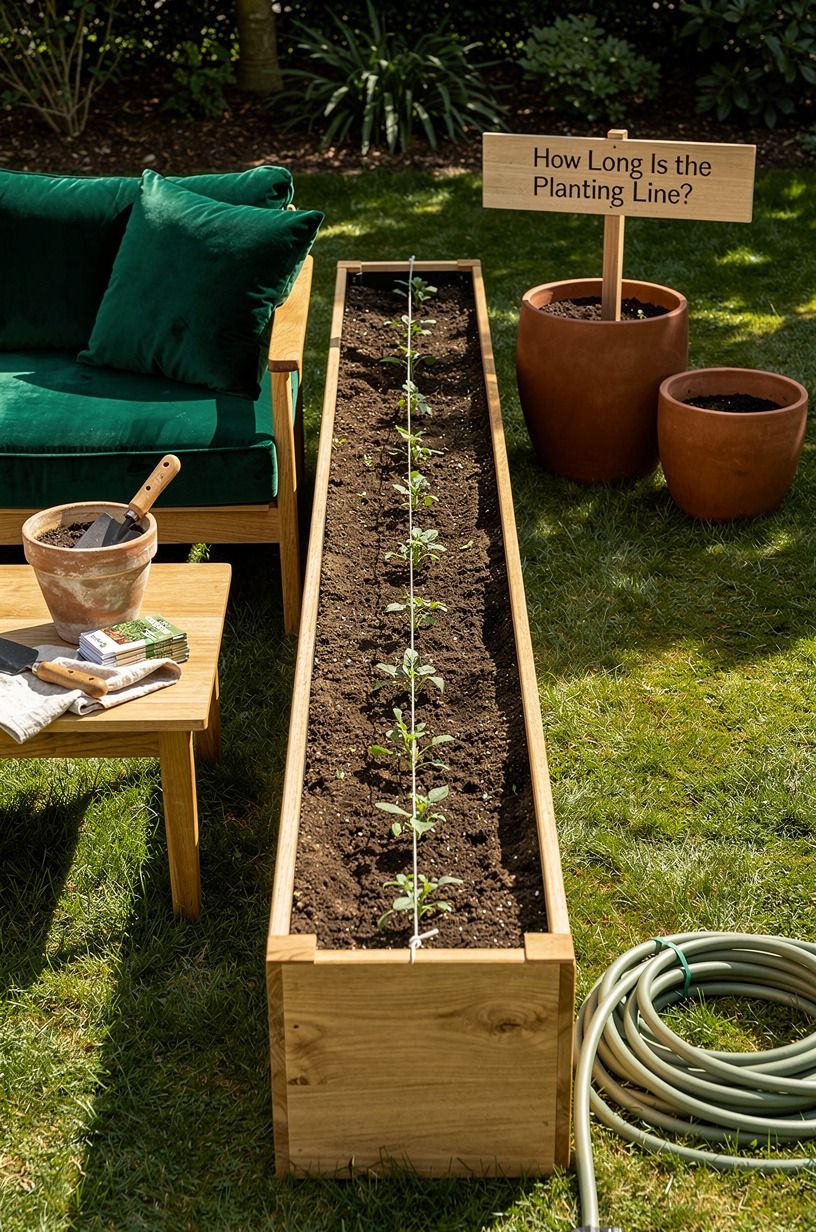
Measure the space you can plant, then measure it again from the opposite end.
3The Three-Height Green Stack
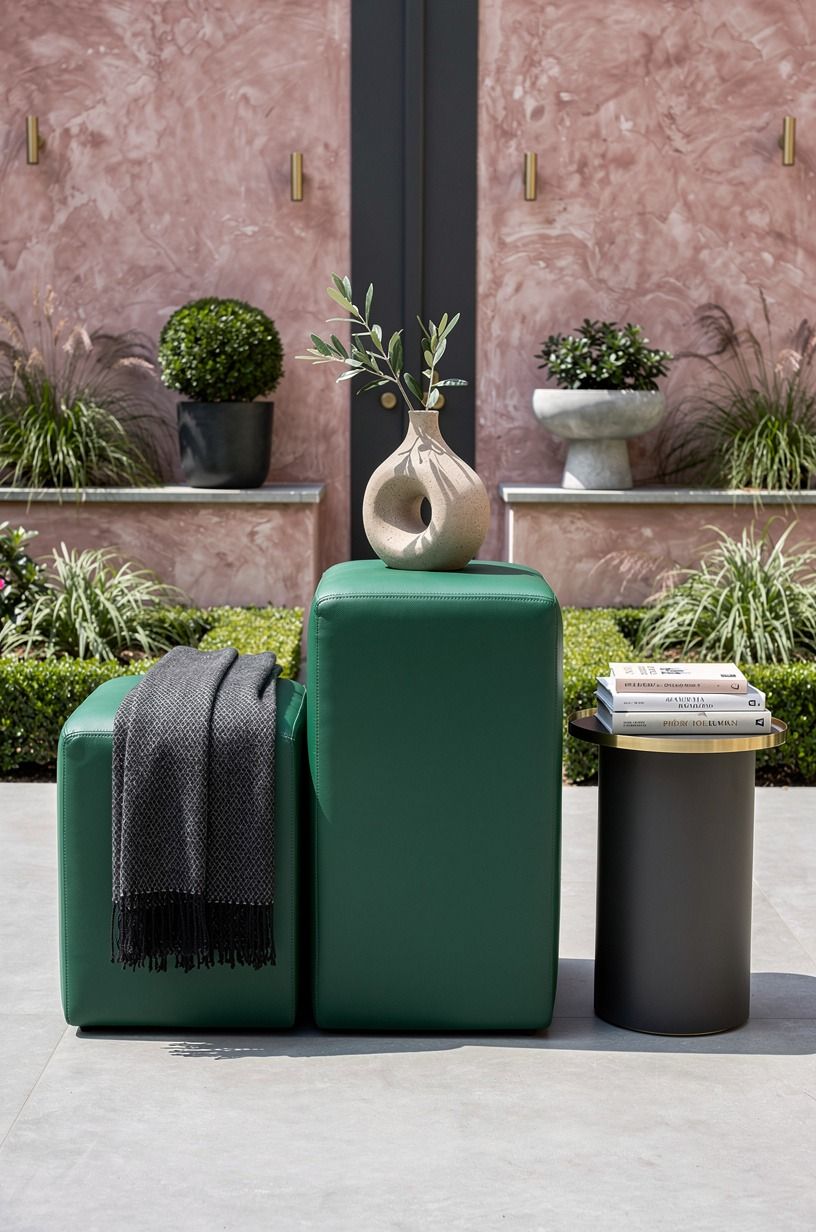
Build your screen with three heights: a taller anchor, a middle shrub, and a low plant that covers bare soil. This three-height planting keeps your yard from looking like a row of green bowling pins. You’ll get a more organic view because the eye has somewhere to travel.
For the tall layer, consider American holly or another upright evergreen suited to your climate. For the middle, use a rounded shrub with dense branching.
Along the front, add ferns, ornamental grasses, or Japanese forest grass that catches low evening light. I’d skip twelve matching shrubs in a line. They look tidy on day one and flat by the end of the season.
Your small yard may need only two layers. That’s fine.
If you’re renting, cluster large containers instead of digging a permanent bed. A movable arrangement can still feel intimate, especially when the pots have varied heights and graceful finishes.
These privacy fence ideas with plants for a lush living wall show how a layered edge can replace a hard boundary.
4Set a Budget Before You Pick the Shrubs
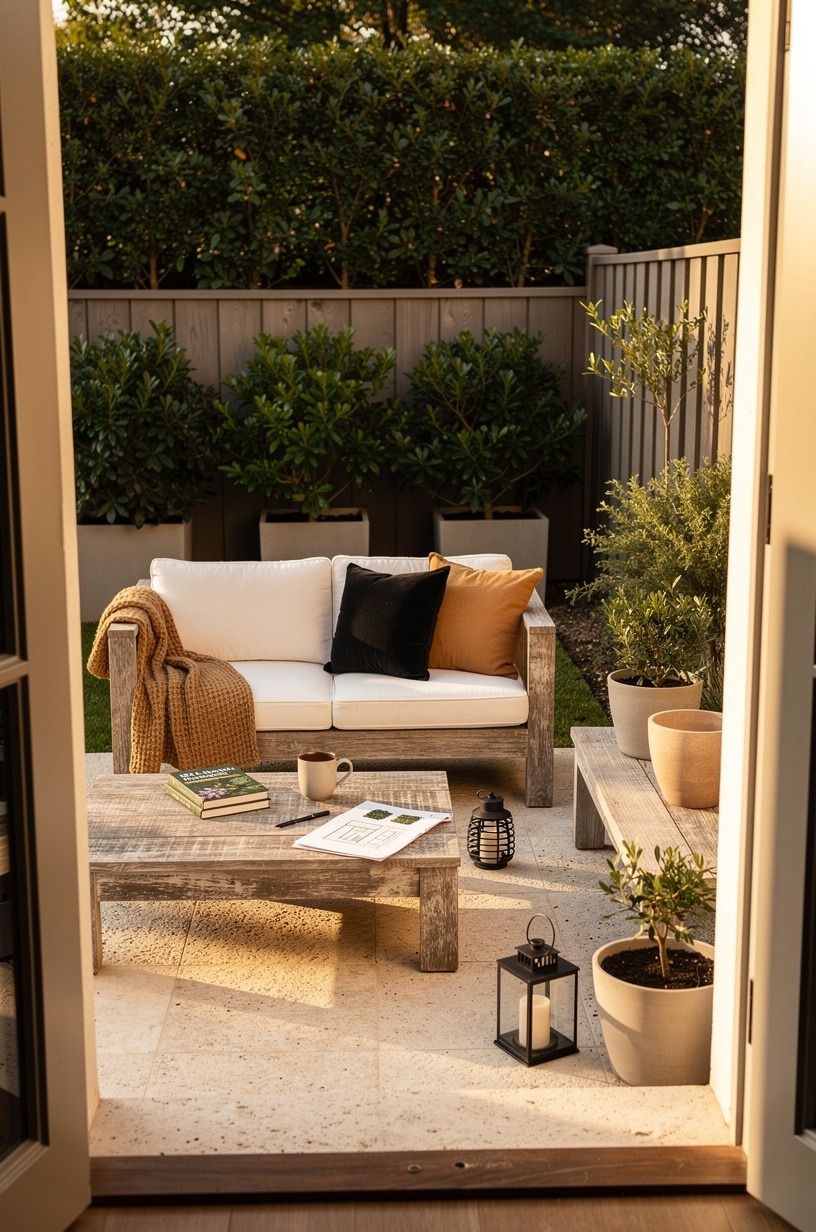
Set your budget around the part of the project you can’t change later: the number of plants, soil improvement, and delivery. Containers and decorative details can come afterward. That order keeps a pretty planter from taking money away from the plants doing the actual screening.
Reserve a little extra for composted soil, mulch, and a simple watering setup. Check each plant’s hardiness zone before buying, and leave room for replacement plants if the site is windy or unusually hot. You don’t need to finish the entire boundary in one weekend.
Start with the sightline that bothers you most. A three-plant solution may be enough for the first season, and you can extend the screen once you understand how the light moves. That gradual approach feels far less stressful and usually produces a more thoughtful result.
5Match Plants to Your Light
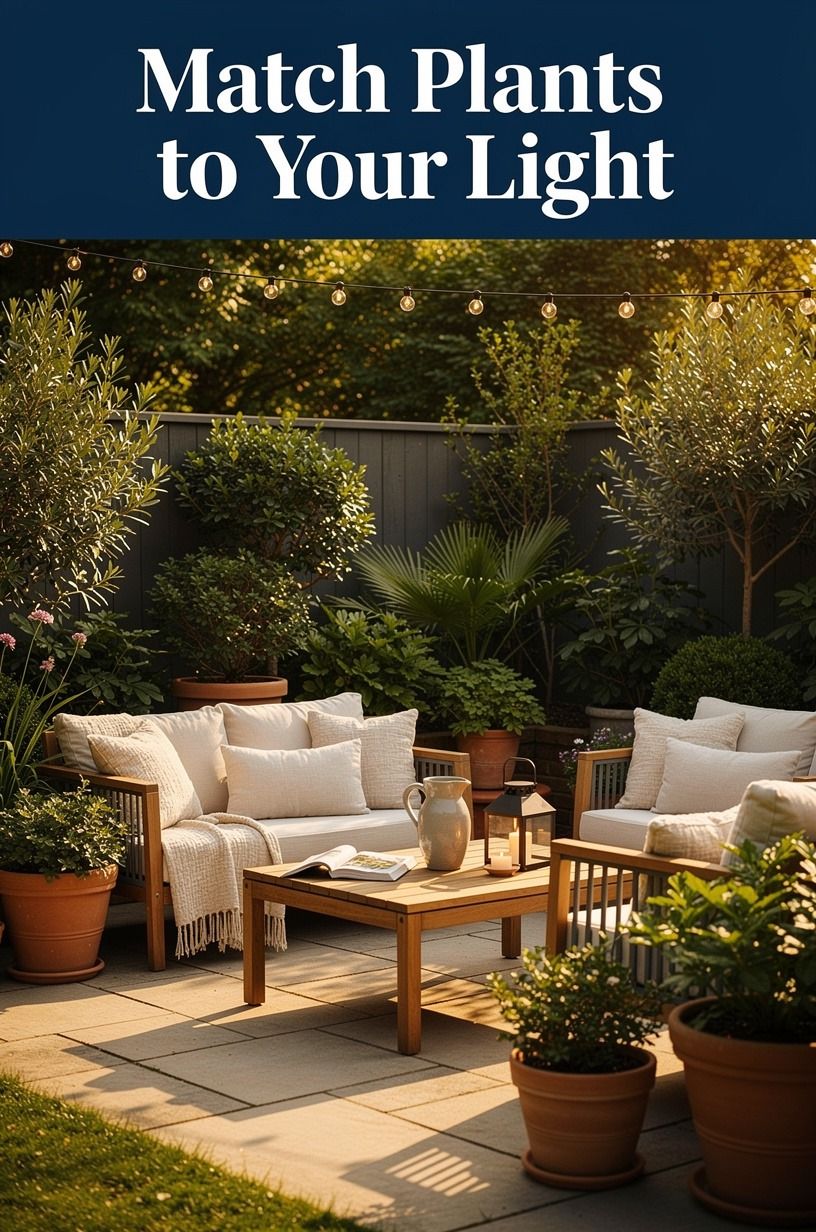
Match every plant to the light it will receive, not the light you wish it had. Your north-facing edge may need shade-tolerant shrubs, while a bright western border can handle sun-loving grasses.
Look at the bed for a full day if you can. One glance at noon isn’t enough.
I’d rather see three healthy shade plants than ten struggling sun plants. Choose foliage with different leaf shapes, such as broad evergreen leaves beside fine grass blades. A nearby chair in washed Belgian linen can echo the soft texture, but the plants should carry the screen.
Don’t ignore reflected heat from a wall or patio. It can turn a charming little corner into a dry, dramatic pocket by late afternoon. If you’re screening a dark room, combine greenery with reflective surfaces inside, using these no-window living room ideas that fake natural light for the adjacent space.
Healthy plants make the whole project feel more generous and inviting. Struggling plants make even a beautiful plan look neglected.
6The Root-Room Ledger
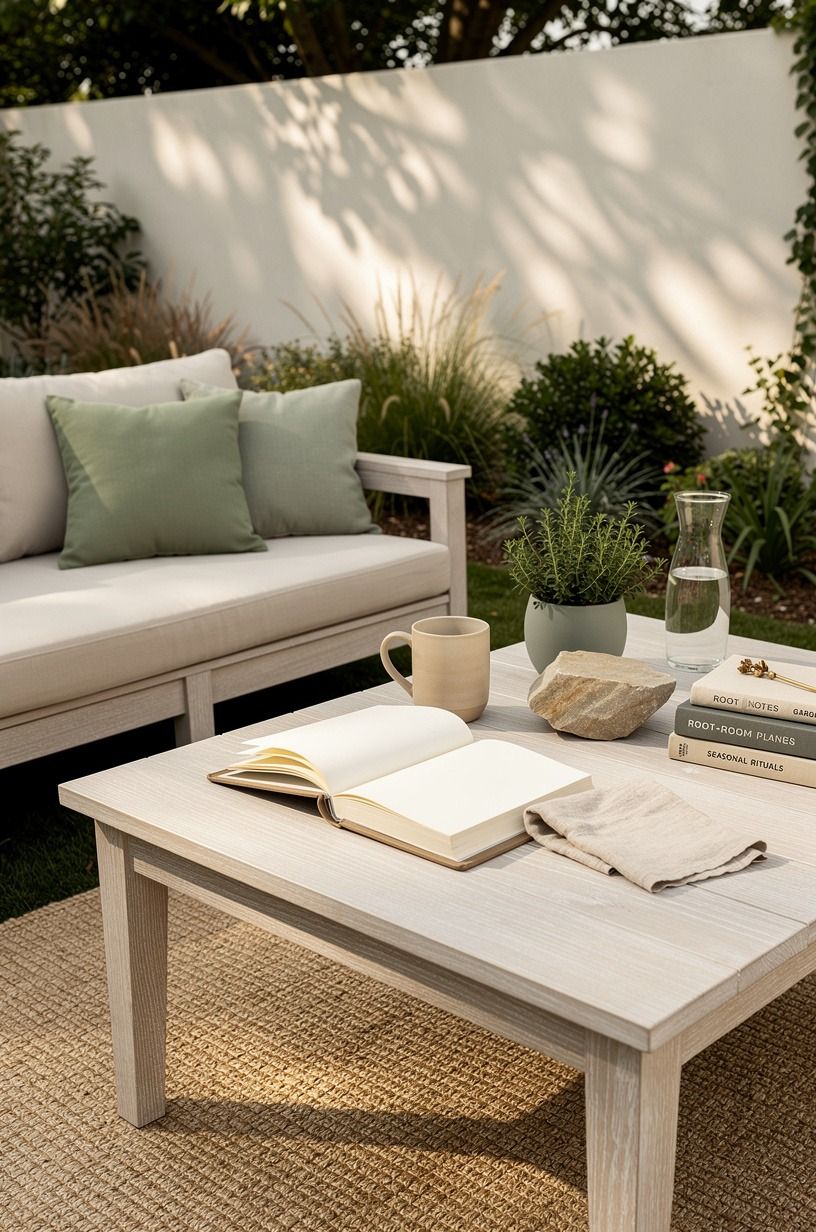
Give every plant enough room at the root zone, even when your yard feels tight. Read the mature width on the plant tag and mark each future spread on the soil. Your young shrubs may look lonely at first, but crowding them creates weak growth, messy pruning, and a damp bed.
This is my Root-Room Ledger: write the plant name, mature width, light need, and watering demand on one sheet. Group plants with similar needs together. You’ll save yourself from watering one thirsty shrub every day while its neighbor prefers a drier edge.
Leave room for mulch and maintenance. A strip of cerused white oak edging can visually separate a planting bed from a seating area, but it shouldn’t replace access to the roots. Your hedge will look more elegant when you can reach it without stepping on the soil.
For a narrow side yard, compare the ledger with these privacy fence ideas with plants for a lush living wall before committing to a dense row.
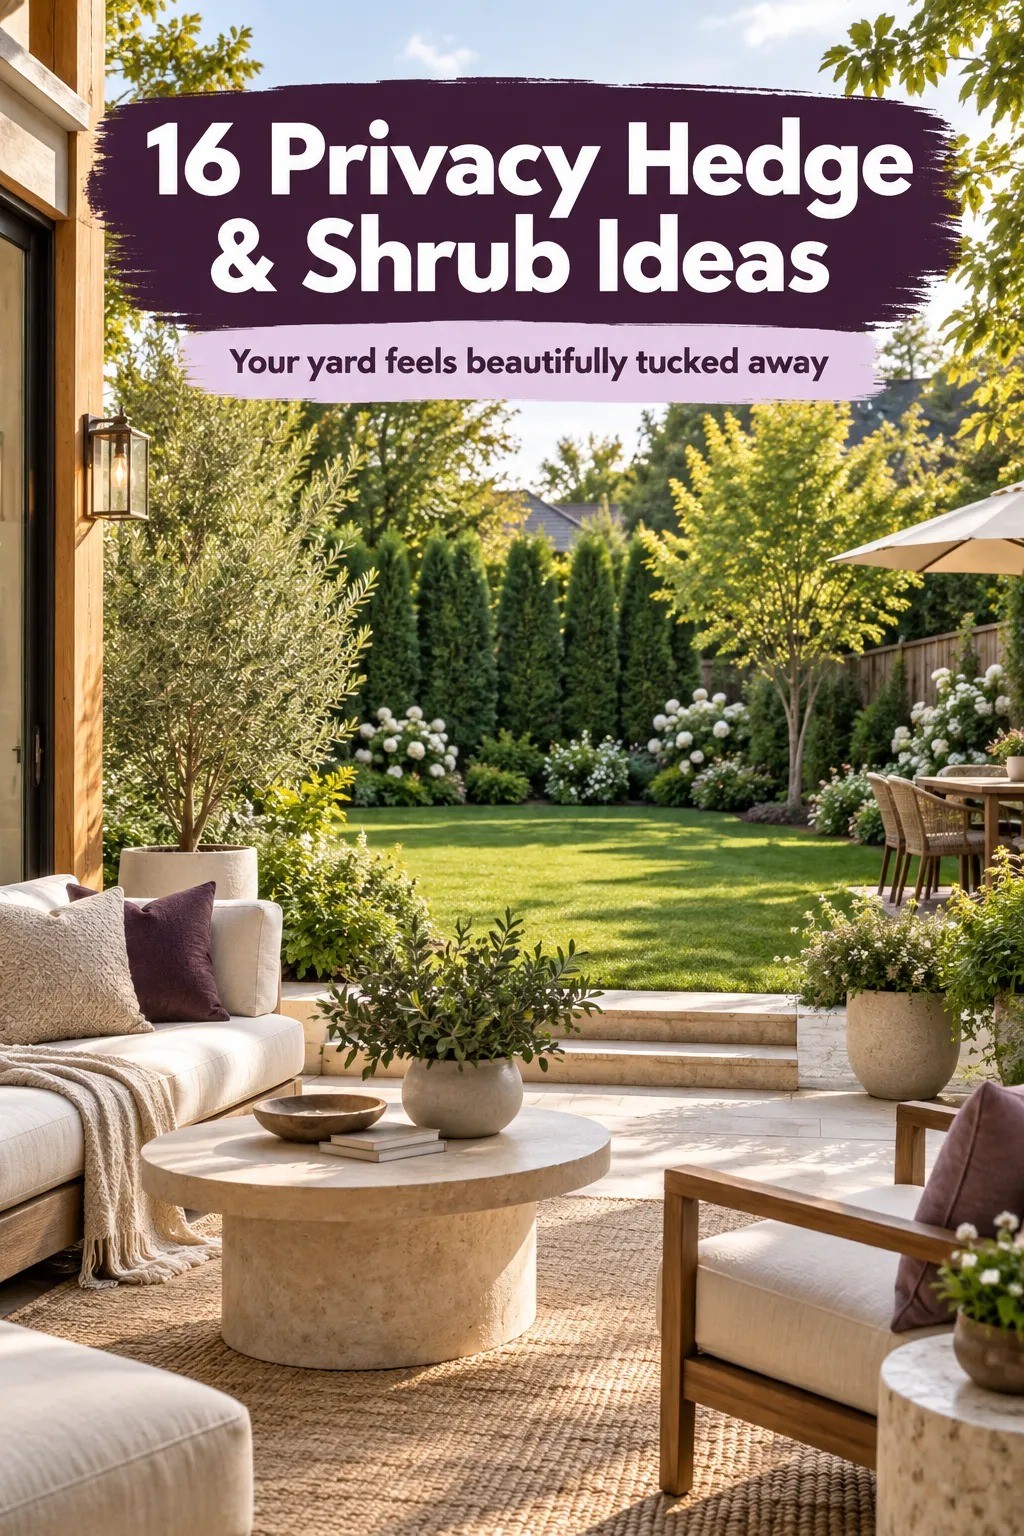
7Anchor the Corners First
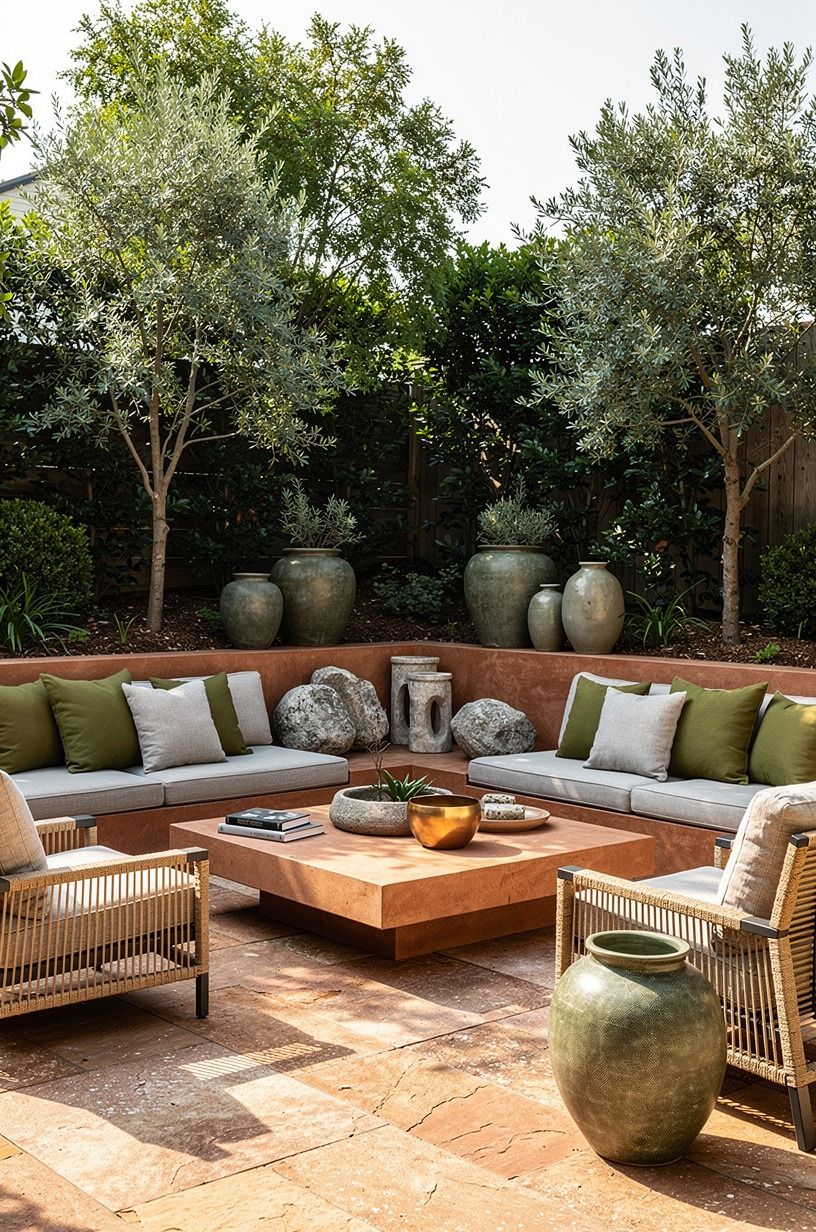
Anchor the two ends of your screen before filling the middle.
8Living Screen or Solid Screen?
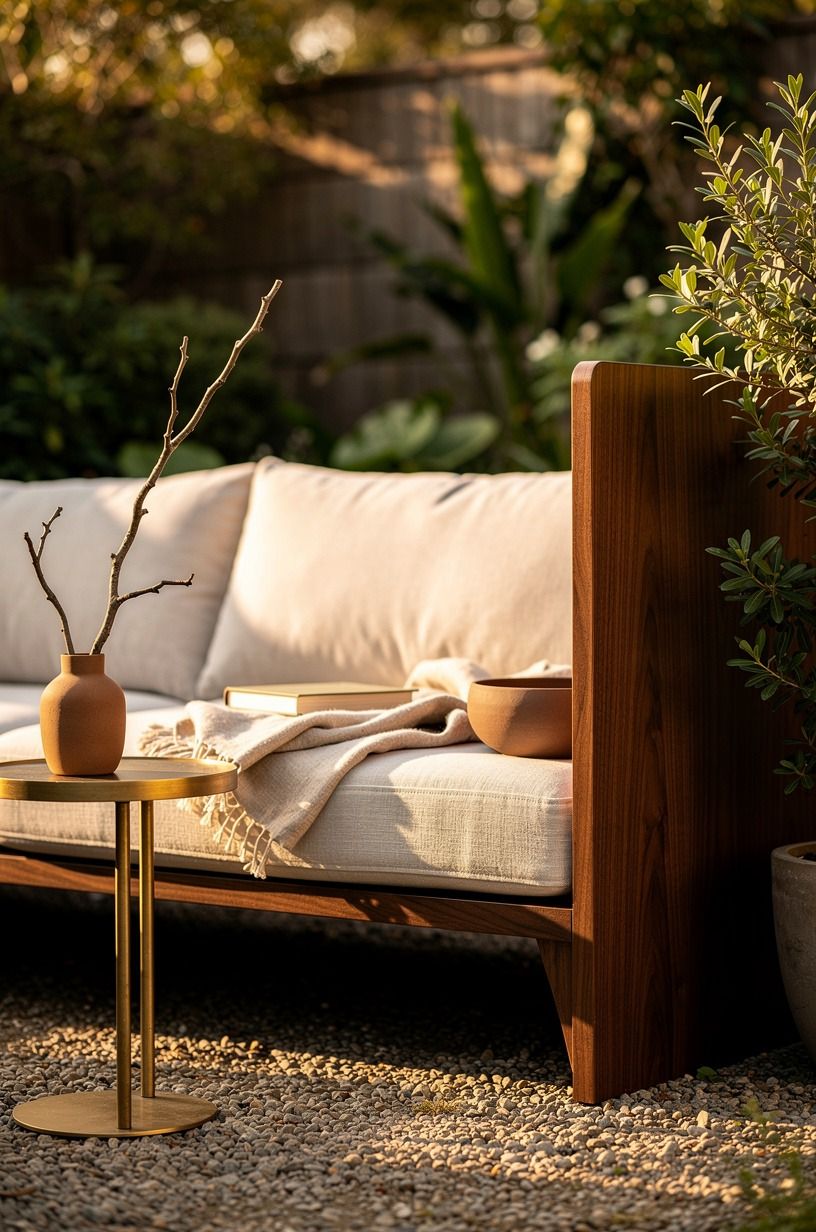
Layer shrubs over a solid screen when you need privacy quickly, but don’t let the hard surface become the whole view. Your plants should break the straight line with leaves, branches, and changing shadows. Even a modest row of pots can soften a fence that feels cold and exposed.
The Soft-Screen Equation is simple: dense foliage at eye level, open branches above, and a low layer near the ground. You’ll get coverage without making the yard feel boxed in. I’d skip a single thick hedge if your space is narrow.
It can eat valuable room and turn airflow stagnant.
Try a container grouping in front of the fence, using tall clay planters and a book-matched walnut screen or similar warm backdrop. Then mix in a rounded shrub, trailing rosemary, and a small aged-brass trellis.
Lovely! These privacy fence ideas with plants for a lush living wall can help you balance quick coverage with a softer finish.
9Bring Flowers Along the Privacy Fence
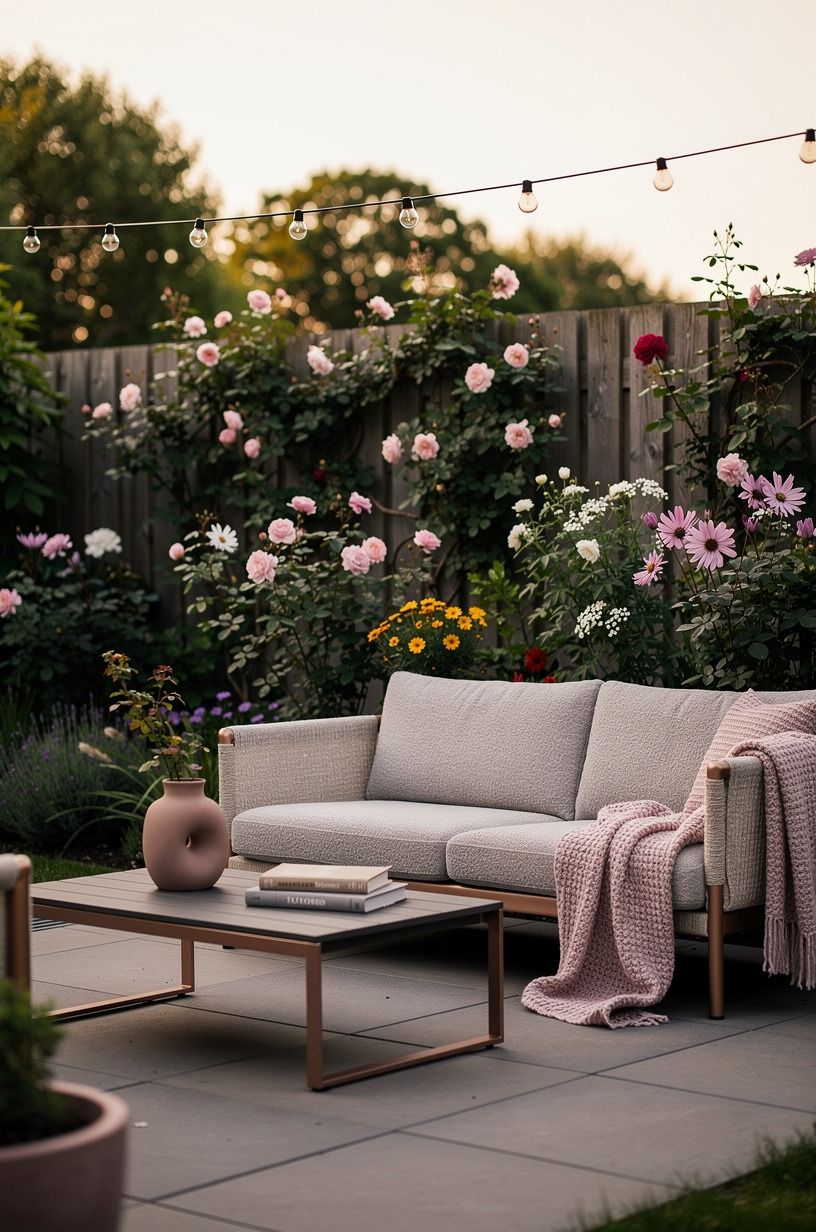
Plant flowers along the privacy fence to make the screen feel seasonal and lived-in.
10Let the Empty-Gap Principle Breathe
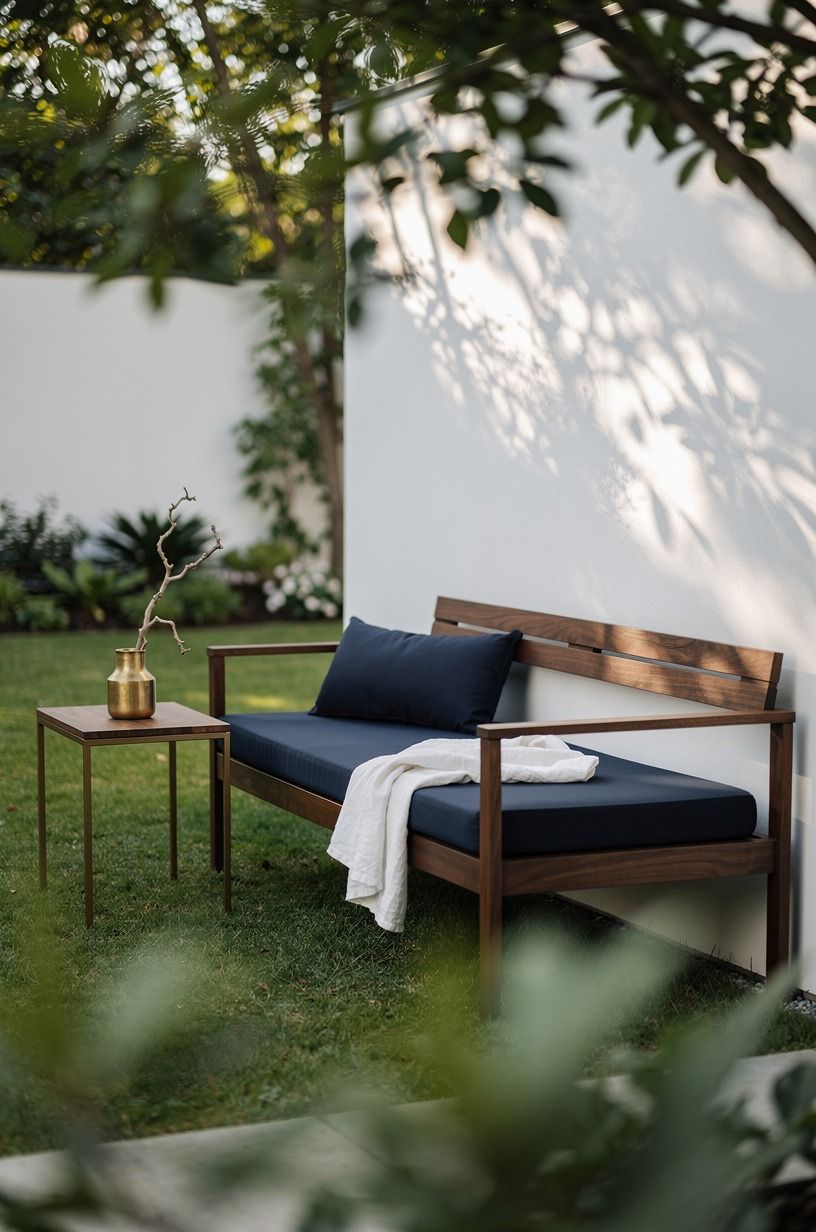
Leave intentional gaps between selected shrubs instead of filling every inch. A narrow opening can frame sky, reveal a tree beyond the property line, or give you somewhere to place a chair. Privacy doesn’t require a solid wall from every angle.
Use gaps where they improve circulation and keep branches from rubbing together. Open planting space and deliberate negative space also allow wind to move through the screen instead of pushing against one dense surface. The result feels calmer and usually needs less pruning.
A small gap can even make the greenery look more luxurious. The eye reads the plants as a composed garden rather than a defensive barrier. If you need another reference for softening a boundary, browse these cheap patio privacy ideas that never touch the fence.
11Add Rental-Friendly Height Without Digging
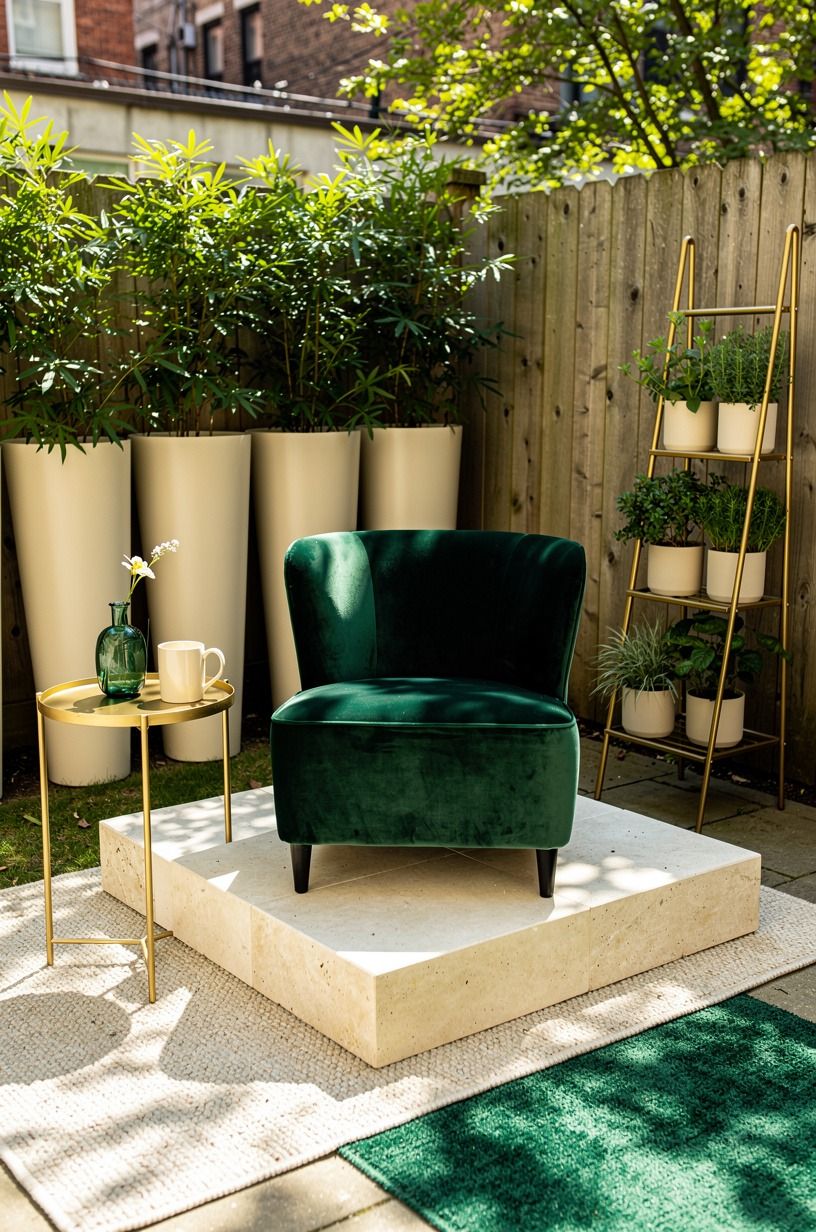
Add containers when you need height without digging. Your pots can move with the season, follow the sun, or leave with you when a lease ends. Use a heavy base for tall plants, because a light container can tip during wind and make your carefully planned screen feel flimsy.
A wide pot with a narrow upright shrub gives you coverage while using less ground space. Choose a deep-pile mohair velvet cushion for a nearby bench if you want a soft, durable texture beside the hard container surface.
I’d skip tiny pots lined up like a border. They dry out quickly and create visual noise.
You can also place two tall containers behind one low planter. That gives your rental screen a gentle rhythm and makes the arrangement feel sophisticated. If the plants are difficult to move, put each container on concealed wheeled bases.
These cheap patio privacy ideas that never touch the fence are useful when the solution has to stay removable.
For a breezy balcony or patio, tension-mounted shade panels can provide extra coverage while the plants mature. Good news! You don’t have to solve every privacy problem with permanent construction.
12Evergreen Structure Meets Seasonal Change
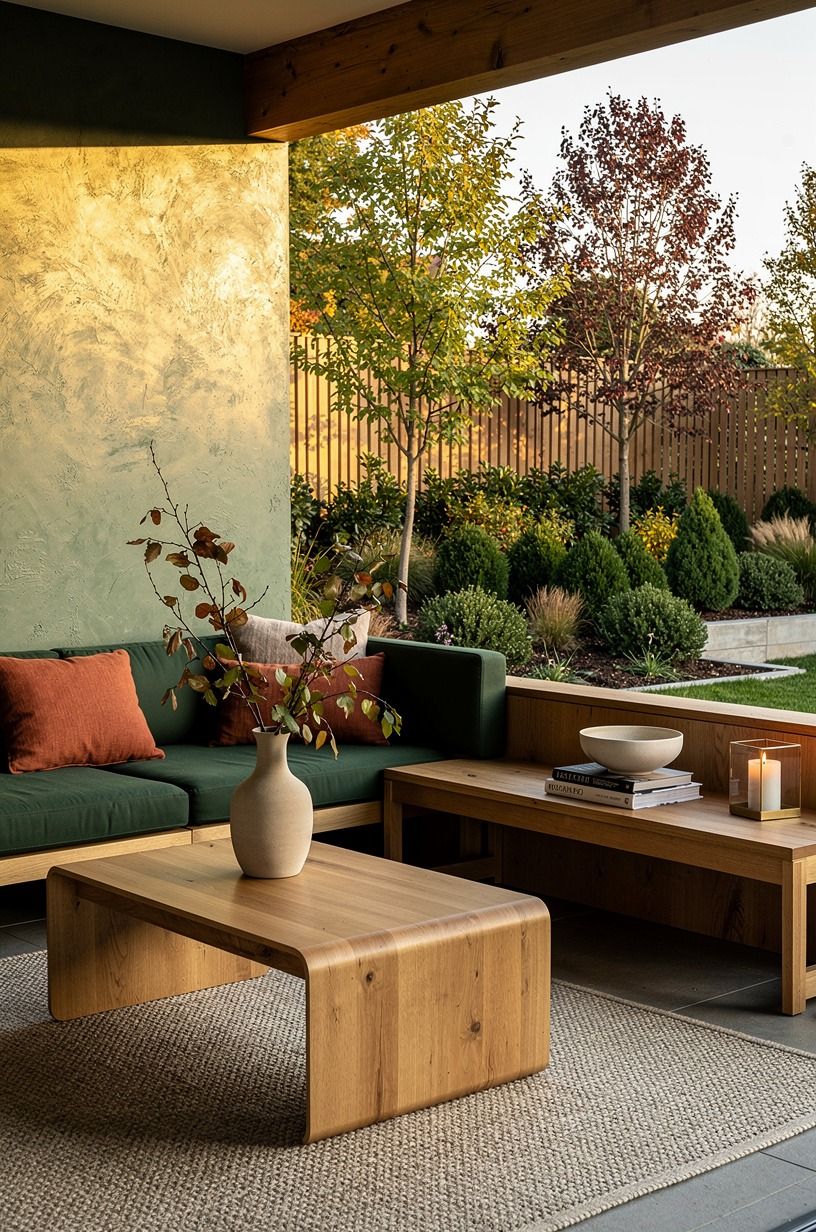
Mix evergreen structure with seasonal plants so your privacy works beyond one pretty month.
13Give the Greenery a Benjamin Moore Backdrop
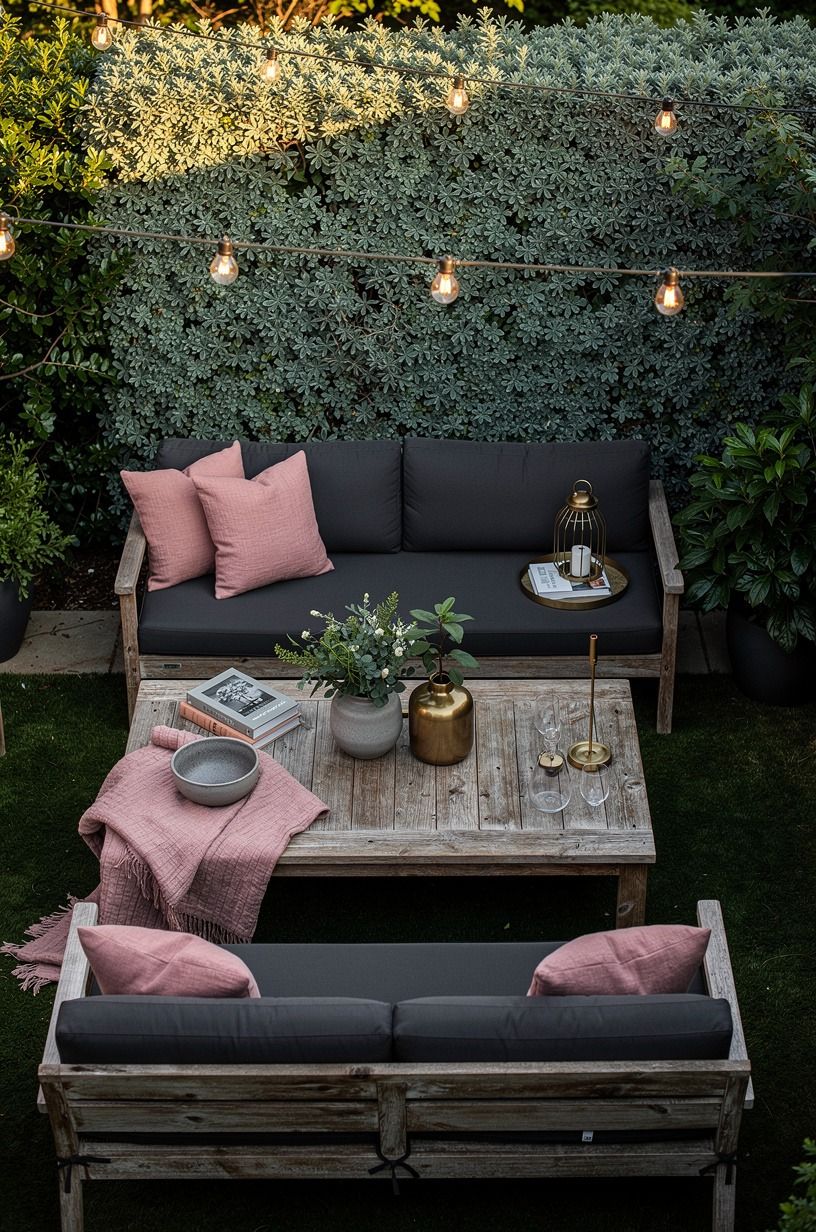
Paint the backdrop behind your shrubs if the screen still feels visually thin. Your plants will read more clearly against a deliberate color, especially when the foliage is young. Use a small test area first, because outdoor light changes paint dramatically from morning to dusk.
Benjamin Moore First Light 2102-70 gives leafy greens a soft dusty-rose background, while Benjamin Moore Kendall Charcoal HC-166 creates a deeper, more intimate garden mood. I’d skip a bright white wall behind dense greenery. It can make every gap look larger and harsher than it is.
If you want a darker corner, use a charcoal backdrop and keep the container finishes quiet. Your eye will notice the leaves first.
A few aged brass lantern details can add warmth, but don’t scatter shiny accents through every planter. For another way to sharpen a garden boundary, compare the backdrop idea with these modern horizontal privacy fence ideas for a sleek backyard.
A painted wall can be especially effective behind pale grasses or silver-leaf plants. The contrast feels dramatic but still restful.
14Where Should the Watering Route Go?
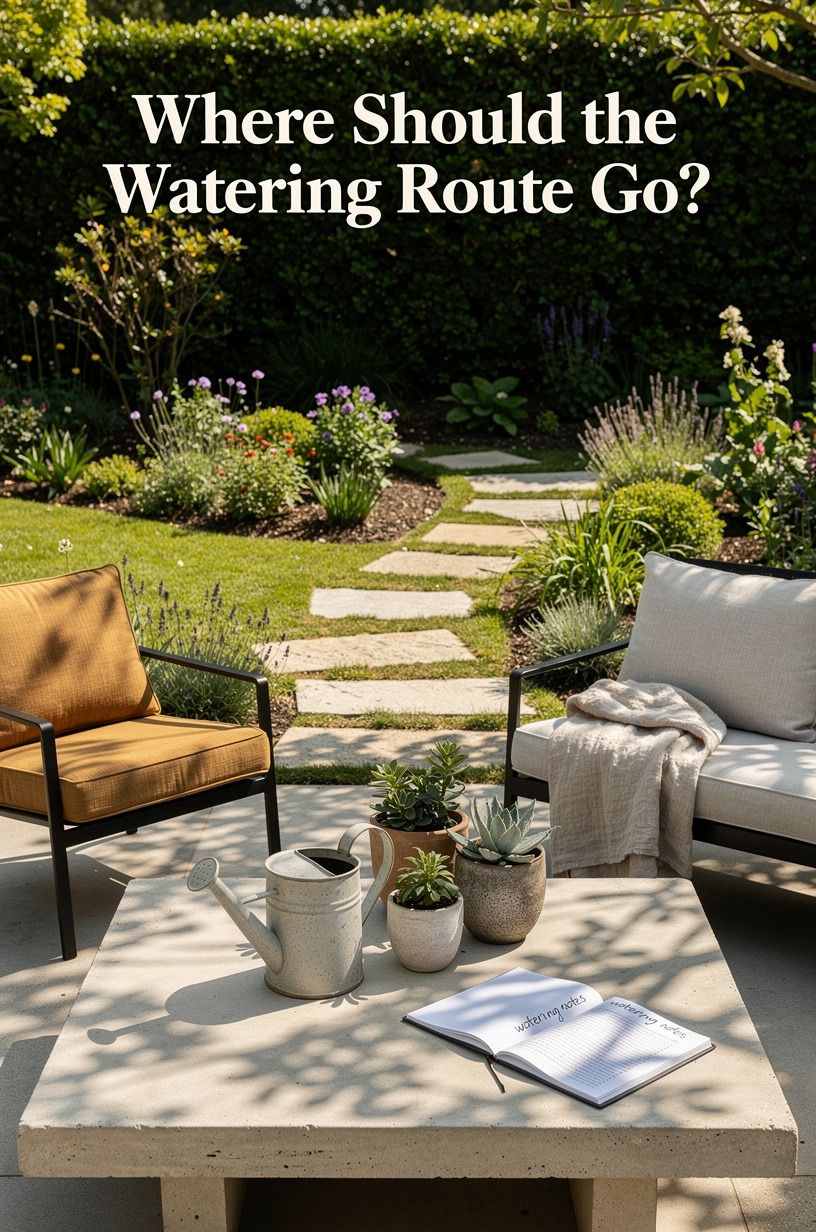
Build a watering route before you finish the planting. The hose should reach every root zone without crossing the main seating area or dragging through delicate foliage. If you’re installing drip irrigation, keep the line easy to inspect and repair.
Group plants with similar water needs together. Drip irrigation tubing works especially well for a mixed screen because it delivers moisture at the roots instead of spraying the leaves. A simple route is more useful than a hidden system you’ll forget how to adjust.
For a small bed, a soaker hose may be enough. For larger screens, divide the system into zones so thirsty plants don’t dictate the schedule for drought-tolerant ones. That small planning step can protect your plants during hot, exhausting weeks.
15Light the Greenery From Below
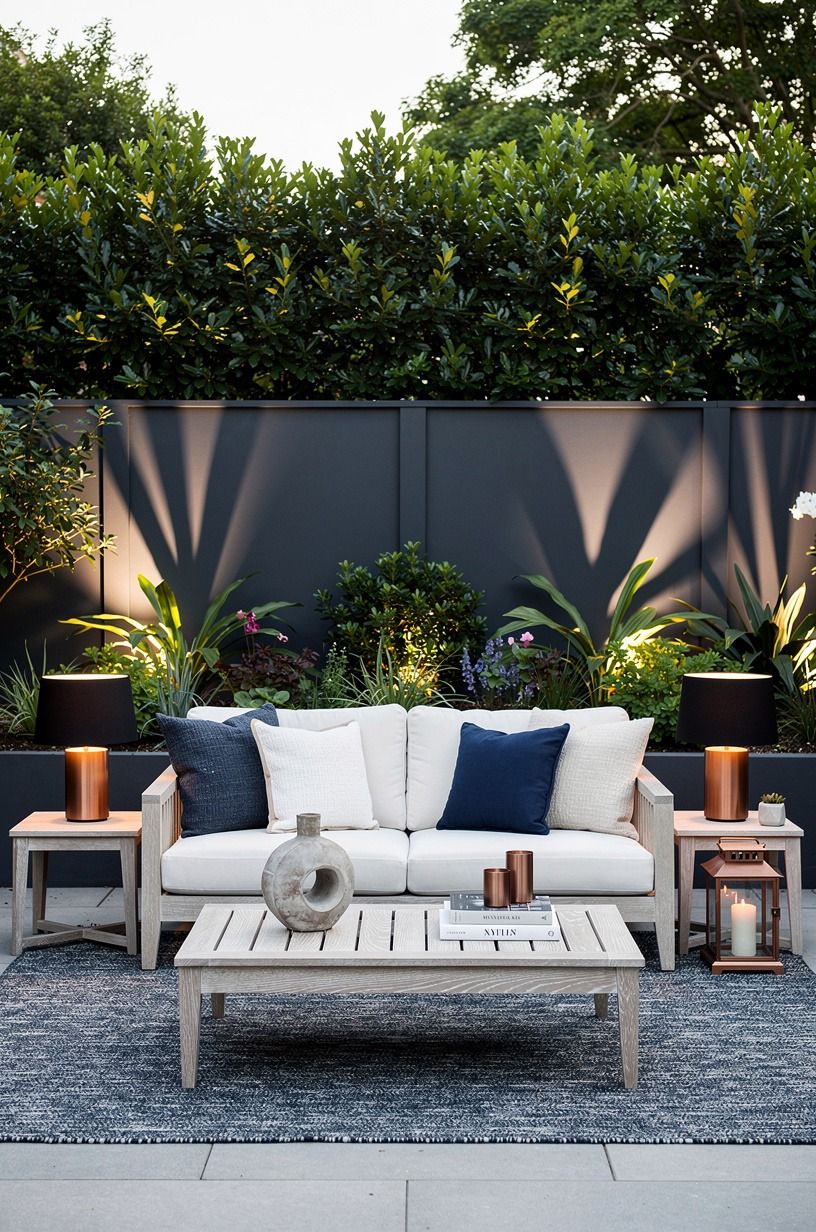
Light the greenery from below so your screen still works after sunset.
16Prune for Density, Not Perfection
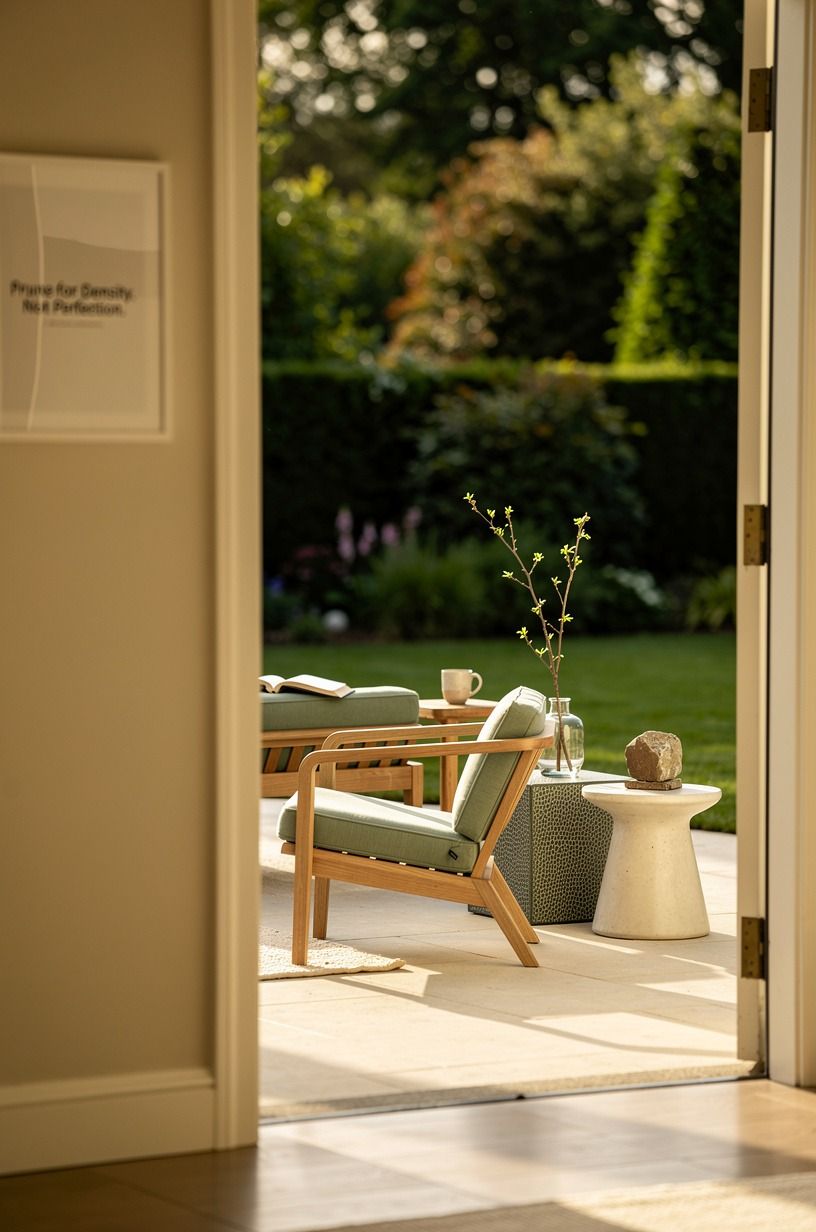
Prune for density and direction, not perfect cubes. Your hedge should become thicker where sightlines pass through and lighter where you want air or a view.
Remove damaged branches first, then step back before making another cut. I’ve taken off too much in one afternoon, and the plant looked startled for months.
Keep the lower branches on selected shrubs if you want a fuller screen. A bare trunk can look elegant on one small tree, but a row of bare stems won’t give your yard the privacy you planned. Use clean tools and avoid turning every plant into the same shape.
Use selective pruning and sharp clean bypass pruners to encourage a natural silhouette. Your final test is simple: sit in the place you’ll use most. Can you see the unwanted view?
Can you still see enough sky? Does the greenery feel warm, peaceful, and inviting?
If not, move one container or add one low plant before reaching for the shears. These metal corrugated privacy fence ideas for an industrial edge are worth comparing if your architecture wants sharper lines.
Why This Living Fence Works Better Than a Perfect Wall
I’ve changed my mind about privacy fences. I used to think the best screen was the one that blocked everything immediately, with a straight top and no visible gaps.
That approach is efficient, but it can make a small yard feel compressed. Plants give you privacy in layers, and layers let light, air, and movement stay part of the room.
The strongest version isn’t the most expensive one. It’s the one that respects the view from your chair, the path your hose takes, and the amount of care you’ll honestly provide. A row of ambitious plants that wilt behind a gate is less successful than a smaller group you can reach every week.
I’d choose a mixed screen over a matching hedge almost every time. The mixed version has better texture and a more welcoming rhythm.
Calacatta Gold marble would look polished beside a formal patio, but it would feel too precious beside loose grasses and weathered pots. Your materials should support the garden’s mood, not make it perform.
There’s also a practical reason to leave gaps. Wind moves through an open planting, shadows change across the ground, and your indoor rooms still receive daylight.
That matters if the screen sits outside a living-room window. You can create privacy without making your home feel sealed off.
If you’re deciding between a living screen and a constructed boundary, study the style of your house first. A natural hedge suits a relaxed, organic exterior.
A crisp metal panel may suit a modern one. These metal corrugated privacy fence ideas for an industrial edge are worth comparing if your architecture wants sharper lines.
You can also review this how-to-build-a-privacy-fence step-by-step weekend guide before choosing a permanent structure.
A Few Things Worth Answering
What is the best privacy hedge for a small backyard?
The best small-yard choice is a layered mix of one upright shrub, one rounded middle plant, and low foliage. That gives you privacy without a heavy wall. Use IKEA SOCKER planters if you’re renting, and keep the tallest container near the main sightline.
Where can I buy privacy hedge pieces on a budget?
You can find containers and outdoor accents at IKEA, Wayfair, and Target, then check Facebook Marketplace or a local thrift shop for second-hand pots. Your best value is often a sturdy used container with good drainage, not a new decorative pot. These cheap patio privacy ideas that never touch the fence can help you keep the first phase inexpensive.
How much does a privacy hedge makeover cost?
A small makeover can cost about $100 to $300 when you reuse containers and focus on the main view. Your free materials may include cuttings, stones, or existing pots. A larger project costs more as plant quantity, soil, and delivery increase.
Native shrubs can also reduce long-term replacement costs.
Can I create a privacy hedge on a budget?
Yes, and you can start with three moves: relocate plants you own, use second-hand containers, and fill gaps with low-cost seasonal foliage. Your first phase only needs to solve one sightline. Add the layered planting later when your budget allows.
Is a privacy hedge worth it in a small space?
Yes, because a small yard makes every view more noticeable, and a layered screen can soften that view without consuming the whole boundary. Keep your tallest plant at the back and use one low container in front for airy depth. A small screen can also make a patio feel more private than a much larger empty yard.
Is a privacy hedge a good idea for a rental?
Yes, especially when you use removable solutions such as large containers, tension-mounted shade panels, and freestanding trellises. Your landlord won’t have to approve digging, and you can take the movable greenery with you when you leave. These privacy fence ideas with plants for a lush living wall show how to build coverage without committing to construction.
Which privacy option works best with a modern house?
A mixed planting with clean containers usually works beautifully beside modern architecture. Combine structured shrubs with one matte black planter, warm lighting, and a restrained palette. These modern horizontal privacy fence ideas for a sleek backyard can help you compare a living edge with a more architectural boundary.
Where I’d Start First
If I had to pick one step, I’d start with the sightline. You can’t choose the right shrub until you know exactly what you’re hiding, and a clear view keeps you from overspending on a wall of plants. Mark it, soften it, then let the rest of your garden grow around that decision.
For the construction side of the project, this how-to-build-a-privacy-fence-step-by-step-weekend-guide can help you compare a planted screen with a permanent fence. A calm, layered hedge usually wins when you want privacy that feels welcoming rather than severe.