
 by
by You can hang pictures without nails in a rental by choosing removable hardware, testing the layout, and matching the support to the frame weight. I learned that after one adhesive strip pulled paint from a hallway wall. The fix is simple, but your order matters. Start low-risk, then build the wall.
- Start With the Frame Weight
- Gather Removable Hardware Before You Measure
- Test the Wall Before You Stick Anything
- Mark the Center at the Right Height
- Build the Three-Height Light Stack
- Tape the Layout Over Guesswork
- Anchor a Single Large Frame
- Layer a Picture Ledge for Easy Changes
- Swap Hardware for a Tension Rod Display
- Float Art Above a Dresser
- Mix Frames With the Two-Wood Rule
- Hang a Lightweight Textile With Removable Clips
- Paint the Surrounding Wall for Contrast
- Finish With a Slow Release Check
1Start With the Frame Weight
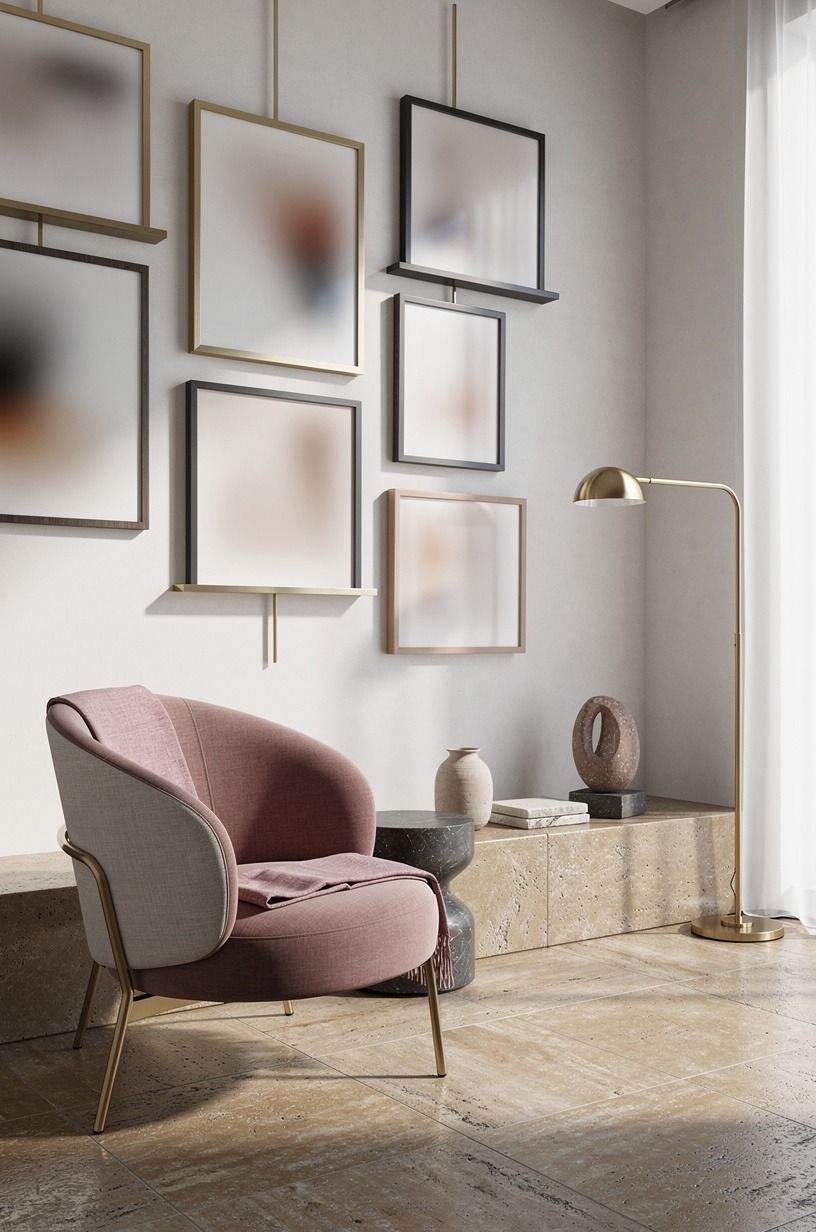
Before you choose renter-friendly picture hanging hardware, weigh the frame and check the back. A lightweight IKEA Ribba frame needs a different support than a glass-front vintage frame, and guessing is how your art ends up face-down at midnight. You’ll want the package rating to exceed the frame weight, not merely match it.
Use a bathroom scale if the frame is awkward, or compare it with a known object. A 16-by-20-inch frame with acrylic glazing is usually easier to support than one with real glass, but you still need a clean, dry wall.
Your first step should feel calm and methodical, not like a race. For another renter-friendly hanging project, see this guide to hanging a renter-friendly Halloween wreath.
A frame that feels airy in your hands may still pull hard once it swings. I’d skip flimsy foam adhesive for anything valuable.
The soft click of a properly seated bracket is comforting; the sudden thud of falling glass isn’t. And if you’re unsure, choose a lighter frame or a ledge instead of gambling with a favorite print.
2Gather Removable Hardware Before You Measure
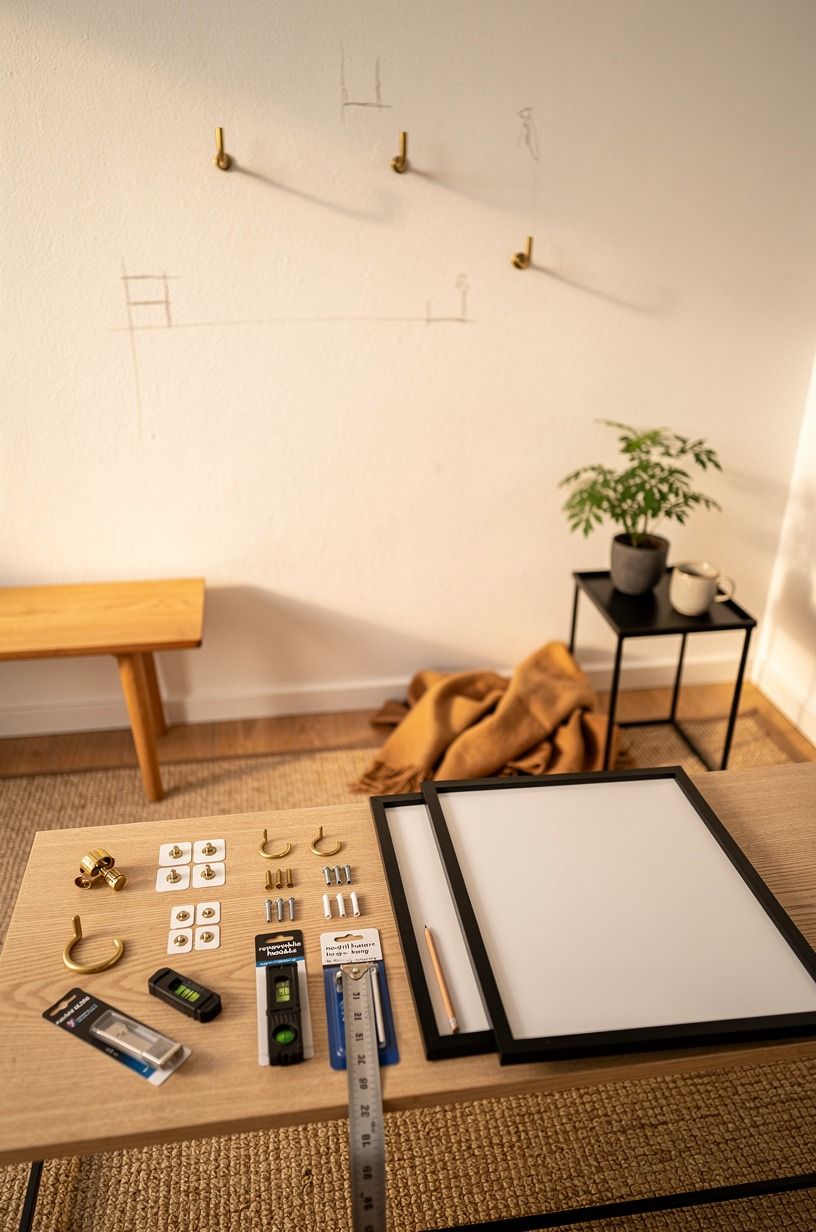
Collect your removable picture strips, hooks, rubbing alcohol, a level, painter’s tape, and a pencil before you begin. Command Picture Hanging Strips are useful because the paired pieces lock together and can be removed by stretching the tab downward. You won’t need a drill, but you will need patience.
Your wall surface matters. Painted drywall with a smooth finish gives you the best chance of a clean release, while dusty plaster, textured paint, wallpaper, and freshly painted walls are less forgiving.
Wipe the contact area with rubbing alcohol and let it dry completely. Don’t substitute a damp cloth, because residue can weaken the hold.
Make a small supply station on the floor so you’re not carrying art across the room. A 3M adhesive hook can handle a small canvas, but I wouldn’t use it for a deep frame that can tilt forward. You can keep your rental bedroom peaceful with this calm bedroom without feeling empty guide while you decide which walls deserve art.
3Test the Wall Before You Stick Anything
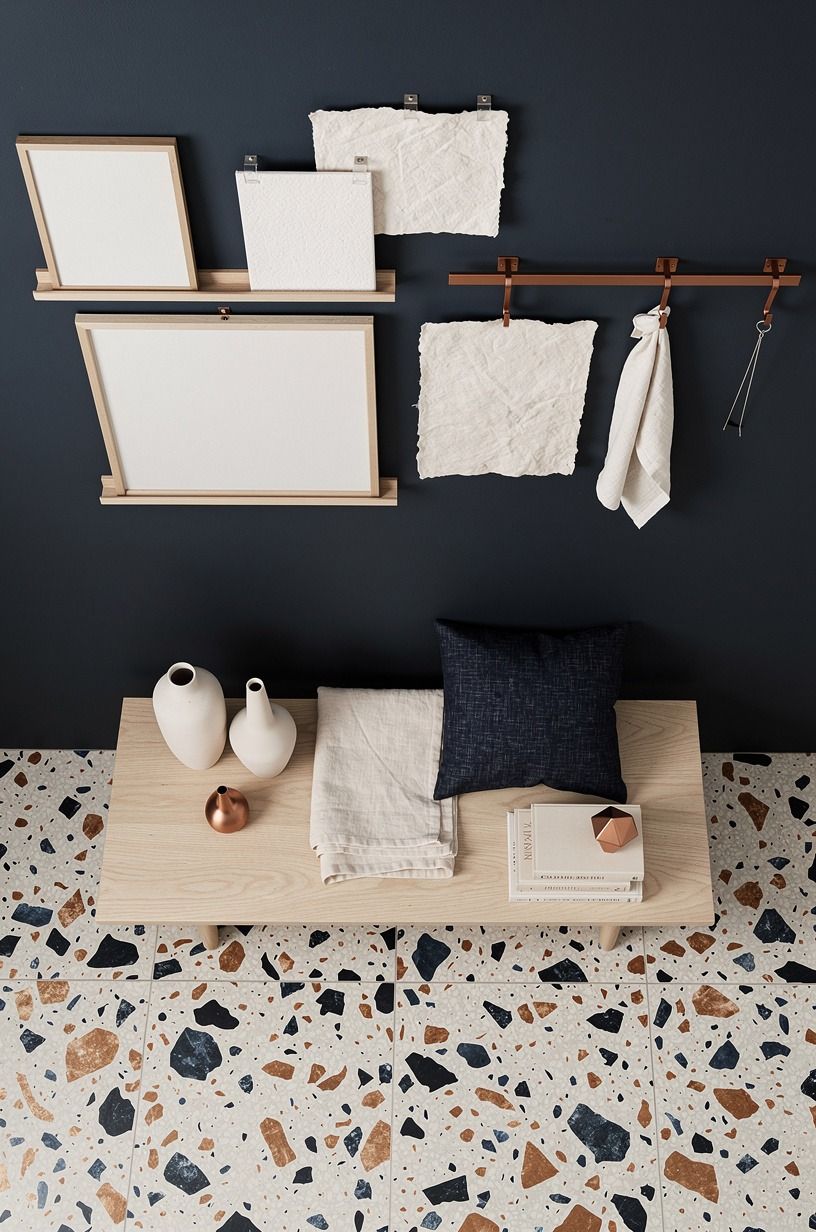
Press a small piece of painter’s tape onto an inconspicuous section of your wall and remove it slowly. If the paint lifts, flakes, or feels chalky, you’ve found a warning before your favorite artwork does. Your rental-friendly picture hanging plan should respect the wall finish first.
Wait a few minutes, then rub the test area with a clean cloth. A smooth, dry surface is inviting and stable; a powdery surface needs a different approach.
In that case, use a freestanding frame, a tension-based display, or a picture ledge resting on furniture. I’d choose those options over paying for a patch later.
This is also where you’ll notice temperature and moisture. A bathroom wall or a sunny radiator wall can make adhesive less reliable.
Keep the display in a warm but not damp room, and don’t rush because you’re excited to see the gallery. If your sleep space needs a quieter mood after the project, this article about why you can’t sleep without a fan may help with the nighttime side of the room.
4Mark the Center at the Right Height
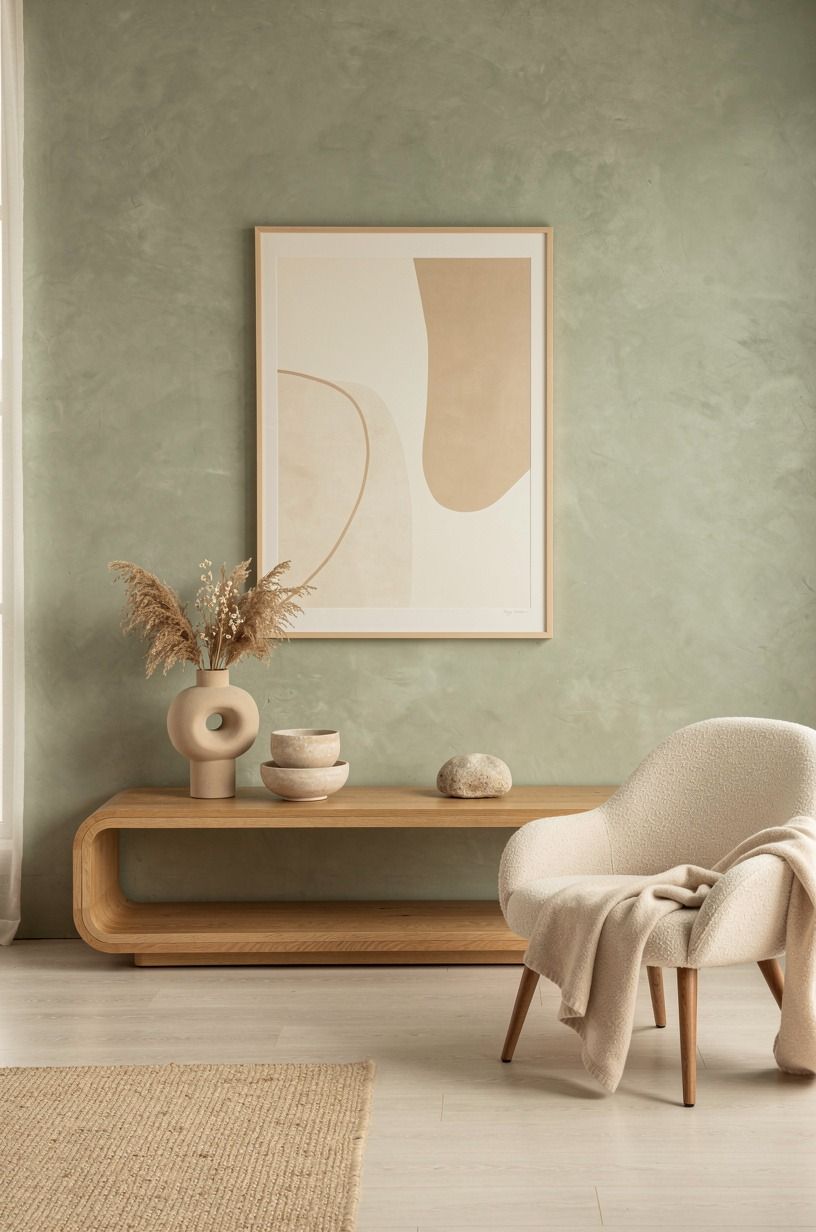
For most rooms, place the center of the artwork about 57 to 60 inches from the floor.
5Build the Three-Height Light Stack
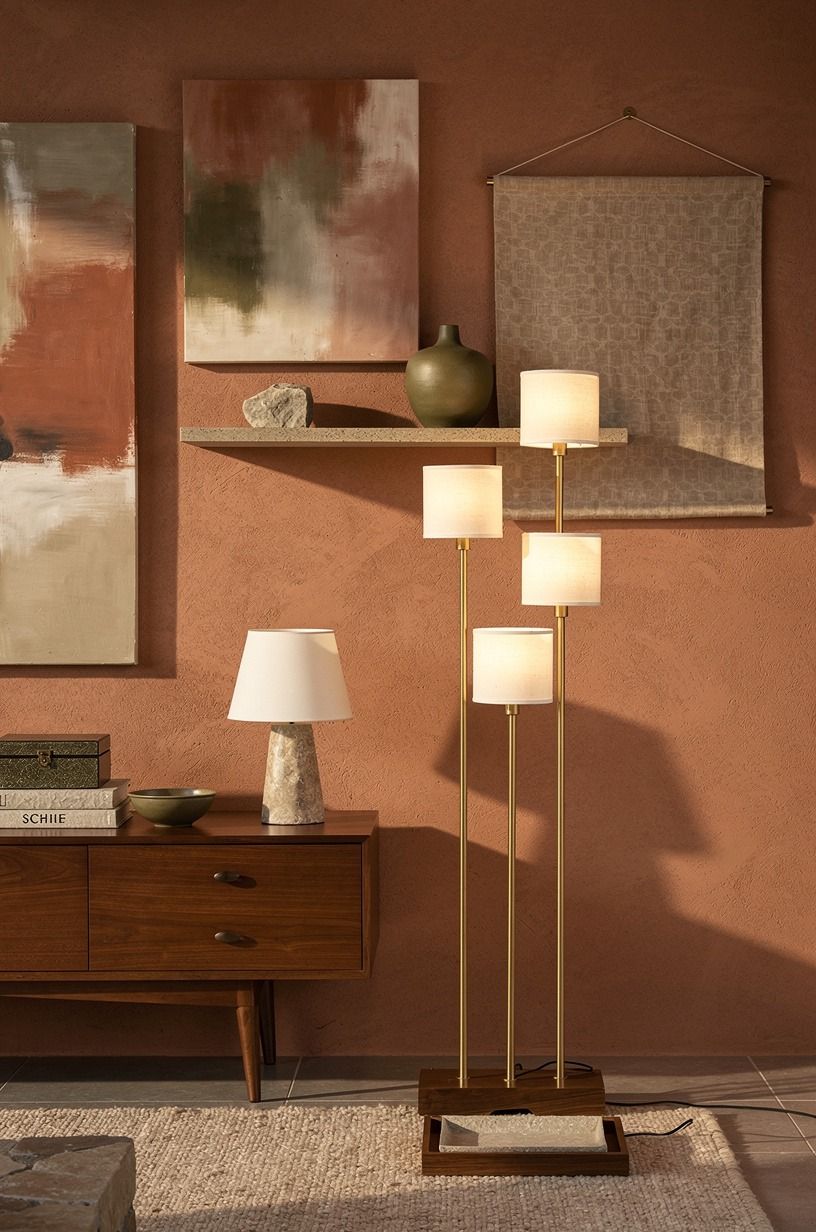
Arrange your wall so the pictures relate to three visual heights: low furniture, the art center, and the upper edge of the room. This Three-Height Light Stack keeps a small rental from feeling flat. Your lowest point might be a console, the middle might be a 57-inch art center, and the upper point might be a tall plant or floor lamp.
You don’t need every frame aligned at the top. A bold black-and-white print can sit slightly higher while a smaller botanical image rests lower, as long as the group has a clear outer shape.
I’d avoid placing all your pieces at random heights. Randomness sounds relaxed, but it often looks unfinished.
Use your light sources as part of the composition. The brief’s standard is three sources per room: overhead, task, and ambient.
A warm lamp beside the wall will make paper texture visible and give the display a soft, inviting glow. If your room feels too quiet at night without background sound, you might relate this arrangement to what it’s called when you can’t sleep without noise.
6Tape the Layout Over Guesswork
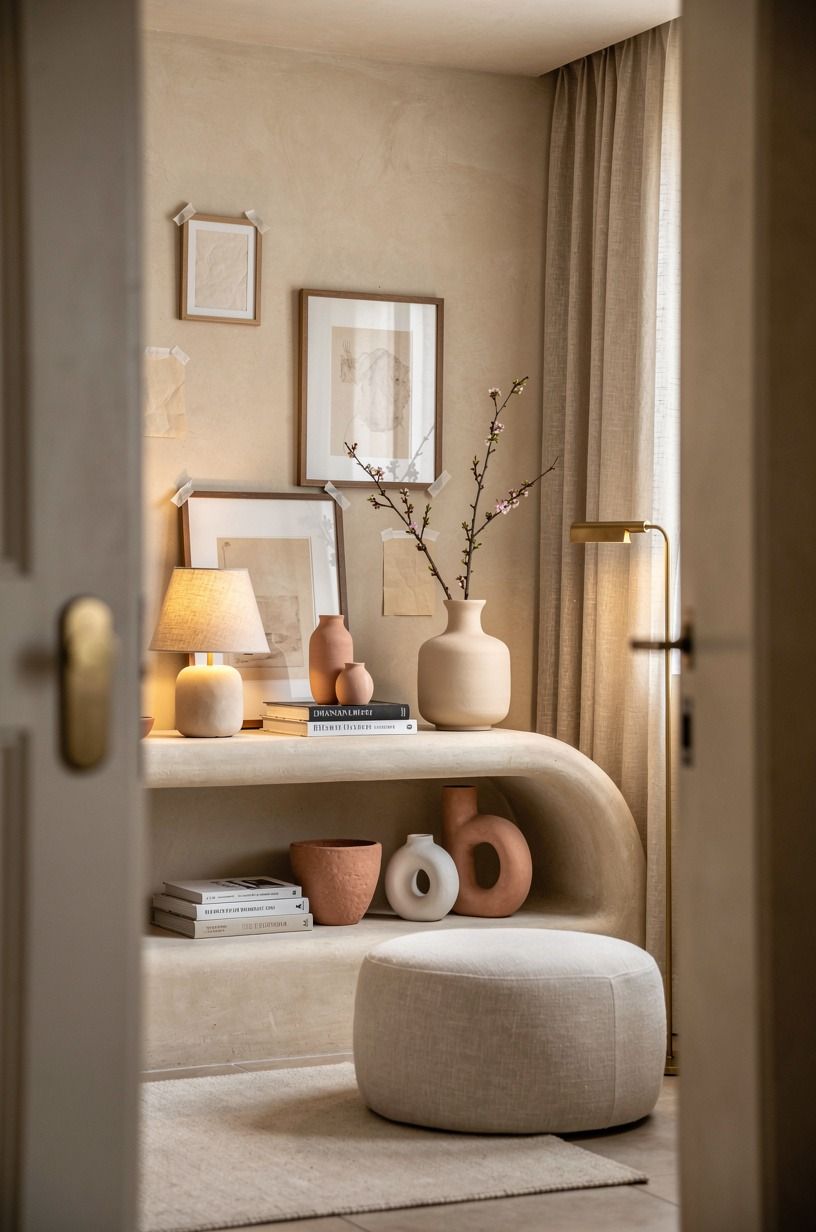
Cut paper templates the same size as each frame and tape them to the wall before attaching hardware.
7Anchor a Single Large Frame
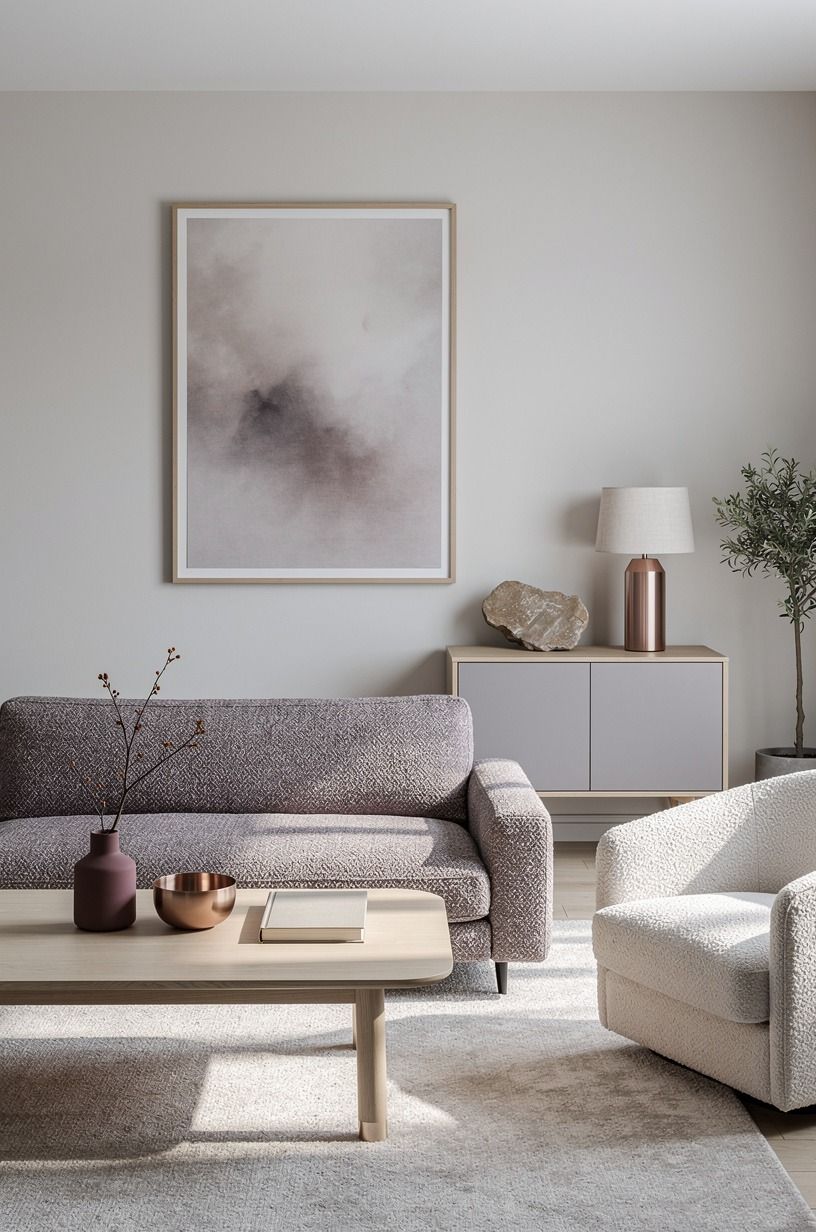
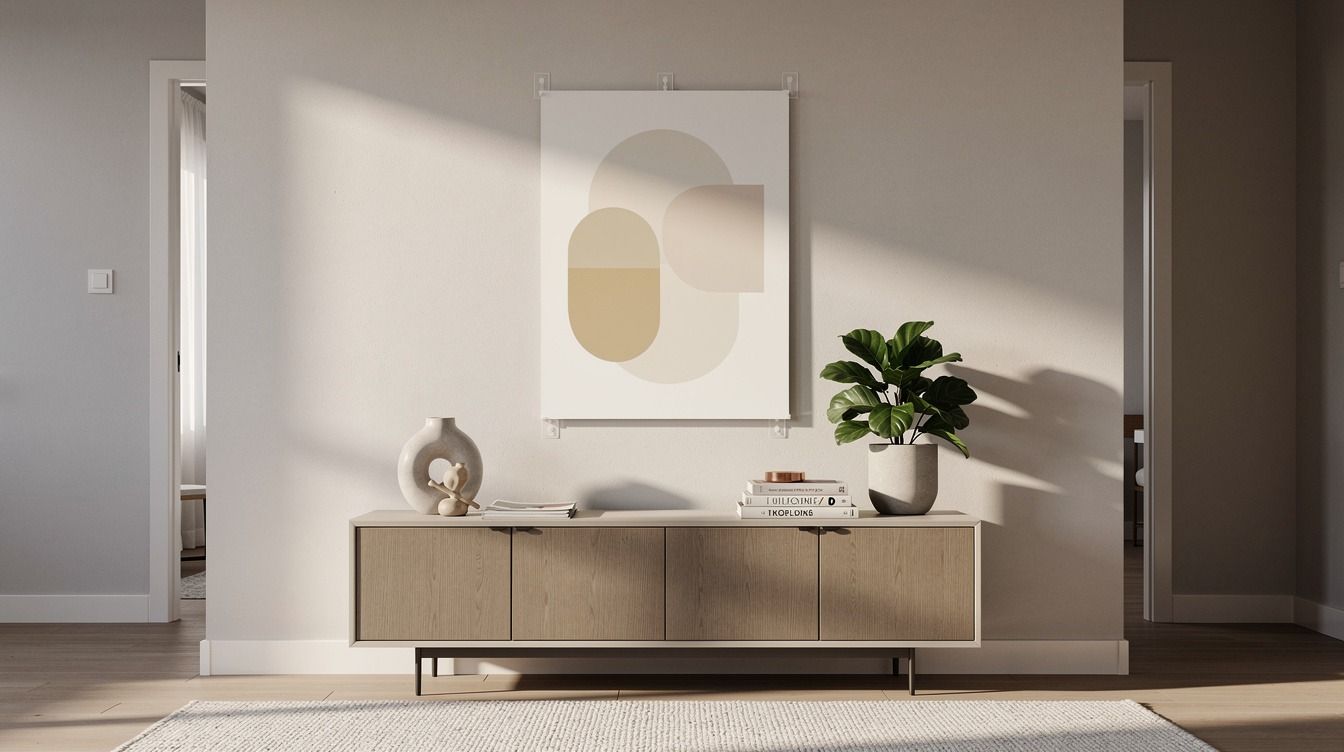
A single large frame often gives you the strongest result with the fewest wall marks. Choose a lightweight canvas print or acrylic-front piece, then place it above a console, dresser, or reading chair. Your room will feel more refined when one image has room to breathe instead of competing with six small objects.
For a rental, I prefer a large frame with a narrow profile and a soft paper mat. The frame can look sophisticated without feeling formal, especially if the artwork includes earthy browns, faded green, or warm cream.
Skip the heavy antique mirror here. It may be charming, but its weight and leverage make removable hardware a poor match.
Center the frame over the furniture rather than the whole wall. If the console is 36 inches wide, a 24-inch frame can feel balanced without swallowing the surface. You’ll want the bottom edge high enough to avoid knocks from books or a vase.
For a nearby bedroom project, browse the non-toxic bedroom I’d build in a rental for ideas that keep the wall soft and lived-in.
8Layer a Picture Ledge for Easy Changes
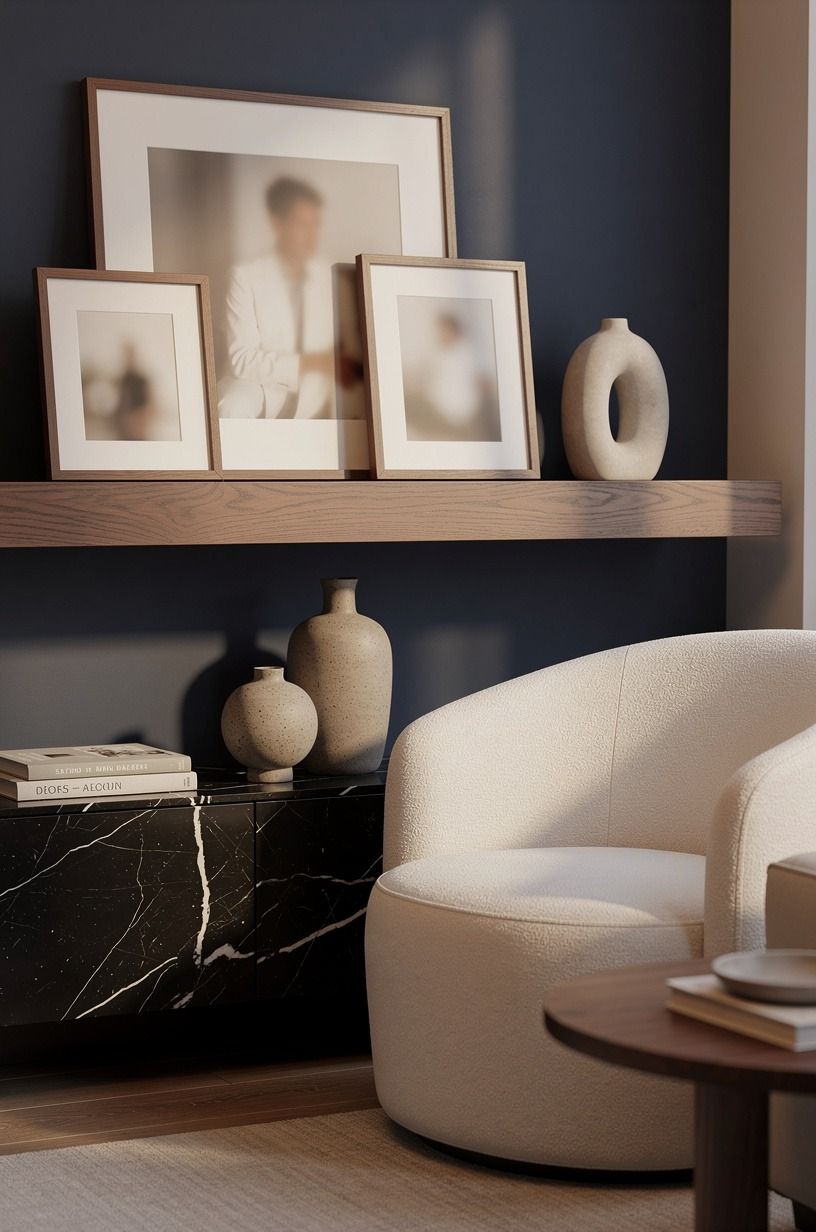
A picture ledge lets you change art without making a new wall hole every time your taste shifts. Look for a narrow solid pine picture ledge with a shallow front lip, then place it on a dresser or mount it with removable support rated for its total load. Your display can feel relaxed, but the ledge still needs a level base.
Layer one large frame behind two smaller pieces, keeping the heights varied but the palette connected. A cream print, a terracotta postcard, and a small Article Sven tan leather color reference can make the arrangement warm and collected.
Don’t fill every inch. The blank space lets each object remain readable.
Keep the ledge away from a bed edge or busy doorway where a bump could send everything sliding. I’d use museum putty beneath the smallest frame if your lease allows removable putty, then remove it slowly. If you’re changing bedding and art together, this duvet cover without an insert guide can help you keep the rest of the room equally simple.
9Swap Hardware for a Tension Rod Display
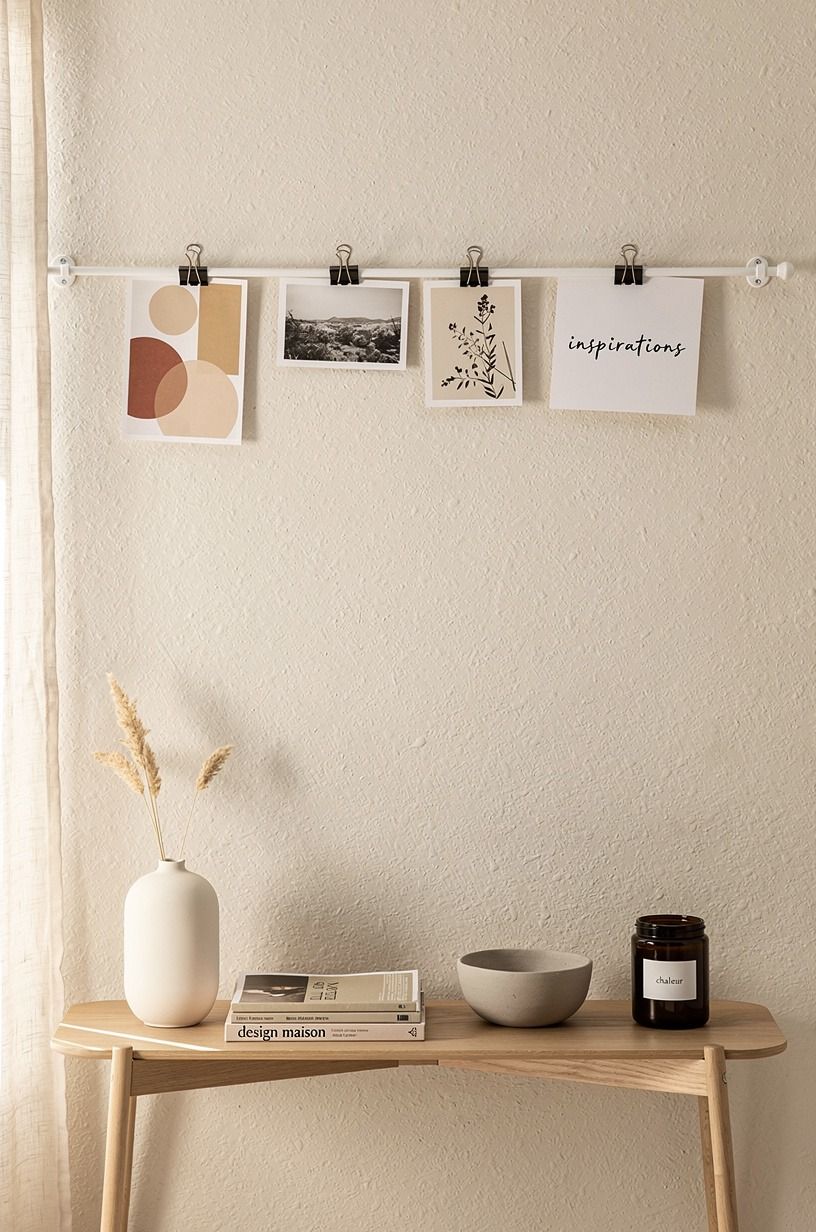
A tension rod can support a lightweight textile or a small art banner without touching the wall.
10Float Art Above a Dresser
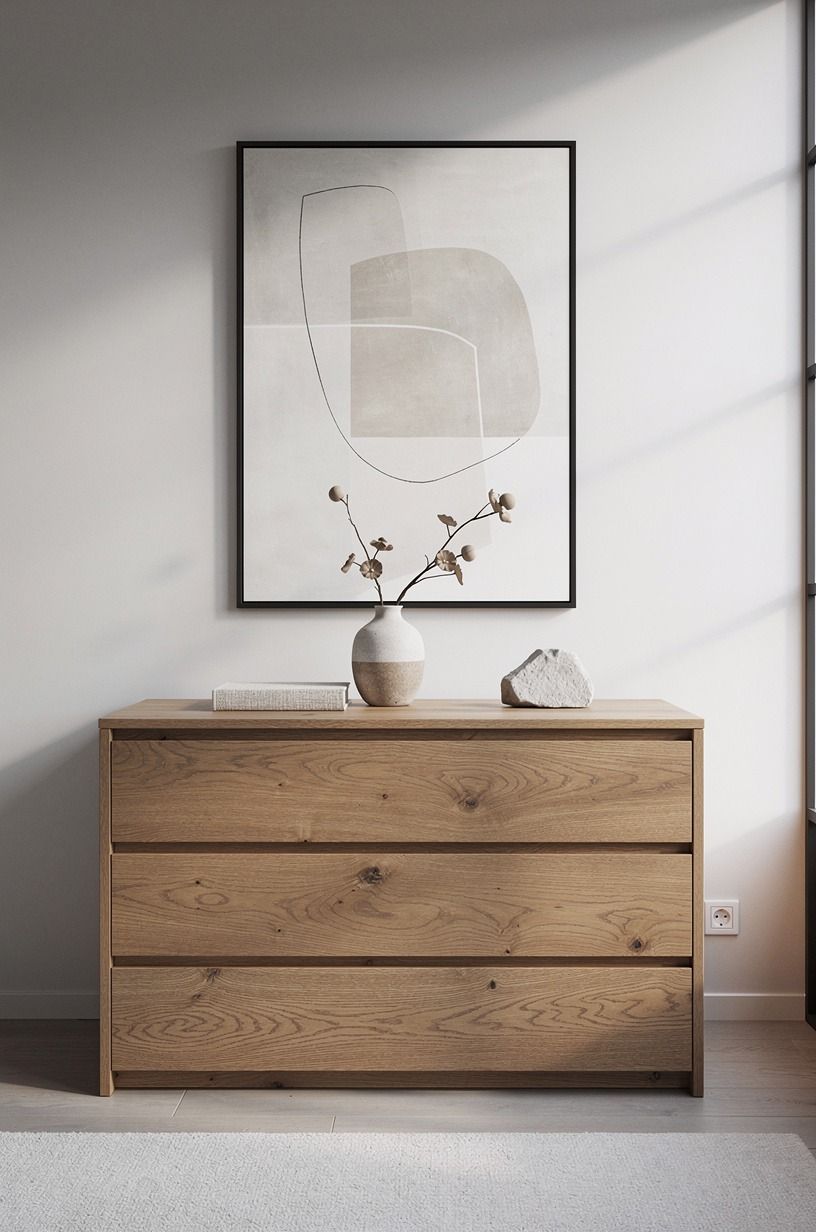
Resting art on furniture is one of the lowest-risk ways to hang art on a wall without nails. Place a large frame behind a dresser, buffet, or desk, then lean a smaller frame in front. Your wall stays untouched, while the composition gains depth and a calming, layered quality.
Use a cerused white oak dresser or another piece with visible grain to warm up a cool rental interior. Leave enough surface space for daily use.
A lamp, tray, or small bowl is fine, but don’t crowd the art with accessories that compete for attention. I’d rather see one framed print and one practical object than a pile of tiny decorations.
Secure the larger frame with a discreet furniture strap if children, pets, or earthquakes are a concern. The picture should rest firmly rather than wobble when you open a drawer. A soft shadow behind the frame makes the arrangement feel deliberate, and you won’t have to repair a row of holes when you move.
11Mix Frames With the Two-Wood Rule
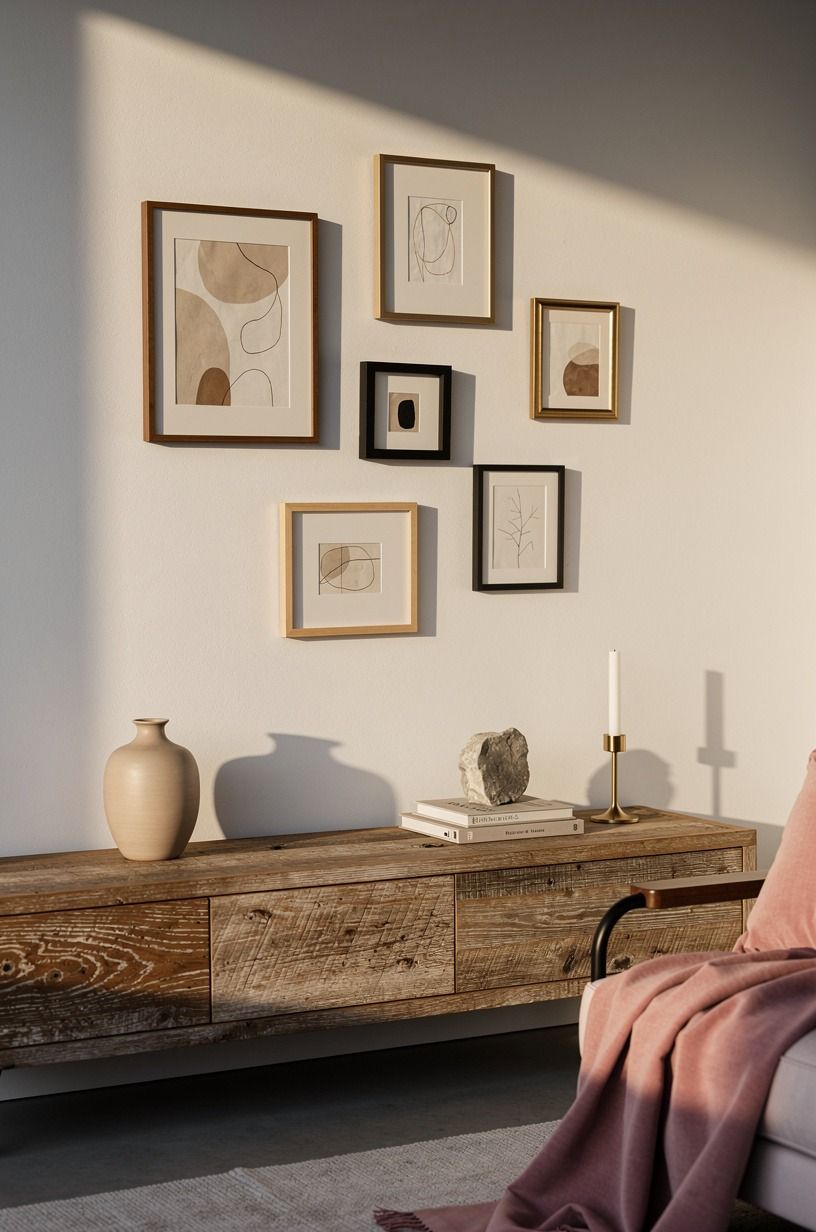
Use two wood tones at most in one small gallery wall.
12Hang a Lightweight Textile With Removable Clips
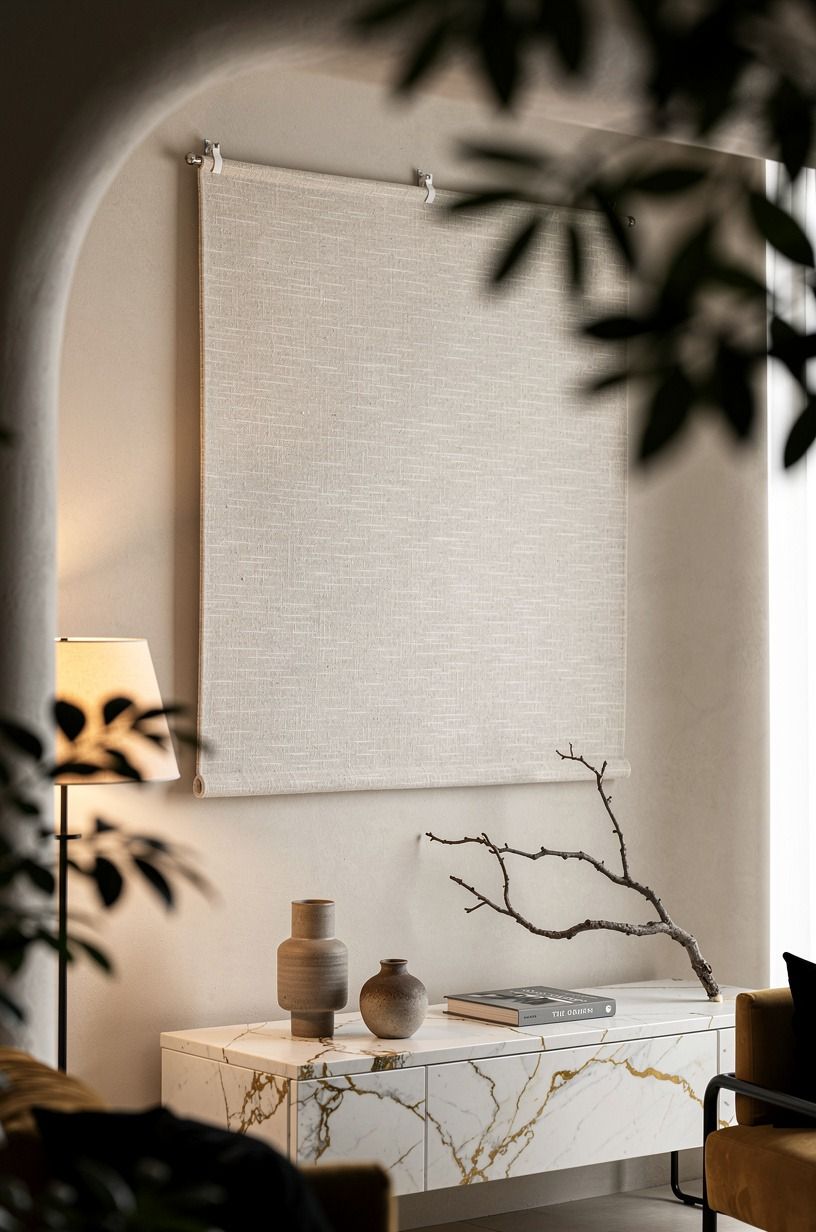
Turn a small woven textile, scarf, or fabric panel into art with removable clips. A 600gsm Turkish cotton piece can bring texture to a blank wall, though you’ll need to confirm the clip rating before hanging it. Your room will feel softer immediately because the textile absorbs light instead of reflecting it.
Fold the top edge over a slim dowel, or use two clips spaced evenly near the upper corners. Keep the fabric flat enough that its pattern reads from across the room. A warm, rustic textile works well beside a modern print, but I wouldn’t place two equally busy patterns next to each other.
Test the clips for a day with the textile nearby, not over your bed or a fragile table. If the fabric begins to sag, reduce the width or move it to a ledge. For another removable seasonal display, you can pair this method with the renter-friendly wreath guide, using the same careful wall test first.
13Paint the Surrounding Wall for Contrast
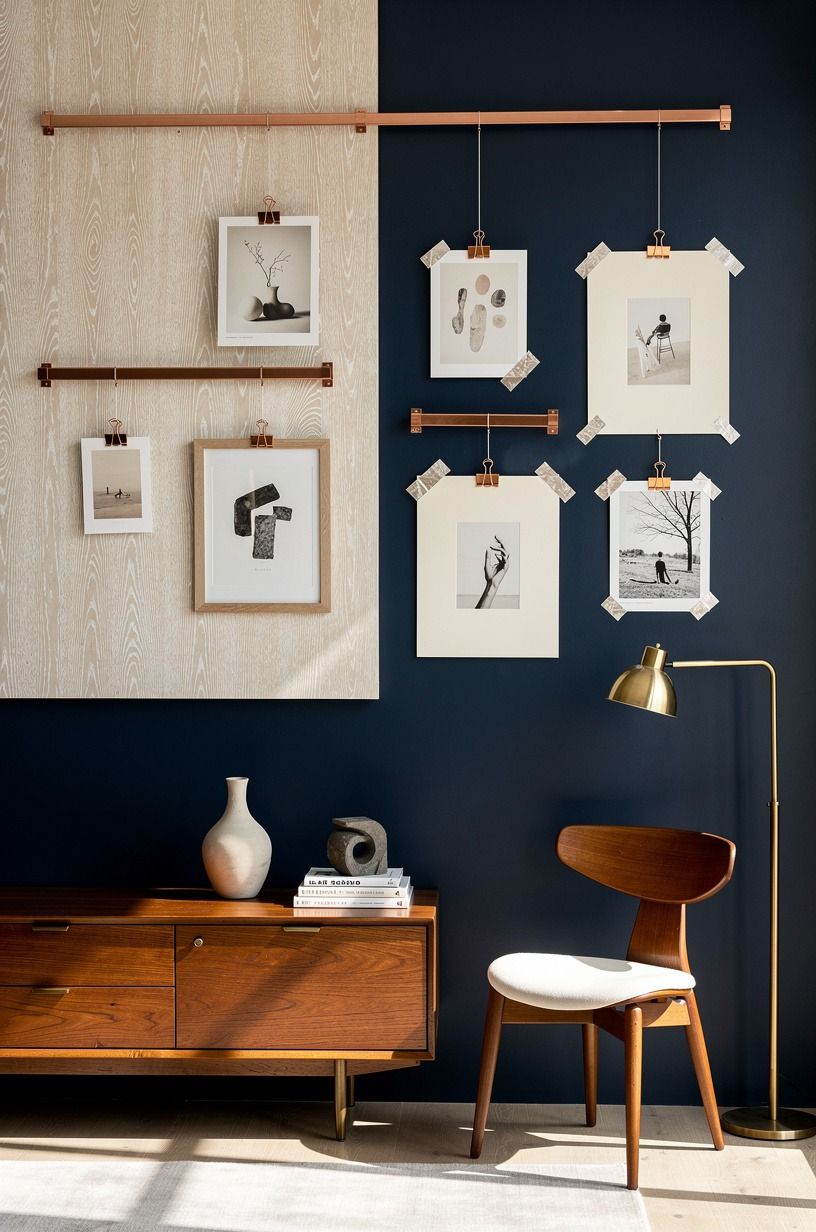
A small paint change can make art look anchored even when the hardware is nearly invisible.
14Finish With a Slow Release Check
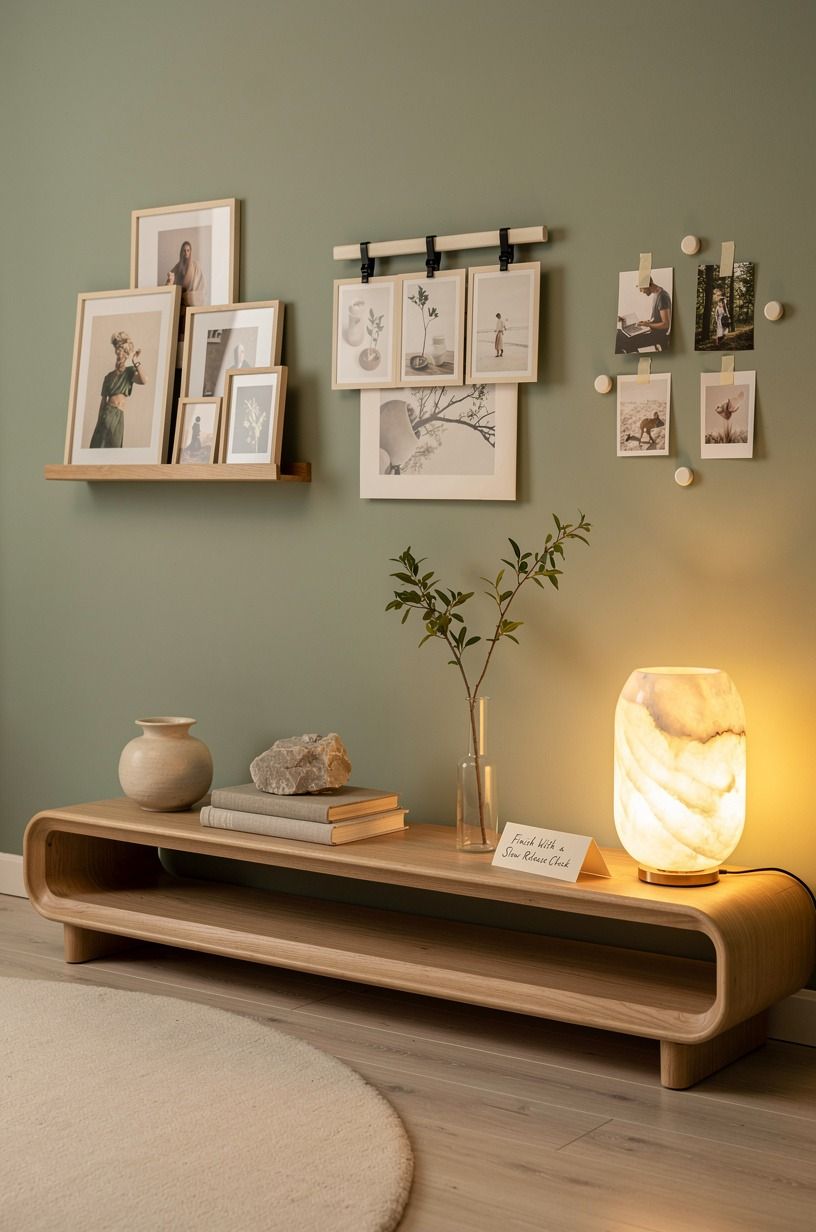
After the display has been up for the recommended set time, inspect every contact point. Press the frame gently, look for lifting corners, and confirm that the artwork sits level. Your final renter-friendly hanging check should happen in daylight and again after the room’s lights come on.
When you remove adhesive, pull the tab straight down and slowly, keeping it close to the wall. Don’t yank outward.
If the strip resists, stop and read the manufacturer’s removal guidance instead of sacrificing paint. Keep a small touch-up kit with the original wall color, although a careful release should leave the surface clean.
Walk through the room as you normally would. Does the frame catch your elbow? Does the picture disappear from the sofa?
Is the light warm enough to show the paper texture? A peaceful, inviting wall isn’t just safely attached; it works with your daily movements.
You can also check ways to hold an adjustable bed base bed skirt in place if fabric near the display keeps shifting and distracting you.
The Honest Cost of a Nail-Free Picture Wall
The hanging hardware itself may cost less than a casual lunch, but the full room can cost much more if you start adding frames, textiles, lighting, and furniture. Your safest plan is to separate the wall method from the decorating budget. Removable strips are one decision.
Reframing every print is another.
For individual materials, a wool rug typically runs $400-$1,500, linen drapes cost about $120-$400 per pair, a statement light fixture can run $150-$800, and DIY room paint is often $200-$600. You don’t need every category for a picture wall, but these figures help you see where a full-room refresh can grow.
I’d spend first on the art you’ll keep and the hardware that protects the wall. A cheap frame with warped backing can look rough even when the print is good. A calm arrangement of three well-sized pieces will beat a crowded wall of twelve impulse buys every time.
Why I Prefer the Slow Rental Method
I used to think nail-free decorating meant accepting temporary-looking rooms. Then I noticed that the best rental walls weren’t trying to imitate a permanent renovation.
They were lighter, more flexible, and often more personal because the art could move with the tenant. That changed how I plan every display.
The first improvement is psychological. When you know the arrangement can change, you’ll experiment with scale instead of settling for one tiny frame.
A tall textile can make a room feel airy. A dark print can make a white wall feel dramatic.
A picture ledge can make a small corner feel gathered without adding another bulky cabinet.
The second improvement is practical. You can remove a frame when you clean, repaint, or rearrange furniture. You’re not building your whole room around holes that limit the next layout.
This matters in a rental, where your lease and your move-out date are part of the design brief.
Still, I wouldn’t pretend every adhesive product is reliable. Heat, dust, weight, and textured walls can defeat a good installation.
I learned that after trusting one strip on a freshly painted wall. The paint lifted in a neat rectangle, which was almost impressive, except I was holding a lease in my other hand.
My rule now is simple: test first, keep the art light, and use furniture or ledges whenever the wall feels questionable. You’ll get a warm, sophisticated result without turning a temporary home into a construction project. And you’ll sleep better knowing the frame above your dresser isn’t waiting to fall.
The Questions I Get Asked Most
What is the best way to hang pictures without nails in a rental?
Removable picture strips are the best starting point for lightweight frames on smooth, cured drywall. IKEA Ribba frames and acrylic-front prints are easier to support than heavy glass pieces. Test your wall first, keep the center near 57 to 60 inches, and avoid damp or freshly painted surfaces.
Where can I buy renter-friendly picture pieces on a budget?
Look at IKEA, Target, Wayfair, Facebook Marketplace, and local thrift stores. Secondhand frames can give your wall more character for less money, but inspect the backing and glass before buying. You’ll often save more by reusing a frame than by replacing every piece in a gallery.
How much does a nail-free picture wall cost?
A small wall can cost about $20 to $100 for removable hardware, thrifted frames, and printed art. A broader room refresh may fit the $200-$800 budget tier once paint, textiles, and organization are included. Your existing frames and furniture can keep the total lower.
Can I create this look on a budget?
Yes, and you can start with free layout templates, furniture-supported frames, and art you already own. A picture ledge or thrifted frame keeps costs down, while a single quality print gives the wall focus. Don’t buy a complete matching set before you test the arrangement.
Is nail-free picture hanging worth it in a small space?
Yes, because a small room benefits from flexible displays and clear walking paths. A single large frame above a dresser can create more impact than several tiny pieces. Keep the art centered, use a slim profile, and leave enough clearance so your shoulder won’t catch it.
Is this a good idea for a rental?
Yes, provided your wall surface and frame weight suit the hardware. Removable strips, tension rods, and furniture-supported frames cover most renter needs without permanent holes. You’ll want to photograph the wall before installation, keep the original hardware instructions, and remove everything slowly at move-out.
Where I’d Start First
If I had to pick one step, I’d start with the paper template layout. You’ll catch bad spacing before adhesive touches the wall, and that saves both paint and money. Pin this renter-friendly bedroom guide for later, then hang the frame that makes you want to stay awhile.