
 by
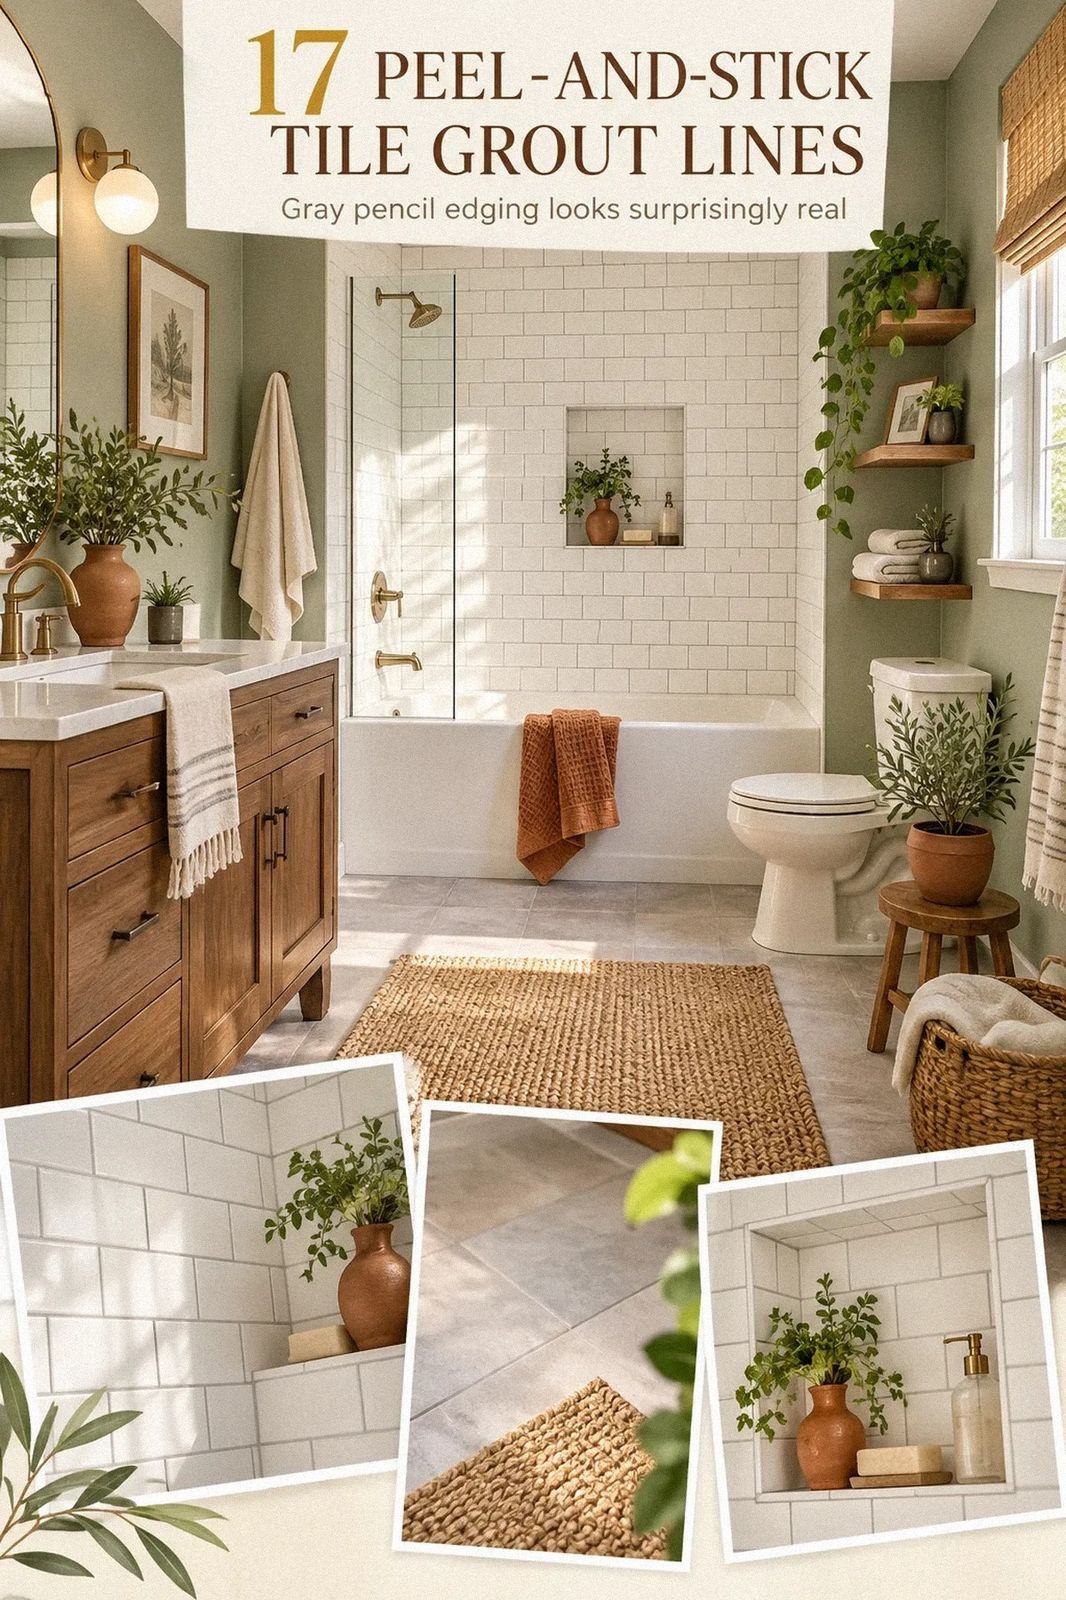
Grout lines can show through peel-and-stick tile when the old surface is uneven. I learned that after covering a rental bathroom too quickly and watching every joint return in afternoon light. You’ll get a warm, rental-safe finish if you flatten the base, choose a forgiving pattern, and give the adhesive time to settle.
- Test the Flat-Field Rule Before You Buy
- What Should You Sand Before Covering Ceramic?
- Float a Thin Underlayment for the Peel-and-Stick Floor
- Test the Flat-Field Rule Before You Buy
- What Should You Sand Before Covering Ceramic?
- Float a Thin Underlayment for the Peel-and-Stick Floor
- Large Squares or Tiny Mosaics?
- Paint the Grout Field Before the Tile Goes Down
- How Does the Shadow-Line Method Work?
- Match the Surface Finish to Your Bathroom Light
- Frame the Floor With a Quiet Border
- Soft Terrazzo or Busy Marble?
- The Three-Height Light Stack
- Install a Renter-Safe Vanity Counterpoint
- Which Warm Metal Should You Repeat?
- Layer Textiles to Blur the Hard Edges
- Hide Seams at the Wet Zone With a Clean Transition
- Vertical Lines or More Floor Pattern?
- Check the Rental Reversal Before You Commit
- Finish With the Two-Texture Rule
1Test the Flat-Field Rule Before You Buy
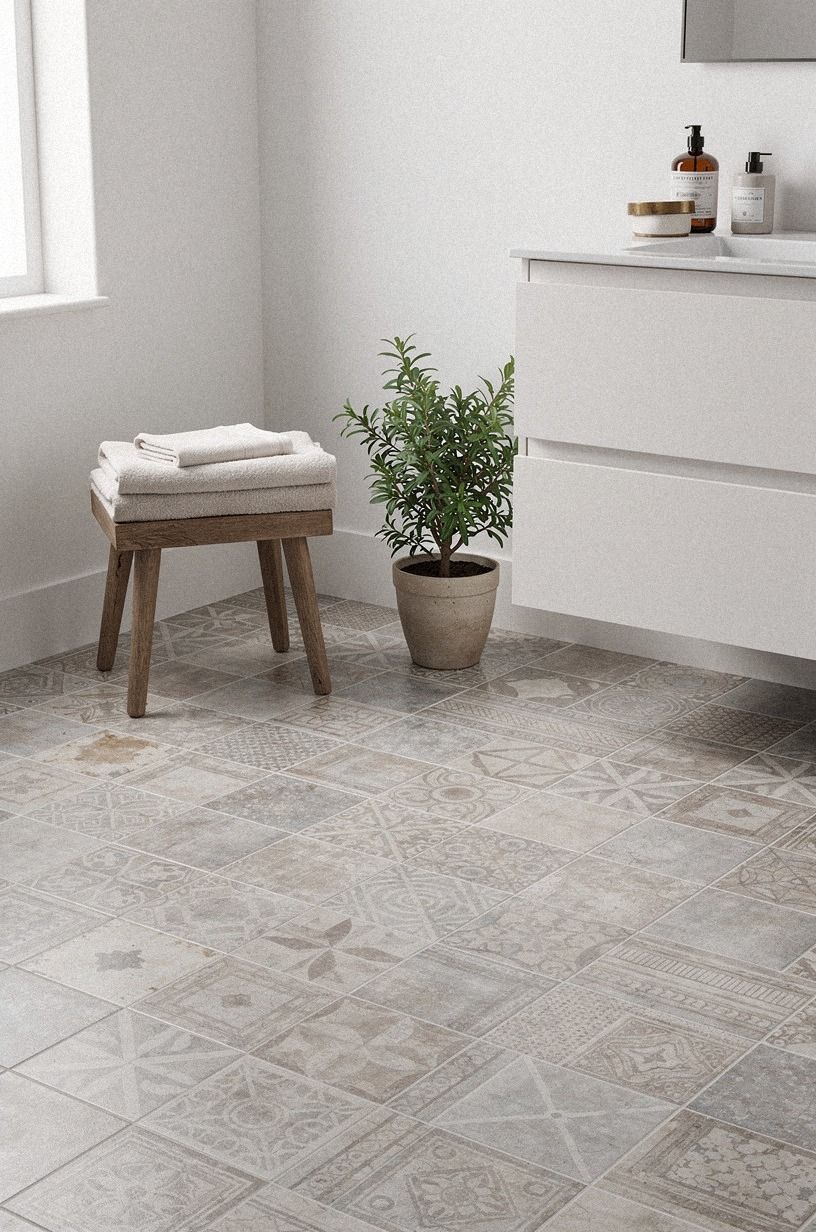
Run your palm across the existing tile before you choose a pattern. If you can feel raised joints, those lines may telegraph through flexible vinyl, especially under a bright vanity light. A Calacatta marble-look tile with restrained gold veining gives you a calmer starting point, while chipped edges and deep channels need smoothing first.
Place one loose sample over the floor and look at it from the doorway, beside the toilet, and under the mirror. You’re checking shadows, not only color. I’d skip a thin marble-look sheet if the old grout is deeply recessed because you’ll see every dip once the room gets bright!
For more direction, compare your surface with these peel-and-stick tile ideas for bathrooms and fireplaces. Your eye notices repeating shadows before it notices a small color mismatch, so test the tile in the exact light you live with.
2What Should You Sand Before Covering Ceramic?
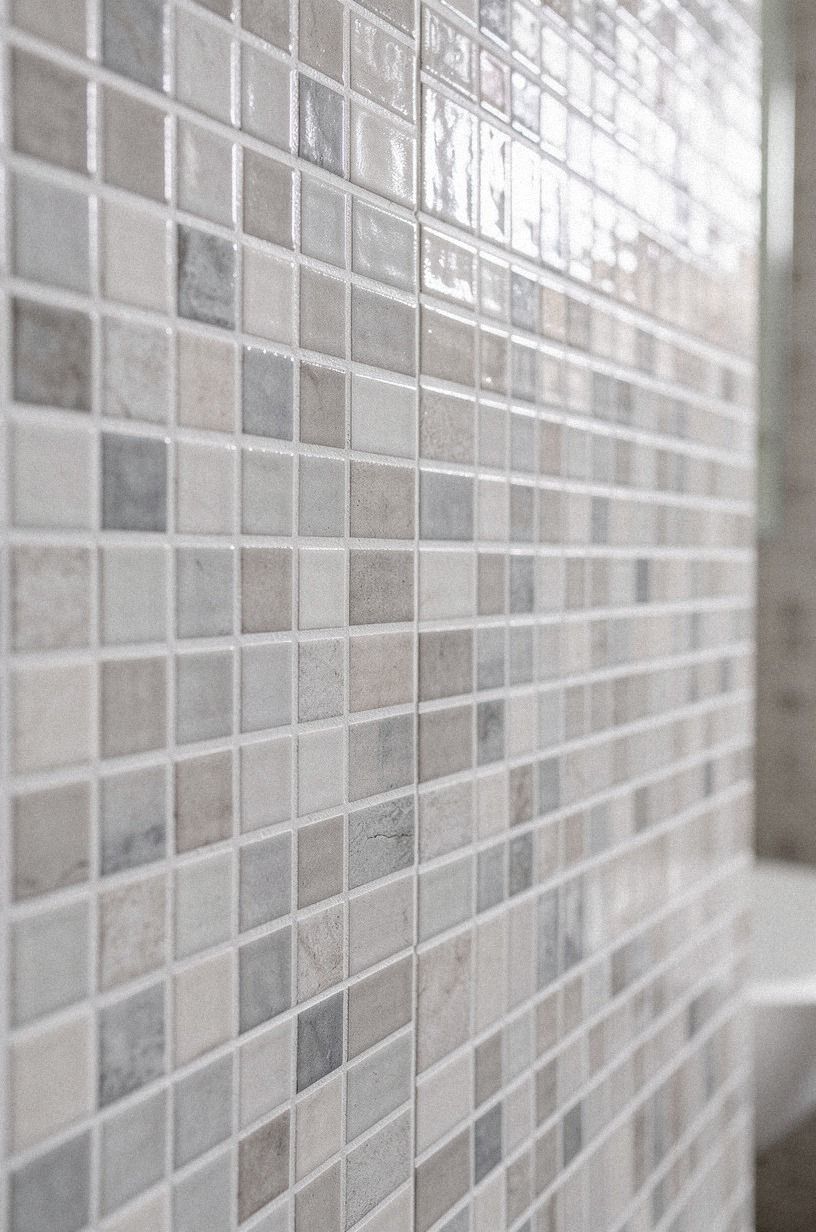
A rental bathroom doesn’t need full demolition to look intentional. Lightly smooth raised joints and chipped corners with a suitable surface-prep compound, then let the area dry completely before you install anything. You’re creating a level field where the tile can sit without flexing over every ridge.
I made the mistake of pressing a new sheet straight onto old ceramic once. It looked fine at night, but morning light picked out the grid like a pencil drawing.
Don’t rush this part. Your peel-and-stick floor tile bathroom over ceramic tile project will look far more refined when the base feels boring and even.
Keep the transition modest near the door, and check that your floor still clears it. If you need a detailed sequence, read how to lay peel-and-stick tile over ugly ceramic tile before you buy supplies. A clean threshold can make the whole refresh feel polished!
3Float a Thin Underlayment for the Peel-and-Stick Floor
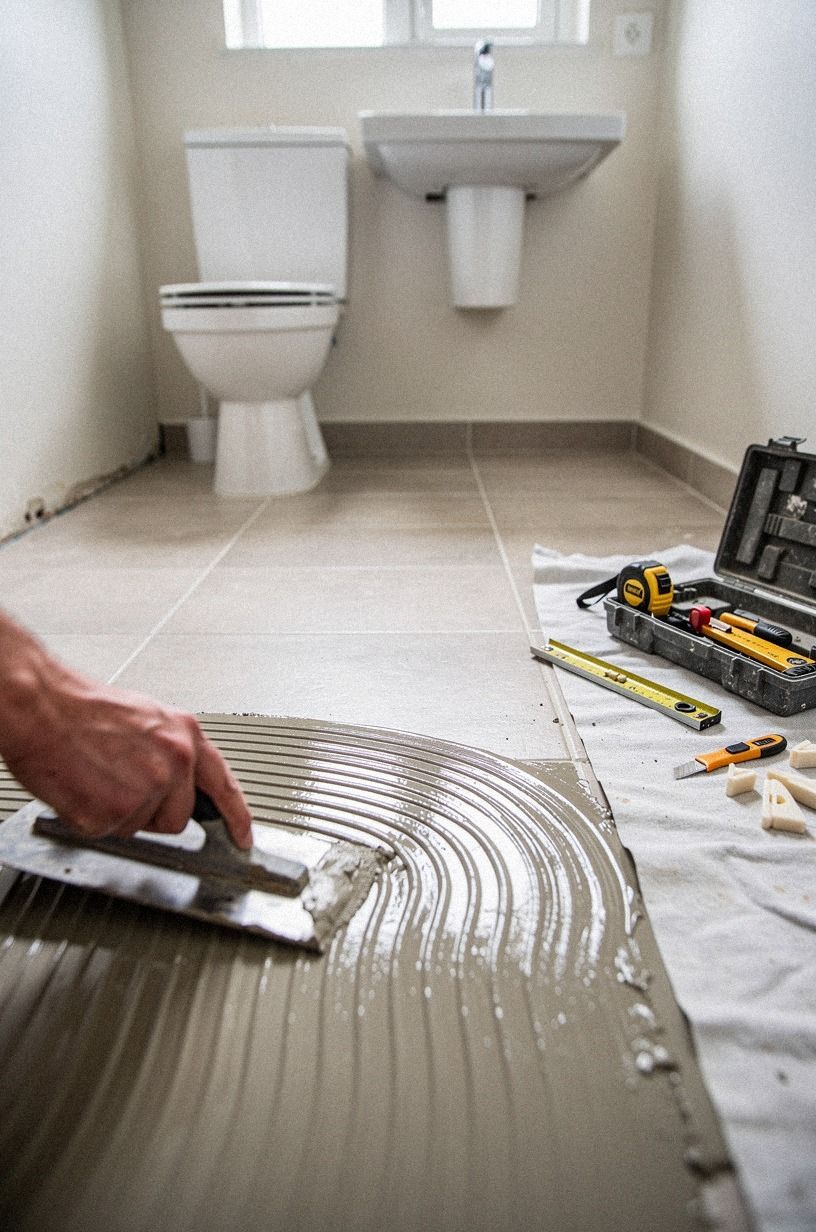
A thin, compatible underlayment sheet can soften minor texture and give your new tile a cleaner plane. Choose a product approved for your floor type, and confirm that it won’t raise the finished surface enough to catch the bathroom door.
You’ll want the underlayment to lie flat at every edge. Press down bubbles, trim around the toilet carefully, and leave no loose corner for the adhesive to fight later. I’d rather spend an extra hour on this quiet step than repair a dramatic ridge after installation.
Your rental deserves a stable, removable solution. If the existing floor feels damp, loose, or spongy, stop and investigate first. A pretty surface can’t correct a structural problem.
4Large Squares or Tiny Mosaics?
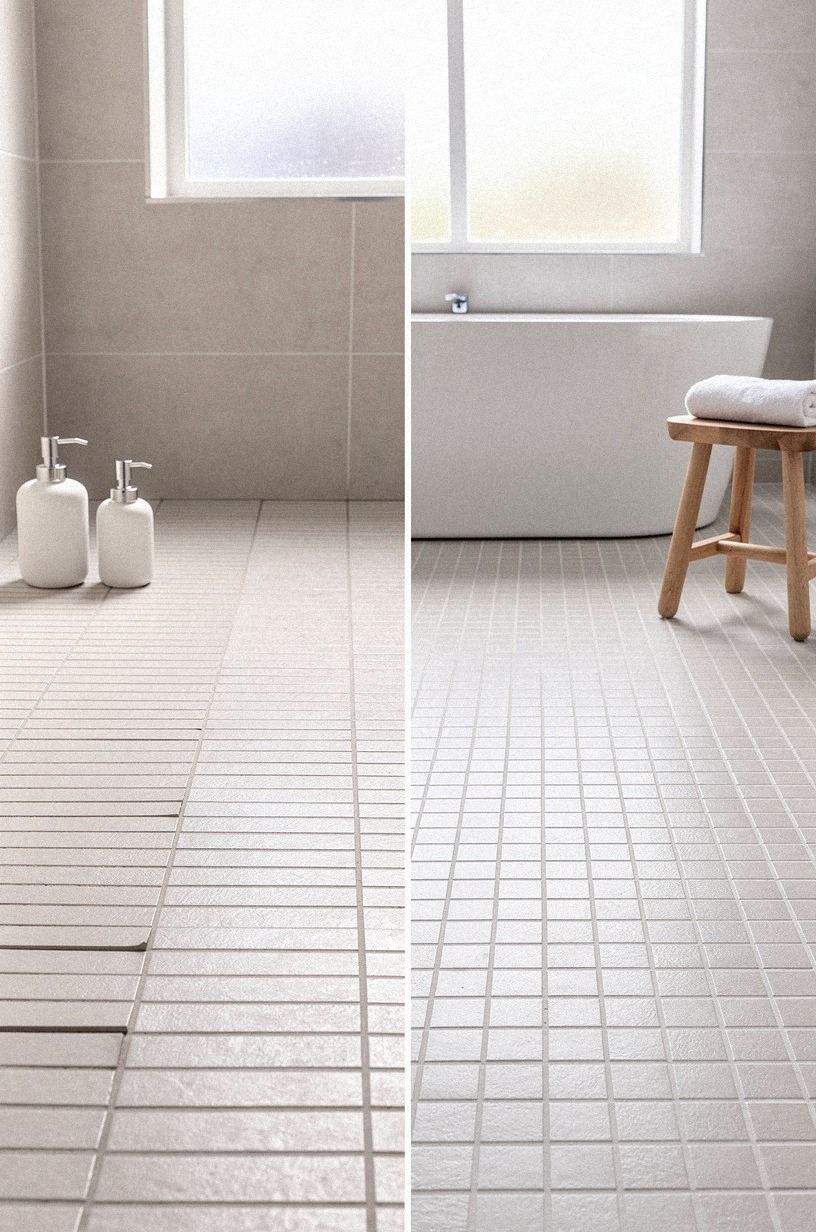
Large-format peel-and-stick squares with a book-matched walnut look often hide old grout lines better than tiny mosaic repeats because fewer seams compete with the pattern.
5Paint the Grout Field Before the Tile Goes Down
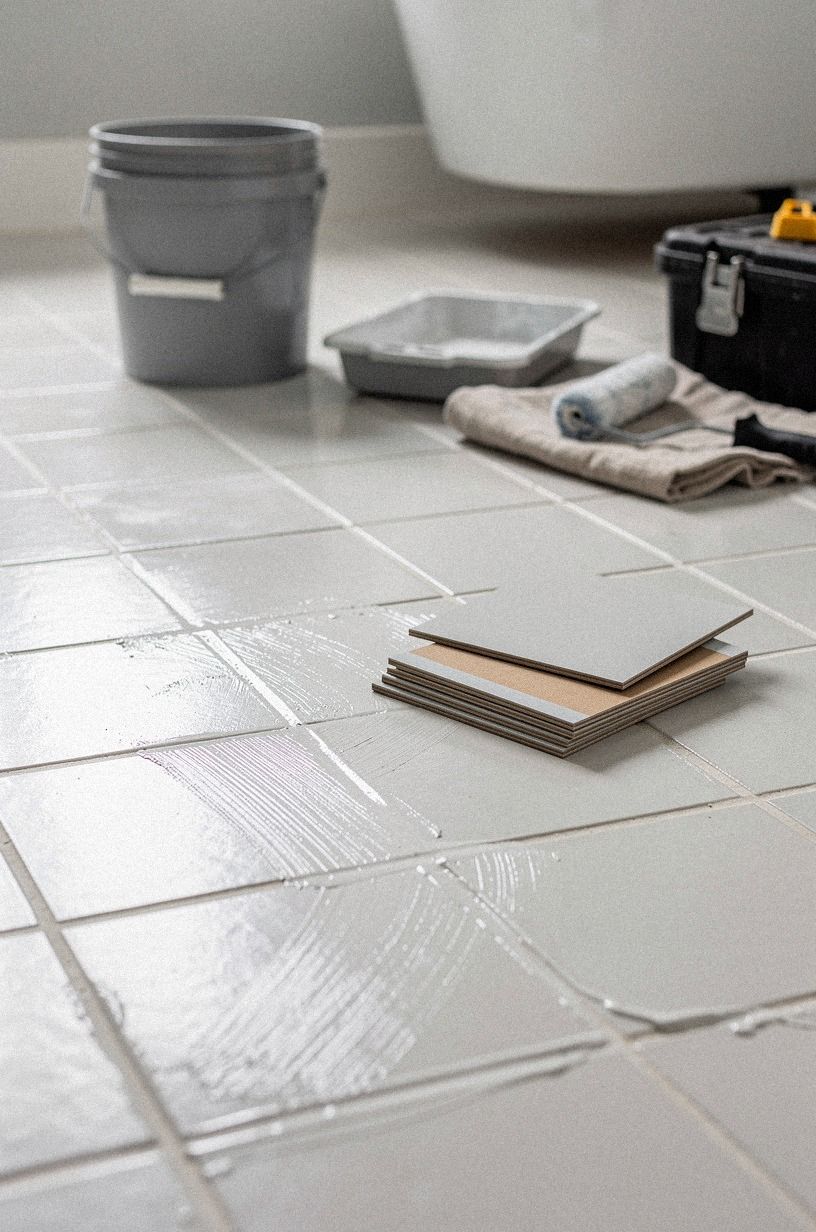
When the old grout is dark, paint the whole surface with a compatible bonding primer in a muted tone before installing the new tile. You’re reducing the contrast beneath the seams if a faint line appears. The paint is preparation, not a finished floor.
Farrow & Ball Hague Blue No.30 can be dramatic on walls, but I wouldn’t use a dark base beneath pale floor tile. It can make every slight gap look sharper. Benjamin Moore Chestertown Buff HC-9 is a softer direction for a warm bathroom, especially beside warm travertine-look flooring or woven textiles.
Give your eye one quiet background, then let the floor do its job. I’ve found that your bathroom feels more welcoming when the undertone stays consistent from the floor to the mirror frame. Don’t use leftover wall paint unless the product is suited to the surface.
6How Does the Shadow-Line Method Work?
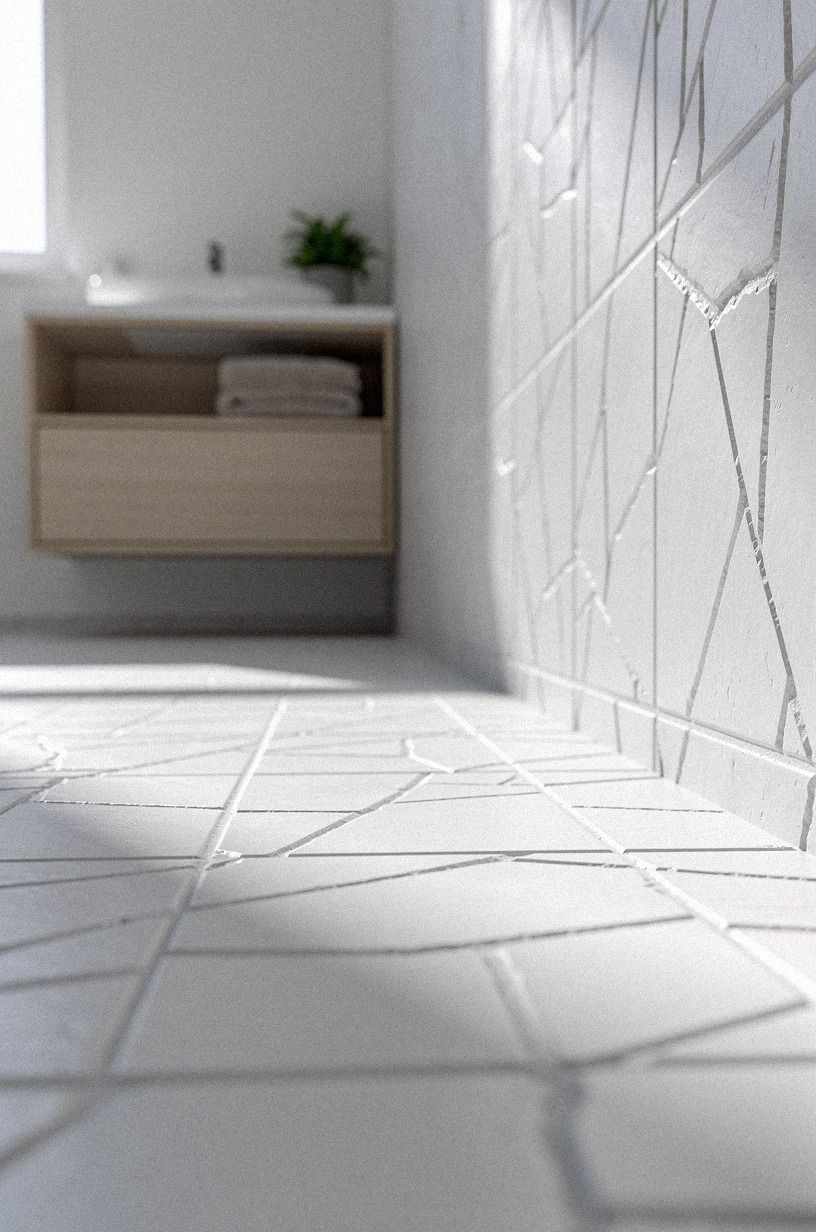
The Shadow-Line Method means placing your most forgiving cuts where furniture and fixtures already create shade. You can hide a less attractive seam behind the vanity, beneath a freestanding cabinet, or along the least visible side of the toilet.
Measure those areas before you begin. Your goal is still a clean installation, but the room’s natural shadows can make small compromises almost invisible. I’d keep full tiles in the doorway sightline and reserve narrower pieces for the edges.
This method pairs especially well with a soft stone print and unlacquered brass that can develop a natural patina. If you’re planning the entire room, save this renter-friendly bathroom tile guide for the layout stage. It’s easier to make a graceful plan before the first cut!
7Match the Surface Finish to Your Bathroom Light
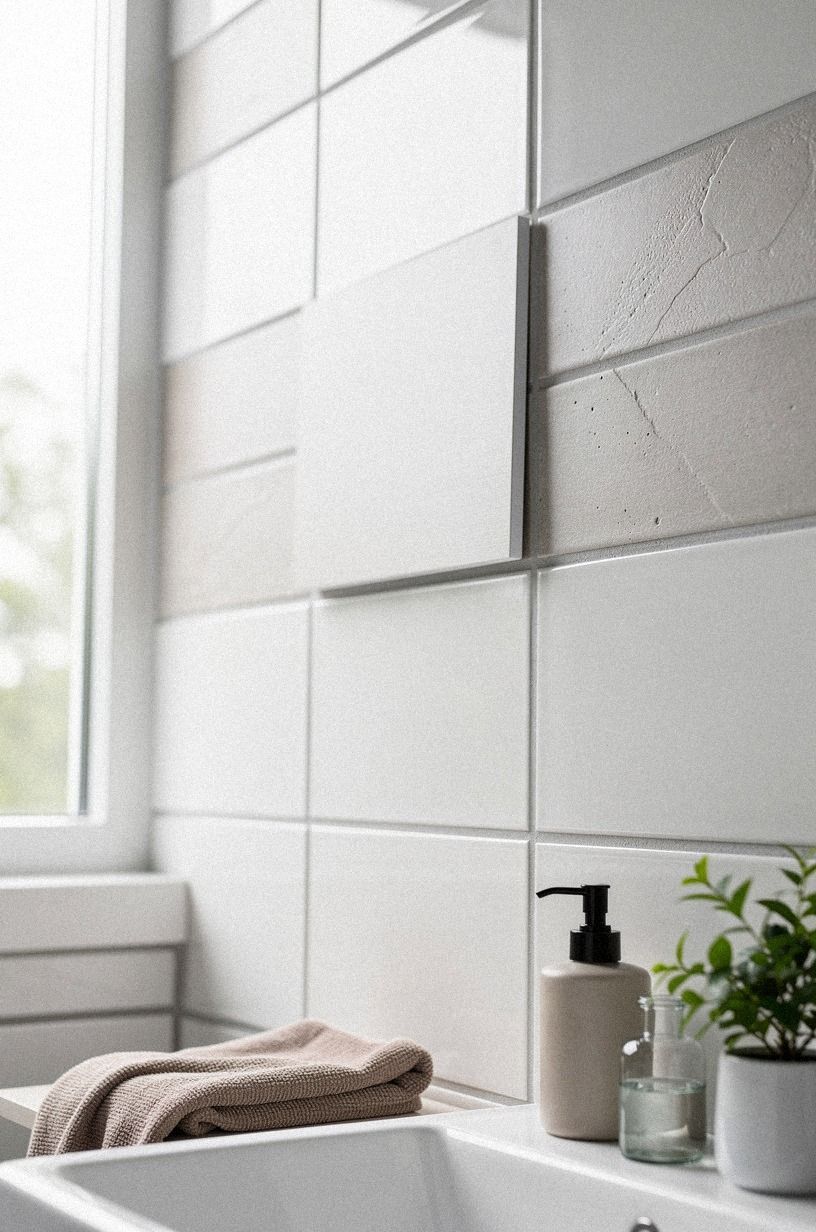
Glossy tile reflects every uneven line, while a low-sheen oversized-chip terrazzo finish scatters light more gently. If your bathroom has one ceiling fixture and no window, a soft matte surface will usually look calmer than high gloss.
Sherwin-Williams Sea Salt SW 6204 can bring a quiet green-gray note to the walls without competing with a warm floor. I’d skip stark white gloss in a rental with overhead lighting. It tends to show dust, seams, and every little ripple by noon.
Look at your sample in daylight and after dark. You’re choosing how your floor behaves through the day, not just how it looks in a store. If the room still feels flat, add texture through a towel or 600gsm Turkish cotton bath mat rather than another shiny finish.
8Frame the Floor With a Quiet Border
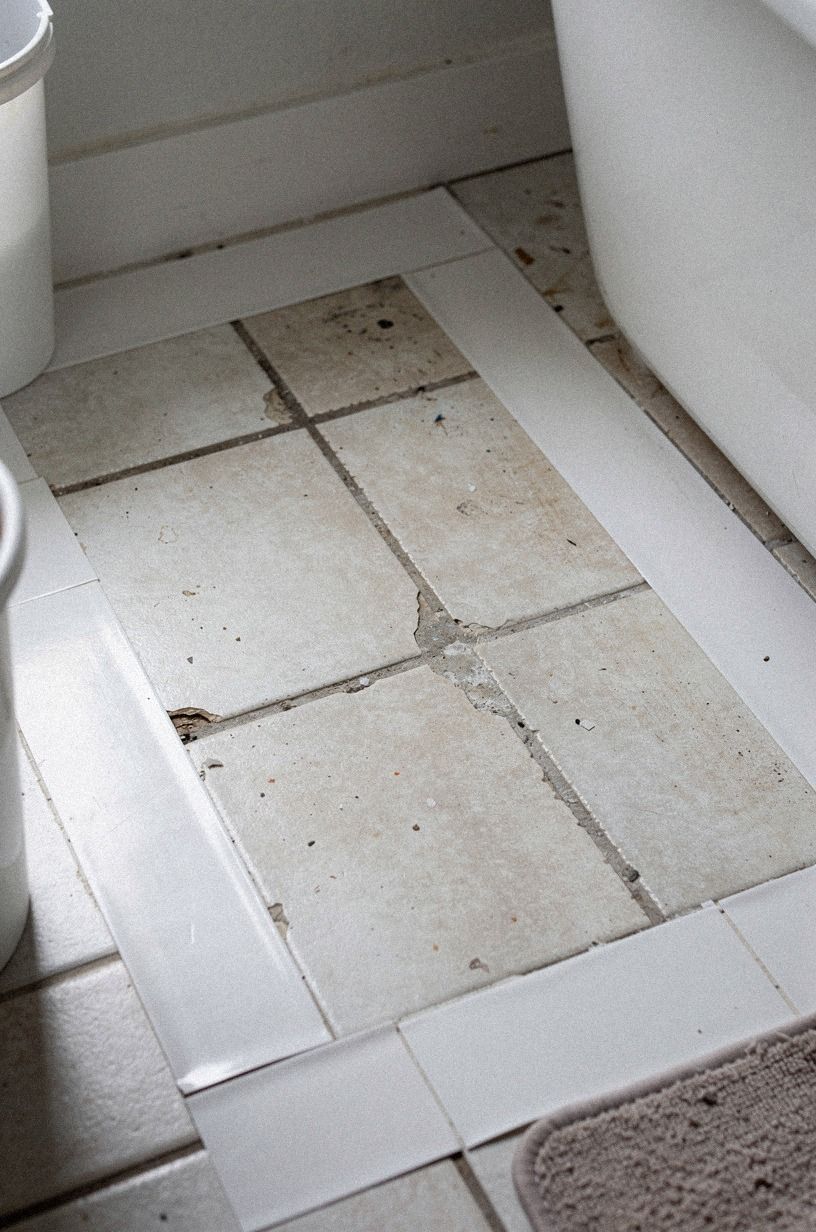
A border can disguise awkward cuts and give your peel-and-stick floor over tile bathroom project a deliberate edge. A narrow greige border tile can also separate the floor from a hand-applied Venetian plaster wall without creating another loud pattern.
Keep the border simple. You don’t need a decorative frame, contrasting medallion, or complicated corner treatment in a compact rental bathroom. I’d use one consistent tone around the room and let the vanity interrupt it naturally.
Before you commit, dry-lay the pieces at the doorway and around the tub. Your first view should feel balanced, with no tiny sliver stealing attention. A restrained border can look elegant, but a fussy one can make the room feel crowded.
9Soft Terrazzo or Busy Marble?
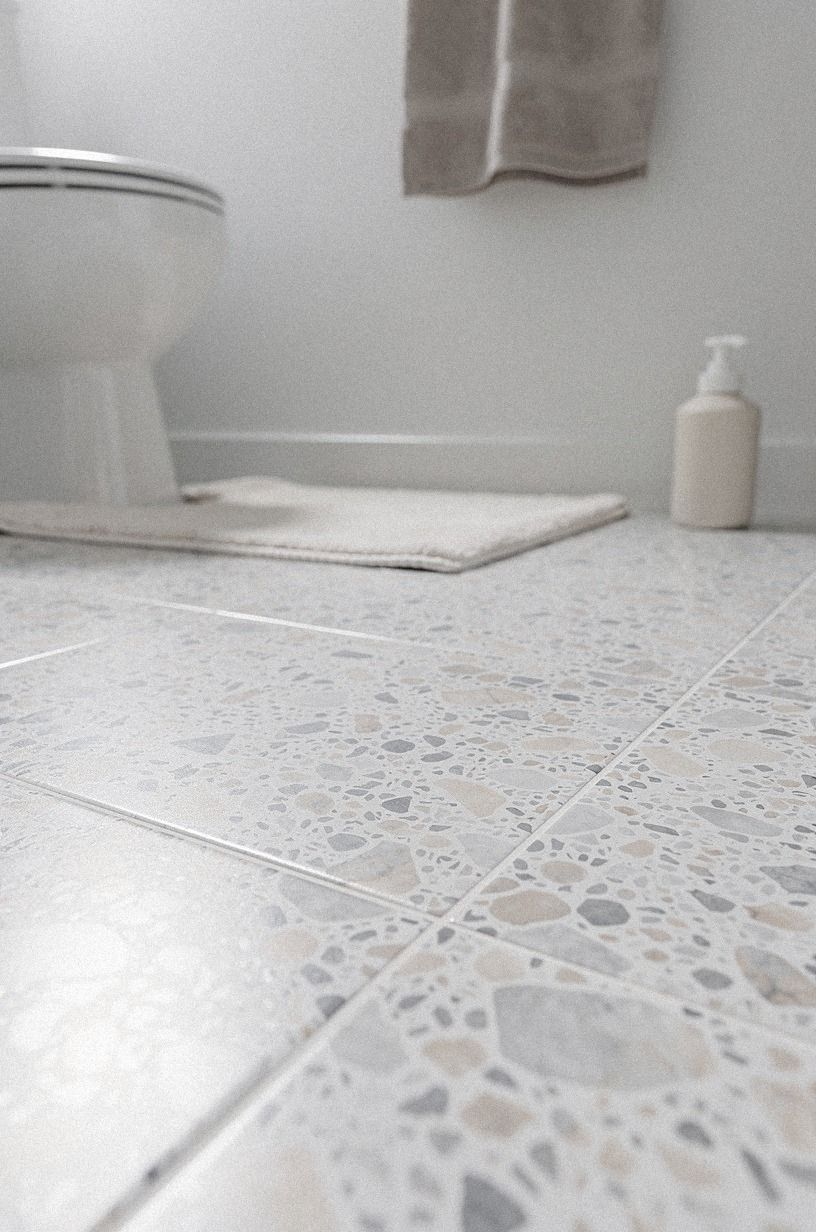
If old grout lines are loud, a small-fleck terrazzo print can be more forgiving than a dramatic marble pattern. Scattered dots interrupt the old grid, while bold veins may accidentally point straight toward it.
I’d choose a warm terrazzo with cream, tan, and muted gray rather than a cold white-and-black version. Your towels, mirror, and wall color will have more room to breathe. A small bathroom can handle pattern, but it can’t handle five competing directions.
Pair it with subtle shagreen accents and unlacquered brass only if the rest of your room has warmth. Otherwise, brushed nickel may keep the palette calmer. These zellige tile bathroom ideas for a simple elegant spa feel show how subtle variation can still feel orderly.
10The Three-Height Light Stack
The Three-Height Light Stack uses a ceiling fixture, mirror-level light, and low textile or basket to keep the eye moving vertically. It helps your new floor feel integrated instead of pasted onto an old room.
Use a washed Belgian linen drum shade overhead, a mirror with a slim metal frame, and a low woven basket near the vanity. Your floor doesn’t need to carry the entire design. When the room has three clear heights, the surface underneath can stay quiet.
I’d skip a huge floor pattern if your mirror, light, and storage already have strong shapes. The better move is to repeat one warm note at each level.
A rounded oak mirror can soften square tile, while a simple IKEA basket keeps the rental budget sensible. You’ll notice the balance before you notice the grout.
11Install a Renter-Safe Vanity Counterpoint
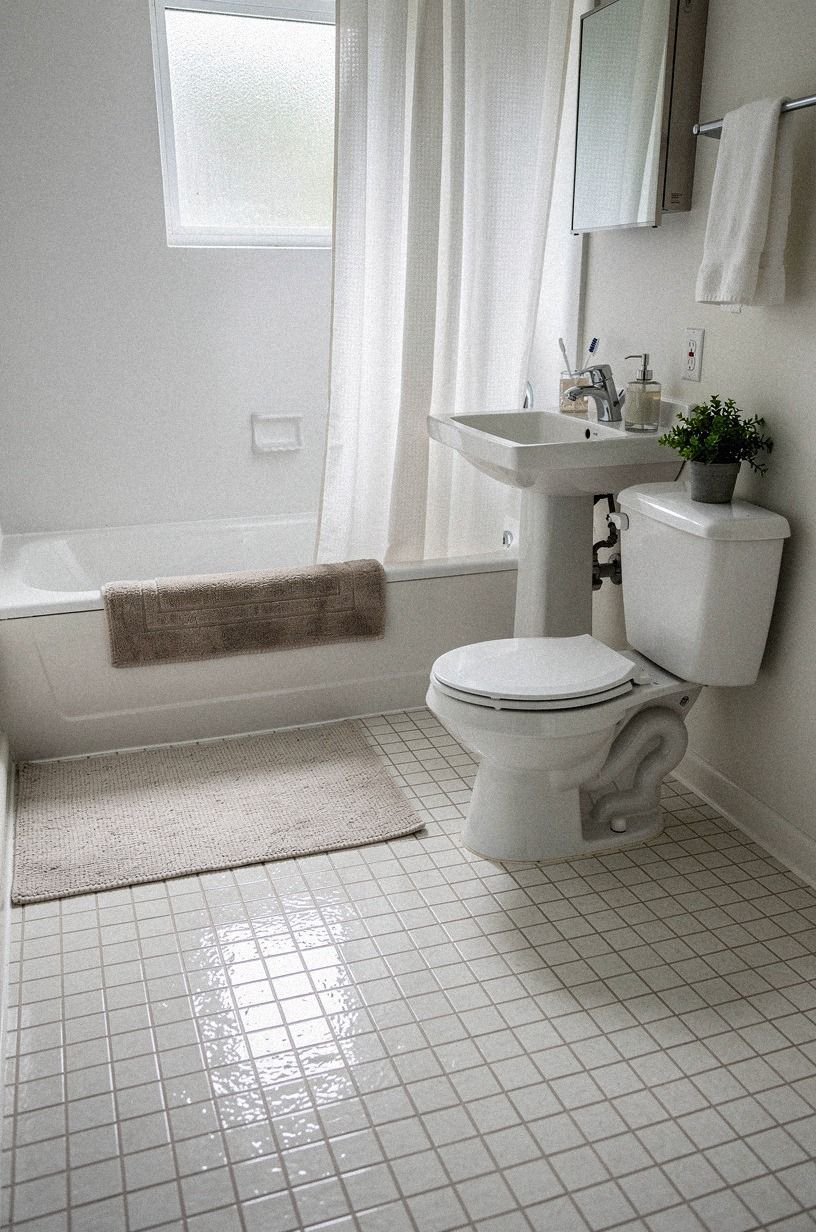
A removable vanity or freestanding cabinet can cover the least attractive section of the floor while adding useful storage. Choose a birch-effect cabinet with a raised base and an organic bouclé stool nearby so the new tile remains visible around it and the room doesn’t feel boxed in.
IKEA KALLAX can work as a storage reference, but I’d avoid an open cube arrangement directly beside a splash zone. Your bathroom needs closed storage for spare paper and cleaning supplies. Use a tension-mounted shelf or a compact cabinet instead.
Keep the vanity within the 32 to 36 inch height range so the sink remains comfortable. If the cabinet finish feels too plain, compare it with these cabinet cover ideas that fool people. The goal is a calm visual relationship, not a showroom full of matching pieces.
12Which Warm Metal Should You Repeat?
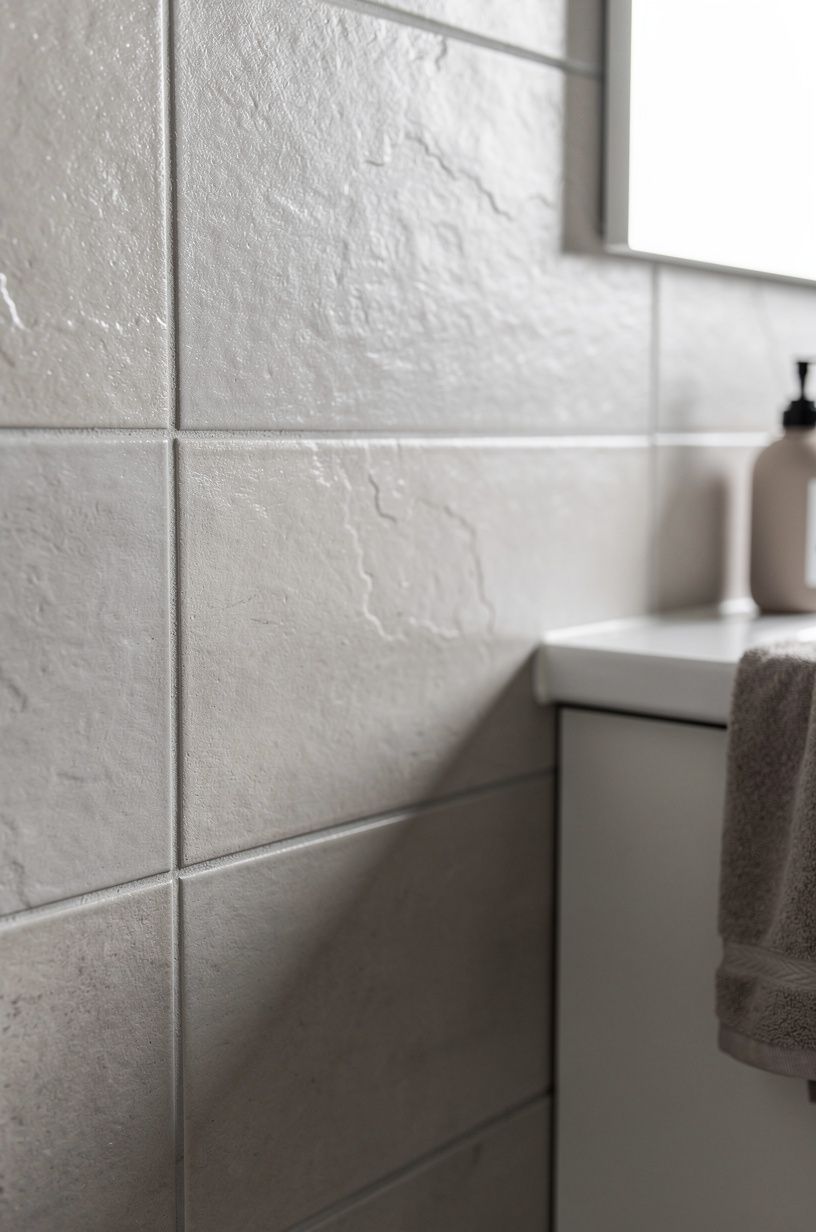
Repeating one finish makes peel-and-stick tile look more permanent. Brushed brass, aged bronze, and brushed nickel can all work, but your choice should connect the faucet, mirror frame, hooks, and light fixture.
I’d choose aged brass with Nero Marquina black marble, cream walls, and oak. Brushed nickel feels fresher beside soft gray, pale green, and cool stone. You don’t need every item from one collection, but the finish should repeat often enough for your eye to understand the decision.
Your rental can still feel thoughtful without expensive hardware. Replace one visible hook, change the mirror, or add a small metal tray. For more removable ideas, browse this renter-friendly bathroom tile guide.
Small changes can make the whole floor feel intentional!
13Layer Textiles to Blur the Hard Edges
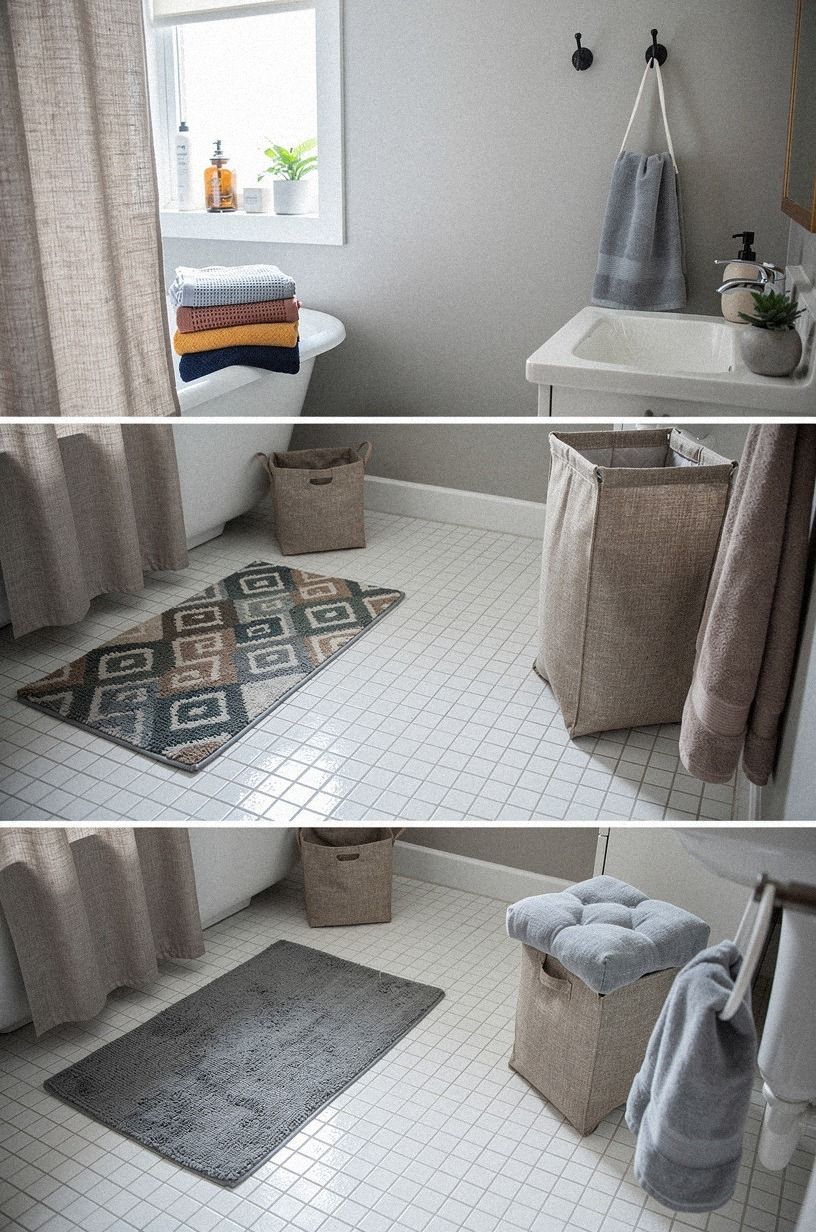
A deep-pile mohair velvet stool kept outside the wet zone, paired with a washable bath mat, can soften the hard surface around your new floor.
14Hide Seams at the Wet Zone With a Clean Transition
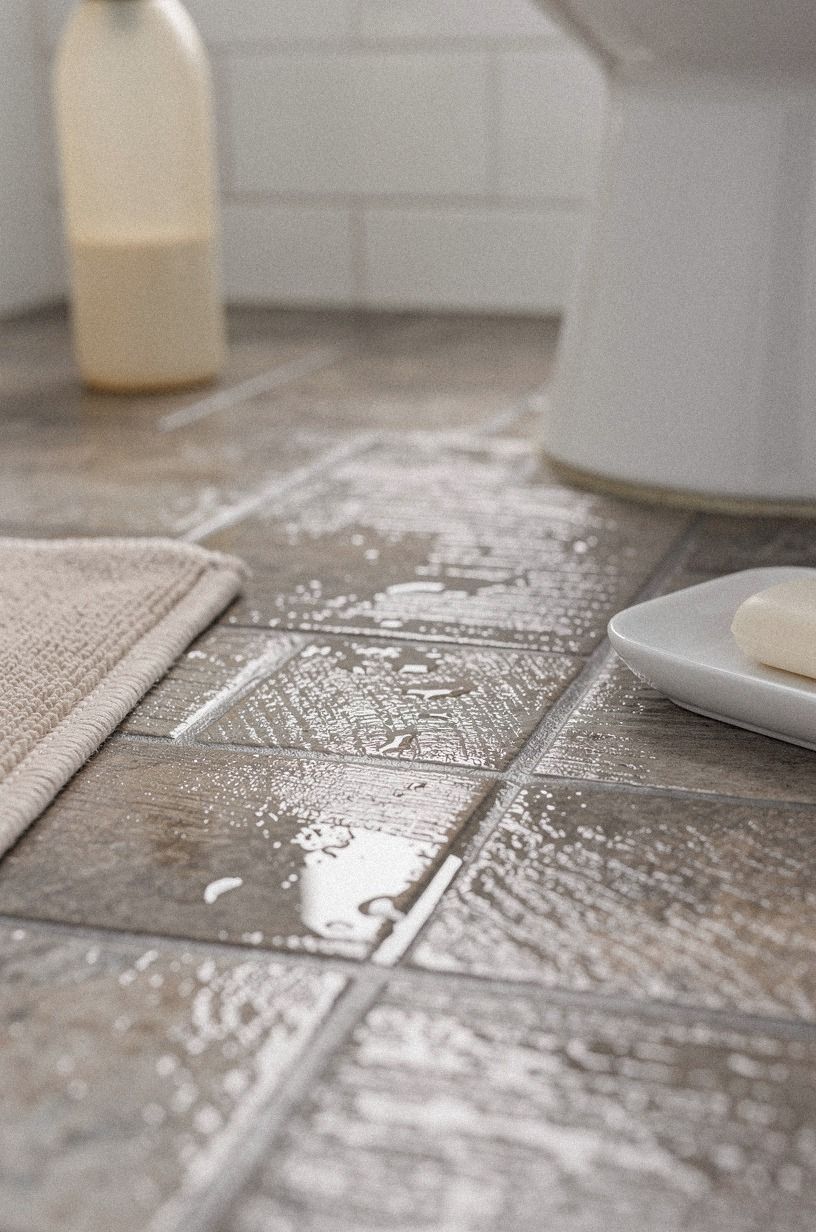
Peel-and-stick products need careful attention near the tub, shower, and toilet. Use a flexible waterproof edge seal where the floor meets a wet area, following the product instructions. Your goal is to stop moisture from reaching the adhesive, not to smear caulk across every visible line.
A standard tub is 60 by 30 inches, so the long edge often becomes the strongest visual line in the room. Keep your Carrara marble-look tile with subtle gray veining running calmly alongside it instead of creating a distracting cross pattern. I’d rather see a simple layout with excellent edges than a clever pattern with peeling corners.
Check the floor during your first week after installation. If a corner lifts, fix it early before dirt catches underneath.
You’ll save yourself a larger repair, and the floor will keep its crisp appearance. Revisit how to lay peel-and-stick tile over ugly ceramic tile if the base needs another look.
15Vertical Lines or More Floor Pattern?
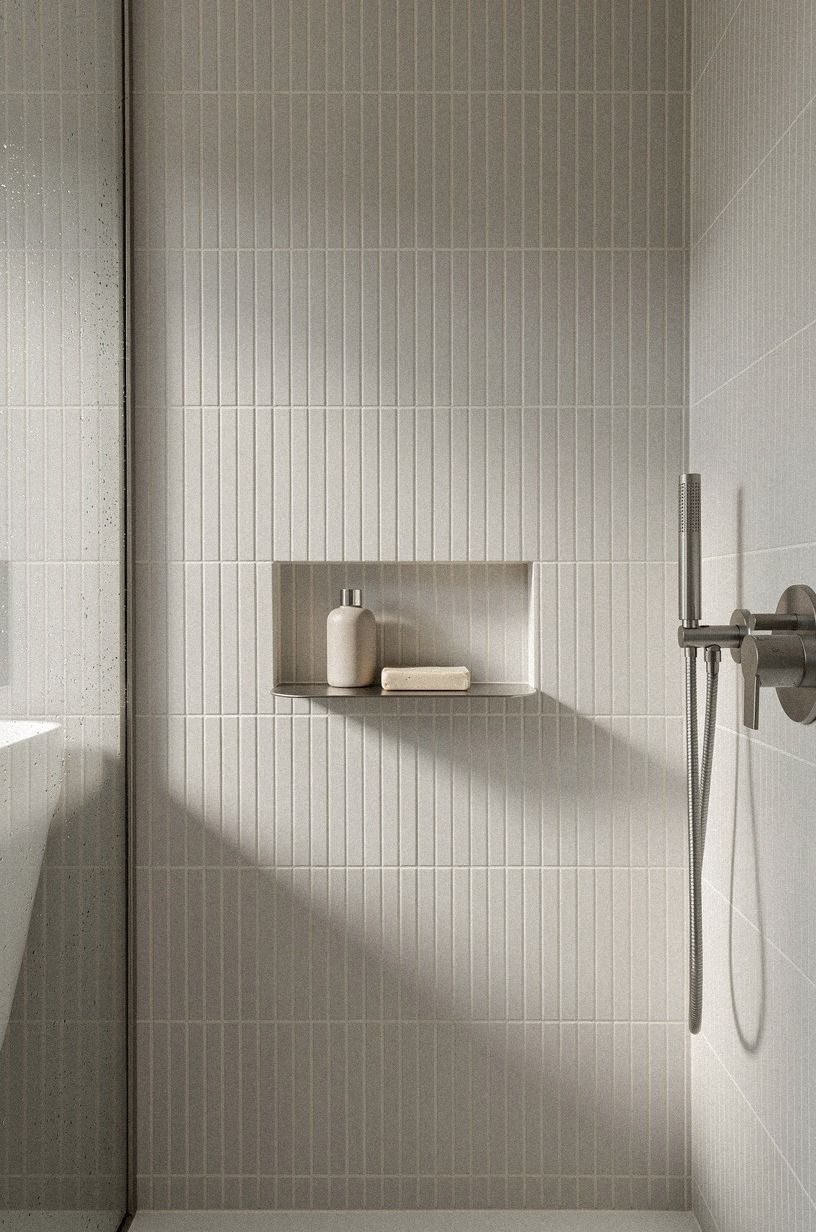
When the floor already has a pattern, take the walls in a quieter direction. A vertical reclaimed weathered teak texture or narrow painted panel can make the ceiling feel higher without adding another grout grid.
Your comfortable shower should measure at least 36 by 36 inches, so keep vertical details outside the wet zone unless the material is rated for it. Benjamin Moore White Dove would be an easy neutral, but I’d choose Benjamin Moore Chestertown Buff HC-9 if your floor has creamy undertones.
A plain wall can be the strongest choice beside patterned tile. Your bathroom doesn’t need every surface competing for attention.
If you want a stronger vertical moment, use a slim mirror and one wall sconce. The light will draw your eye upward, away from any faint floor line.
16Check the Rental Reversal Before You Commit
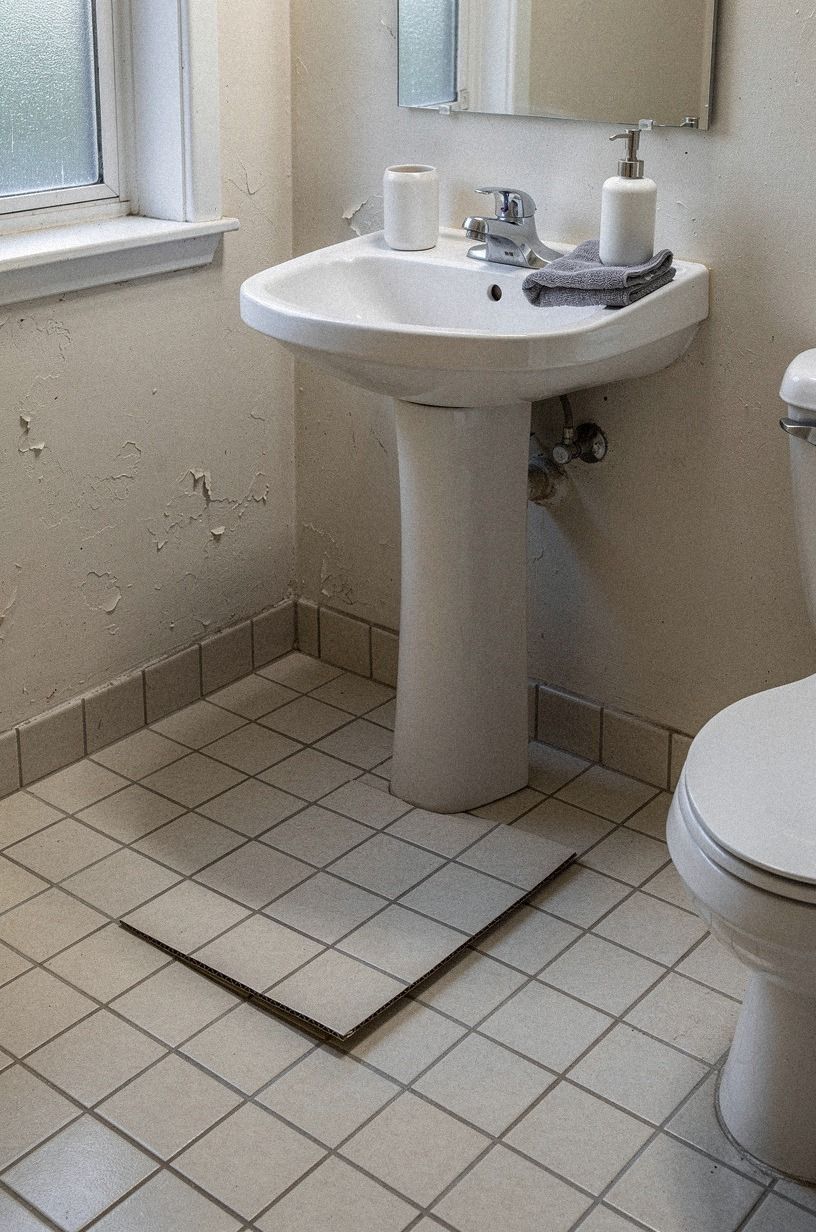
The Rental Reversal is a simple test: imagine the room after you remove the new Calacatta marble-look surface with gold veining.
17Finish With the Two-Texture Rule
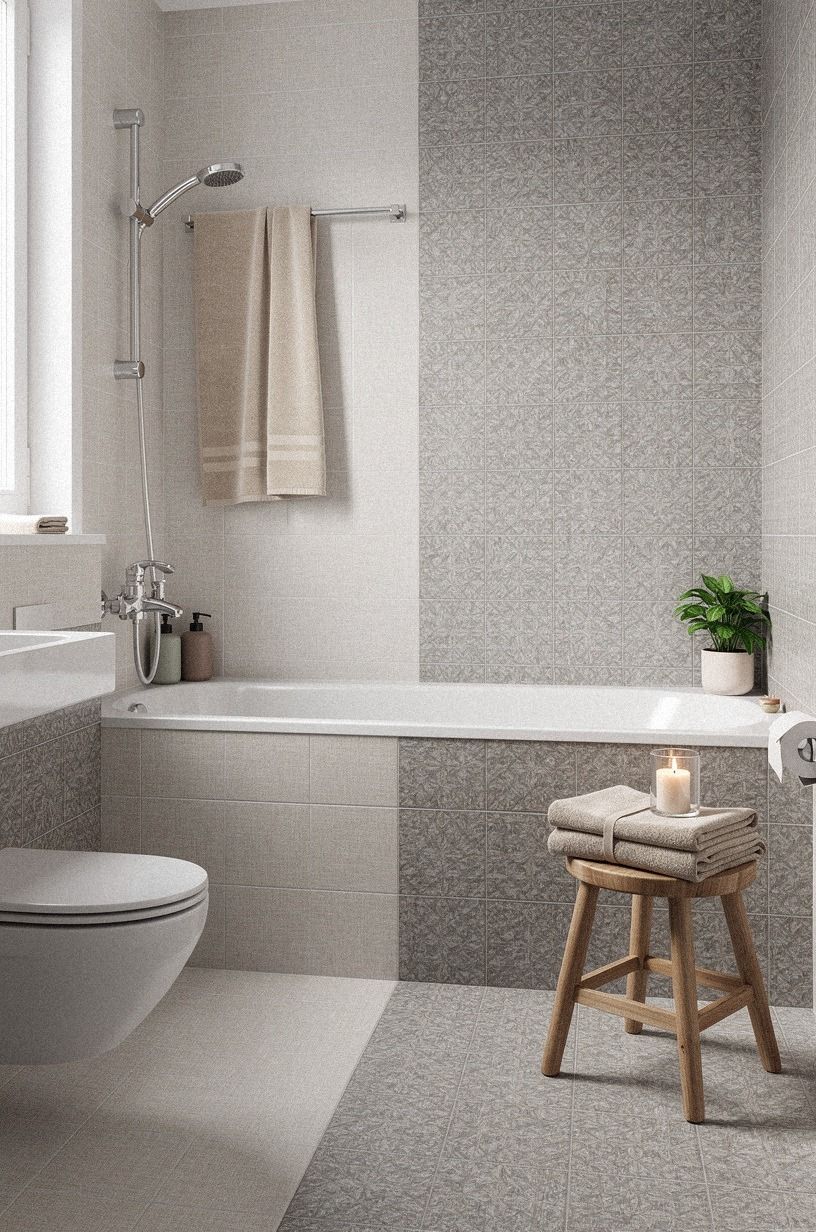
The Two-Texture Rule keeps a peel-and-stick bathroom from feeling flat. Pair the printed floor with one tactile wall or textile element, such as a cerused white oak vanity or a nubby cotton curtain.
I’d stop at two strong textures. Your floor, towel, basket, and mirror don’t all need to announce themselves. A soft matte tile with zellige can feel earthy and sophisticated, while a glossy floor with shiny metal may feel too busy.
Check the full room from the doorway. You’ll want the floor to support the vanity, walls, and light rather than dominate them.
These zellige bathroom ideas for handmade glossy character can help if you want variation without returning to a heavy grout pattern. Keep one spare sheet for future repairs!
Why I’d Fix the Floor Before Buying More Decor
I’ve lived with rental bathrooms where the floor was the loudest thing in the room, even after new towels and a fresh mirror. My first instinct was to distract from it.
That was backwards. When the base surface is uneven, every decorative choice has to work harder, and the room starts feeling assembled instead of calm.
The practical decision is simple: check the old grout, smooth the raised spots, test a sample, and choose a pattern that doesn’t repeat the original grid. I’d rather use a modest terrazzo print over a well-prepared surface than install an expensive-looking marble pattern over ridges. The first option will age better because it isn’t asking your eye to ignore a problem.
I also think renters should be honest about removal. Peel-and-stick tile can be a smart cosmetic change, but it isn’t magic, and it shouldn’t be treated as a permanent waterproofing system.
Your bathroom still needs sound flooring, clean edges, and sensible protection near the tub. If the original surface moves or holds moisture, pause before covering it.
The warmest result usually comes from restraint. One floor pattern, one paint direction, one repeated metal, and two useful textures are enough.
Farrow & Ball Hague Blue No.30 can make a small room moody, while Sherwin-Williams Sea Salt SW 6204 keeps it softer. Neither color will save a bad installation, but both can make good preparation feel intentional.
That’s the part worth your time.
What People Always Want to Know
What is the best peel-and-stick tile for a small bathroom?
A low-sheen terrazzo or soft stone print is usually the best choice because it disguises minor variation without adding a busy grid. Choose a forgiving pattern, test it over your existing floor, and keep the vanity area visually quiet. IKEA storage can support the look without crowding your room.
Where can I buy peel-and-stick tile pieces on a budget?
Look at IKEA, Wayfair, and Target, then check Facebook Marketplace or a local thrift shop for unopened surplus boxes. You’re looking for enough pieces from one batch to keep the color consistent. For more renter ideas, browse this bathroom tile inspiration guide.
How much does a peel-and-stick tile makeover cost?
A small cosmetic makeover can cost about $100 to $300 when the existing floor is sound and you’re using paint, textiles, and removable tile. Your free upgrades include rearranging storage, cleaning grout, and reusing a mirror. A faucet or vanity will raise the total.
Can I create a peel-and-stick tile bathroom on a budget?
Yes, and you can start with three low-cost moves: clean the existing floor, smooth only the raised grout, and use one removable textile to soften the room. Add tile where it has the most visual impact, then compare your result with these bathroom and fireplace tile ideas.
Is peel-and-stick tile worth it in a small space?
Yes, if the original surface is stable and the pattern is forgiving. A small bathroom helps because you’ll need less material and can place full pieces in the main sightline. Keep the layout simple, protect wet edges, and choose a warm matte finish.
Is peel-and-stick tile a good idea for a rental?
It can be, provided the product is removable for your surface and you test a hidden area first. Pair it with a tension rod, removable mirror, and freestanding storage. Don’t cover loose or damp flooring, and keep the original materials safe for move-out.
Where I’d Start First
If I had to pick one, I’d start with the flat base. Raised grout will telegraph through even a convincing tile print, while good preparation makes a modest pattern look expensive. Pin the flat-field method for later and save this peel-and-stick tile guide before you shop.