
 by
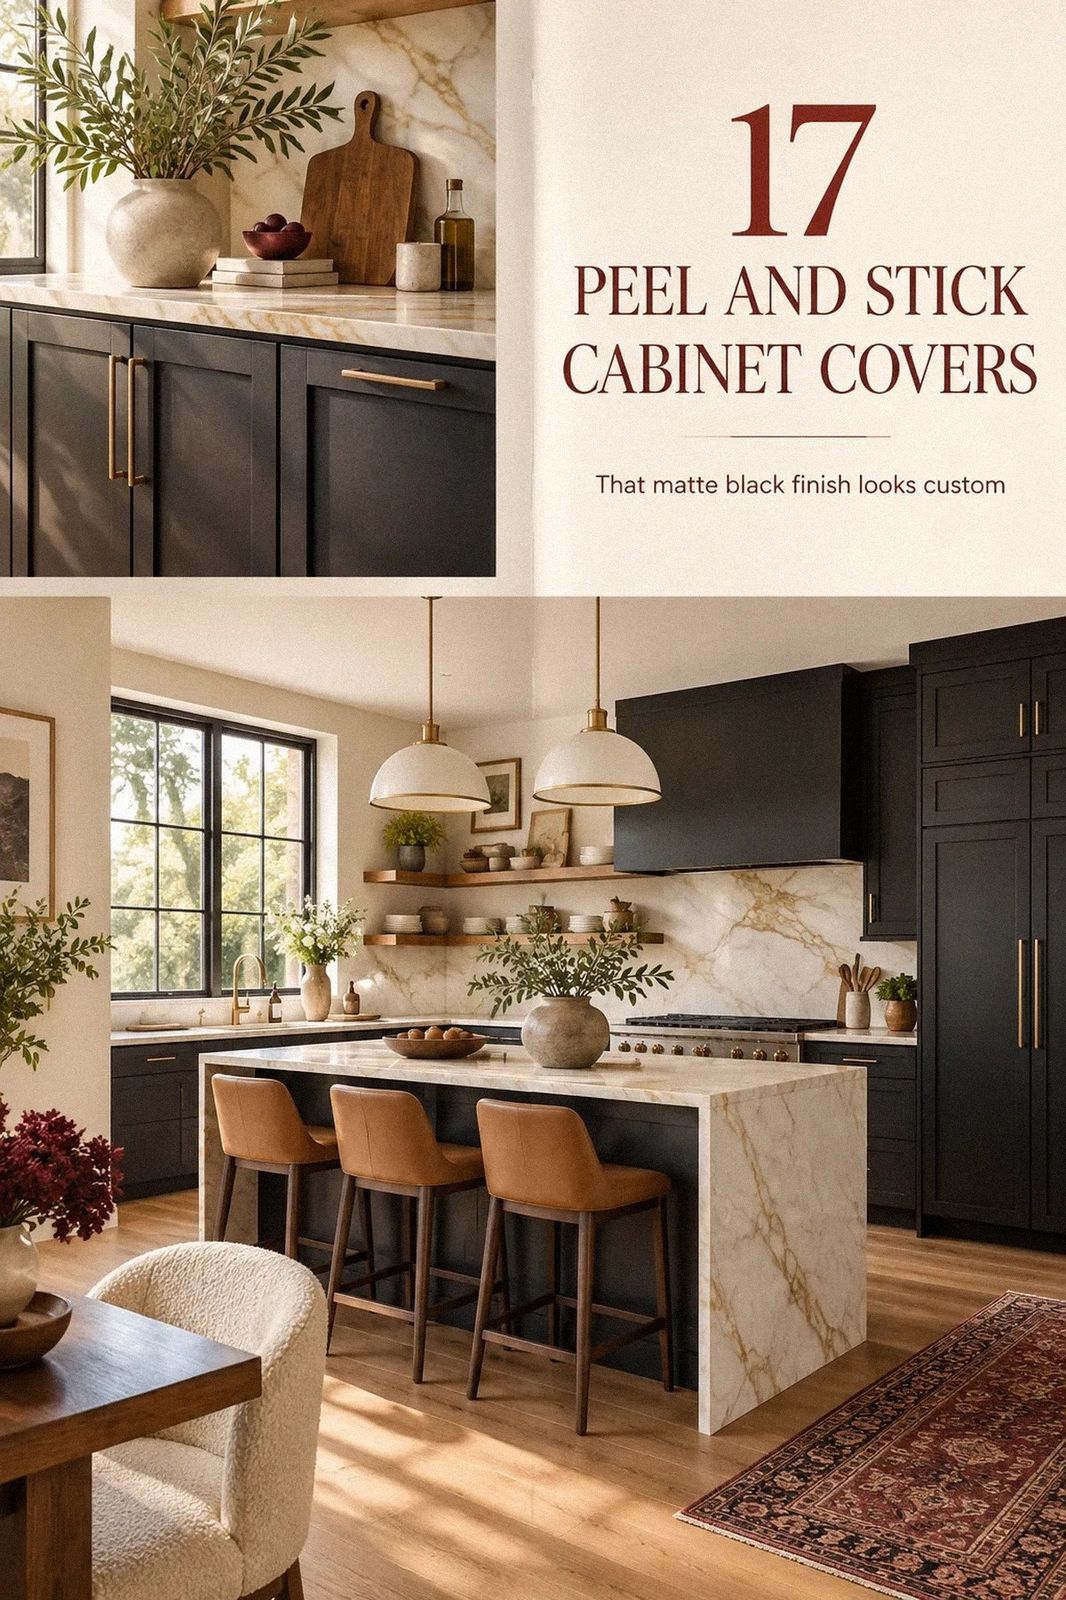
by Peel and stick cabinet covers can make a tired kitchen look intentional for roughly $100 to $300, depending on how many doors you wrap. I've ruined one set by skipping the cleaning step, so I know where this goes sideways. The good news? A few measured choices can look warm, refined, and surprisingly permanent.
- Clean First and Build the Renter Friendly Cabinet Makeover
- Measure Around the Hinges Before You Cut
- Float Warm White Over the Yellowed Finish
- Layer the Two-Tone Cabinet Rule
- Swap Flat Film for a Faux Shaker Frame
- Wrap the Island in a Stronger Wood Grain
- Frame Aged Brass Hardware With Softer Cabinet Covers
- Use the Grain Direction to Make Doors Look Taller
- Paint the Toe-Kick for a Built-In Look
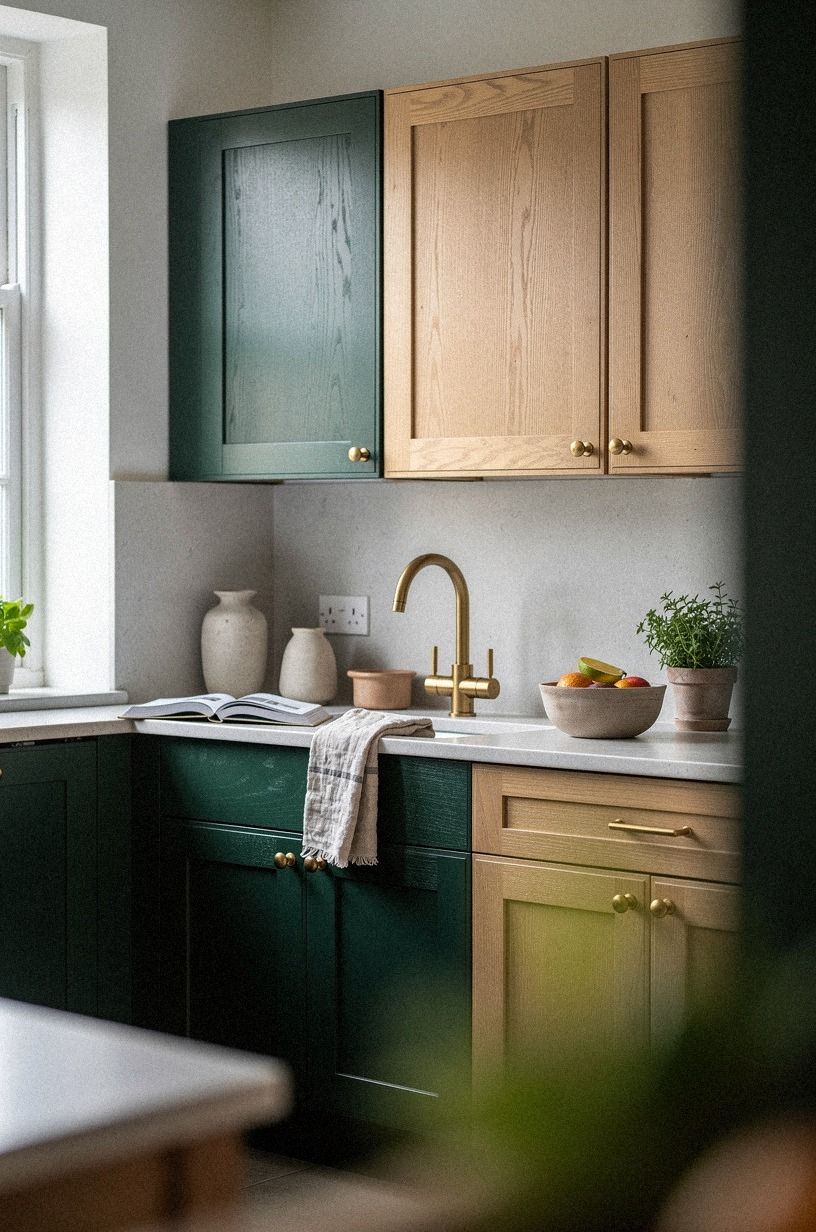
- Mix Emerald Green With Unlacquered Brass
- Hide the Refrigerator Panels With a Quiet Solid
- Set a Budget Before You Wrap Every Door
- Anchor the Sink Wall With a Durable-Looking Finish
- Float Open Shelves Between Wrapped Doors
- Paint the Surrounding Wall to Make Covers Believable
- Layer Lighting Around the Cabinet Faces
- Finish With a Consistent Edge and a Rental Exit Plan
1Clean First and Build the Renter Friendly Cabinet Makeover
Cabinet covers only look convincing when the surface underneath is clean, flat, and dry. Wipe every door with a degreaser, then let it sit overnight.
Your kitchen may seem clean, but cooking film hides along the edges and makes adhesive curl within days. I learned this after one corner lifted beside the oven.
Use a lint-free cloth and inspect the doors in bright light. Matte vinyl film hides tiny scratches better than glossy film, while glossy white shows every bump and fingerprint. If your doors feel greasy, you shouldn't rush this step.
A quiet Saturday is cheaper than redoing twelve doors.
But don't sand away a rental finish unless your lease allows it. Photograph the cabinets before you begin, save the original hardware, and label each door with painter's tape. You'll thank yourself when the covers come off cleanly and every hinge returns to its old position.
Typical cost by tier, using US averages:
Start small! A single bank of doors can tell you whether the material, color, and removal process are worth the full purchase.
2Measure Around the Hinges Before You Cut
Measure each cabinet door separately, even when several look identical. Older kitchens often have slight differences around the hinge side, and a quarter inch can turn a tidy edge into a visible sliver. Your best starting point is the door width, height, and the amount of wrap you want on each side.
I prefer leaving about 1 inch of extra material on every edge, then trimming with a fresh blade. Removable vinyl film gives you enough slip to reposition the sheet before it bonds, but you'll still need patience around routed panels.
Don't stretch the film to make a short piece work. It will shrink back later.
And measure the drawer fronts too. A kitchen with wrapped doors and untouched drawer fronts looks unfinished, even if the color is close. If you're reorganizing the inside at the same time, these kitchen cabinet storage ideas that actually work can help you use the empty space you uncover.
Check the hinge plates, handles, and neighboring gaps before you buy. A sample sheet is better value than a full roll that turns out to be too narrow. These kitchen cabinet storage ideas that actually work are also useful if measuring reveals wasted space behind the doors.
3Float Warm White Over the Yellowed Finish
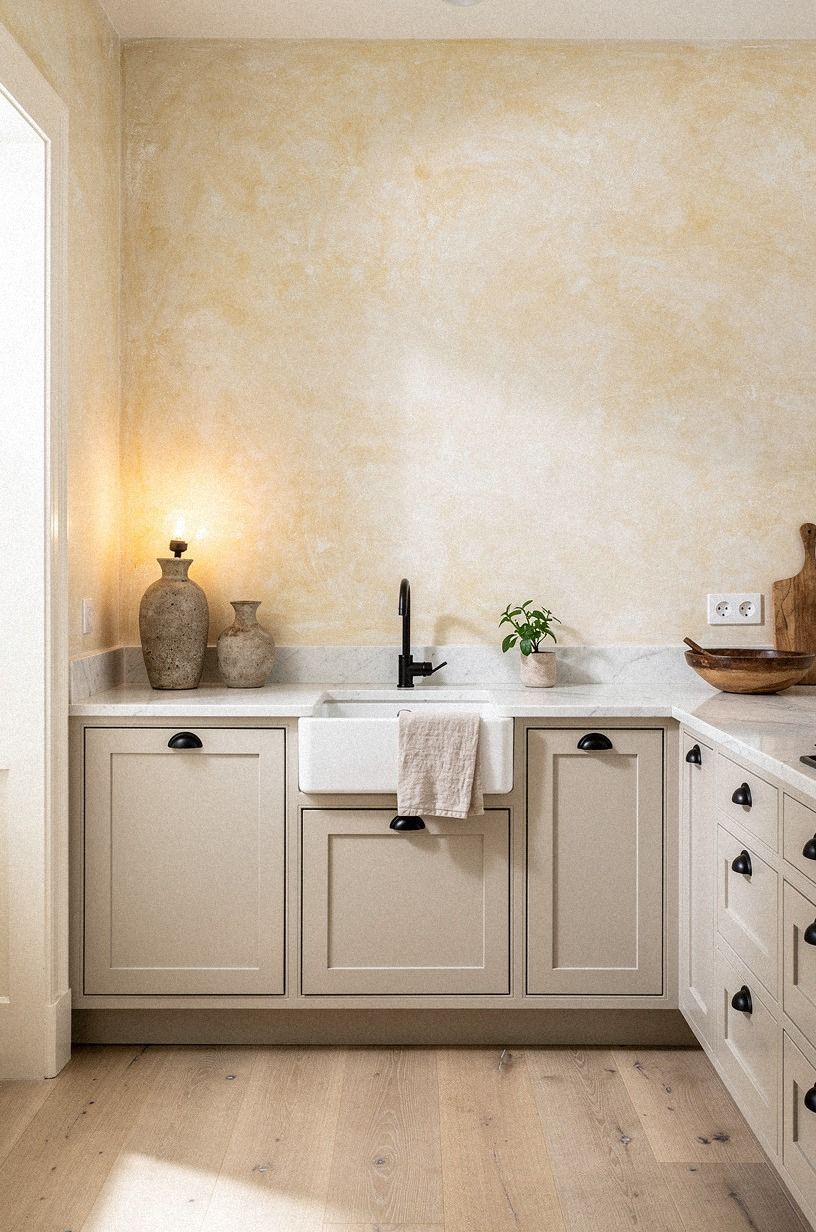
Warm white covers are the safest choice when your old cabinets have yellow oak or beige laminate underneath. Benjamin Moore White Dove OC-17 has a soft, creamy quality that won't make your counters look blue, and it works well with stainless appliances and aged metal.
The key is keeping the white on the doors and letting one warmer element stay visible elsewhere. Your backsplash, wood stool, or woven runner can carry the earthy note.
I wouldn't pair a cool hospital white with orange oak. It makes the contrast look accidental, not modern.
But don't cover every surface in the same shade. Leave a small amount of natural wood on open shelving, or bring in a hand-applied Venetian plaster backsplash with gentle variation. The room will feel brighter without losing its lived-in character, and you won't need to replace the countertop.
If the backsplash already looks dated, compare samples beside it before you buy. A removable peel and stick tile solution for ugly ceramic tile can make warm white cabinets feel more deliberate without adding a second competing color.
4Layer the Two-Tone Cabinet Rule
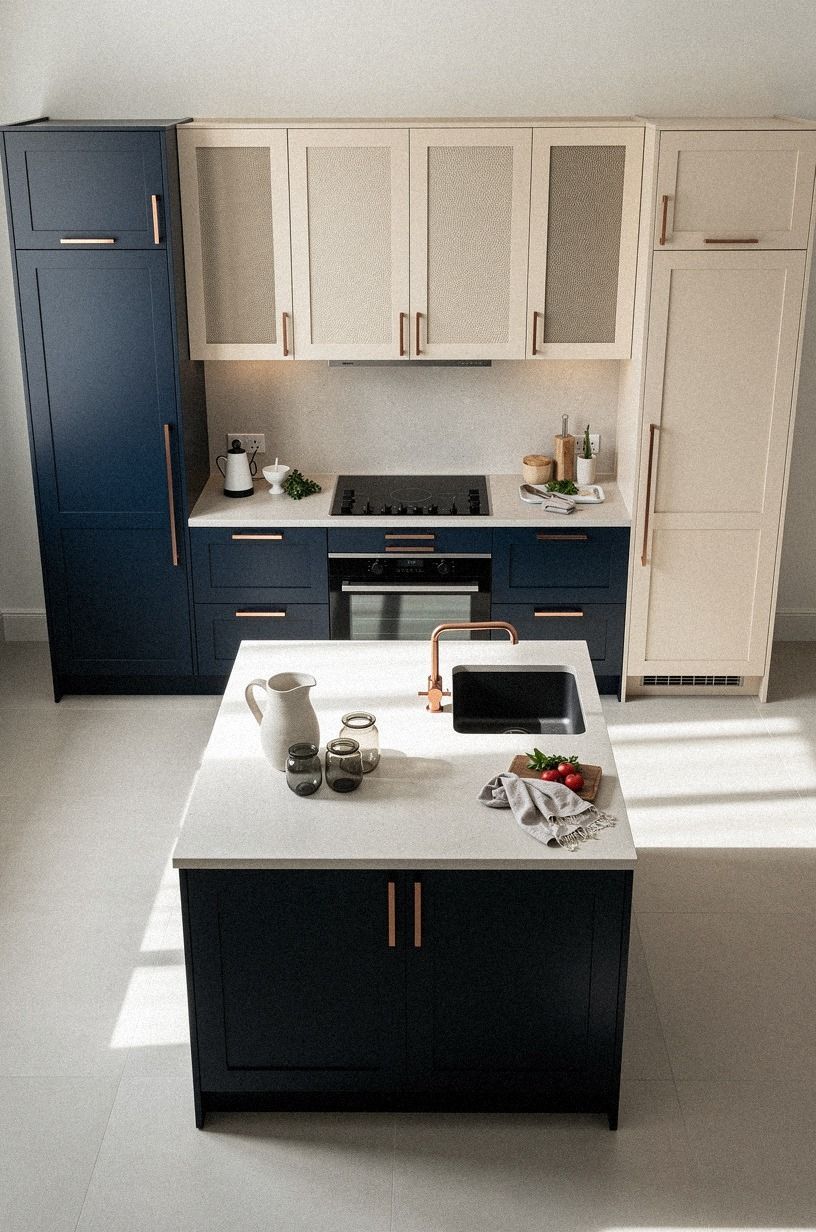
A two-tone kitchen looks more considered when the darker shade stays below eye level. Use midnight blue on the base cabinets, keep the uppers ivory, and let copper hardware bring warmth. Farrow & Ball Hague Blue No. 30 is a dramatic option, but it can look almost black in a shadowy kitchen, so test one door first.
Your eye reads the lower color as an anchor, while the pale uppers keep the room airy. This works especially well when your kitchen has limited daylight.
I tried dark film on both rows once, and the room felt smaller by dinner. The lower-only version looked calmer and more welcoming.
If you want a softer contrast, choose Sherwin-Williams Naval SW 6244 below and warm ivory above. Add one or two shagreen accents rather than another competing pattern. And if your cabinets stop short of the ceiling, the lighter upper color helps the room feel taller without construction.
A two-tone scheme is also a budget decision. You may spend less by covering only the base cabinets, then using open shelving and these kitchen cabinet storage ideas that actually work to make the change feel complete.
5Swap Flat Film for a Faux Shaker Frame
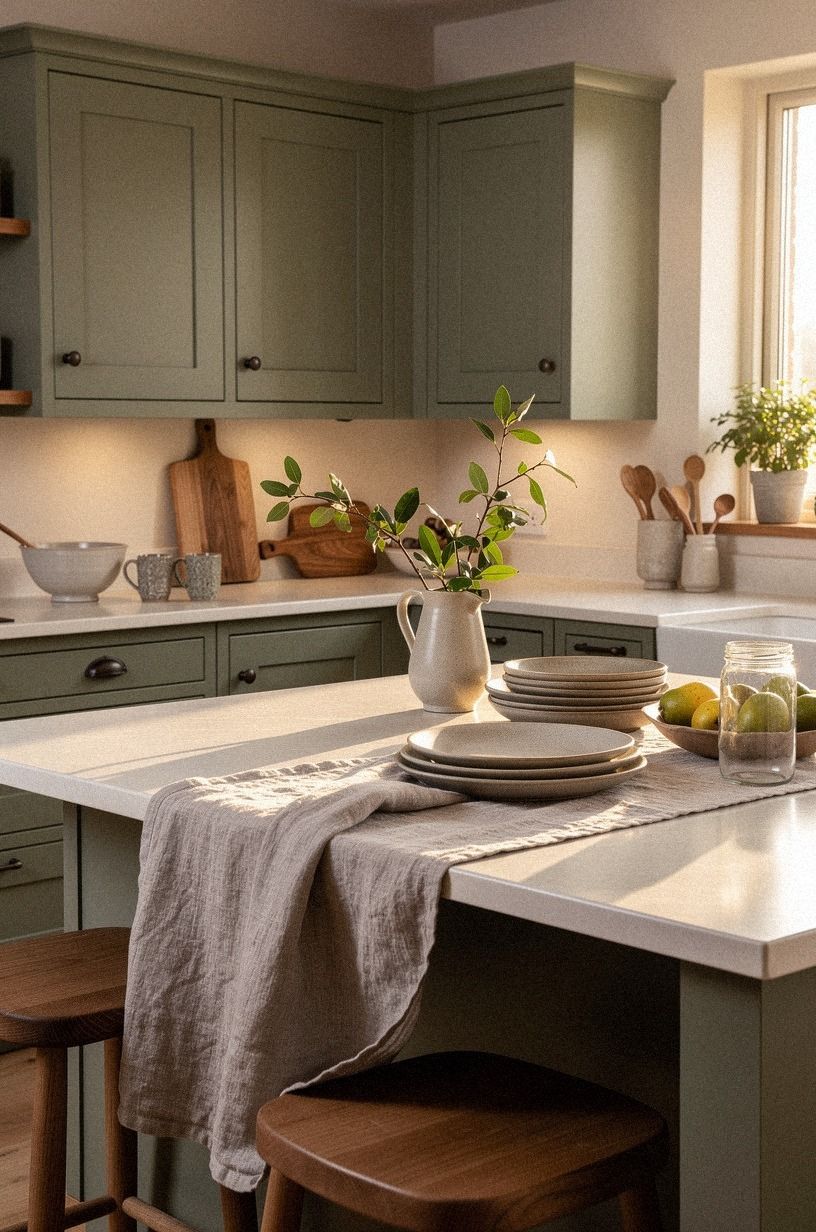
Flat slab doors can look cheap when the cover has a printed wood grain, especially beside real trim. A better move is creating a shallow shaker impression with thin removable molding or narrow strips of lightweight trim. Peel-and-stick molding can frame the center panel, provided the original door is smooth and stable.
Your frame should be narrow enough to leave breathing room around the edges. A 2-inch border often feels more intentional than a thick decorative strip, particularly on small drawers. I wouldn't add ornate trim to a compact kitchen.
The extra lines collect shadows and make the doors look busy.
Paint or cover the frame and door in one tone, such as sage green or warm cream, then use simple hardware to keep the effect quiet. A little natural wood and washed Belgian linen can soften the harder surfaces.
If you don't want to risk adhesive molding, use a printed shaker-style cover instead. It won't fool you up close, but from across the room, the repeated proportions create a refined rhythm.
When you're comparing the total price, include trim, replacement blades, and extra material for mistakes. A plain cover often delivers better value than an elaborate frame that takes twice as long to install. If the backsplash needs a quieter background, these peel and stick tile ideas can help keep the proportions balanced.
6Wrap the Island in a Stronger Wood Grain
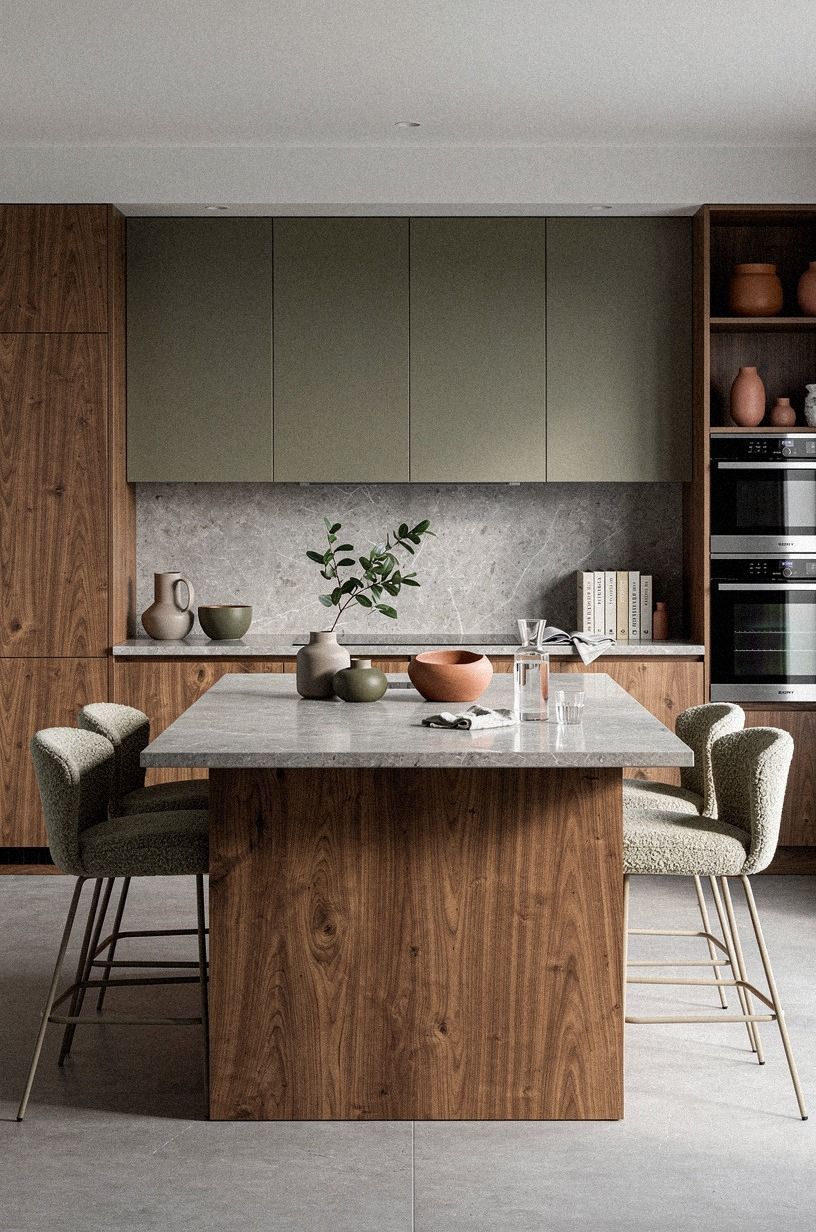
The island can handle more personality than the perimeter cabinets because it reads like furniture.
7Frame Aged Brass Hardware With Softer Cabinet Covers
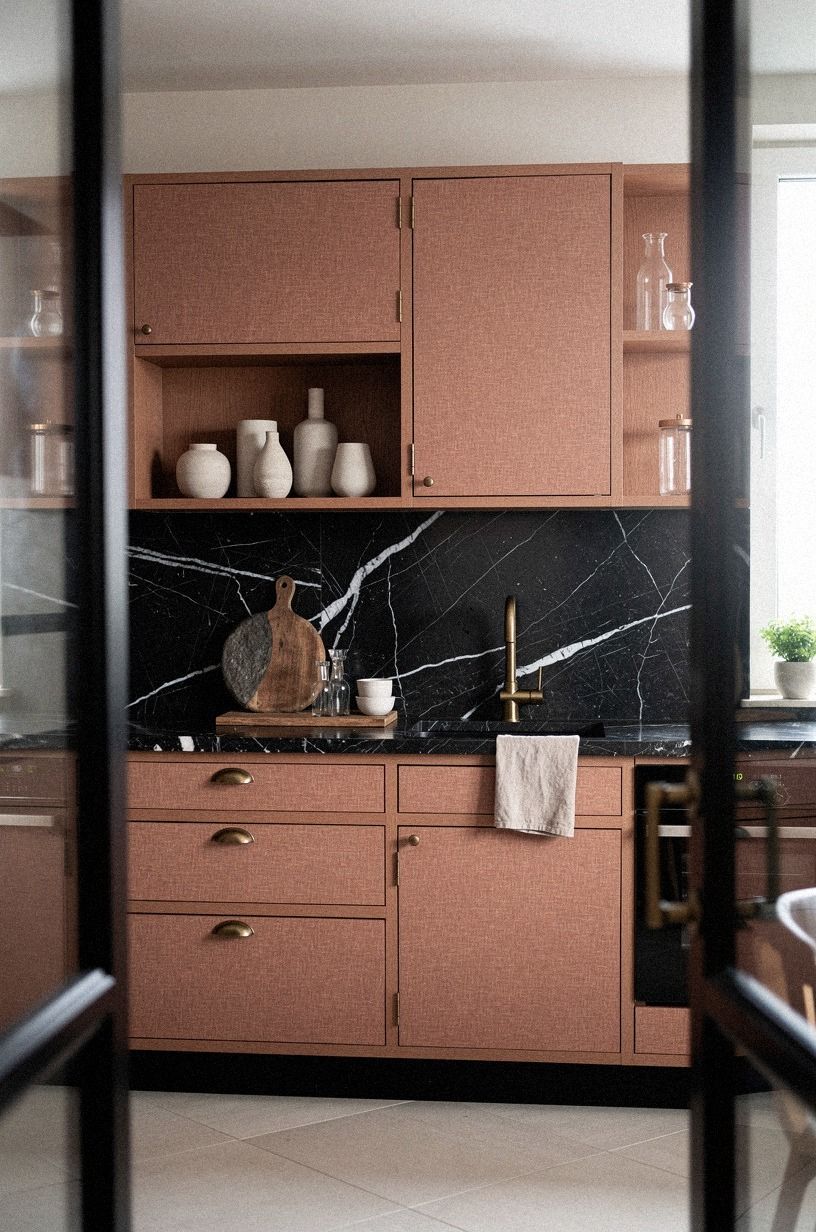
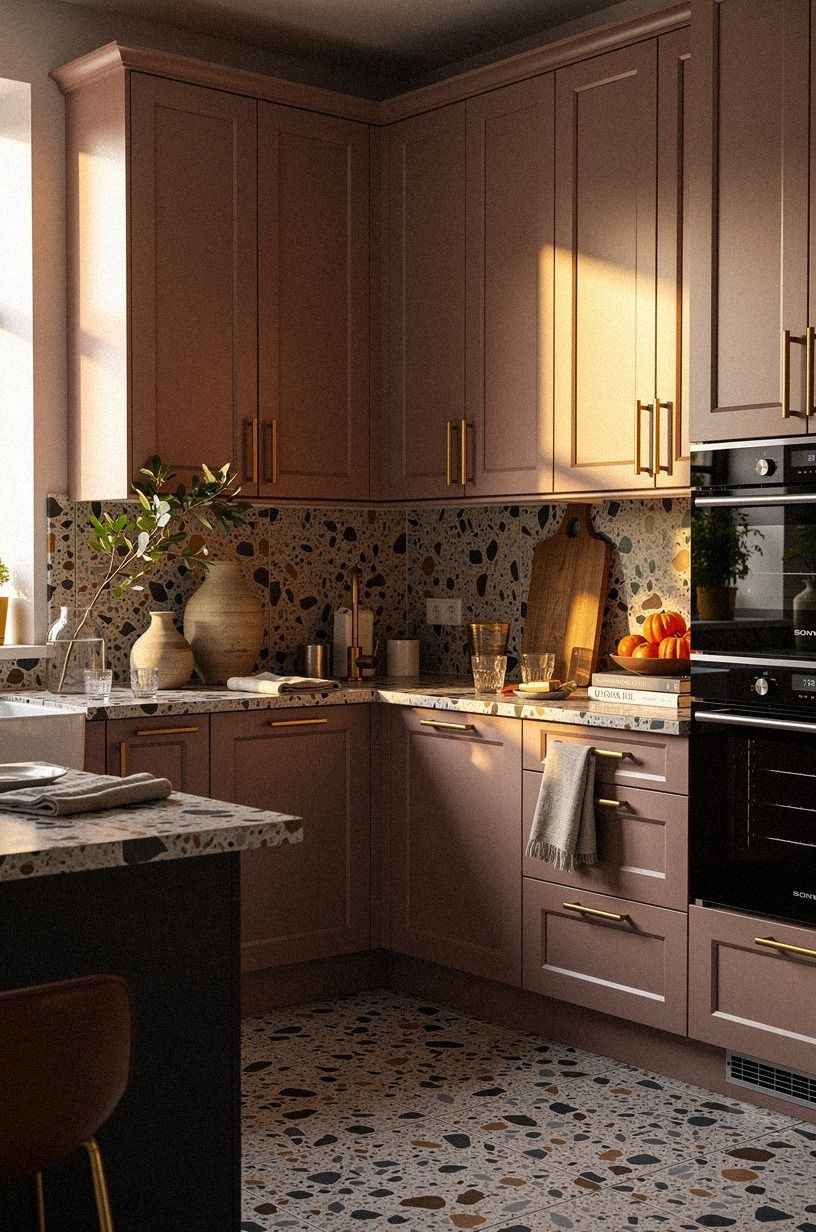
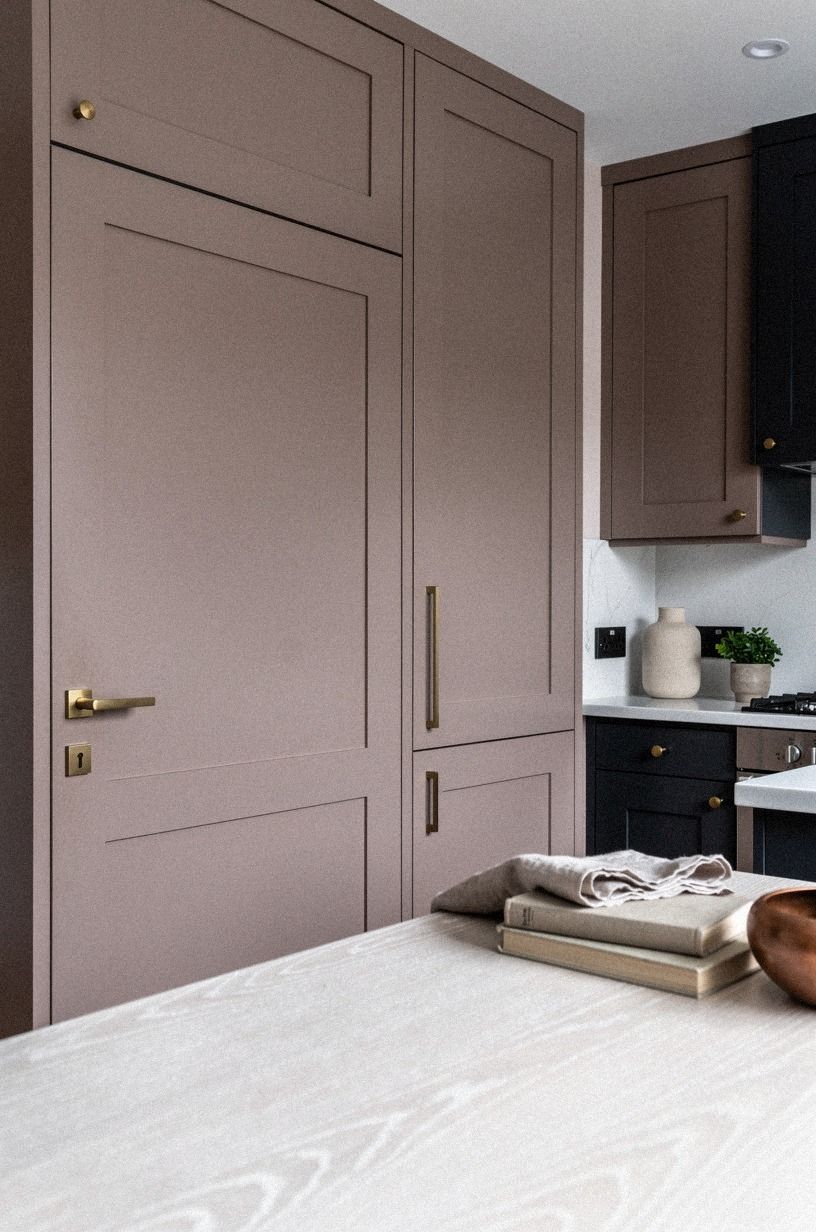
Aged brass pulls can glow against clay-colored doors, while a fully black-and-white kitchen often feels stark. Balance the contrast with washed linen curtains, a warm runner, or a cover with a soft neutral undertone. Your hardware should be the punctuation, not the entire sentence.
Choose pulls that line up across the doors. Five-inch bar pulls feel more current on wide drawers, while small round knobs can keep narrow doors delicate. I wouldn't mix three hardware finishes in a renter kitchen.
Two is enough, and aged brass can carry the room without feeling too polished.
If you're replacing the pulls, save every original screw and knob in a labeled bag. And test the new holes with removable mounting strips before drilling. You may discover the old placement works better for your hand, especially around a dishwasher or corner cabinet.
Measure the hardware before you order the covers. A low-cost pull isn't good value if its base plates hide the film edge or force you to drill through a fragile corner. For a backsplash with busy pattern, this peel and stick tile guide explains how to keep the surrounding finishes from competing.
8Use the Grain Direction to Make Doors Look Taller
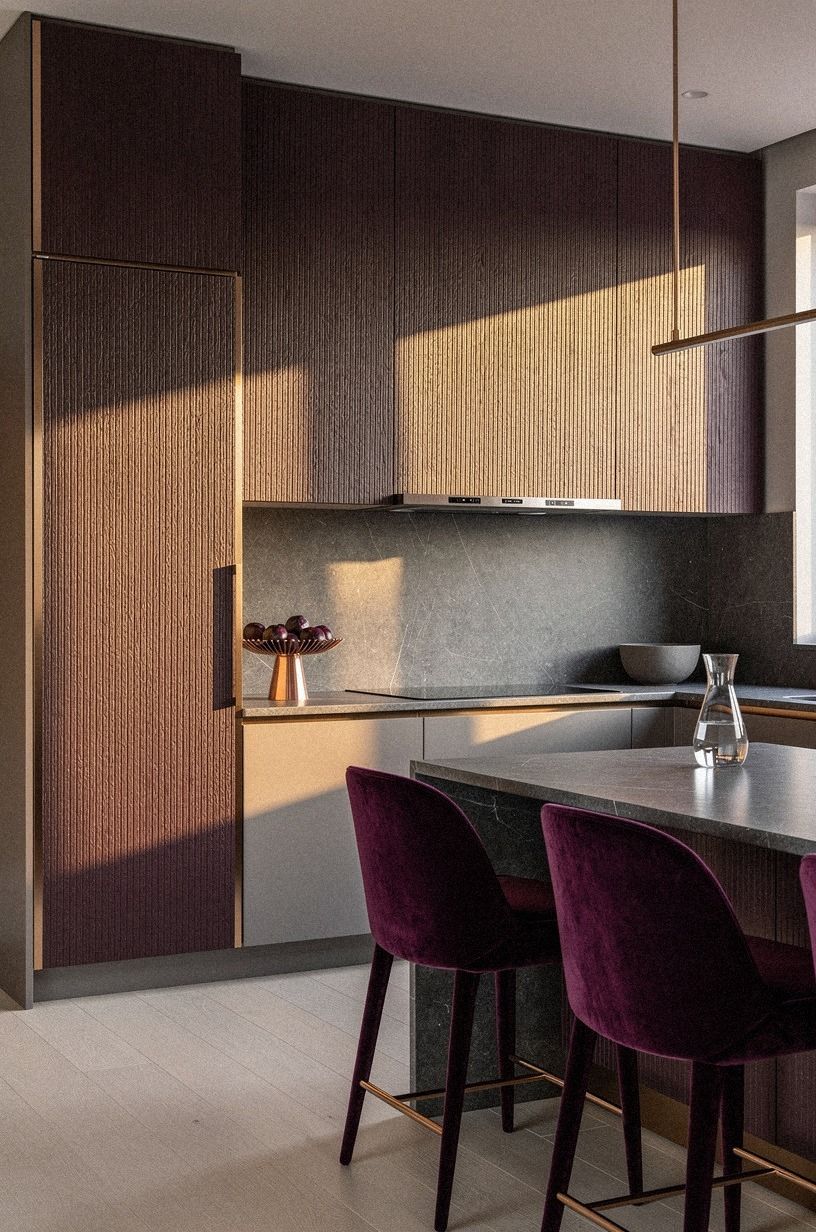
Printed grain can change the proportions of a small kitchen when you use it deliberately.
9Paint the Toe-Kick for a Built-In Look
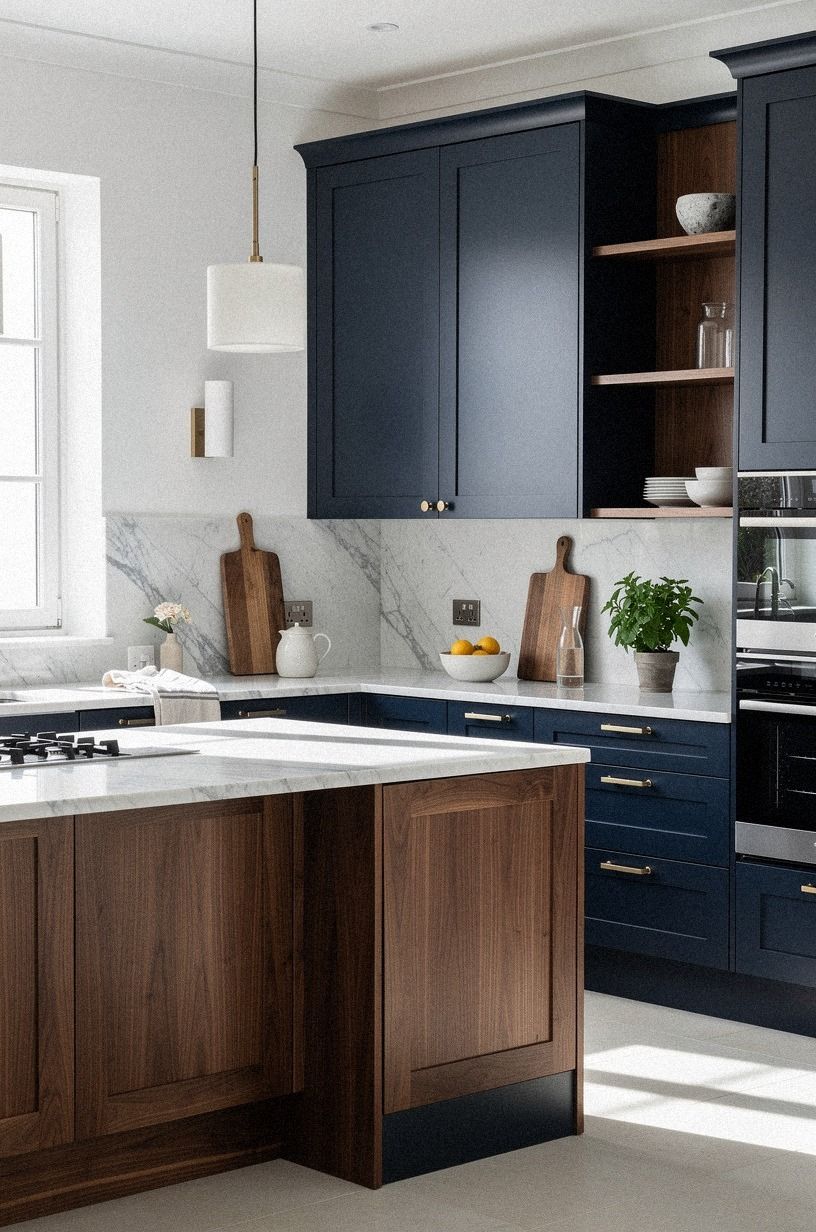
The toe-kick is easy to ignore, yet it can make wrapped cabinets appear unfinished. Cover it in the same navy tone as your base doors, or use Carrara marble-look contact film for a subtle furniture-like detail. Your eye will read the lower edge as intentional instead of exposed plastic.
Keep the floor transition clean. Cut the material with a sharp blade and use a metal ruler so the bottom line stays straight.
If your floor is patterned tile, a dark toe-kick usually works better than matching the cabinet color. I wouldn't use bright white below a busy counter. It attracts crumbs and makes the cabinets float awkwardly.
You can remove the toe-kick piece before wrapping if it clips off easily. Don't pry against the floor or force a painted panel. And if the space is damp near a sink, seal only the exposed edge with a removable, compatible strip rather than trapping moisture beneath the cover.
This is one of the cheapest places to create a built-in impression. Spend the money on a fresh blade and accurate trimming instead of a premium finish nobody will notice at floor level. If the floor and backsplash already feel busy, this tile installation guide can help you choose a calmer color relationship.
10Mix Emerald Green With Unlacquered Brass
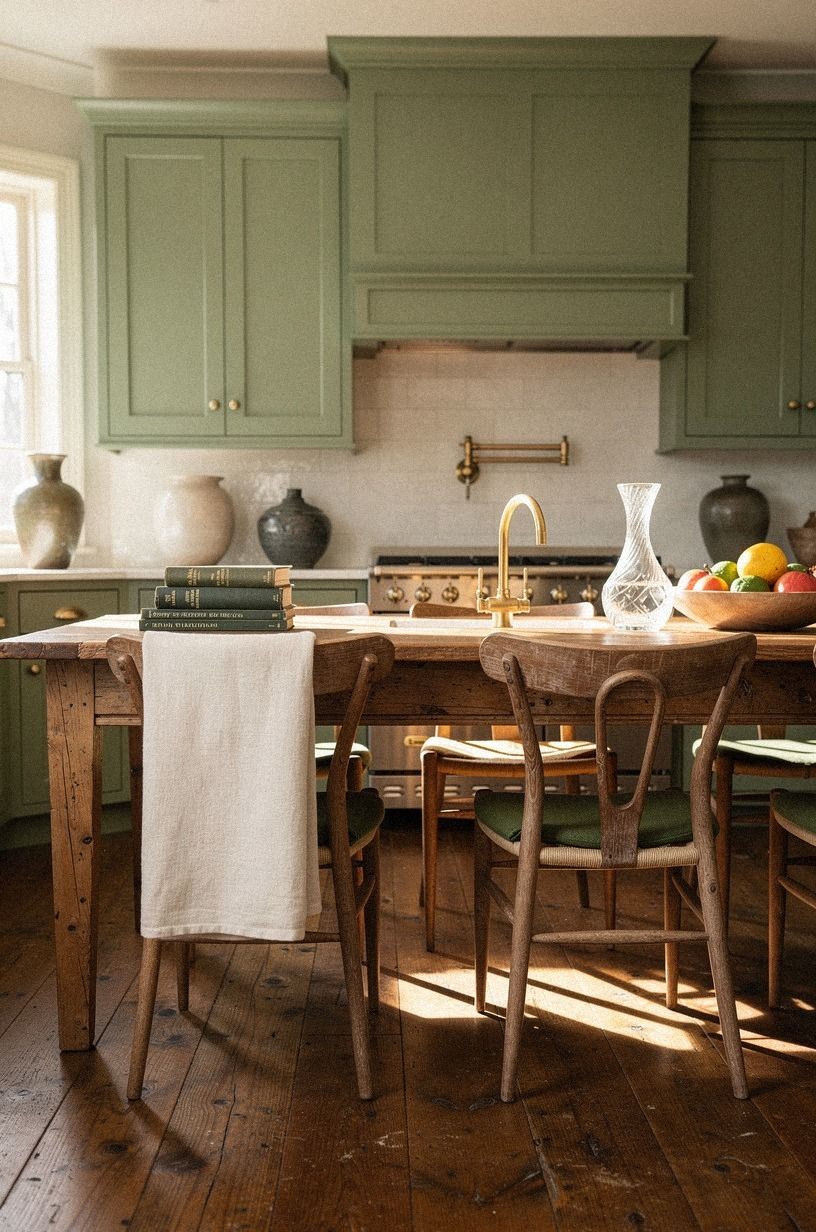
Emerald green turns plain cabinet fronts into something calm and earthy, especially when your counters are cream or pale stone.
Pair it with unlacquered brass and one reclaimed weathered teak accent rather than adding another strong wood tone. The brass will develop a softer patina over time, which keeps the palette from feeling too new.
I wouldn't use bright chrome here. It cuts against the warmth.
11Hide the Refrigerator Panels With a Quiet Solid
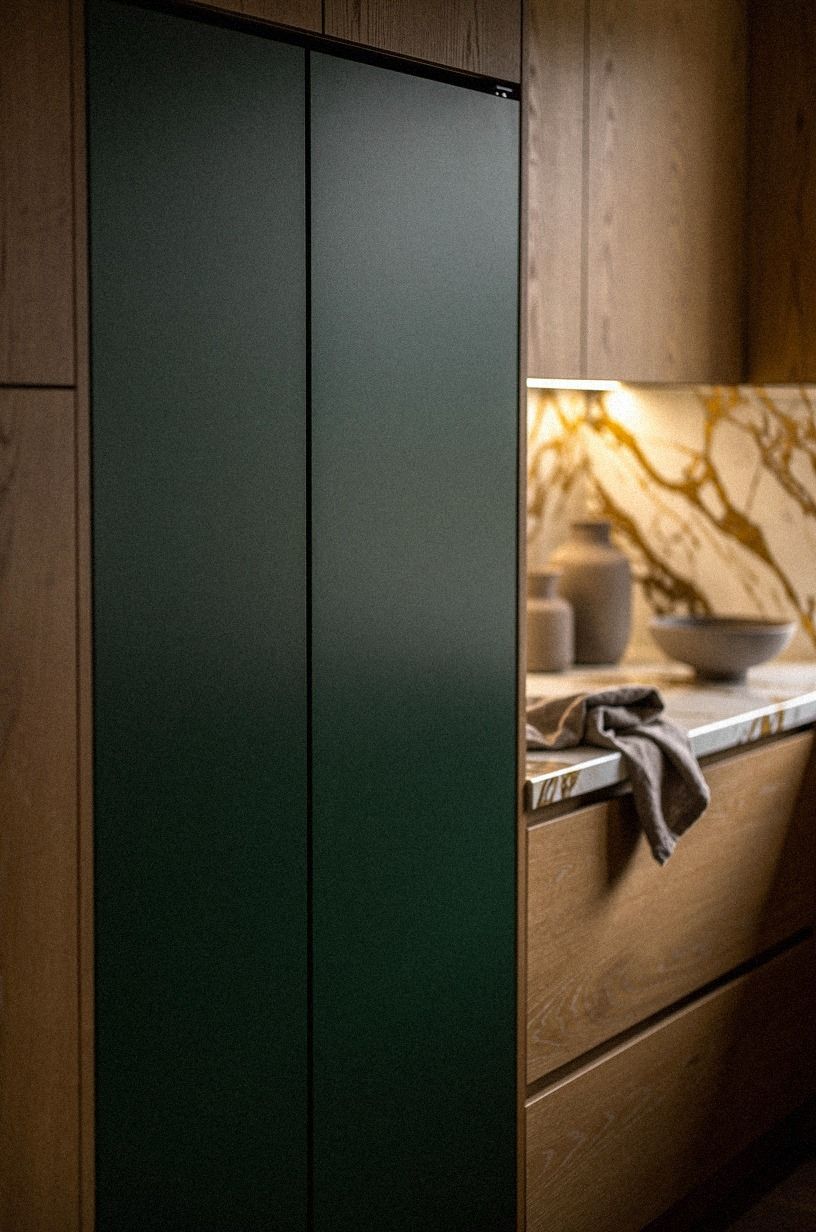
The refrigerator often breaks the cabinet rhythm, especially when it sits between wrapped doors. A quiet forest green or natural oak solid can make the appliance feel less dominant. If you want a stone note, choose Calacatta marble with restrained gold veining rather than a loud printed pattern.
Your refrigerator door needs flexible material around curves and corners. Avoid covering vents, logos, seals, or moving hinges.
Measure the handle clearance twice, and leave enough room for the door to open without dragging against an adjacent cabinet. A beautiful surface isn't worth a damaged seal.
But don't force the refrigerator to match a wood-grain island if the proportions differ. I’d rather see one calm solid panel than a fake pattern that stops awkwardly above the appliance. If your kitchen feels crowded, the quieter finish will make the whole wall seem more peaceful.
Before you buy enough material for the whole appliance, test the film beside the floor, countertop, and cabinet color. A small sample can prevent an expensive mismatch. If the refrigerator wall also needs practical storage, these cabinet storage ideas can help you reduce the visual clutter around it.
12Set a Budget Before You Wrap Every Door
A renter-friendly kitchen makeover can stay modest, but costs climb when you cover doors, drawer fronts, toe-kicks, and side panels together.
13Anchor the Sink Wall With a Durable-Looking Finish
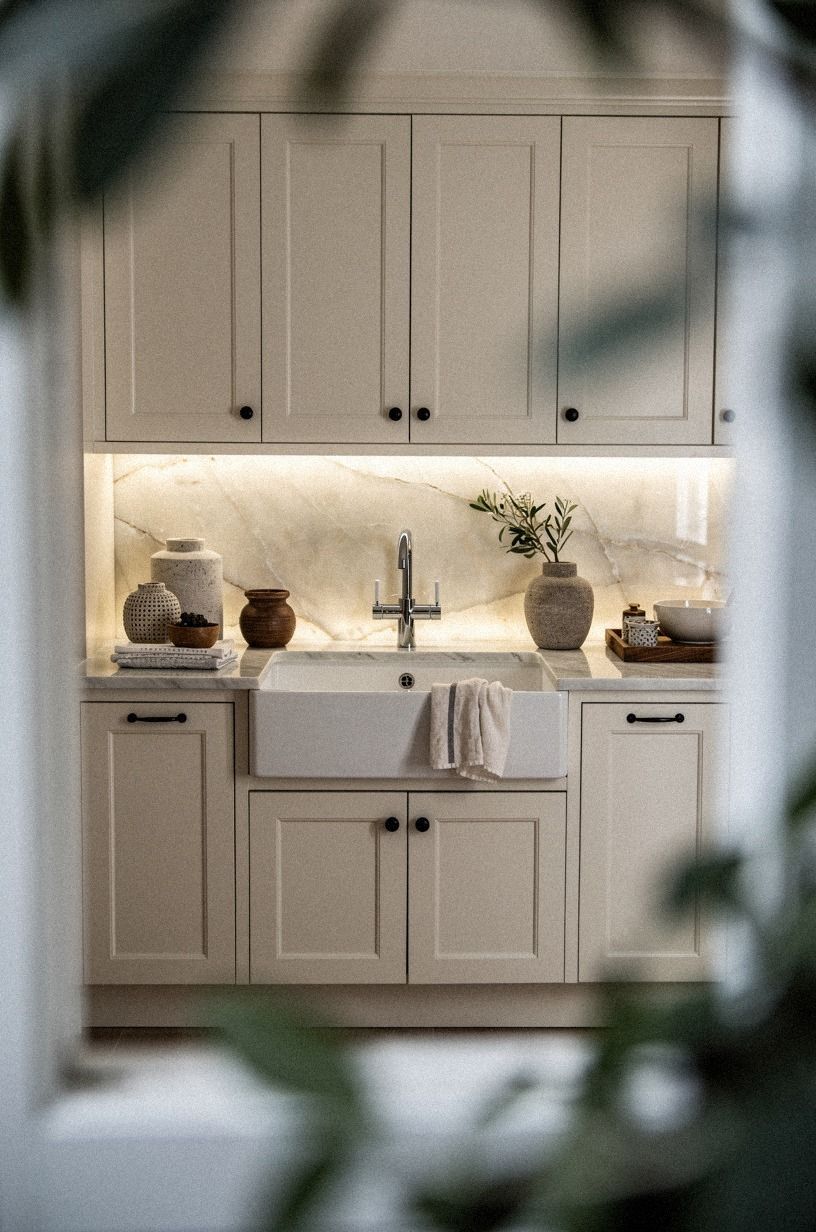
The sink wall gets splashed, wiped, and touched more than almost any other cabinet area. Choose a smooth warm-white stone-look vinyl with camel and black accents, then keep the cabinet color simple. A low-contrast backlit translucent onyx effect can feel warm, but heavy veining may make small doors look cluttered.
Your sink base needs extra attention around the bottom edge. Dry the surface completely, press the film firmly into the corners, and avoid covering swollen particleboard.
If the door has water damage, the cover won't repair it. It may hide the problem briefly, but the raised edge will return.
And check the backsplash gap before you begin. Standard space between the counter and upper cabinets is about 18 inches, so that wall can carry a strong pattern without taking over the whole kitchen. If your backsplash is ugly ceramic, this guide to laying peel and stick tile over ugly ceramic tile can help you coordinate the two surfaces.
Keep the sink wall practical rather than precious. A low-contrast finish hides small splashes and gives you better long-term value than a dramatic pattern that needs constant wiping. If the lower cabinets are crowded, revisit these kitchen storage ideas before adding more open shelving.
14Float Open Shelves Between Wrapped Doors
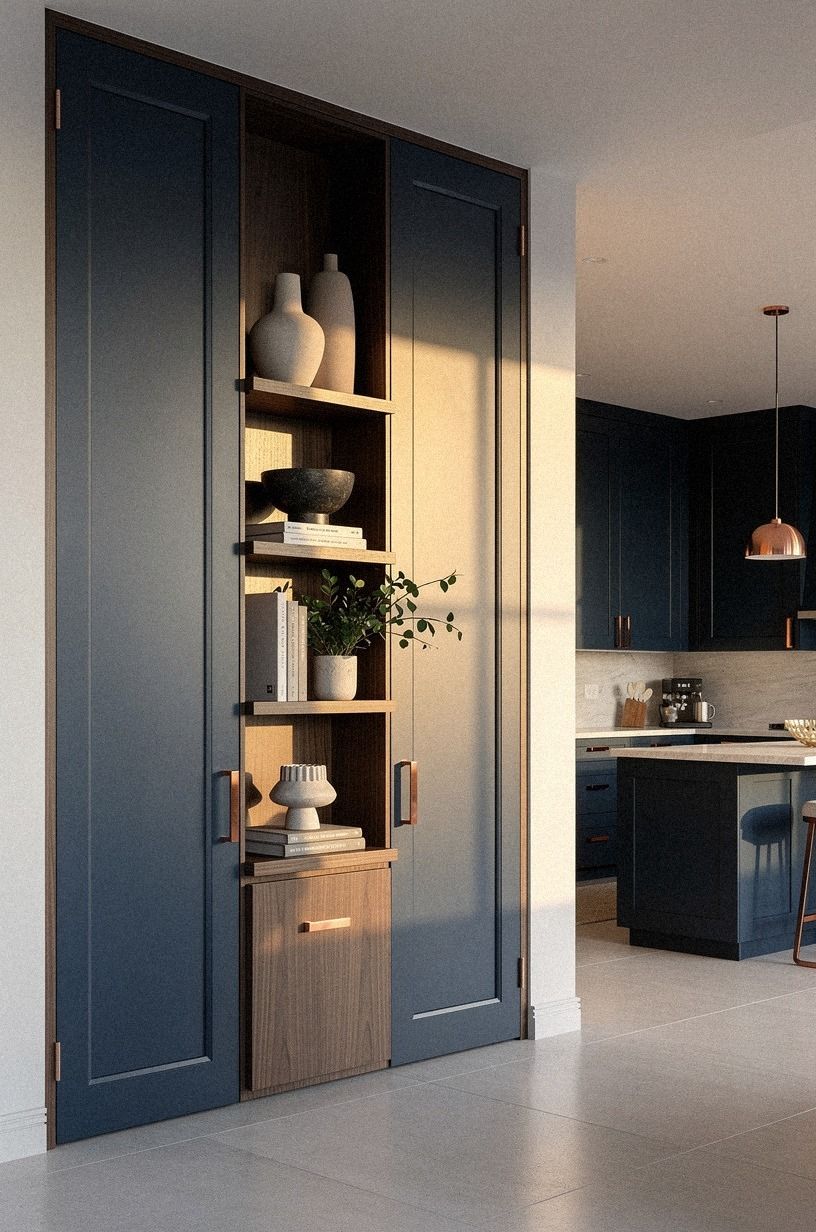
Open shelving can break up a long run of covered cabinetry, especially when the kitchen has no room for extra furniture. Use book-matched walnut shelves with a clear matte finish and keep the brackets discreet. Against midnight blue doors, the walnut adds warmth without fighting the ivory and copper accents.
Style the shelves with only what you use. A stack of ivory plates, one copper-toned bowl, and a small glass jar will look more inviting than a crowded display.
I wouldn't place every pretty object you own there. Dust becomes part of the composition quickly, and your kitchen will feel less restful.
If you’re styling a narrow wall, keep the shelves shallow enough to protect the walkway. The standard counter height is 36 inches, so a shelf that sits just above the backsplash should leave comfortable clearance for cooking. But if the wall is busy, one shelf often looks more sophisticated than three.
A shelf can also lower the total cost by letting you leave a few awkward cabinet fronts alone. Use the money you save for accurate cuts and replacement hardware. These cabinet storage ideas can help you decide what deserves display space and what should stay behind a door.
15Paint the Surrounding Wall to Make Covers Believable
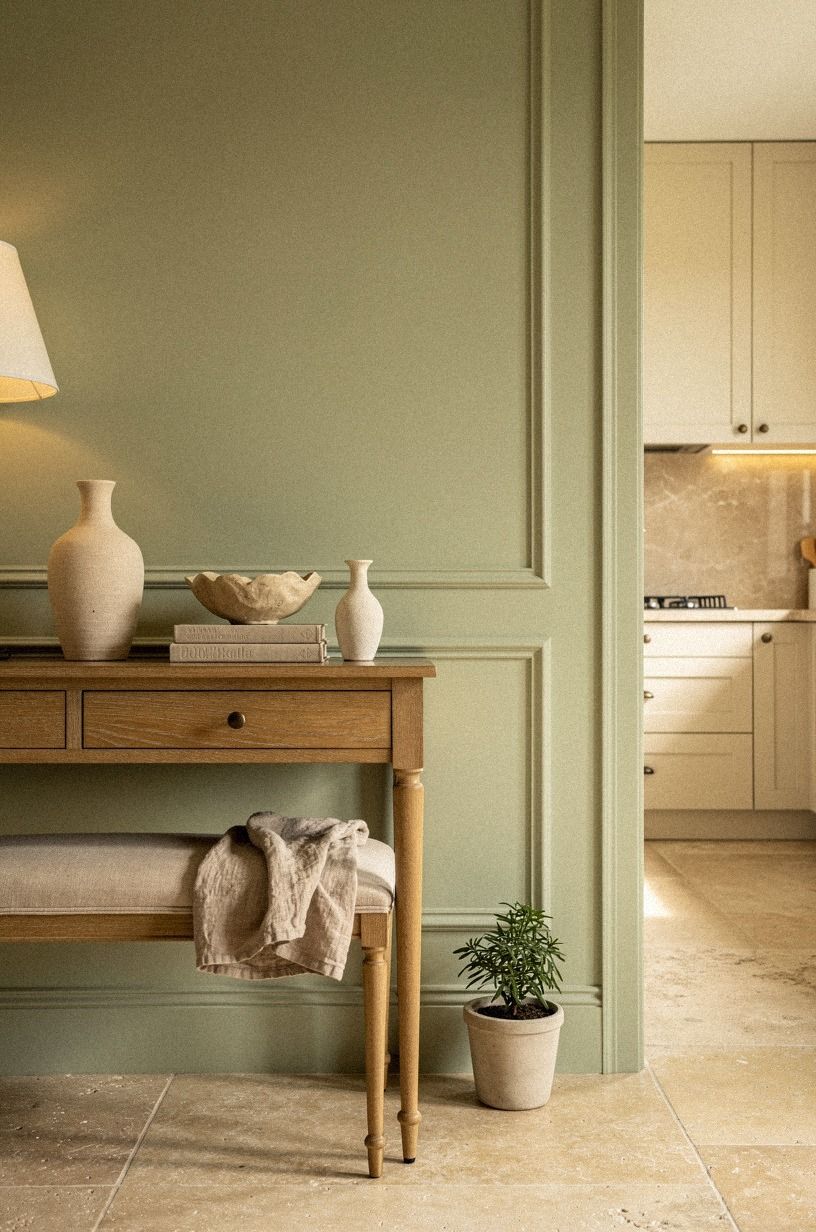
Cabinet covers can look pasted on when the wall color fights them. Benjamin Moore Saybrook Sage HC-114 works with warm cream cabinets, while warm travertine can give natural wood a grounded backdrop. Your walls don't need to match the covers exactly.
They need to support the same temperature.
I prefer using the wall as the quieter background and the island as the stronger moment. A small kitchen can handle drama when the color is contained. Sage green around open shelves can feel calm and intimate without swallowing the light.
Don't forget the trim and ceiling edge. A mismatched yellow-white trim can make new cabinet covers seem gray. If you're renting, use removable wallpaper only where the lease allows it, and keep a small test patch hidden behind an appliance.
The goal is a finish you can reverse without a stressful repair bill.
If the wall sits above an ugly backsplash, compare the paint sample with these peel and stick tile ideas before you buy either material. You may need only one quiet correction, not a full kitchen reset.
16Layer Lighting Around the Cabinet Faces
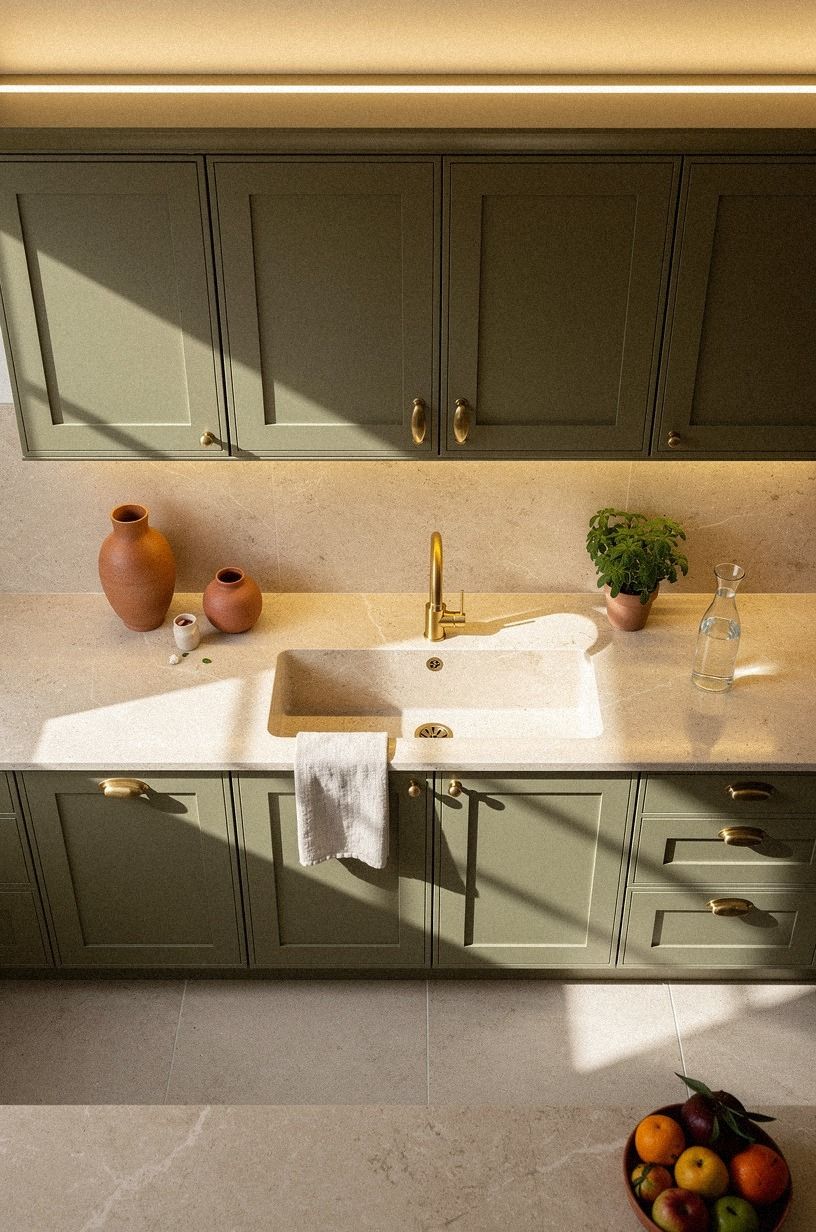
Good lighting can make terracotta, stone, and olive cabinet film look far more convincing, especially beside unlacquered brass as it develops a patina.
17Finish With a Consistent Edge and a Rental Exit Plan
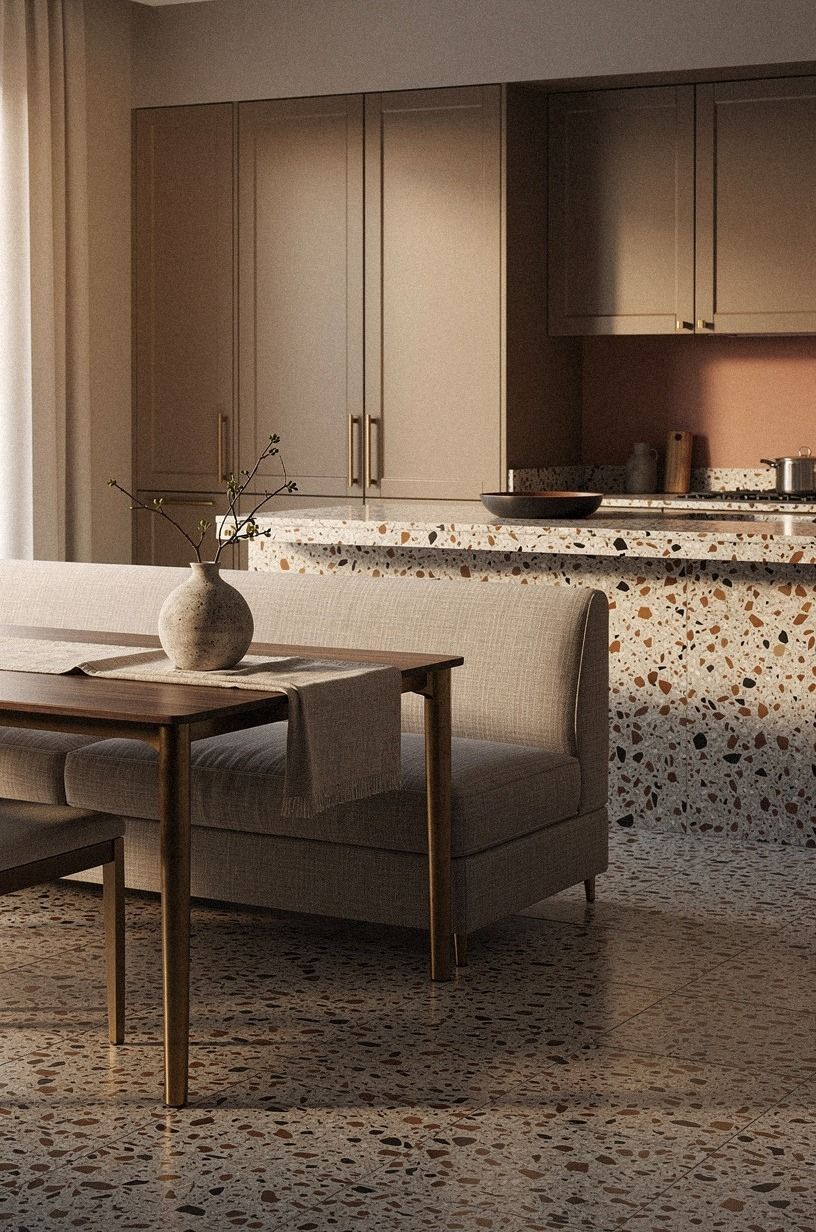
The last detail is the edge. Keep clay-toned covers, linen accents, aged brass, and an oversized-chip terrazzo detail consistent, then trim every edge with care.
Removable adhesive vinyl should sit flat without bubbles, lifted corners, or stretched sections. Your patience here will matter more than the brand name.
Keep a spare strip of every color in a labeled envelope. If one door gets scratched, you'll have a close match instead of replacing the whole kitchen. I made the mistake of throwing away offcuts, and a small repair later required reopening an entire roll.
Before moving out, warm the film gently with a hair dryer and pull slowly at a low angle. Don't yank it straight toward yourself. If you're uncertain about the original finish, test behind a hinge first.
The rental kitchen should return to its former state, and your saved hardware should make that process much easier.
Check every edge again after a week, especially near the oven, sink, and dishwasher. If one corner begins to lift, repair it early rather than paying for a replacement panel. For a backsplash that also needs a reversible exit plan, this peel and stick tile guide covers the same careful approach.
The Honest Design Rule Behind This Makeover
I used to think convincing cabinet covers were mostly about finding the right pattern. They aren't.
The believable kitchens I've seen rely on restraint: one main finish, one supporting color, and hardware that doesn't compete. If every door tries to look like walnut, marble, and painted oak at once, the eye catches the performance immediately.
My own first attempt failed because I wrapped around dirty edges and chose a glossy wood print. It looked fine from across the room, then terrible beside the sink.
The film reflected every overhead bulb, and the seams collected crumbs. I pulled it off, cleaned the doors properly, and chose a quiet matte finish instead.
That experience changed how I'd spend the money. Put it toward accurate measuring, good blades, and a test roll before buying decorative extras. You don't need a new faucet, dramatic backsplash, and twelve hardware styles to make a rental kitchen feel settled.
You need the covers to meet cleanly and the colors to make sense together.
There’s also a practical reason to leave some contrast. A kitchen should show where the work happens.
A warm wood island, dark toe-kick, or brass pull gives your eye a stopping point. Without one, the space can feel flat even when the film itself is lovely. This is why a small, intentional change often feels more sophisticated than a total disguise.
If you're choosing between a renter friendly cabinet makeover and a larger renovation, ask what you need the room to do for the next year. A removable cover wins when you want a quick visual reset, limited dust, and a clean exit. It won't correct warped doors or poor layout, but it can make an ordinary kitchen feel personal, calm, and welcoming.
The Questions Worth Answering First
What is the best Peel and Stick Cabinet Covers That Actually Fool People for a small kitchen?
A matte warm white or muted sage usually works best because it reflects light without showing every flaw. IKEA KALLAX birch-effect storage can support the same palette nearby, while simple pulls keep the room visually quiet. Choose one test panel before covering every door.
Where can I buy Peel and Stick Cabinet Covers That Actually Fool People pieces on a budget?
Look at IKEA, Wayfair, and Target, then compare samples in your kitchen’s actual light. Facebook Marketplace and thrift shops can supply reusable pulls or replacement doors.
You don't need a matching collection, but you do need consistent color and scale. Check the return policy before you buy a full roll.
How much does a Peel and Stick Cabinet Covers That Actually Fool People makeover cost?
A small project often runs about $100 to $300 for film, blades, cleaning supplies, and a few hardware changes. Your labor is free, and reusing the original pulls can lower the cost. Larger kitchens may approach the $300 to $1,500 cosmetic range.
The final price depends mostly on door count and waste.
Can I create a Peel and Stick Cabinet Covers That Actually Fool People makeover on a budget?
Yes, and you can start with one high-impact area. Cover the island, clean and reuse your hardware, and style open shelves with pieces you own. Removable matte film gives you the biggest visual shift without committing to a full kitchen purchase.
Use these cabinet organization ideas to improve the room without wrapping every door.
Is a Peel and Stick Cabinet Covers That Actually Fool People makeover worth it in a small space?
Yes, because a small kitchen gives repeated cabinet faces more visual influence. Use one light color, keep the grain direction consistent, and leave 42 to 48 inches around an island when possible.
Your room will feel calmer when the surfaces repeat. If the project still feels too large, cover only the most visible run first.
Is Peel and Stick Cabinet Covers That Actually Fool People a good idea for a rental?
Yes, when the doors are smooth and undamaged. Use removable film, tension rods, and non-permanent lighting, then save the original hardware. If your backsplash needs help too, these renter-friendly peel and stick tile ideas show how removable surfaces can work in another room.
Where I'd Start First
If I had to pick one, I'd start with matte warm-white cabinet covers. They hide yellowed finishes, brighten shadowy corners, and let your hardware do the character work. Pin warm-white covers for later and compare one sample beside your counter before buying the full roll.