
 by
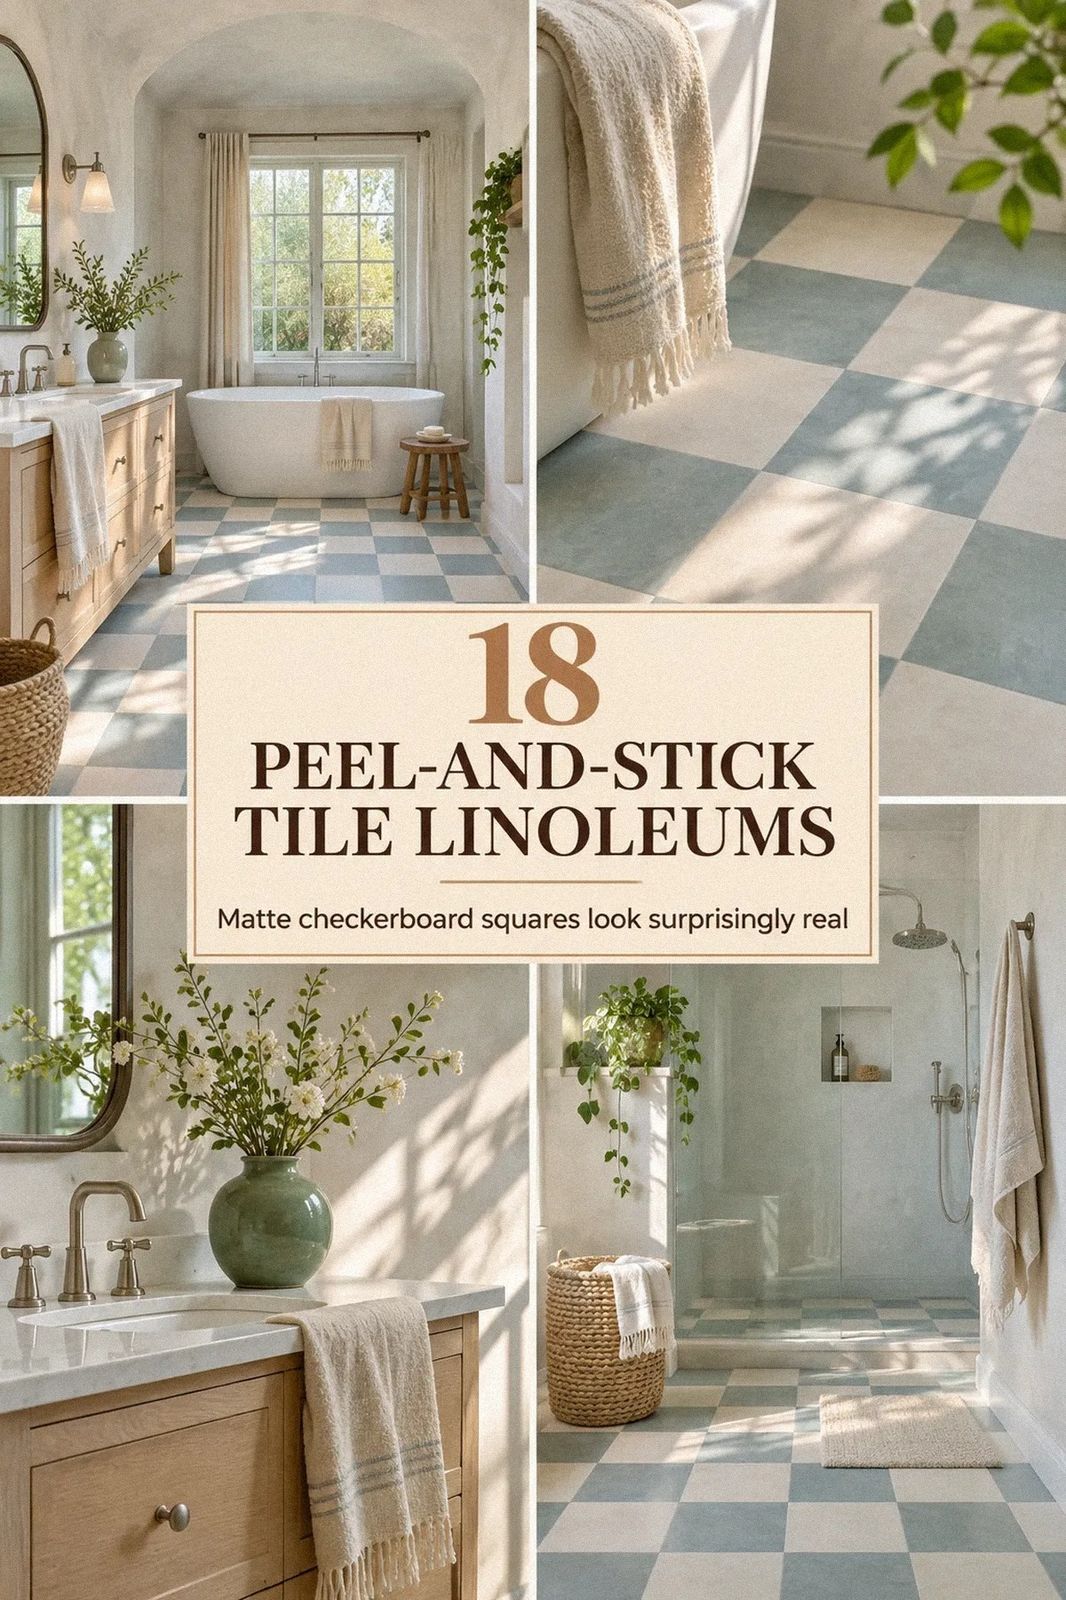
Yes, you can put peel-and-stick tile over old linoleum if the floor is flat, clean, dry, and firmly bonded. I learned that after sticking a pretty pattern over dusty flooring and watching the corners curl by morning. Prep matters more than the tile. Get that part right, and your bathroom can feel warm, bright, and intentional.
- ✓ Test the Two-Pass Bond Before You Buy Tile
- ✓ Clean the Floor Until It Stops Feeling Slick
- ✓ Fill Dents With a Thin Skim of Floor Patch
- Test the Two-Pass Bond Before You Buy Tile
- Clean the Floor Until It Stops Feeling Slick
- Fill Dents With a Thin Skim of Floor Patch
- Remove Loose Edges Before You Cover Them
- Use a Matte Primer When the Surface Resists Adhesive
- Lay a Dry Grid Before You Peel Anything
- Check Whether Grout Lines Will Show Through
- Choose a Small Checkerboard for a Bold Floor
- Swap Plain White for Warm Stone Tones
- Frame the Room With a Border Instead of a Full Pattern
- Use the Small-Bathroom Calm Rule
- Paint the Walls Around the Floor, Not Against It
- Anchor the Vanity With a Wood-Look Plank
- Protect the Wet Zones With Careful Seams
- Compare the Real Bathroom Cost Before You Start
- Build a Renter-Friendly Removable Layer
- Finish the Edges With the Shadow-Line Method
- Seal Your Routine With Gentle Daily Care
1Test the Two-Pass Bond Before You Buy Tile
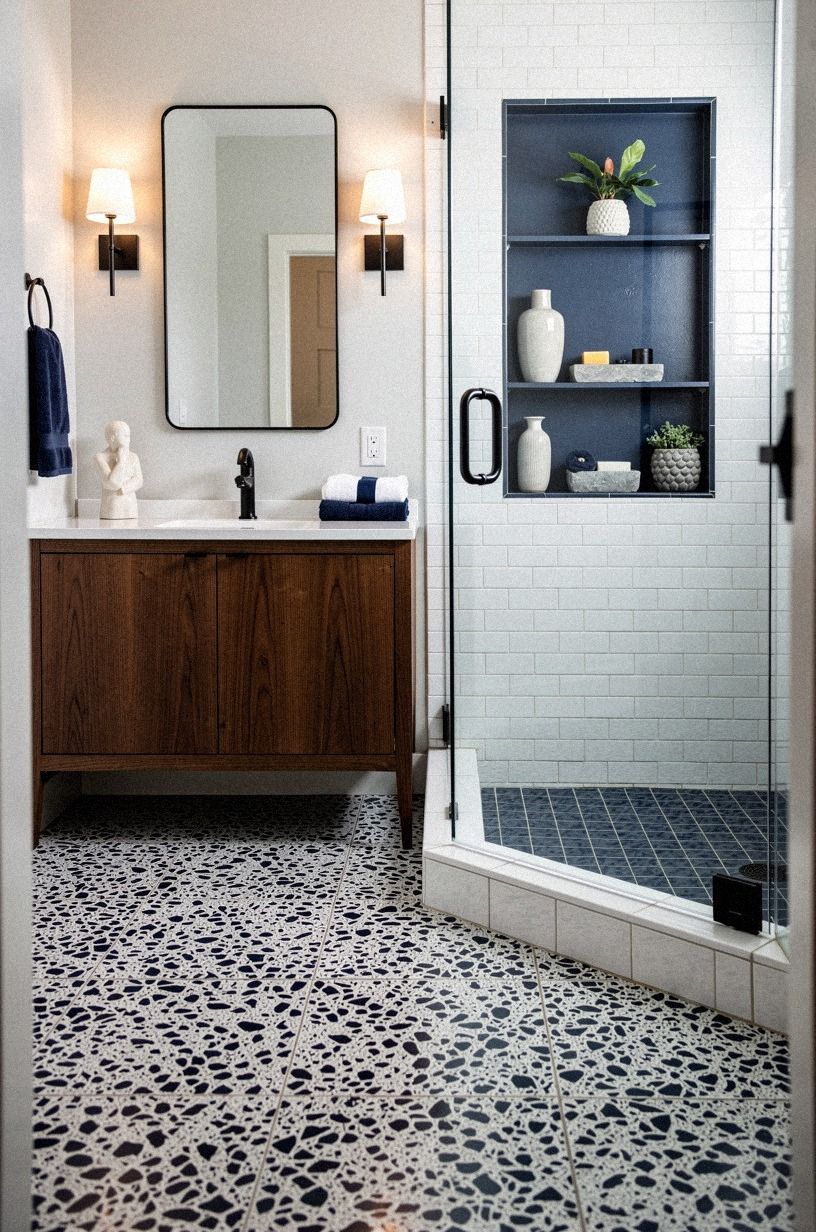
Press a peel-and-stick floor tile against a clean section of linoleum for a full day. If it lifts easily, feels greasy, or pulls up loose vinyl, you’ll need more prep before covering the whole room. I’d rather lose one sample than waste a full box.
You’ll want to walk across the test area with dry feet, then check the edges. A firm surface should feel smooth under your palm, with no bubbling or movement. If your linoleum shifts, the new tile won’t stay calm for long.
Clean, flat linoleum gives you the warmest result. Dusty flooring gives you lifted corners, trapped grit, and a repair job you won’t enjoy!
2Clean the Floor Until It Stops Feeling Slick
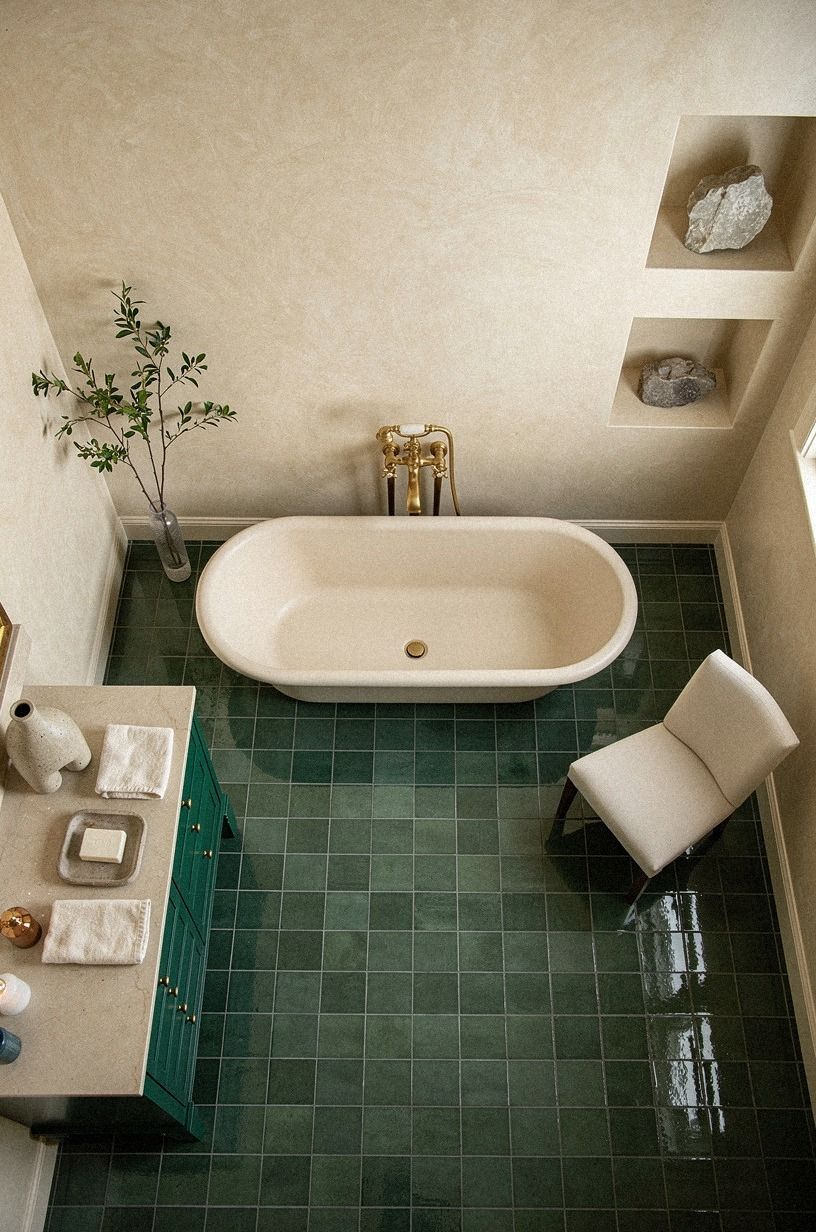
Start with a thorough wash using a mild floor cleaner and warm water. Old linoleum often carries polish, soap film, or cooking residue, and those invisible layers can keep vinyl plank adhesive from gripping. You’ll need a clean towel afterward, not just air-drying.
I use one pass to remove dirt and a second pass with fresh water. Your floor should feel clean rather than shiny. If your hand slides across it like glass, keep working.
A soft microfiber cloth catches the fine dust left behind, while a stiff brush handles the edges near the toilet. Let your floor dry completely before you move on. Dampness is a quiet little menace.
For another surface comparison, read this guide to laying peel-and-stick tile over ugly ceramic tile.
3Fill Dents With a Thin Skim of Floor Patch
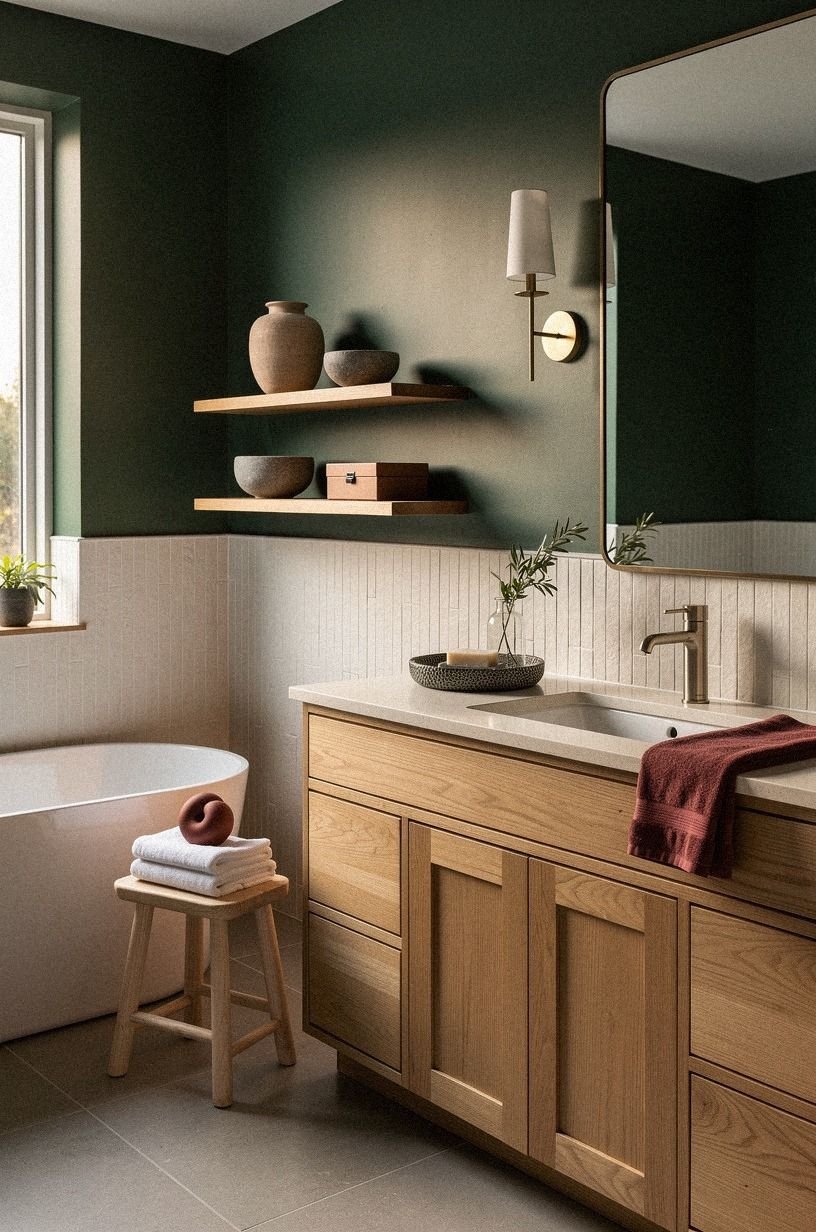
Small dents and shallow seams can show through thin peel-and-stick flooring. Use a compatible feather-finish patch to smooth those areas, keeping the layer thin enough that your door clearance doesn’t change. You’re correcting texture, not building a new floor.
I made the mistake of ignoring one dip beside a vanity. The tile looked fine at first, but the low spot caught the light every afternoon. Your eye will find unevenness, especially with a bold checkerboard pattern.
Sand only after the patch is fully dry, then vacuum carefully. A smooth, matte base gives you a more refined finish, and you won’t spend the first week staring at one obvious hollow.
4Remove Loose Edges Before You Cover Them
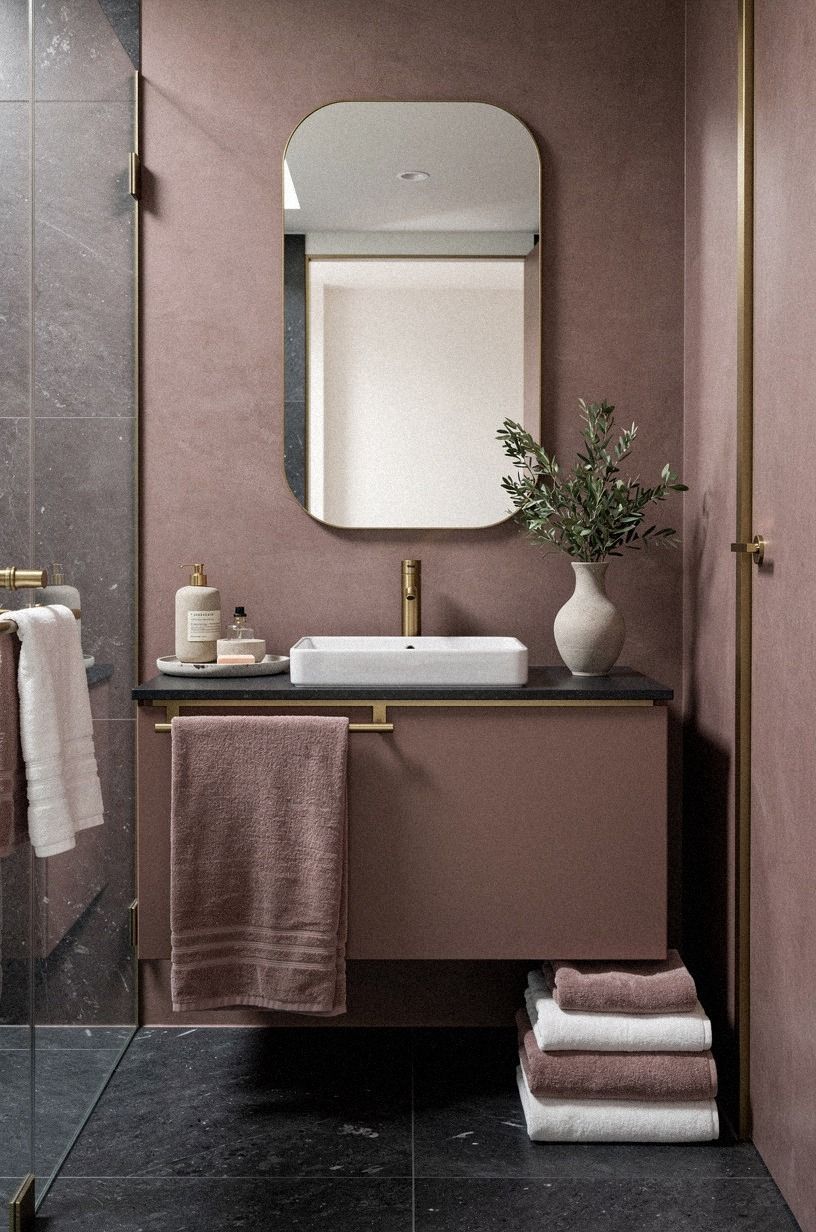
Old linoleum sometimes lifts around the toilet, doorway, or wall perimeter.
5Use a Matte Primer When the Surface Resists Adhesive
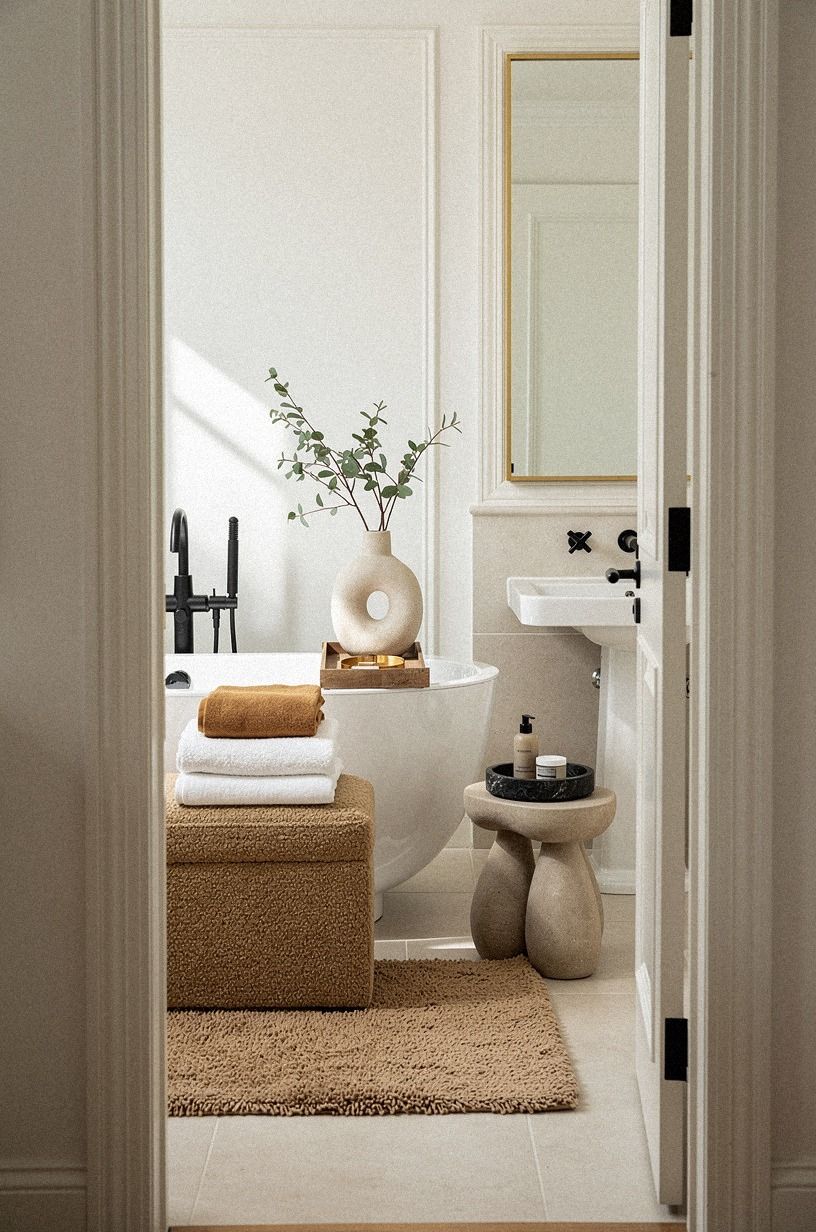
Some linoleum has a glossy finish that makes peel-and-stick tile slide instead of bond. A compatible floor primer can give your surface a more reliable grip, but you’ll need to follow the label and allow proper drying time.
I prefer a matte base because it feels less slippery under the tile. Your primer should be thin and even, with no puddles near the baseboard. Don’t rush this step just because the room is small.
Benjamin Moore Chestertown Buff HC-9 works beautifully on nearby walls if you’re keeping the floor earthy and warm. Your tile doesn’t need to match the wall exactly. A soft paint color can make a busy floor feel calmer.
6Lay a Dry Grid Before You Peel Anything
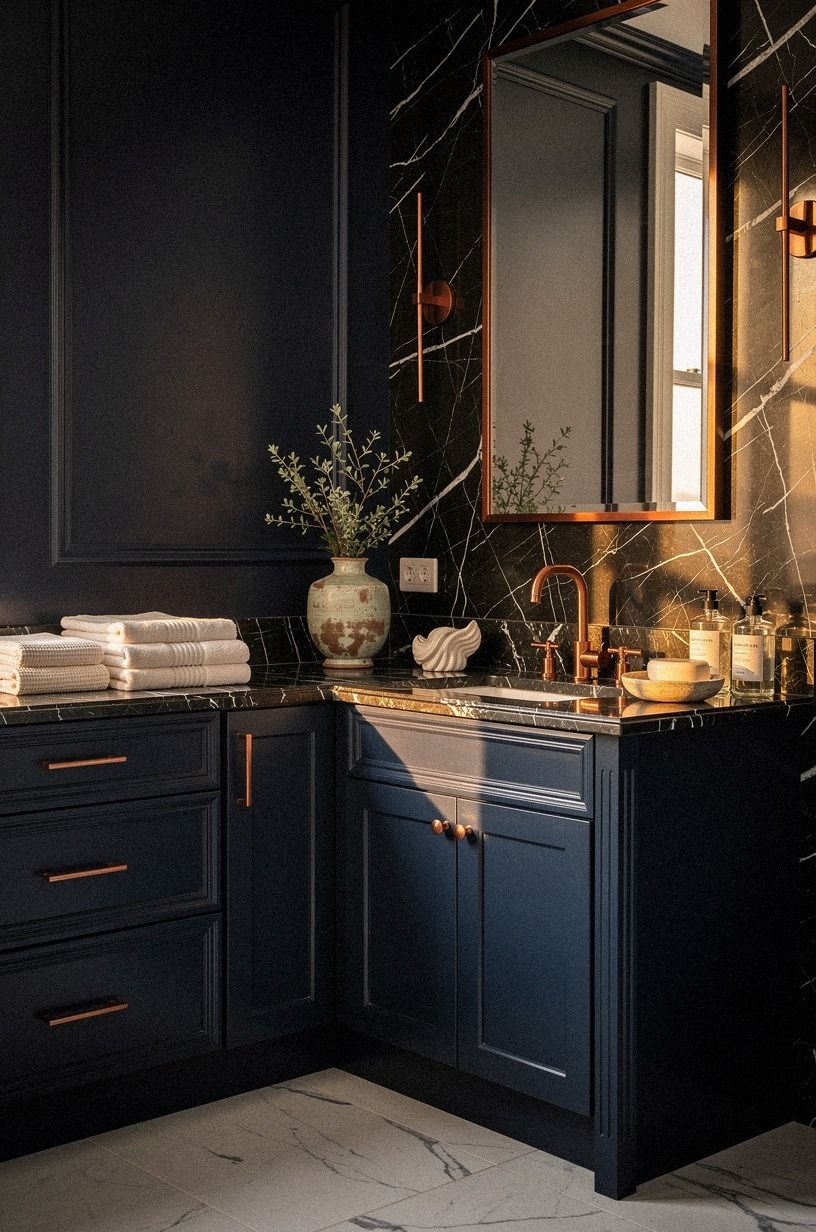
Set the tiles on the floor without removing their backing.
7Check Whether Grout Lines Will Show Through
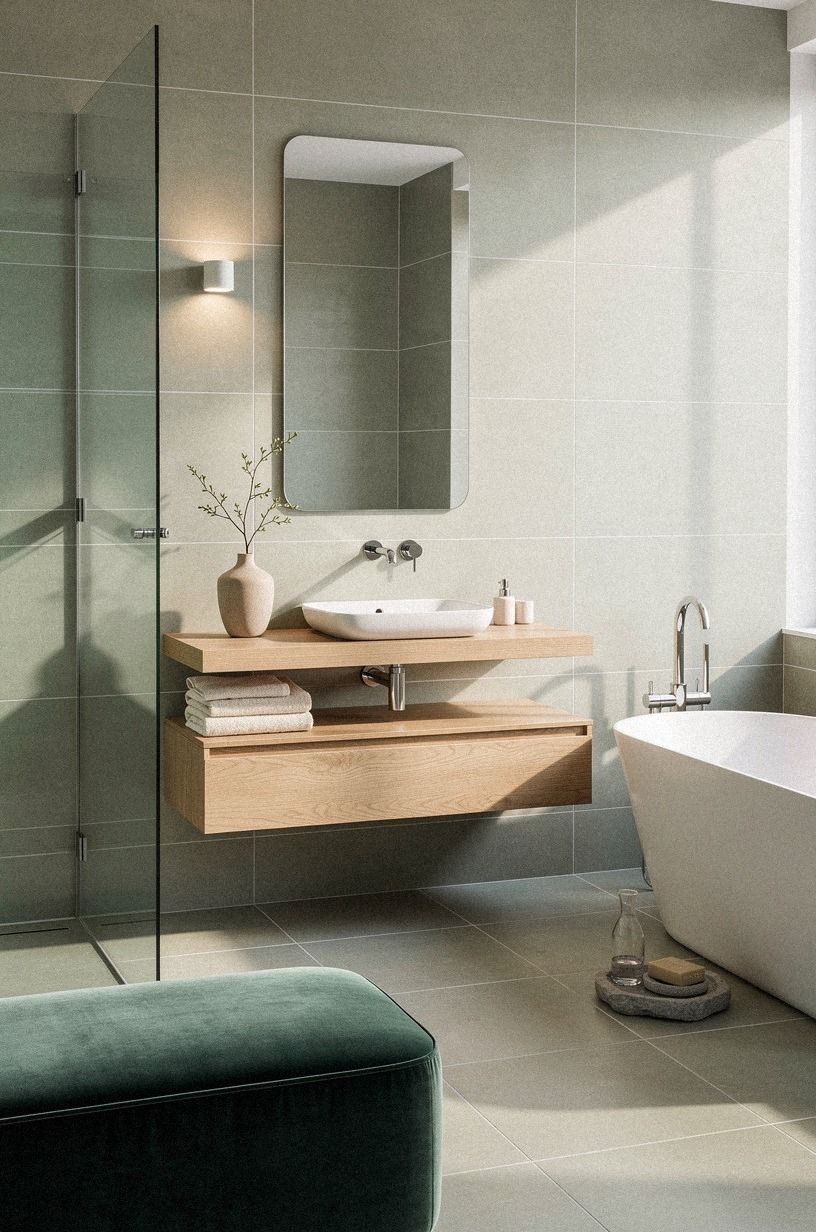
Raised grout lines, embossed patterns, or deep texture beneath the linoleum can telegraph through a thin tile. Press a sample over the area and inspect the surface closely. You’ll see shadows before you notice them once you’re in the room.
If your surface has visible seams, read about whether grout lines show through peel-and-stick tile. Your answer depends on the thickness and flexibility of the new tile, not just its printed design.
I’d avoid a delicate print over deep texture. Choose a soft sage-and-cream pattern with a little visual movement instead. Your floor will feel organic and forgiving, and small imperfections won’t shout across the room.
8Choose a Small Checkerboard for a Bold Floor
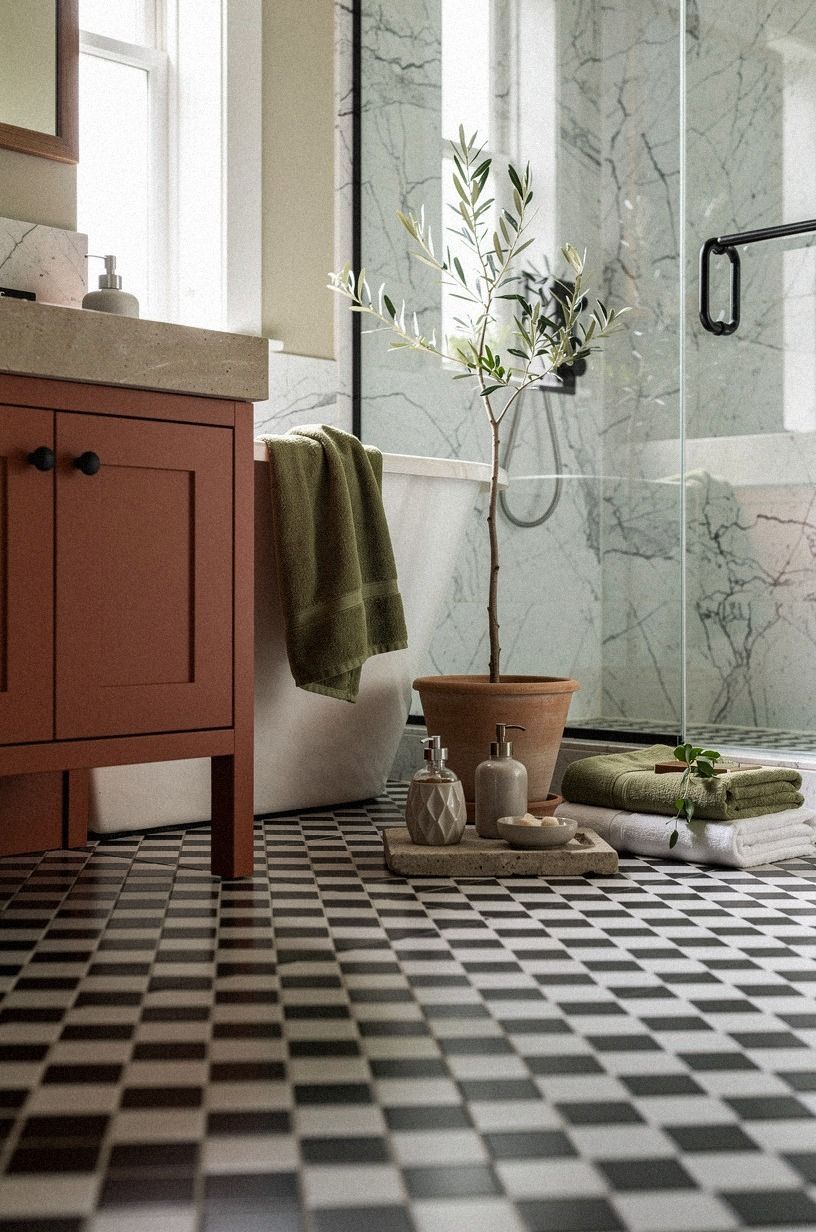
A checkerboard pattern brings a dramatic, timeless feeling to a plain bathroom. Terracotta with soft stone and olive can look warm without becoming harsh, especially when your room has little natural light.
Lay the first two colors carefully, because every later row depends on that opening line. You’ll want the squares to relate to the vanity and tub rather than point toward a crooked wall.
I’d choose Carrara-marble-look tile with subtle gray veining instead of a stark black-and-white pattern. Your floor will have visual rhythm without competing with everything else. It’s lively, but still calming enough for a small room.
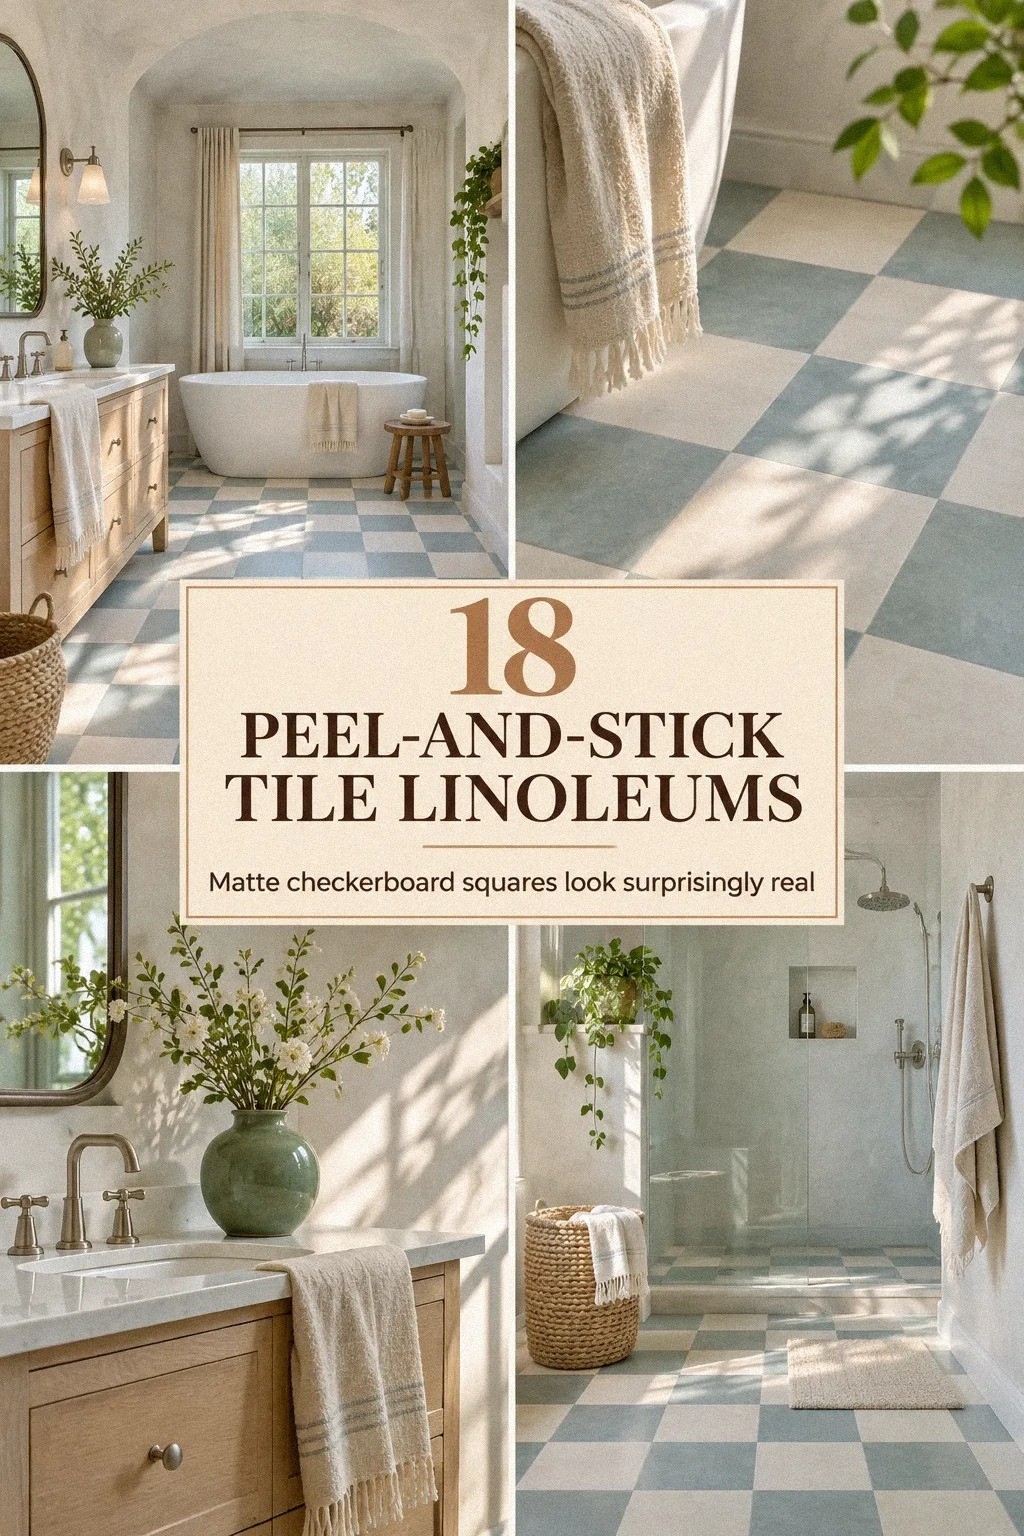
9Swap Plain White for Warm Stone Tones
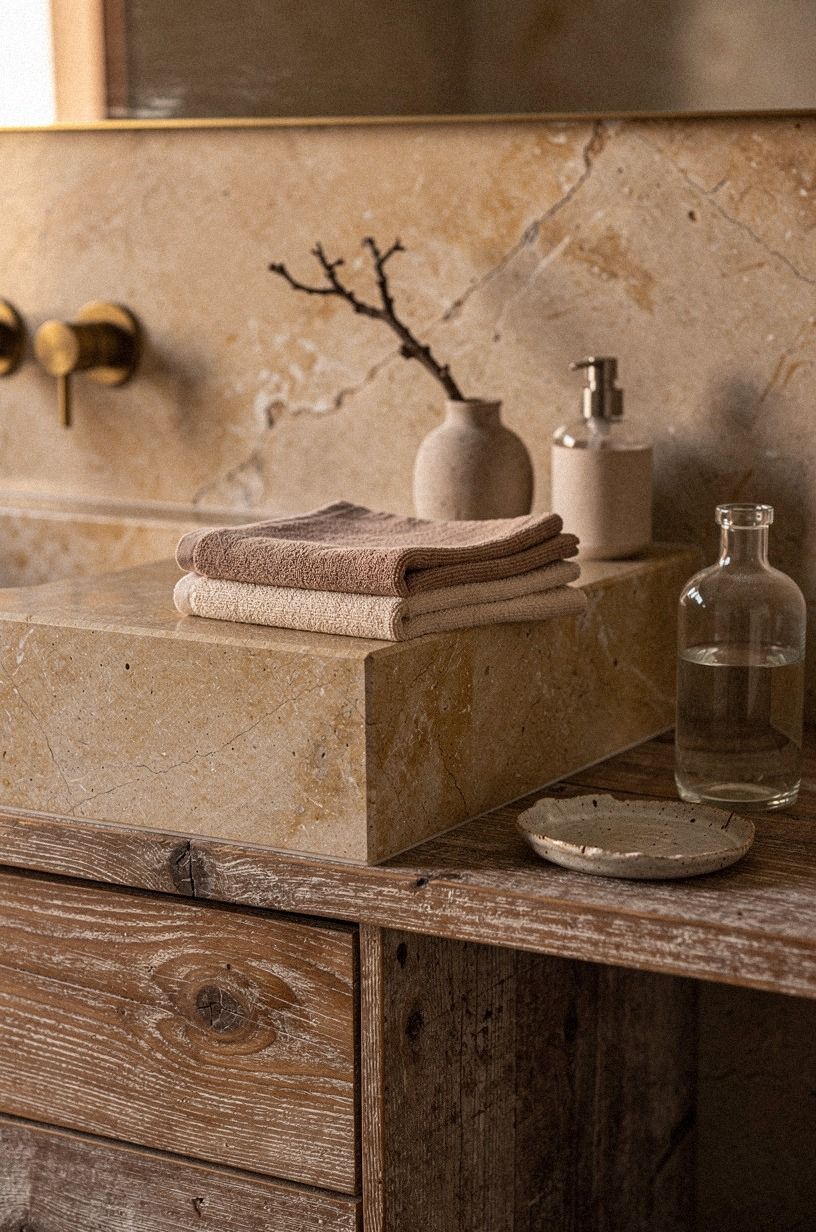
Warm clay-and-linen flooring can make old linoleum disappear beneath an inviting, earthy finish. Look for a reclaimed weathered teak-look peel-and-stick tile with subtle variation. Your floor won’t need constant cleaning to look intentional.
This choice works especially well beside a reclaimed weathered teak vanity or woven basket. You’ll want to repeat one floor tone in the room, perhaps through a towel or small framed print, so the color feels connected.
Benjamin Moore Natural Cream OC-14 adds a gentle linen note on the walls. I’d choose it over stark white if your goal is a serene bathroom. The floor and paint can feel warm without turning heavy.
10Frame the Room With a Border Instead of a Full Pattern
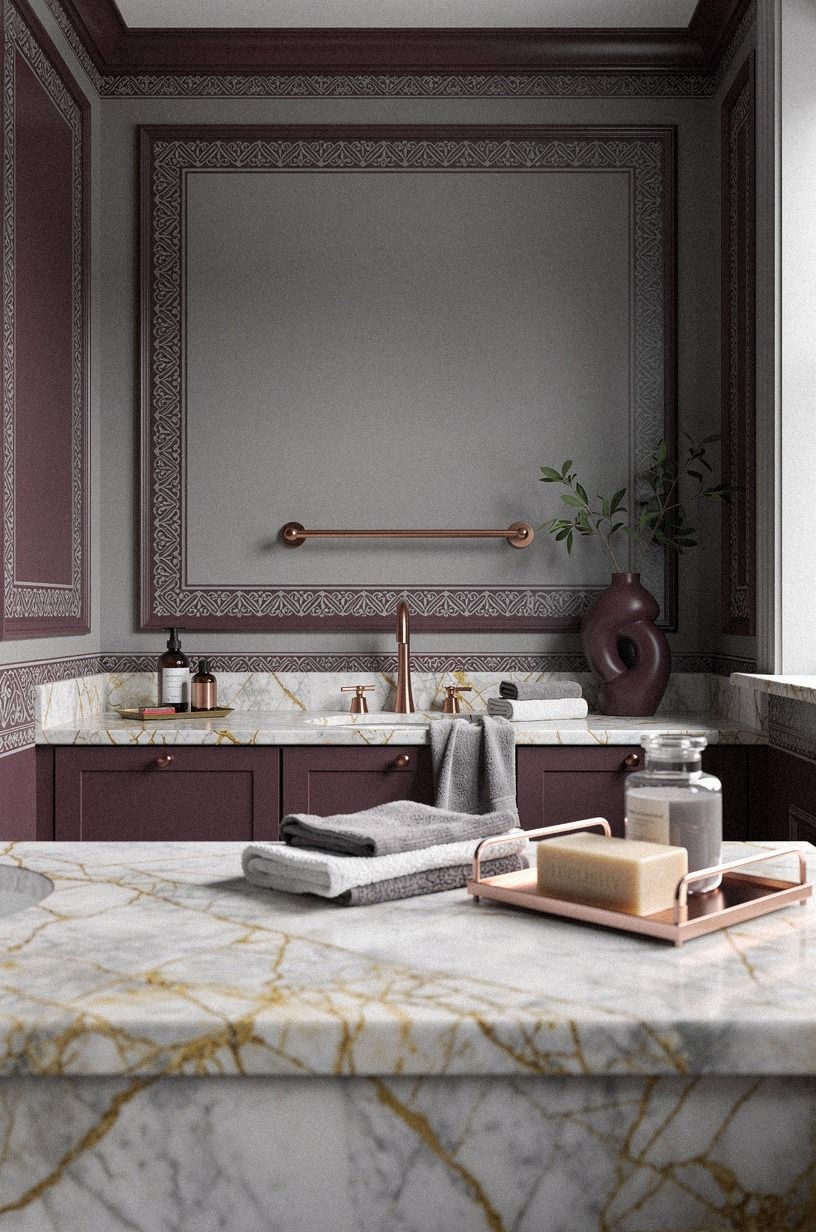
A narrow Calacatta marble-look border with soft gold veining creates structure without covering every inch in a loud design. Use it around a quieter central field, especially if your bathroom has an unusual shape.
You’ll need to dry-lay the border first because corners can expose small gaps. Your cuts should meet cleanly, and you’ll want the pattern to turn consistently at each wall. A crooked border looks worse than no border.
I’d pair a soft gray center with a muted plum edge and small rose-gold accents instead of bright black. Your bathroom will feel refined and a little more spacious. The effect is architectural, but it doesn’t require a full renovation.
For more inspiration, browse these peel-and-stick tile ideas for bathrooms and fireplaces.
11Use the Small-Bathroom Calm Rule
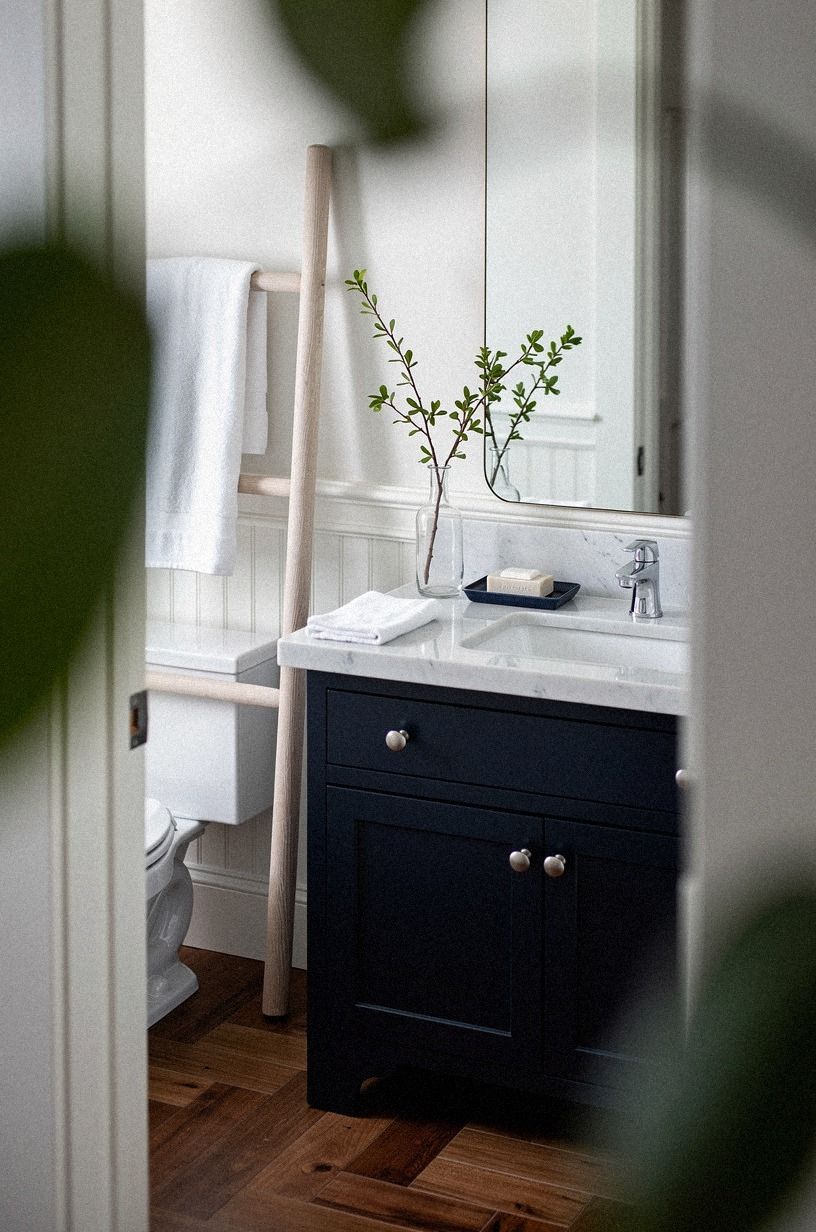
A small room can handle pattern, but it needs one quiet surface to rest the eye. If your floor is busy, keep your walls simple and choose 18-ounce cotton bath textiles in warm white. A little navy and walnut can then bring definition without crowding the room.
Check your clearances before committing to a large pattern. A toilet needs at least 21 inches of space in front, and a standard tub is 60 by 30 inches. You’ll want your tile cuts to respect those fixed shapes.
I’d keep the vanity finish simple. A cerused white oak vanity or another pale wood piece can soften a graphic floor, while a dark vanity may make the whole room feel heavier.
12Paint the Walls Around the Floor, Not Against It
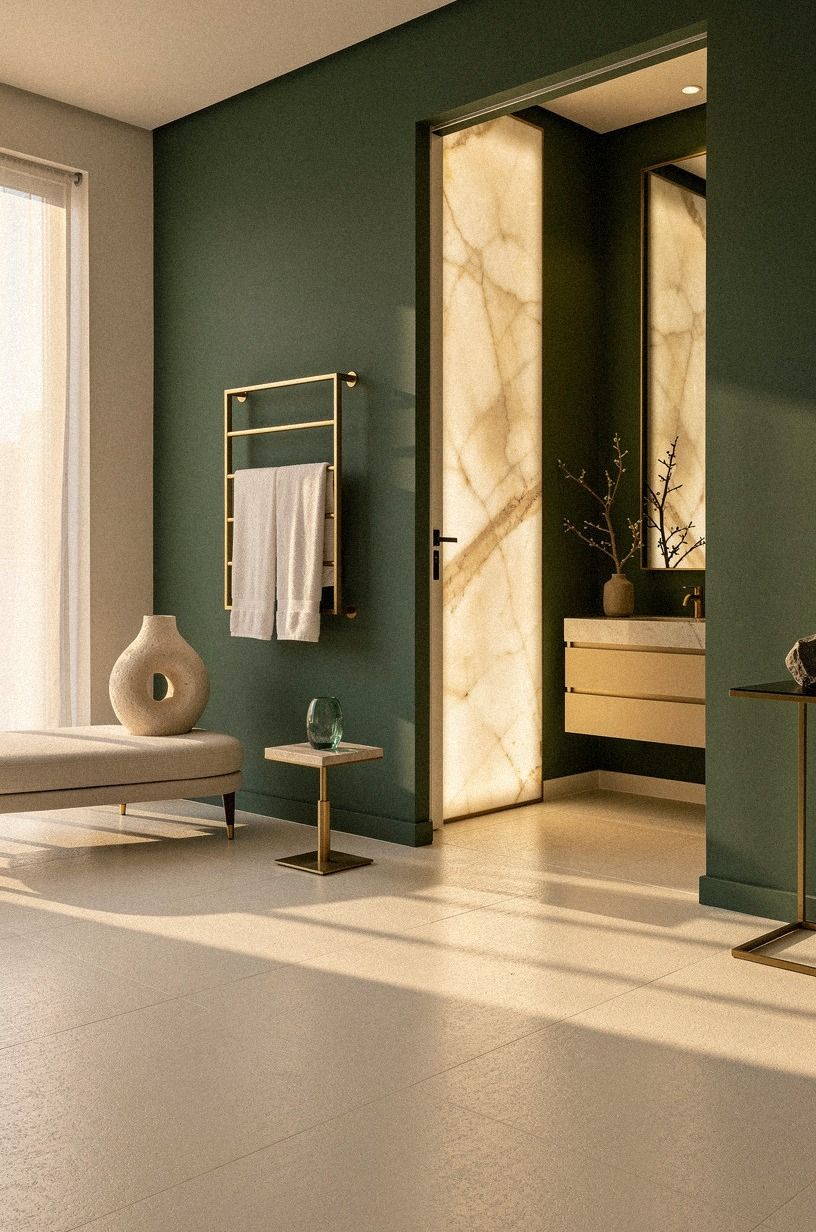
The right wall color can make peel-and-stick tile look more expensive. Farrow & Ball Studio Green No. 93 brings an emerald backdrop to warm stone patterns, while cream surfaces and backlit translucent onyx keep the room from feeling heavy.
If your bathroom is dim, Benjamin Moore White Dove OC-17 gives the floor room to breathe. You’ll want to test a sample beside the tile because paint can shift dramatically under vanity bulbs.
I’d avoid choosing paint from a tiny tile photo online. Your walls are much larger than the sample, and a color that feels charming in a square can feel overpowering across the room. Test first, then decide.
13Anchor the Vanity With a Wood-Look Plank
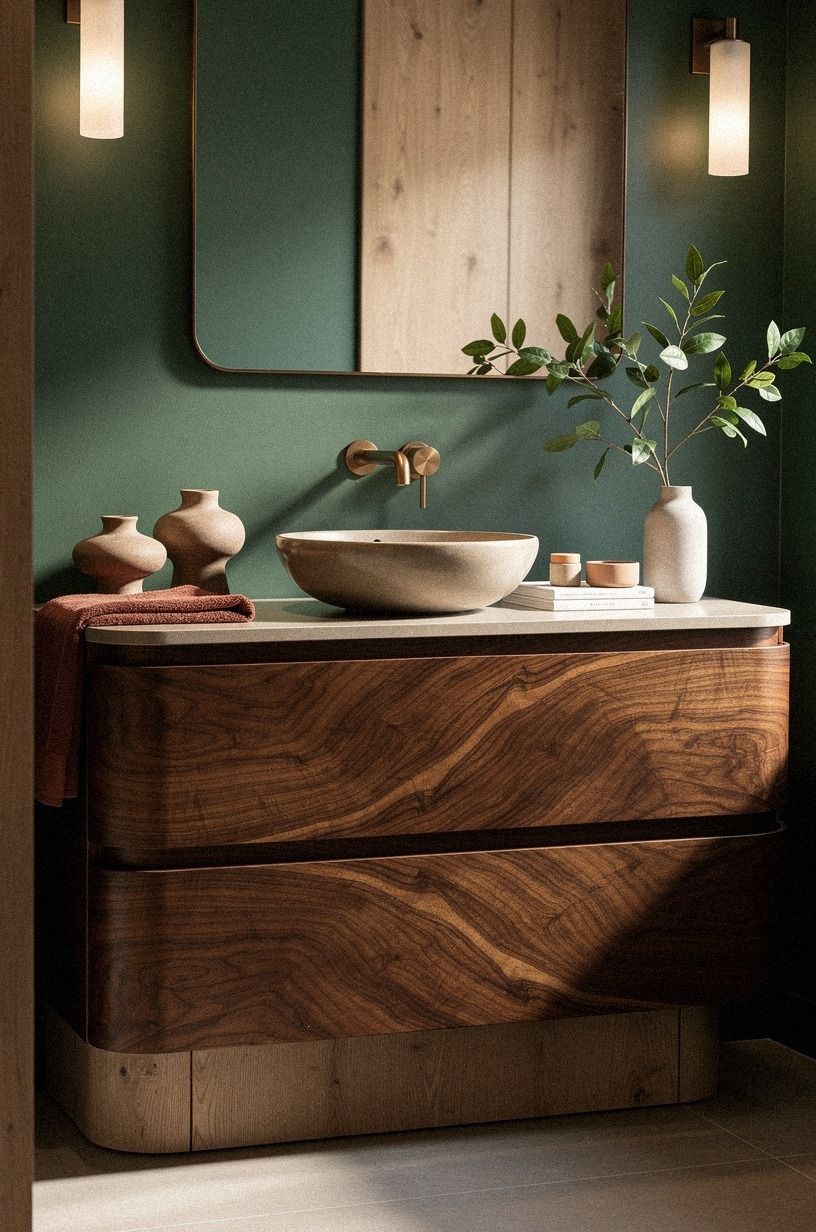
If square tile feels too busy, use a plank design that suggests book-matched walnut.
14Protect the Wet Zones With Careful Seams
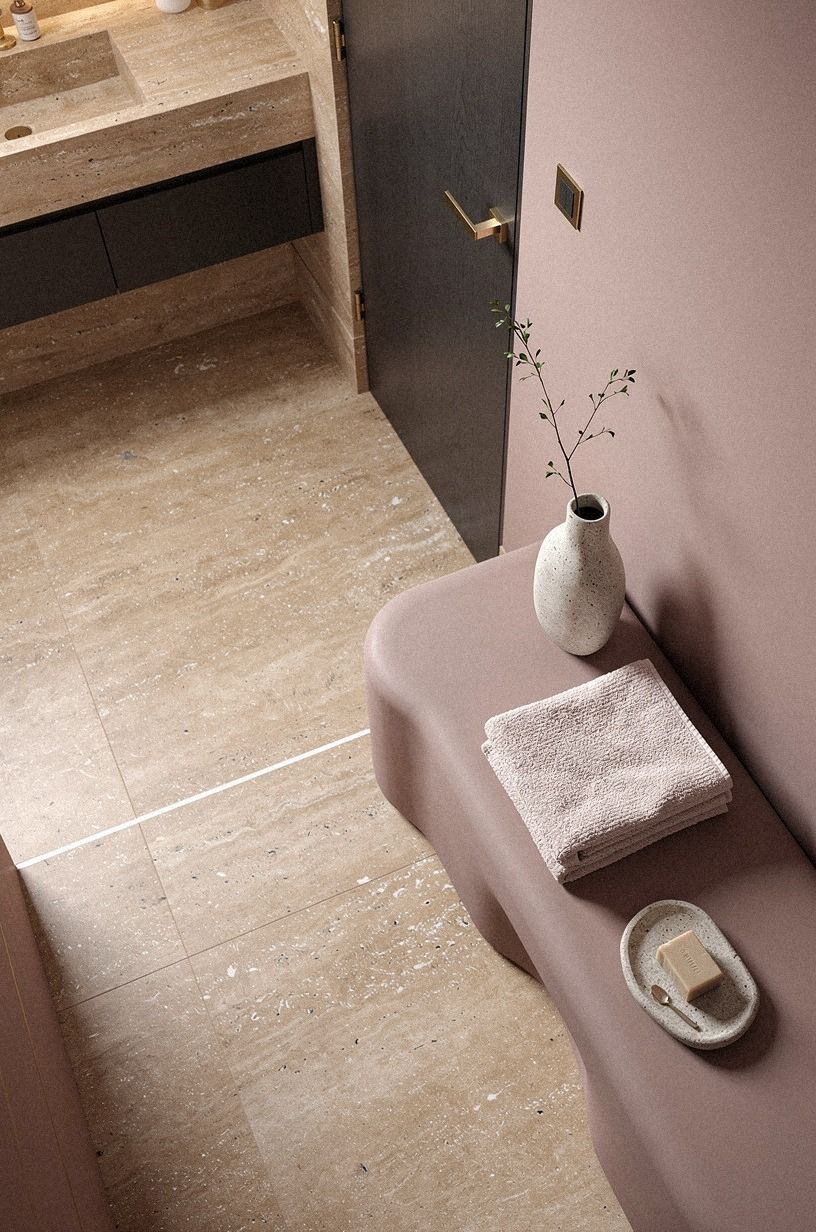
Peel-and-stick tile can work in a bathroom, but it isn’t a substitute for a waterproof shower floor. Keep the seams tight near the tub and sink, and follow the product instructions for any recommended edge sealant.
You’ll want to wipe standing water quickly, especially during the first few days. I’d place a 600gsm Turkish cotton bath mat outside the tub rather than letting water sit directly on the seams.
A comfortable shower is at least 36 by 36 inches, but the floor around it still needs thoughtful protection. Your project can be renter-friendly and practical if you respect the limits of a decorative surface. It’s not a wet-room system.
15Compare the Real Bathroom Cost Before You Start
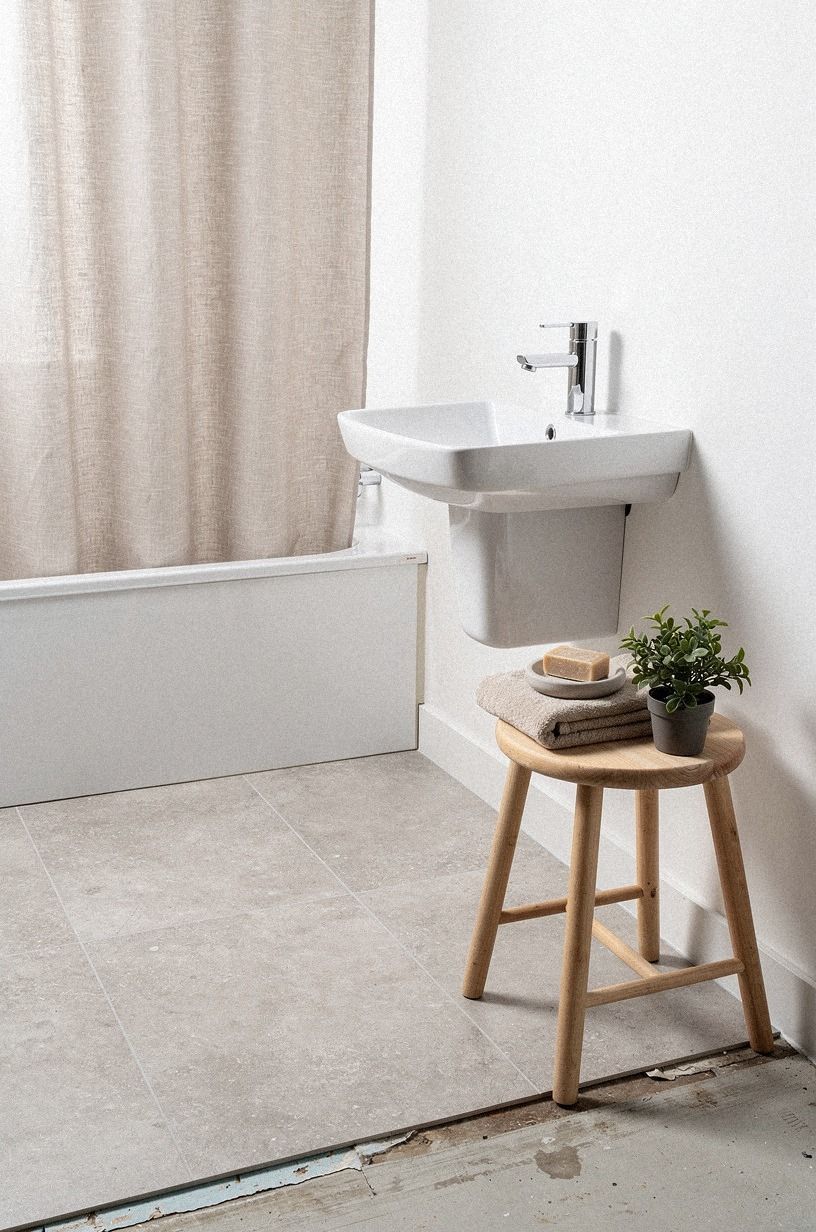
Peel-and-stick tile may be a modest cosmetic change, but a full bathroom renovation sits in a very different budget category. Use the following typical US ranges as context, then decide what your room truly needs.
Your floor update may fit inside the budget tier if the existing surface is sound and you do the labor. I’d spend first on preparation, not decorative extras. A matte porcelain-look tile cannot hide a moving floor.
For material context, subway tile is typically $2-$10 per square foot, while zellige tile is $15-$35 per square foot. You’ll want to compare the look with the labor, because the cheapest material isn’t always the easiest choice.
16Build a Renter-Friendly Removable Layer
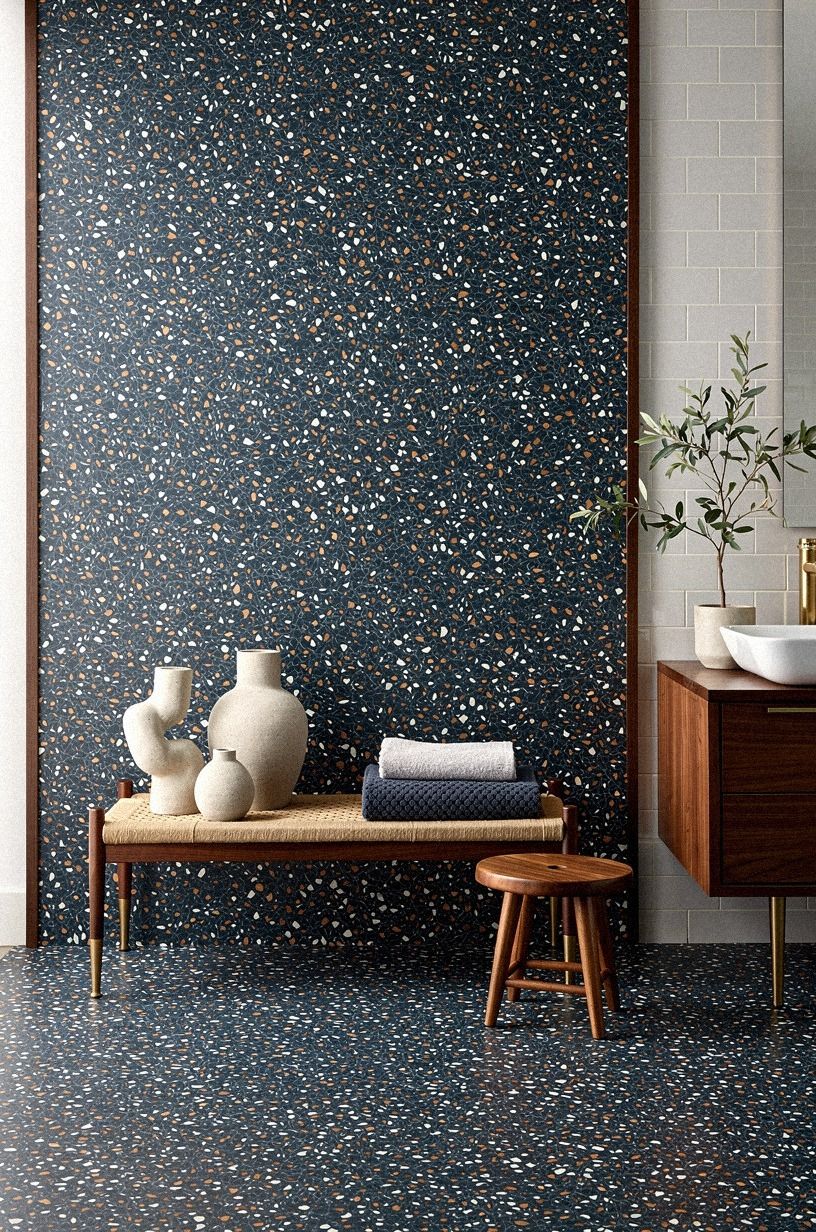
If you rent, choose tiles that can be removed according to the manufacturer’s instructions and keep the original linoleum intact. Your landlord’s rules matter, so ask before installing anything that uses stronger adhesive.
I’d test one corner first with an oversized-chip terrazzo-look removable vinyl tile and photograph the original floor. You’ll want a record of its condition before your project begins, especially if the linoleum already has scratches or discoloration.
Pair the floor with a tension rod, a freestanding mirror, and removable backsplash pieces. You’ll get a warm, modern bathroom without drilling into the wall. For more ideas, see this guide to renter-friendly backsplash ideas you can peel off later.
17Finish the Edges With the Shadow-Line Method
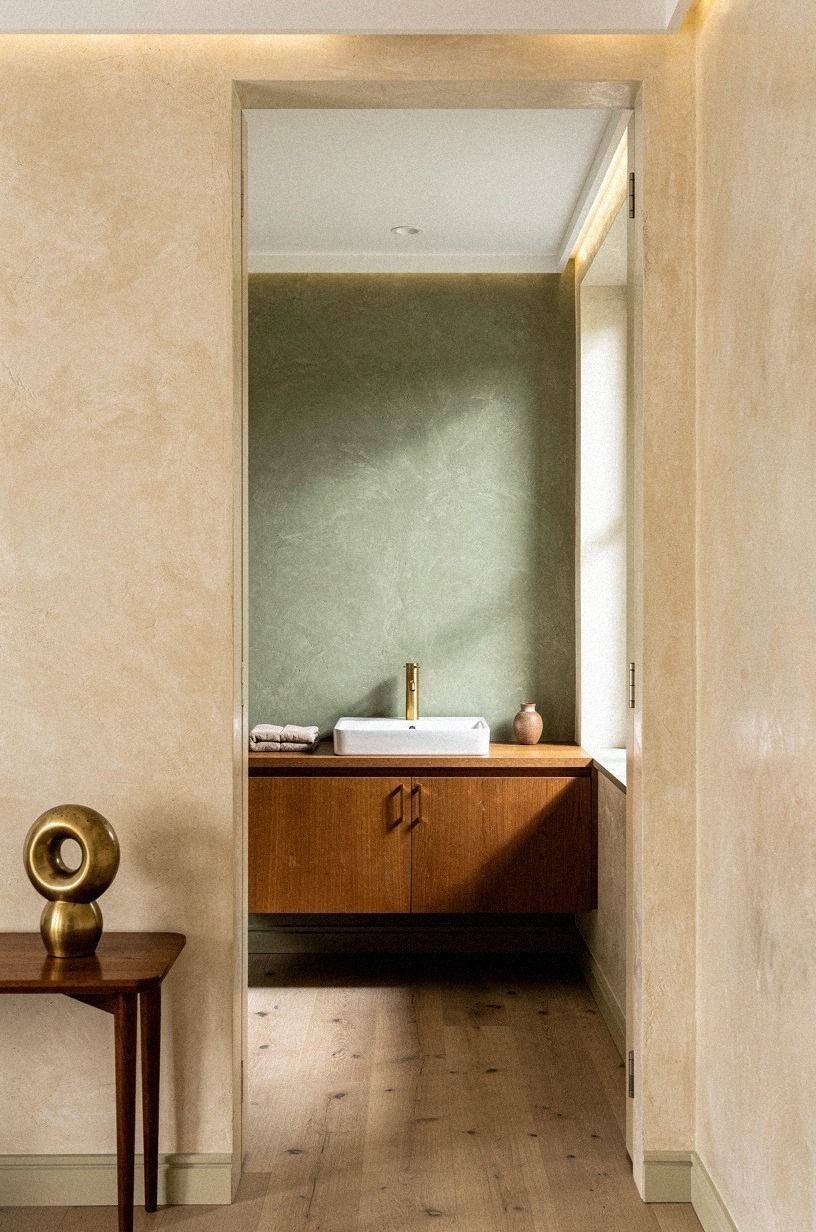
The edges make a peel-and-stick floor look finished or temporary.
18Seal Your Routine With Gentle Daily Care
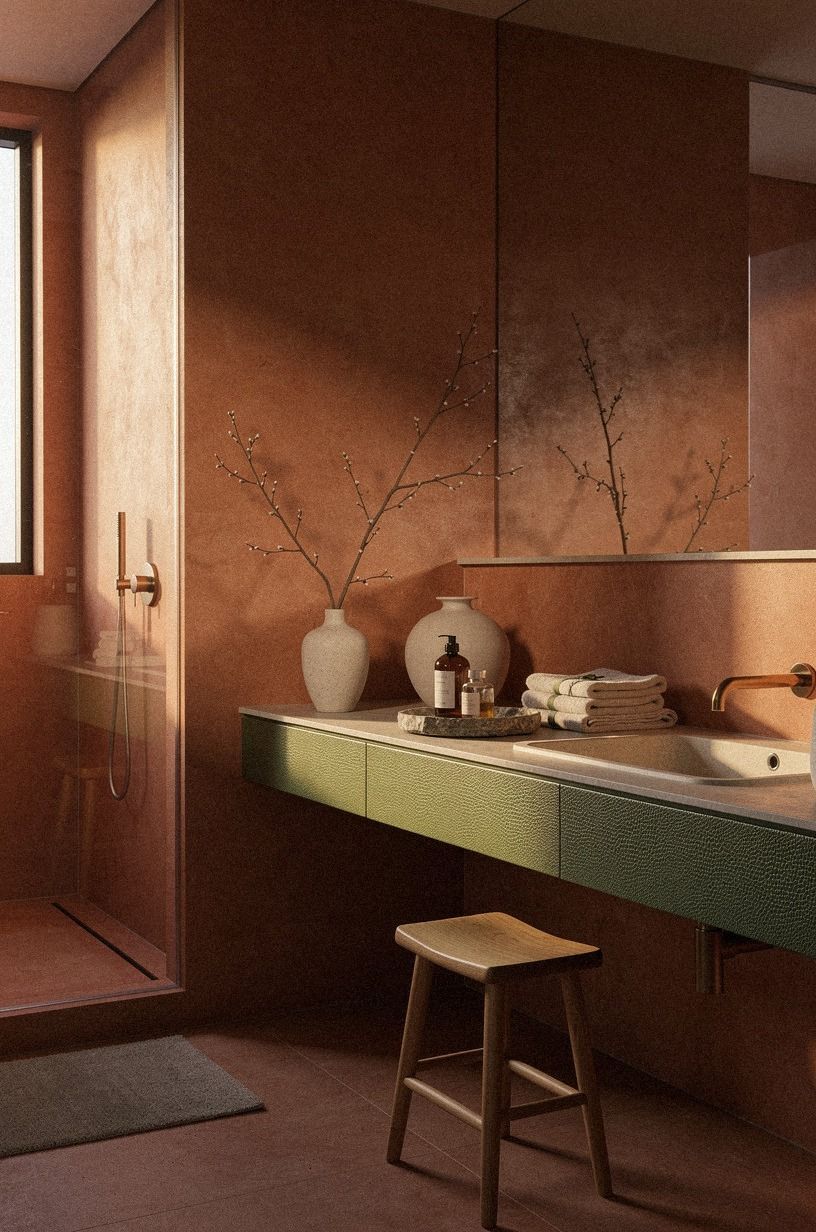
The best-looking peel-and-stick floor is the one you maintain without making it a chore. Sweep grit regularly, wipe spills quickly, and use a soft cleaner rather than a soaking mop. Your tiles will keep their printed finish longer.
I’d avoid abrasive pads and harsh chemicals on textured vinyl flooring. They can dull the surface and make the pattern look cloudy. You’ll want to test any cleaner in a hidden corner before using it across the room.
My favorite finish is simple: a woven basket, warm towels, and one small shagreen accent away from splash zones. It feels inviting without filling every surface. And if your floor starts lifting, repair the edge early instead of waiting for water to find it.
The Prep Rule I’d Trust With My Own Bathroom
I’ve installed temporary flooring over surfaces that looked harmless, and the failures nearly always started below the pretty pattern. One bathroom had old polish I couldn’t see.
Another had a shallow dip beside the vanity. In both cases, the tile was blamed first, but the floor underneath was the real problem.
That’s why I’d spend more energy on cleaning, drying, testing, and smoothing than on choosing between two similar prints. A warm checkerboard won’t save a dirty surface.
A marble-look tile won’t flatten a loose seam. Your room needs a stable beginning before it gets a charming finish.
I also wouldn’t treat peel-and-stick flooring as a permanent answer for every bathroom. It’s a smart cosmetic layer when your linoleum is sound, your moisture is controlled, and your expectations are realistic. It’s less persuasive over a leaking tub or a floor that flexes underfoot.
If you’re deciding between a floor update and a larger project, compare the tradeoff honestly. A paint refresh, mirror, faucet, and textiles fit the typical $200-$1,200 budget tier, while a mid-range bathroom renovation can reach $3,000-$9,000. Your best choice may be the smaller one that solves the room’s actual problem.
The Questions I Get Asked Most
What is the best peel-and-stick tile over old linoleum for a small bathroom?
The best choice is a flat, matte tile with modest pattern movement, such as a warm stone or soft checkerboard print. A low-contrast pattern hides small flaws better than stark black and white. You’ll want to match it with simple walls and one wood or woven accent.
Where can I buy peel-and-stick tile over old linoleum pieces on a budget?
Look at Target, Wayfair, IKEA, Facebook Marketplace, and local thrift stores for leftover boxes or unopened renovation materials. There are no commission links here, and this site uses display advertising. Your safest purchase includes enough matching pieces for future repairs.
How much does a peel-and-stick tile over old linoleum makeover cost?
A small cosmetic bathroom refresh can fit within the typical $200-$1,200 budget tier, depending on paint, mirror, faucet, textiles, and tile. Prep can be free if you already own cleaning supplies. You’ll spend more if the floor needs patching or professional repair.
Can I create a peel-and-stick tile over old linoleum look on a budget?
Yes, and you can start with three low-cost moves: deep-clean the existing floor, reuse your mirror, and paint the walls with a color you already have. Your biggest visual gain will come from layout and careful cuts, not expensive accessories.
Is peel-and-stick tile over old linoleum worth it in a small space?
Yes, if the linoleum is flat, dry, and firmly attached. A small bathroom limits material use and lets you finish quickly. A clear dry grid matters most, so you’ll want the pattern centered around the vanity rather than around a crooked wall.
Is peel-and-stick tile over old linoleum a good idea for a rental?
Yes, when your landlord allows it and the product can be removed without damaging the original floor. Pair it with a tension rod, removable backsplash, and freestanding storage. You’ll get a warm update, but you shouldn’t install it over damp or unstable flooring.
Where I’d Start First
If I had to pick one, I’d start with the dry-grid layout. A centered pattern makes inexpensive tile look deliberate, while a rushed first row can throw off the whole bathroom. Pin this idea for later and check the surface before you peel anything.