
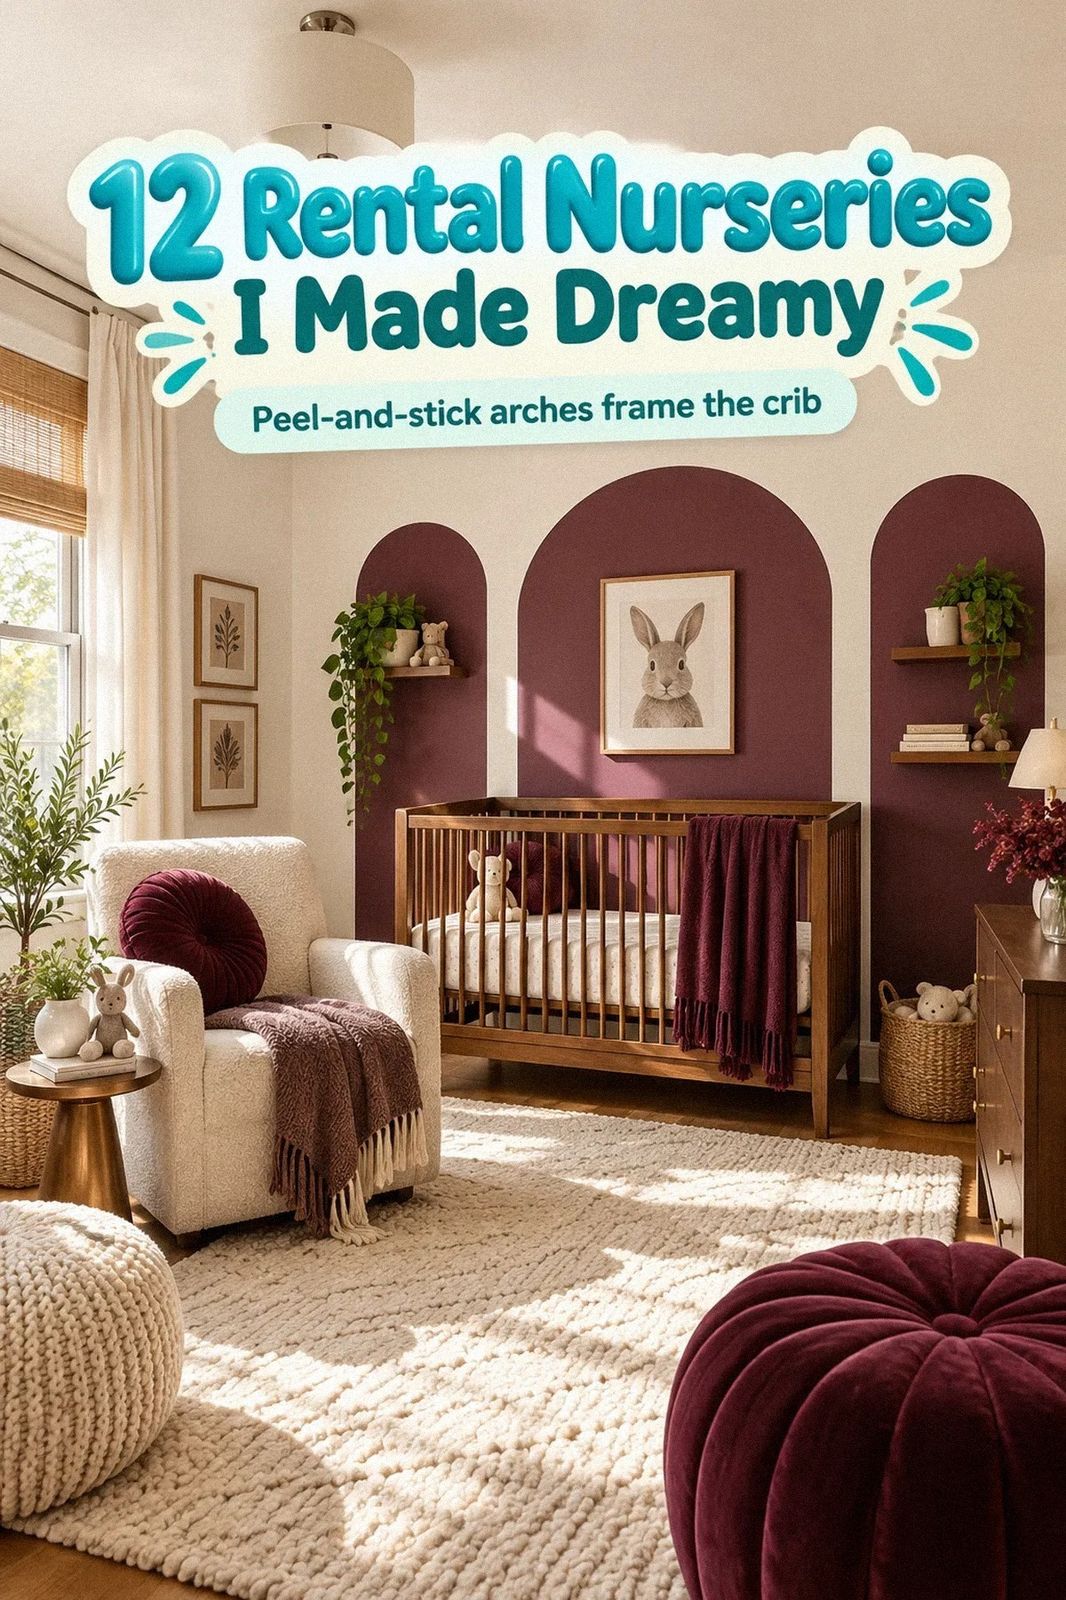
 by
by You can set up a nursery in a rental without drilling anything, and I did it with removable color, tension rods, soft storage, and one carefully chosen wood piece. I was eight months pregnant, short on time, and unwilling to lose my deposit. The room felt calm by bedtime. That mattered.
I started with the practical problems first: light, circulation, storage, and safe furniture placement. The decorative choices came afterward, which kept the room from becoming cluttered or overly themed. If you’re renting, you can still create a warm, personal space that feels intentional from the first night.
- Measure the Rental Nursery Before You Buy Anything
- Paint With Removable Calm, Not a Full Makeover
- Build the Three-Height Light Stack
- Hang the Blackout Layer With a Tension Rod
- The Soft-Edge Storage Rule
- Float the Crib Away From the Walls
- Let IKEA KALLAX Be the One Warm Wood Anchor
- Frame the Room With Fabric, Not Nails
- Where Can You Hide the Necessary Stuff?
- Create a 36-Inch Reach Zone
- Use Fabric Panels Instead of Permanent Wallpaper
- Finish With the Rental Nursery Sightline
1Measure the Rental Nursery Before You Buy Anything
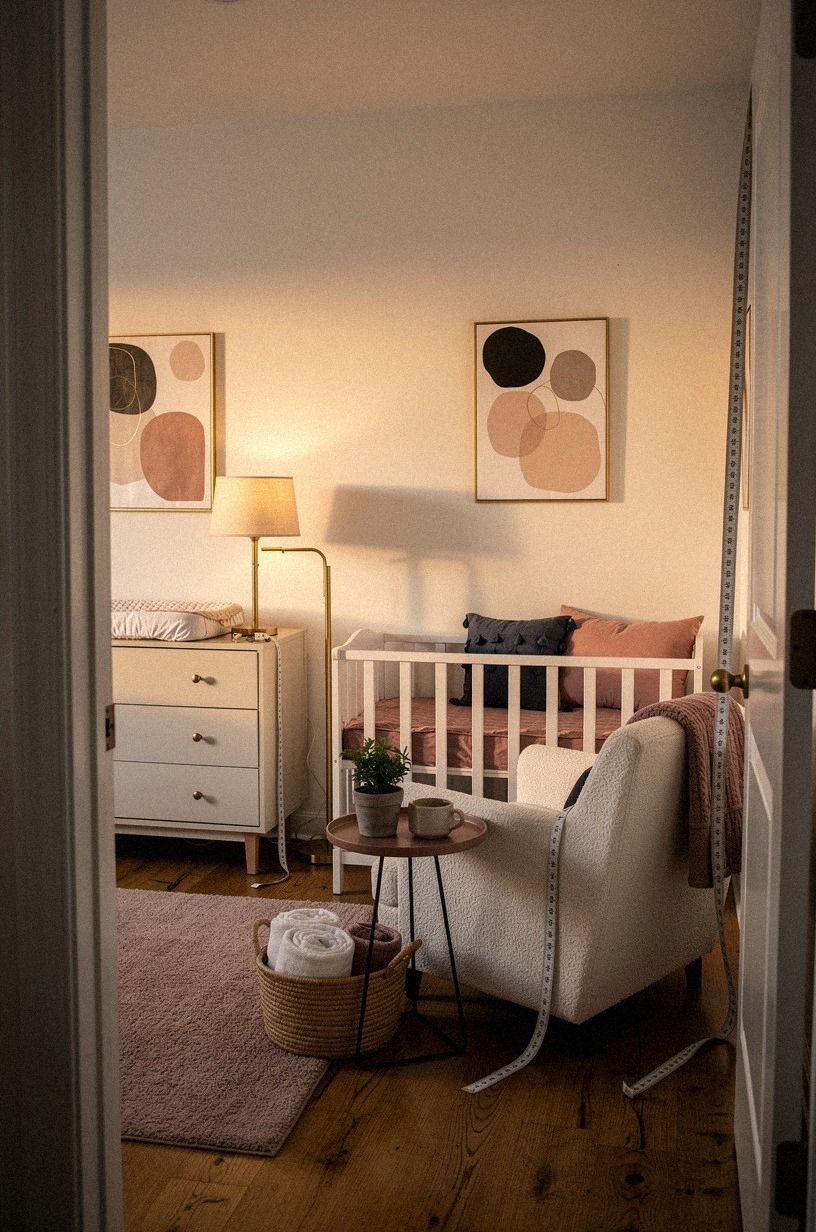
I started with a tape measure because rental rooms lie to you. The crib looked small online, but the wall beside the window was only wide enough for one major piece. I marked the usable floor with painter’s tape and left a clear path from the door to the changing area.
You don’t need a perfect plan, but you do need to know where your 38x75-inch crib mattress or twin bed will land.
The first decision was circulation. I kept 30 inches of clearance beside the main furniture so I could walk in during a midnight wake-up without catching my hip on a basket.
Your room might be narrower, so use the same principle and protect the walking route first. I skipped a bulky dresser because the door swing would’ve fought it every day. That choice made the room feel airy, peaceful, and far more usable.
I also measured the window recess, outlet locations, baseboards, and the distance between the crib and the door. Those details shaped every later decision.
A tension rod can fail when the recess is unusually shallow. A freestanding shelf can block an outlet.
A rug can make a narrow door swing awkward.
Before buying wall decor, I’d read our guide to ways to hang pictures without nails in a rental. It helped me separate genuinely removable ideas from products that only promise easy removal.
I made a tiny floor plan on the back of an envelope. It wasn’t beautiful, but it showed me that the chair needed to face the crib rather than the window. That one change made nighttime checks easier and stopped the room from feeling like a collection of unrelated furniture.
I measured again after choosing the rug and chair. Soft furnishings change how much space a room appears to have, but they don’t change the door swing or the outlet locations.
Before placing anything permanently, I walked the route with an empty laundry basket in my arms. It was a simple test, and it caught two awkward corners immediately!
2Paint With Removable Calm, Not a Full Makeover
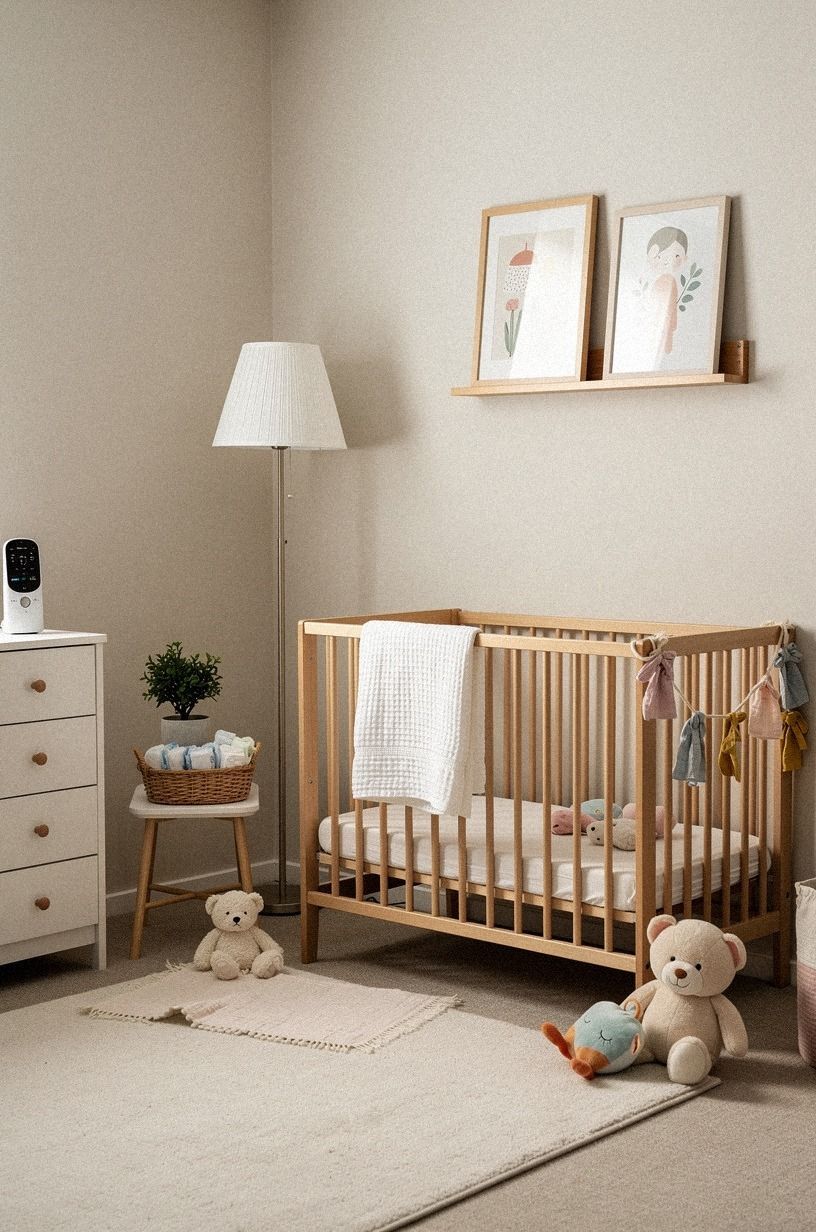
I couldn’t repaint the whole room, so I used removable color through fabric and small peel-and-stick panels.
3Build the Three-Height Light Stack
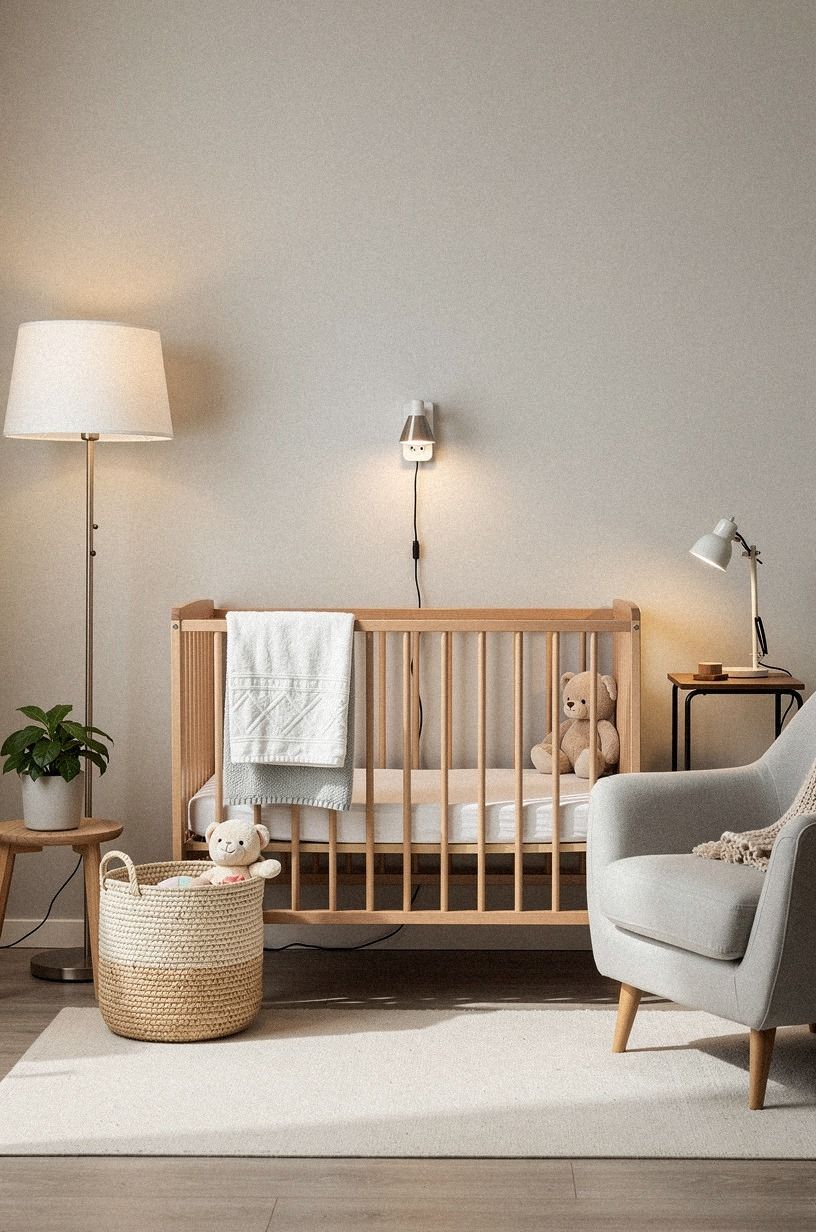
The ceiling light was harsh, so I built the Three-Height Light Stack with pieces that sit at floor, table, and eye level. A plug-in paper lantern floor lamp gave the lowest glow, a small rechargeable lamp sat on the dresser, and a dim night-light filled the middle distance. You don’t need an electrician, and you won’t have to open a wall.
My favorite part was the lowest light. It throws a quiet amber pool across the rug instead of blasting the entire room awake.
Your bedtime routine feels less frantic when you can see the floor without switching on the ceiling fixture. I skipped blue-white bulbs because they made the room feel like a clinic.
I used 2700K warm bulbs in the main lamps and a softer amber setting near the chair. The difference was immediate.
The room became cozy, mellow, and much more inviting after sunset. I didn’t want every surface glowing, though.
One brighter source near the changing area made practical tasks easier.
Hide cords behind furniture, keep plugs accessible, and avoid loose wires near the crib. If steady background sound is part of your routine, our guide to why you can’t sleep without a fan helped me think about sound and light together. I also returned to it when I adjusted the fan position so it wouldn’t blow directly across the sleeping area.
The room now has three distinct moods. The ceiling fixture handles cleaning.
The table lamp works during feeding. The floor lamp creates the gentle, sleepy atmosphere I wanted.
That flexibility made the nursery feel thoughtful rather than overly precious.
I placed the rechargeable lamp where I could reach it from the chair without leaning across the crib. That small adjustment mattered during early mornings. A light should help you move through the room, not make you perform a complicated routine.
I also used a dimmer setting rather than a bright night-light. The goal was enough visibility for a safe walk, not a fully illuminated room. If your household already relies on background sound, what is it called when you can’t sleep without noise is a useful companion read when planning the whole nighttime environment.
4Hang the Blackout Layer With a Tension Rod
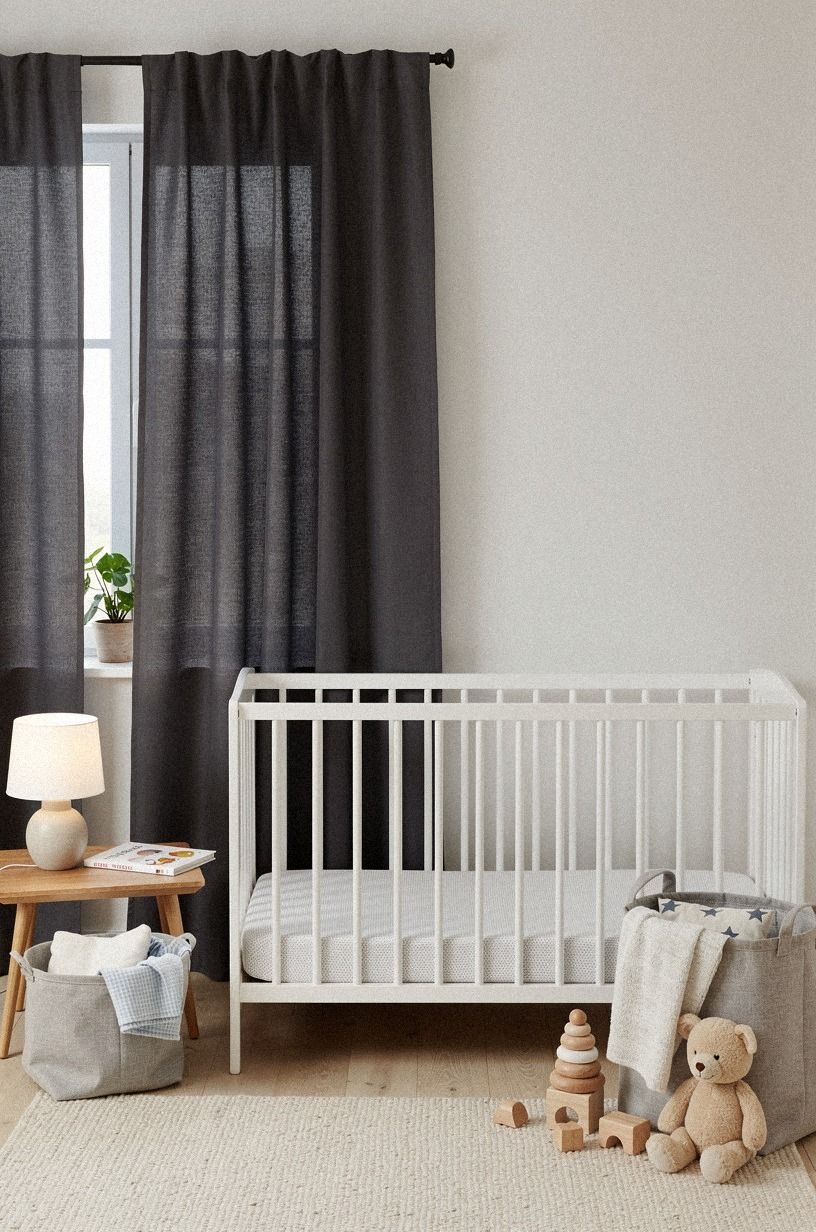
The window needed darkness, but I wasn’t drilling curtain brackets into a rental frame. I used a strong tension rod with blackout curtains and placed it inside the window recess. The fabric reached the sill instead of pooling on the floor, which kept the nursery tidy and removed one more thing for a crawling child to grab.
You should measure the recess twice before ordering anything. The typical curtain range in this room was $40 to $150, and I chose a midweight panel rather than a stiff theater-style fabric. It softened the hard window light without making the room feel heavy.
I didn’t use a single panel that left a bright seam in the middle. Two overlapping panels gave the sleeping area a darker, calmer feeling and made the window look wider. The fabric was washed cotton-linen, which looked relaxed instead of shiny or overly formal.
The first rod I bought was too weak. It sagged within a week, especially when I pulled the curtains open with one hand.
I replaced it with a sturdier spring-tension rod and tested the brackets several times before putting the fabric back up. That small upgrade was worth every dollar.
I also kept the curtain hem above the floor and away from the crib. A rental-friendly solution still needs to be safe and stable. For more removable window ideas, I used the same measuring approach from ways to hang pictures without nails in a rental, especially the reminder to test adhesive and tension products before trusting them overnight.
The curtain changed the room more than the wall treatment did. It softened the afternoon glare, made naps easier, and gave the nursery a more finished feeling without adding permanent hardware. The fabric also absorbed some of the room’s echo.
I chose a neutral oatmeal curtain rather than a bright pattern. The nursery already had enough visual interest in the wall panels and storage baskets. A quiet window treatment let those details breathe.
5The Soft-Edge Storage Rule
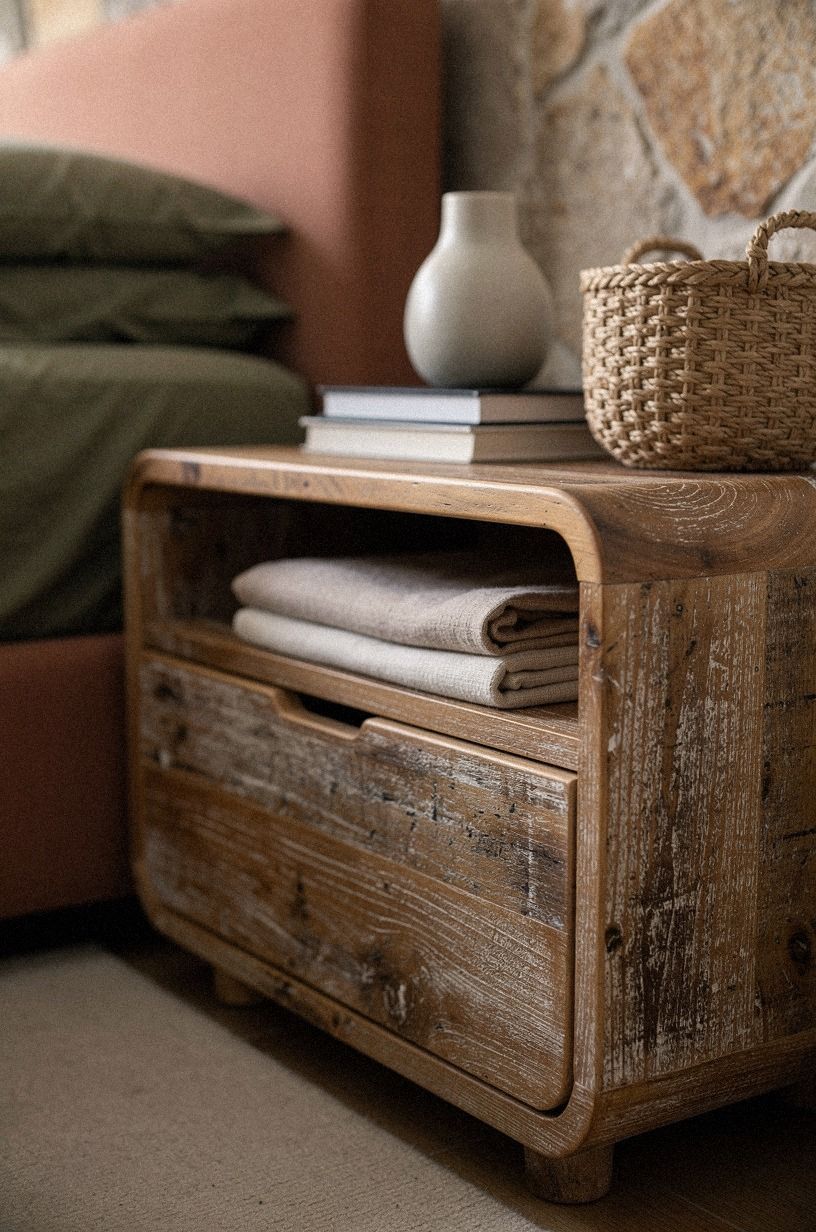
I created the Soft-Edge Storage Rule after bumping my knee against a sharp plastic bin at 2 a.m. Every container that stayed within reach had a rounded edge, a fabric handle, or a flexible side. Woven seagrass baskets held blankets, while a low canvas cube kept diapers and burp cloths close to the chair.
The storage needed to work with one hand. I tested each basket while holding a bundled blanket, and the stiff lidded box lost immediately.
Your best container is the one you’ll put away while tired. I also kept open space under the changing surface so I could see what was missing.
I used matte ivory fabric bins for the less attractive supplies and a single terracotta tray for items I reached for constantly. That mix kept the room visually soft but still practical.
Every container had a category. Nothing became a mysterious catchall.
The baskets were also easier to move when the room needed cleaning. I could lift one soft container, wipe beneath it, and return it without rearranging the entire space.
That sounds minor. It made the room feel cleaner and less burdensome.
For another renter-friendly organizing idea, I saved our article on easy ways to fix an ugly rental bathroom without renovating. The same principle applies here: cover visual noise, keep daily supplies reachable, and don’t buy storage that creates more work than it solves.
I kept the most frequently used items between hip and shoulder height. Blankets went into the larger basket, while wipes and spare clothing stayed in the smaller one beside the chair. That arrangement made the room feel calmer because I didn’t have to search for ordinary things.
The storage also gave me a restrained color story. Natural seagrass, ivory canvas, and muted clay looked warmer than a row of matching plastic containers. The materials did some of the decorating for me.
6Float the Crib Away From the Walls
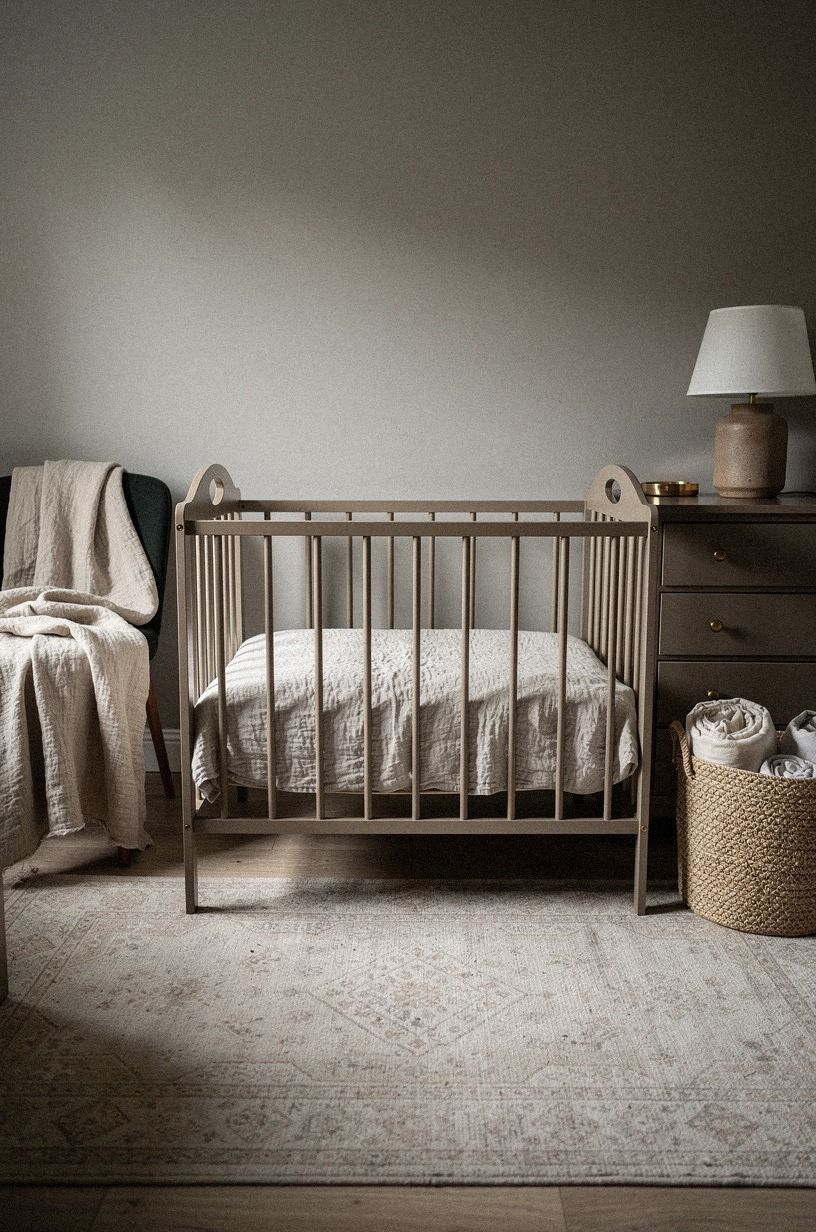
I didn’t push the crib into the only empty corner just because that felt automatic.
7Let IKEA KALLAX Be the One Warm Wood Anchor
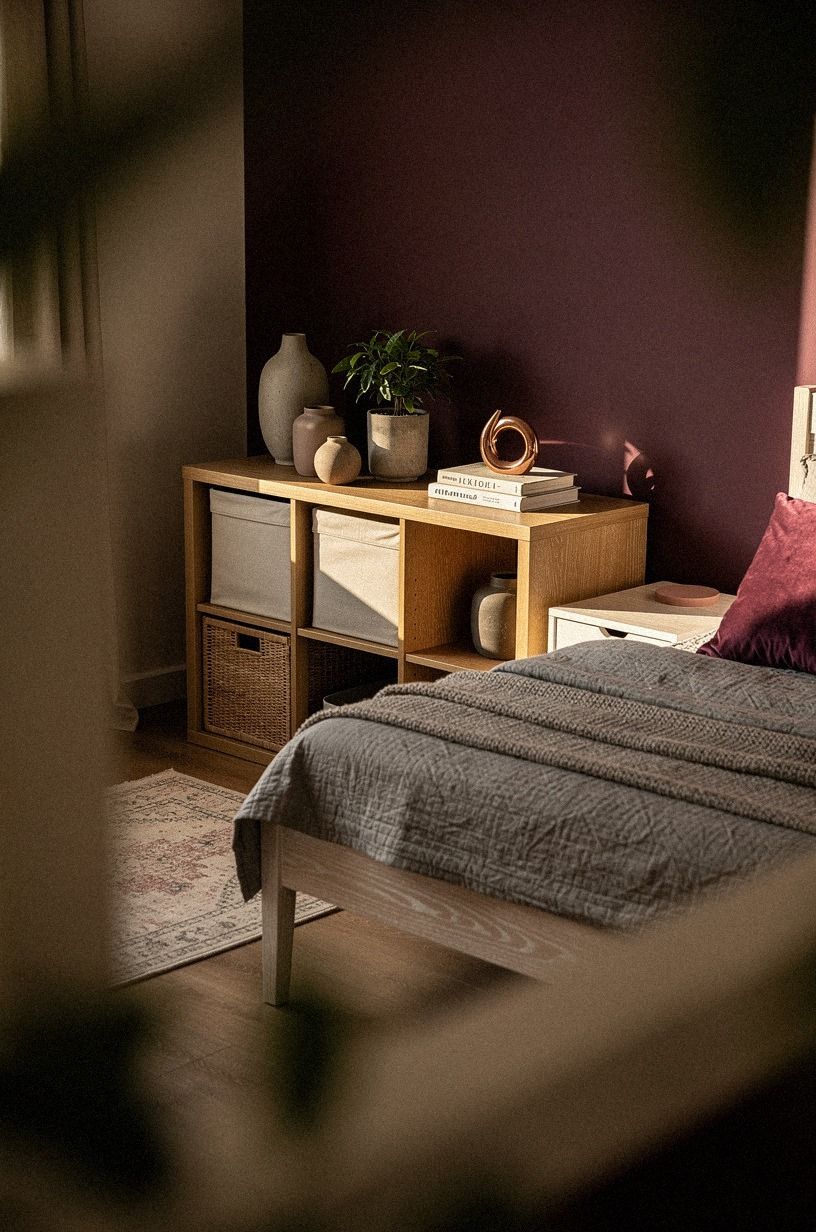
The room changed when I stopped trying to match every finish. I chose one IKEA KALLAX cerused white-oak unit for folded clothes and books, then let the rest of the furniture stay white. That single wood tone warmed the gray walls and kept the room from looking like a showroom.
I placed the unit across from the crib so the grain was visible from the rocking chair. Your eye catches it during the long middle-of-the-night pauses, when tiny details matter more than they do at noon. I skipped dark walnut because it made the narrow room feel closed in.
A cerused white-oak finish, linen baskets, and one plum book cover made the corner feel organic, bright, and welcoming. I didn’t buy a matching dresser or a full nursery set. One warm piece gave the room enough character.
The KALLAX also worked because its proportions were forgiving. It stored folded clothes without towering over the crib, and the open cubbies made the room feel less crowded than a solid cabinet. I used felt storage cubes in the lower compartments and kept the upper ones partly open.
That restraint saved money. I could spend on the blackout fabric and the sturdier tension rod instead of paying for coordinated furniture. The room felt more personal because it looked collected, not packaged.
I used the same approach in another rental project after reading easy ways to fix an ugly rental bathroom without renovating. The lesson was consistent: one beautiful anchor can do more than six small decorations competing for attention.
I secured the unit according to the manufacturer’s instructions and kept heavier items low. Freestanding furniture still needs careful placement, especially in a room that will eventually be explored by a curious toddler.
The cerused white-oak tone also connected the nursery to the rest of the apartment. I didn’t need identical furniture in every room. Repeating one warm material was enough to make the home feel related.
8Frame the Room With Fabric, Not Nails
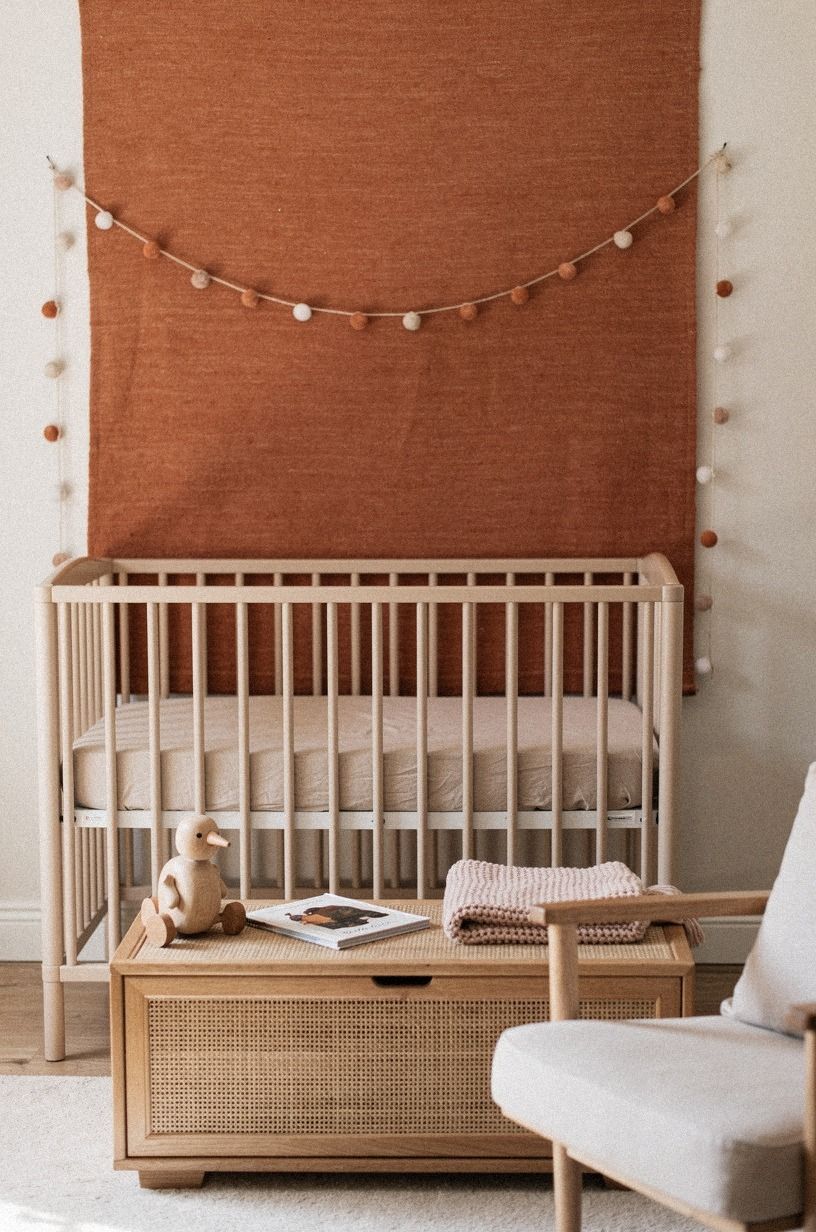
I wanted the room to feel finished, but framed art would’ve meant holes or a line of adhesive hooks that might pull paint.
9Where Can You Hide the Necessary Stuff?
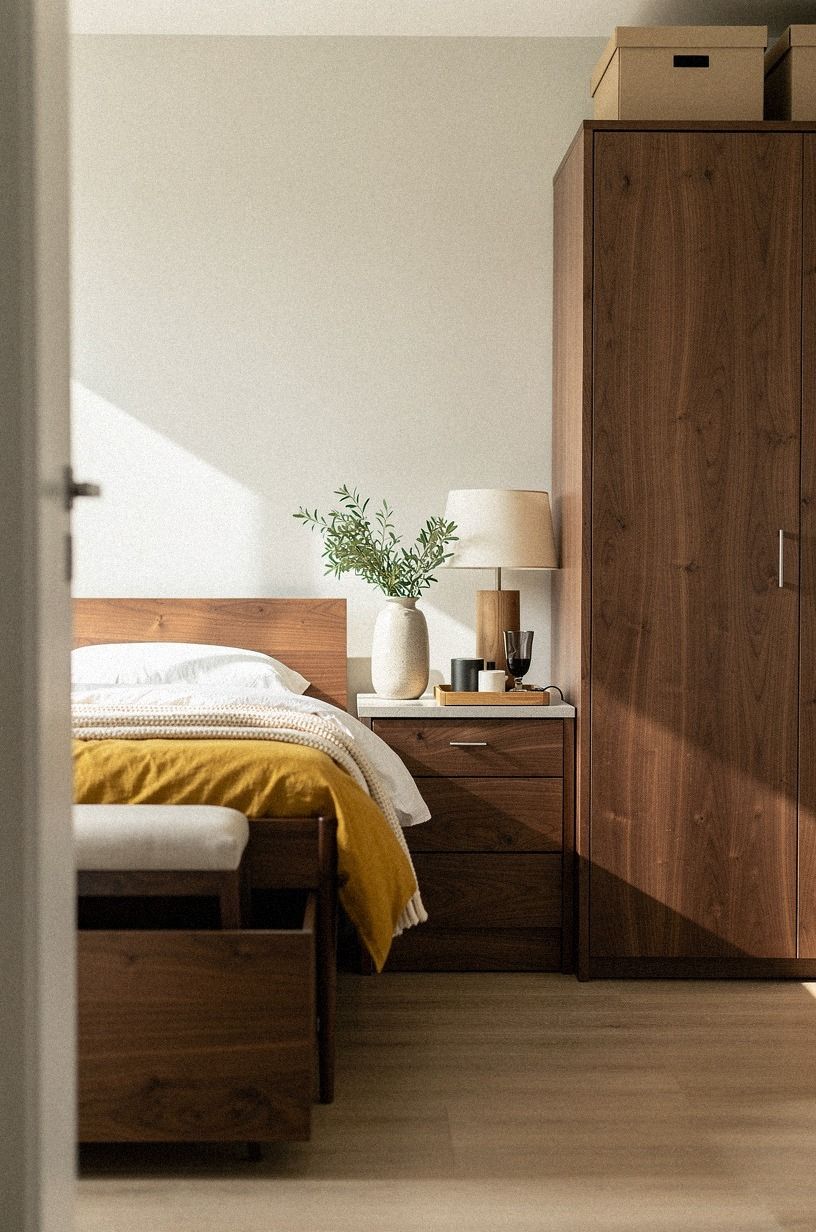
A nursery has a lot of visual noise, even when you own very little. I hid the practical pieces inside matte ivory fabric bins and kept only the objects I used every day in sight. The thermometer, wipes, and spare onesie lived in the top basket.
You can keep the room serene when your hands know exactly where to reach.
I also made one rule for the changing area: nothing decorative could occupy the working surface. That sounds strict, but your future tired self will appreciate the empty space. A small book-matched walnut tray held cream, cloths, and a soft brush, while extra supplies stayed below.
But I didn’t hide every useful item. A visible stack of folded cotton made the room feel lived-in, not sterile, and it saved me from opening three containers during a difficult night. The key was choosing which objects deserved to remain visible.
I placed the least attractive supplies in matching bins and let the softer materials stay exposed. Blankets, muslin cloths, and one knitted toy created a warm, tactile layer. The room looked edited without feeling staged.
I used the same editing habit while organizing the bathroom after reading easy ways to fix an ugly rental bathroom without renovating. Temporary rooms improve quickly when every object has a home and every visible item earns its place.
I also left one basket partly empty. That sounds inefficient, but empty capacity prevents a small room from becoming overwhelmed. When the basket is full, I know it is time to remove something rather than add another container.
The visible pieces stayed tactile: washed cotton, soft knit, pale wood, and woven fiber. Those materials made the room feel personal without relying on signs, slogans, or a heavy theme.
10Create a 36-Inch Reach Zone
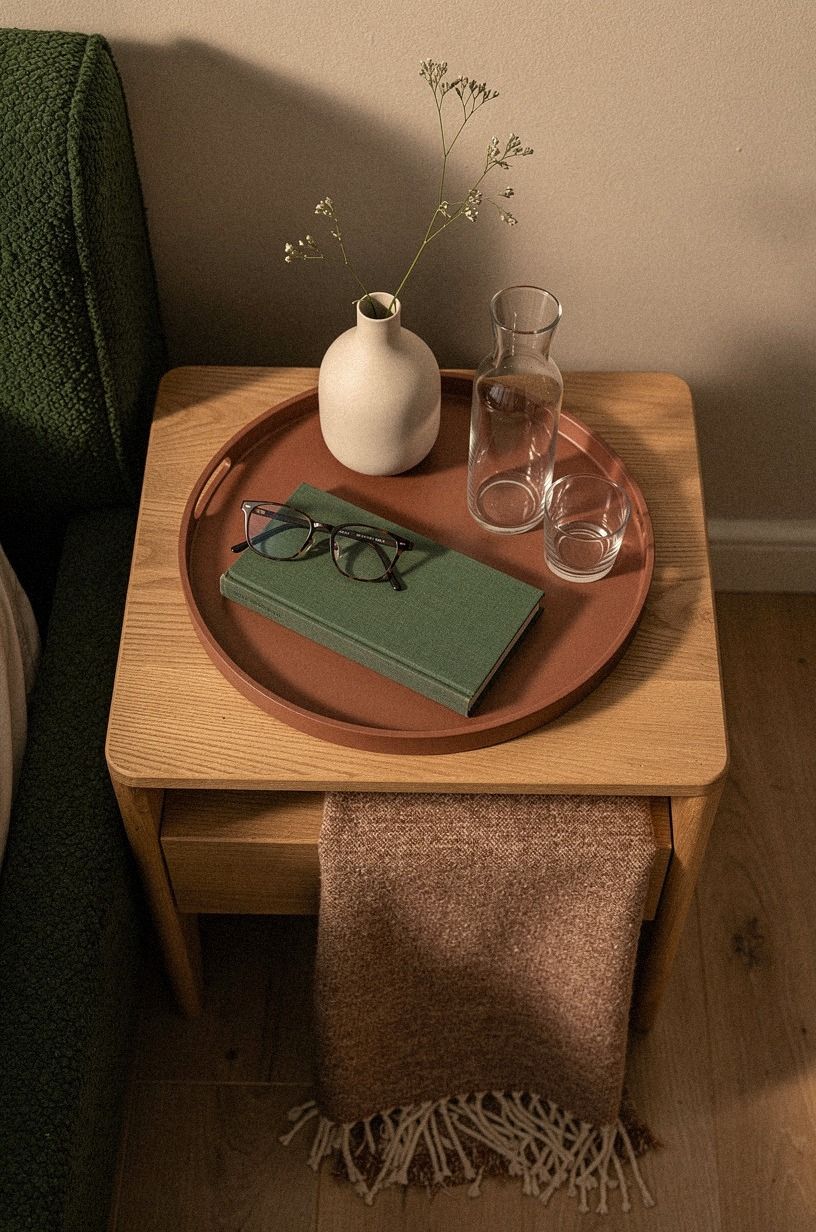
I lowered the most-used storage to child height and placed open shelves between 36 and 48 inches from the floor. The height worked for me at first and will work for a toddler later, which made the choice feel worth the effort. 600gsm Turkish cotton towels and muslin cloths filled the lower shelf, while books sat above them.
You should keep anything fragile or heavy out of this zone. The freestanding unit had a broad base and anti-tip protection appropriate to the furniture. Your rental still needs safety decisions, even if the decoration is temporary.
The 36-inch shelf also gave the nursery a visual rhythm. The lower half stayed soft and practical, while the upper wall remained quiet. I didn’t install permanent shelving, so the room avoided the boxed-in feeling that can make a small rental feel even smaller.
I placed board books on the upper shelf and rotated them instead of letting the collection spill everywhere. A small number of visible books looked colorful and inviting. The rest stayed in a covered basket nearby.
For sleep-related routines, I kept our article about what is it called when you can’t sleep without noise nearby. I also connected it with why you can’t sleep without a fan when choosing where to place the sound machine and fan. A calm room needs a calm household, and sound belongs in the plan.
The reachable shelf was useful without becoming a toy display. I kept only a few books and cloths there, then stored backups lower down. That kept the nursery visually open while making ordinary routines faster.
I measured the shelf height from the floor after placing the rug. The rug added enough thickness to change the reach slightly, a small detail that would’ve been easy to overlook.
11Use Fabric Panels Instead of Permanent Wallpaper
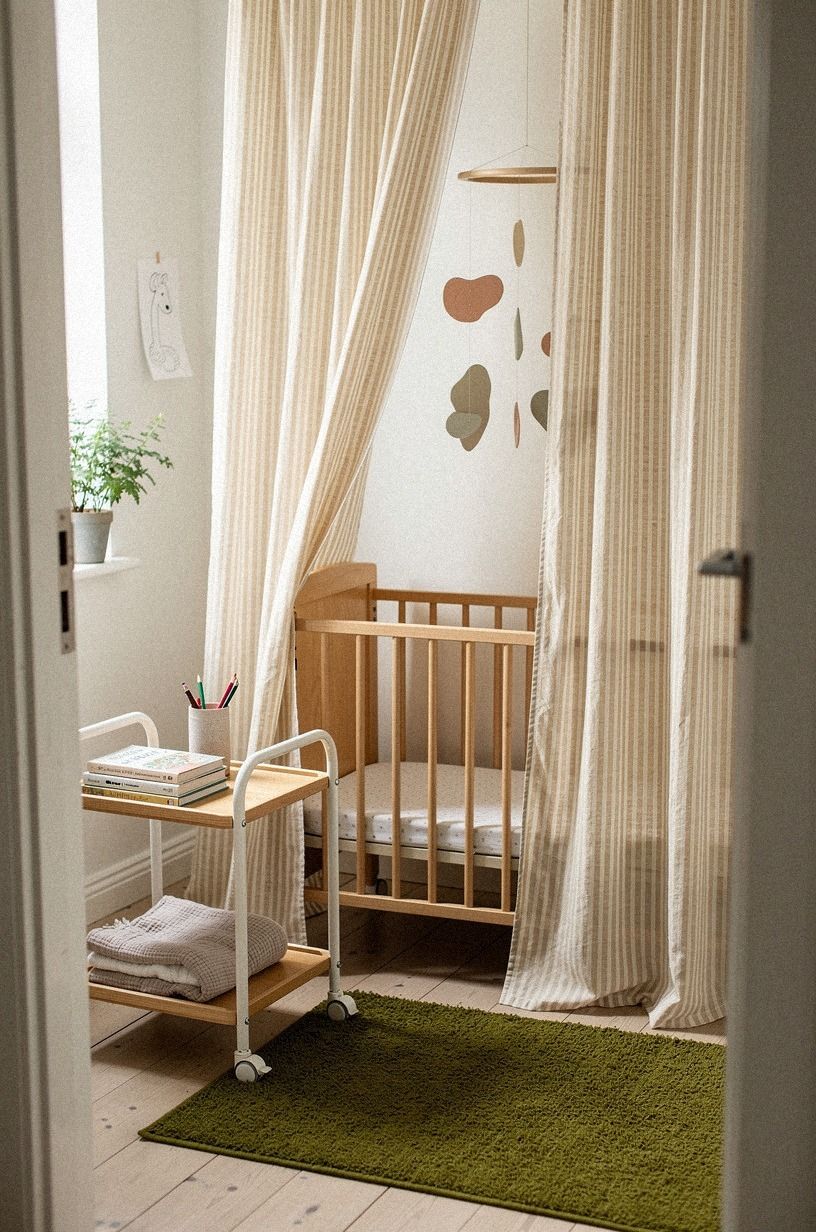
I loved the look of wallpaper, but the rental agreement made permanent paste a bad idea. I used two removable peel-and-stick fabric panels behind the reading chair and stopped them below the picture rail. The panels carried dusty rose and charcoal, with a small unlacquered-brass detail, so they felt charming without turning the nursery into a theme room.
The important decision was scale. Tiny patterns disappear from across the room, while oversized motifs can feel loud beside baby furniture. I tested one panel beside Sherwin-Williams Open Air SW 6491 on a sample board, then lived with it for three evenings.
Your room will look different in morning sun, cloudy afternoon light, and lamp glow. A sample saves more trouble than a rushed installation, especially if you’re working around an existing wall color. I also checked the panel edge after a day to make sure it wasn’t lifting.
The fabric had a subtle woven texture that made the wall feel warmer. It didn’t look glossy or overly temporary. That mattered because I wanted the nursery to feel considered, not like a collection of emergency rental fixes.
If you need to remove the panels, warm the adhesive gently and work slowly. I’d rather spend ten quiet minutes on removal than tear paint away in a hurry. A reversible idea only works when the exit plan is as careful as the installation.
The panels also gave the chair a clear visual home. Without them, the chair floated between the window and storage unit. With them, the corner felt intentional while the rest of the room stayed restrained.
I used only two panels because the room was narrow. Covering the full wall would have made the pattern the first thing I noticed every time I entered. The smaller treatment felt more like a thoughtful detail.
12Finish With the Rental Nursery Sightline
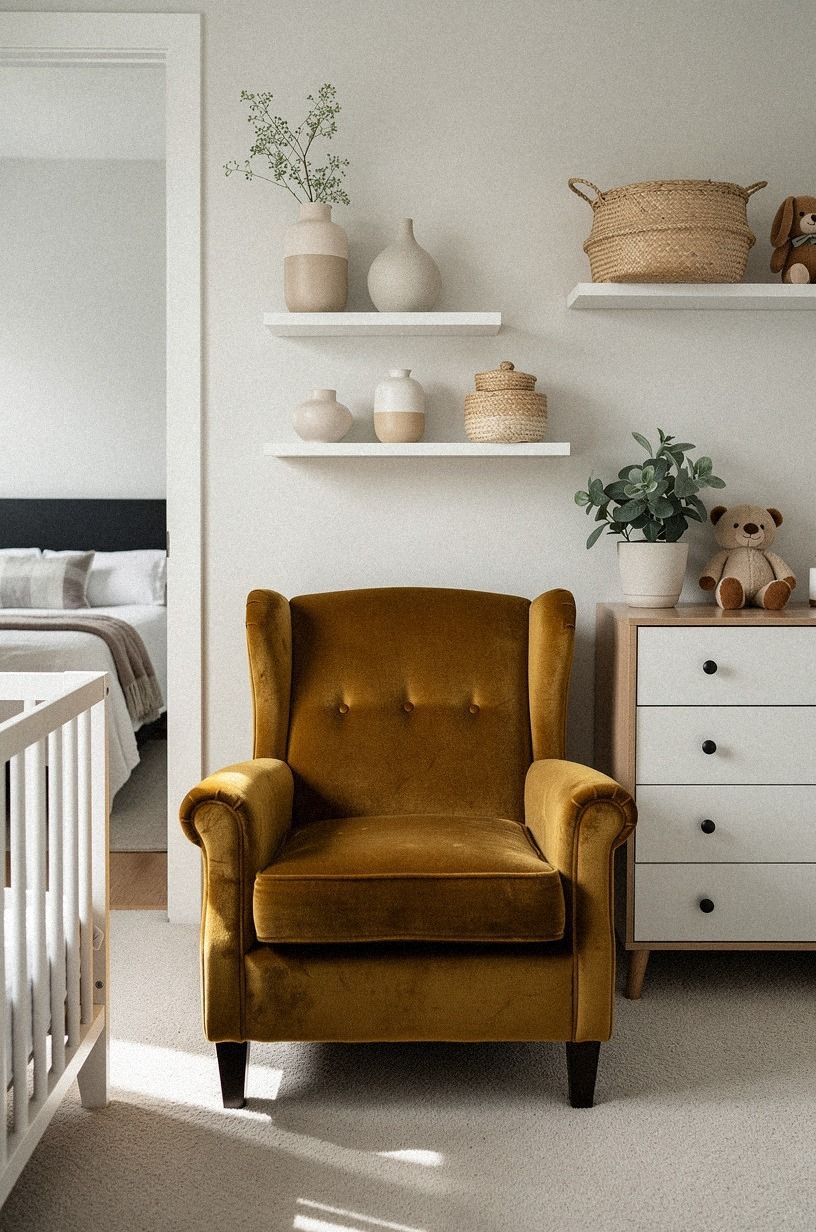
The last step was the Rental Nursery Sightline, a clear view from the doorway to the crib, chair, and changing area.
How Much It Cost
My own setup came to $387 over one weekend because I reused the chair, skipped permanent paint, and bought the blackout layer during a sale. The total stayed low because the room already had a crib and basic bedding. If you’re starting from zero, typical US costs rise quickly, especially once you add furniture and a rug.
For a smaller rental nursery, I’d spend first on blackout curtains and safe storage. A twin bed frame typically runs $120-$500, a bookcase $80-$400, and a play rug $80-$300. You can keep those numbers under control by checking IKEA, Target, Wayfair, Facebook Marketplace, and local thrift shops before buying new.
I’d also budget for the details that prevent frustration: a stronger tension rod, warm bulbs, washable covers, and anti-tip hardware. Those purchases aren’t dramatic, but they make the room more durable and comfortable.
The biggest savings came from refusing to buy a complete matching set. I reused furniture, repeated materials, and spent only where the room’s daily rhythm depended on it. That made the final result feel warm rather than cheap.
If I were starting again, I’d set aside about $50 for removable wall samples, stronger hardware, and replacement curtain parts. Small contingencies matter in a rental because the first product is not always the one that works.
What I Learned From Making a Nursery Temporary
I expected the rental limits to make the nursery feel unfinished. Instead, they forced me to notice what the room needed and what it didn’t.
I couldn’t cover every wall, so I chose one fabric panel. I couldn’t install a dramatic light, so I layered three quiet sources.
I couldn’t buy a complete furniture set, so I let one cerused white-oak piece carry the warmth. That restraint changed my spending. I stopped looking for a single large solution and built the room from small, reversible decisions.
You can do the same with a tension rod, a washable rug, and one basket that fits where your hand naturally reaches. The result wasn’t luxurious in the expensive sense, but it was comforting, practical, and gentle at midnight. It felt like a real room rather than a showroom.
I also learned that temporary doesn’t have to mean careless. Every removable object still needed a job, a safe position, and a reason to stay. The room felt more personal because I had edited it instead of filling it.
If you’re working with rental rules, don’t treat them as an apology. Let them narrow the choices until the choices feel like yours. A restrained palette, useful storage, and beautiful fabric can create a surprisingly rich result.
The one thing I’d change is the first curtain rod. I bought a weak version, and it sagged within a week. I replaced it with a sturdier tension rod and stopped trying to save ten dollars on the piece that controlled the room’s light.
That’s the practical lesson I keep returning to: spend where the room’s daily rhythm depends on it, then keep everything else simple. If noise is part of your nighttime routine, our guide to what is it called when you can’t sleep without noise is another useful place to start.
I also kept use a duvet cover without an insert bookmarked for lighter bedding between seasons. Flexible textiles helped the room adapt without requiring another piece of furniture.
The nursery worked because each choice solved a real problem. The blackout curtain handled light.
The baskets handled reach. The cerused white-oak unit handled warmth.
Once those jobs were covered, decoration became much easier.
What People Always Want to Know
What Is the Best Nursery Setup for a Small Rental Bedroom?
I find that the best setup keeps the crib, chair, and storage on one clear sightline. Choose a compact IKEA KALLAX unit, a washable 5x7-foot rug, and a tension-rod curtain. You’ll gain usable floor space without drilling, and you can move each piece when the room’s needs change.
Where Can I Buy Rental Nursery Pieces on a Budget?
I’d start with IKEA, Wayfair, and Target, then check Facebook Marketplace or a local thrift shop for baskets and chairs. You don’t need matching furniture. A second-hand wood shelf, fresh fabric bins, and a new mattress cover can give your room a warm, refined base.
How Much Does a Rental Nursery Makeover Cost?
I’d expect a small makeover to cost about $100 to $300 if you already own the main furniture. Typical US budget nursery projects run $150-$600, while a mid-range setup runs $1,000-$3,500. Free changes include rearranging furniture, editing clutter, and reusing baskets you already have.
Can I Create a Rental Nursery on a Budget?
Yes, and I’d start with three low-cost moves: rearrange the furniture for a clear path, use a tension rod for blackout fabric, and group supplies in existing baskets. Add removable decals or a fabric panel later if your budget still has room!
Is a Rental Nursery Worth It in a Small Space?
Yes. I think a small room forces you to protect the walking path and remove unnecessary furniture. Keep open shelves between 36 and 48 inches high, use one 5x7-foot rug, and place the crib where you can see it from the door.
Is a Nursery Without Drilling a Good Idea for a Rental?
Yes, especially when you use tension rods, removable fabric panels, freestanding storage, and lightweight picture-hanging methods. I also use a duvet cover without an insert when I need a lighter bedding layer that stores easily between seasons. For more removable decorating ideas, I return to ways to hang pictures without nails in a rental.
Where I’d Start First
If I had to pick one, I’d start with the blackout curtains on a sturdy tension rod. They changed the room’s light more than any decoration, and better naps made every other choice easier. Then I’d measure the walking path, choose one warm wood anchor, and add soft storage only where your hand naturally reaches.
Pin this nursery setup for later, then measure your window tonight! A rental room doesn’t need permanent changes to feel calm, personal, and ready.