
 by
by A peel and stick tile backsplash makeover usually costs far less than a bathroom renovation, and the most convincing versions depend on placement, grout lines, and lighting. I once rushed a rental backsplash and ignored the wall texture. It looked fine at noon and wobbled under the vanity light. You can avoid that. Start with the surface.
- ✓ Layer a Soft-Grid Peel and Stick Tile Backsplash
- ✓ Frame the Sink With a Warm White Border
- ✓ Paint Around Hague Blue Panels
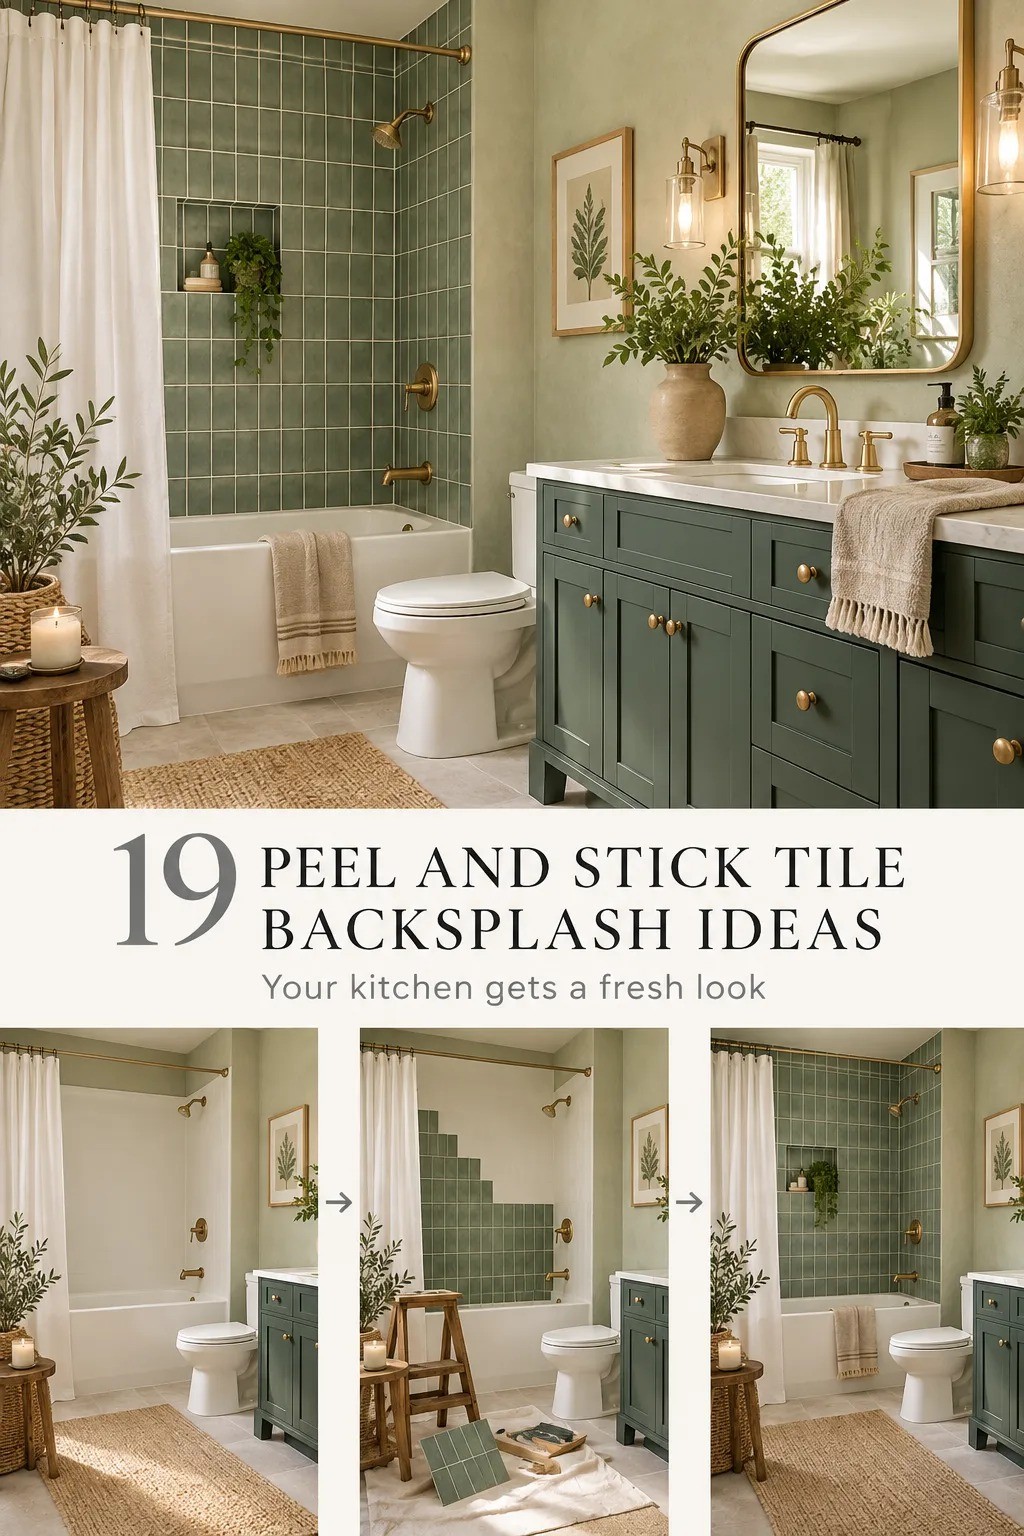
- Layer a Soft-Grid Peel and Stick Tile Backsplash
- Frame the Sink With a Warm White Border
- Paint Around Hague Blue Panels
- Swap Plain White for Zellige-Style Squares
- Anchor the Vanity With the Three-Height Rule
- Build a Faux Marble Ledge Behind the Faucet
- Paint a Sea Salt Backdrop Behind Small Tiles
- Turn a Tub Wall Into a Quiet Color Block
- Mix Brass With the Two-Warmth Rule
- Float a Thin Border Above the Counter
- Frame a Medicine Cabinet With Faux Stone
- Repeat One Tile Shape Around the Room
- Layer a Moody Half-Wall Instead of Full Coverage
- Hang a Mirror Over a Painted Tile Niche
- Price the Project Before You Peel
- Cut Around the Faucet With a Paper Template
- Use Vertical Stripes to Lift a Low Ceiling
- Build a Rental-Friendly Contrast Wall
- Seal the Look With Better Lighting
1Layer a Soft-Grid Peel and Stick Tile Backsplash
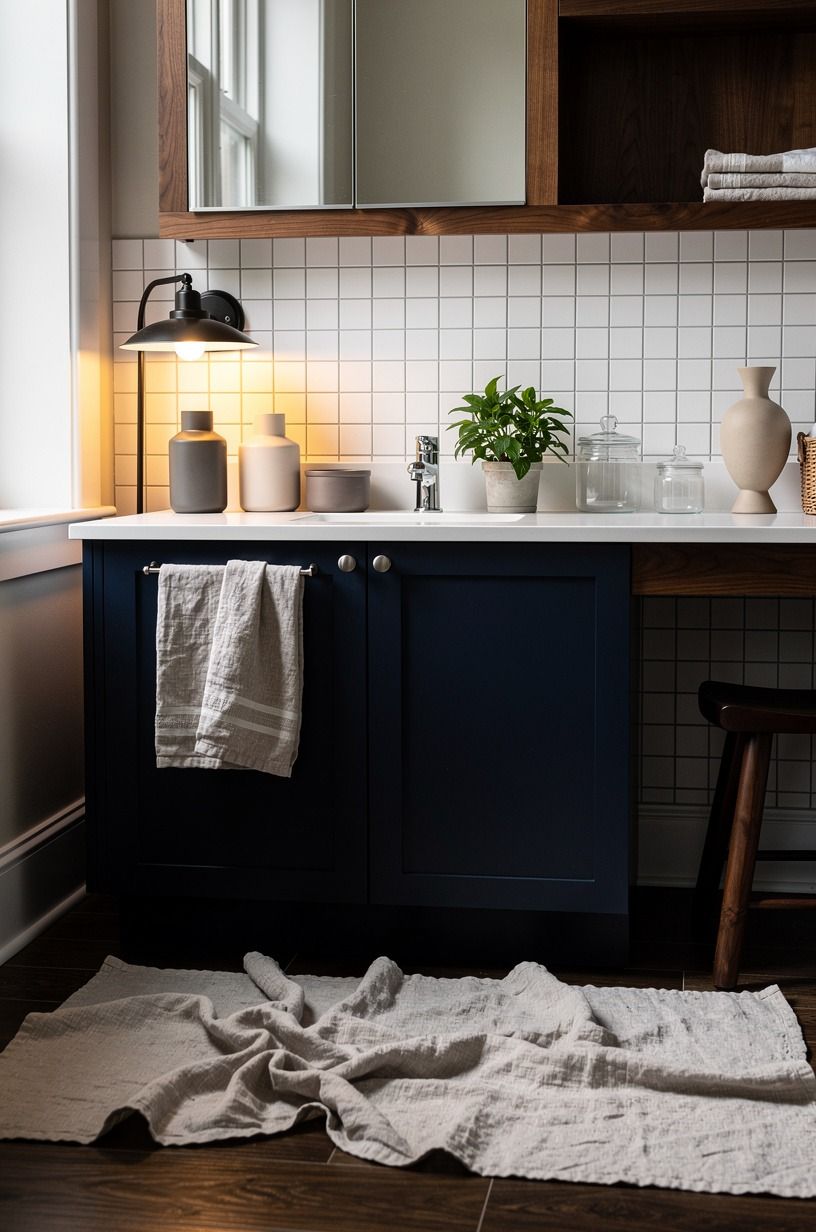
A small navy-and-white grid can make your bathroom feel airy without looking like a temporary fix. Choose self adhesive subway tile with slightly irregular edges, then align the first row with the vanity rather than the wall. You’ll notice the difference immediately because your eye follows the furniture first.
I’d skip ultra-glossy plastic squares here. They catch every blue reflection and can make your room feel more commercial than warm.
A satin finish beside a ceramic-look grout line looks calmer, especially if you’re working with a 32 to 36 inch vanity. And yes, you can make this renter-friendly if your wall is smooth and clean.
For more removable options, browse these renter-friendly backsplash ideas you can peel off later. Your best result will come from slow alignment, not expensive tile.
2Frame the Sink With a Warm White Border
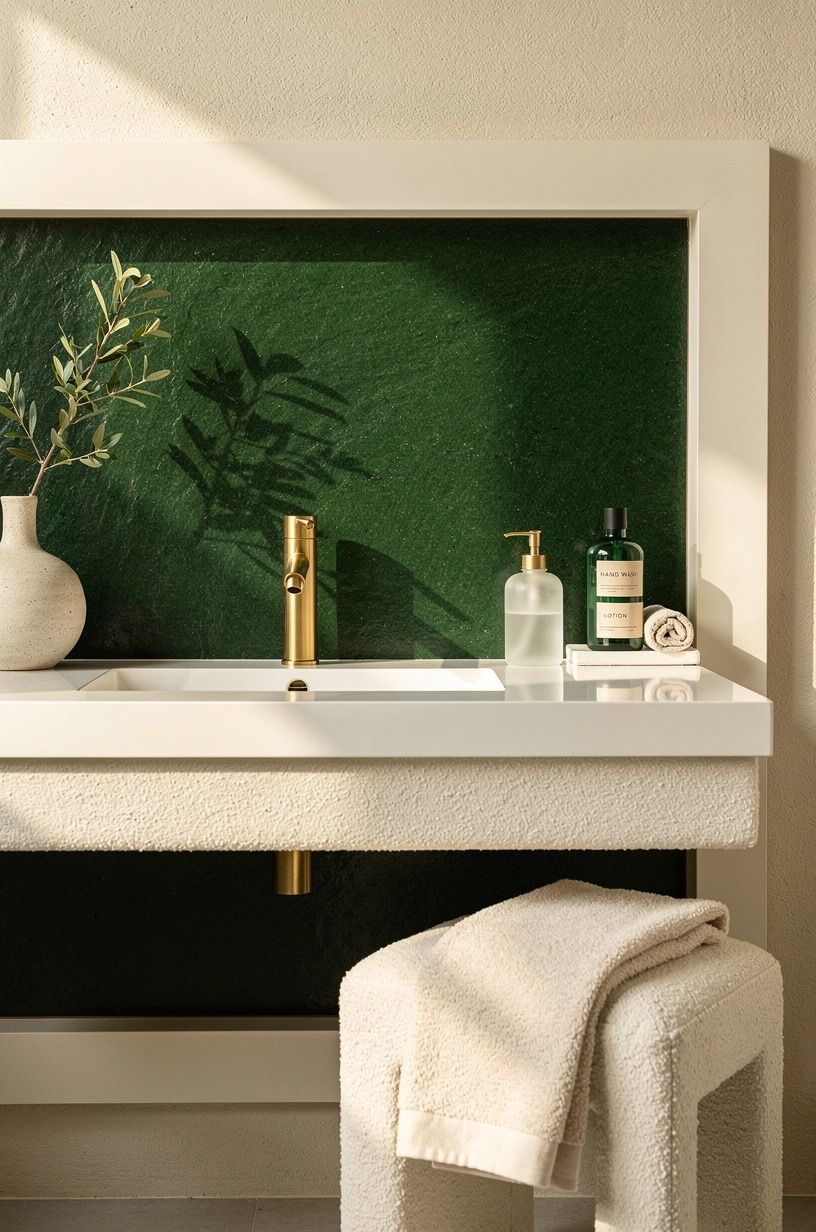
A backsplash doesn’t need to cover every wall to look intentional. Frame the sink with two vertical strips and a horizontal band, creating a quiet rectangle behind your mirror. Cream stick tile with emerald accents works well with gold hardware because it doesn’t fight the other finishes.
You’ll want to measure from the countertop to the mirror before cutting. If your mirror is narrow, extend the tile a few inches beyond each side so your bathroom feels wider. I made the mistake of stopping exactly at the mirror once, and the result looked like a sticker placed behind furniture.
Try Benjamin Moore White Dove OC-17 on the surrounding wall if the tile is creamy. Your eye will read the two whites as related, while the faint texture keeps the room from feeling flat. This is a gentle, inviting choice for your first project.
3Paint Around Hague Blue Panels
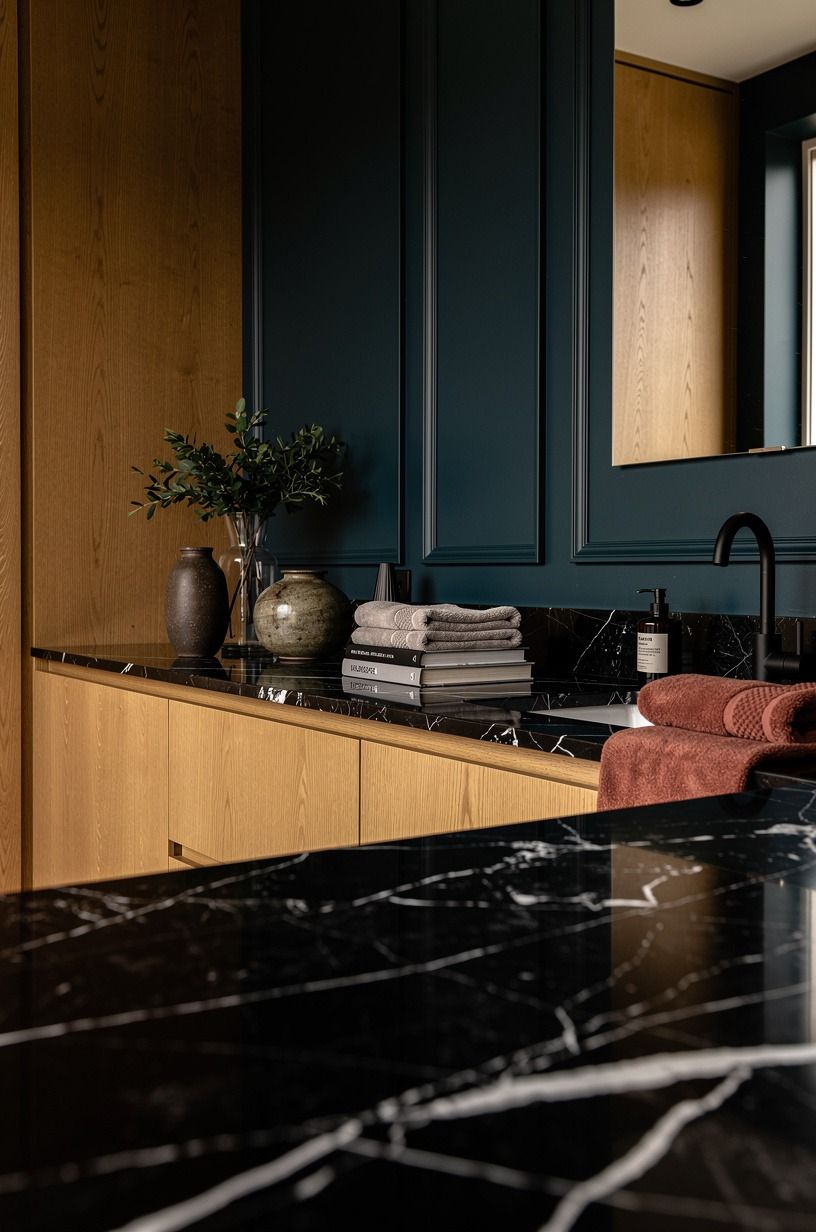
Dark forest-green paint can make peel and stick tile look more expensive because it gives the pattern something dramatic to push against. Use a rich green on the wall above the tile, then bring in rust and natural oak through the vanity, accessories, or mirror.
You don’t need a full-height installation here. A 4 to 6 inch strip can be enough if your bathroom already has a strong mirror or framed art.
I’d avoid pairing dark paint with stark white plastic tile, though. The contrast becomes harsh, and your backsplash starts shouting.
Choose a Nero Marquina black marble-look tile with white veins instead. Your room will feel moody but still peaceful, especially under a soft bulb. If you’re drawn to richer finishes, these earthy, moody bedroom ideas show how darker color can stay welcoming.
4Swap Plain White for Zellige-Style Squares
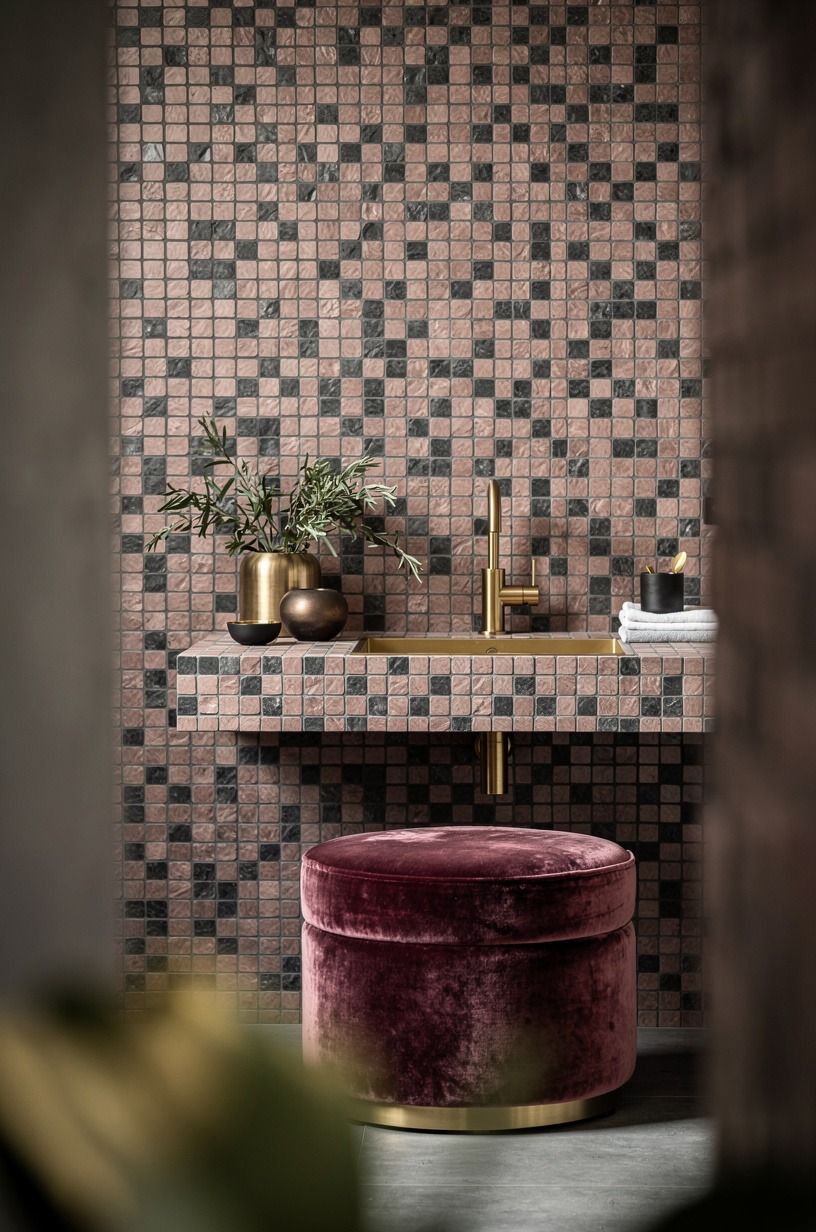
Handmade tile has movement because each piece catches light differently. You can mimic that look with zellige-style peel and stick squares, particularly in dusty rose, charcoal, or a muted brass tone.
The point isn’t fooling someone at arm’s length. It’s creating enough variation that your wall doesn’t look printed.
I’d choose a smaller square over a large faux slab for your bathroom. The repeated pattern breaks up glare and makes awkward corners easier to handle. You’ll want to overlap carefully at outside edges, since a visible plastic seam can spoil the illusion.
Real zellige has thick variation and imperfect glaze. These zellige tile bathroom ideas for handmade glossy character can help you choose a stick-on version with the same relaxed spirit. Warm, organic, and far less disruptive than demolition.
5Anchor the Vanity With the Three-Height Rule
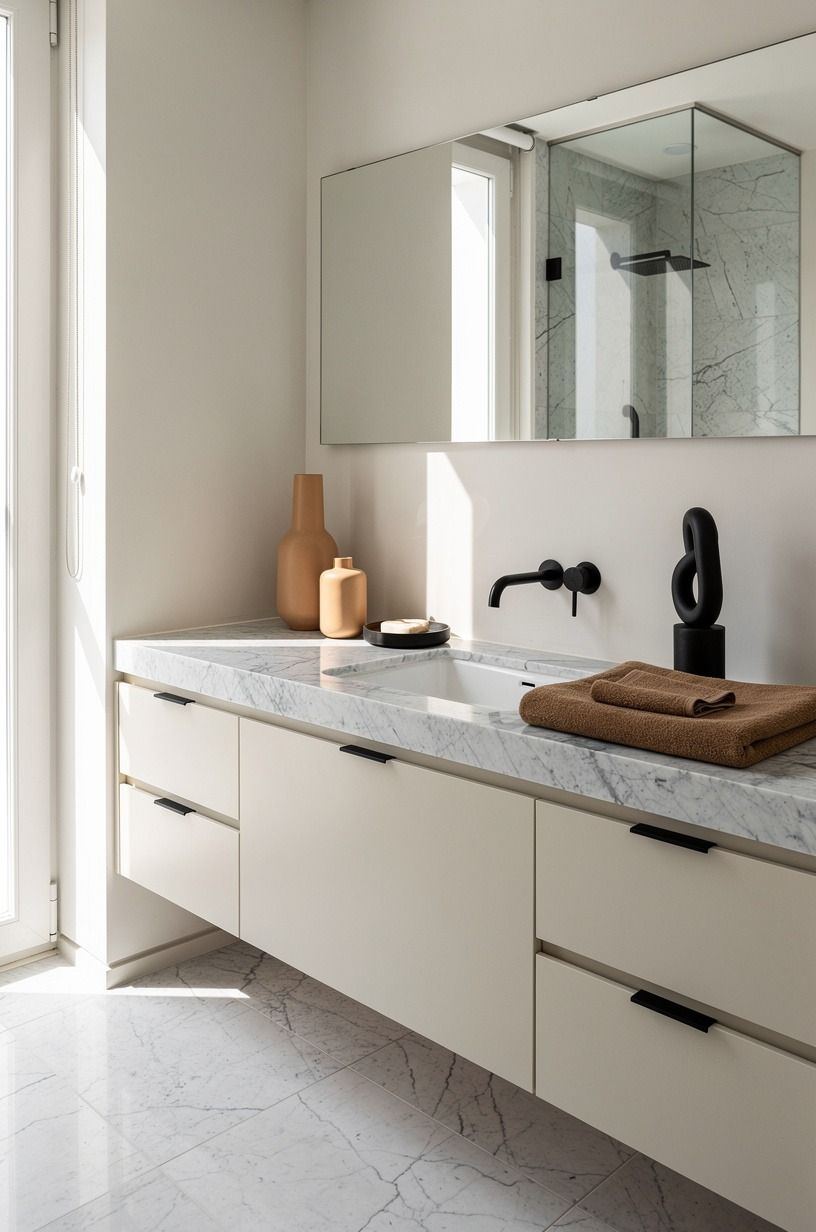
The Three-Height Rule gives your backsplash a composed look: low tile, middle mirror, taller wall color or art.
6Build a Faux Marble Ledge Behind the Faucet
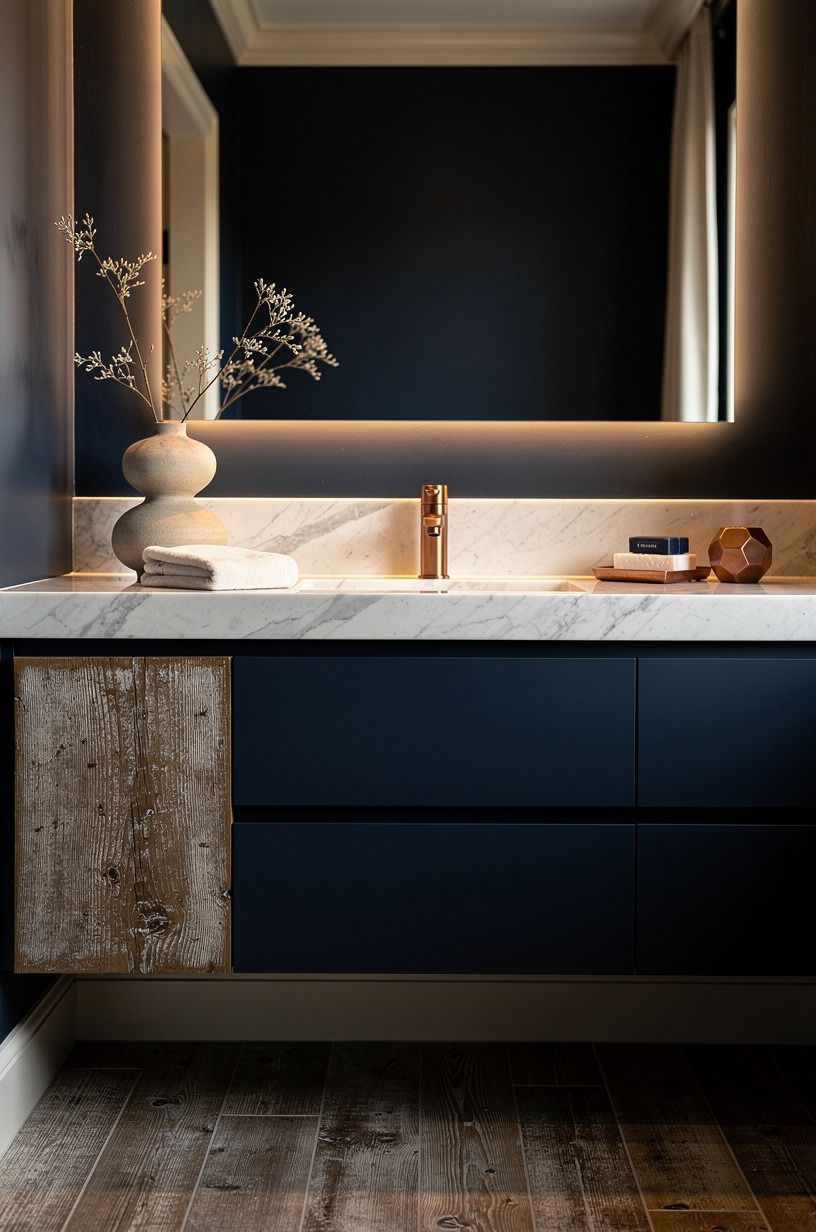
A reclaimed weathered teak-look backsplash can feel polished when you treat it as a ledge rather than a whole wall. Choose reclaimed weathered teak-look tile with midnight-blue, copper, and ivory accents, then stop it beneath the mirror. Your faucet and soap dish will look anchored instead of randomly placed.
You’ll want to keep the rest of the room restrained. Too many wood-look surfaces make a bathroom feel like a showroom, and I’d skip matching contact paper on the vanity. One convincing zone is stronger than five competing ones.
The real version of this look depends on visible teak grain, not bright white. Your wall paint could be a soft ivory, especially if your floor has beige or honey undertones. For another soft bathroom direction, save these simple, elegant spa bathroom ideas.
7Paint a Sea Salt Backdrop Behind Small Tiles
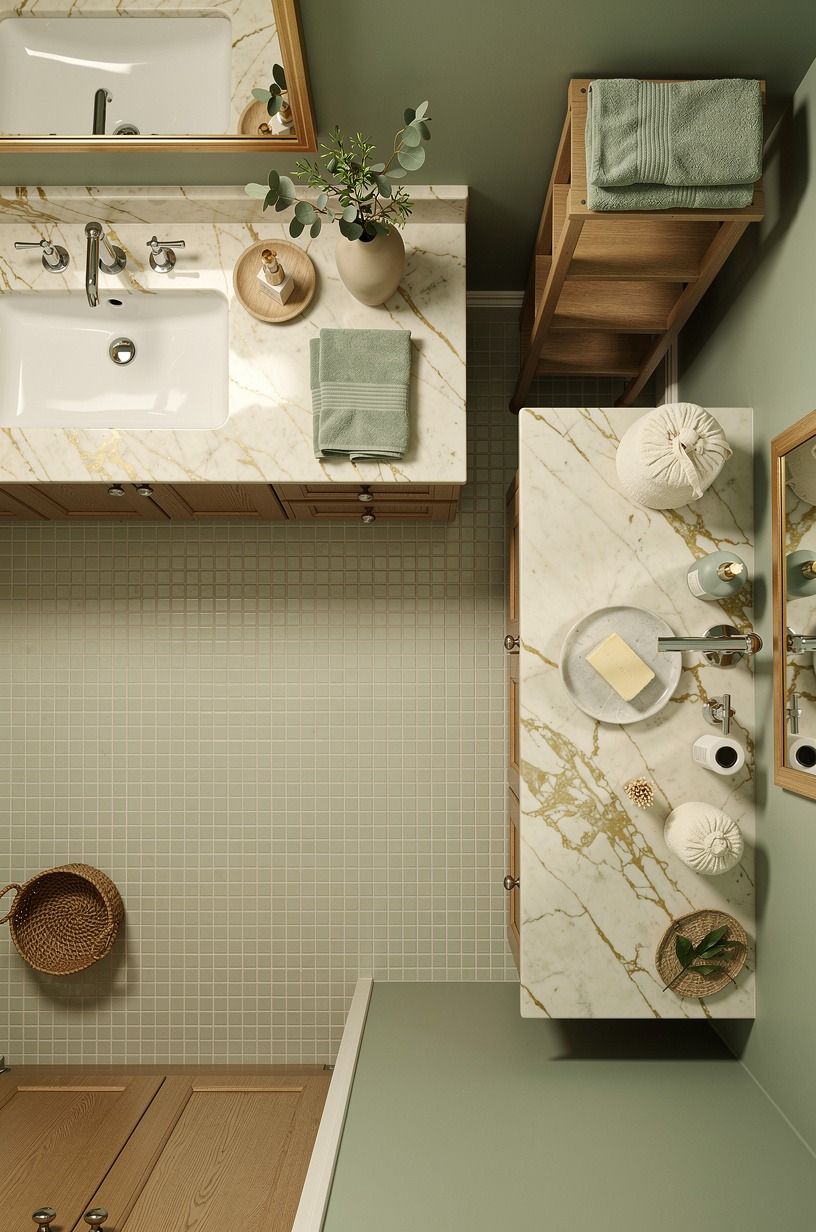
Sherwin-Williams Sea Salt SW 6204 is a useful bridge color when your bathroom has white fixtures and natural wood. Paint the wall first, then apply a small Calacatta marble-look backsplash with soft gold veining. You’ll get a calming layer instead of a hard white block.
Your tile doesn’t need to match the paint exactly. In fact, a little difference makes the surface feel more collected.
I’d avoid cool gray tile beside Sea Salt because the combination can turn chilly under north-facing light. A creamy or pale green undertone will suit you better.
Keep the lower edge straight with painter’s tape, and check it from the doorway before pressing everything down. Your eye sees crooked lines from across the room.
A slow first row saves you from peeling half the wall later. Small patience, big payoff!
8Turn a Tub Wall Into a Quiet Color Block
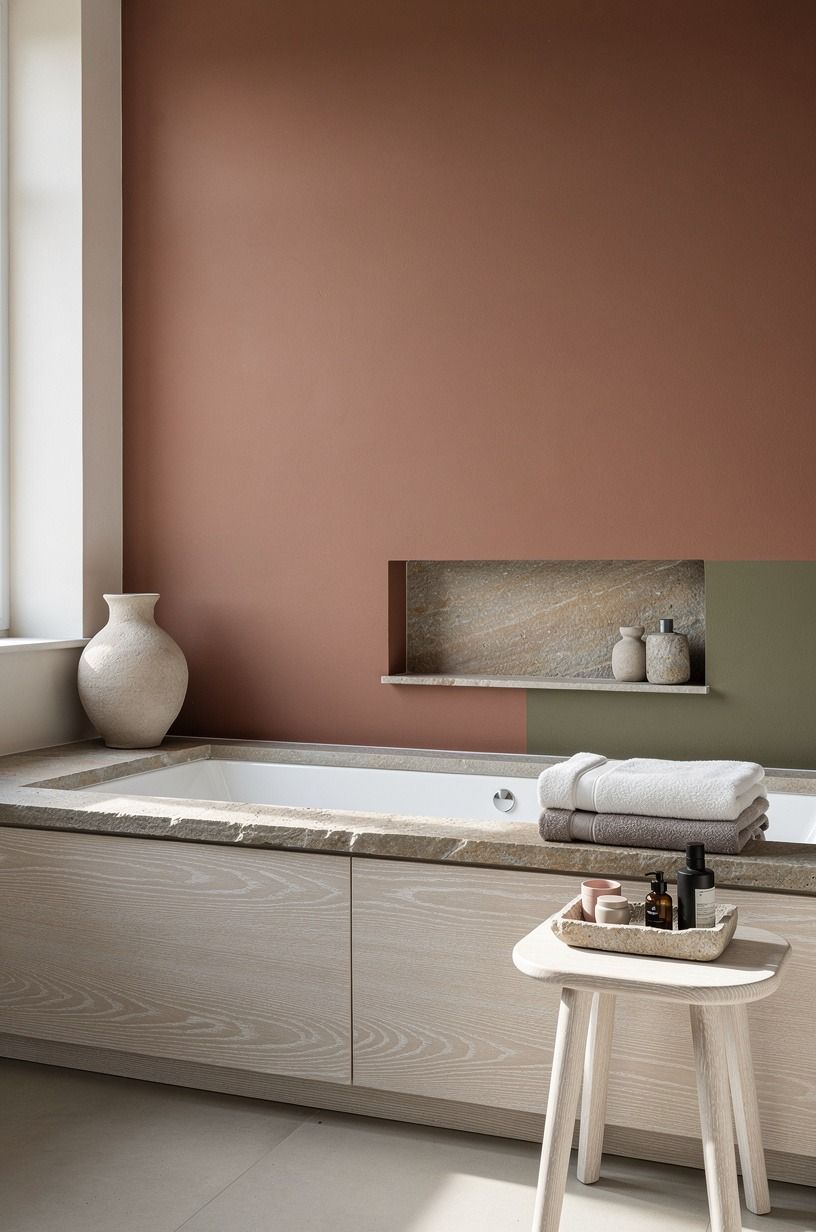
A tub surround can handle more pattern than a narrow sink wall, but you don’t have to cover the whole 60 by 30 inch tub area.
9Mix Brass With the Two-Warmth Rule
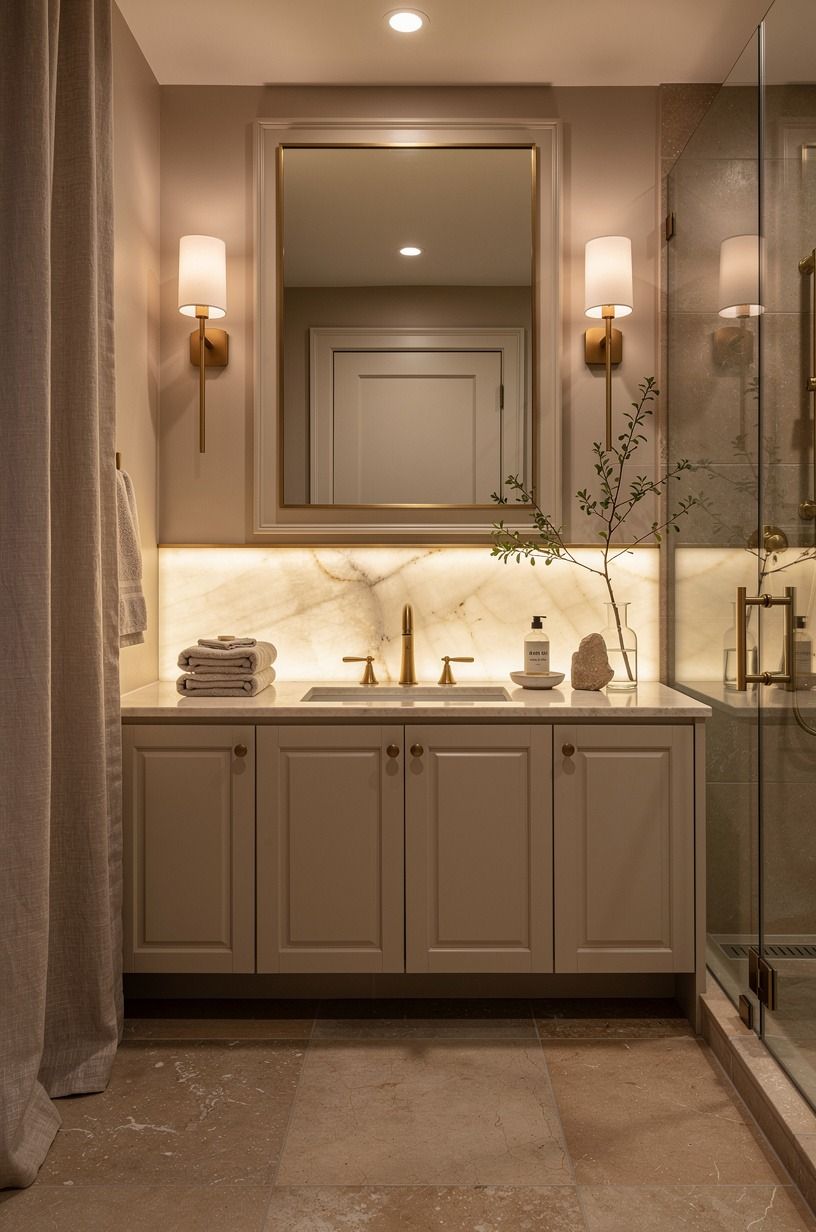
The Two-Warmth Rule says your backsplash should connect at least two warm elements, such as aged brass and clay or linen and warm stone. This keeps your bathroom from looking like a collection of unrelated samples. You can apply it with a very small budget.
Try backlit translucent onyx-look tile with aged-brass accents, then repeat the color in your mirror frame or faucet. The finish doesn’t need to be exact. Your room will feel more relaxed if the brass has a soft, aged quality rather than identical shiny hardware everywhere.
I’d skip cold chrome beside clay and linen accents. It makes the tile look dirtier than it is, and you’ll spend your morning blaming the product. If you’re considering handmade character, compare this approach with white zellige bathroom ideas.
10Float a Thin Border Above the Counter
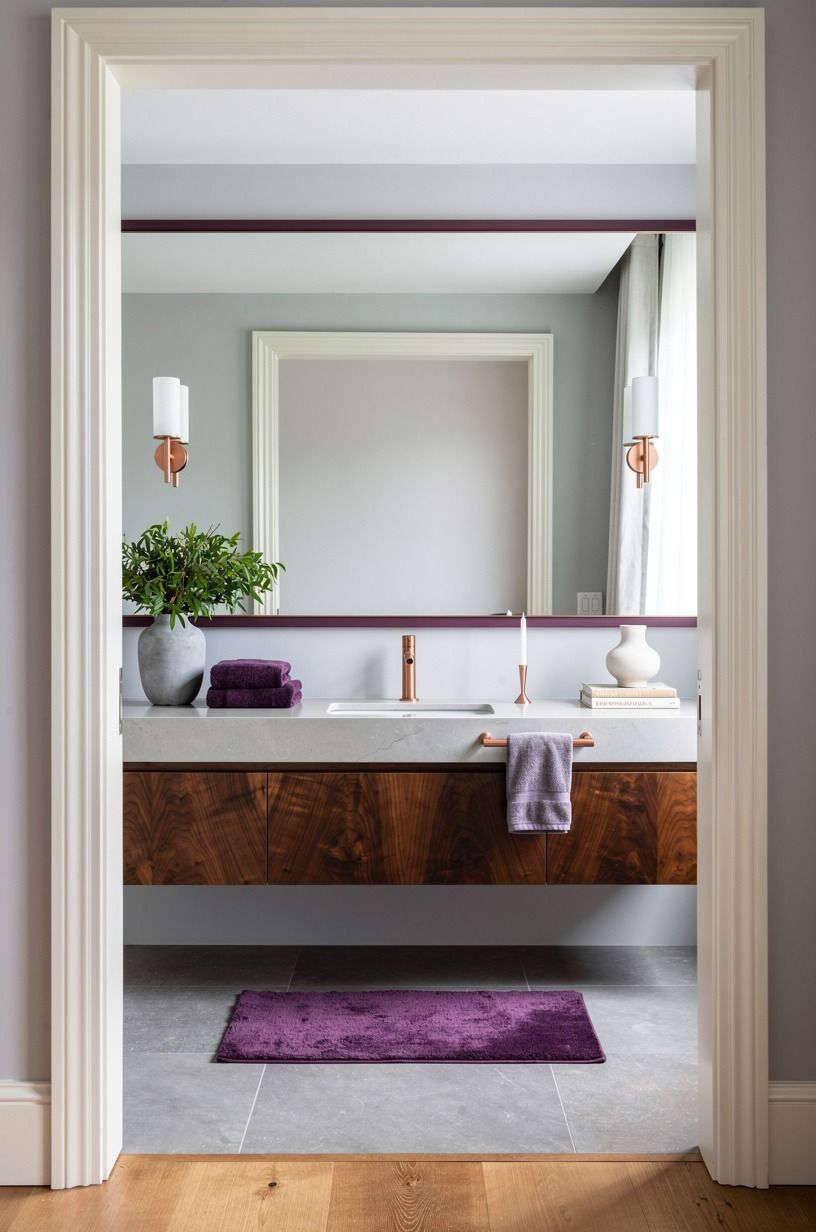
A thin book-matched walnut-look border can make an inexpensive backsplash feel custom. Use book-matched walnut-look trim or a narrow peel-and-stick strip above the main tile, then leave the rest of the wall painted. The line gives your design a finished top edge without adding shelves or molding.
You’ll want to choose one direction: horizontal calm or vertical lift. Horizontal trim makes your vanity look wider, while a vertical side strip can make a low ceiling seem taller. I prefer horizontal in most bathrooms because it settles the room.
And don’t place the border at an arbitrary height. Let your mirror, faucet, or vanity width decide it.
Your best line may sit just below the mirror rather than at the same height as the countertop. That small decision makes the whole arrangement feel intentional.
11Frame a Medicine Cabinet With Faux Stone
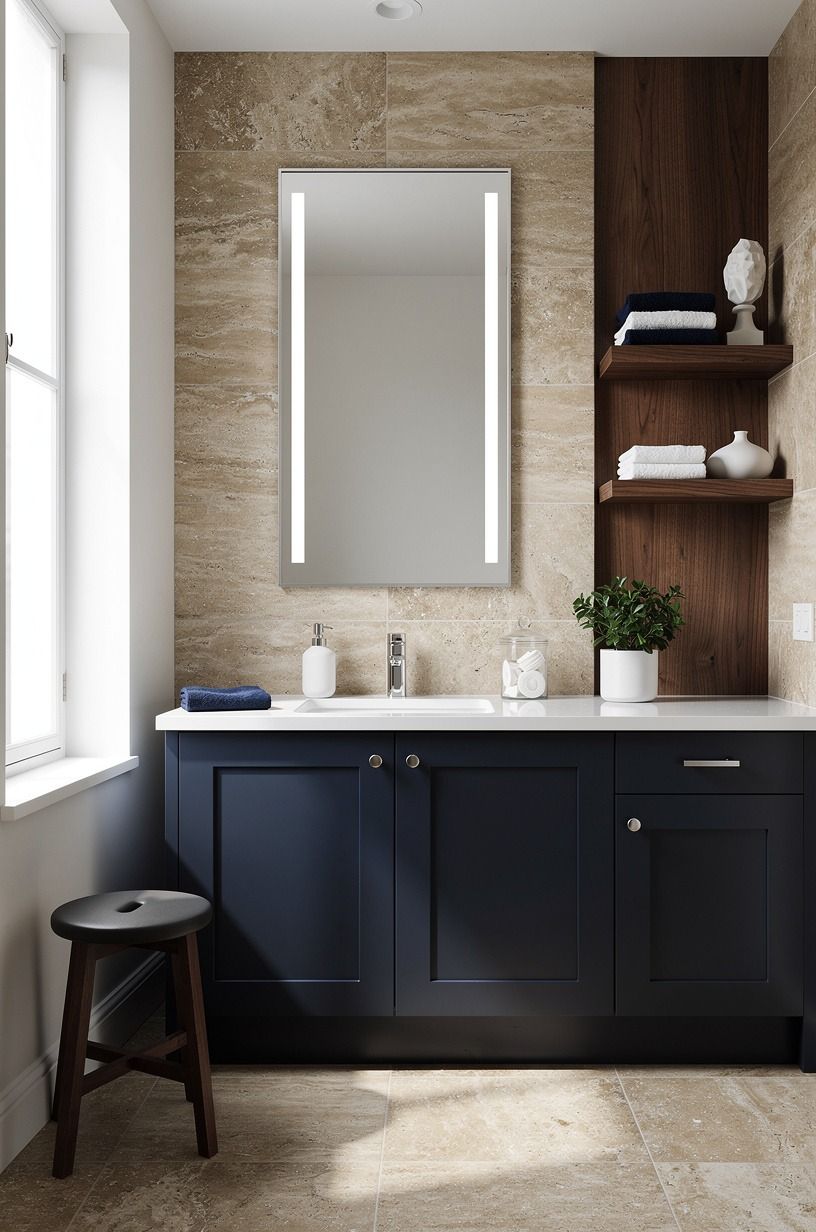
A warm travertine-look border can make a recessed or surface-mount medicine cabinet feel connected to the wall.
12Repeat One Tile Shape Around the Room
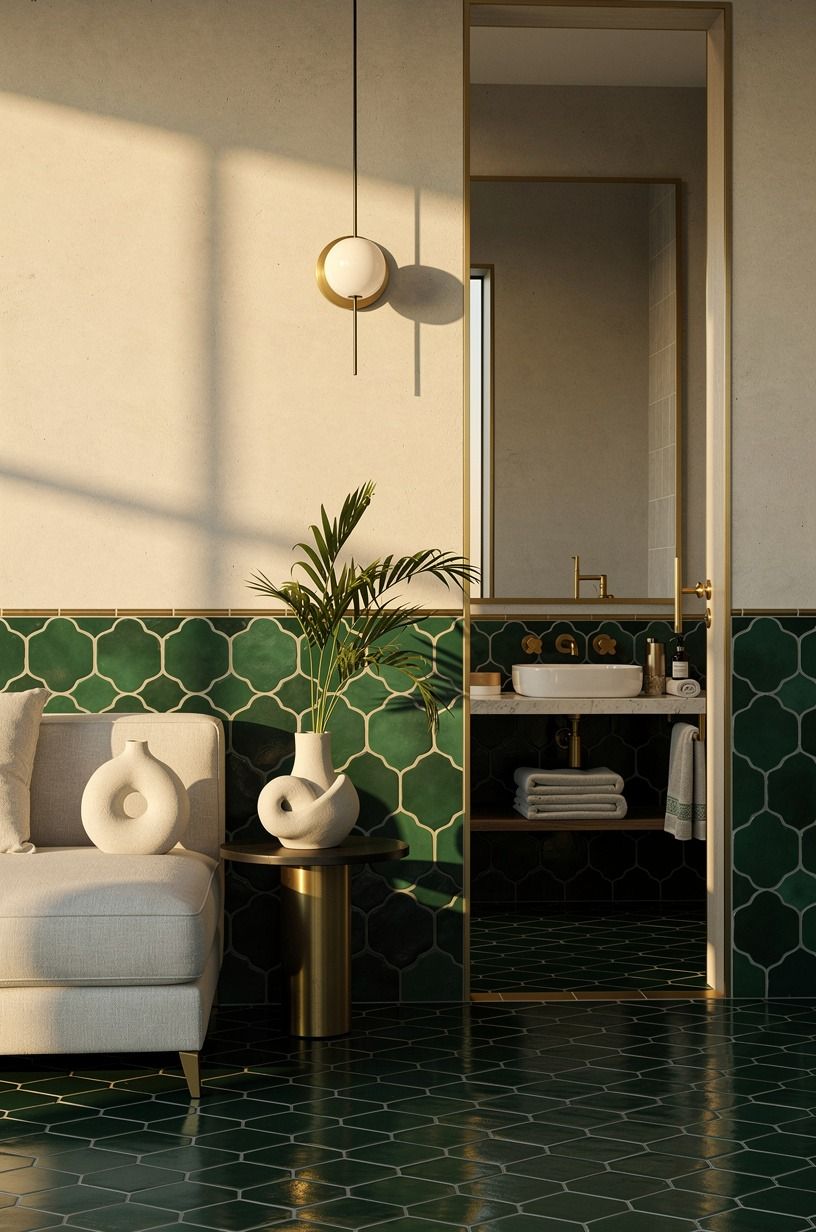
Repetition makes a temporary material feel deliberate. Choose an emerald-and-cream peel-and-stick tile shape behind the sink, then echo the shape in your mirror, towel hook, or artwork. You don’t need three matching objects, but your eye should recognize the curve more than once.
If your bathroom is narrow, use the shape only on one wall. A full room of arches can feel themed, and you’ll notice the repetition before you notice the calm. I’d pair the tile with a simple rectangular vanity so the curves have something crisp to balance them.
Your installation will look more realistic if the pattern meets at a clean corner. Plan the direction before removing the backing, and keep spare pieces for later repairs. For more ideas using handmade-looking surfaces, explore what zellige tile is and why it has such character.
13Layer a Moody Half-Wall Instead of Full Coverage
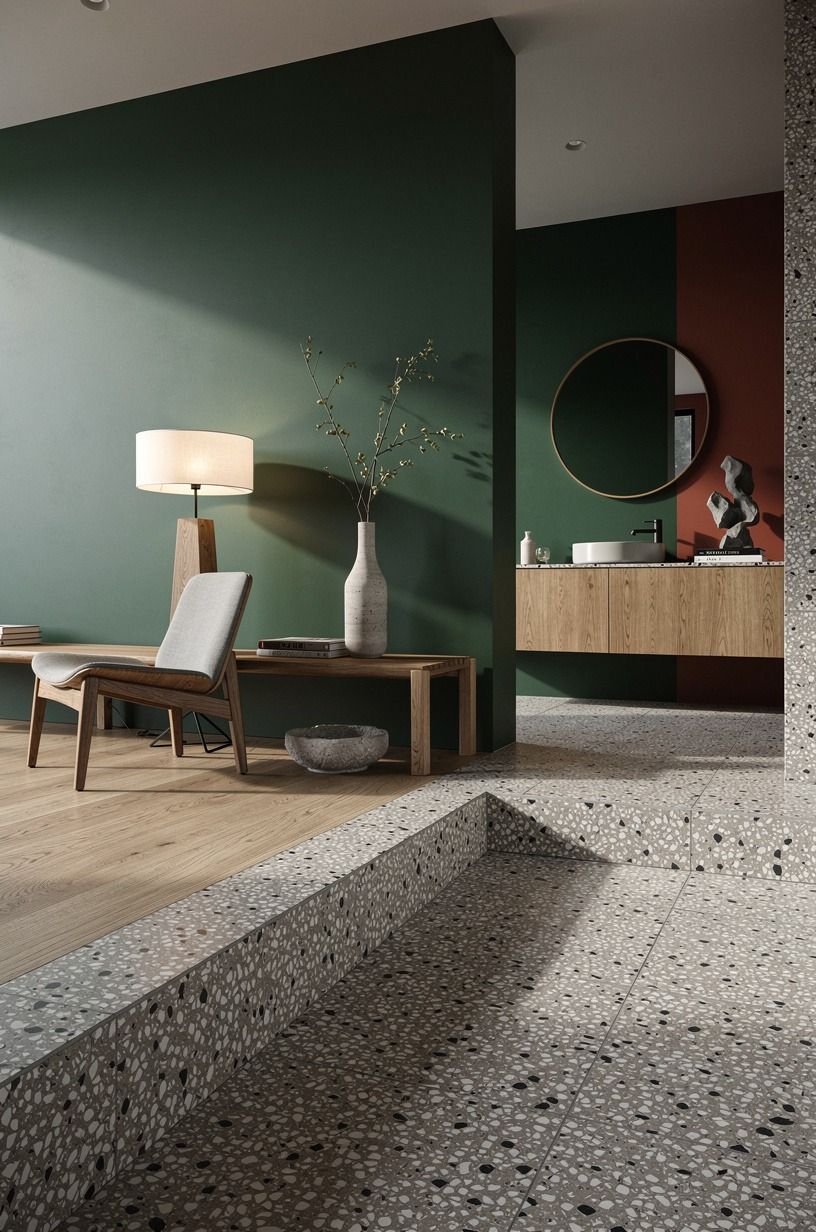
A half-wall backsplash gives you the look of a renovation with less material and less commitment. Apply oversized-chip terrazzo-look tile from the vanity to roughly halfway up the wall, then paint above it in forest green or a warm rust tone. Your bathroom gains depth without becoming dark.
You’ll want to use a strong horizontal stopping point, such as the bottom of the mirror or the height of a nearby window sill. A random ending can make the tile look unfinished. I’d avoid stopping halfway between those references because your eye will keep searching for a reason.
This approach works especially well with a 36 inch vanity height. Your wall will have enough tile to protect the splash zone, while the upper paint keeps the room airy. Add a natural oak accessory, and the whole space becomes warm rather than heavy.
14Hang a Mirror Over a Painted Tile Niche
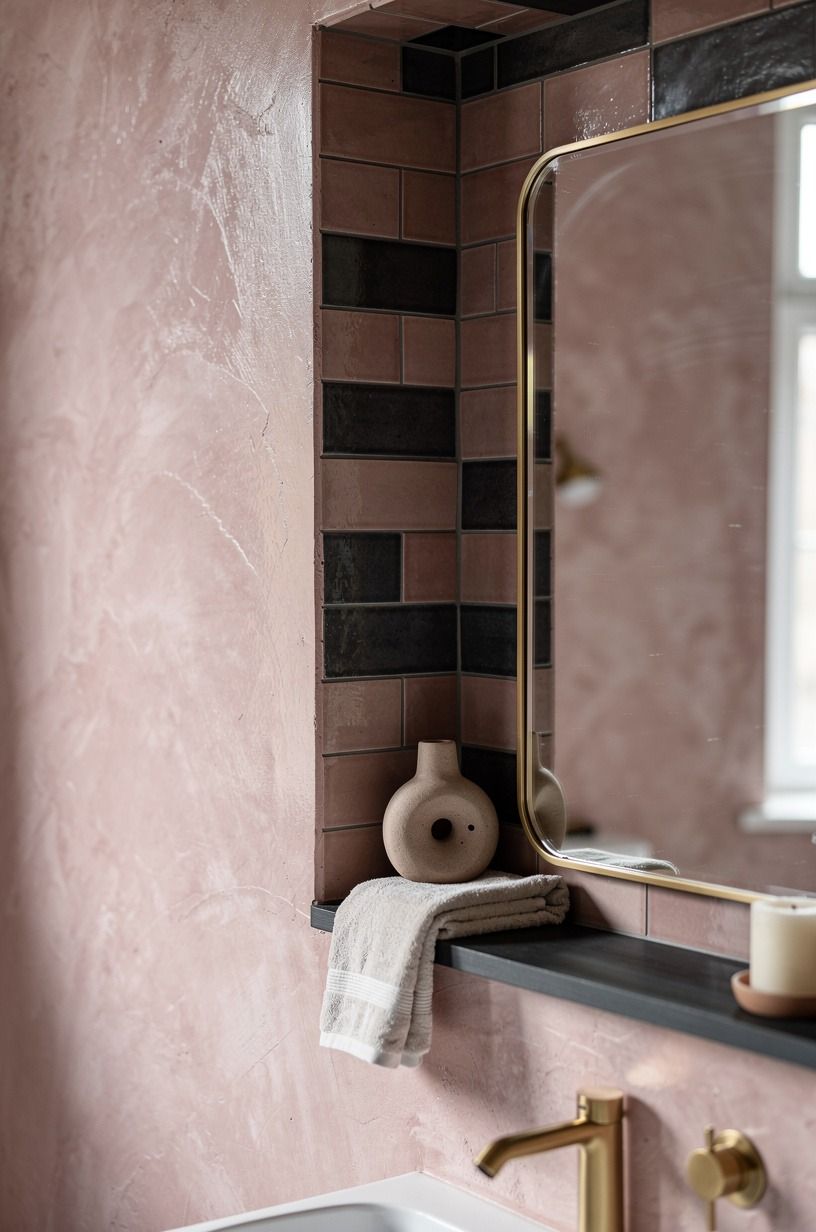
A small tile niche behind a mirror can create the impression of a larger tiled wall. Install dusty rose stick-on tile inside the area visible around the mirror, then use hand-applied Venetian plaster on the surrounding wall. Your reflection becomes the center, while the color adds a little charm.
You’ll need to leave enough border for the pattern to read. If only half an inch shows around the mirror, the tile may look accidental. Choose a mirror slightly narrower than the vanity so your backsplash has room to breathe.
I’d skip a bright bubblegum pink unless the bathroom gets excellent daylight. A dusty blush or clay tone will look more elegant under evening bulbs. Add a slim brass accent, and the small color moment will do plenty of work without shouting.
15Price the Project Before You Peel
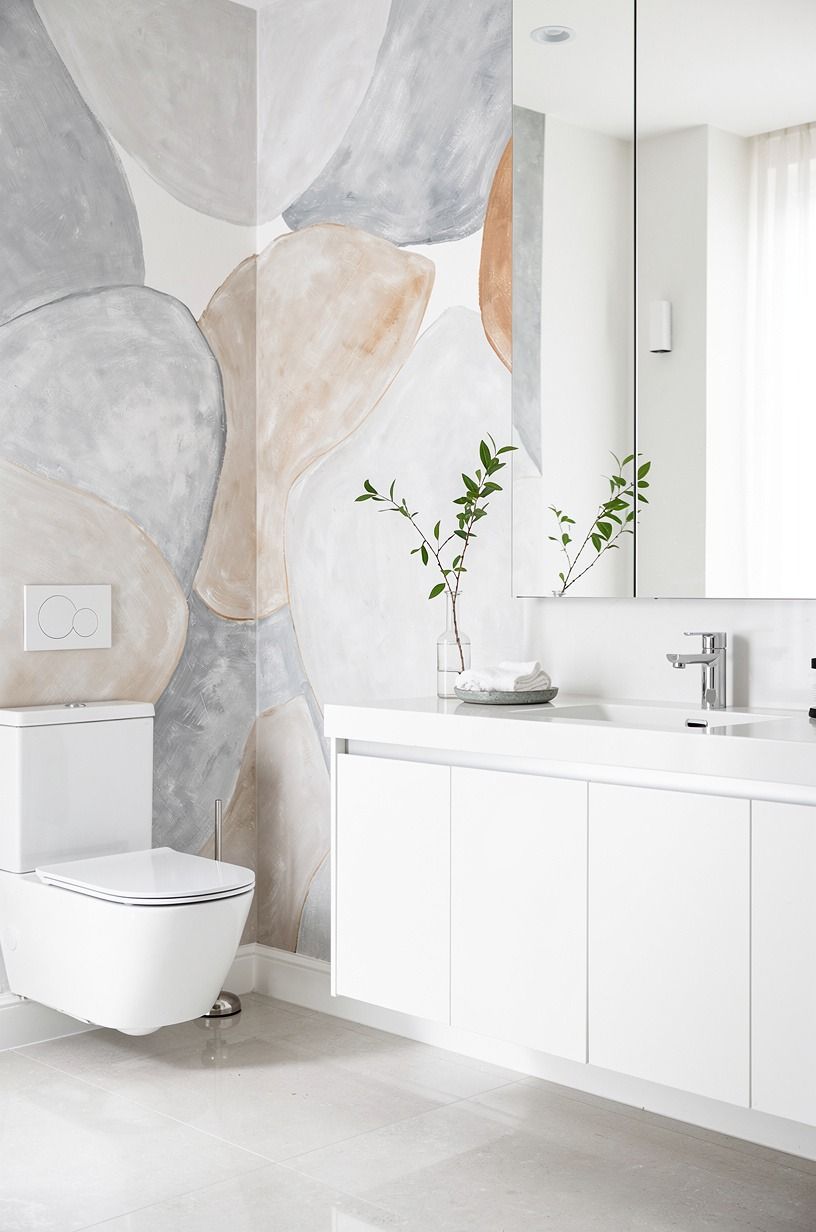
A peel and stick backsplash can be a modest cosmetic refresh, but your total depends on the room around it. If you’re only covering a vanity wall, paint, a mirror, and textiles may matter more than the tile itself. The broader bathroom renovation figures below give you useful US averages.
You can keep your project near the budget tier by reusing the vanity and changing only the backsplash, faucet, and light bulb. I’d spend first on surface preparation because your wall is what makes the tile sit flat. A cheap sheet on a smooth wall beats a premium sheet over bumps.
16Cut Around the Faucet With a Paper Template
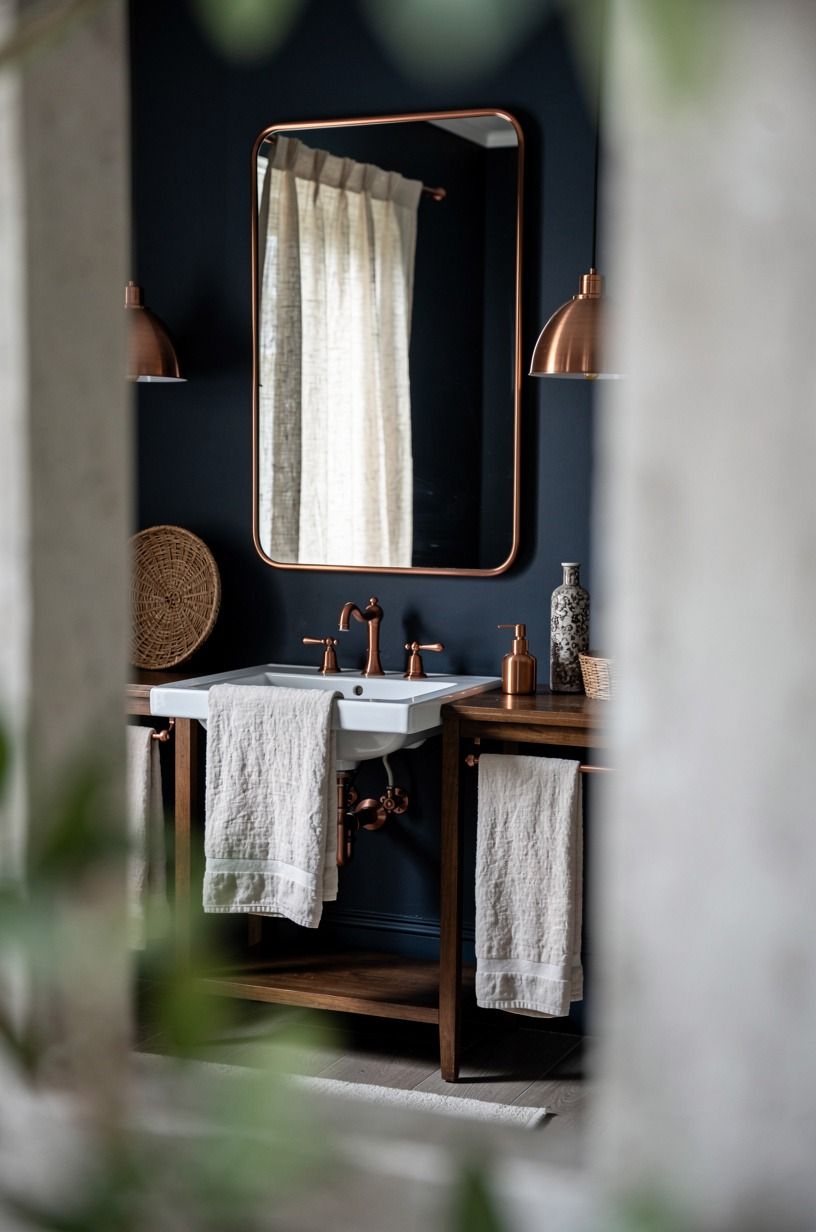
The faucet area is where rushed installation becomes obvious.
17Use Vertical Stripes to Lift a Low Ceiling
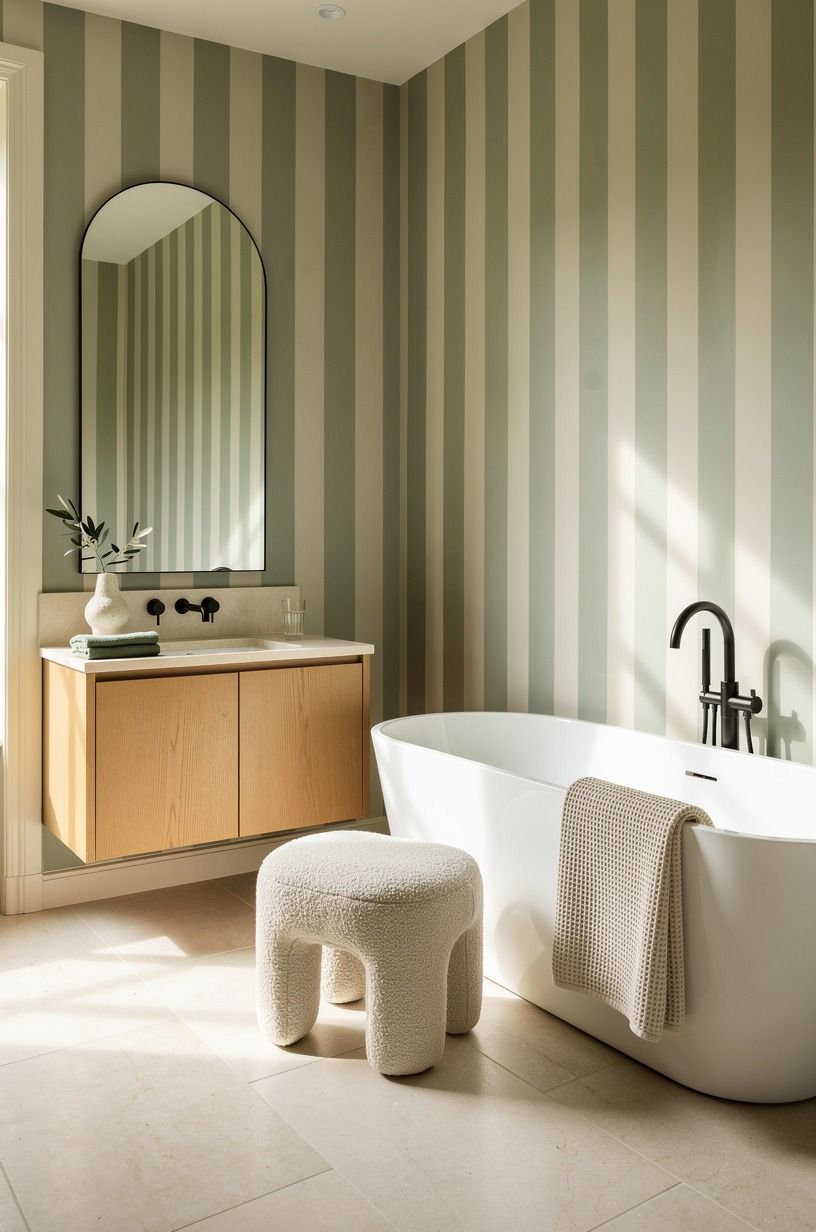
Vertical tile can make a compact bathroom feel taller, especially when the vanity is low and the ceiling feels close. Choose narrow vertical cream tiles with a soft sage line, then install them behind the mirror or in a slim column beside the sink.
You’ll want to keep the surrounding surfaces quiet so the direction remains clear. A busy floor and a busy vertical backsplash compete quickly. I’d use a sage wall, an organic bouclé stool, a simple wood frame, and one warm metal finish.
A comfortable shower needs at least 36 by 36 inches, so don’t let decorative panels reduce a narrow passage around the shower entry. Your backsplash should support the layout, not crowd it. This is a bright, practical idea for a small bathroom.
18Build a Rental-Friendly Contrast Wall
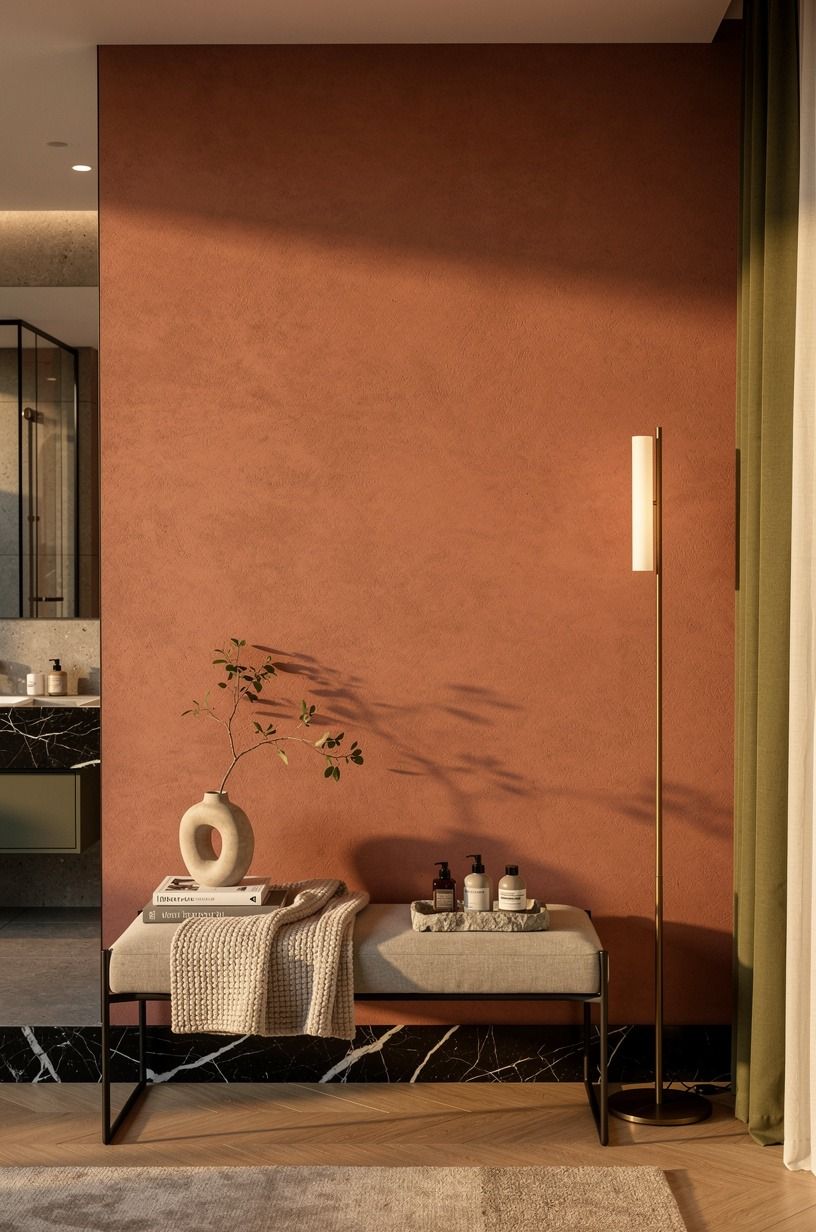
Renters often choose white because it feels safe, but contrast can make removable tile look more intentional. Apply Nero Marquina-inspired peel-and-stick tile with white veining behind the vanity, then keep the other walls in warm stone or olive. You’ll get a bold focal point without committing the entire room.
You can soften the pattern with terracotta and natural materials: a Turkish cotton towel, a woven basket, and a pale wood stool. Your room will feel welcoming rather than graphic. I’d skip glossy black tile if your lighting is harsh because fingerprints and glare will become part of the design.
Before installation, clean the wall with the recommended product and let it dry fully. Your removable backsplash is only as reliable as the surface beneath it. If the pattern feels too strong, use it on a narrow strip and save the rest for a future project.
19Seal the Look With Better Lighting
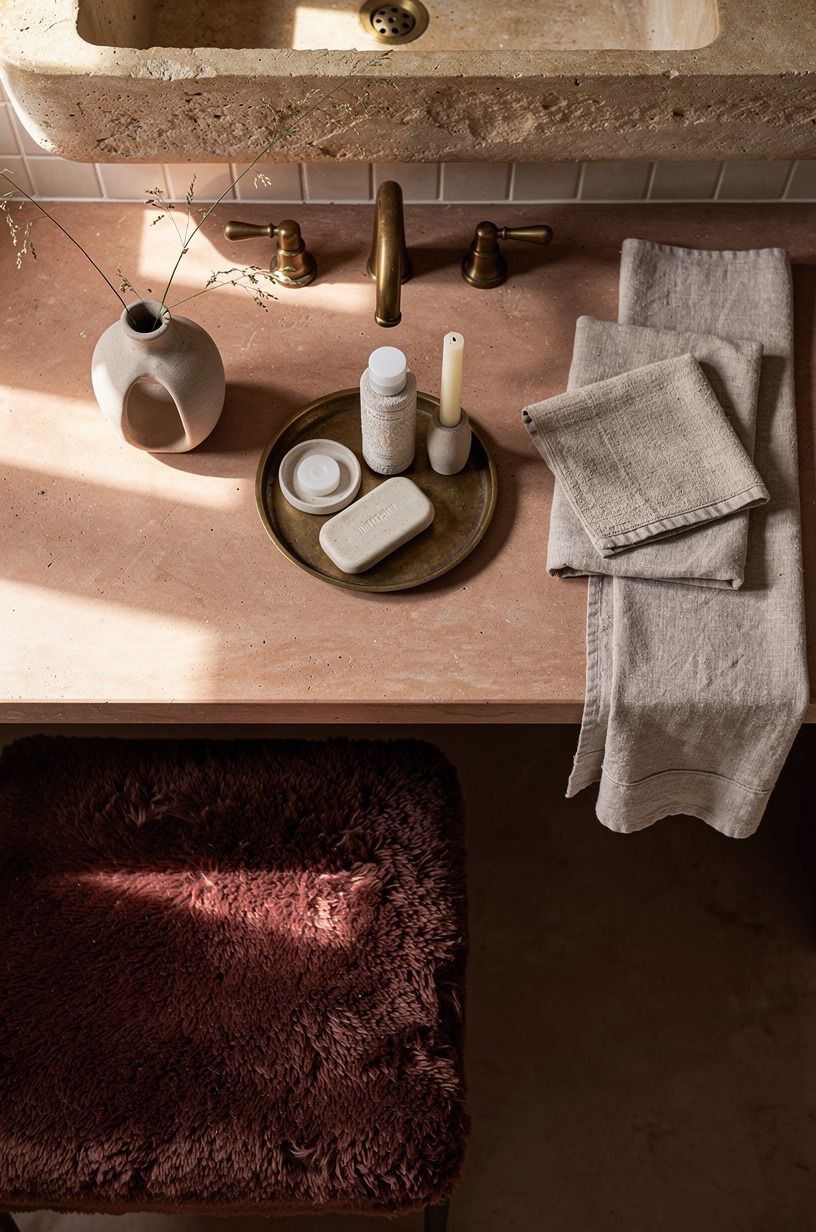
The tile may be convincing in daylight and disappointing at night if your bulb is too cool.
The Bathroom Rule I’d Keep
I’ve installed enough temporary surfaces to know that the tile itself is rarely the whole story. A convincing peel and stick backsplash depends on the wall beneath it, the light above it, and the objects beside it.
I once chose a dramatic faux marble sheet because the sample looked rich in the store. At home, the gray veining looked blue, and every brass detail suddenly seemed yellow. I had to remove it before breakfast.
That was an expensive Saturday for a very small wall.
If you’re choosing between bold pattern and quiet texture, I’d start with texture. A soft zellige look, a cloudy stone print, or a lightly uneven subway pattern will age better than a loud graphic.
Your bathroom is a small room, so the pattern sits close to your face and your mirror. What feels exciting from six feet away can feel noisy when you’re brushing your teeth.
The other decision is coverage. You don’t need a full renovation to make the room feel considered.
A 4 inch strip behind the faucet, a framed mirror surround, or a half-wall can give you the visual weight of tile while preserving your budget. The best placement follows something already in the room, such as the vanity width, the mirror edge, or the window sill.
And I’d be honest about water. Peel and stick tile is a decorative surface, not a substitute for a properly waterproofed shower system.
Use it where the product allows, keep standing water away, and don’t cover a failing wall to avoid repairs. Your bathroom will look better when the pretty layer sits on a sound one.
That’s the part worth doing slowly.
What People Always Want to Know
What is the best peel and stick tile backsplash for a small bathroom?
Small bathrooms benefit from light zellige-look squares or narrow satin subway patterns because they reflect light without making the wall feel busy. Choose a pattern that works with your vanity width, then repeat one finish in your mirror or faucet. You’ll get a calmer room with fewer visual interruptions.
Where can I buy peel and stick backsplash pieces on a budget?
Look at IKEA, Wayfair, and Target first, then check Facebook Marketplace or a local thrift store for unopened renovation leftovers. A single unopened box may cover your vanity wall. Measure your space before shopping, because mixed batches can have different tones.
How much does a peel and stick backsplash makeover cost?
A small cosmetic update often fits inside the budget renovation tier of $200 to $1,200, depending on whether you replace the faucet, mirror, or lighting. You can spend nothing on the vanity by reusing it, cleaning the wall, and changing only paint and textiles.
Can I create a peel and stick tile backsplash on a budget?
Yes, and you can keep the project simple. Reuse your mirror, paint around the backsplash, choose one narrow tile zone, and shop for leftover sheets. Smooth wall preparation gives you more value than adding extra pattern, so spend your effort there first.
Is a peel and stick backsplash worth it in a small space?
Yes, because a small wall gives you a strong visual change with less material and less cutting. A focused backsplash can make your vanity feel finished without crowding the room. Keep the pattern low contrast, and let the mirror or light fixture provide the main shape.
Is peel and stick tile a good idea for a rental?
It can be, especially behind a vanity where there’s less direct water exposure. Removable adhesive tile pairs well with a tension rod, a removable mirror, and washable textiles. Check the product instructions first, test a hidden patch, and remove it slowly when your lease ends.
Where I’d Start First
If I had to pick one, I’d start with a soft zellige-look backsplash behind the vanity. Its uneven light hides tiny installation flaws, and the texture keeps a rental bathroom from feeling plastic. Pin this idea for later and compare your tile sample beside your actual mirror, paint, and evening light.