
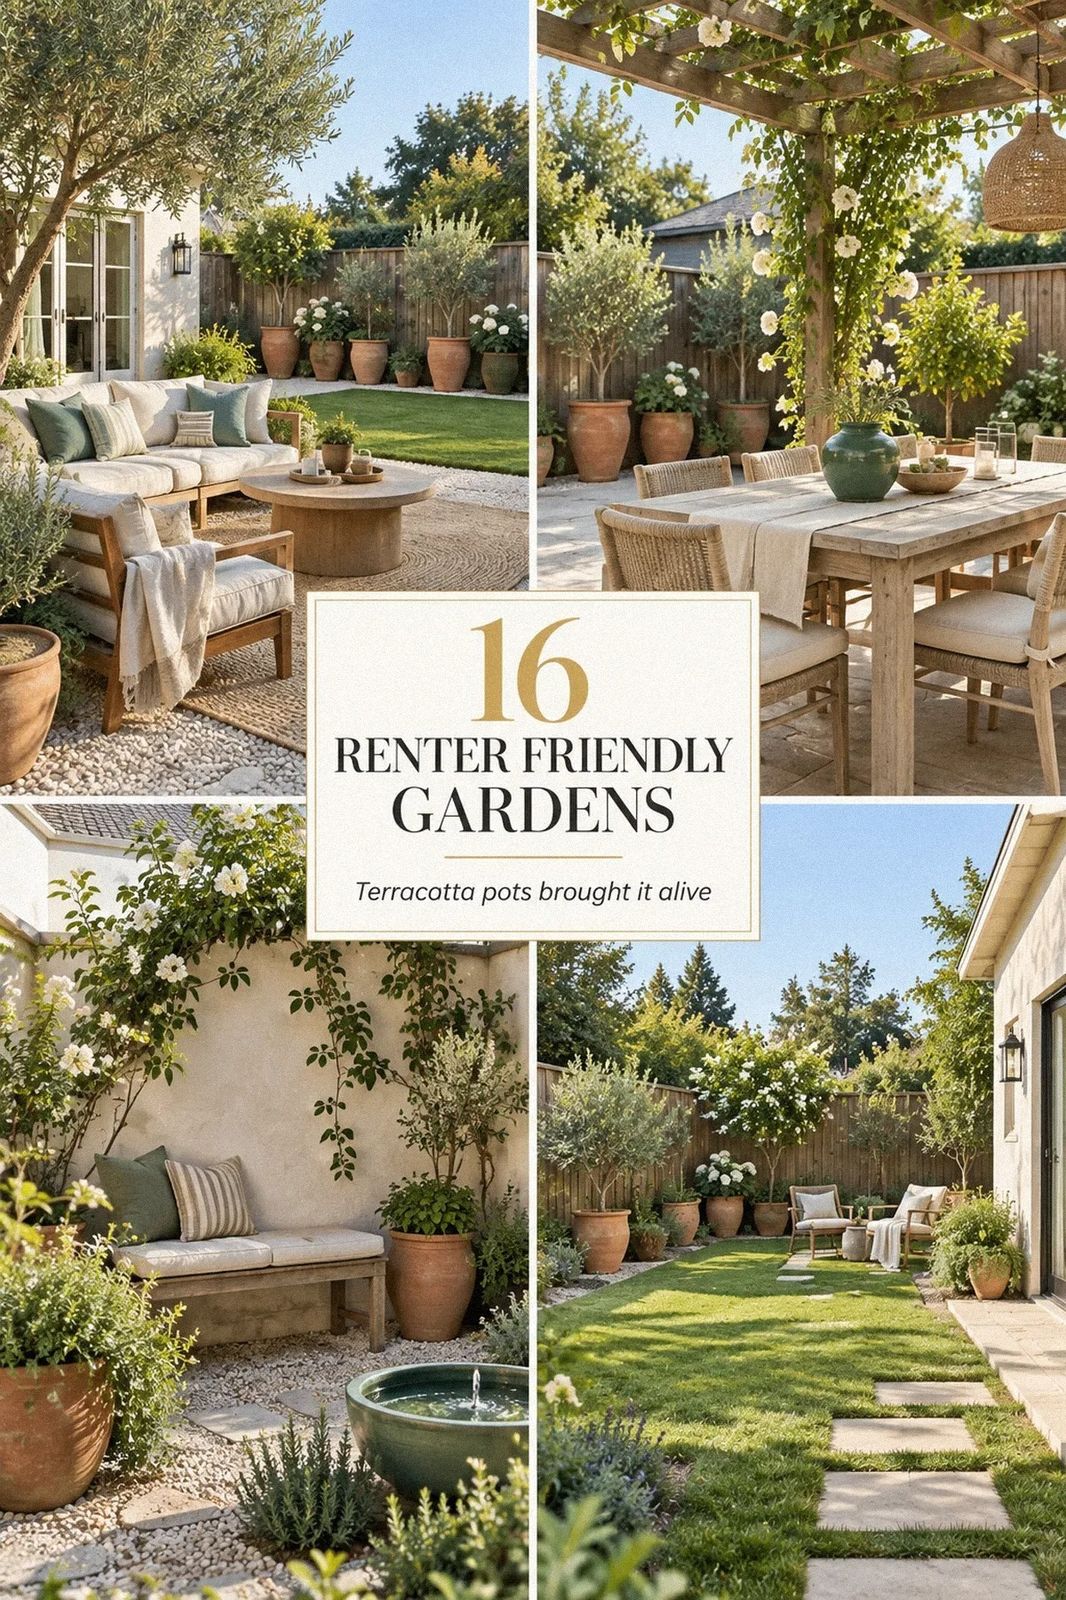
 by
by I built this renter friendly garden with containers, borrowed light, and one rule: nothing could depend on the ground. The patio was dull, windy, and too temporary to justify digging, so I worked in layers I could lift into a moving van. Two weekends later, the space felt warm, leafy, and intentional. No soil required.
The short version: build height first, add one useful surface, then soften the concrete with texture. If you’re renting, these renter friendly accent walls you can take down in an hour follow the same removable design logic indoors.
- Layer tall planters along the fence
- What belongs in the two-container soil system?
- Build a movable herb rail
- Aged terracotta versus shiny plastic
- Hang a tension-rod climbing frame
- Anchor the seating with an outdoor rug
- The three-height light stack
- Why IKEA NÄMMARÖ worked in the narrow patio
- Can you plant for the light you’ve got?
- Frame the door with IKEA SOCKER pots
- Add a folding potting station
- Warm wood, matte metal
- Hang a removable privacy screen
- Paint one removable planter box
- Create a dry river of gravel and pots
- How to pack the garden as a moving kit
1Layer tall planters along the fence
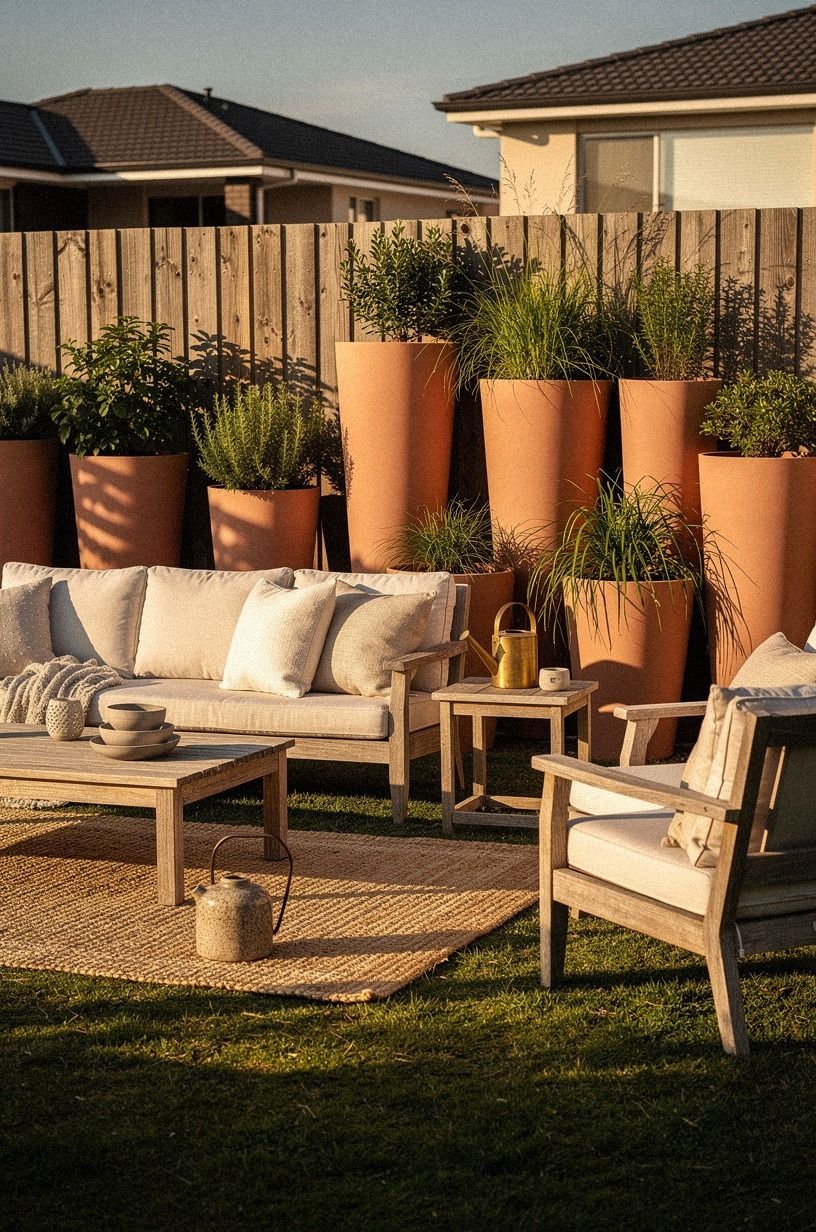
The “before” was a narrow rental patio with cracked concrete, one tired railing, and a blank view of the neighboring fence. The landlord allowed furniture, pots, and removable hardware, but digging, permanent trellises, and painted surfaces were off the table. You could hear every footstep from the upstairs unit, and the afternoon sun bounced hard off the concrete.
I started with three narrow planters finished in reclaimed weathered teak, each tall enough to hide the dullest sightline without blocking the walkway. Their narrow shape kept the footprint under 18 inches deep.
I paired them with clay-toned accessories, a linen cushion, and one aged-brass lantern. The warmer palette gave the green leaves an edge without repeating the concrete.
Place the tallest pot at one end, then step the height down toward the door. That little slope keeps your eye moving.
I used a narrow olive tree, a fern, and a trailing soft-green plant, but you can swap varieties for your light. If you’re styling a tiny backyard, keep the center open so the garden still feels usable, not crowded.
The best part is practical: every planter lifts separately. You won’t need a truck or a heroic moving day. For another small-space approach, these renter friendly backsplash ideas you can peel off later show how removable layers can still feel considered.
2What belongs in the two-container soil system?
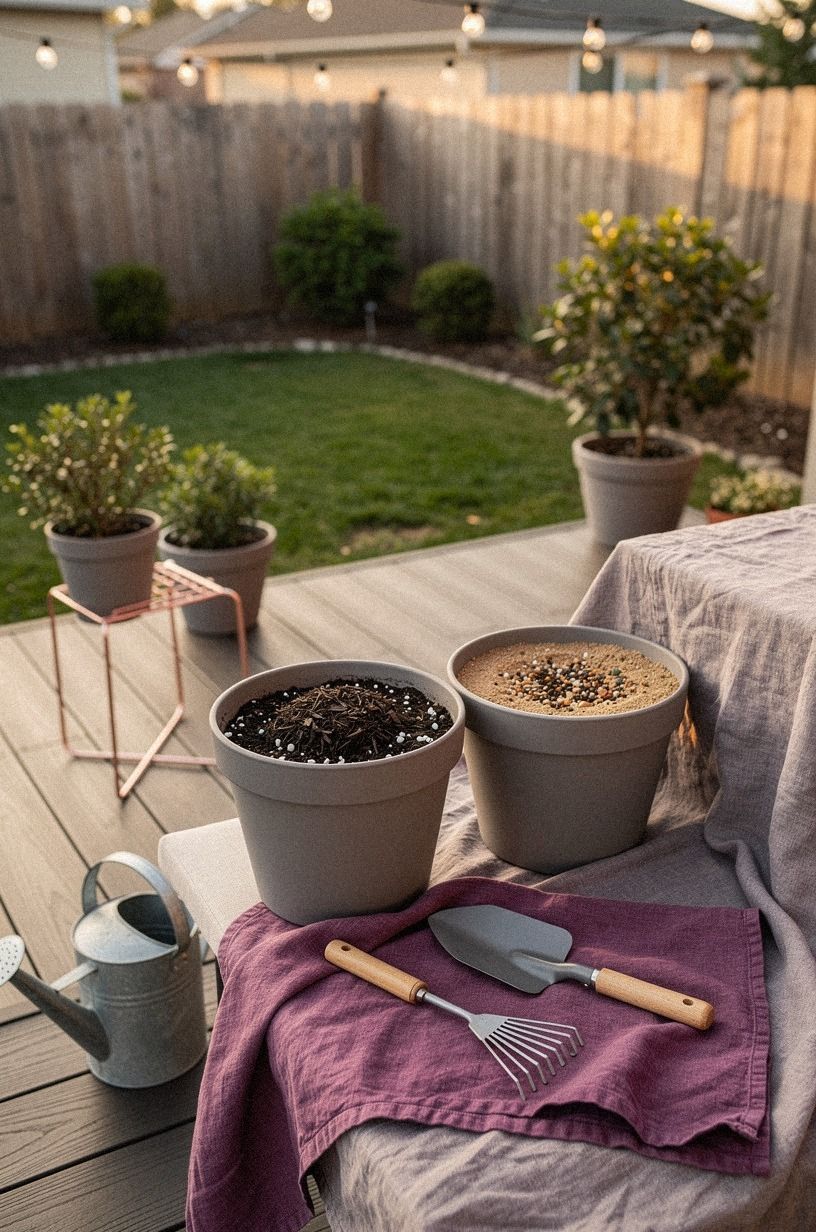
The first design decision was less glamorous than choosing flowers.
3Build a movable herb rail
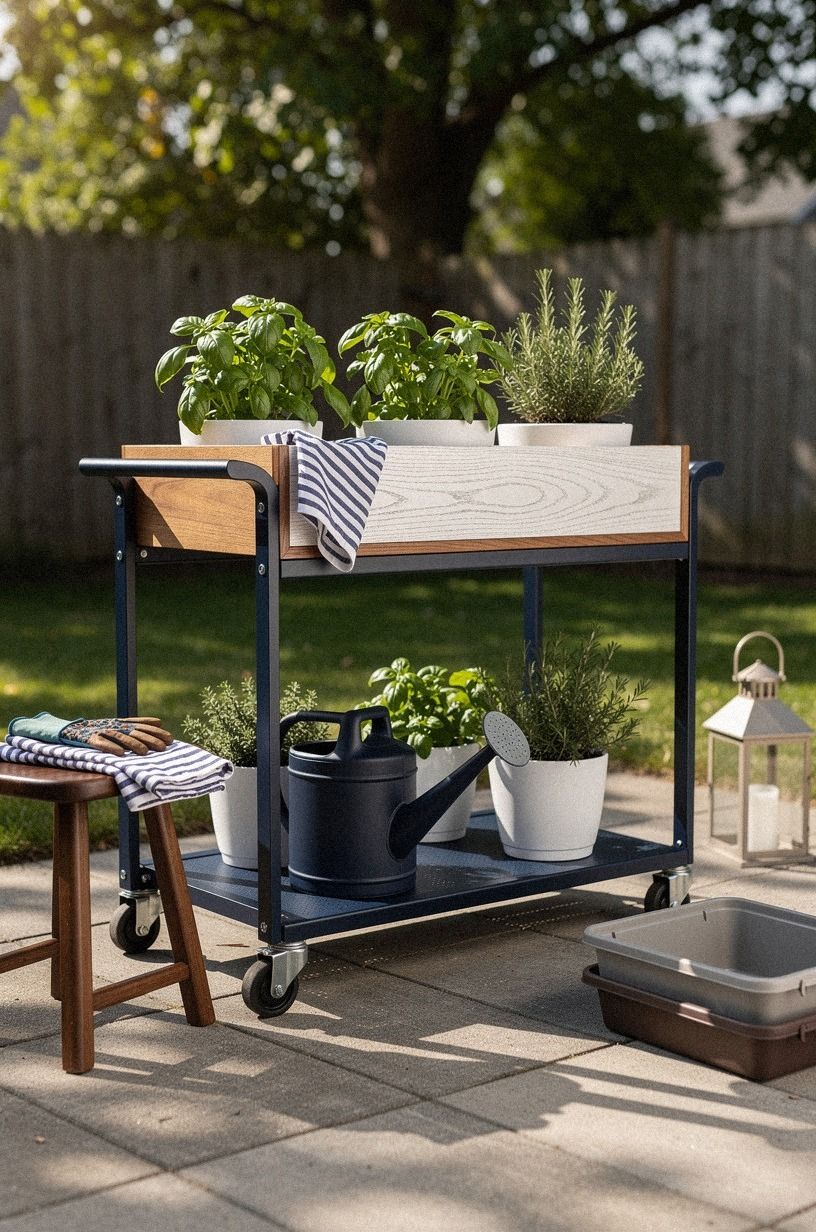
A sunny railing can become a small kitchen garden without turning into a permanent fixture. I hung white herb pots from a removable cerused white oak rail, then planted basil, thyme, and mint in separate containers. The pale wood kept the strip bright, while navy details gave the arrangement more definition.
I used a removable rail with simple hooks because the pieces could come down individually. The rail sat high enough that my dog couldn’t knock the pots loose, but low enough for me to harvest without stretching. That balance matters.
A garden that looks lovely but makes every meal feel like a minor climbing expedition won’t stay useful.
I’d skip one long planter because it’s awkward to move and every plant shares the same watering problem. Separate pots also let you replace one tired herb without disturbing the rest. The arrangement felt lively, fragrant, and surprisingly generous for such a narrow strip.
The herb rail changed the patio more than the larger plants did. It made the space useful, not just decorative. If you’re already working on temporary surfaces, these peelable backsplash ideas use the same principle: add character in a layer you can remove cleanly.
4Aged terracotta versus shiny plastic
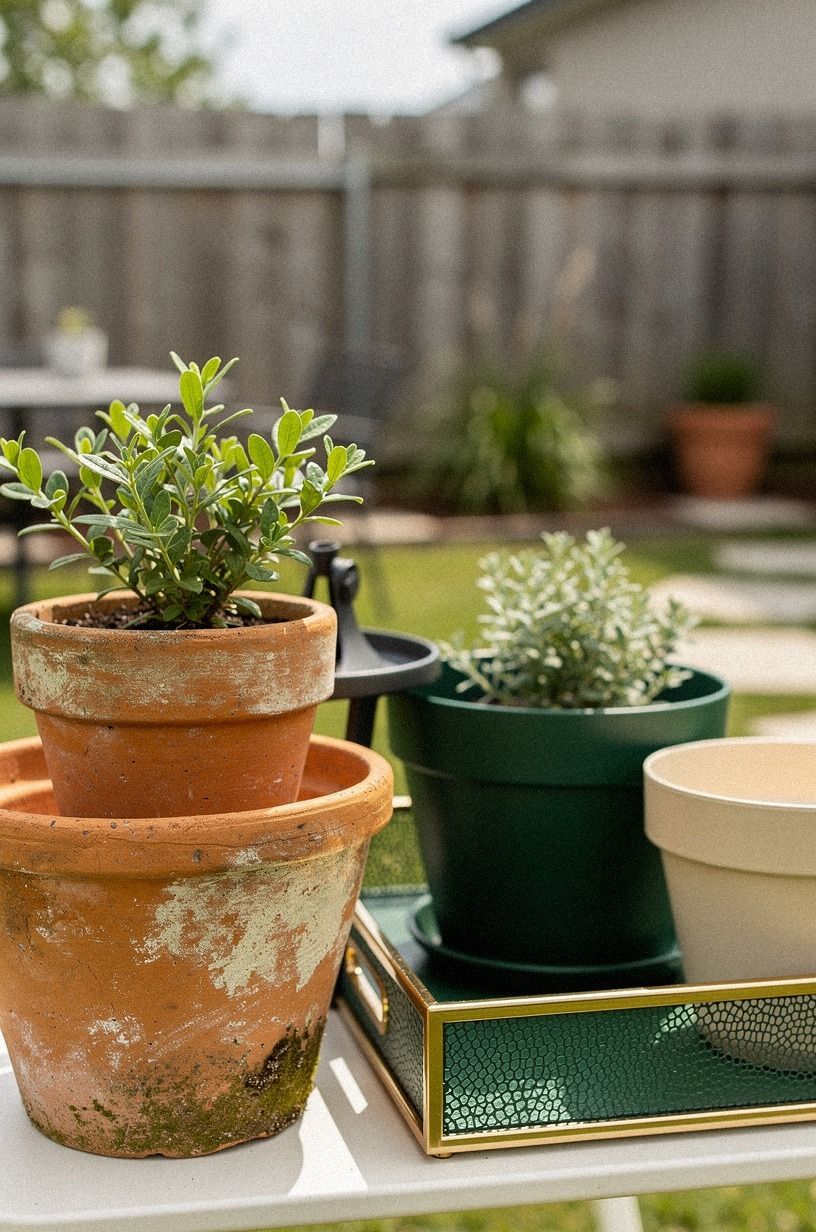
Some plastic containers are sensible, but too many shiny ones make a rental garden feel like a storage area.
5Hang a tension-rod climbing frame
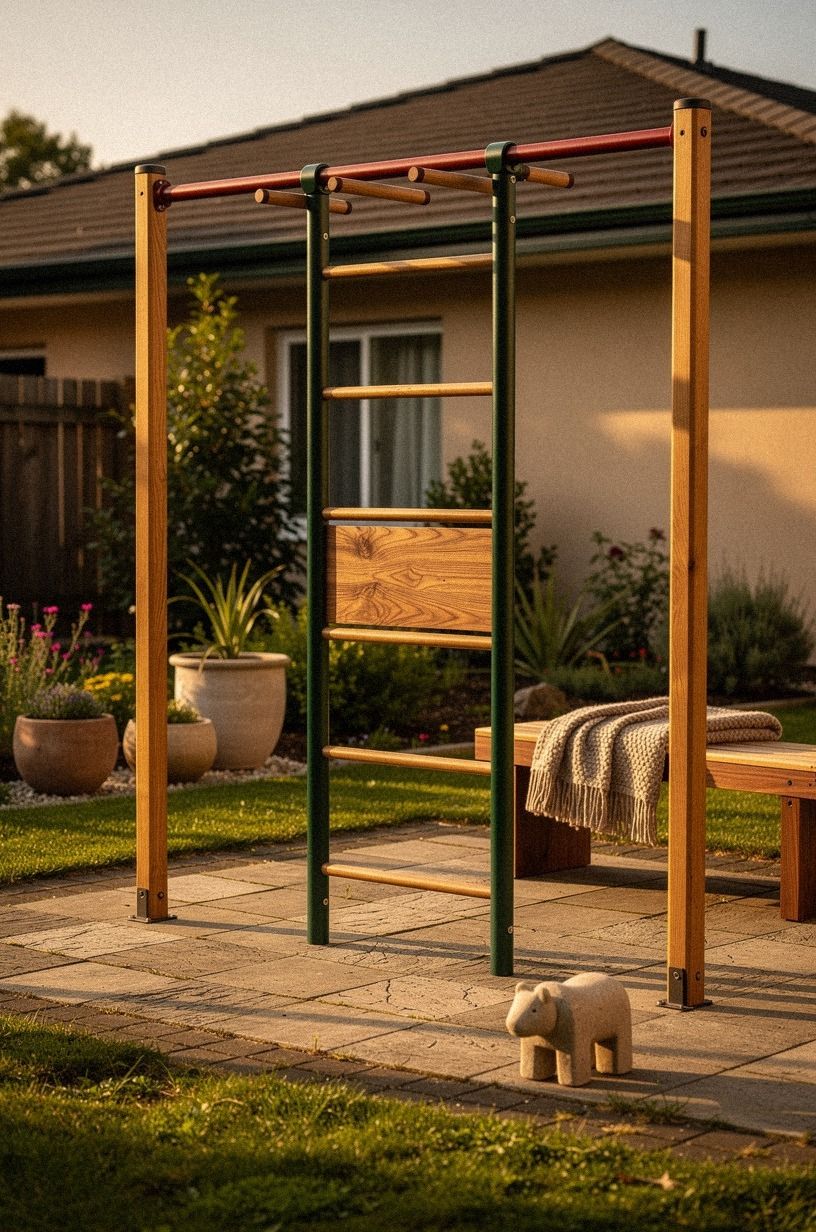
I wanted vertical greenery, but drilling into the fence wasn’t allowed. A forest-green tension rod solved it.
I placed it between two sturdy posts, then added removable clips and a lightweight book-matched walnut trellis. Morning glories and small flowering vines could climb without touching the wall.
You’ll need to check the rod every few days at first. If it shifts, tighten it before the whole frame leans into your plants.
I’d skip heavy full-height lattice because the weight works against the temporary setup. A slim walnut frame looks cleaner, travels better, and costs about $35 instead of turning into a bulky moving problem.
The first new leaf curling around the trellis was the moment the garden stopped feeling like a collection of pots. It created a green screen at eye level, and the patio became more private without a permanent fence. That was a small but thrilling change!
A tension frame also gives you seasonal flexibility. You can grow vines in summer, remove the trellis in winter, or move the whole structure when the light changes. If you’re considering a removable wall treatment indoors too, these temporary backsplash ideas offer useful ways to create structure without damage.
6Anchor the seating with an outdoor rug
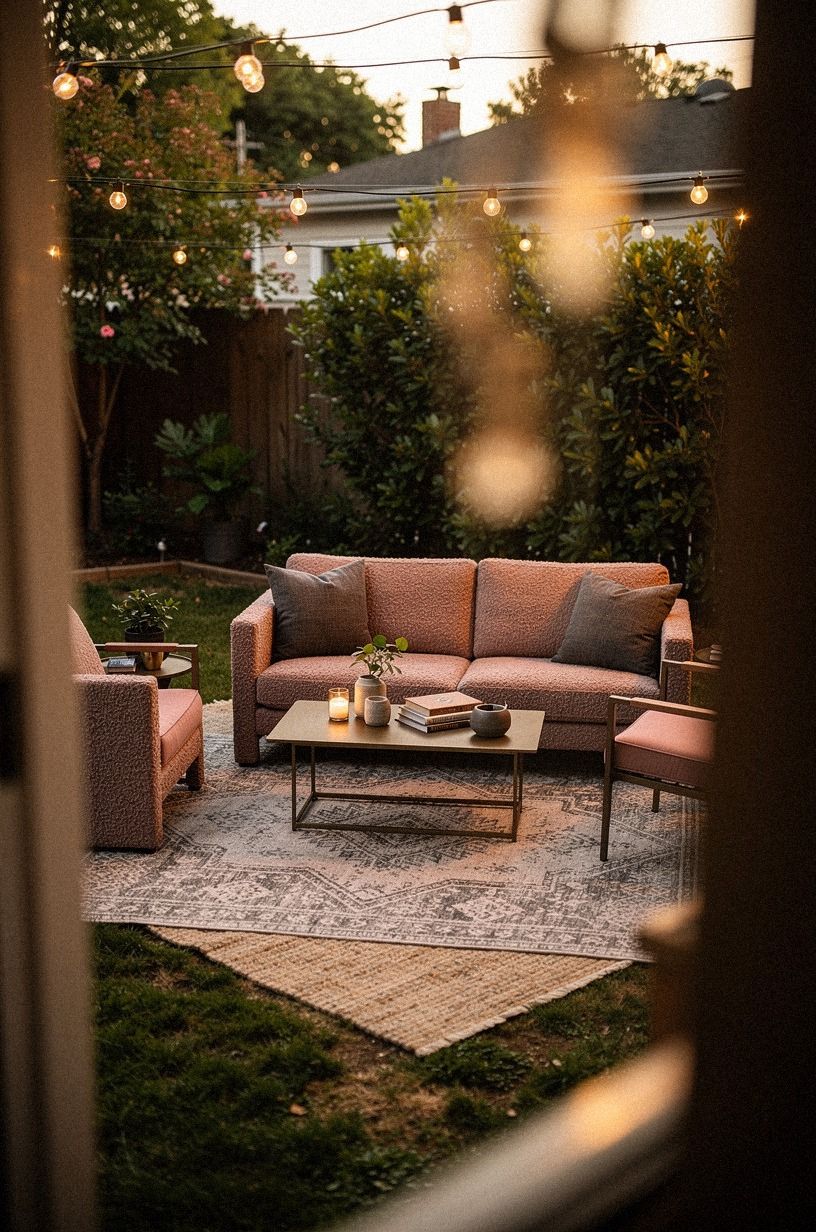
The concrete felt harsh underfoot, so I added a flatwoven organic bouclé outdoor rug beneath the chair and small brass table. I chose a pattern with dusty rose and charcoal instead of a busy tropical print.
The rug didn’t need to dominate. It only needed to make the seating feel like a destination.
You’ll want the front legs of the seating to sit on the rug, even if the back legs remain outside it. That makes the arrangement feel anchored.
An 8x10 rug worked in the larger part of my patio, but renters with a narrow balcony should measure the door swing before buying anything. Your usable space matters more than the pattern.
I’d skip a tiny mat that only fits under the table. It creates a floating island and makes the patio seem smaller. A low-pile weave also dries faster than a thick outdoor carpet, which is a huge relief after rain.
The rug made the biggest visual shift in one afternoon. The chair stopped looking abandoned, the pots felt grouped, and the whole garden became inviting enough for coffee.
You don’t need expensive furniture when the floor tells the pieces where to belong. For more temporary layering ideas, these peel-off wallpaper options are worth saving.
7The three-height light stack
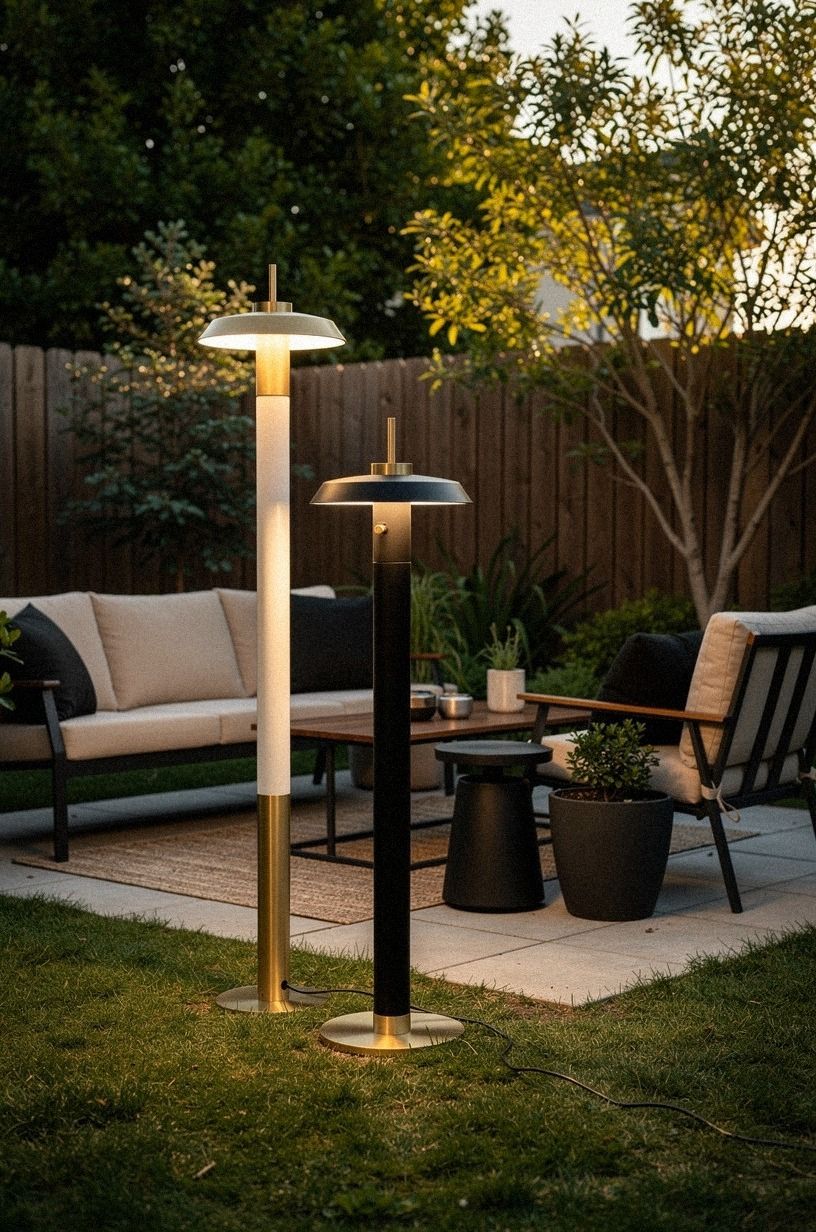
Plants looked good during the day, but the garden disappeared after sunset.
8Why IKEA NÄMMARÖ worked in the narrow patio
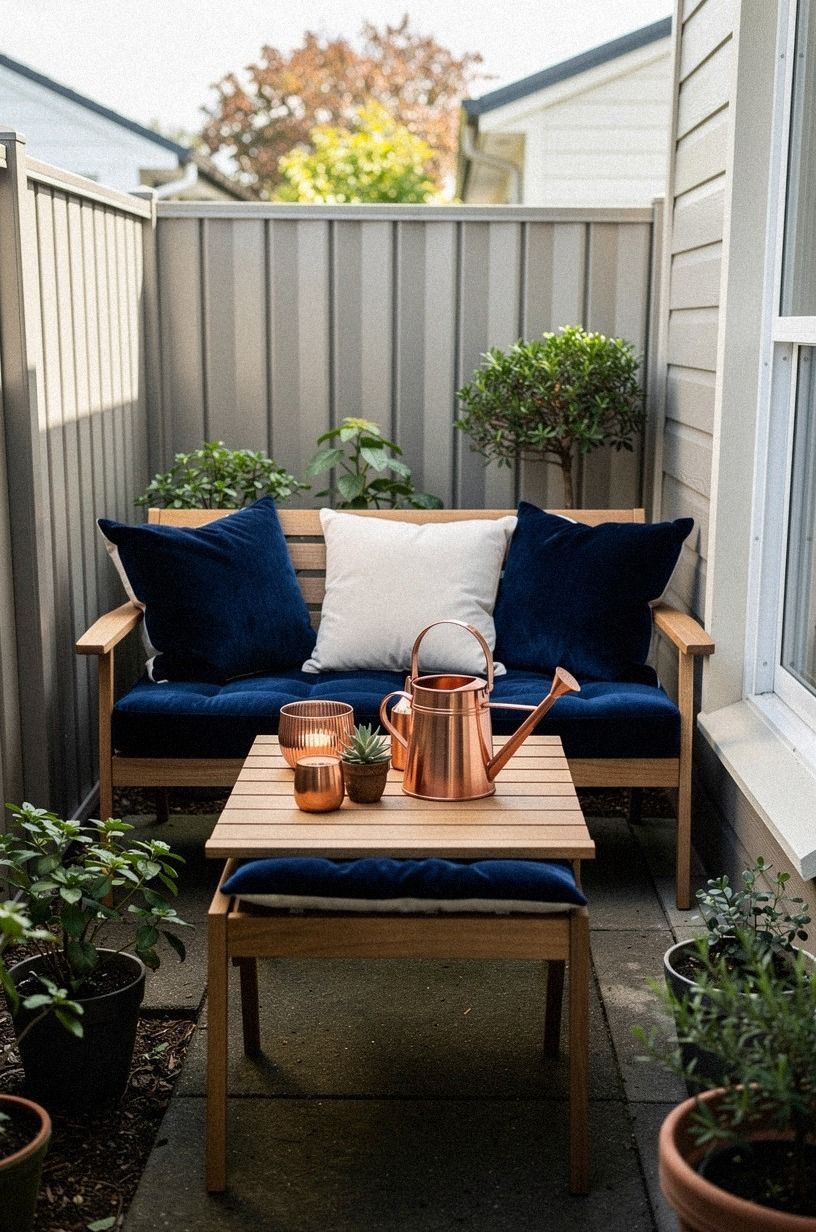
A full outdoor dining set would have swallowed the patio, so I chose a narrow IKEA NÄMMARÖ café table with folding legs. The surface was deep enough for two mugs and a small bowl, but it didn’t interrupt the door path. You’ll want at least a clear walking route from the doorway to the steps, especially if you’re carrying groceries.
The table cost about $90, which felt reasonable because it could fold flat and move to another home. I placed it where the morning light lands, not where the view looked best. That choice mattered because I use the space before work.
Your garden should serve your actual routine.
I’d skip a round pedestal table for a narrow space. It sounds flexible, but the base usually takes more floor area than you expect. A rectangular folding table gives you a clean edge and can stand upright in a closet when you need the patio for maintenance.
The table made the garden feel lived in rather than merely arranged. I could set down tea, trim herbs, or read for ten minutes.
That modest usefulness was more valuable than another decorative pot. For flexible indoor surfaces, these peelable backsplash ideas follow the same idea of adding personality without permanent work.
9Can you plant for the light you’ve got?
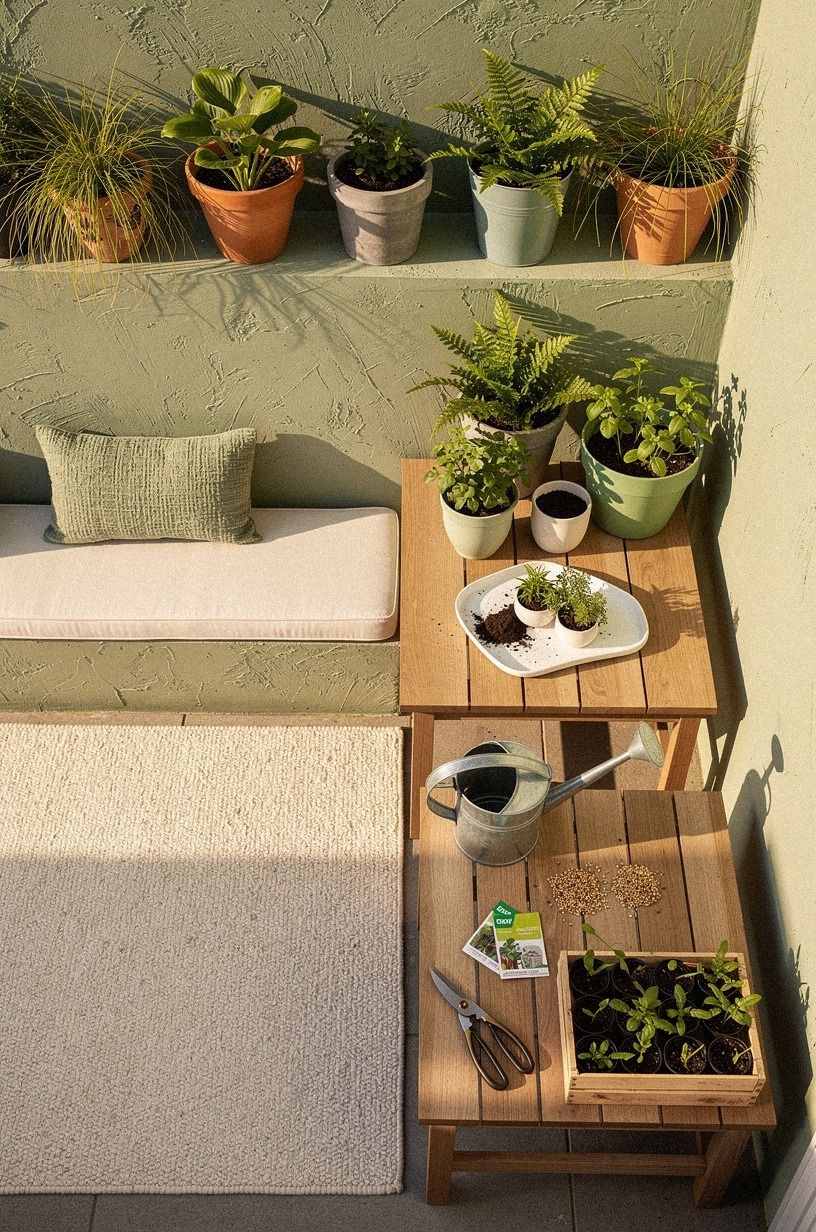
I used to buy plants for their leaves first and their light needs second.
10Frame the door with IKEA SOCKER pots
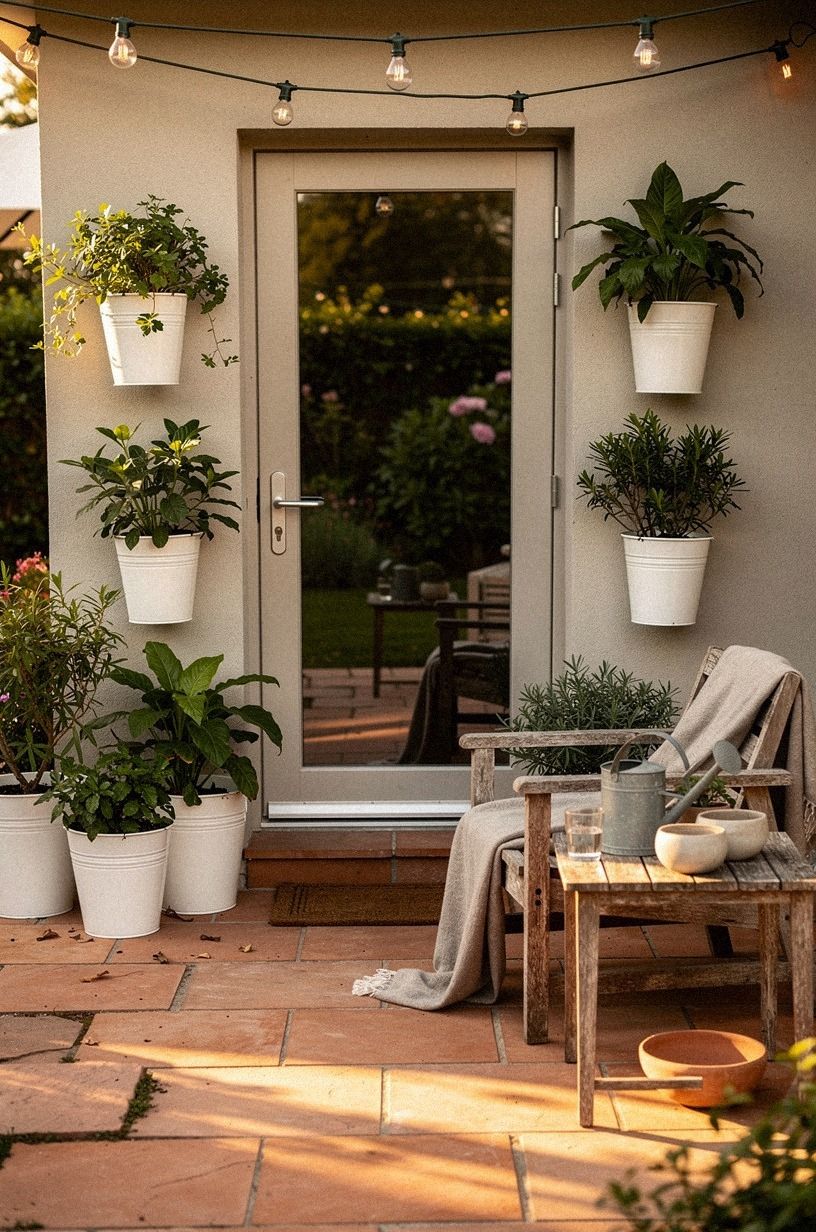
The doorway needed a clearer entrance, so I placed two matching terracotta IKEA SOCKER plant pots on either side. They weren’t identical in height because I used a reclaimed weathered teak riser inside one, but the terracotta, stone, and olive tones made the entry feel deliberate.
You’ll want to leave enough room for the door to open fully. Measure before you buy, then mark the swing with painter’s tape.
I’d skip placing plants directly against the hinges. A leaf that catches every time you enter will become annoying fast, and annoyance is the enemy of a garden you’ll maintain.
I used rosemary in one pot and soft grass in the other, which gave me different textures without adding more colors. Your eye reads the pair as one entrance, so you don’t need matching plants. The scent of rosemary at the threshold became my favorite detail, especially after rain.
The pots were about $14 each, while the plants cost $22 together. That modest pair did a surprising amount of visual work. If you’re updating a rental entry indoors, these removable accent walls can create the same memorable sense of arrival.
11Add a folding potting station
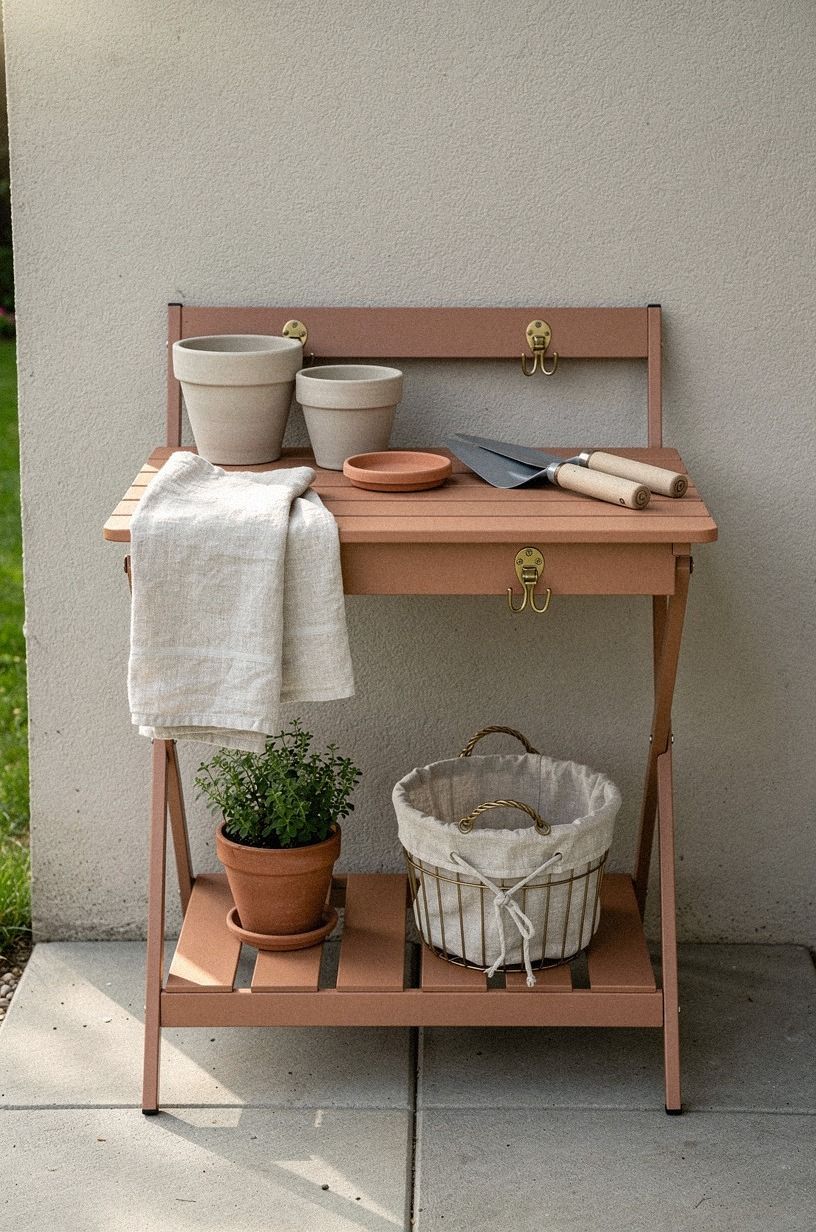
Every garden needs a place for soil, gloves, and the small tools that otherwise wander across the floor. I used a clay-toned folding console with a washed Belgian linen cover, then stored an aged-brass drainage tray underneath. The console was narrow enough to fold flat against the wall when guests came over.
You’ll want the station near a water source, but not so close that splashes reach the wall. I kept a small bucket below the table and used it for mixing soil and catching runoff. A linen tool bag held pruners, ties, labels, and spare hooks, so I wasn’t constantly hunting for them.
I’d skip a deep storage bench if you’re renting a small patio. It takes up valuable seating space and usually becomes a place for forgotten clutter. A folding station costs about $85, but it earns its footprint because it serves both gardening and storage.
This station gave me permission to work slowly. I could repot one plant, wipe the surface, and stop.
Your garden doesn’t need to be completed in one dramatic afternoon. A small work zone makes the process feel manageable.
For other temporary utility upgrades, these removable backsplash ideas are a useful reference.
12Warm wood, matte metal
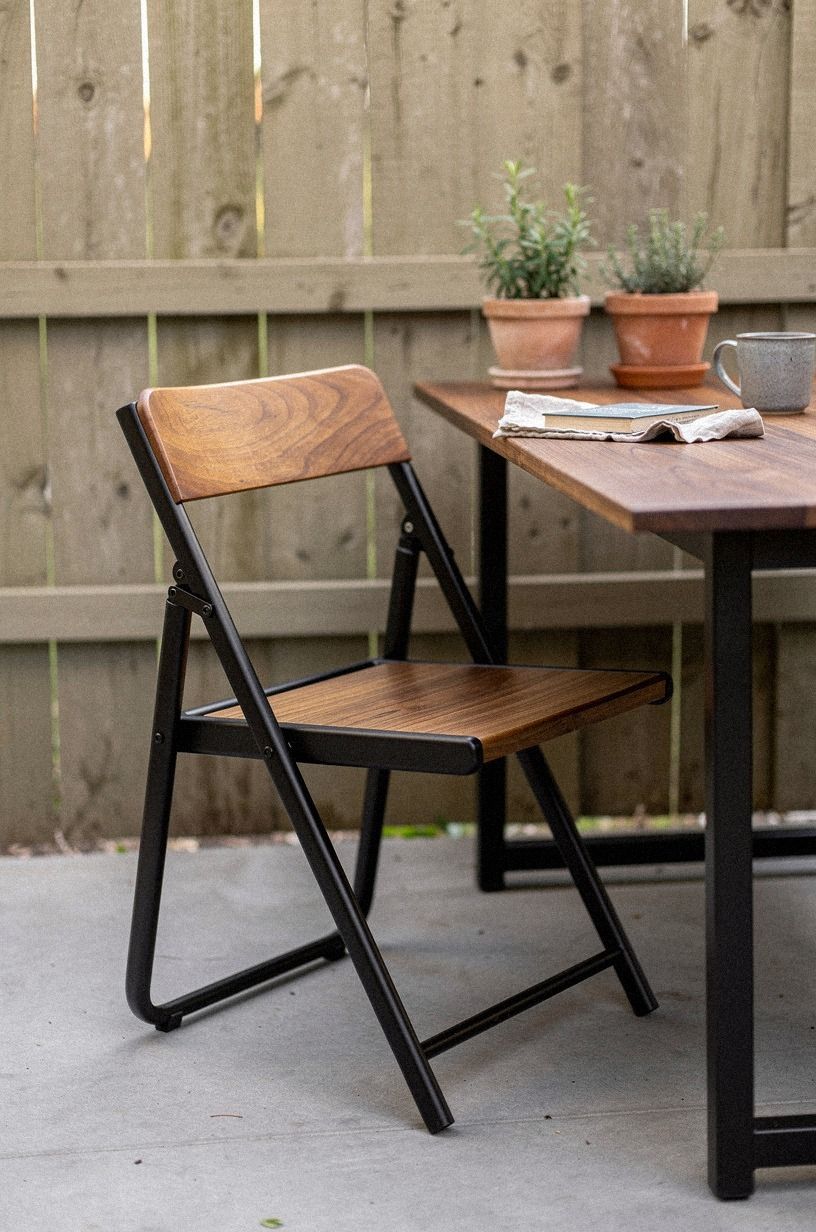
The original patio felt flat, so I introduced plum, gray, and rose-gold accents around cerused white oak instead of adding more competing colors.
13Hang a removable privacy screen
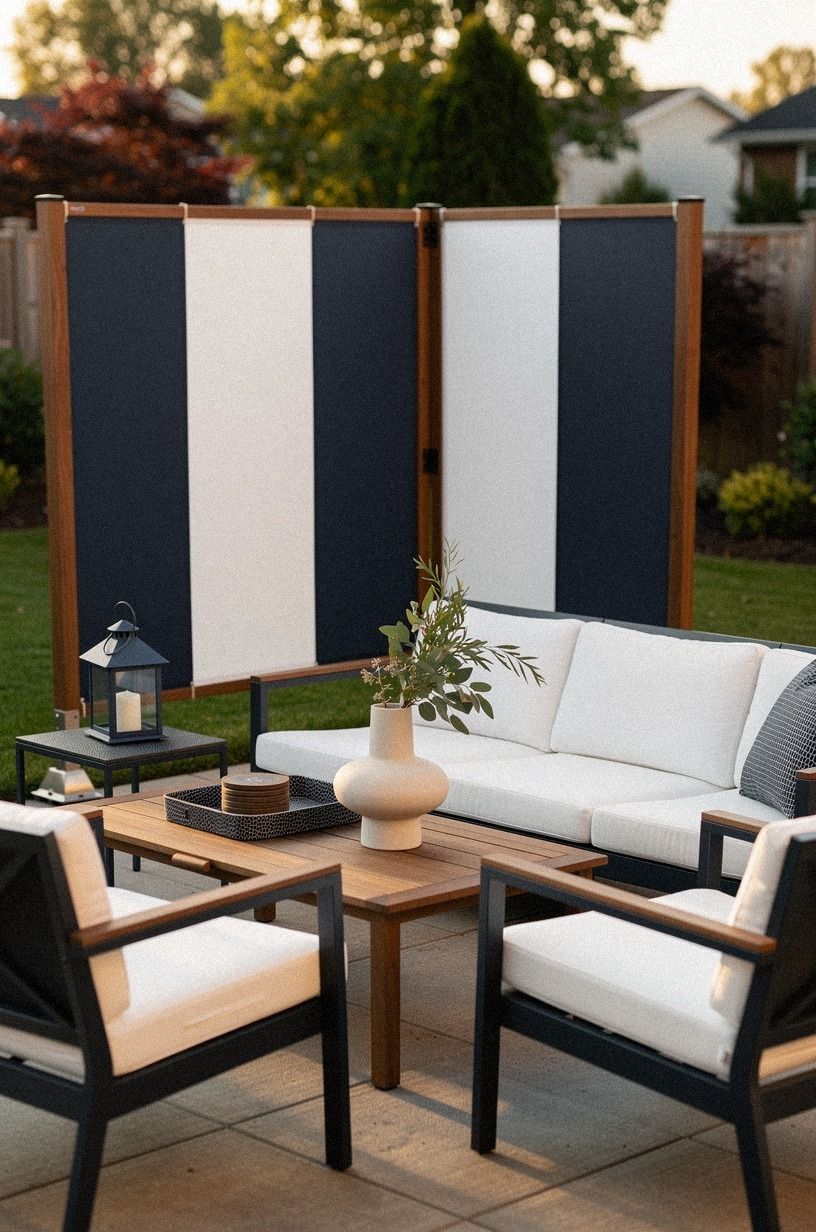
The upstairs neighbors could see straight down into the patio, so I added a navy-and-white privacy screen with walnut trim, subtle shagreen accents, and removable hooks. It softened the view without turning the garden into a sealed room. You’ll want the fabric to stop above the floor so it doesn’t collect rainwater, leaves, and every crumb the wind can carry.
I chose an open weave that preserved air movement. It cost $58, and the removable hooks cost another $12. The screen filtered the view while preserving the breezy feeling, which mattered during hot afternoons.
I’d skip a solid vinyl panel if your patio already feels tight. It blocks light and can make a small area feel boxed in. A woven screen or open slat gives you privacy while preserving the breezy feeling.
I tested the screen during a windy afternoon, and one hook pulled loose, so I added a second support point before leaving it up.
That small repair mattered. Your temporary garden still has to be safe, and a falling screen can damage more than a wall. For another removable privacy idea, these renter friendly accent walls helped me think through attachment methods without permanent holes.
14Paint one removable planter box
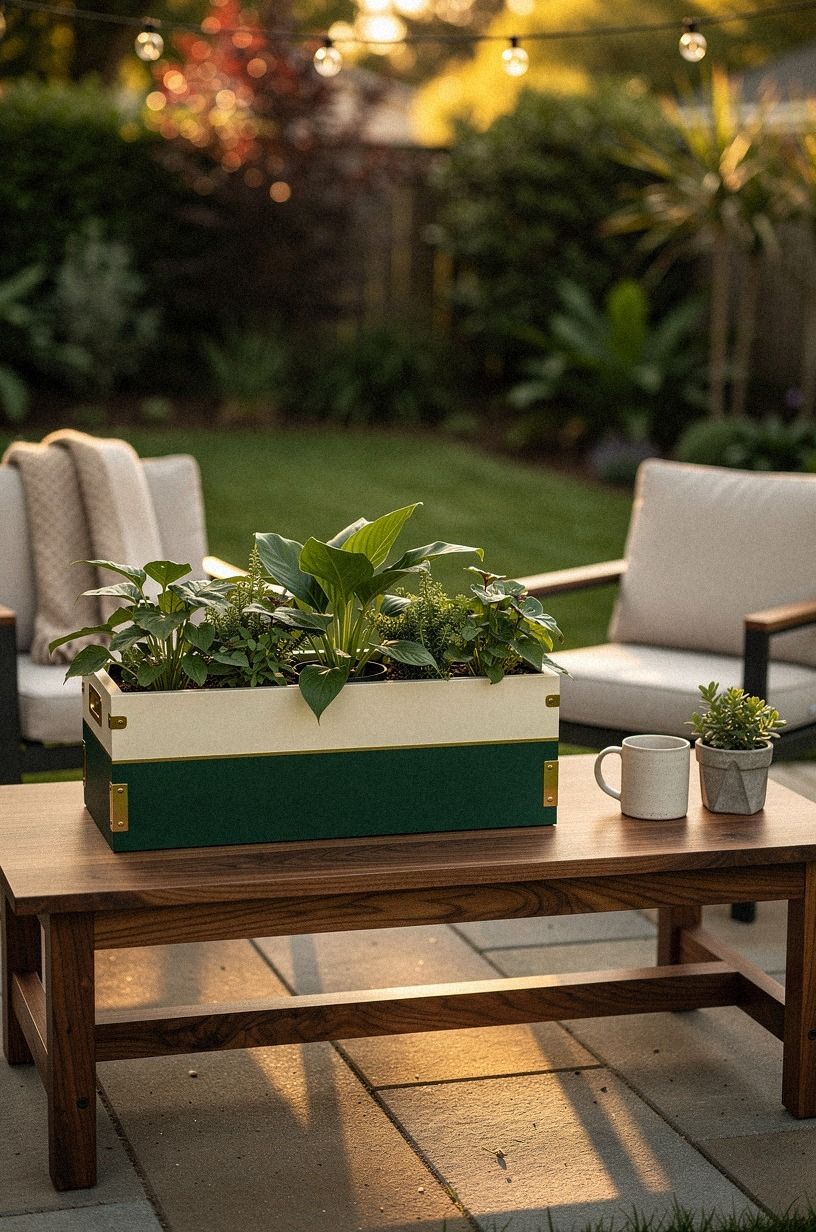
I wanted one bold color, but painting the patio wall would violate the lease.
15Create a dry river of gravel and pots
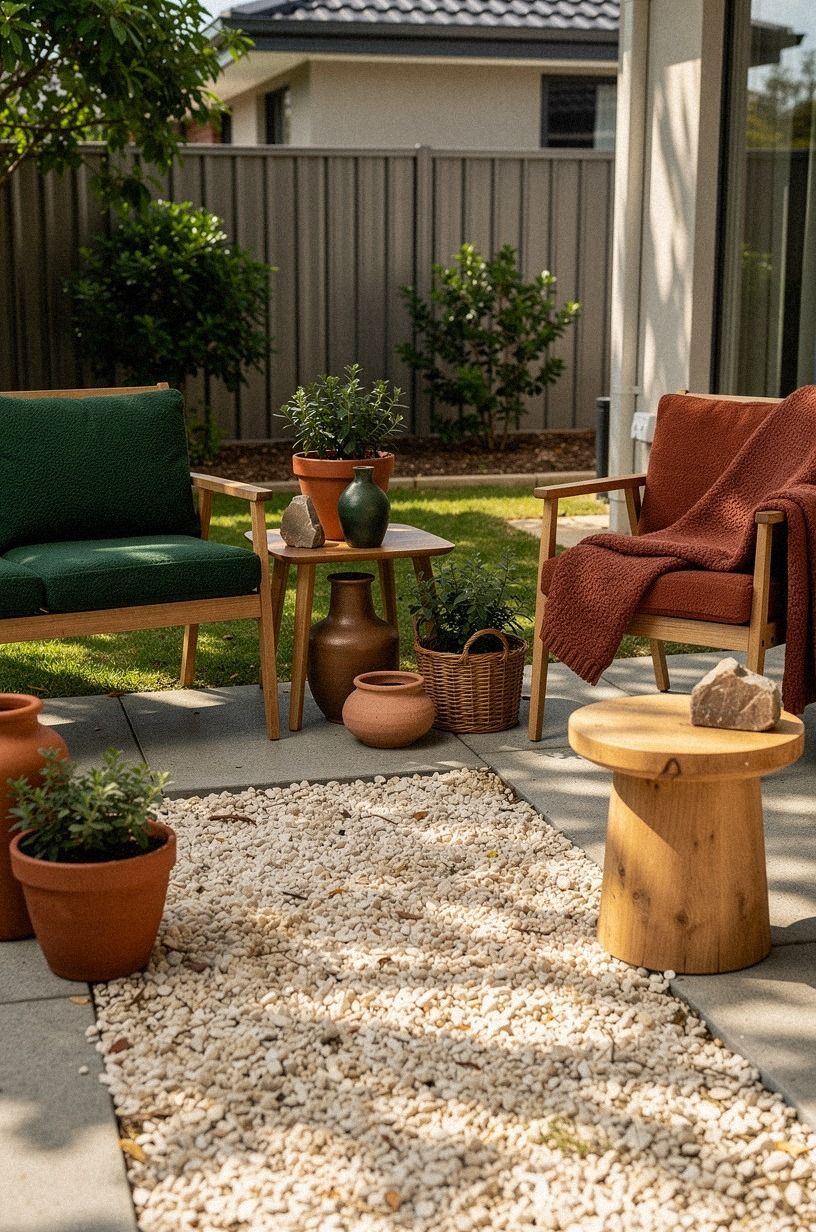
The final floor layer was a narrow strip of pea gravel inside a shallow removable tray. I placed three small pots along it so the plants looked grouped rather than scattered. The gravel added sound underfoot too, a soft crunch that made the patio feel different from the concrete path outside.
You’ll want a tray with a sealed base, especially on an upper balcony. Loose gravel can stain, spill through gaps, or become a problem during a move. My tray was 24 inches long and cost $31, which was enough to create a tactile detail without consuming useful floor space.
I’d skip putting gravel directly on the rental floor, even if the look is tempting. Your deposit is worth more than the photograph. A contained tray also lets you change the arrangement when a plant needs more sun.
The best part was the texture. Leaves moved above the dry stones, and the rough surface balanced the smooth table.
If you’re working with a tiny space, use this idea as a narrow detail rather than a full strip. A little texture goes a long way when the rest of the patio is plain.
These temporary surface ideas can help you think in similarly reversible layers.
16How to pack the garden as a moving kit
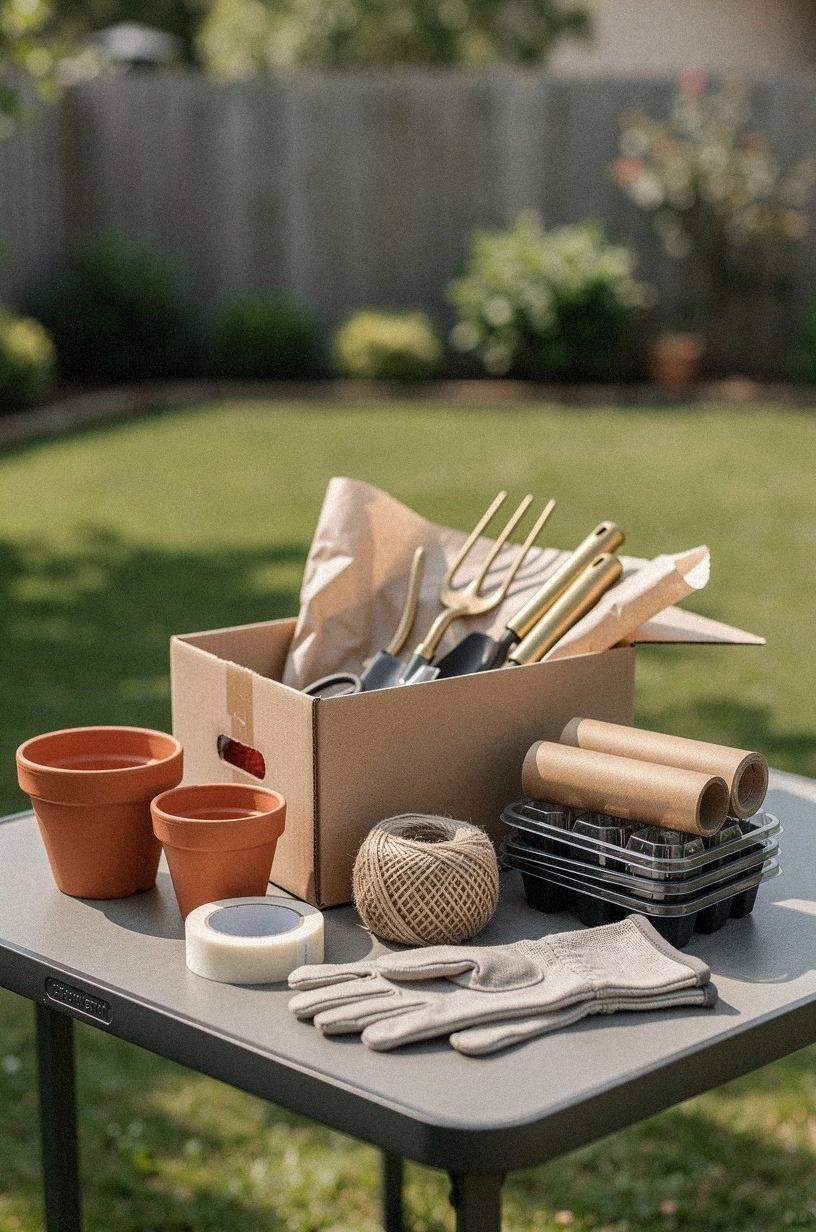
I finished by treating the garden like a collection, not an installation.
How Much It Cost to Keep the Garden Movable
I kept the makeover within a realistic rental budget by prioritizing containers, lighting, and one strong textile before buying extra plants. The total came to about $486, including the table, rug, pots, screen, lights, and basic supplies. Your cost will change with the size of your patio, but these ranges give you a useful frame.
For a small rental, the starter tier is completely workable. Free cuttings, secondhand furniture, and reused trays can stretch the money further. I’d spend first on drainage and safe lighting, then on decorative finishes.
A garden that survives rain and regular watering is more valuable than one that only looks polished for a weekend.
If you’re comparing small-space purchases, a secondhand café table may run $30-$100, a quality outdoor rug $80-$250, a tall planter $35-$120, and a rechargeable lantern $20-$60. Those figures show why a movable garden can deliver a strong visual change with a smaller commitment. You don’t need to spend like a renovation to make your rental feel cared for.
For more removable decorating ideas, these renter friendly wallpaper options are useful when you want atmosphere without permanent work.
Why This Garden Had to Move With Me
I used to think a real garden needed roots in the ground. That belief made every rental feel like a waiting room, because I didn’t want to spend money improving a place I might leave. Then I noticed how often I was making the same tradeoff indoors: temporary furniture, temporary art, temporary color, and no reason to care deeply.
This garden changed that. The pots gave me a way to build a sense of place without claiming the property.
I could choose a warm clay accessory, add a textured screen, and still remove every decision when the lease ended. That felt less like settling and more like designing with honest limits.
I also learned that permanence isn’t the same as weight. A heavy planter can look established, but a lighter one can serve you longer because you can move it toward the light, protect it from weather, or bring it to the next home. You’ll get more value from an object that adapts than one that only looks polished.
My strongest opinion is this: don’t copy a permanent landscape in a rental. It will always feel like a compromise.
Build a portable garden with repeatable shapes, flexible furniture, and plants you can carry. The result can still be lush, quiet, and welcoming, but it won’t trap you in one address.
And that’s why I’d build this again. The garden gave me a daily ritual without asking me to pretend the rental was forever.
I could water the herbs, switch on the low light, and sit down for ten minutes. Small rituals count.
They’re often what makes a temporary room feel like yours. These removable accent ideas belong to the same family of practical, hopeful changes.
The Questions I Get Asked Most
What is the best way to start a renter friendly garden for a small backyard?
The best starting point is a tall planter pair plus a folding table, because you’ll get privacy and a usable surface without digging. IKEA planters work well for a restrained budget, while a secondhand wood table adds more character. Keep the center open and choose one focal plant.
You’ll feel the difference quickly!
Where can I buy renter friendly garden pieces on a budget?
Look at IKEA, Wayfair, and Target for containers, outdoor rugs, folding furniture, and rechargeable lights. You’ll often find stronger materials through Facebook Marketplace or a local thrift shop. Search for solid wood, drainage holes, and pieces that can serve two purposes.
For more removable ideas, these renter friendly backsplash ideas are useful.
How much does a renter friendly garden makeover cost?
A renter-friendly garden can fit within the starter tier of $100-$250 or reach $350-$900 with a rug, café table, privacy screen, and layered lighting. Free cuttings, reused pots, and secondhand pieces lower the cost. Start with drainage, one strong plant, and a useful surface before adding decorative extras.
Can I create a renter friendly garden on a budget?
Yes, and you can begin with three low-cost moves: group existing pots by height, use a folding chair as a plant stand, and repurpose a tray as a potting surface. Secondhand containers can save money, while removable hooks create height without a contractor.
Add lighting later when the layout works. These temporary backsplash ideas show the same gradual approach.
Is a renter friendly garden worth it in a small space?
Yes, because a small space makes editing easier. Choose one tall plant, one low texture, and one useful surface instead of filling every corner. A rug with the front legs of your seating on it will anchor the arrangement, while a narrow table keeps the center available for walking.
Is a renter friendly garden a good idea for a rental?
Yes. Use peel-and-stick surfaces only where permitted, tension rods for climbing plants, removable hooks for screens, and freestanding planters instead of drilled brackets.
No-damage hardware protects your deposit and lets you rebuild the arrangement elsewhere. Test every attachment before leaving it unattended.
These removable wallpaper ideas can help indoors too.
Where I’d Start First
If I had to pick one, I’d start with the tall planter pair. You’ll get privacy, height, and a movable focal point before buying anything else.
Keep the center open, then let the garden grow around that frame. Pin this garden for later and build it one container at a time.