
 by
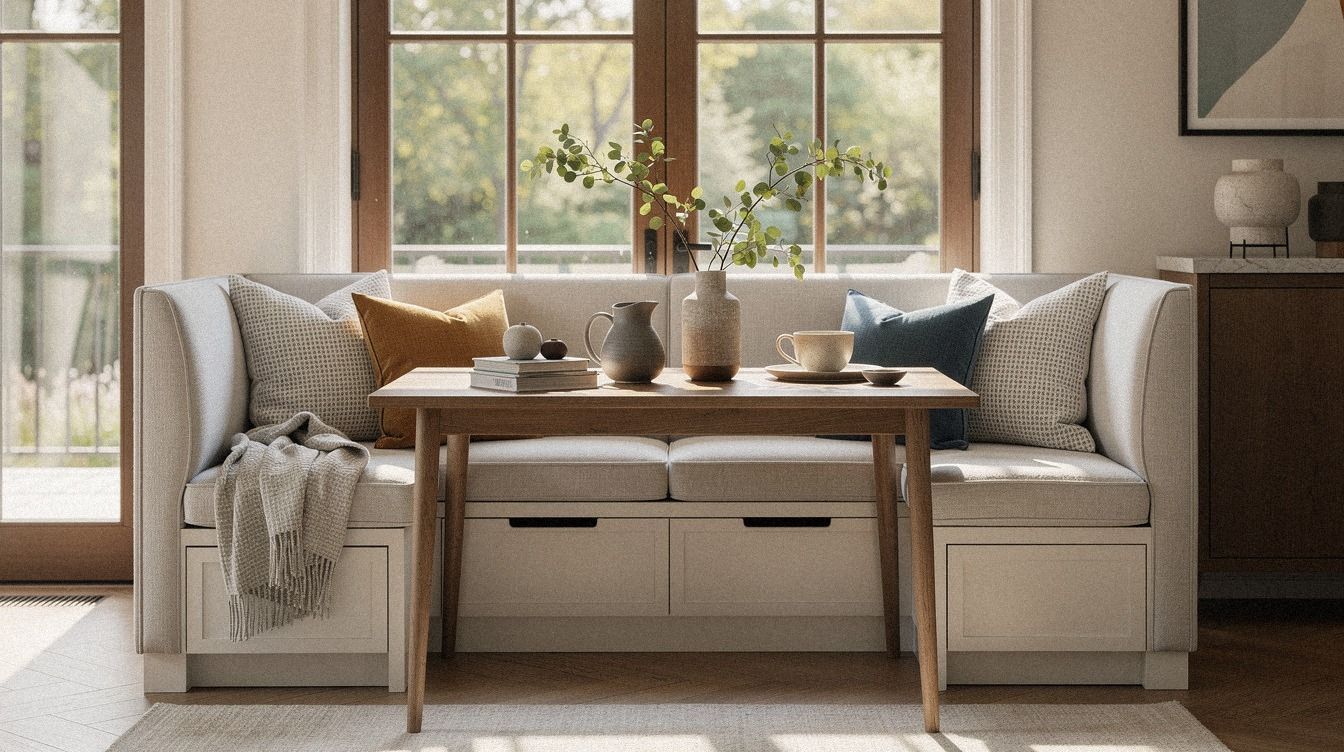
by I've lived in three houses with breakfast nooks, and in every single one the bench became a black hole. Shoes, backpacks, board games, dog leashes, the vacuum attachments, all crammed in until the lid stopped closing. The fix wasn't a bigger bench. It was a smarter bench, one designed so storage isn't an afterthought tacked onto the seat. If you're planning a breakfast nook from scratch or finally taking the lid off the one you've got, the answer isn't buying another storage bin. It's building the bench like the storage is the furniture, not a thing you shoved inside it.
These fourteen steps are the order I'd follow if I were starting over today. Materials that hold up to kid knees and muddy paws, hinges that don't sag at month six, and a layout that makes the bench feel like a built-in even when it's not.
Before You Start: Measure Twice, Buy Hinges Once
The failure mode on hidden storage benches isn't the lid. It's the lid mechanism, and the gap you forget to leave around it.
Before you order anything, grab a tape measure and a scrap piece of cardboard the size of your planned lid. Set the cardboard on the floor where the bench will sit, then sit down, stand up, and walk around it.
If you can stub your toe on the cardboard, the hinge you'll order will too.
The other thing nobody tells you: vent gaps. Cushions need airflow, or they smell like a mildewy car trunk by year two.
I learned this after my first bench went musty in a Connecticut winter. Leave at least a half inch between the back of the cushion and any closed wall on three sides. For ventilation, a single 1-inch hole drilled low on each end panel keeps air moving without being visible.
Here's a quick cost reality check before you commit:
You're likely looking at the budget to mid tier for a full DIY bench build, and that's plenty. I've rebuilt two benches for under $900 each with soft-close European hinges from Rockler and 3/4-inch birch plywood from the local hardware store. If you want the full walkthrough from frame to finished seat, my DIY breakfast nook bench guide covers the cuts and the joinery in order.
- Start With the Frame, Not the Lid
- Anchor the Bench So It Can't Move
- Slice the Lid Into Sections That Make Sense
- Layer Soft-Close Hinges the Right Way
- Plan Airflow Before You Add the Cushion
- Skip the Cheap Foam
- Build the Lid-to-Cushion Gap on Purpose
- Divide the Interior by Use, Not Symmetry
- Wire the Bench for the Stuff You Actually Use
- Match the Bench to the Wall, Not the Floor
- Add a Picture Light Above the Bench
- Hang One Piece of Art at Eye Level
- Layer a Runner or Small Rug Under the Table
- Style the Top, Hide the Rest
1Start With the Frame, Not the Lid
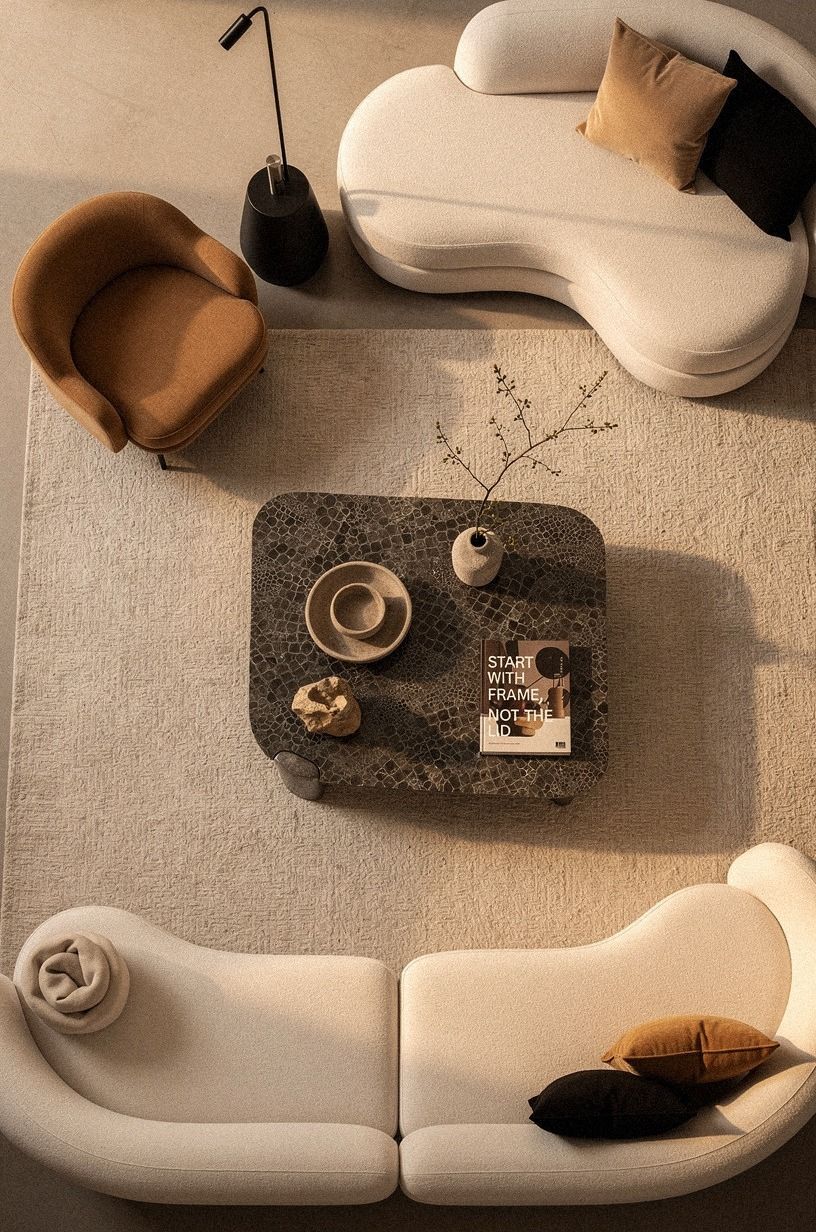
I know it's tempting to start with the cool part (the lid! the gas struts!), but the frame is what makes storage usable ten years from now. Build the carcass like a piece of furniture, not a box. That means 3/4-inch furniture-grade plywood (not the cheap stuff from the big box store, which sags on the bottom shelf after two seasons of weight), joined with pocket holes and 1.25-inch screws at every corner.
The internal layout matters too. A single open cavern wastes the storage; divided compartments triple what fits.
Think about what you're really storing: baking sheets, winter hats, the dog's overnight crate. Plan the dividers around your real life, not around what looks symmetrical.
I've seen people build gorgeous benches where the lid opens onto one empty pit, because they sized the cavity for "general storage" instead of for the loaf pans they actually need to fit.
If you're debating whether to build at all, my take on bench vs chairs for a breakfast nook walks through when the storage payoff justifies the carpentry.
2Anchor the Bench So It Can't Move
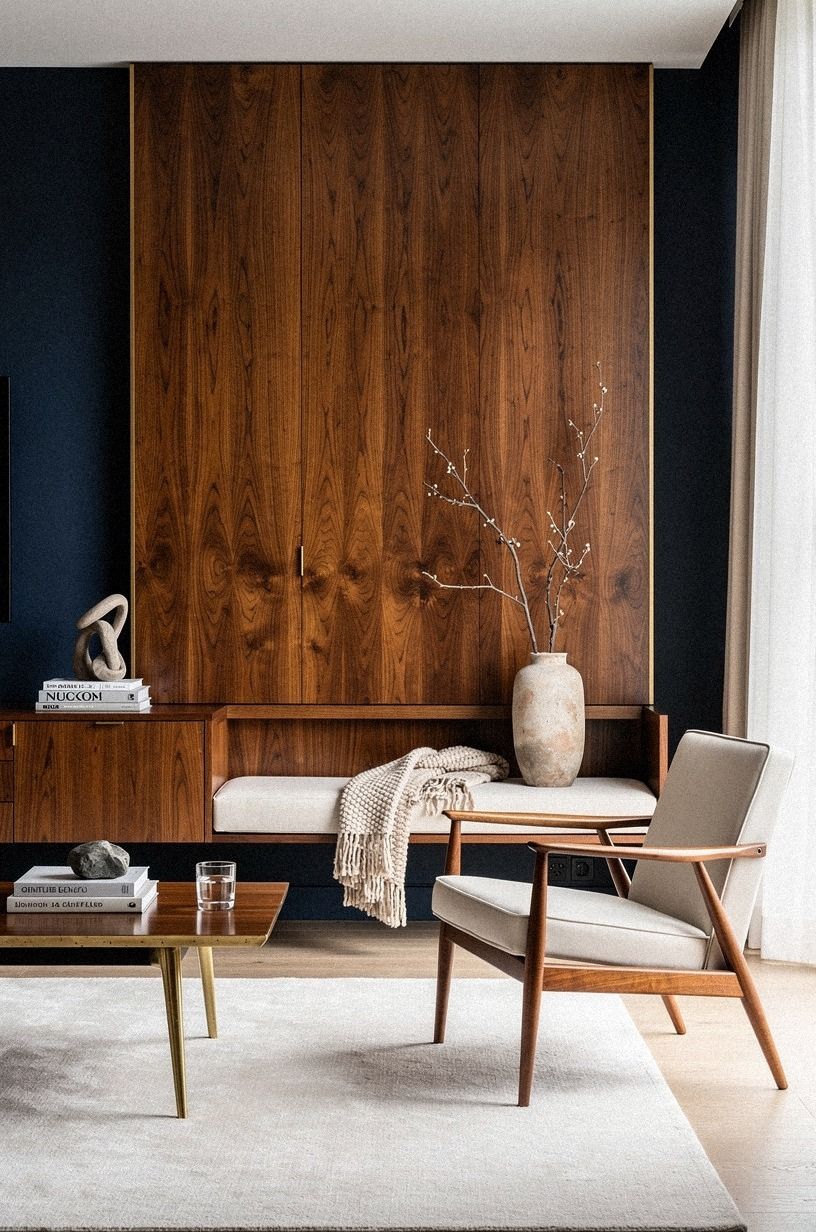
Anchored benches feel built-in. Floating benches feel like a chair someone forgot to push in. And they walk across the floor every time a kid climbs over them, which means the lid gap you've carefully measured slowly disappears until the lid won't open.
Two L-brackets into wall studs at the back of each end panel is plenty. Never anchor just into drywall, you'll be patching it within a year.
If you can't find the studs (plaster walls, older homes), use toggle bolts rated for at least 50 pounds each, and anchor into at least two wall points per bench run. The whole point of hidden storage is that you never see it, so a flush clean install matters more here than on any other piece of furniture in the room.
If you're in a 1920s plaster-walled apartment where studs are a hunt-and-peck affair, the freestanding-with-anchors approach changes. The full anchoring drill (including how to find studs behind old plaster) is in my DIY build walkthrough, along with the corner brackets and shim approach I use when there's just no stud anywhere near the bench run.
When you're ready to think about the table itself, the geometry of round vs rectangular changes everything about whether the bench actually fits. I broke down round vs rectangular nook tables with a tape measure, and the answer surprised me, which it does every single time.
3Slice the Lid Into Sections That Make Sense
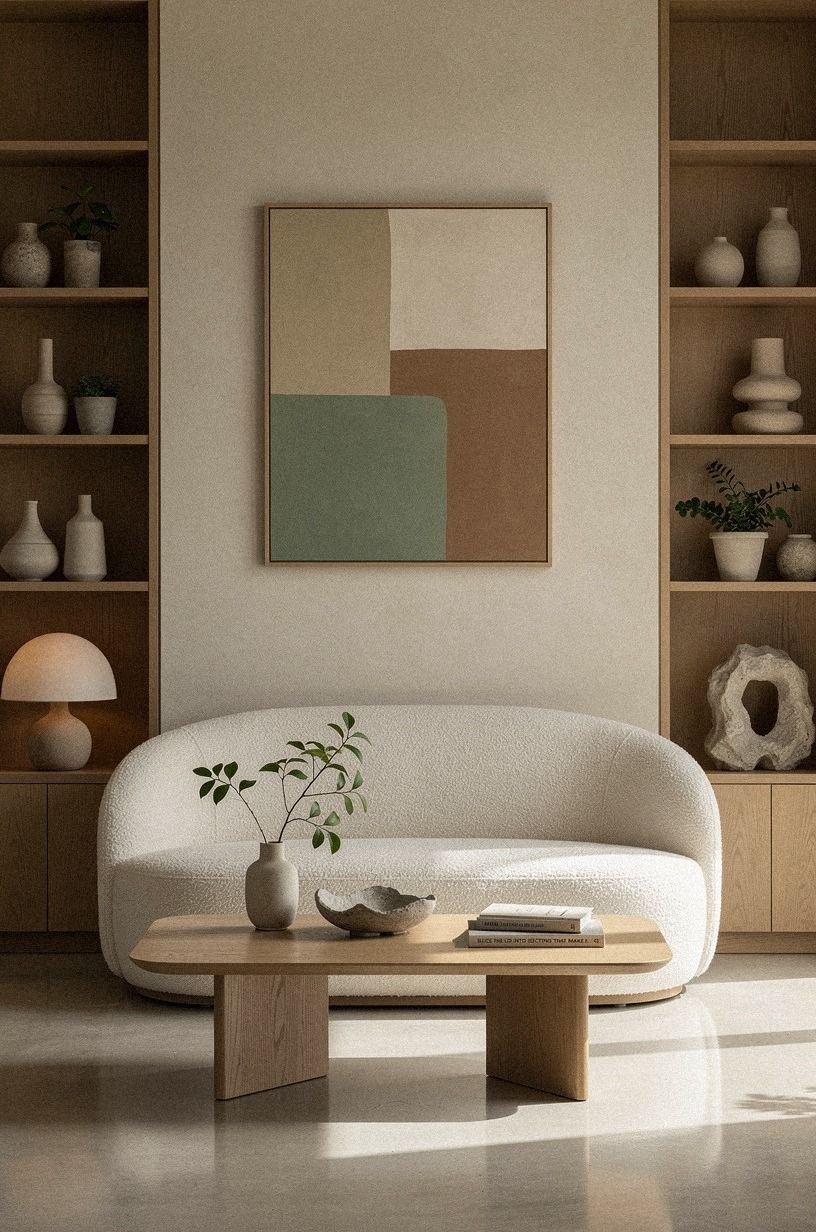
One giant lid looks elegant in the sketch. In practice, it sags. It also means every time you want one placemat from the back of the bench, you're lifting the entire surface plus whatever's sitting on it.
The fix is two or three lid sections per bench run, each one hinging open on its own.
For a 60-inch bench, I do three 20-inch lids. For an 80-inch banquette, a center divider with two lids that swing toward each other.
The other detail that pays off forever: finger pulls routed into the front edge of each lid, no knobs sticking up to catch every sleeve in the house. A 1/4-inch roundover bit and 90 seconds at the router gives you pulls that disappear visually but work with cold or wet hands.
For reference, my second-pass DIY guide goes deeper on the lid-and-hinge geometry, the part that determines whether your storage is truly reachable or you end up crawling on your knees every time you need the stand mixer. And no, three lids isn't overkill when you'll open at least one of them daily, sometimes twice.
4Layer Soft-Close Hinges the Right Way
Soft-close isn't luxury. It's a sanity feature, especially if you have kids in the house at breakfast time.
European-style cup hinges with a soft-close adapter are the standard now, and they cost about $8 each at Rockler or Blum. The catch: they need a specific gap (usually 1/4 inch) between the lid and the back rail, or they bind and snap.
I learned this the hard way, ripping out three hinges on my first build because I was too impatient to read the template.
Mount the hinge cup on the lid, not the back rail. Pre-drill with a 35mm Forstner bit (the ones with the brad point tip are worth the extra dollar). If you've got a tabletop-style lid that needs to fold all the way back out of the way, piano hinges are your friend, but only on smaller lids.
Anything over 24 inches will eventually twist and bind. For longer lids, use two short piano hinges spaced apart, never one continuous run.
The other thing the diagrams never show: test the hinge in mid-air before you commit. Hold the lid up, mount a single hinge temporarily, and open it 20 times.
If it squeaks, binds, or won't stay past 90 degrees, swap hardware now, not after the cushion's already upholstered. Trust me on this one, you don't want to undo ten feet of foam wrap because a $9 hinge fought back.
5Plan Airflow Before You Add the Cushion
I mentioned this earlier, but it belongs in the build itself: drill two 1-inch vent holes low on each end panel, behind where the cushion will sit, hidden from view.
6Skip the Cheap Foam
This is where most DIY benches go wrong. People budget $800 on the carcass and hinges, then drop $60 on 2-inch polyfoam from Joann's, wrap it in fabric, and wonder why the seat feels like a cafeteria chair by year three.
Cushion foam has a density rating, and the cheap stuff compresses below 1.5 lb/ft³. You want high-resilience foam at 2.5 lb/ft³ minimum, ideally wrapped in a layer of down-alternative batting so the edges feel soft instead of foam-blocky.
For the bench cushion itself, a 3-inch thickness is the sweet spot. Anything thinner feels under-cushioned; anything thicker makes leaning back awkward and eats into the storage height inside the bench.
For dimensions, the standard breakfast nook bench depth is 18 to 20 inches, and the seat height should match your table, which is typically 18 inches from the floor. If your table is a 36-inch counter-height version, scale both the cushion and the bench up to 24 inches seat height.
If you want ready-made cushion inspiration before you commit to fabric, take a look at some small breakfast nook layouts to see how proportional the cushions end up.
7Build the Lid-to-Cushion Gap on Purpose
The cushion shouldn't sit flush with the lid. Leave a deliberate 3/4-inch reveal around the cushion edge to the lid, so it looks intentional rather than trapped. This is the difference between a bench that looks custom and one that looks like a storage box with a chair pad thrown on top.
Trim the cushion first, then build the lid to fit the cushion with the reveal. Don't do it the other way around, or you'll end up shaving foam in weird places and getting a cushion that looks homemade in the bad way.
If you're upholstering yourself, use 18-ounce cotton velvet or a Belgian flax linen with a stain-guard treatment like Crypton. Both wear better than anything synthetic at this scale, and spills bead up instead of soaking in.
The geometry of the table underneath changes the cushion shape too. Round tables need a curved-front cushion; rectangular ones need straight edges.
And how much of that cushion you'll really sit on depends on whether you went bench all the way across or split the run with chairs. My take on bench vs chairs for a breakfast nook walks through the cushion-length math, because getting the overhang wrong by 2 inches is exactly the kind of detail that makes the whole nook look off.

8Divide the Interior by Use, Not Symmetry
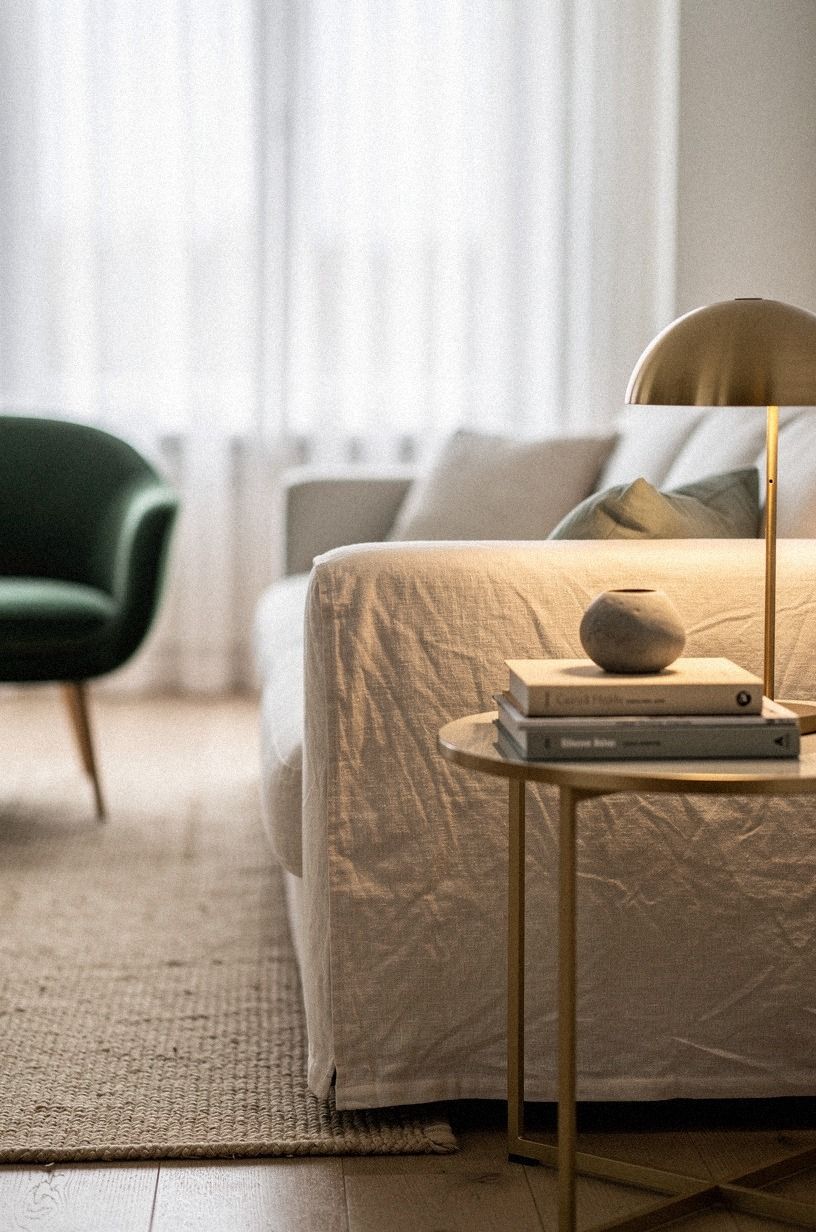
This is the most under-thought step. Open the lid, reach in, ask yourself: what comes out of here every week?
What comes out twice a year? Build the dividers around that rhythm.
For a family of four that uses the bench daily: - Front third, full depth: everyday linens (napkins, placemats, the tablecloth you only use when the in-laws visit). - Middle third, shallow shelf on top: kids' coloring books and the weekday breakfast bin (granola bars, the one coffee mug nobody else is allowed to use). - Back third, tall compartment: the slow cooker and the bread maker that only come out on weekends.
For a couple with no kids, the layout flips. Tall storage for wine bottles and board games.
Short bins for laptop cables and the dog leash. Measure your stuff before you cut any plywood.
And if you can't decide between two layouts, build a cardboard mockup of each one and live with it for a weekend, it's the cheapest design test you can run, and a kid will help you tape it together for free!
The bench seating itself can be one piece, or, if you've got a longer wall, consider two benches on either side of the table. A sunroom nook setup often calls for this L-shape geometry, and it doubles the hidden storage without doubling the footprint.
9Wire the Bench for the Stuff You Actually Use
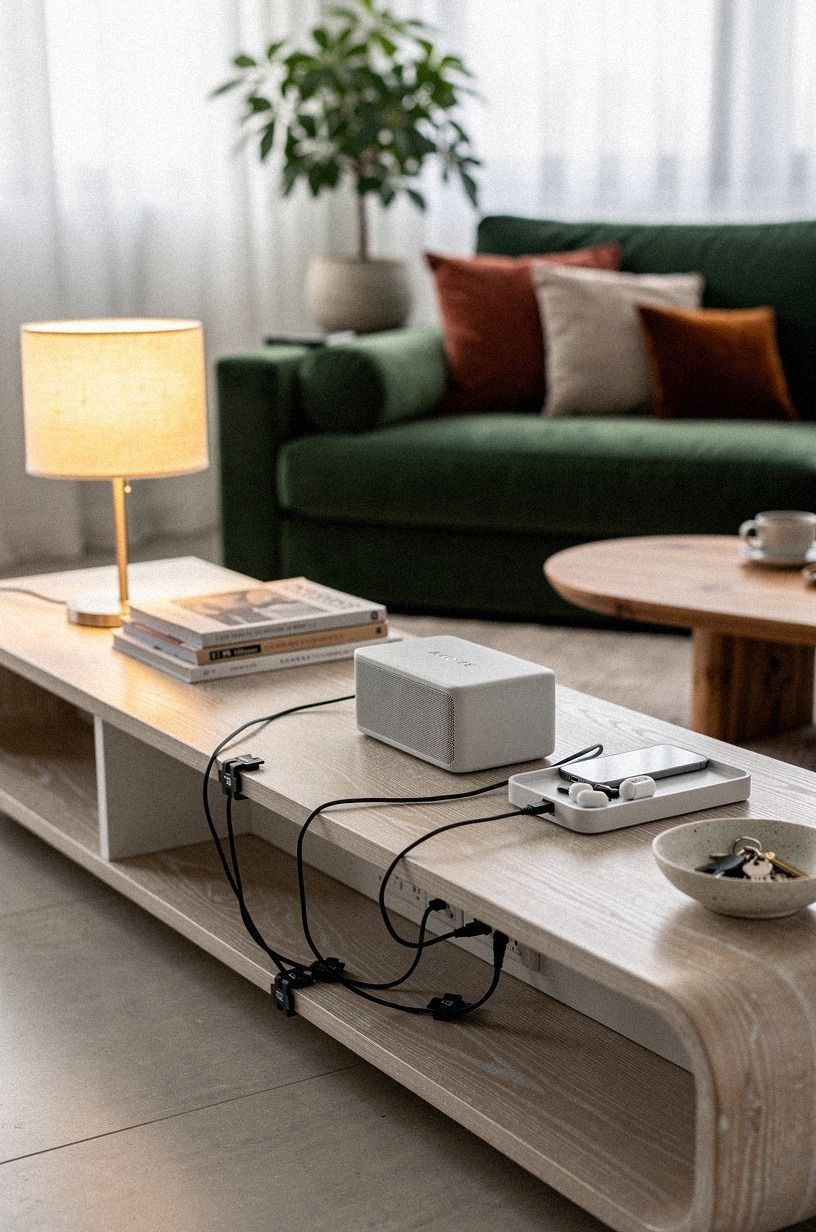
Planners always assume breakfast nook storage = baking sheets and placemats.
10Match the Bench to the Wall, Not the Floor
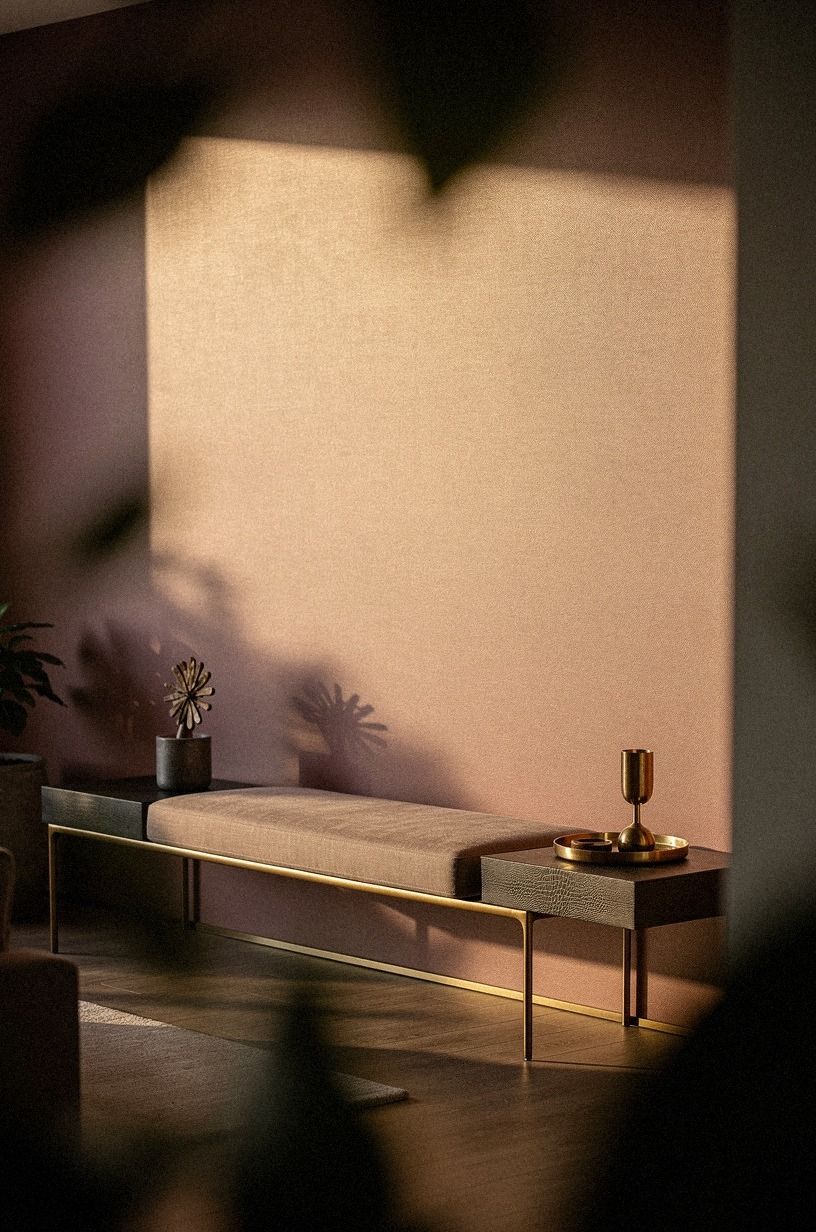
The bench looks built-in when it reads as part of the wall, not as furniture sitting on the floor. The move: paint the back of the bench the same color as the wall behind it. Even if the rest of the bench is raw plywood or a contrasting stain, the back panel disappears and the whole assembly looks anchored.
For warm neutral walls, Benjamin Moore Revere Pewter (HC-172) is bulletproof. For a moodier look, Sherwin-Williams Evergreen Fog (SW 9130) reads as a soft green-gray that hides scuffs beautifully. For a high-contrast built-in look, Farrow & Ball Hague Blue (No.30) on the bench back with Benjamin Moore White Dove (OC-17) on the walls is the designer move that costs the same as a builder beige but looks like a custom install.
One thing about Hague Blue specifically: it pulls almost navy on a north-facing wall and almost black on a south-facing wall. If your nook sits in a low-light corner, lighten up. Studio Green is the safer call for dim rooms, where Hague can feel oppressive by 3pm.
11Add a Picture Light Above the Bench
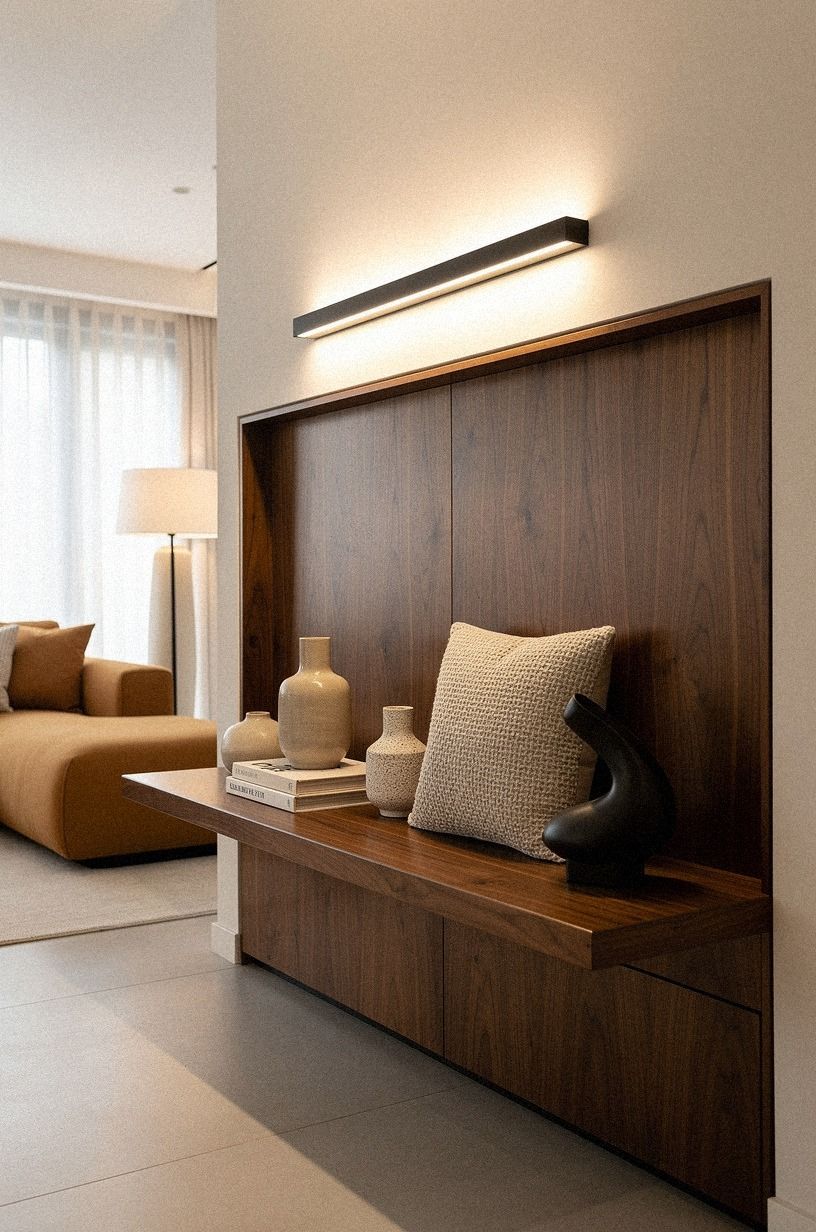
A breakfast nook with a bench against a wall is begging for a small picture light mounted 6 to 7 inches above whatever hangs there.
12Hang One Piece of Art at Eye Level
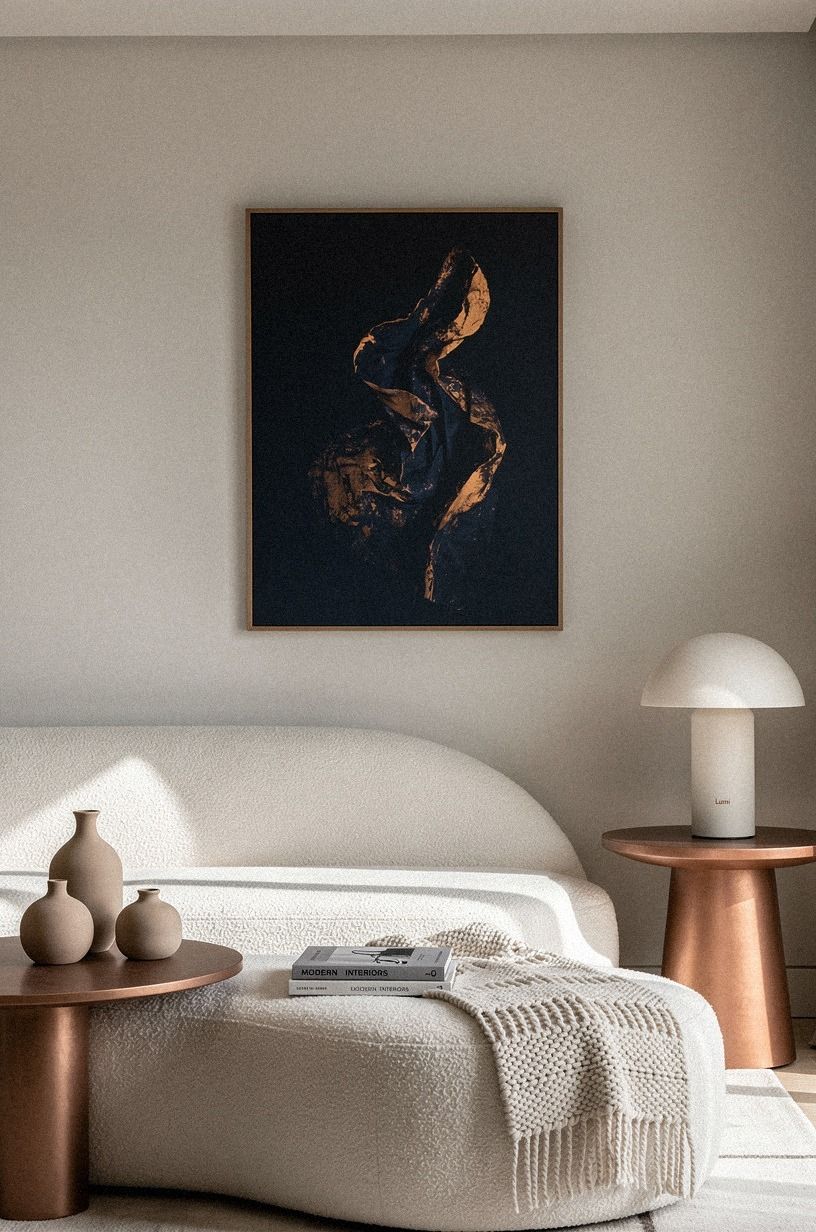
If the bench backs onto a wall, that wall needs art. Not a gallery wall, just one good piece at the eye line of someone sitting. 57 to 60 inches from the floor to the center of the frame is the standard rule, and it puts the piece directly in your line of sight when you're seated, leaning back into the cushion.
I've seen people hang art way too high above breakfast nooks because they measured from standing height. Sit on the bench, have someone hold the frame at different heights until you land on the right one.
A single 24x36 frame in a wide oak gallery rail above a 60-inch bench reads intentional. A pair of 16x20s flanking a window works too, but only if the window is centered on the bench and not offset.
If the bench is in a tiny nook where one wall does triple duty, you'll want to read the art smaller or skip the frame entirely and let the wall breathe. The proportions change at 30-something inches of wall length. See the small nook layouts guide for how the art weight shifts at that scale.
If you're not sure what to hang, a black-and-white photograph of a family kitchen from the 1960s is almost impossible to get wrong. Vagueness is the killer of art over a nook. Specificity is what makes it feel intentional.
13Layer a Runner or Small Rug Under the Table
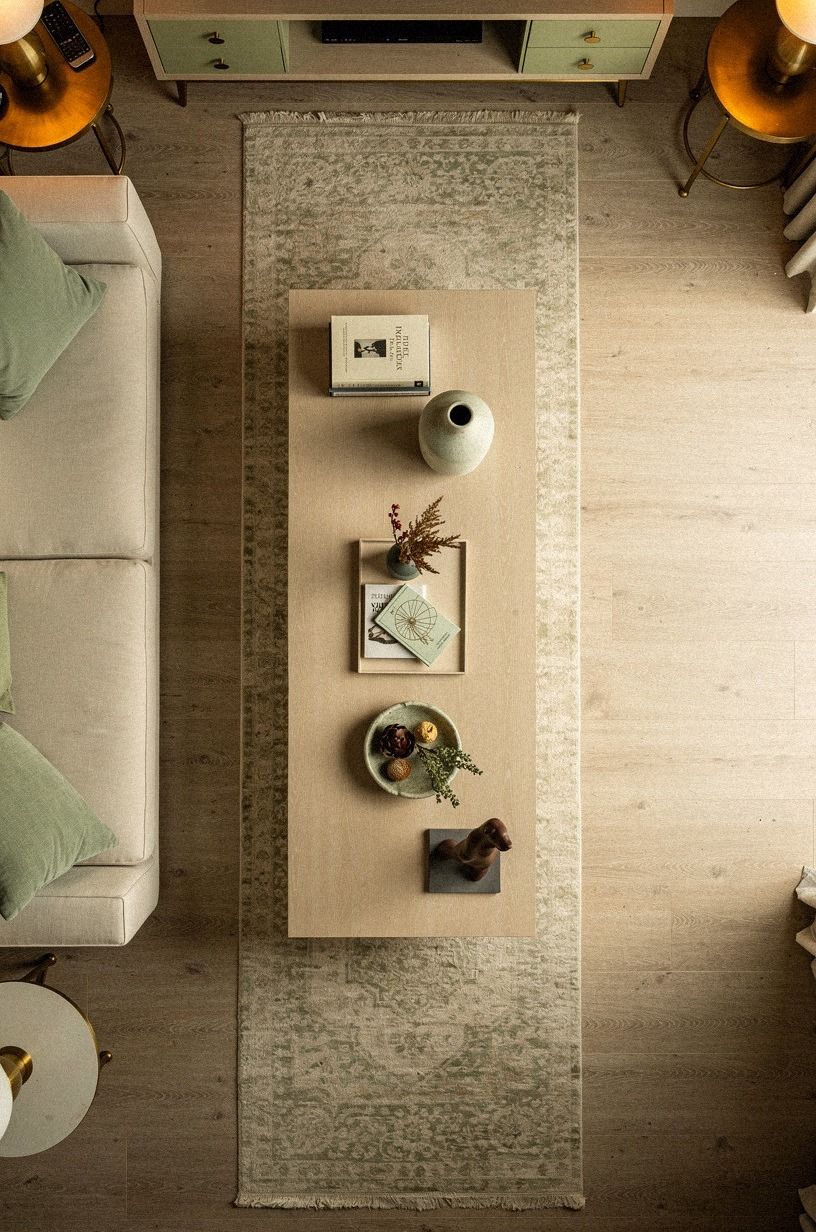
A breakfast nook with a bench feels too cold underfoot without something softening the floor.
14Style the Top, Hide the Rest
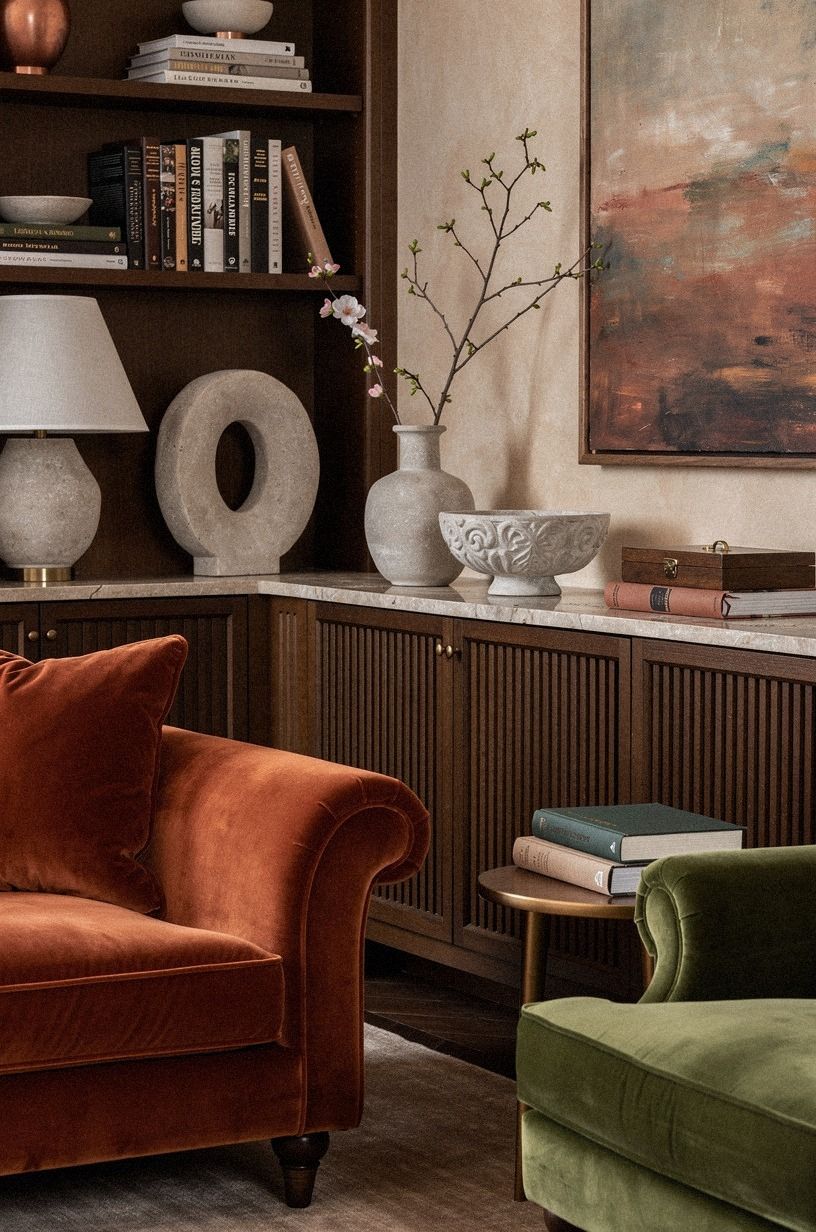
The bench top isn't a shelf for your cookbook collection. Less is more here.
Two placemats, the salt and pepper, and one small thing. A cutting board leaning against the wall.
A carafe. A single candle in an unlacquered brass holder. That's it.
What goes ON the bench tells every visitor what's underneath matters, not what's on top. If you load the seat with vases and books, you're saying the storage is for show. Keep it spare and the storage reads as necessary, which is the whole reason you built it in the first place, and the room will feel twice as calm by morning!
And please, no pillows leaning against the wall just to fill space. If you're going to add cushions, they belong on the seat, not propped decoratively against the back.
The exception: one lumbar pillow per person at mealtimes, made from the same fabric as the cushion. Then they read as part of the bench, not as decoration trying too hard.
If your nook is angled off a sunroom or a covered porch, the styling rule shifts because natural light is doing most of the work. My sunroom nook guide covers the sparser-top setup that holds up at 9am when the sun is blasting in, and it makes weekday mornings feel like a slow Saturday, every time.
The Questions Worth Answering First
What is the best breakfast nook bench storage layout for a small living room?
For a small space, the built-in bench on one wall with storage underneath wins every time. Two short benches across a small table take more floor space than a single banquette, and you lose the storage advantage.
A custom banquette in plywood with a hinged lid runs about $900 in materials and tucks into corners other furniture can't. If your room is genuinely tight (under 50 square feet of nook zone), the small nook layouts guide shows how to keep the storage without the footprint.
Where can I buy breakfast nook bench hardware on a budget?
Three places worth checking in order: IKEA for stock bench frames (the NORBERG and STENSTORP both have hidden storage in their seat bases), Rockler for hinges and soft-close adapters, and Facebook Marketplace for vintage built-ins people ripped out during reno. Real reclaimed built-ins show up weekly in most US metro areas for $200 to $500, and the bones are usually better than anything you'd build new.
How much does a breakfast nook bench with hidden storage cost?
It depends on whether you're DIYing the build or hiring out. DIY build: $600 to $1,500 in materials for a 60-inch bench with soft-close hinges and decent foam.
Mid-range custom: $2,500 to $6,000 including upholstery. High-end millwork: $8,000 to $20,000+, which is the right spend only if the bench is the focal point of a major kitchen renovation.
The table itself is usually a separate line item, and the material breakdown for a 60-inch DIY build is laid out in detail in my step-by-step bench guide.
Can I build hidden storage into a breakfast nook bench on a budget?
Yes, and you don't need to compromise much. Skip the custom upholstery and use indoor-outdoor fabric from IKEA or Fabric.com, which is a fraction of the price of designer stuff and shrugs off spills.
Buy hinges from Rockler's clearance bin, which is real and well-stocked. Reclaim birch plywood from a local cabinet shop's cutoff pile.
I've seen complete benches built for under $400 with smart sourcing, and they look indistinguishable from $4,000 versions.
Is a breakfast nook bench with hidden storage worth it in a small space?
Absolutely. In a small space, the bench is the storage.
You don't have room for a separate sideboard or hall tree, so the storage has to live somewhere. A bench with hidden storage gives you back the equivalent of a six-foot closet.
If your square footage is tight, the bench is doing two jobs at once, and that's the whole reason it earns its footprint. The math holds especially well when you compare it to the cost of building out a separate pantry or hall closet, which can easily run $3,000+ for the same volume of storage.
Is a breakfast nook bench with hidden storage a good idea for a rental?
Yes, with a few swaps. Skip the built-in and use a freestanding IKEA bench with built-in storage (the STENSTORP is purpose-built for this).
Mount the art with Command strips rated for the frame weight. Use a cord cover raceway painted to match the wall instead of running new outlet boxes.
The whole point of the bench-as-storage idea survives intact in a rental, you just lean toward removable instead of anchored.
Where I'd Start First
If I had to pick one step, I'd start with the frame and the hinges. The cushion, the fabric, the styling, none of it matters if the lid sags or the soft-close binds.
Get 3/4-inch birch plywood, Rockler soft-close hinges, and high-resilience 2.5 lb/ft³ foam in the cart before you do anything else. Everything else is decoration on top of a working machine. Pin this for the weekend you really start the build, and you'll thank yourself every morning for the next decade.