
 by
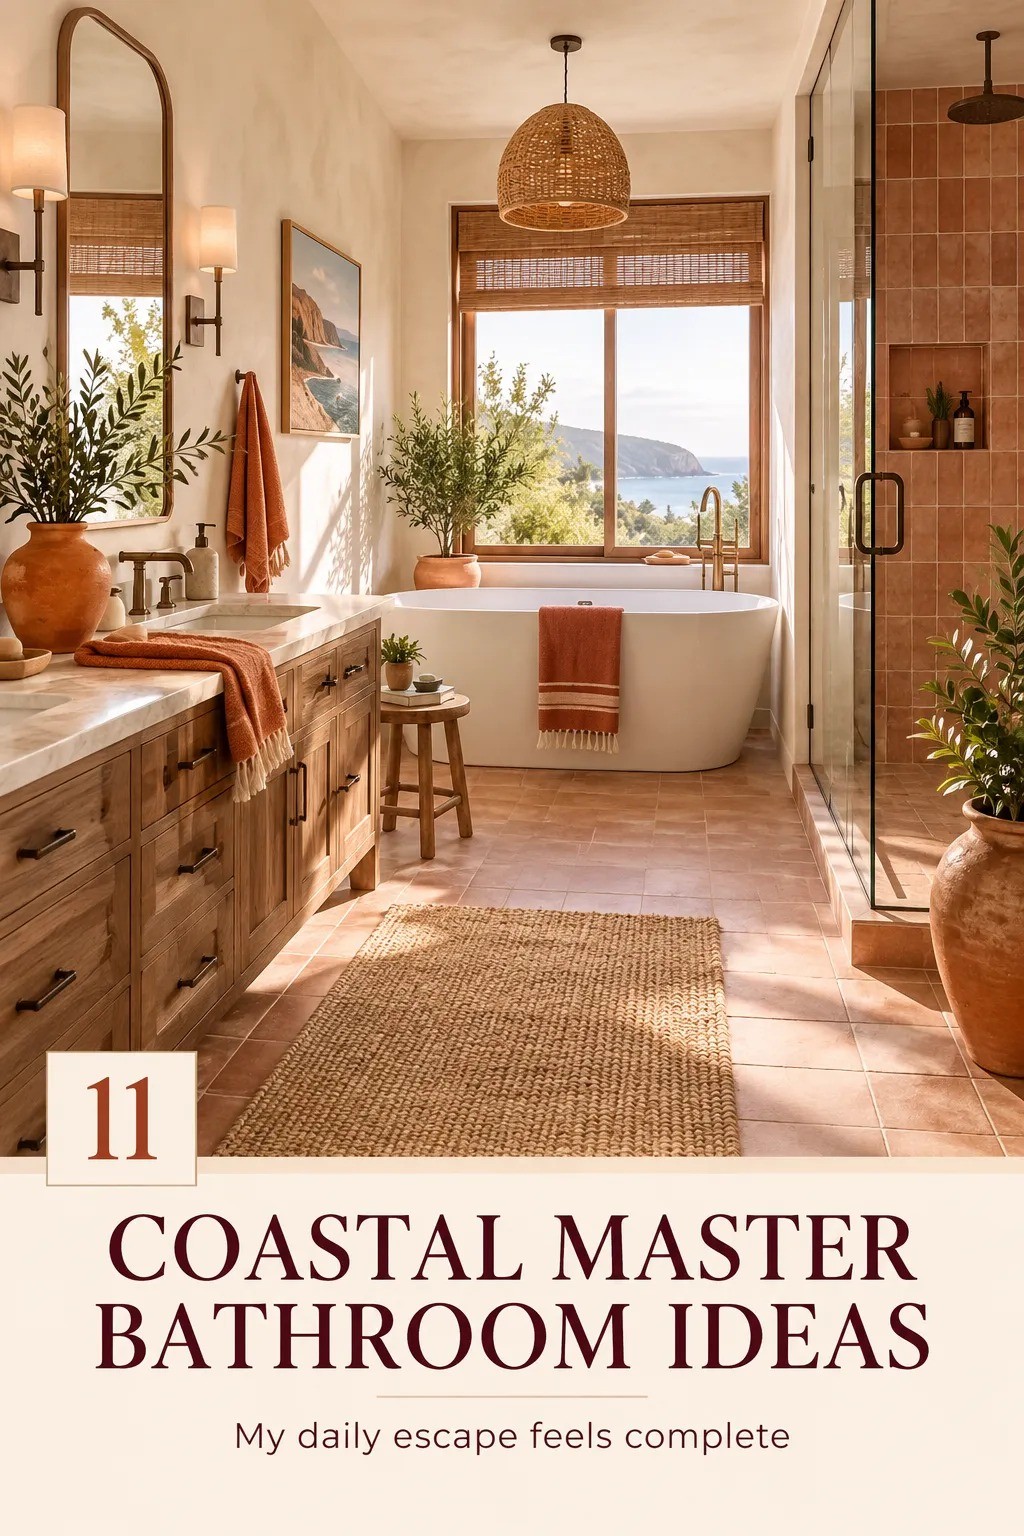
by Coastal Master Bathroom Ideas for a Breezy, Beachy Escape can work without a remodel when paint, light, and texture do the heavy lifting. I made this bathroom feel warmer and more beachy with no new plumbing, no demolition, and no weekend spent covered in grout. The room changed more than I expected.
Here's what it looked like before
The room had a builder-grade vanity, cool gray walls, bright overhead lighting, and a mirror that made the bathroom feel narrower than it was. Nothing was broken. That mattered, because I wasn’t willing to tear out a usable bathroom for a prettier one.
I started with the limits. The vanity had to stay, the plumbing had to stay, and the floor couldn’t move. You’re looking at the full starter-home package, and I wanted the finished room to feel airy, calming, and lived-in without pretending it was a new build.
The key was treating the bathroom as a composition instead of a collection of upgrades. Paint, light, storage, and textiles could change the mood before any expensive fixture entered the room.
- Paint the walls for a warm white bathroom design
- Layer the Three-Height Light Stack
- Swap cold chrome for brushed brass
- Float storage around the 32-36 inch vanity rule
- Frame the mirror with the Two-Wood Rule
- Choose zellige over subway tile for one focal strip
- Hang linen and terry textures together
- Build the Beach-Glass Storage Wall
- Anchor the floor with natural tones bathroom styling
- Give the shower a 36x36 inch comfort check
- Ask what makes a beige bathroom feel beachy
1Paint the walls for a warm white bathroom design
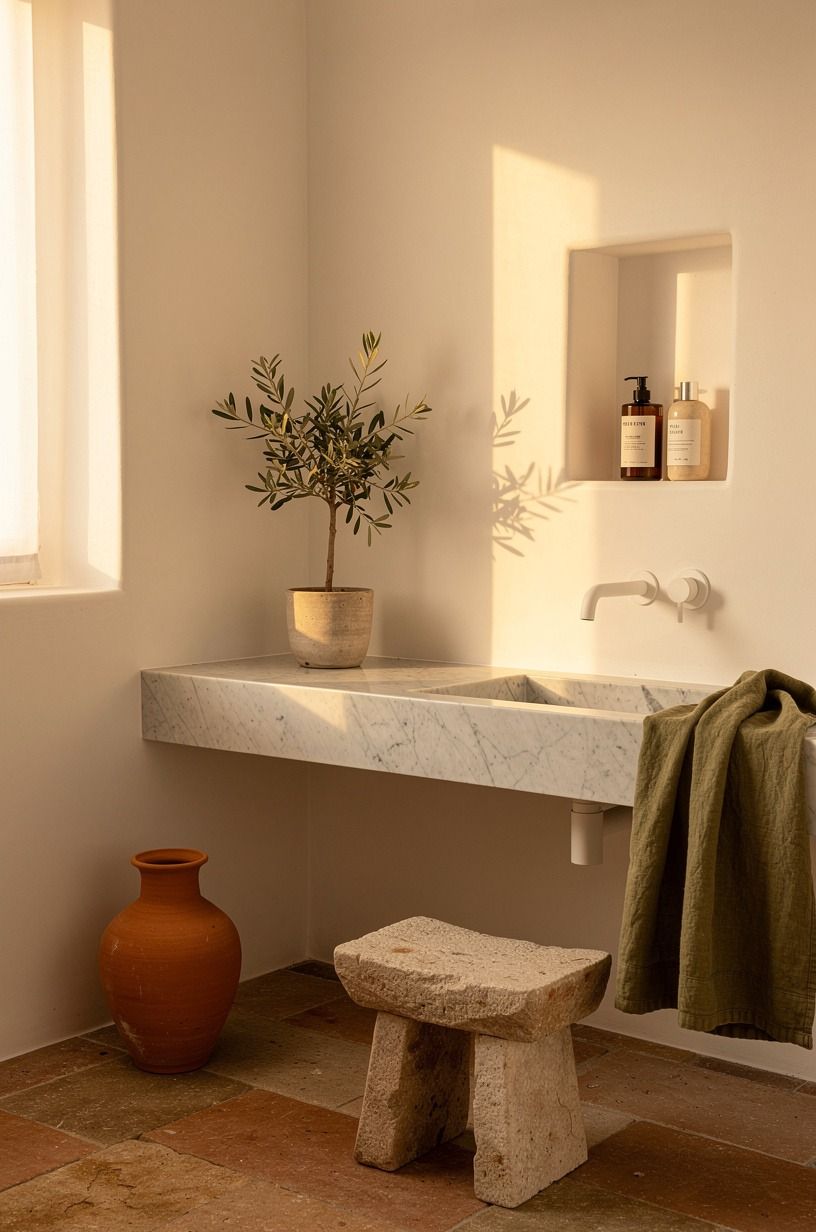
I began with a warm stone paint because its quiet base let the terracotta and olive accents stay visible without making the room look nautical. I tested it beside the window, beside the mirror, and behind the vanity. You’ll want to test your paint in at least two light conditions because morning color and evening color can feel like different rooms.
The first coat looked too pale. The second coat settled into a soft coastal tone that made the Carrara marble with subtle grey veining look calmer.
And honestly, I nearly chose plain white. That would’ve been easier, but it would also have made the fixtures and porcelain feel sharper.
If you’re working with a small bathroom, paint the ceiling the same color at a lighter strength only if you can keep the transition quiet. A ceiling that disappears can make the room feel taller, while a hard white line can interrupt the calm.
I connected the color choice with this spa-like master bathroom guide because your wall color has to support the whole mood, not just the shower wall. I also returned to that guide while comparing Benjamin Moore Pale Oak and Farrow & Ball Borrowed Light. A sample pot and an afternoon of testing did more than another decorative object could’ve done.
2Layer the Three-Height Light Stack
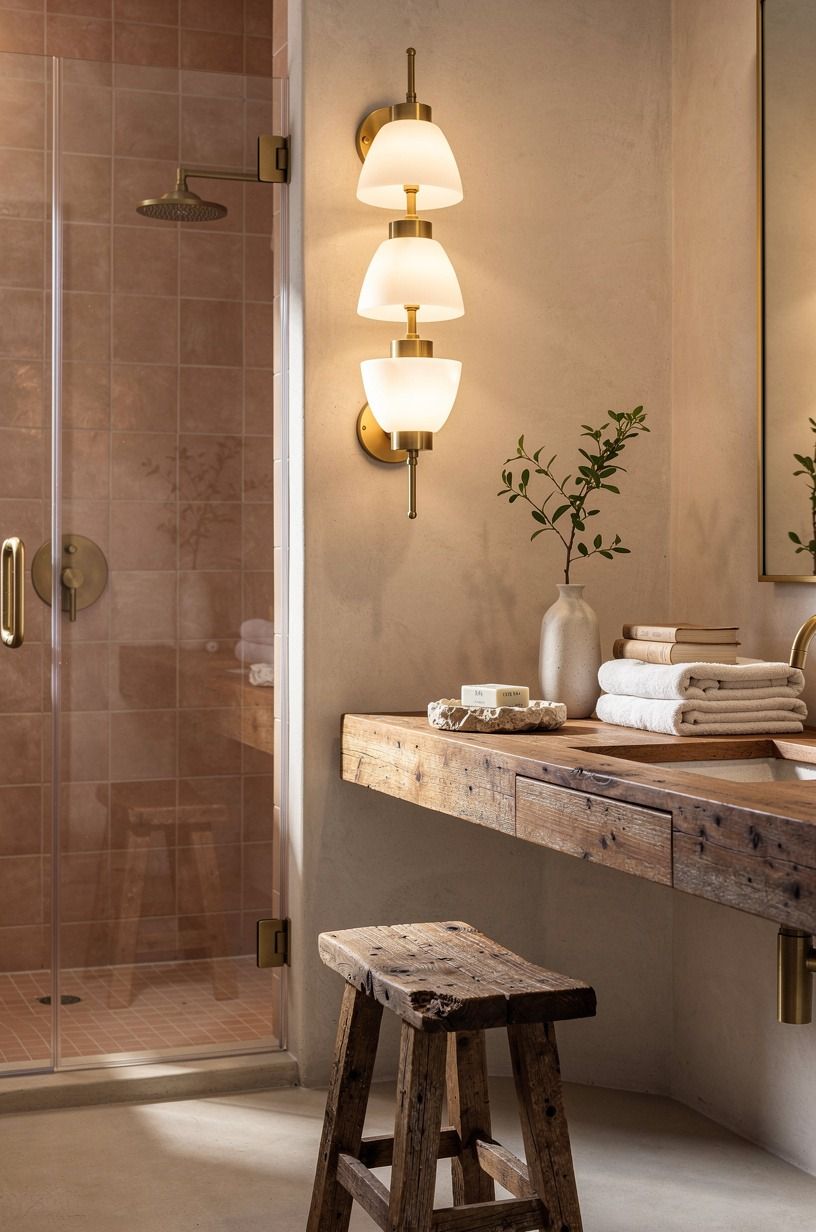
The old room had one ceiling fixture, and it flattened every surface below it. I kept the fixture for practicality, then added light at three heights: the ceiling, the mirror, and the counter. That became my Three-Height Light Stack, and it’s the reason your bathroom can feel gentle at night instead of clinical.
I used aged brass sconces beside the mirror, with warm bulbs that don’t throw blue light across your face. The sconces sit high enough to light both cheeks evenly, while a small lamp with a linen shade on the reclaimed weathered teak shelf adds a lower glow.
You don’t need to copy every layer. If your wiring is fixed, begin with a plug-in light or a rechargeable lamp.
But don’t install a bright vanity strip and call the lighting finished. It’ll erase the texture you worked to add. I’d rather have one soft wall sconce and a dim ceiling bulb than six exposed bulbs shouting at your reflection.
The bulb temperature matters too. I chose 2700K bulbs because they kept the clay and linen tones warm without turning the room yellow. Your bathroom should feel relaxing before bed, not like a dressing room at a department store.
For a broader lighting direction, I used ideas from this modern luxury master bathroom design guide, especially its balance between practical brightness and quieter pools of light. I also used the same guide when deciding where to place the lower counter lamp.
3Swap cold chrome for brushed brass
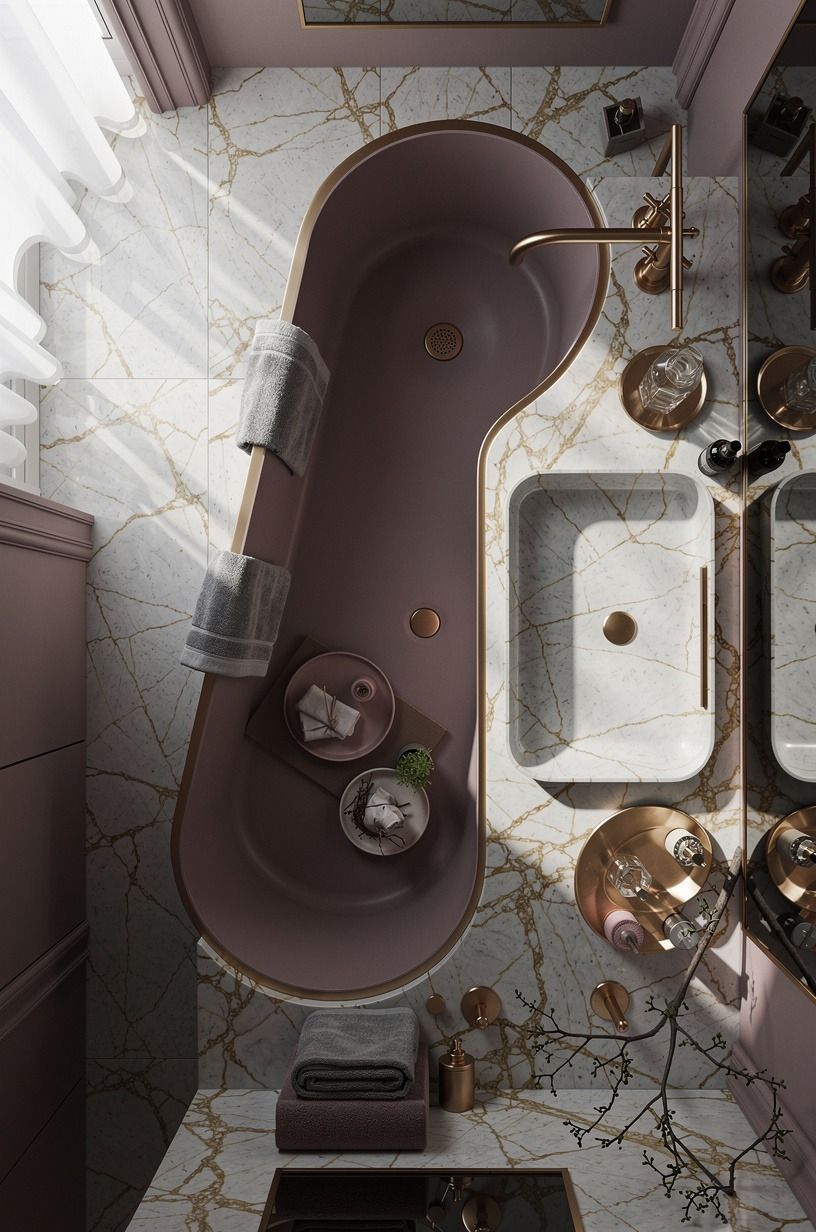
The easiest visible shift was changing the small metal details. I chose a soft rose-gold faucet with a muted finish, not a mirror-like gold. The metal catches the light without becoming the first thing you notice, and it works against plum and grey tones as well as Calacatta marble with gold veining.
You’ll want to check your existing faucet connection before buying anything. I measured twice because the vanity plumbing was cramped, and I didn’t want a beautiful replacement that couldn’t clear the backsplash.
Typical rose-gold faucets run $120 to $450, so this is where you should compare the whole room rather than buy the first finish you like. A less expensive faucet can look intentional when the shape is quiet and the finish is repeated carefully.
I kept the shower hardware in its existing finish because replacing it would have pushed the project toward a remodel. That mix works when you repeat the rose gold in two or three smaller places, such as a towel hook and cabinet pulls. More than that starts to feel decorated instead of collected.
A coastal room doesn’t need a shell-shaped knob. It needs a finish that looks softer as the light moves. If you’re unsure, compare your options beside the mirror at noon and after sunset.
The winner will be obvious.
I reviewed this budget master bathroom remodel guide before ordering anything. It helped me separate a useful hardware upgrade from a purchase that only looked exciting in the box.
4Float storage around the 32-36 inch vanity rule
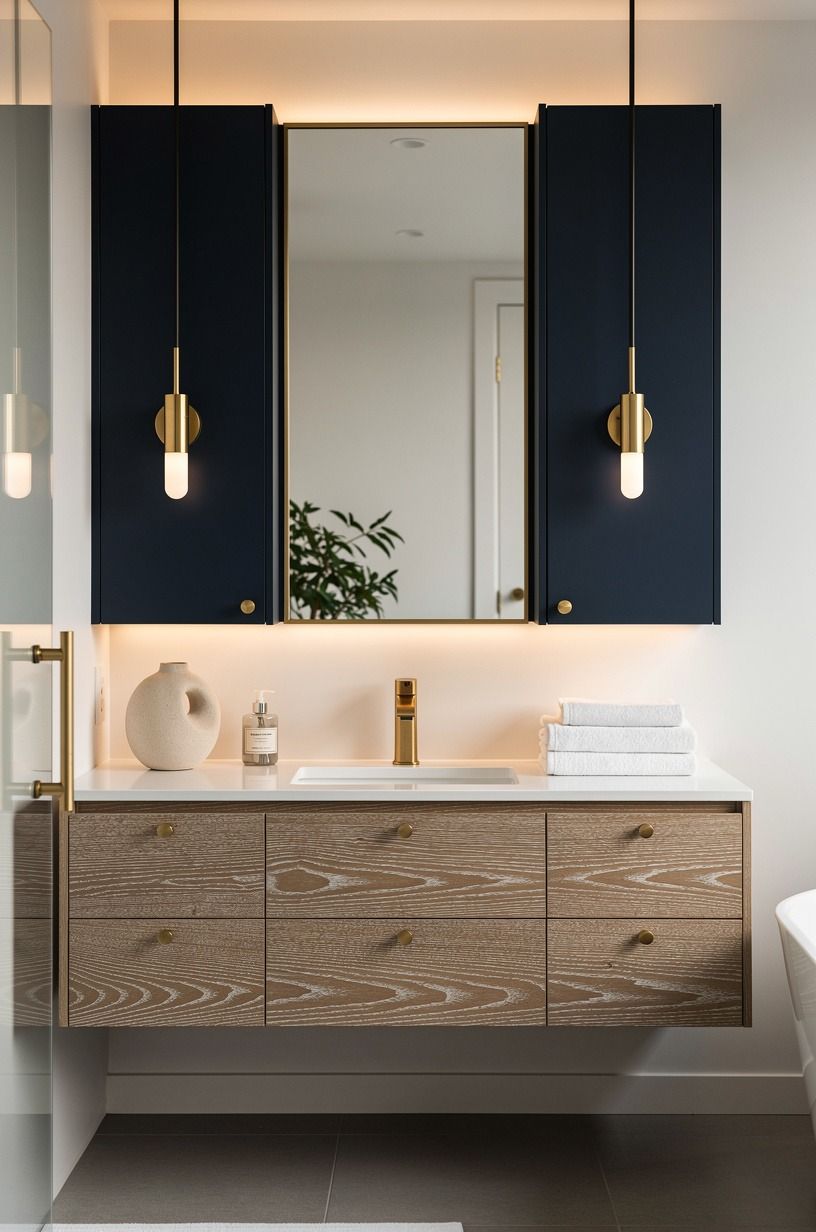
The vanity stayed, but I made it feel less heavy by clearing the counter and adding open storage beside it. Your vanity height should generally sit around 32 to 36 inches, so I didn’t raise or lower the existing cabinet. I changed what surrounded it instead.
I installed a narrow cerused white oak shelf outside the splash zone for folded towels, spare paper, and a small basket. The white oak keeps the room earthy, while the open cubbies stop the corner from becoming a dark block.
I measured the walkway first because your storage shouldn’t steal the clearance you need to move comfortably. A shelf that technically fits can still make a small bathroom feel awkward if you have to turn sideways around it.
My favorite part is the lowest shelf. It holds a rolled Turkish towel and a ceramic bowl, while the upper shelves carry practical things that usually end up on the vanity. You’ll notice the room feels larger because the counter is visible again.
And if you’re working with a rental, skip wall anchors and choose a slim freestanding shelf instead. This budget master bathroom remodel guide helped me keep the storage useful without making the room look temporary.
I also borrowed one idea from the modern luxury master bathroom design guide: leave some open space around the objects you want noticed. Empty shelf space is doing design work here.
5Frame the mirror with the Two-Wood Rule
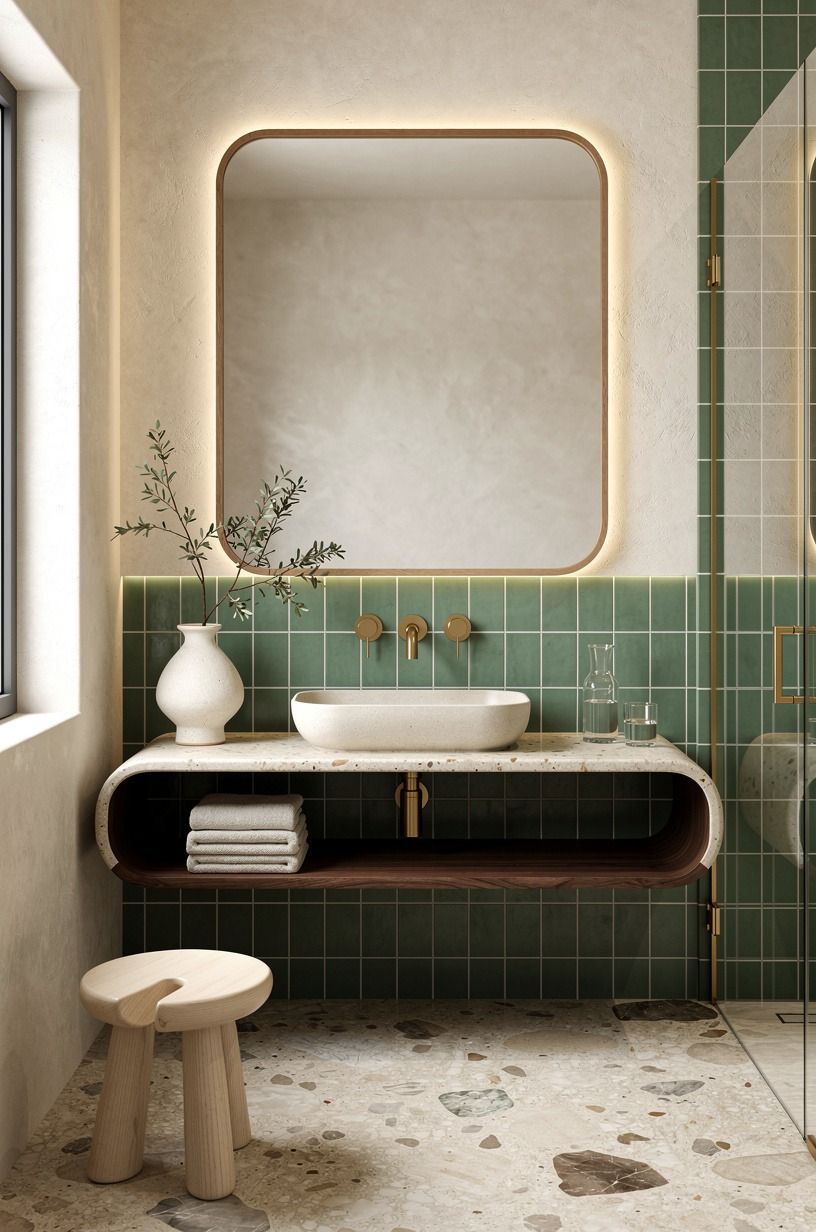
The mirror was functional but forgettable, so I gave it a slim cream surround with backlit translucent onyx.
6Choose zellige over subway tile for one focal strip
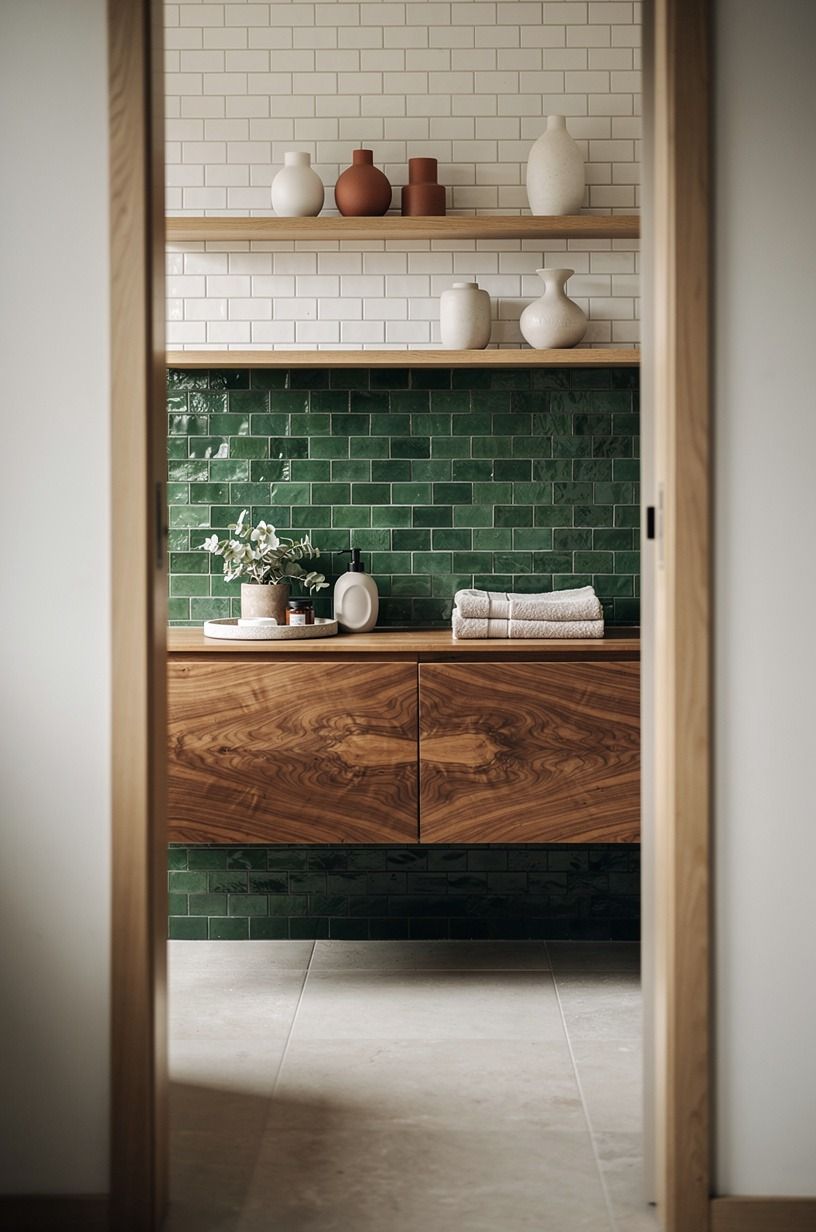
I didn’t retile the bathroom, but I added a narrow backsplash strip behind the vanity. The choice came down to hand-glazed forest-green zellige versus white subway tile. Subway tile would’ve been cheaper and cleaner, but zellige won because its uneven surface catches small shadows throughout the day.
Zellige tile typically costs $15 to $35 per square foot, while subway tile often runs $2 to $10 per square foot. You’ll want to use that price difference strategically. A small strip can give you the handmade texture without turning the project into a full tile budget.
The tile has soft variation, not a perfect matching grid. That irregularity makes the room feel organic and less like a showroom. A book-matched walnut detail kept the forest green from feeling too cool, while warm white grout stopped the wall from becoming too busy.
Would I tile the whole bathroom? No.
In this room, the small dose is stronger. If you’re considering a larger tile change, compare it with these master bathroom tile ideas before committing to a pattern that can’t be easily undone.
I also read that guide when comparing a narrow strip with a full-height backsplash. The smaller application won because it gave the vanity personality while leaving the rest of the walls quiet.
7Hang linen and terry textures together
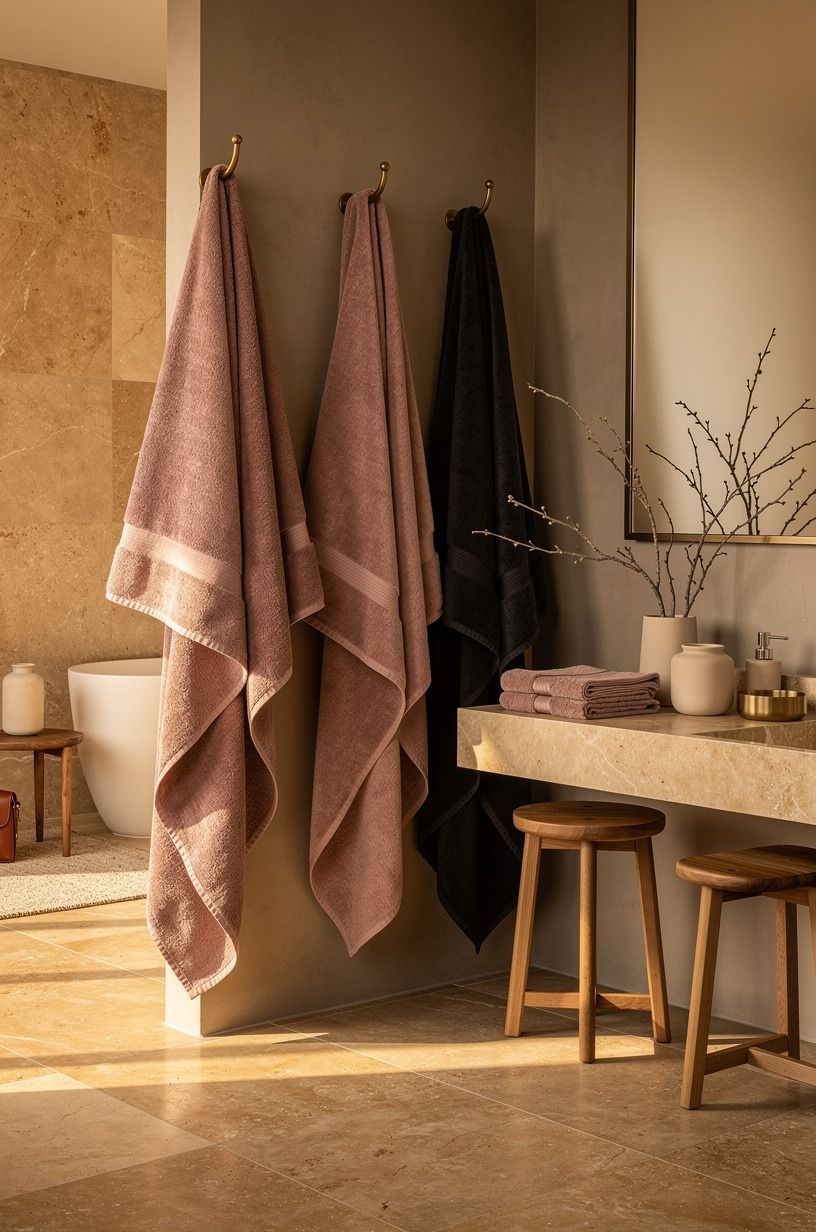
I replaced the all-white towels with dusty-rose linen and charcoal terry, then added a small warm travertine accent to keep the arrangement from feeling flat.
8Build the Beach-Glass Storage Wall
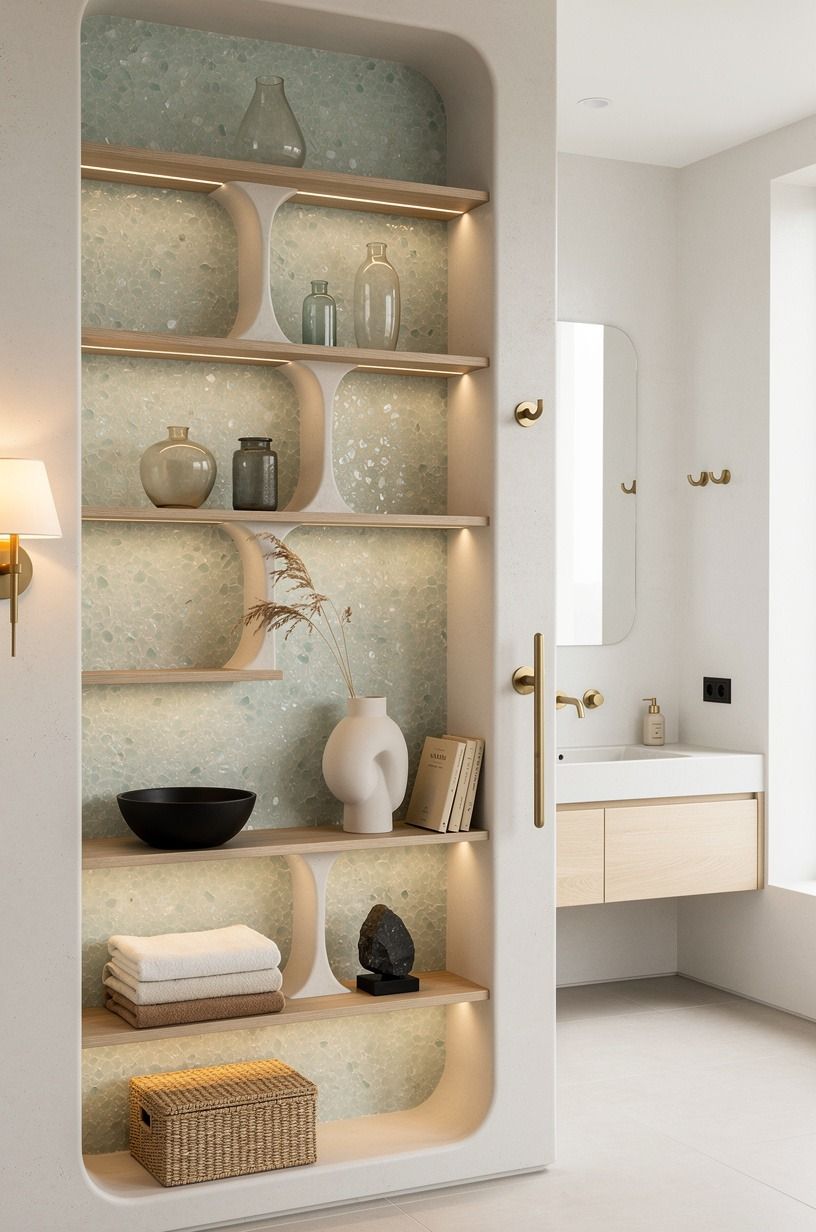
The open shelves needed color, so I gathered small storage pieces in warm-white and camel tones, with black accents. I called it the Beach-Glass Storage Wall, although it’s really just a narrow section of shelving with warm-white jars, one camel-toned vessel, and an unlacquered brass cup developing a soft patina.
You’ll want to keep the useful items at eye level and the decorative ones above them. Cotton rounds, bath salts, and spare soap stay contained, while a small stack of washcloths fills the lower shelf. The arrangement looks intentional because everything has a job.
I skipped shells, signs, and printed beach quotes. They would’ve pushed the room into theme territory, and your bathroom doesn’t need a slogan to feel coastal. A warm-white jar catching afternoon light is enough.
For a more textured direction, I looked at this Tulum-style tadelakt bathroom guide. I didn’t copy the plaster treatment, but it reminded me that a coastal room can feel earthy and refined without relying on literal ocean objects.
The best storage pieces have quiet shapes. A camel-toned vessel feels tactile, while a plastic organizer would have made the shelf look temporary. You don’t need every container to match, but they should share a similar visual weight.
9Anchor the floor with natural tones bathroom styling
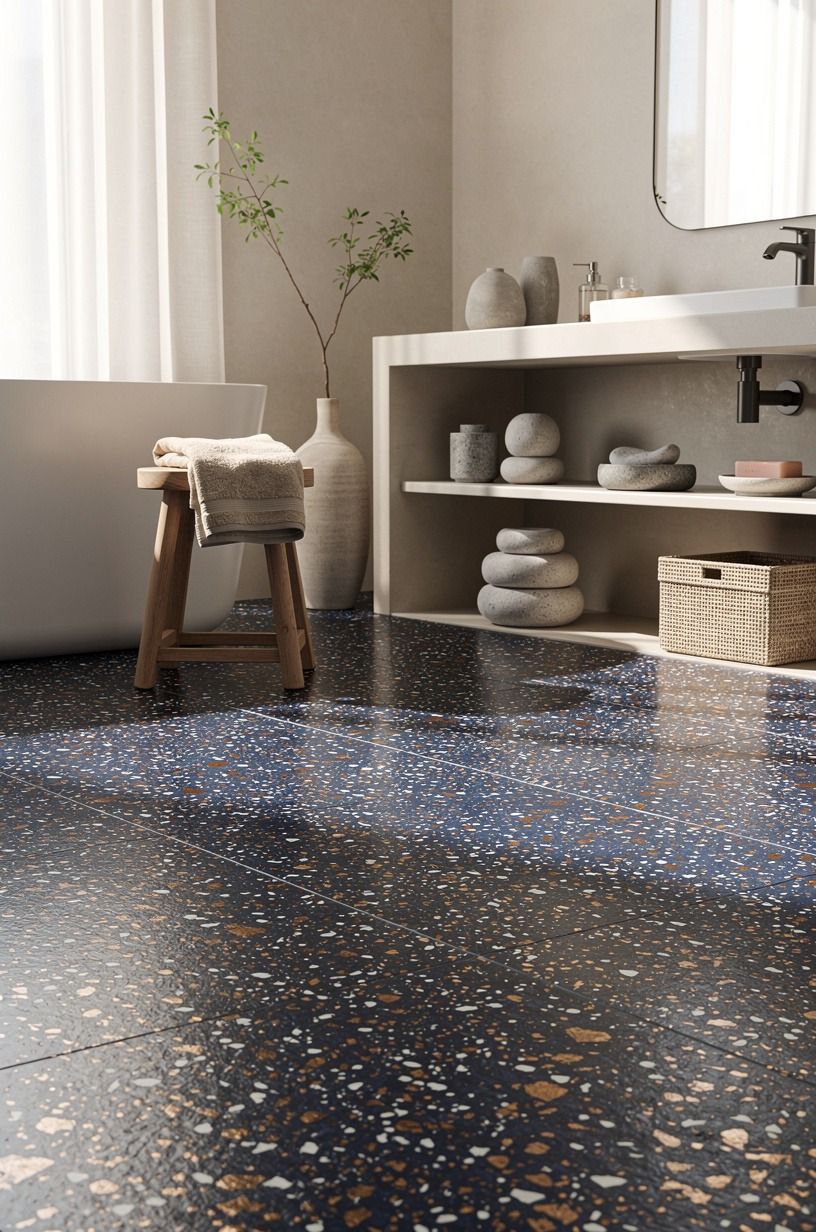
The existing floor was an oversized-chip terrazzo with midnight-blue, copper, and ivory chips, so I warmed it with a narrow runner in a natural fiber blend.
10Give the shower a 36x36 inch comfort check
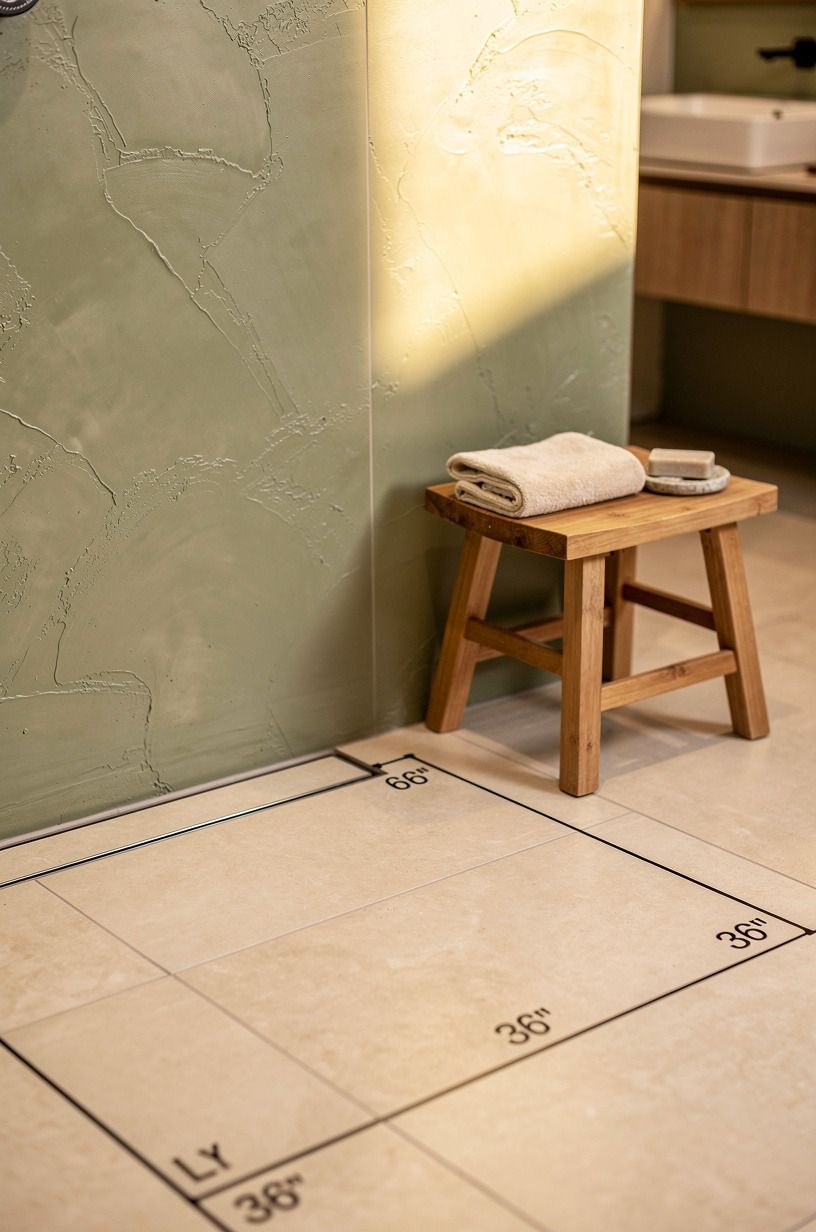
The shower itself stayed untouched, but I changed the feeling around it with hand-applied Venetian plaster in sage green, a natural-wood stool, and fewer bottles. A comfortable shower is generally at least 36 by 36 inches, so your layout matters more than the number of accessories you place inside.
I used a warm-cream waffle shower curtain with a subtle vertical texture. It lets the room stay bright without making the space feel exposed, and it breaks up the hard outline of the tub.
A standard tub measures about 60 by 30 inches, so I kept the curtain and stool proportions slim. A bulky seat would have blocked the walkway and made the room feel cramped.
I removed the plastic bottles from the ledge and moved them to a single wall-mounted caddy. That small decision made the shower look calmer immediately. You’ll want to choose one finish for the caddy, even if the rest of your hardware mixes metals.
If you have a tub instead of a walk-in shower, this master bathroom tub ideas guide has useful layout references. I’d skip an oversized stool if you’re tight on floor space. A small natural-wood perch gives you the texture without blocking your feet.
That same guide helped me think about the warm-cream shower curtain as a light-control decision, not just a privacy choice. The room needed more brightness at the tub wall.
11Ask what makes a beige bathroom feel beachy
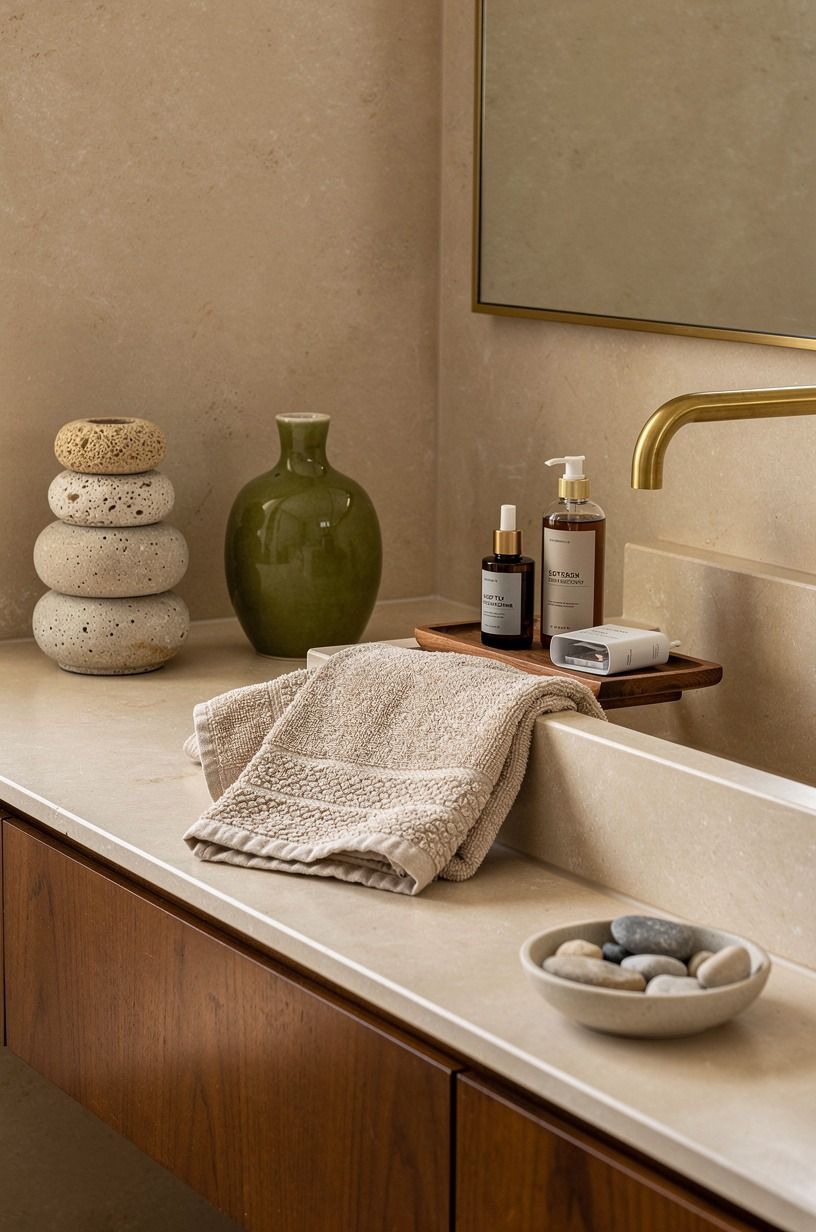
The final styling question was simple: what makes a beige bathroom feel coastal instead of bland?
A Five-Minute Reset Before Shopping
Before buying anything, remove everything that doesn’t belong in the room. That includes half-used bottles, duplicate products, and decorative objects that only occupy the counter.
Then stand in the doorway and identify the first thing your eye lands on. In my bathroom, it was the harsh light and the cluttered vanity. That told me where the budget needed to go.
Measure the clear floor area, the mirror, the shelf location, and the faucet connections. Five minutes with a tape measure can save you from buying a beautiful object that makes the room less usable.
The Small Details That Make the Room Feel Finished
I replaced the old plastic soap pump with a stoneware dispenser, grouped cotton products in one jar, and kept the counter nearly empty. None of those changes took more than a few minutes.
A small matte ceramic tray now holds the items I use every morning. It keeps the counter practical while making the arrangement look deliberate.
The room also needed one living detail. I added a small eucalyptus stem in a narrow glass bottle, but you could use a leafy plant that tolerates humidity.
Keep it simple. One organic shape is enough.
A Simple Weekend Sequence
On Saturday morning, I cleared the room and tested the paint. Later that day, I installed the mirror frame and changed the lighting. Sunday was for the shelf, textiles, and final edit.
I’d start with anything that creates dust or requires drying time. Paint comes before styling, and the mirror frame comes before objects move onto the shelf.
The modern luxury master bathroom design guide helped me think through the order because lighting, mirror placement, and storage all affect one another. You don’t want to style a shelf and then discover it blocks the light.
How much it cost: the honest no-remodel budget
I kept this makeover inside the budget refresh range because the plumbing, vanity, tub, and floor stayed in place. Your final number will depend on the fixtures you already own, but the typical US ranges below give you a useful boundary.
The materials that can change your budget fastest are tile, stone, and plumbing fixtures. Zellige tile typically costs $15 to $35 per square foot, while subway tile is usually $2 to $10 per square foot. A marble top can run $50 to $100 per square foot, and a rose-gold faucet commonly falls between $120 and $450.
I’d spend first on paint, lighting, and the one material you’ll touch every day. You can keep your old vanity and still make the room feel considered. If you’re planning a larger renovation, compare this refresh with these master bathroom before-and-after ideas before you commit to a demolition budget.
I also used the budget master bathroom remodel guide to keep the spending in proportion. The lighting upgrade delivered more visible impact than several smaller decorative purchases combined.
The coastal rule I would keep
I’ve learned that coastal design gets weaker when it tries too hard to announce itself. The rooms I remember don’t have the most shells, the most blue, or the most rope. They have light that moves across a textured wall, a towel that feels good in your hands, and a material with enough variation to keep your eye interested.
That’s why I chose a warm stone tone instead of a brighter blue. It gives you a hint of shoreline without turning the bathroom into a theme. I chose cerused oak because the grain feels sun-washed, not because every coastal room needs driftwood.
Your choices should suggest the shoreline rather than illustrate it. A handmade ceramic can say more than a shelf full of beach signs.
I also learned that a no-remodel bathroom needs one strong decision. For me, it was the lighting. If I had started with a new faucet, I might’ve spent the whole budget on small hardware changes and still disliked the room at night.
The sconces changed the way the paint color and tile behaved. If you’re weighing a larger change, these master bathroom before-and-after ideas are useful for seeing how much impact can come from layout versus finish.
There’s a practical reason to keep the palette restrained. Bathrooms already have many hard, reflective surfaces. Adding more glossy tile, polished metal, and bright white accessories can make your room feel cold even when the colors are technically warm.
Soft linen, cotton, oak, and handmade ceramic absorb some of that glare. A natural linen towel can make a bigger difference than another shiny accessory.
You don’t have to copy my exact finishes. If your bathroom has warm wood, choose a cooler wall color.
If your tile is busy, choose quieter textiles. If your room is very small, let one wall carry the personality and keep the rest calm.
That’s the difference between a room that looks decorated and one that feels like somewhere you’d want to linger. The spa-like master bathroom guide helped me keep that feeling central.
I’d make the same decision again. Keep the plumbing, spend on light, add one imperfect material, and let the room breathe. It’s less exciting than demolition at first, but you’ll see the payoff every morning.
The Questions Worth Answering First
What are the best Coastal Master Bathroom Ideas for a Breezy, Beachy Escape in a small bathroom?
The best small-space choice is light paint with open storage, such as warm stone walls and a slim cerused white oak shelf. You’ll keep the floor visible, reduce counter clutter, and make the room feel airy without replacing the vanity.
Where can I buy Coastal Master Bathroom Ideas for a Breezy, Beachy Escape pieces on a budget?
Look at IKEA, Wayfair, and Target for towels, shelves, mirrors, and lighting. You can also find teak stools and rose-gold hardware through Facebook Marketplace or a local thrift shop. Your best savings usually come from buying one strong piece secondhand.
How much does a Coastal Master Bathroom Ideas for a Breezy, Beachy Escape makeover cost?
A typical budget refresh runs about $200-$1,200 for paint, a mirror, faucet, and textiles. You can spend nothing on layout changes if you keep the plumbing, vanity, tub, and floor exactly where they are.
Can I create a Coastal Master Bathroom Ideas for a Breezy, Beachy Escape on a budget?
Yes, and you can begin with free changes: clear the counter, regroup your towels, and move useful items into one storage zone. Then add paint, one warm light source, and a textured bath mat as your budget allows. The budget master bathroom remodel guide has useful ways to sequence those purchases.
Is a Coastal Master Bathroom Ideas for a Breezy, Beachy Escape worth it in a small space?
Yes, because a small bathroom gives every finish more visual weight. Use one wall color, a narrow mirror, and open storage. You’ll get more impact from lighting and clutter control than from adding another decorative object.
Is a Coastal Master Bathroom Ideas for a Breezy, Beachy Escape a good idea for a rental?
Yes. Choose no-damage swaps such as peel-and-stick backsplash panels, a tension shower rod, removable hooks, and a freestanding shelf. You can bring warmth through textiles and lamps without drilling into tile or changing plumbing.
Where I’d Start First
If I had to pick one, I’d start with the lighting. Your bathroom can’t feel warm at night if every surface is hit by one harsh ceiling bulb. Add a soft wall glow first, then let the paint and textures do their work.
After that, clear the counter, test the wall color, and choose one material with visible variation. A warm wood frame or a narrow strip of zellige can give the room enough character without creating another full renovation.
Pin this makeover for your next refresh.