
 by
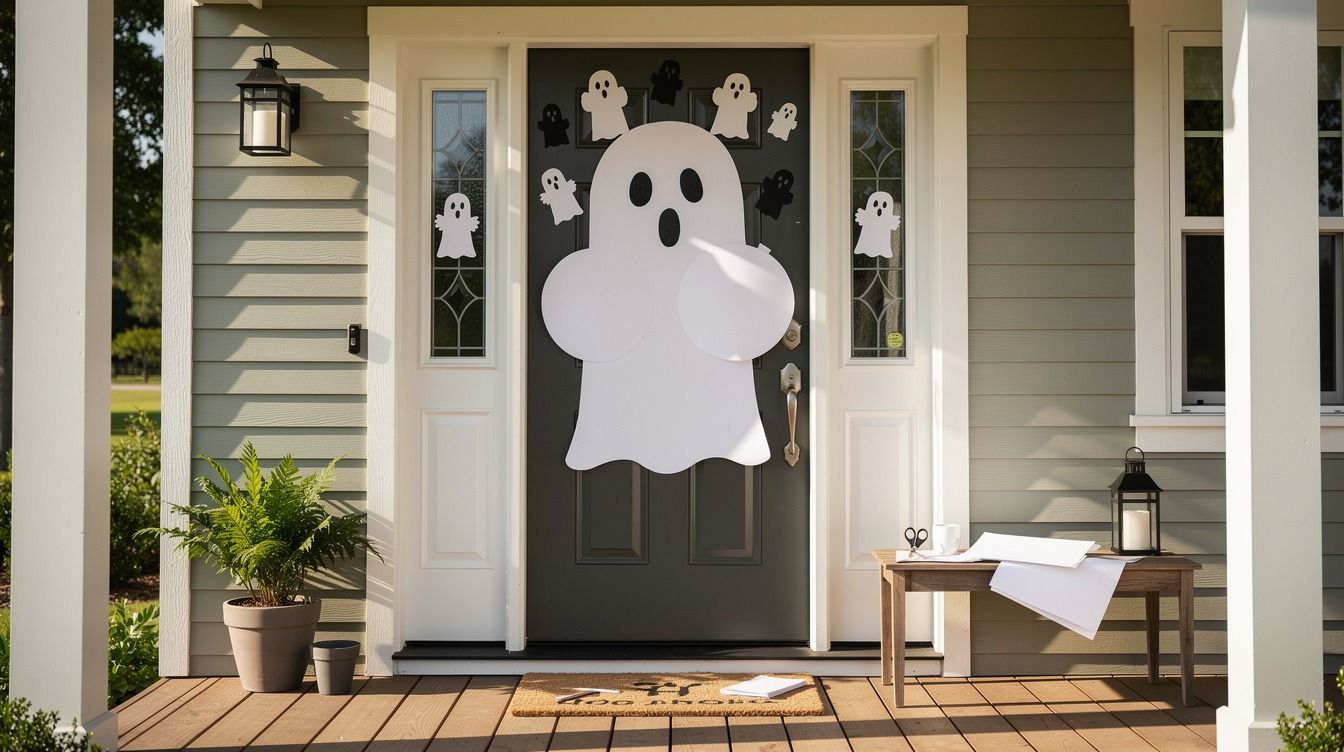
by A ghost door decoration for the classroom costs about $5 to $15 and takes thirty minutes flat, no Cricut, no craft skills. I know because I spent three Octobers overbuilding mine. Layered vinyl, weeded cut files, the whole production. The door that stopped the most kids? Butcher paper and a Sharpie.
- Cut the Ghost Freehand Using the Two-Circle Rule
- Layer Cheesecloth Over the Paper for Real Depth
- Do Your Ghosts Need Faces?
- Hang a Ghost Chain Instead of One Giant Cutout
- Backlight the Paper With the Glow Stack
- Swap Orange for Bone White and Charcoal
- Build the Boo Crew From Trash Bags and Packing Tape
- Frame the Door in Black Cardstock
- Skip the Web Netting, Use Torn Muslin Instead
- Stack the Ghosts at Three Heights
- Will It Still Be Up on Friday?
1Cut the Ghost Freehand Using the Two-Circle Rule
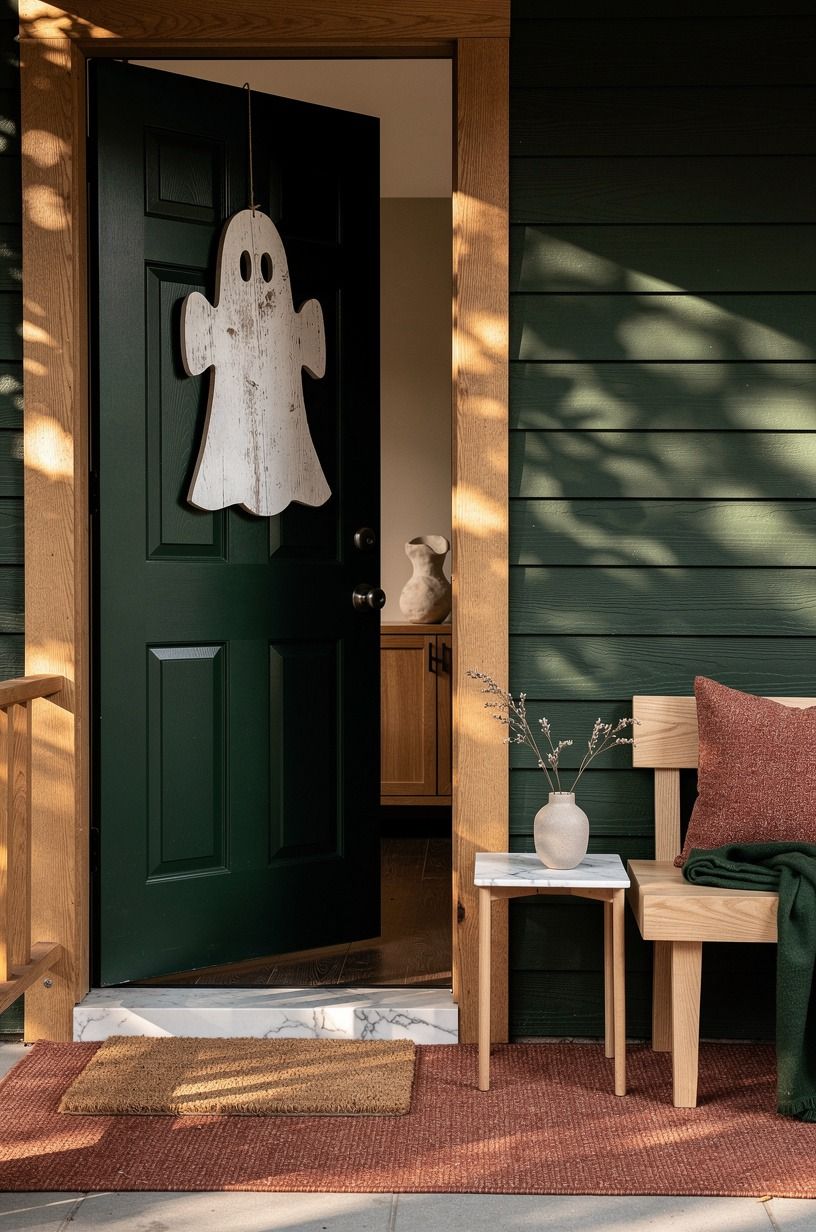
Forget the cut file. A ghost is two circles and a wavy hem, and once you see it that way you won't need a machine again.
Draw a big circle for the head, a wider one under it for the body, connect the sides with two soft curves, then let the bottom wobble. Three or four bumps, uneven on purpose.
I use the roll of white butcher paper every school already has by the case, the 36-inch kind that lives on the rack by the laminator. Pencil first with light pressure, then cut.
If your line goes crooked, keep it! The crooked ones read as movement from forty feet down the hall, and movement is the entire point of a ghost classroom door.
Symmetry is what makes paper ghosts look like clip art. Your eye clocks it instantly, even if a seven-year-old can't say why.
So wobble the hem, tilt the head a few degrees off center, and let one arm hang lower than the other. If you want more finished-looking door ideas to borrow from, our halloween classroom door ideas you can finish in one prep period walk through the same logic on a bigger scale.
2Layer Cheesecloth Over the Paper for Real Depth
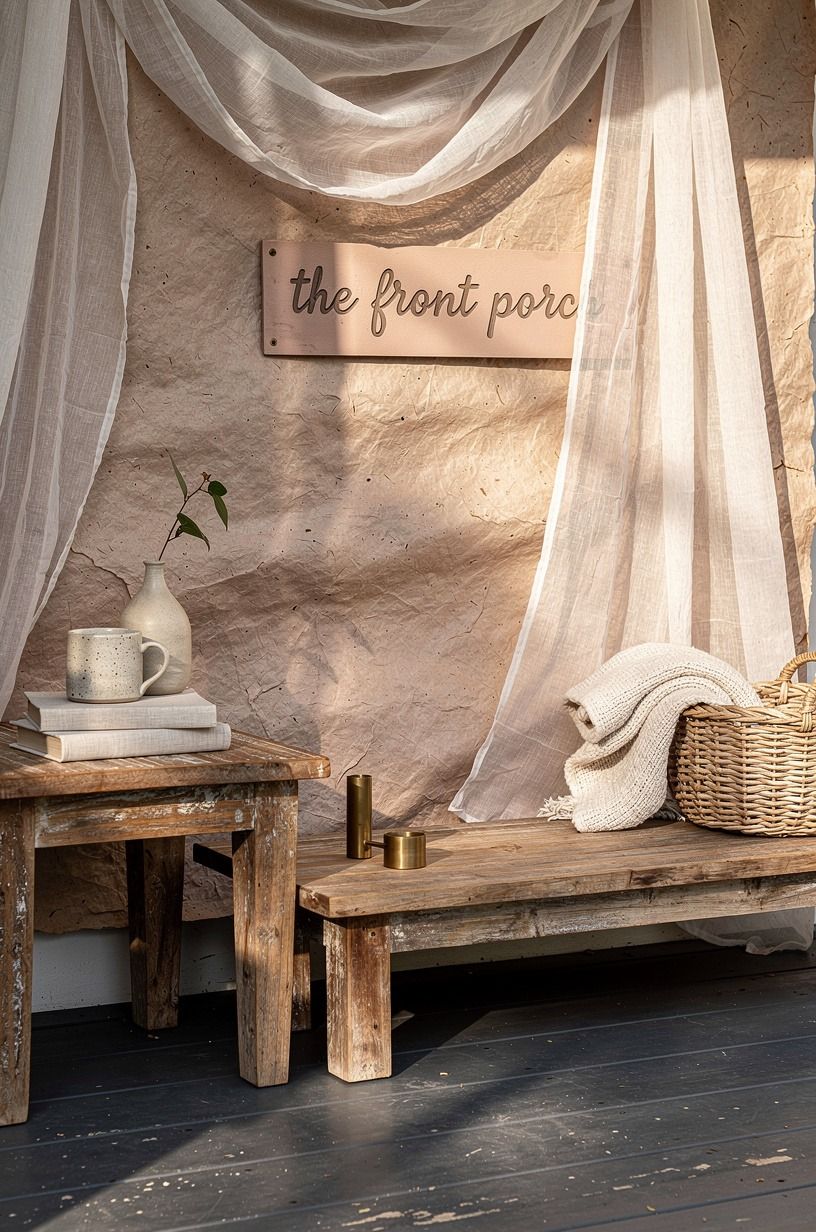
Here's the part nobody respects: a flat paper ghost is fine, and a paper ghost with something draped over it is charming. One yard of grade 10 cheesecloth runs about $3 and covers two full-size ghosts with fabric to spare.
Tape it at the top edge only. That's it.
The bottom stays loose so it lifts every time a class walks past, which gives you a gentle, drifting thing instead of a poster. I'd skip the bagged polyester "web" stuff for this, honestly.
It snags, it yellows under fluorescent light, and it reads cheap up close where your students are standing.
Cheesecloth also takes a coffee dip beautifully if you want a rustic, aged look instead of bright white. Ten minutes in weak coffee, wring it out, hang it overnight on a chair back.
You'll get an earthy, uneven tea-stain that photographs better than anything you can buy. For more low-cost material moves like this, the $12 Dollar Tree Halloween wreath breakdown uses the same six-supply thinking.
3Do Your Ghosts Need Faces?
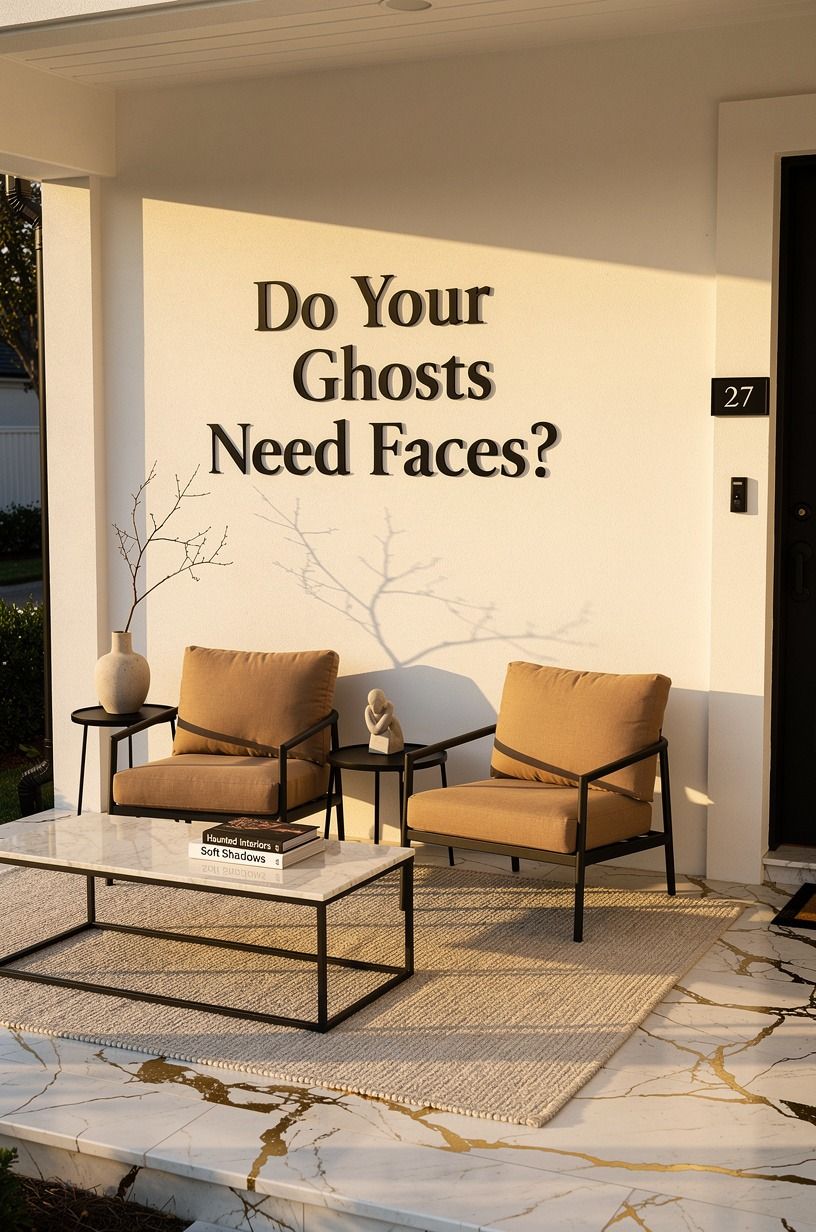
No. And I'd leave most of them blank.
A blank ghost is soothing and a little uncanny at the same time, which is exactly the register you want in a room full of kids who still have to learn fractions afterward. Faces push it toward cartoon. Blank pushes it toward atmosphere.
If you teach K through 2, give them faces anyway, because five-year-olds read a blank white shape as nothing at all. Two ovals of black cardstock and a small mouth, glued not drawn. Marker bleeds through butcher paper and shows as gray shadow on the back side, and you'll see it the second the hallway lights hit at an angle.
Cardstock never bleeds. For fourth grade and up, blank wins every time.
4Hang a Ghost Chain Instead of One Giant Cutout
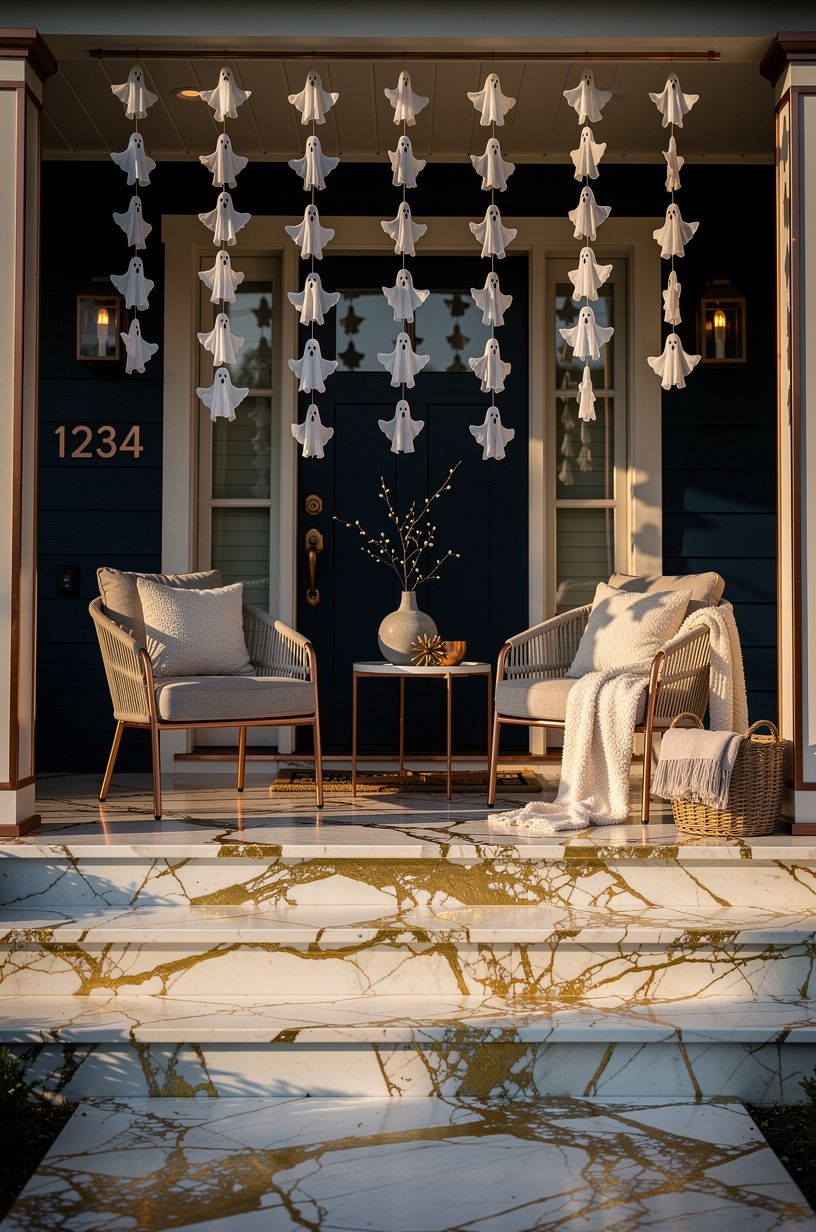
One enormous ghost is the obvious move, and it's the weaker one. A standard classroom door is 36 by 80 inches, so a single big shape fills it and then just sits there.
Cut nine small ghosts instead, roughly 7 inches tall, and string them on clear fishing line in three staggered columns. Tape the line at the top of the door frame. Every column hangs at a different length, and the whole thing sways when the door swings.
Nine takes maybe twelve minutes once you've got a template, and a template is just your best first ghost traced onto a manila folder. Keep that folder. You'll use it again next year, and the year after, and it stores flat in your filing cabinet with your sub plans.

5Backlight the Paper With the Glow Stack
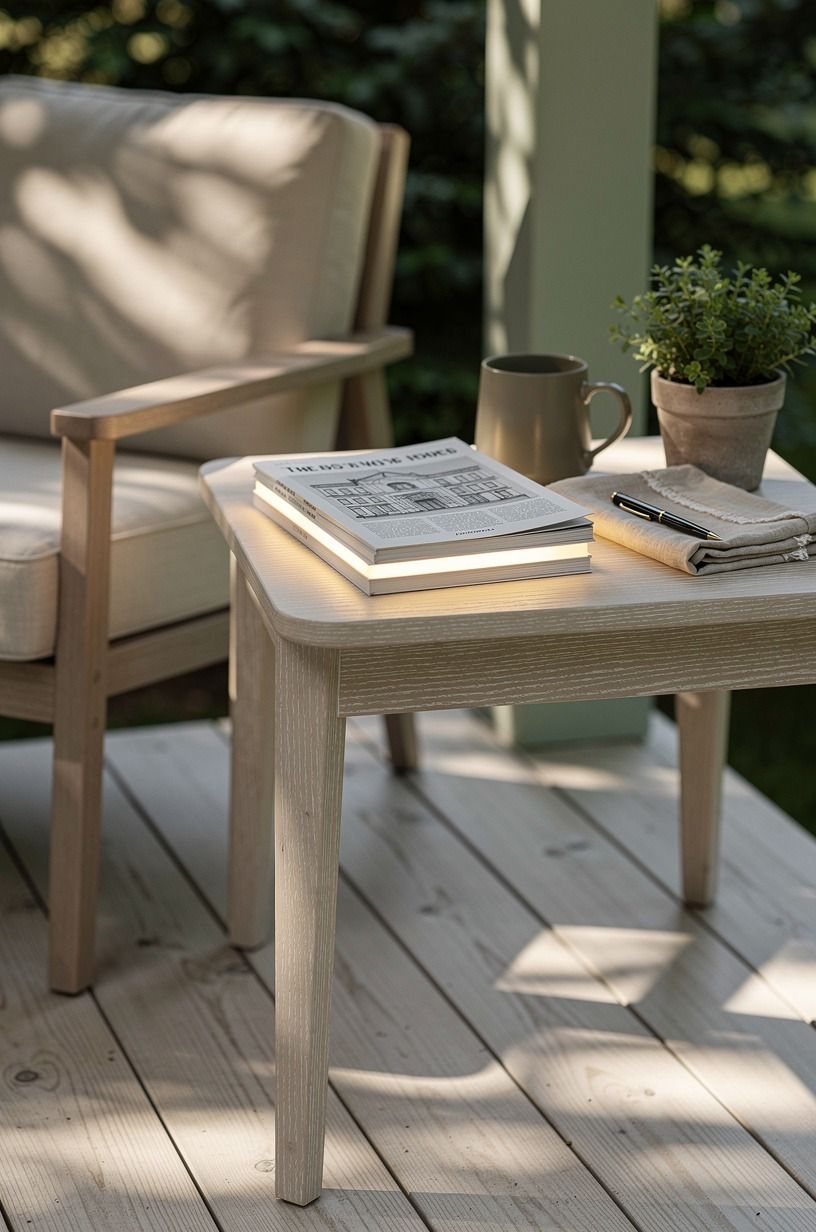
This is the move that makes people stop walking. Tape a run of battery LED string lights to the door first, then tape your paper ghosts over them, so the light comes through the paper instead of at it. Typical LED string lights run $30 to $120 depending on length, and a single 30-foot set covers a door with slack left over.
Warm white only. Not blue, not that cold bright white that makes everything look like a dentist's office. You want a soft amber glow that stops at the edge of the paper, moody rather than harsh.
Battery-operated matters for a second reason: most fire marshals will not let you run a cord across a classroom threshold, and no door decoration is worth a citation on your principal's desk. Batteries sidestep the whole conversation. If you're thinking about how lit surfaces read from a distance, our take on white front doors with crisp, timeless curb appeal covers the same contrast problem.
6Swap Orange for Bone White and Charcoal

Orange and purple is the default, and the default is why every door in the building looks like every other door in the building. Drop the orange entirely.
Bone white paper, charcoal accents, one small note of deep green. If you want a reference to match your paper against, pull Benjamin Moore White Dove OC-17 for the ghost bodies and Sherwin-Williams Urbane Bronze SW 7048 for the border and the eyes. Those two together read sophisticated in a hallway full of neon, and they photograph without going muddy under fluorescents.
Deep red works too if your school colors allow it. And there's a reason the palette holds up: warm neutrals against a single saturated note is the same formula behind red front door ideas that feel lucky and bold, just scaled down to construction paper.
A restrained palette on a spooky school door is more dramatic than a loud one. Every time.
7Build the Boo Crew From Trash Bags and Packing Tape
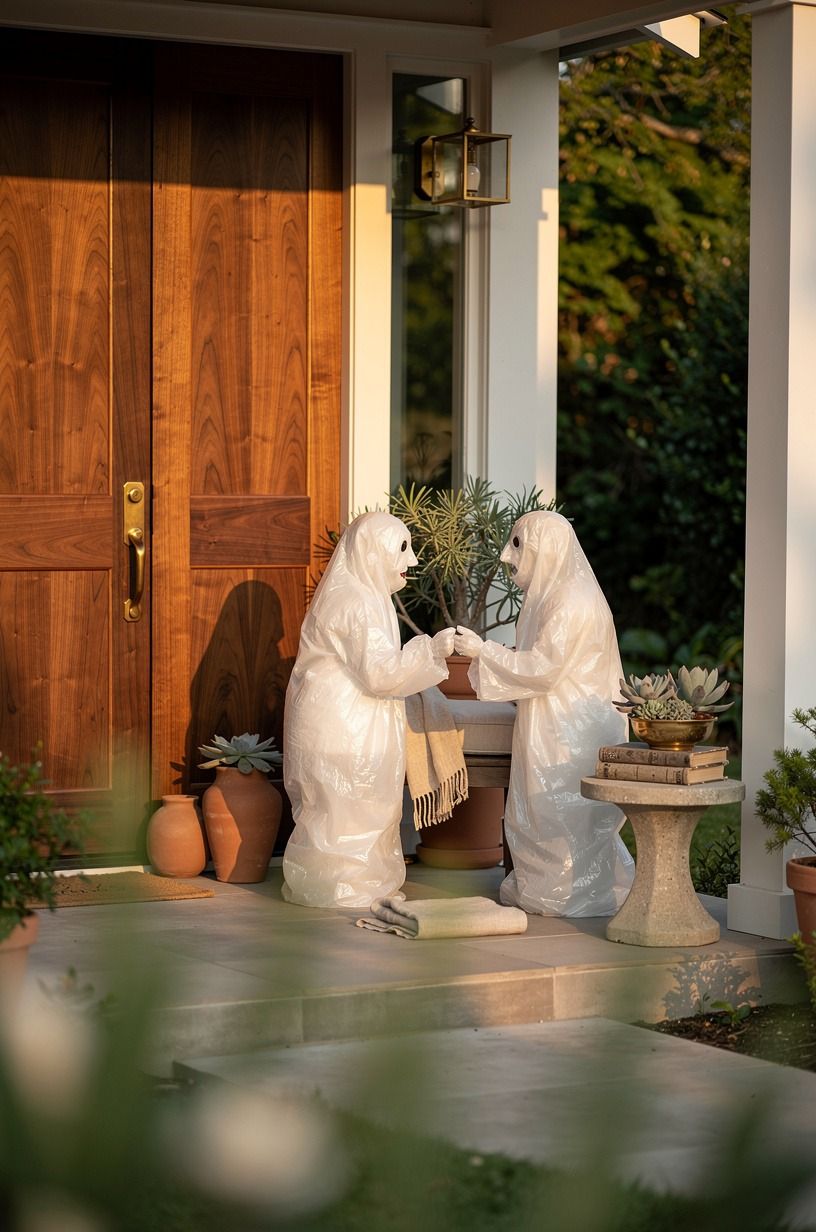
Under two dollars for six ghosts! Take a roll of white kitchen trash bags, stuff each one with a crumpled newspaper ball for the head, cinch the neck with clear packing tape, and let the bag hang loose below.
They're three-dimensional, which paper can't be, and they puff out from the door by four or five inches. Kids reach for them. That's fine.
Trash bags survive being poked in a way that cardstock does not.
I hang the crew along the top third of the door and let the paper ghosts handle the bottom two-thirds. Mixing flat and dimensional is what keeps a diy halloween classroom decor project from looking like a bulletin board that migrated. Cost me $1.89 the first year, and that set is still in a bin in my closet.
8Frame the Door in Black Cardstock
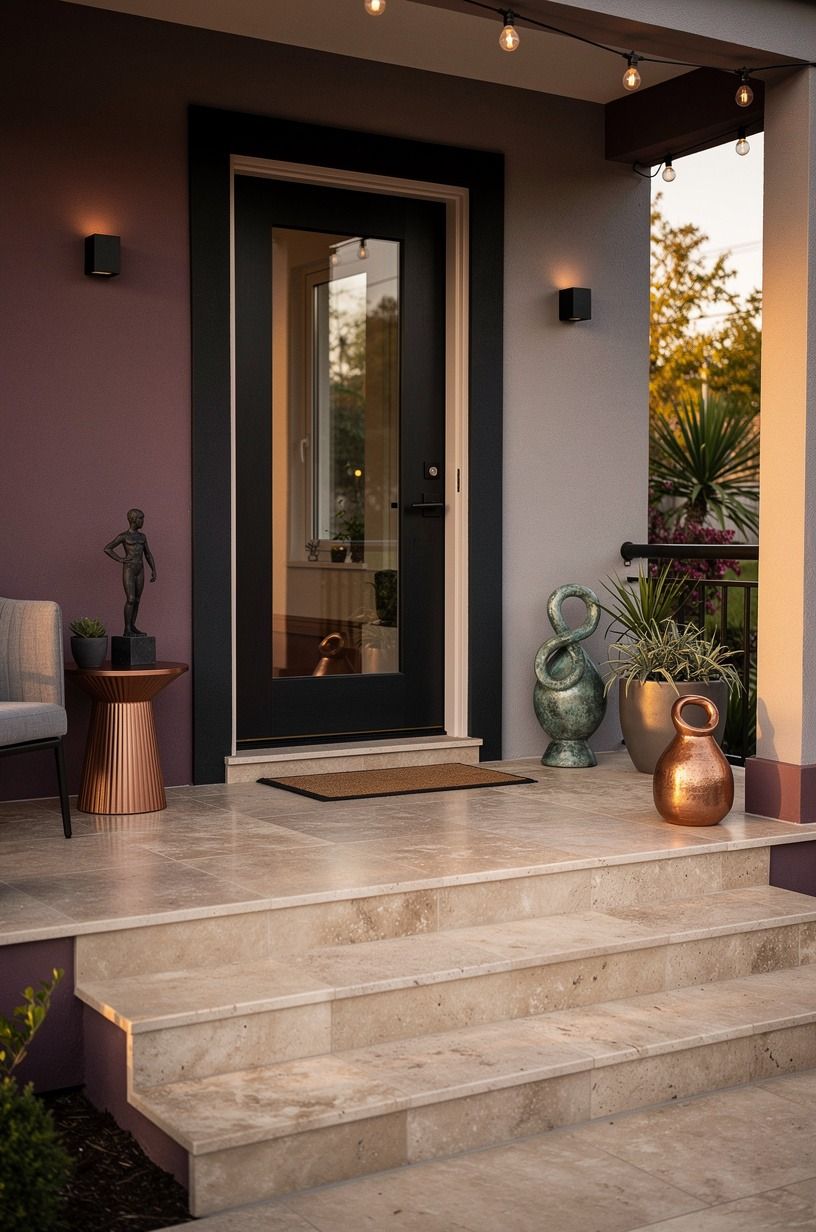
Cut black cardstock into two-inch strips and run them around the full perimeter of the door. That's the Two-Inch Border, and it does more work than anything else on this list.
Why? Because a border tells your eye where the composition ends.
Without it, your ghosts float on beige steel and the whole thing reads unfinished from down the hall. With it, the door becomes a framed picture. Same instinct as the rails and stiles on a cabinet face, which our guide to kitchen cabinet door styles from shaker to flat panel gets into properly.
Two inches is the number. One inch disappears at distance, and three inches starts eating the door.
9Skip the Web Netting, Use Torn Muslin Instead
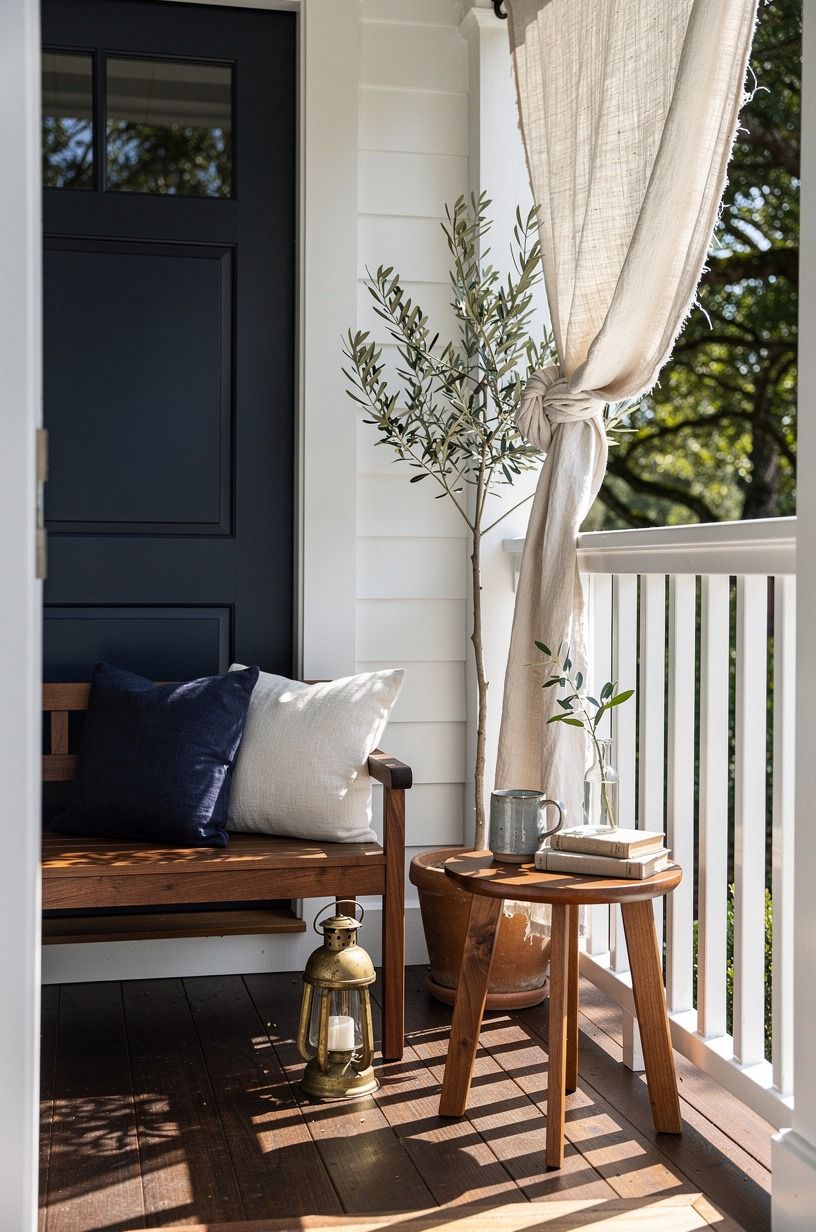
I'd skip the stretchy web netting. It's cheap, sure, but it flattens against the surface, it collects dust by Thursday, and it makes every door in the hallway look identical.
Torn unbleached muslin costs about $3 a yard at 44 inches wide, and you tear it rather than cut it, so the edges fray into soft, organic strands. Rip it into four-inch ribbons, drape three or four across the door on the diagonal, tape the ends behind the cardstock border so nothing shows.
The texture difference is the whole argument. Netting is uniform and muslin is not, and irregular is what your eye reads as real. It also stores rolled in a paper towel tube (which sounds fussy, but it's the reason mine has lasted four seasons).
10Stack the Ghosts at Three Heights
Put something at 40 to 48 inches, something at adult eye level near 60 inches, and something up at the top of the frame. Three heights, always.
Kindergarteners see the bottom band and nothing above it. Adults see the middle.
The top band is what carries down the hallway, so that's where your biggest shape or your brightest light goes. Miss one of the three and the door works for exactly one audience.
One hard limit: keep everything flat to the door and nothing protruding into the corridor. Most districts require at least 36 inches of clear walkway, and a puffy trash-bag ghost that sticks out eight inches into a fire lane gets pulled down by someone who isn't you. Tape the crew tight against the surface and you're clear.
11Will It Still Be Up on Friday?
Not with painter's tape, it won't. Painter's tape releases from cold painted steel in about a day and a half, faster if your building runs humid, and you'll come in Wednesday to a ghost puddled on the tile.
Use removable mounting squares on the door itself, four per large shape, one in each corner. On cinderblock beside the door, nothing sticks, so use a strip of masking tape as a base layer and mount to that. For the trash-bag crew, clear packing tape directly to the metal holds through the whole month and peels off clean in November.
Budget six squares per ghost and buy the pack of 48. Ask me how I know. And build the whole thing on a Sunday if you can, because tape sets better when nobody's slamming the door every forty-five minutes.
What the Whole Door Costs
Most teachers I know live in the first row and never leave it. The third row is a one-time purchase that carries you five years, so if your school gives you a $50 supply stipend, that's where I'd spend it.
What Three Octobers of Ghost Doors Taught Me
The first year I did this, I bought a cutting machine and stayed until 7:40 on a Tuesday weeding vinyl ghosts off a backing sheet. They looked sharp.
Crisp edges, perfect curves, exactly like the picture I'd been copying. And not one kid mentioned them. Not one.
The second year I ran out of time and cut eleven ghosts freehand during my prep period with the hall monitor's scissors. Those, the students named. They gave the lopsided one a name I'm not repeating here, and it stuck for the rest of the month.
So here's what I think is really going on. A classroom door isn't a craft project, it's a threshold.
It's the first thing a kid sees before they walk into a room where they're going to be asked to do hard things for six hours. What you want that threshold to say is somebody made this, on purpose, for you.
Machine-perfect says purchased. Slightly crooked says made.
That's also why I've stopped chasing the elaborate versions. The doors that go viral on Pinterest in October are usually three prep periods of work by someone with a garage full of supplies, and comparing your thirty minutes to that is a losing game you don't need to play. A wavy paper ghost, a warm string of lights behind it, and a clean black border will hold its own next to any of them in a real hallway under real fluorescent light.
My one regret is how long it took me to start storing things. I threw away four years of templates and cardstock borders before I figured out that October arrives on the same date annually.
Now I keep a single bin labeled with masking tape, and setup takes twenty minutes instead of ninety. If you do one administrative thing this fall, do that one.
Your November self will be grateful, and so will your budget.
A Few Things Worth Answering
What's the best ghost door decoration for a small or narrow door?
The ghost chain wins on a narrow door. Nine small cutouts on fishing line fill vertical space without crowding the handle or the window. One oversized ghost on a 30-inch door just looks squeezed, and you'll notice it immediately.
Where can I buy ghost door decoration supplies on a budget?
Dollar Tree covers most of the list at $1.25 an item, including cheesecloth, cardstock, and battery tea lights. Target and Walmart carry the mounting squares.
Check your school's supply closet first for butcher paper. Our Dollar Tree Halloween wreath build shops the same aisles.
How much does a ghost classroom door cost?
About $5 to $15 if you're starting from a stocked supply closet, and $20 to $45 if you're buying everything new. Paper, tape, and trash bags are usually free from the building. Lights are the only real line item.
Can I do this with zero craft skills?
Yes, and the low-skill version genuinely looks better. Two circles, a wavy hem, no measuring. If you can hold scissors you can make ghost door decs, and the irregular cuts are the point.
For more one-prep-period builds, see our classroom door ideas you can finish before the bell.
Is a ghost door worth it in a small classroom?
Worth it, and small rooms have the advantage. A compact door reads as one clean composition instead of a sprawling scene. Keep the palette to two colors, add the two-inch border, and stop there. Restraint reads as intentional, not empty.
What if my school won't allow tape on the doors?
Totally workable. Use a tension rod across the top of the frame with paper ghosts clipped to it, magnetic hooks if your doors are steel, or build the whole thing on a trifold board that leans beside the entry. All three come down in under two minutes with zero residue.
The One I'd Do Tonight
If I had to pick one, I'd start with the string lights behind the paper. Flat paper on a metal door reads as a worksheet, and no amount of cutting fixes that. Light coming through it reads as depth.
Save this for later and go raid the supply closet.