
 by
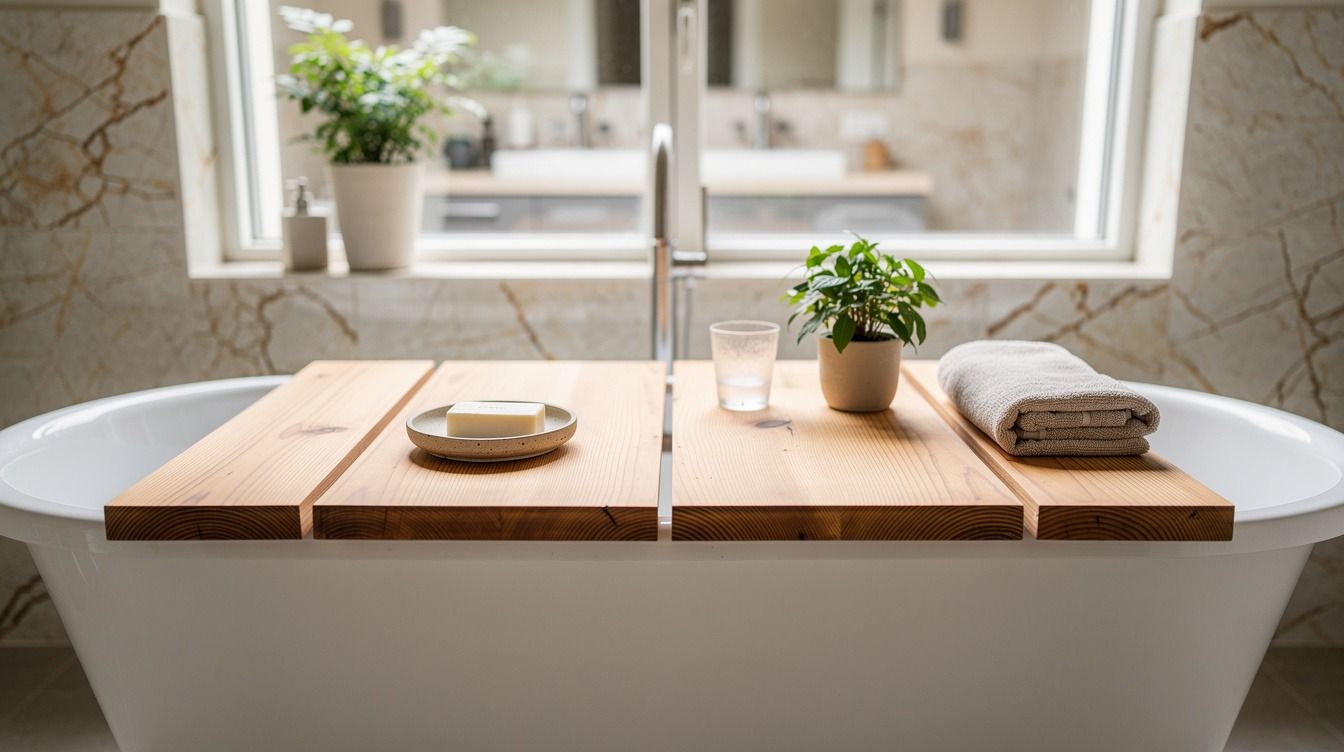
by How to make a bathtub tray is simpler than it looks: most standard tubs are about 60x30 in, and a weekend build can be as basic as one well-cut board, a sander, and a durable finish. I messed up my first one by making it too narrow, so the candle kept wobbling near the rim. You don't need cabinetmaker skills here. You need decent measurements, a little patience, and a few choices that make the tray feel calm and inviting instead of crafty.
- Cut cedar planks to span the tub
- Sand rounded corners for a softer grip
- Why route shallow grooves for candle wells?
- Add folding handles in warm brass
- Seal with marine varnish: the step that decides everything
- Fit rubber feet underneath for stability
- Build a book ledge with scrap trim
- Drill a stemware slot near one edge
- Cut cedar planks to span the tub
- Sand rounded corners for a softer grip
- Why route shallow grooves for candle wells?
- Add folding handles in warm brass
- Seal with marine varnish: the step that decides everything
- Fit rubber feet underneath for stability
- Build a book ledge with scrap trim
- Drill a stemware slot near one edge
- Inset a soap dish with tile scraps
- Stain pine boards a deep walnut
- Paint the underside in glossy white
- Clamp side rails for a snug fit
- Carve drainage channels around bath salts
- Wrap handles with natural jute cord
- Style the finished tray with linen and eucalyptus
1Cut cedar planks to span the tub
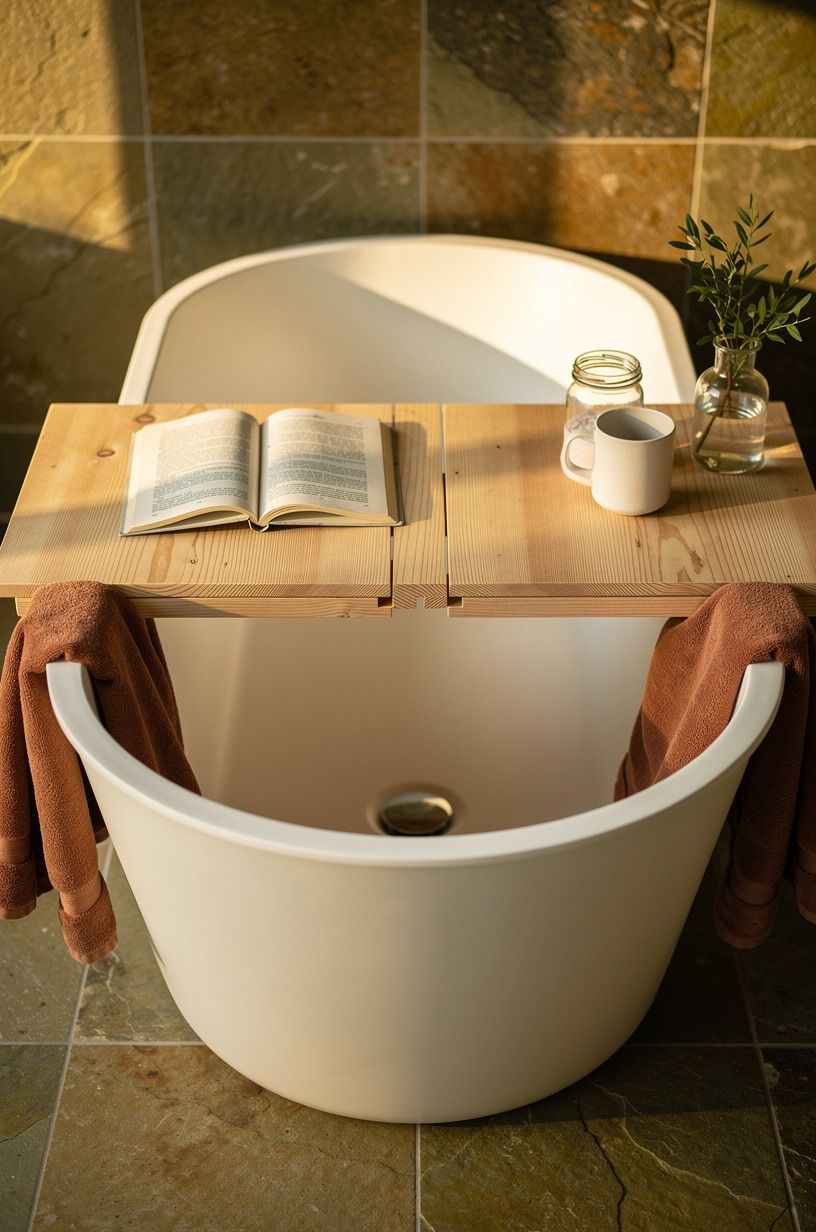
Start by measuring the outside span of your tub, not the inside well, because your tray needs to rest on the rim without skating around. On a standard 60x30 in tub, you'll usually land somewhere between 32 and 36 inches wide depending on the shape, and that extra measuring pass matters more than people think. I like cedar planks here because they stay light in your hands, and they smell clean when you cut them.
A soft cedar note in a warm bathroom does more for mood than most candles will.
Lay the boards across the tub before you trim anything for real, then mark both ends with a pencil while the planks are sitting exactly where you want them. That mock-up saves you from the sad little half inch gap that makes a finished tray look homemade in the wrong way. If you like building simple weekend pieces, my favorite inspiration pass is this roundup of cozy DIY builds you can make on a budget.
The photo cue matters too. You want the boards aligned cleanly across the rim, with the exposed white oak dovetail joint reading as a timeless feature, not an accident.
Cut once, test twice, then trim the last whisper off with intention. Worth it!
2Sand rounded corners for a softer grip
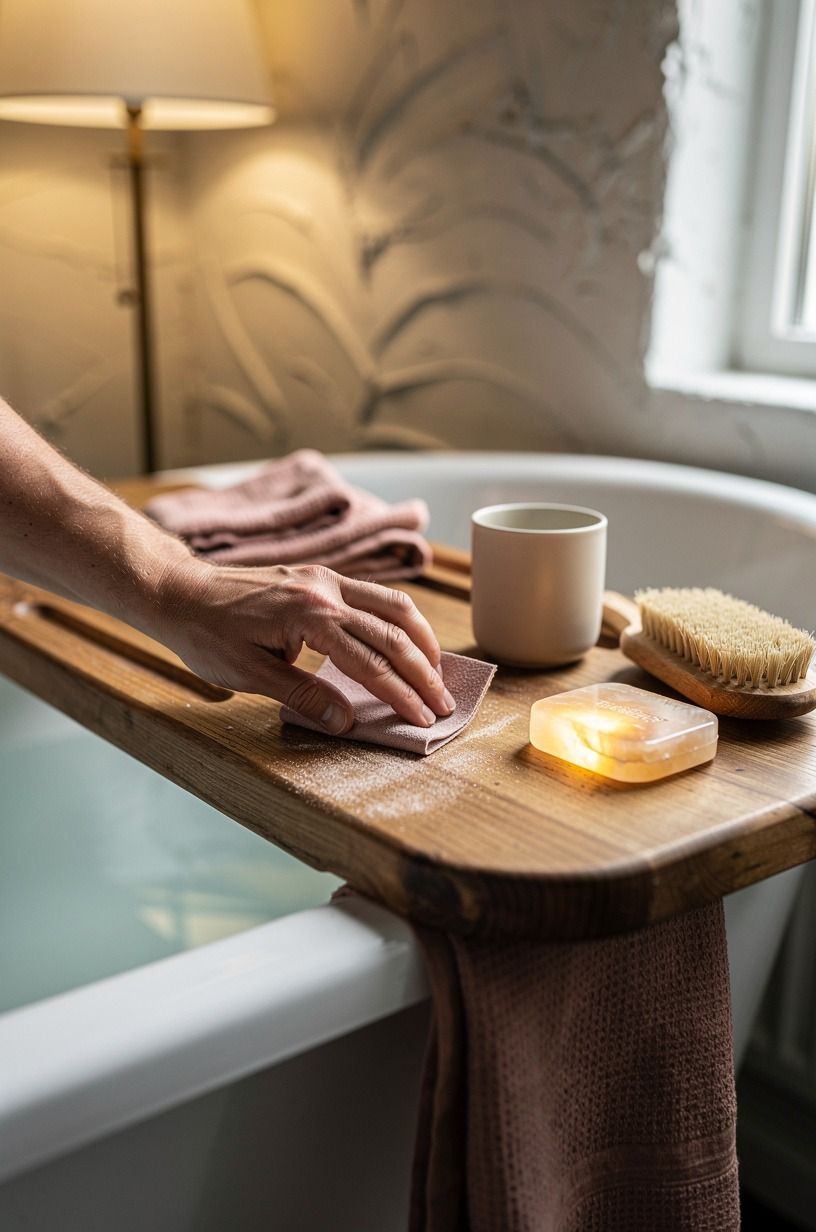
Sharp tray corners are one of those details you only notice after they catch your robe or jab your hip on the way into the bath.
3Why route shallow grooves for candle wells?
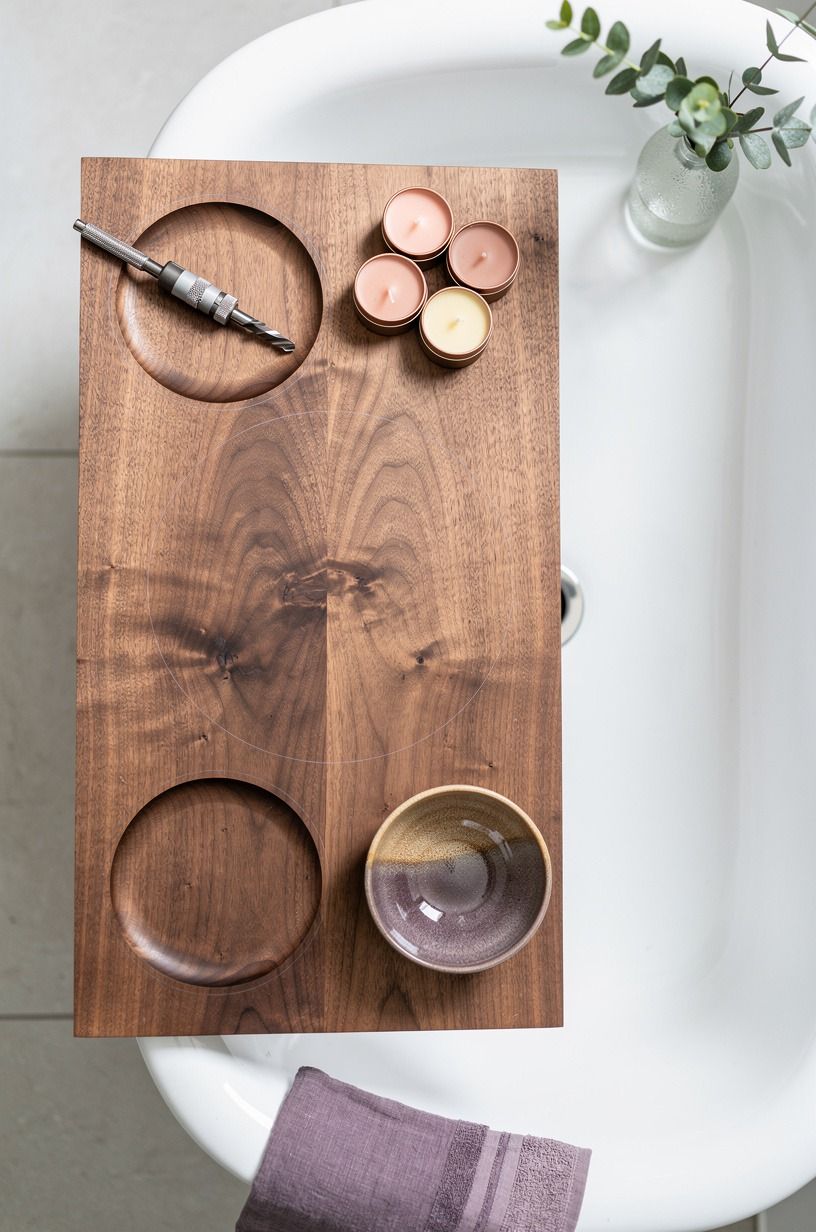
A flat tray looks clean, but a tray with tiny routed wells feels thoughtful because it gives candles a home instead of letting them drift toward the water glass. Keep the grooves shallow, just enough to visually anchor a pair of brass candle tins without turning the board into a serving tray full of divots. I'd rather see two restrained wells than four busy ones.
Mark the circles with a pencil while the board sits beside the tub, then route near one edge so the middle stays open for a folded cloth or paperback. The overhead flat-lay photo should show the board pushed to one side, a visible router bit, and those measured pencil lines that make the process legible to the reader. It's build guidance, not shop theater.
But don't center the wells unless your tub is unusually wide. Off-center placement gives your eye room and keeps the tray usable. If you're the kind of person who loves a tidy work sequence, the step order in these free DIY outdoor kitchen plans is a good reminder that layout comes before attachment every single time.
4Add folding handles in warm brass
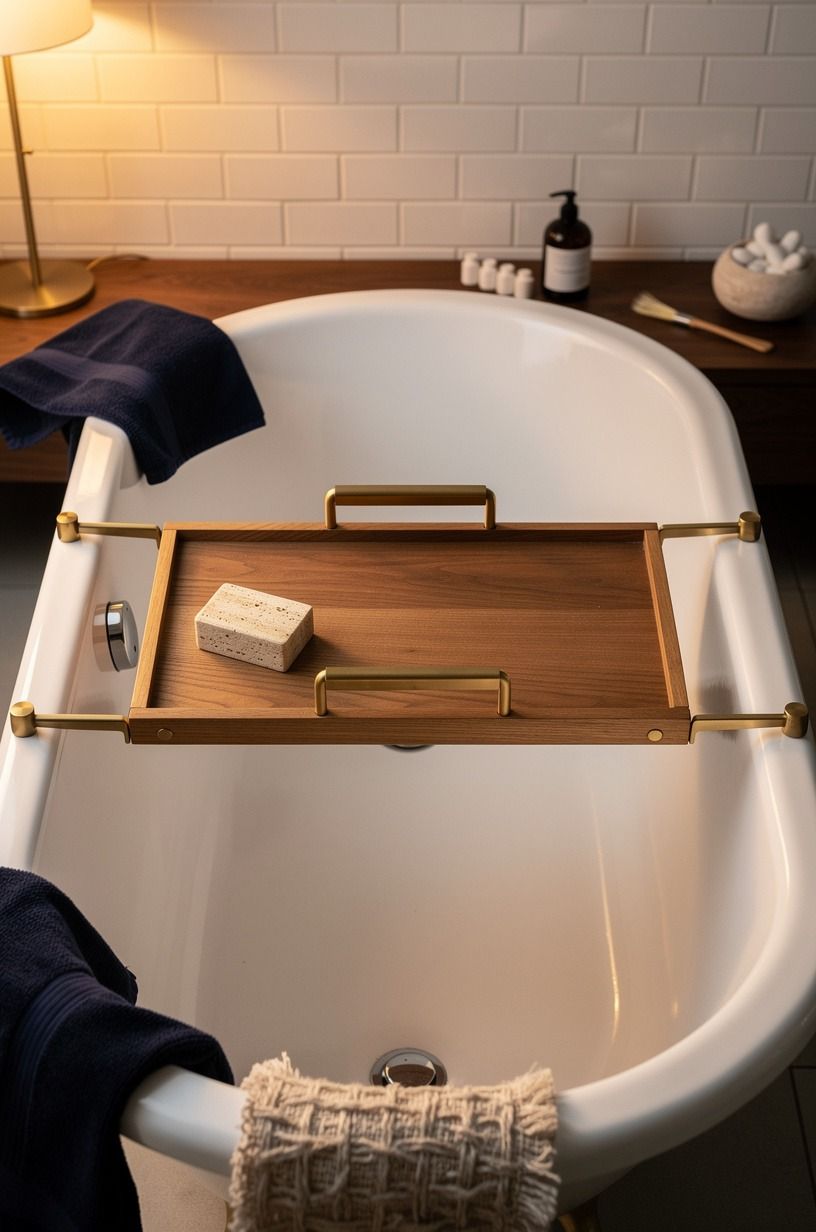
Handles turn a wood plank into something you reach for on purpose. Folding ones are the better call in a small bathroom because they drop flat when the tray is in use, and they keep the silhouette elegant across a white tub. I keep coming back to warm brass handles because they pick up candlelight without shouting for attention.
Place both handles the same distance from each end, then stand back and look at the tray straight on before you drill. Symmetry matters more than almost any material upgrade here.
A cheap handle placed well will beat an expensive one set too high, too low, or a little crooked. The brass should feel welcoming, almost organic and slightly sophisticated against cedar.
If your bathroom walls are painted Sherwin-Williams Sea Salt SW 6204, the brass reads softer and the cedar feels warmer, which is why this pairing keeps showing up in pretty spa bathrooms. Need more weekend-build confidence before drilling into your finished board? I still like this step-by-step DIY bench guide for its calm pacing.
5Seal with marine varnish: the step that decides everything
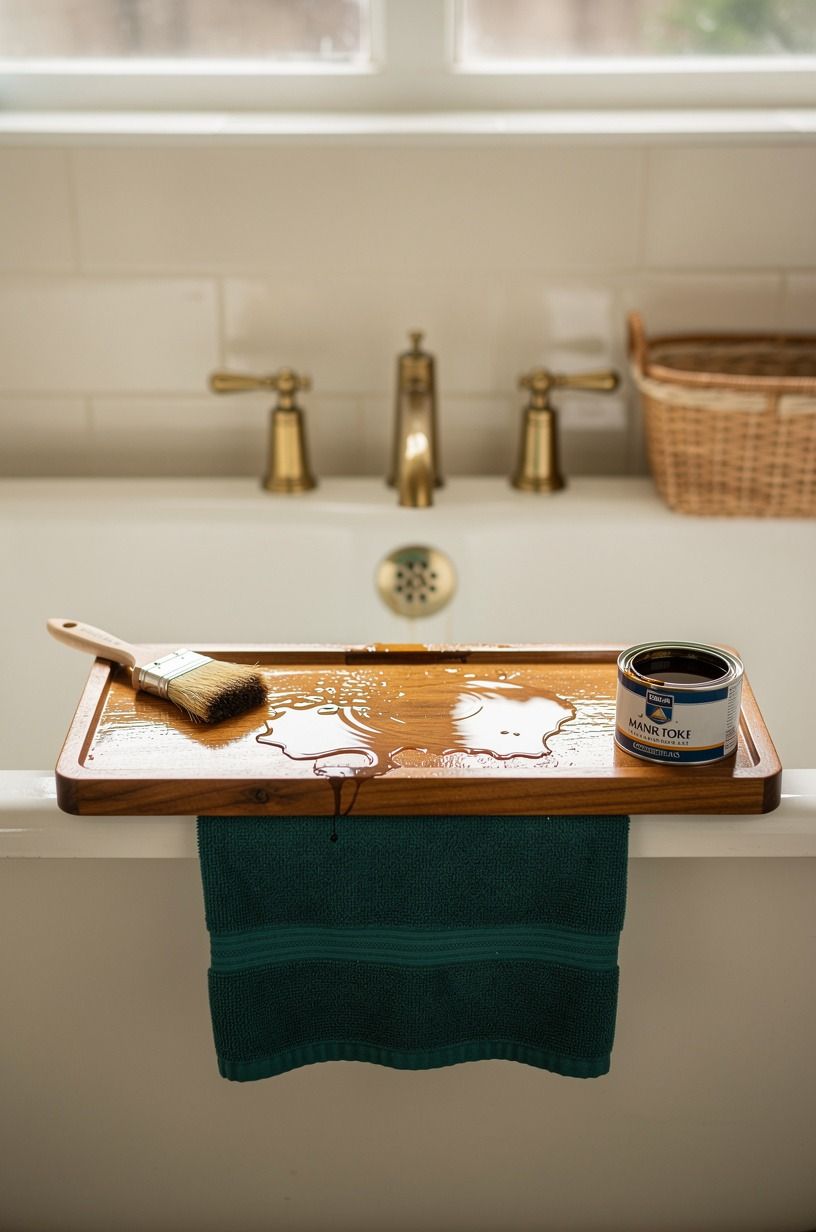
A bath tray that's not sealed is just a future water stain with good manners.
6Fit rubber feet underneath for stability
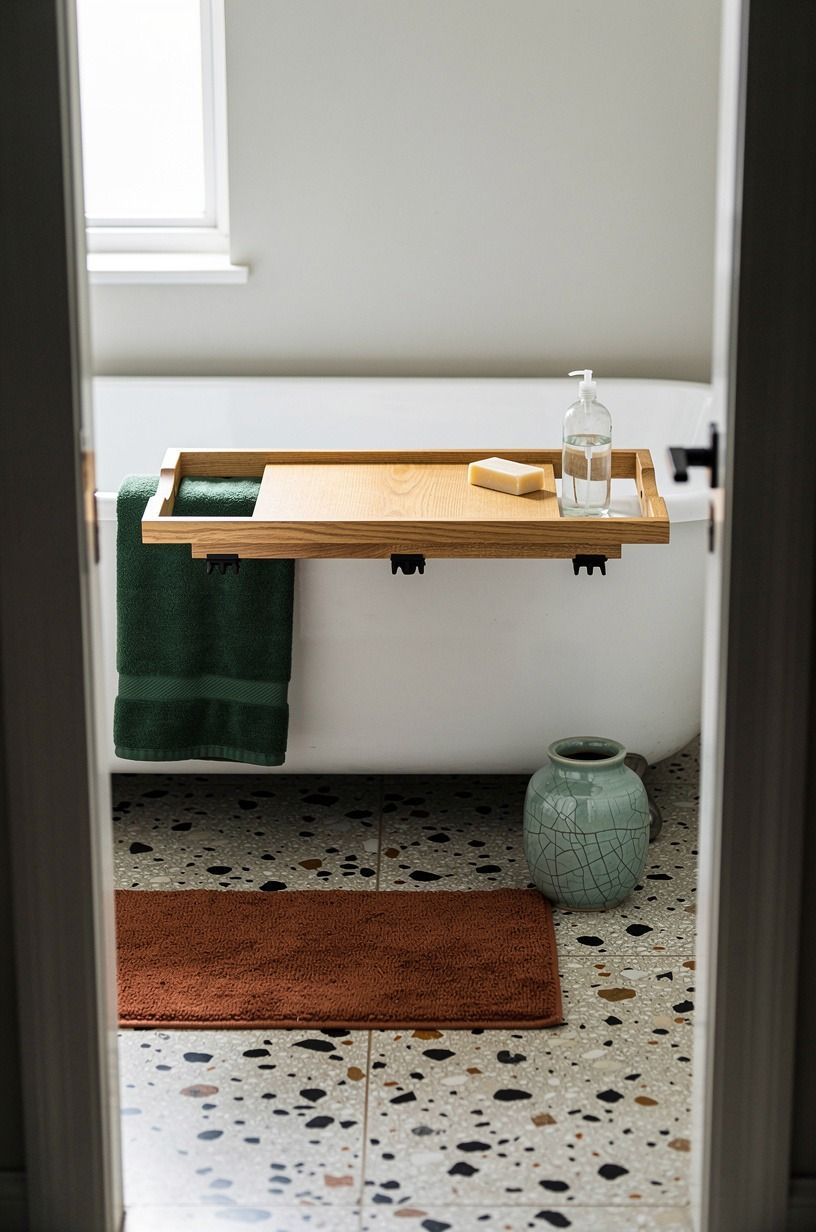
Rubber feet do more than stop sliding. They lift the tray just enough to keep finish wear off the rim, soften the contact point, and make the whole piece feel custom to your tub instead of generic. Use small clear rubber bumpers or low black pads, and keep them tucked back from the visible edge.
Turn the tray upside down and test the foot placement before you peel or screw anything in. The layered doorway view in the photo should show tub, tray, and hardware all centered so the reader can understand the underside logic at a glance. You want four stable points, not random dots slapped on wherever there was space.
But measure the rim thickness first. A freestanding tub with a slimmer lip may need feet set wider apart than an alcove tub, and that little adjustment is what makes the tray feel locked in. For more ideas on stretching function out of compact zones, I still send people to these small bedroom DIY ideas that make the space work.

7Build a book ledge with scrap trim
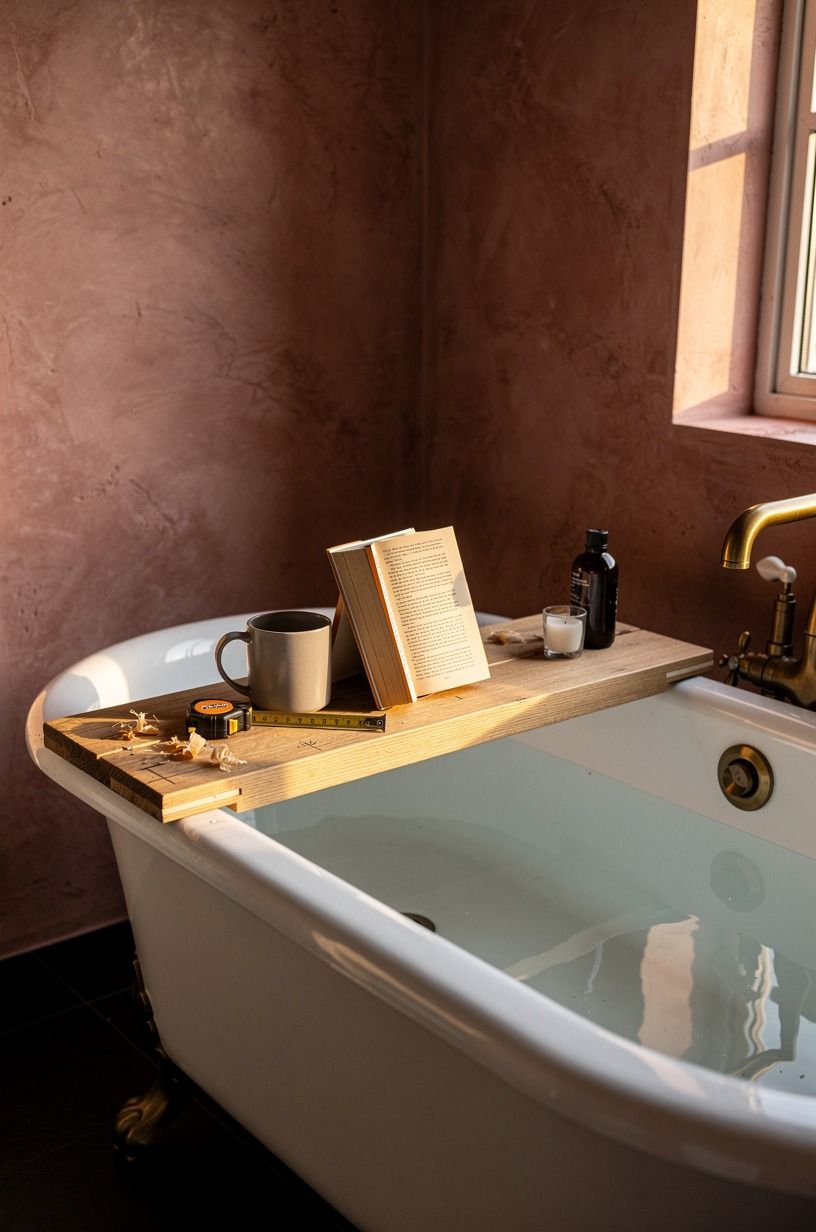
This is where a plain tub board DIY turns into something that feels generous.
8Drill a stemware slot near one edge
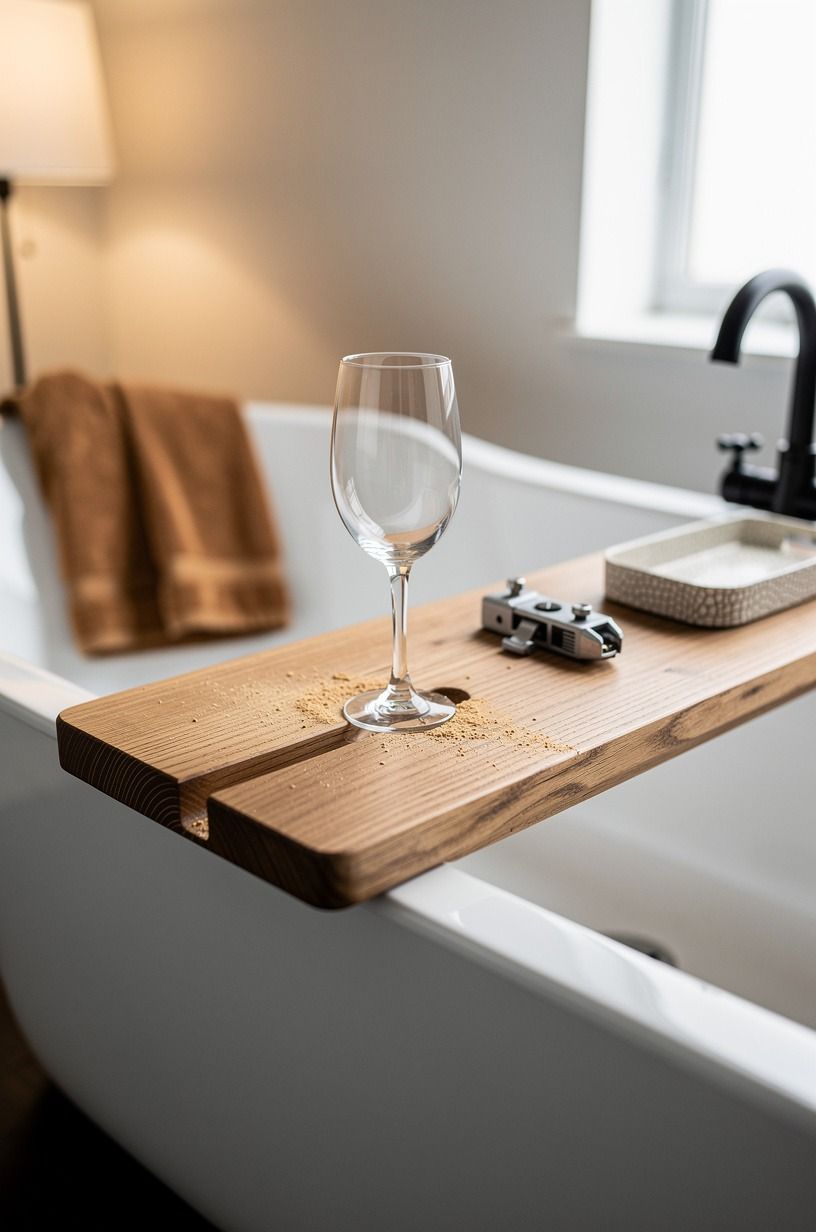
If you want the tray to feel like a real ritual piece, a stemware slot earns its keep. Cut it near one edge so the bowl of the glass floats safely outside the board while the stem sits down in the slot, and keep the opening slim enough that the glass does not wobble. A clean wine-glass slot looks intentional when it's modest.
The three-quarter view in the image is a clue: you should still see the tray spanning the tub in a relaxed way, with the empty glass stem resting neatly in the notch instead of being showcased like a novelty. That restraint matters. Nobody wants a bathtub accessory that feels like a gadget.
Would I add this on every build? No.
Skip it if you know you only use the tray for a candle, soap, and a folded washcloth. But if your bath is your Friday reset, the slot is one of the few custom details that changes how you use the tray, not just how it photographs.
If you want another project with the same use-first logic, browse these DIY backyard builds on a budget.
9Inset a soap dish with tile scraps
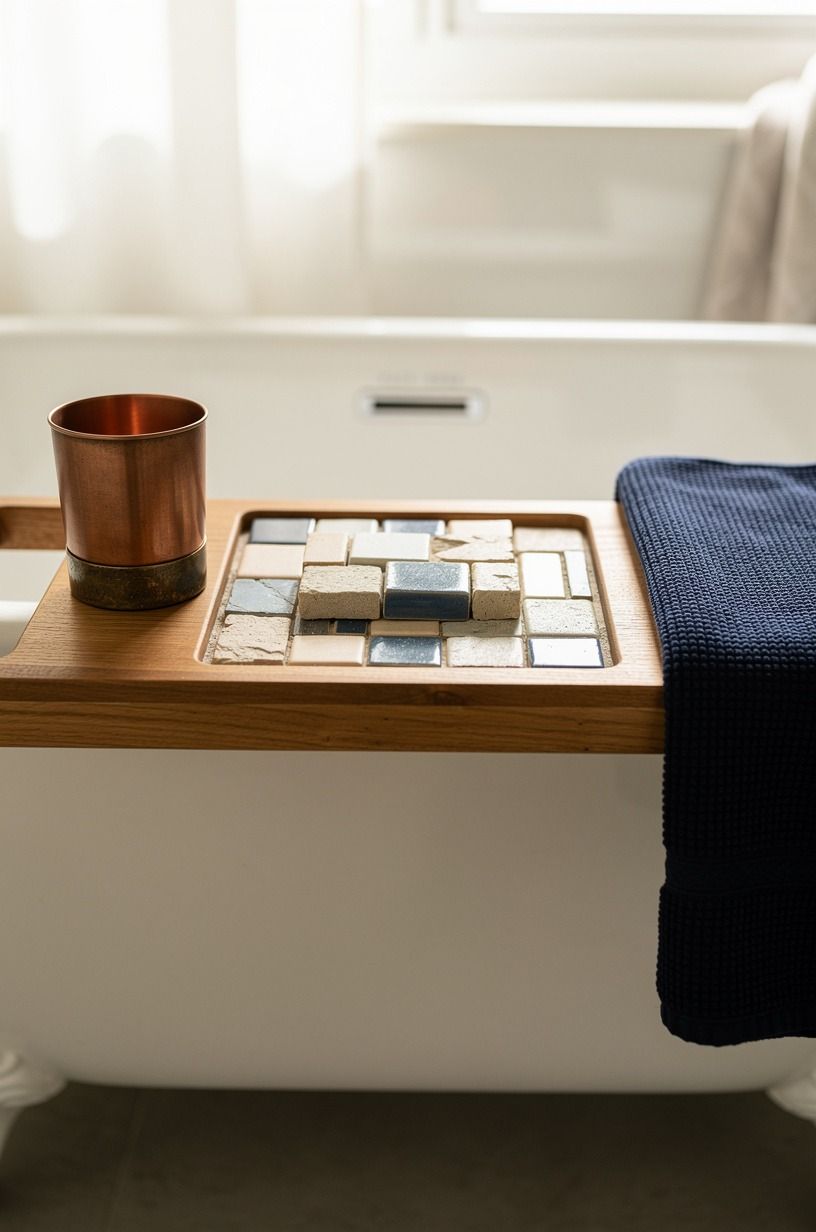
A little inset dish breaks up the wood in the best way, especially if you use leftover tile that ties back to the room. One square of hand-glazed zellige or a pair of marble scraps can hold a soap bar without making the tray feel too busy. I prefer a small centered insert over a giant tile field because the wood still needs to lead.
Set the dish where your hand reaches naturally from the bath, then keep the recess shallow so cleaning stays simple. The low floor-level perspective in the photo helps here because it lets the tile insert catch the eye while the tray still reads as a full object across the tub apron. You want drama from angle, not from excess material.
If your bathroom leans warm, Benjamin Moore Chestertown Buff HC-9 on the walls makes cream tile scraps feel intentional instead of leftover. And if you're still training your eye on where a small accent belongs, browse these small-space DIY ideas and notice how often one insert or inset detail carries the whole composition.
10Stain pine boards a deep walnut
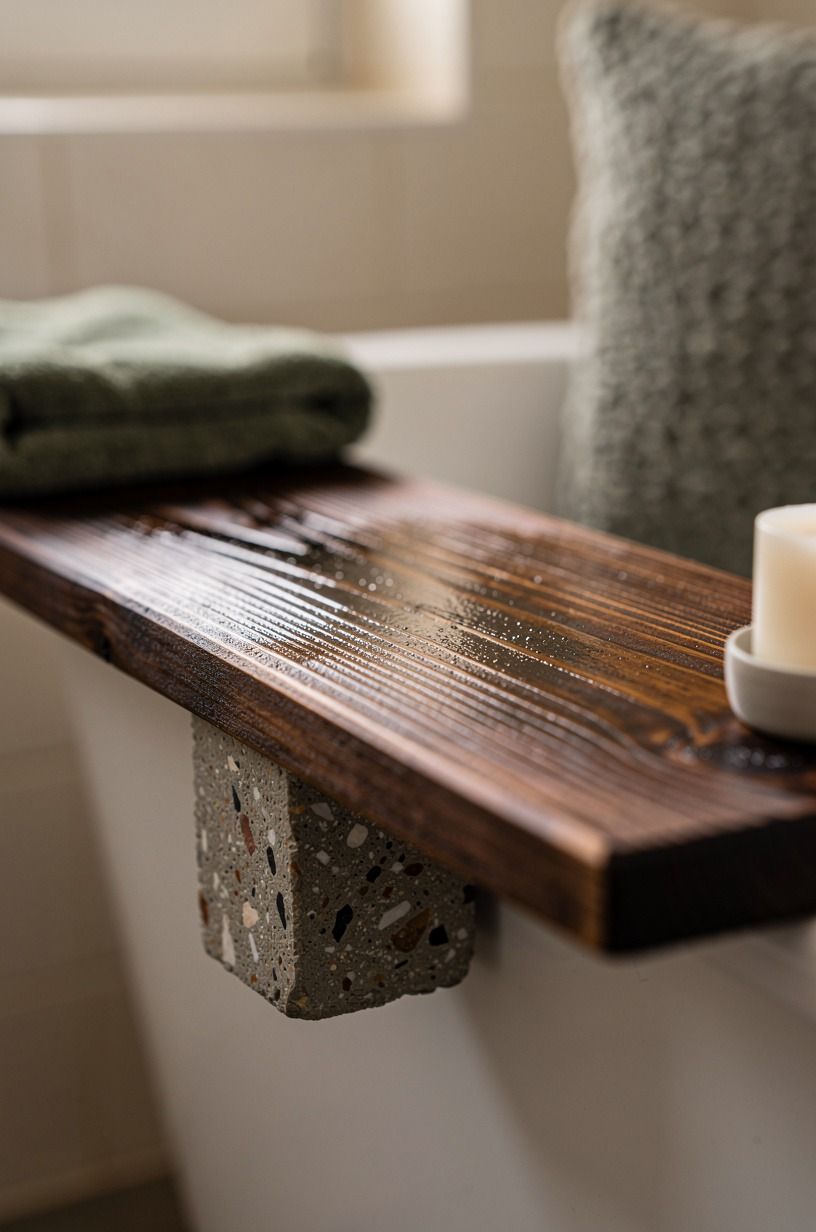
Pine is the affordable route, and it does not need to apologize for that. A deep stain can give plain boards more gravity, especially if your bathroom already has warm metal or a cream tub that benefits from contrast. I use deep walnut stain when I want the grain to stay visible but the board to feel less raw-builder and more old-house practical.
The macro photo matters because you should see the stain sinking into the grain, not just a finished board from six feet away. That close look tells readers how much the wood darkens, where the streaks form, and why wiping back the excess matters. Pine can go blotchy fast if you rush the rag pass.
But I'd not use the darkest stain in a room with no natural light and lots of cool gray tile. In that case, Farrow & Ball Hague Blue No.30 on a vanity or cabinet can carry the depth while the tray stays medium brown.
Dark is only good when the room has somewhere soft for your eye to rest. For another material-first project, I like these free DIY outdoor kitchen plans.
11Paint the underside in glossy white
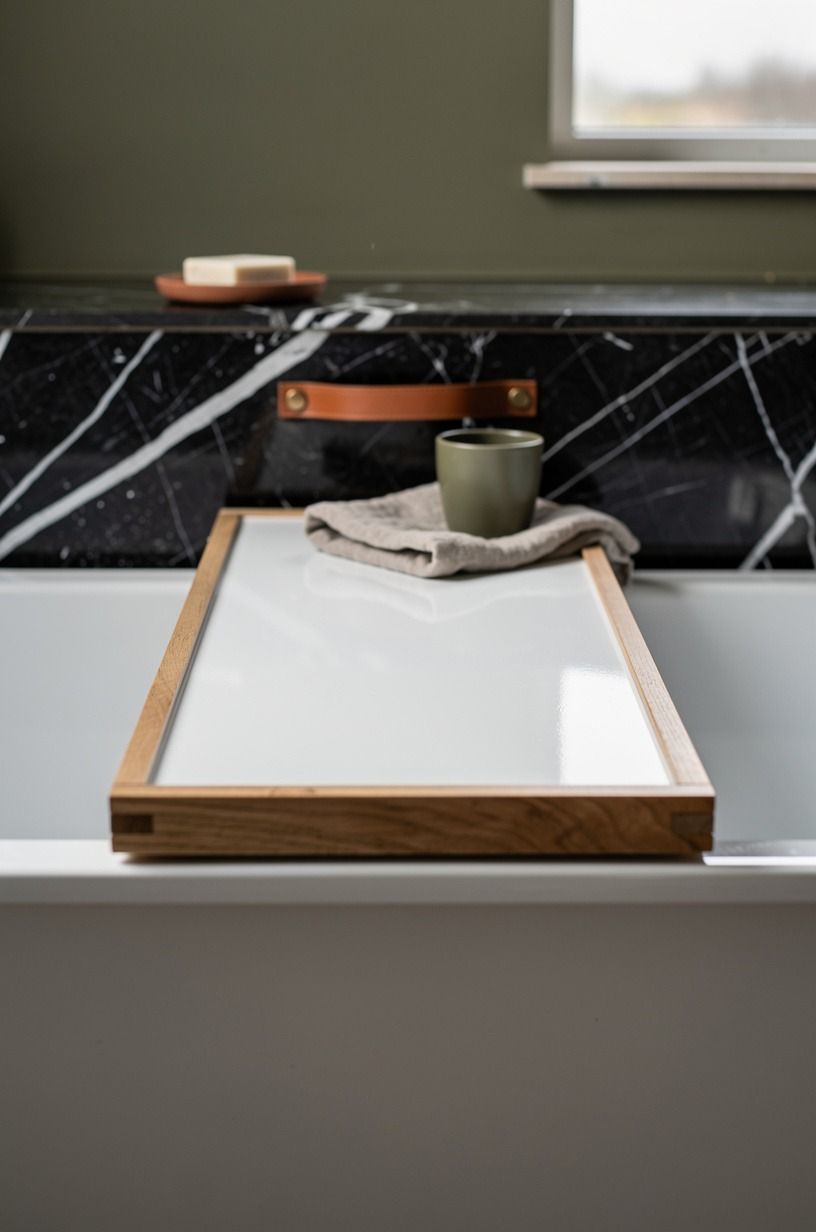
Painting the underside is a quiet move, but it changes the piece more than you expect because the tray looks lighter from normal standing angles. Keep the top in wood, then give the lower face a thin coat of glossy white enamel so the board reflects light back toward the tub. In a small bathroom, that little lift matters.
The low ground-level image should show the lifted tray edge and the reflective underside catching brightness, almost like the board is floating a bit above the room. That's the effect you're chasing.
Not contrast for contrast's sake, but relief. A dark slab over a white tub can feel heavier than the room wants.
I like this move best when your trim or vanity already repeats white somewhere else, because the underside then feels connected rather than random. Think of it the way you'd think about balancing large forms in a room.
The principle is the same, just on a board you can carry with one hand. If you want more practice seeing scale, these small bedroom DIY ideas sharpen that eye fast.
12Clamp side rails for a snug fit
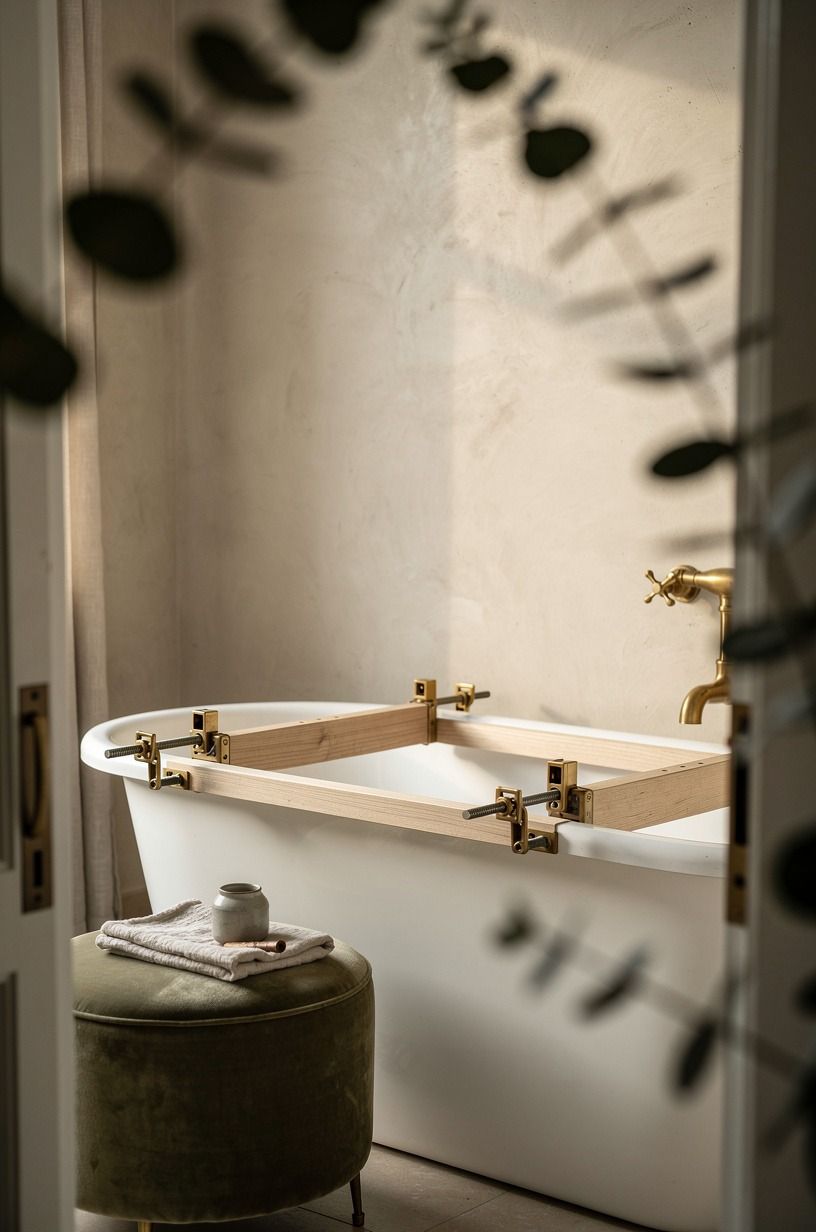
Side rails are the how to make a bathtub tray detail that separates a nice board from a tray that stays put when you reach for your mug. Add narrow rails underneath the long edges, clamp them in place while the tray sits over the tub, and let the fit answer to your actual rim instead of a guessed measurement. I use oak side rails when I want a little more durability underneath.
The doorway framing with eucalyptus in the photo gives you the right mood: calm, layered, not overly shop-heavy, with clamps visibly doing the work. Readers should understand that the rails hug the tub without pinching it.
Too tight, and the tray becomes annoying to lift. Too loose, and the whole upgrade loses its point.
But leave a hair of breathing room. Wood moves, bathrooms stay humid, and a tray that fit perfectly in dry weather can start sticking later. That same build logic shows up in these free outdoor kitchen plans for this weekend, where test fitting before final fastening saves you from almost every ugly correction.
13Carve drainage channels around bath salts
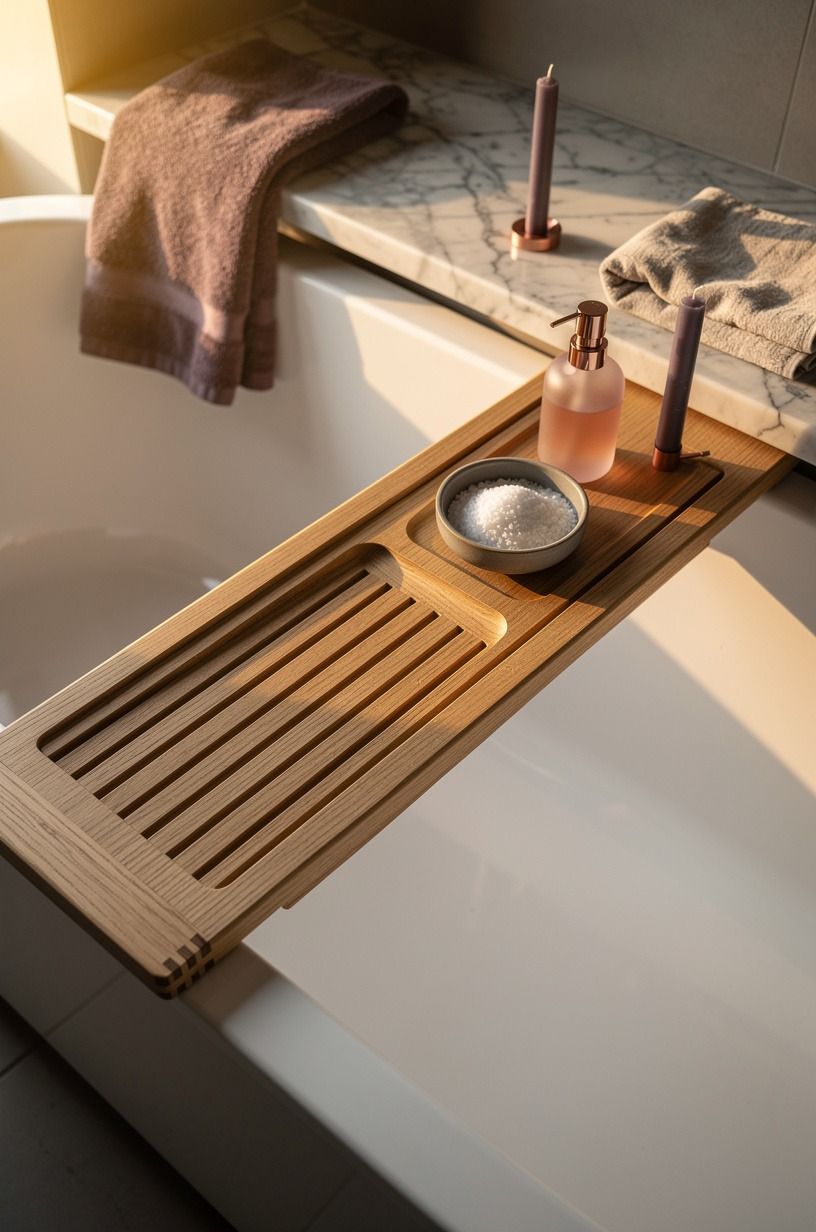
If you keep bath salts on the tray, give that zone a reason to survive splashes. A few carved channels around the dish help guide stray water away so the salt area stays drier, and the tray gains a bit of visual rhythm at the same time. I like narrow grooves around a ceramic salt bowl rather than deep carved patterns that collect grime.
The wide diagonal image should make those grooves visible from a distance, with the board still reading as simple and useful. That balance matters. You want the reader to think, yes, I could make that, not, there's no way I'm pulling out carving tools for bath time.
And keep the salt area modest. One dedicated pocket is enough.
If you start adding holders for every object you own, the tray turns into a clutter map. The best version still leaves open wood showing, because open surface is what makes the whole piece feel restful in the first place.
That same restraint shows up in these budget-friendly outdoor kitchen ideas.
14Wrap handles with natural jute cord
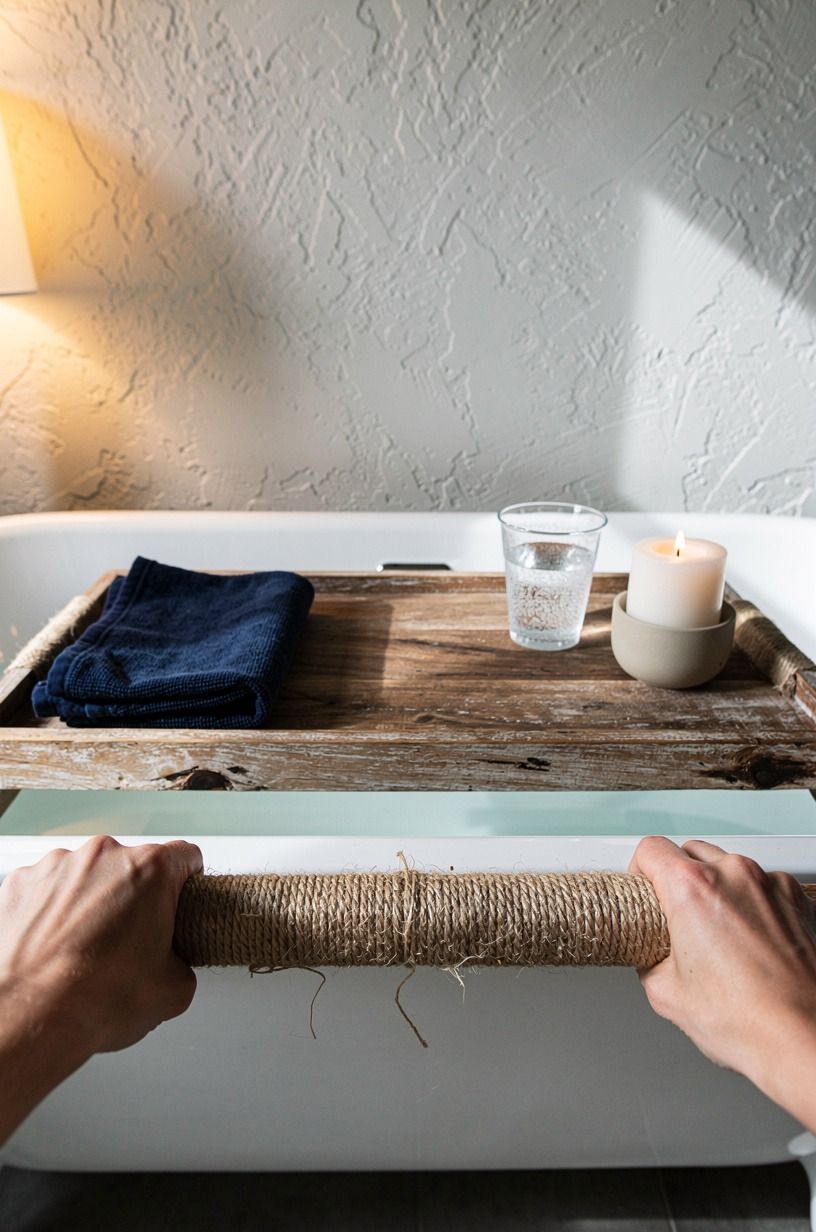
Cord-wrapped handles make the tray feel warmer in the hand and a little less shiny if your brass hardware is reading too crisp against weathered wood. Use natural jute cord, keep the wrap tight, and stop before it looks nautical. This idea works best on a teak-toned tray where you want texture, not theme.
The first-person photo is important here because the hands finishing the centered wraps tell the reader exactly where the detail belongs and how much is enough. Both handles should match, both wraps should feel firm, and the knot or finish point should be hidden underneath where your eye does not camp out.
I'd skip white rope, satin ribbon, or anything too decorative. Jute has the right friction and the right dryness. If you like projects that gain character from one plain material used well, there's a similar lesson in this DIY cinder block outdoor kitchen build: texture carries more style than ornament does.
15Style the finished tray with linen and eucalyptus
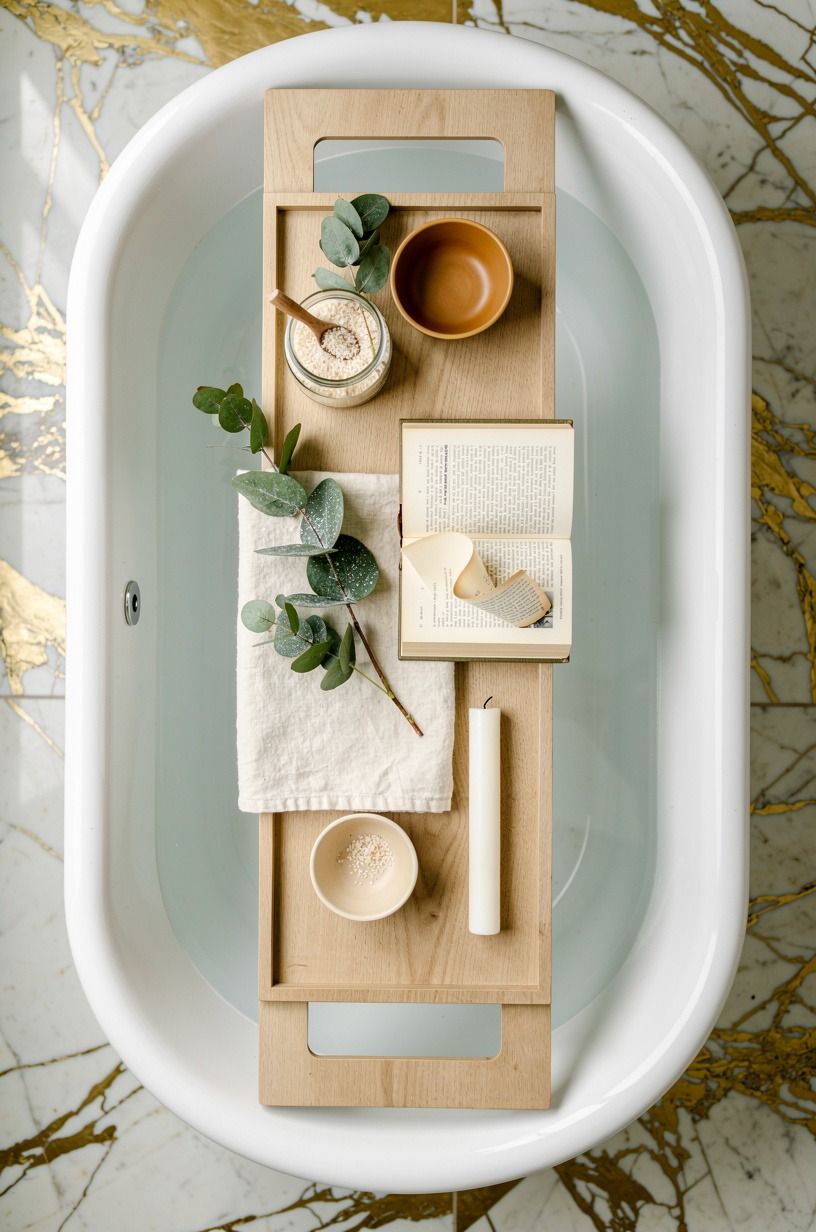
Once the build is done, styling should stay soft and spare so the tray still feels usable.
What bathroom upgrades usually cost before you tear everything out
A bathtub tray is one of the best kinds of bathroom project because it gives you a finished, intentional moment without pushing you into a full-room renovation. If you have been debating whether to build a tray now or save for a larger overhaul later, use these typical US cost ranges as the honest backdrop. A small build can buy you breathing room.
That's why I like starting with a tray, fresh towels, and one finish upgrade before touching plumbing. A brushed brass faucet can run $120-$450, while a full marble top often lands around $50-$100 per sq ft. You can change how the room feels for a fraction of the big-ticket spend, and the tray gives you a harmonious little win to enjoy while you save up for the rest.
Why a bathtub tray works harder than people expect
A good bathtub tray isn't just a place to set a candle. It's one of those tiny home projects that teaches you how a room wants to work.
My first instinct used to be bigger and flashier: new mirror, new sconce, maybe even a wall color switch before I had fixed the basic experience of using the room. But the tray changed that.
Once I built one that fit properly, with enough width for a book and enough restraint to leave some open space, the whole bath slowed down. The room didn't become fancy overnight.
It became easier to enjoy.
That's why I keep pushing people toward the smallest useful build before the expensive one. A bathroom has hard limits.
Vanity height is usually 32-36 in, comfortable shower space starts around 36x36 in, and you still want at least 21 in of clearance in front of the toilet. Those dimensions mean every object you add has to earn its footprint.
A tray earns it because it lives on top of the tub, not in the walking path, and because it solves three problems at once: storage during the soak, a softer visual line across the rim, and a place to repeat the room's materials in a controlled way.
I've also learned that the tray exposes your real taste fast. Do you love cedar left pale? Do you want teak depth?
Do you prefer unlacquered brass that goes softer over time, or a crisp painted underside that bounces light? You find out quickly, and that's useful before you spend real renovation money. If a warm wood board plus one linen towel and a candle already makes the room feel better, maybe you don't need the dramatic overhaul this year.
Maybe you need a smaller win that gets used every week. That's the honest economy of a bathroom tray, and I trust it more than mood-board ambition.
The Questions Worth Answering First
What's the best How to Make a DIY Bathtub Tray (Easy Weekend Build) for a small bathroom?
The best one for a small bathroom is a slim tray with folding handles and side rails because it keeps the footprint light while still feeling secure. Think cedar or pine, not a bulky hardwood slab. A narrow storage mindset like IKEA does so well helps here, and these small bedroom DIY ideas translate surprisingly well to tiny baths.
Where can I buy How to Make a DIY Bathtub Tray (Easy Weekend Build) pieces on a budget?
Start with Target, IKEA, or Wayfair for handles, bumpers, and simple finishing supplies, then check Facebook Marketplace for leftover boards or tile scraps. Budget wins.
One offcut of cedar. A small pack of bumpers.
Second-hand trim that still looks clean. You don't need a specialty store for any of it!
How much does a How to Make a DIY Bathtub Tray (Easy Weekend Build) makeover cost?
Most DIY bathtub tray builds land around $40 to $160, depending on the wood and hardware you choose. Cedar, pine, jute, and a small can of sealer keep it reasonable.
Free wins too: scrap trim, leftover tile, or hardware you already have in a drawer. That's a very friendly weekend spend!
Can I create a How to Make a DIY Bathtub Tray (Easy Weekend Build) on a budget?
Yes, and you don't need premium materials to make it feel good. Scrap pine.
Leftover paint. One modest handle swap.
If you already own sandpaper and a brush, your biggest spend may only be finish and bumpers. It's a relaxing Saturday build!
Is a How to Make a DIY Bathtub Tray (Easy Weekend Build) worth it in a small space?
Yes, because it adds function without stealing floor area. Small bathrooms benefit most from pieces that work above existing surfaces, and the tub rim is underused space.
Keep the tray narrow, repeat one room material, and let the open center stay visible. The same space-saving instinct drives this DIY breakfast nook bench guide.
Is How to Make a DIY Bathtub Tray (Easy Weekend Build) a good idea for a rental?
Yes, because the project is movable and low-commitment. Use removable bumpers underneath.
Skip permanent room changes. Pair the tray with a peel-and-stick hook, a tension-rod curtain swap, or removable storage nearby so the whole bathroom feels more finished without damage.
Where I'd Start First
If I had to pick one, I'd start with sealing the wood with marine varnish. Raw wood beside water is wishful thinking, and every pretty detail fails after that. Pin the sealing step for later and build the rest around a surface that can survive real steam.