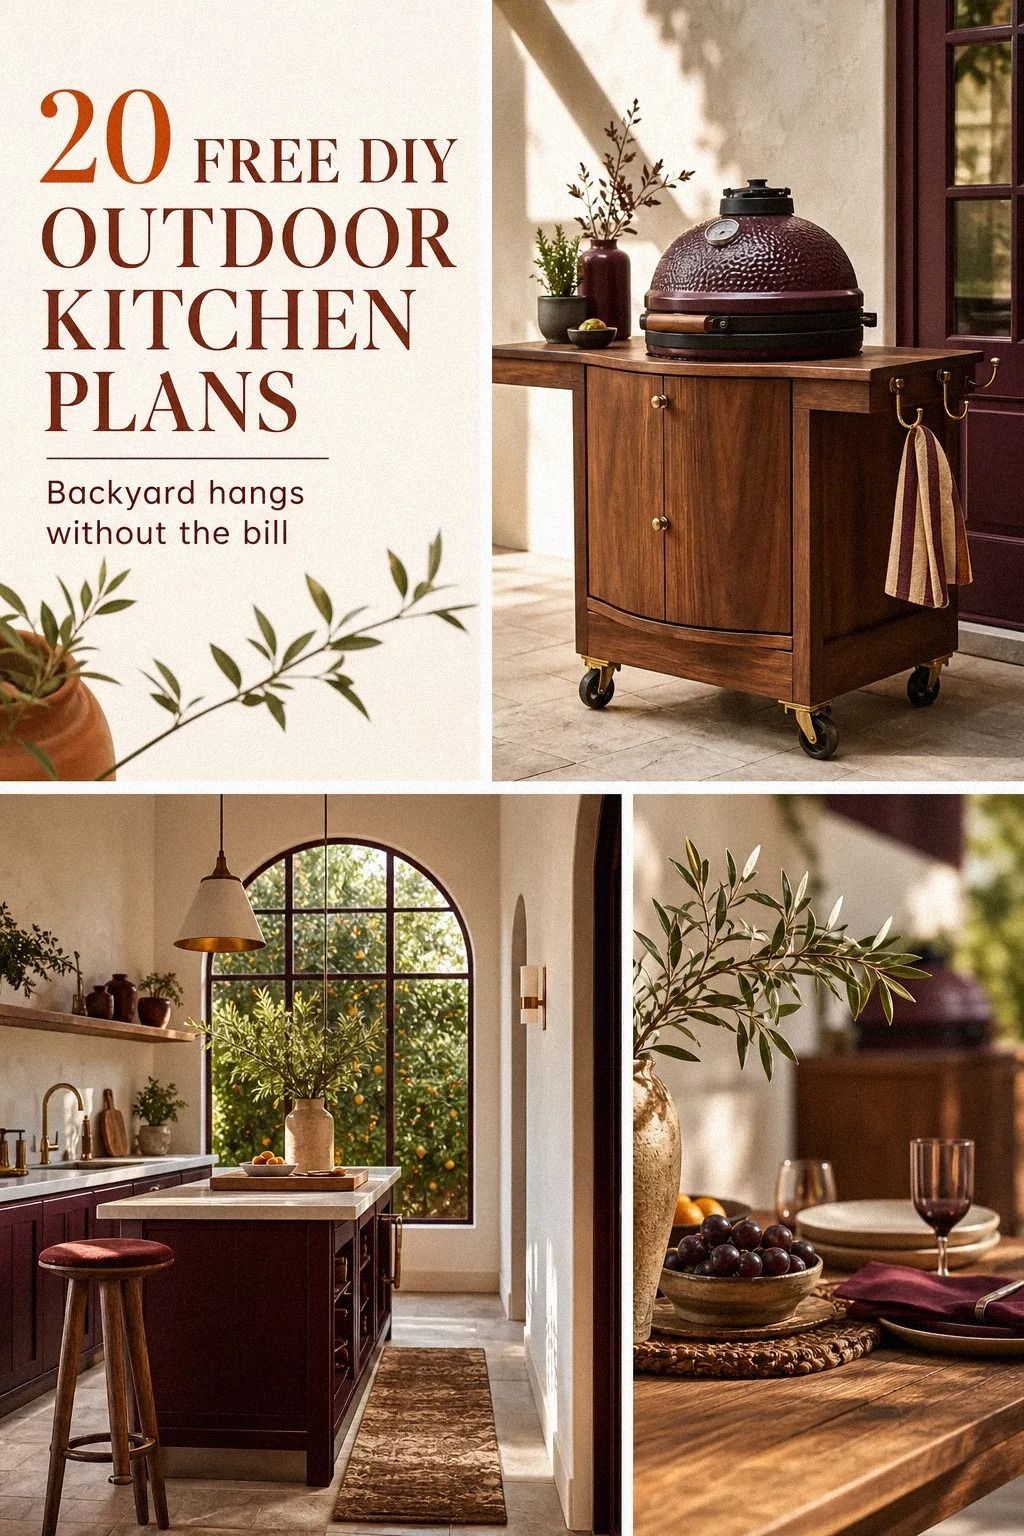
Easy Free DIY Outdoor Kitchen Plans to Build This Weekend don't have to mean a full remodel: a cosmetic setup typically starts around $300 in the US, while smarter refreshes climb from $3,000 to $12,000. I learned that the expensive way after overbuilding my first prep zone and realizing half the charm came from layout, not money. If you want a home made outdoor kitchen that feels warm, useful, and doable by Sunday night, start here.
- Sketch a rolling grill cart from plywood
- Build a cinder block counter in one afternoon
- Frame a pallet cabinet wall for storage
- Sketch a rolling grill cart from plywood
- Build a cinder block counter in one afternoon
- Frame a pallet cabinet wall for storage
- Pour concrete pavers under the cook zone
- Mount peg rails for grilling tools
- Wrap a cooler in cedar boards
- Set butcher block over stock cabinets
- Hang open shelves between fence posts
- Tile a mini backsplash behind the grill
- Add curtain fronts to simple base cabinets
- Stack bricks for a no mortar prep station
- Install a drop-in sink with hose hookup
- Create a fold-down serving ledge
- Paint outdoor cabinets deep charcoal
- Use corrugated metal for weatherproof doors
- Anchor a budget island with caster wheels
- Plant herb troughs beside the prep counter
- Finish with string lights over the grill
- What does Farrow & Ball Studio Green actually look like outside a fireplace?
- Pergola overhead or umbrella first: which one earns its keep?
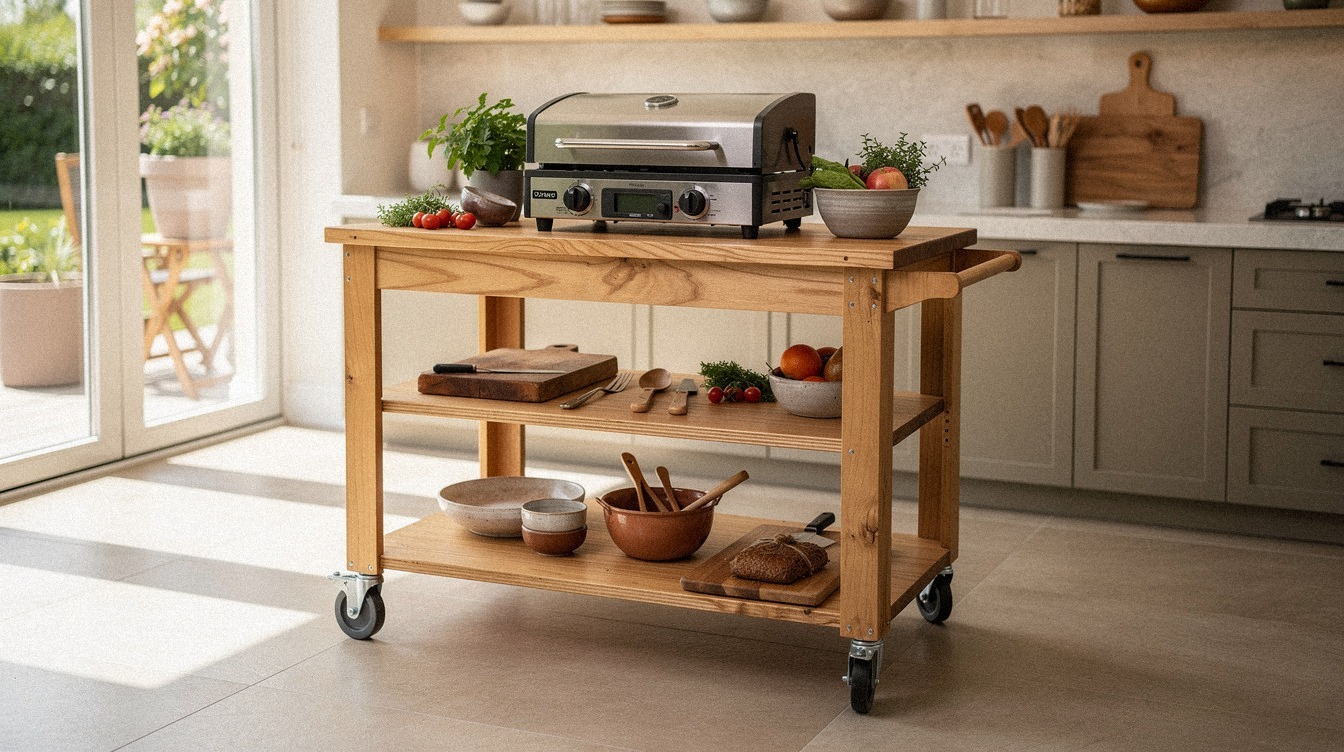
1Sketch a rolling grill cart from plywood
Start with a rolling cart if you want the fastest win from a handmade outdoor kitchen plan. The version I'd draw first uses 3/4-inch exterior plywood, a simple lower shelf, and locking casters, because you need movement more than built-ins when you're still learning how you cook outside. In the photo, that cerused white oak look keeps the cart softer than garage-shop plywood, so I'd mimic it with a pale wash instead of a glossy stain.
Give yourself a 36 in counter height and enough top depth for a compact grill module plus one prep board. I wouldn't go narrower than 24 in, even for a tiny patio, because your tongs, tray, and oil bottle will start fighting for inches. One side hook rail.
One open shelf. One towel bar.
If you're testing layouts first, my guide to small outdoor kitchen ideas that maximize every inch will help you keep the cart useful instead of bulky.
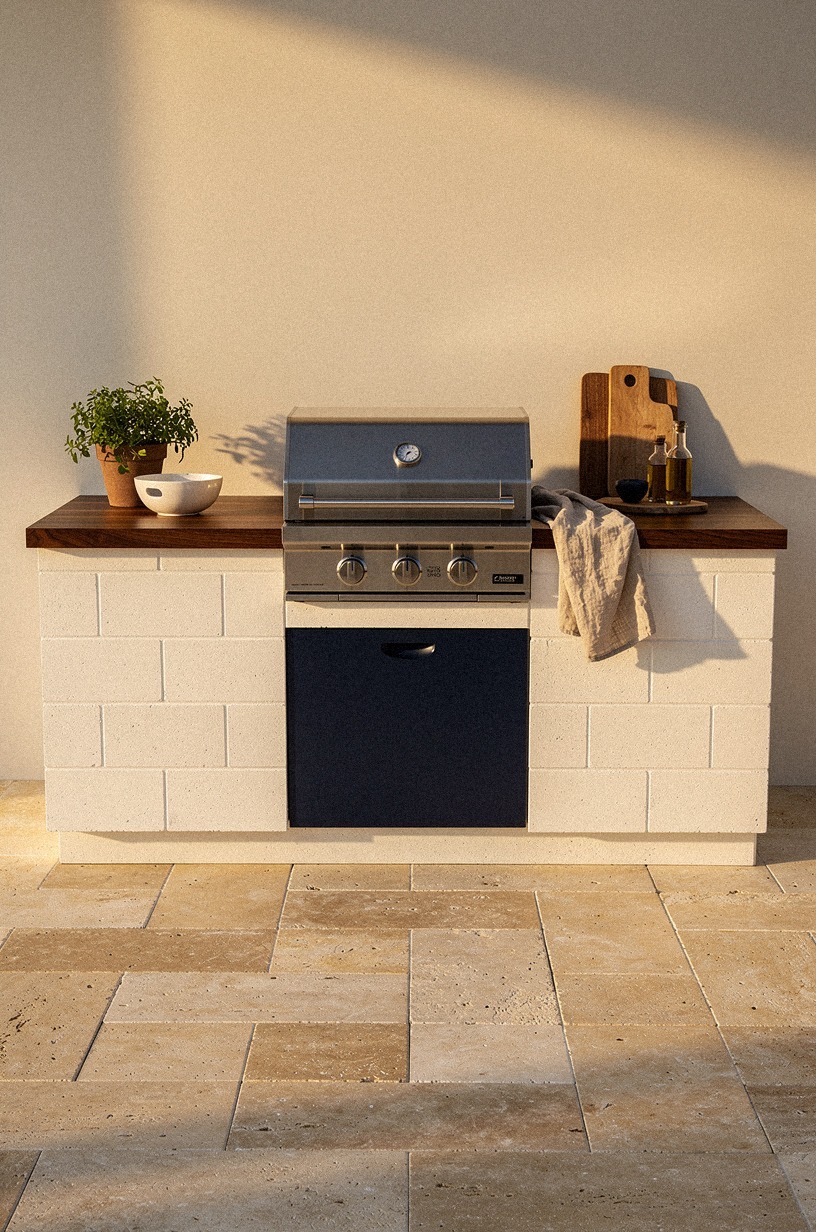
2Build a cinder block counter in one afternoon
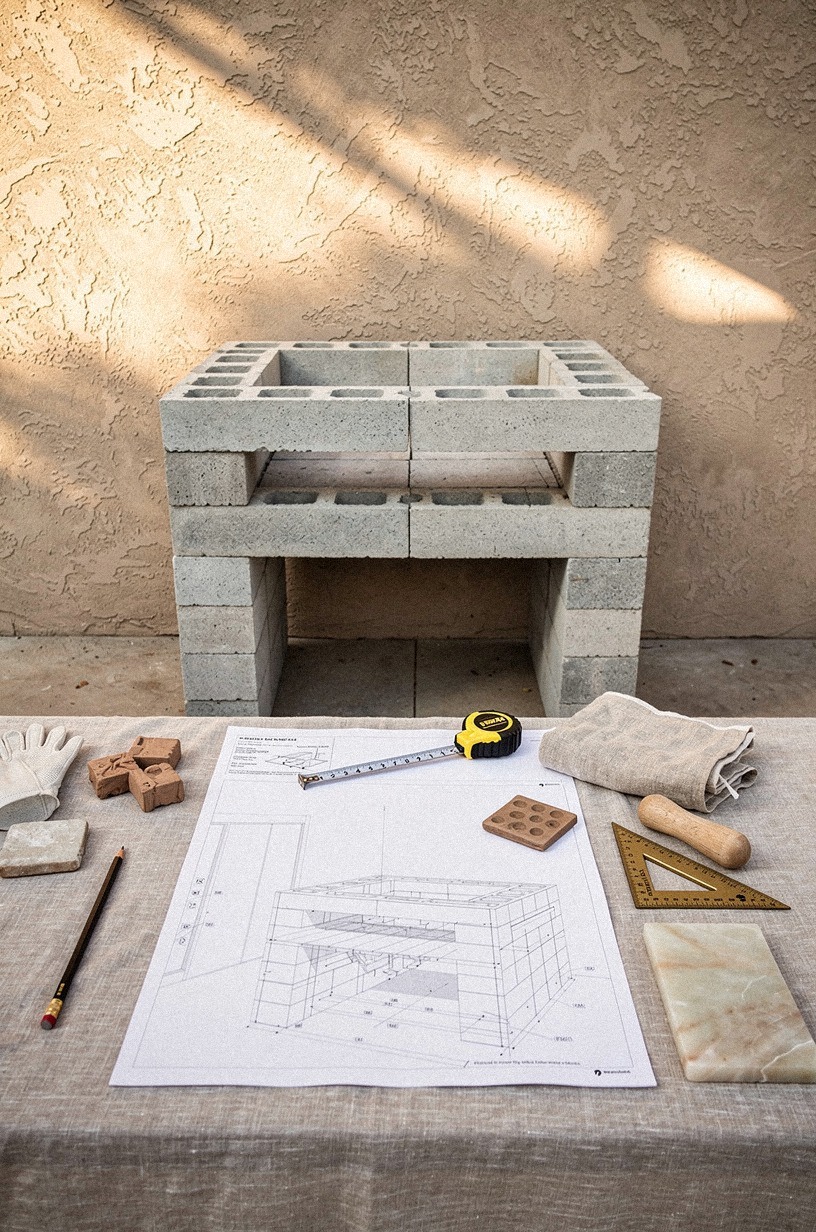
Cinder block works because you can see the build before you commit to the build. Stack the blocks dry, slide a frame for the grill between the columns, and leave the ends open until you know where your propane or charcoal bin wants to live. In that first-person setup, the blank sketch and linen-toned tools matter to me because they make the project feel calmer, not rougher.
Use cap blocks or a sealed top so your plates don't wobble on raw openings.
But don't overcomplicate the finish the first day. A coat of Benjamin Moore White Dove OC-17 on the surrounding trim or wall nearby will make gray block read intentional, especially next to warm oak or terracotta accessories.
Run a 1×2 cedar trim cap ($9 for 8 ft) across the top edge so the rough block meets the prep zone with a finished line, and brush on Drylok clear masonry sealer ($24 a gallon) to keep the gray from dusting every plate you set down. If you're building over wood planks or decking, read how to build an outdoor kitchen on a deck ideas tips before you stack anything heavy.
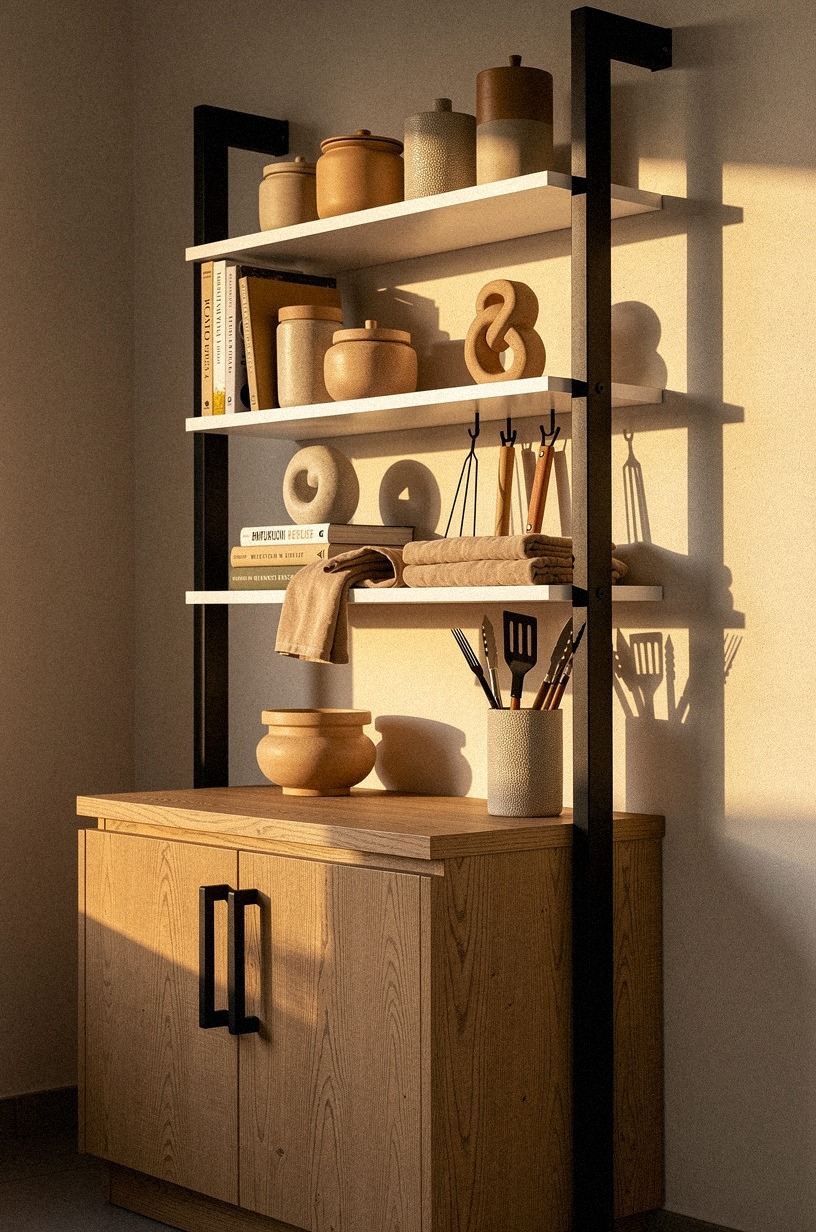
3Frame a pallet cabinet wall for storage
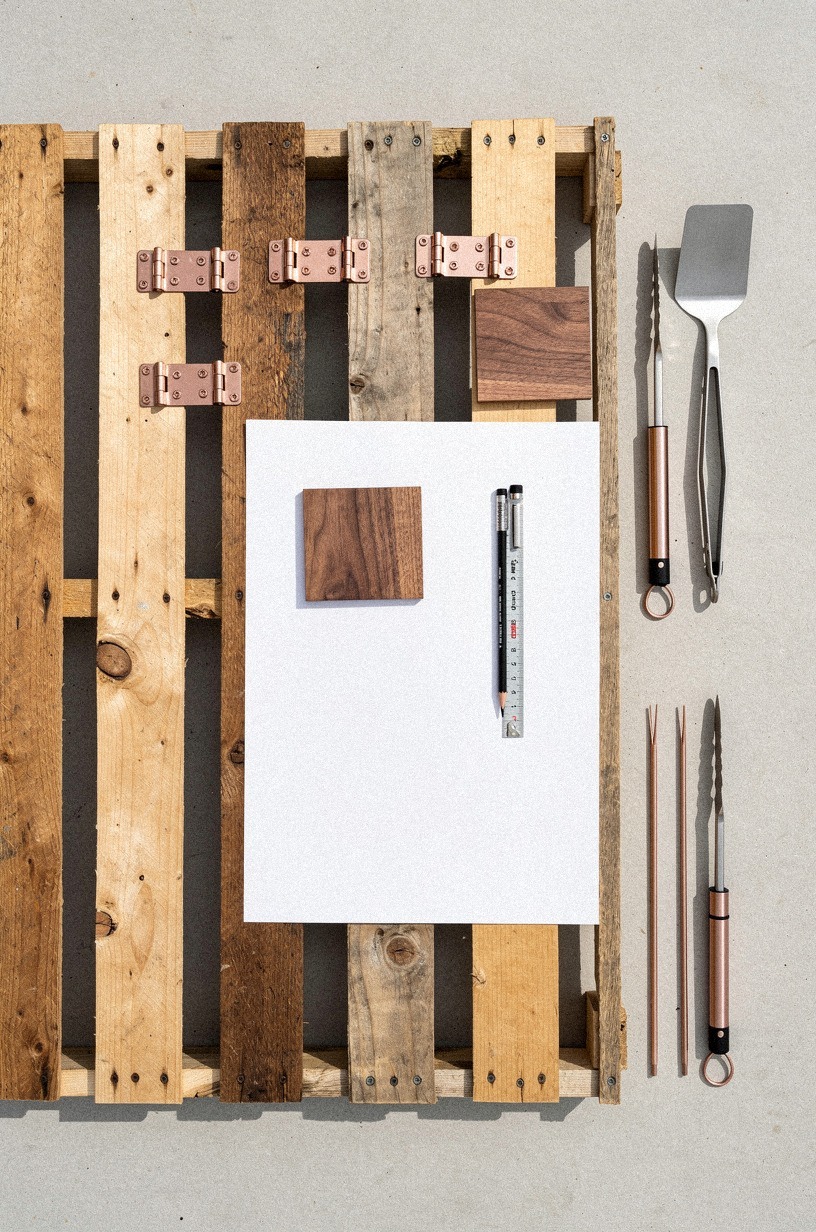
Pallet wood gets messy fast unless you treat it like cladding, not structure. For a storage wall, I'd rip the straightest slats, mount them over a simple frame, and let the rougher grain bring character while real cabinet hinges do the hard work. The overhead flatlay with walnut tools and copper accents tells you the finish shouldn't feel junky.
It should feel collected.
You also need one consistent tone. Sand the slats, skip orange stain, and keep the palette near walnut oil finish or a smoked oak wash so the storage wall doesn't scream shipping yard.
I like this idea for a diy outdoor bbq area where you need shallow storage for gloves, lighters, skewers, and grill brushes. For more material-mixing ideas, see rustic outdoor kitchen ideas for a charming cookout space and the cozy rustic backyard ideas for a warm lived in look roundup if you want the wood to read as a deliberate material, not a salvage find.
The goal isn't more wood. It's better-edited wood.
4Pour concrete pavers under the cook zone
A dedicated cook zone changes how the whole setup feels under your feet, and pavers are the cheapest way to commit to it.
5Mount peg rails for grilling tools

Peg rails are the easiest way to make your tools feel like part of the kitchen instead of random gear. Mount one above the grill cart, keep the line level, and use unlacquered brass hooks or black iron pegs that can take a little weather and still look better with age. The calm wall in the photo is the clue here.
You don't need clutter to show readiness.
I keep the rail edited: tongs, spatula, brush, towel. That's it.
But if you're styling a smaller cook station, add one narrow board above the rail for salt, oil, and a timer so your counter stays clear. Who wants to dig through a drawer every time the grill is hot?
For compact layouts, how to build an outdoor kitchen a beginner s guide shows how much function you can get from a short wall.
6Wrap a cooler in cedar boards
A bare cooler kills the mood faster than almost anything, so I'd hide it in cedar before I bought a prettier ice bucket.
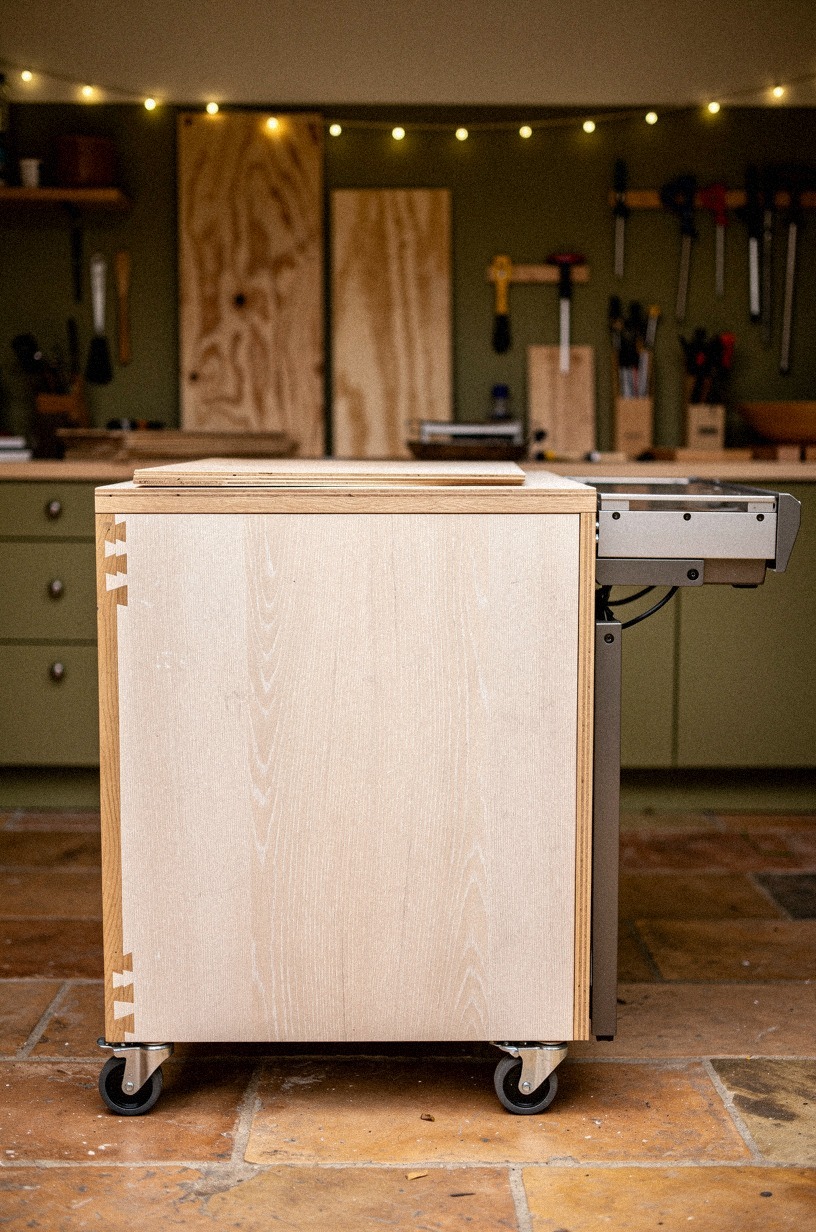
7Set butcher block over stock cabinets
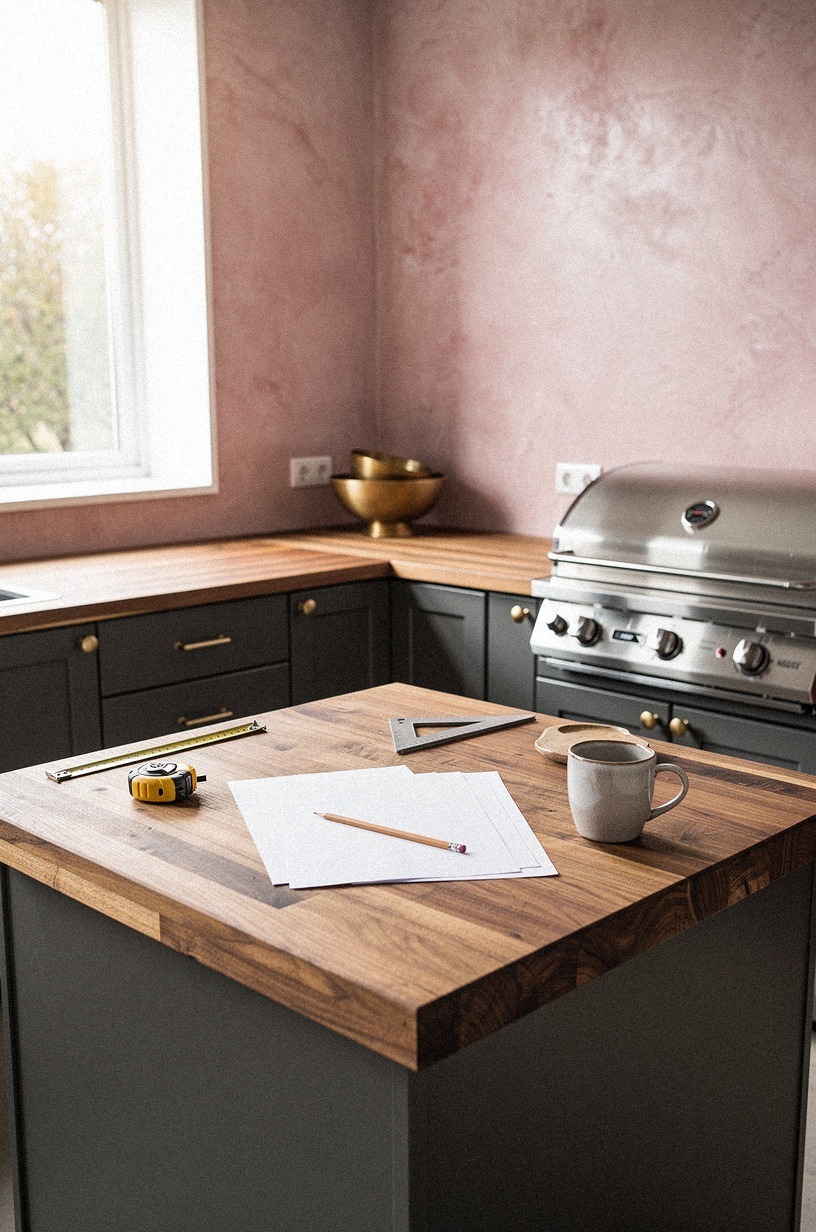
Stock cabinets plus butcher block is the plan I'd hand to almost any beginner who wants the built-in look without custom pricing. Use sealed base cabinets, then top them with edge-grain acacia butcher block or sealed white oak if you want a lighter finish.
Two IKEA HEMNES base units (about $358 each) sealed with Benjamin Moore Aura Exterior Satin in charcoal or bone get you 90% of the built-in look for a fraction of the custom price. The airy workshop image gets the scale right: sturdy boxes underneath, warm surface above, compact grill nearby, no drama.
Oil the top with Howard Butcher Block Conditioner ($12 a bottle) every six weeks or it goes gray by August.
This is also where the money ranges get useful, because your eye can get ahead of your budget if you don't pin down the tiers first.
I'd rather see you do a clean budget version than a sloppy mid-range one. For more grounded price-first thinking, outdoor kitchen ideas on a budget diy friendly will keep your choices sharp. If you want to see how stock pieces read once they're styled, the modern outdoor kitchen ideas with clean sleek lines roundup shows the after-photos that prove this works.
8Hang open shelves between fence posts
Open shelves work best when the vertical supports already feel architectural, and a fence line is the cheapest way to fake that. Mount two 4×4 cedar fence posts in surface-mount brackets ($14 each at the home center), run a pair of 1×10 pine boards between them at 18 in and 36 in, and you've got an honest outdoor pantry that holds platters, bowls, and a stack of enamel plates.
Spacing matters here: keep 12 in of clearance behind the deepest dish so your hand fits in without knocking the row over. I'd stain the shelves one shade darker than the posts so the structure reads, then top with a row of small terracotta pots of thyme and oregano for the only "decor" you need.
This is one of those things that looks more expensive than the receipt.
9Tile a mini backsplash behind the grill
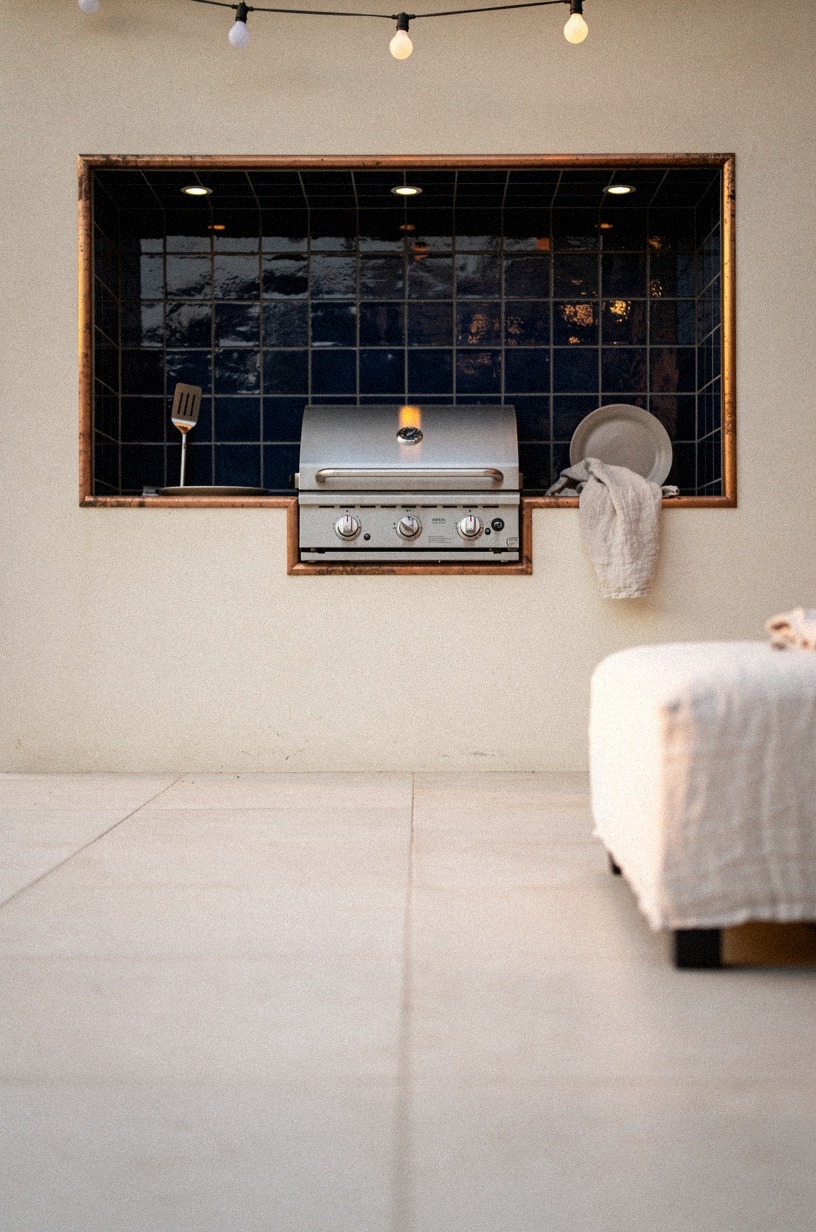
A mini backsplash gives you a focal point without turning the whole project into tile camp. Keep the span tight behind the grill, choose something with movement like hand-glazed zellige in warm ivory or soft olive, and let the sheen catch firelight at night. The low angle in the photo matters because you can feel how the tile anchors the station from the floor up.
This is one place where the 18 in backsplash zone is a helpful benchmark, even outdoors, because it keeps the scale believable next to standard counters. And if you want drama, Farrow & Ball Studio Green No.93 behind pale tile is richer than straight black, especially once smoke and shadow hit the wall.
I wouldn't overpattern this area. The grill is already the loud element, so the tile should steady it. If you're after a brighter outdoor palette instead of the deep green, the coastal outdoor kitchen ideas for breezy beach house vibes roundup shows the breezy, washed-linen version of this same play.
10Add curtain fronts to simple base cabinets
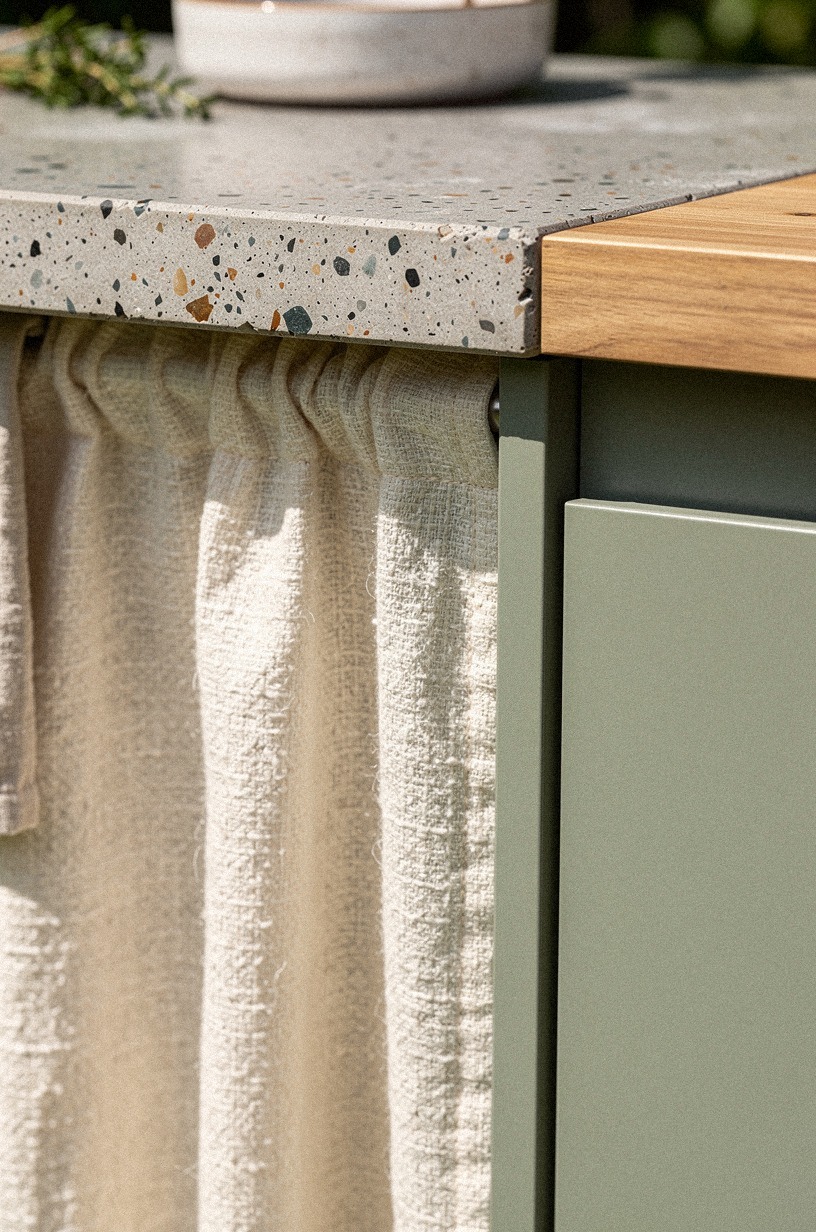
Curtain fronts are one of those ideas people underestimate until they see them in place.
11Stack bricks for a no mortar prep station
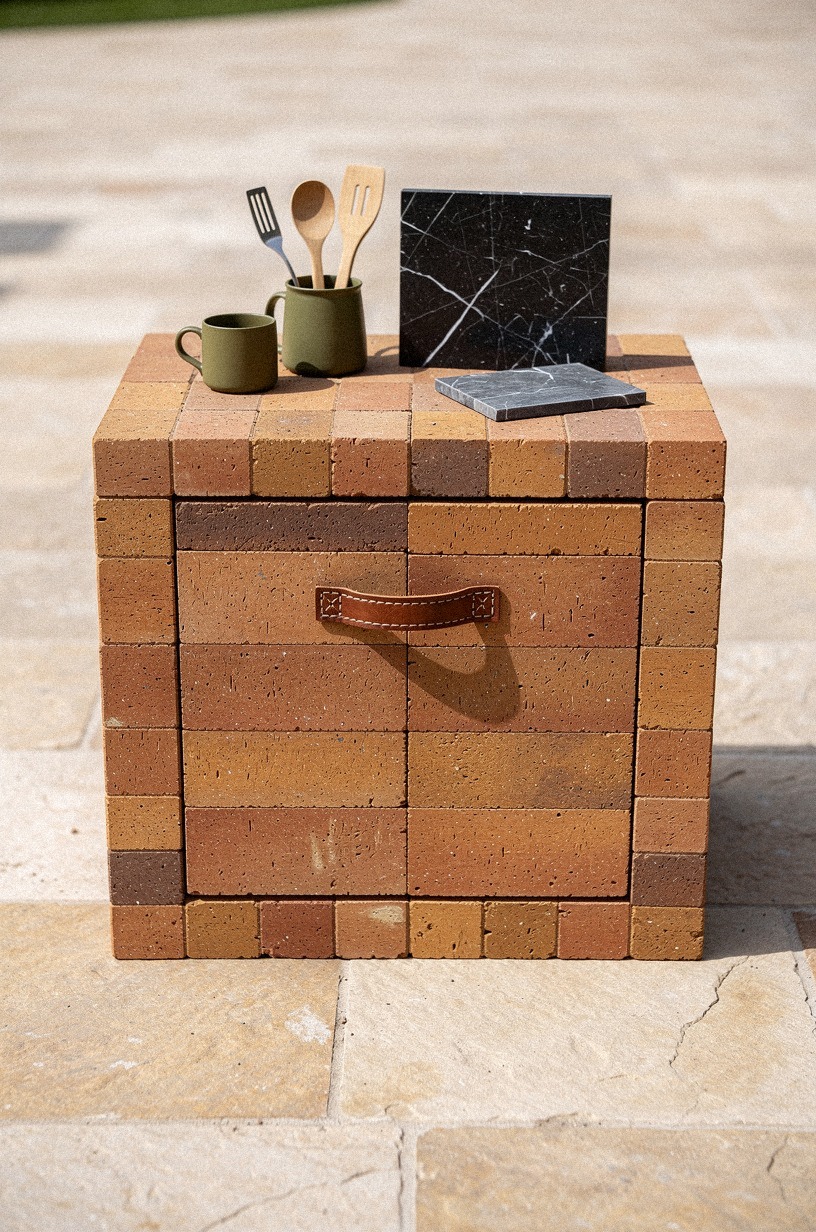
Brick is forgiving in a way framed cabinetry just isn't. You can stack a low prep station, set a stone or sealed timber top across it, and adjust the footprint before anything feels permanent.
That terracotta surface in the image is the key clue for me. I'd lean into earthy brick and olive tools instead of trying to dress the station up like indoor millwork.
Keep the top broad enough for a cutting board, bowl, and tray, and hold the finished work surface near 36 in so your wrists don't hate you halfway through dinner prep. But don't stack it too tall without checking the wobble on your actual ground first.
Uneven patios lie. If you're drawn to that heavier look, stone outdoor kitchen ideas for a timeless rugged look shows why rough materials work best when the footprint stays simple.
For a slightly different material mood, the mediterranean outdoor kitchen ideas for al fresco dining roundup leans into the honed travertine path on the same brick base. The whole zone should feel like it grew there, not landed from a truck!
12Install a drop-in sink with hose hookup
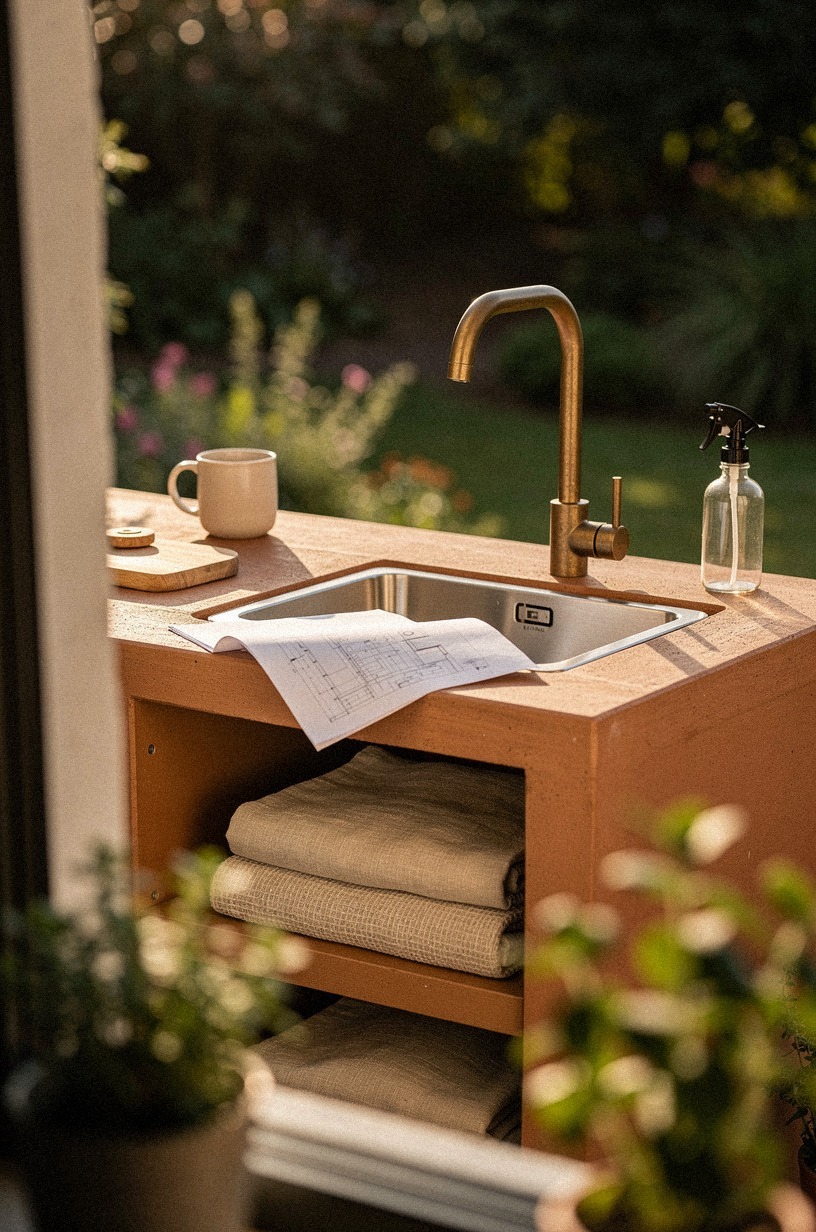
A drop-in sink isn't just about washing hands, it's what makes the rest of the zone feel real.
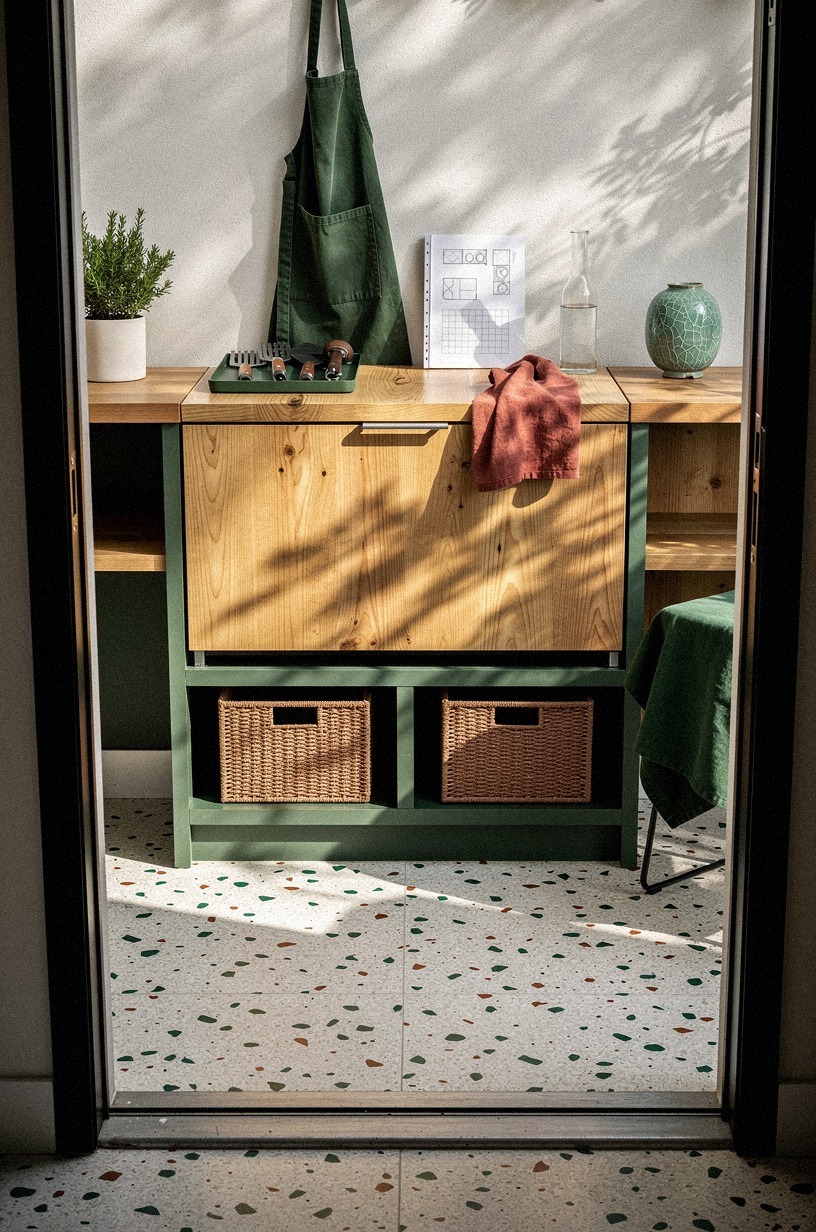
13Create a fold-down serving ledge
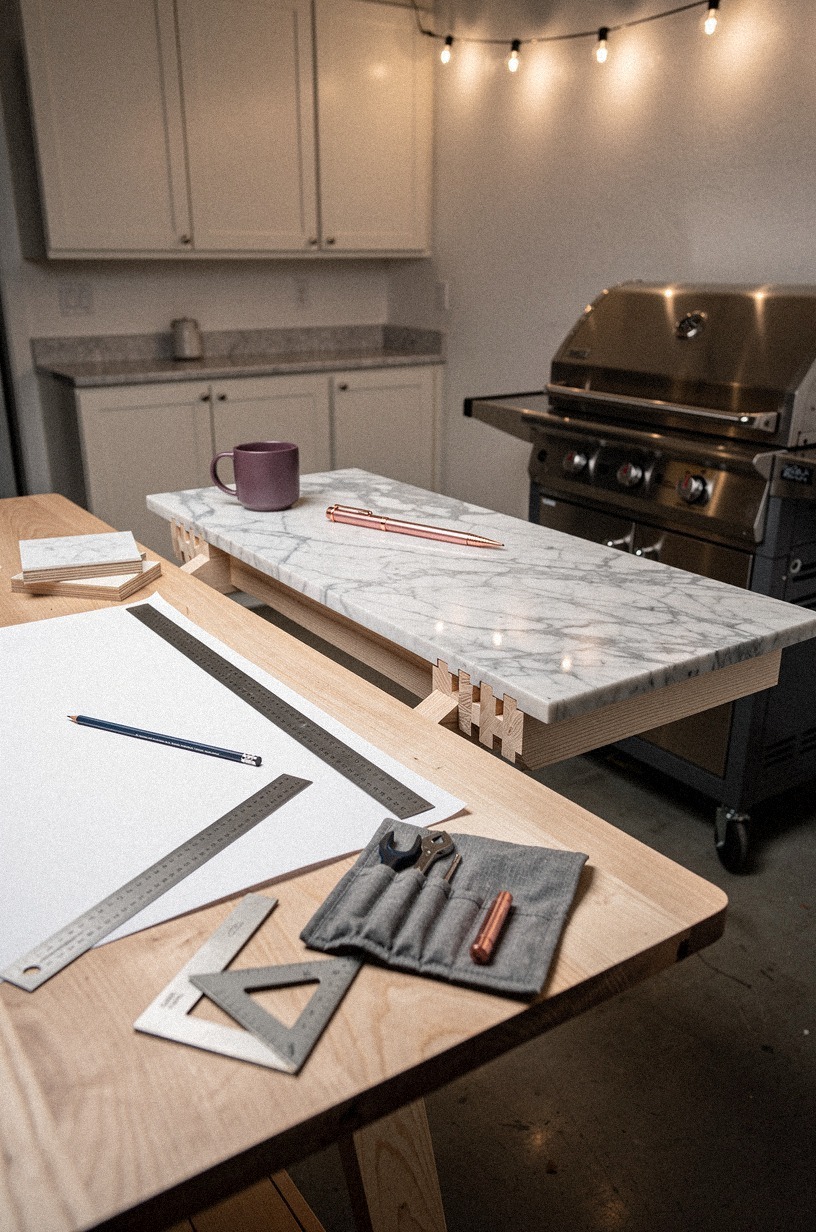
A fold-down ledge is the answer when you need more surface only at serving time. Hinge it beside the grill cart, keep the support hardware strong, and choose a top that feels finished from both angles.
The diagonal workshop view in the image sells a marble-topped version, but I'd fake that look with a sealed laminate or remnant slab before I paid for something precious. A pair of brass piano hinges ($9 for 24 in), a finger-pull edge pull ($5), and a chain stay to keep it from over-tilting ($6 at the hardware store) is everything the hardware side needs.
Build the ledge at 30 in from the deck so it lands a touch below standard counter height, perfect for setting a tray down while guests are still holding plates.
This is where restraint pays off. One ledge, one hinge line, one clean front edge.
Done. You want enough depth for a platter and two drinks, not a second island hanging off the side.
If you're building for game days, outdoor kitchen with tv ideas for the ultimate game day setu has smart ways to create overflow surfaces without jamming the whole patio. For smaller patios, the outdoor kitchen ideas for small backyards big function littl roundup shows the same fold-down idea in tighter footprints.
14Paint outdoor cabinets deep charcoal
Paint is still the cheapest way to make mismatched pieces feel planned, and deep charcoal is the only color that ties every cabinet style together.
15Use corrugated metal for weatherproof doors

Corrugated metal gives you weather resistance and a bit of grit, which can be exactly what a simple setup needs. The overhead flatlay with the small panel and pale marble notes suggests a tighter, cleaner interpretation, not a barn-door cliché. I'd frame the metal panel in wood, keep the scale modest, and let the ripples be the texture instead of piling on decorative hardware.
Pair it with a top that has warmth, like Calacatta Gold marble with amber veining on a serving slab or a laminate lookalike if you're staying practical. I also like this on lower doors only, with painted sides around it so the metal doesn't take over the whole zone. But avoid pairing corrugated doors with too many rustic extras.
Then it starts costume-playing instead of working.
16Anchor a budget island with caster wheels
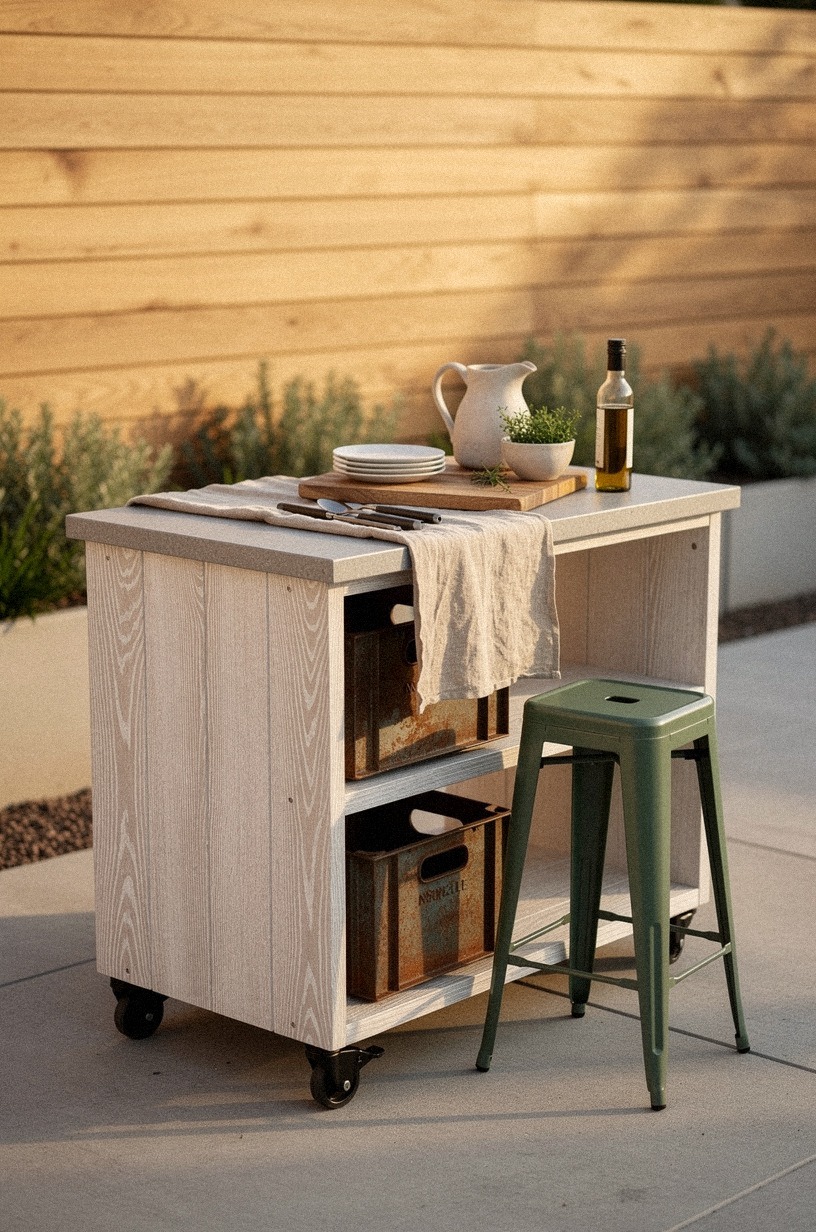
A mobile island is the grown-up version of a random utility cart, and a set of 4-inch locking casters ($16 for four at the home center) is what turns a static box into real kitchen furniture.
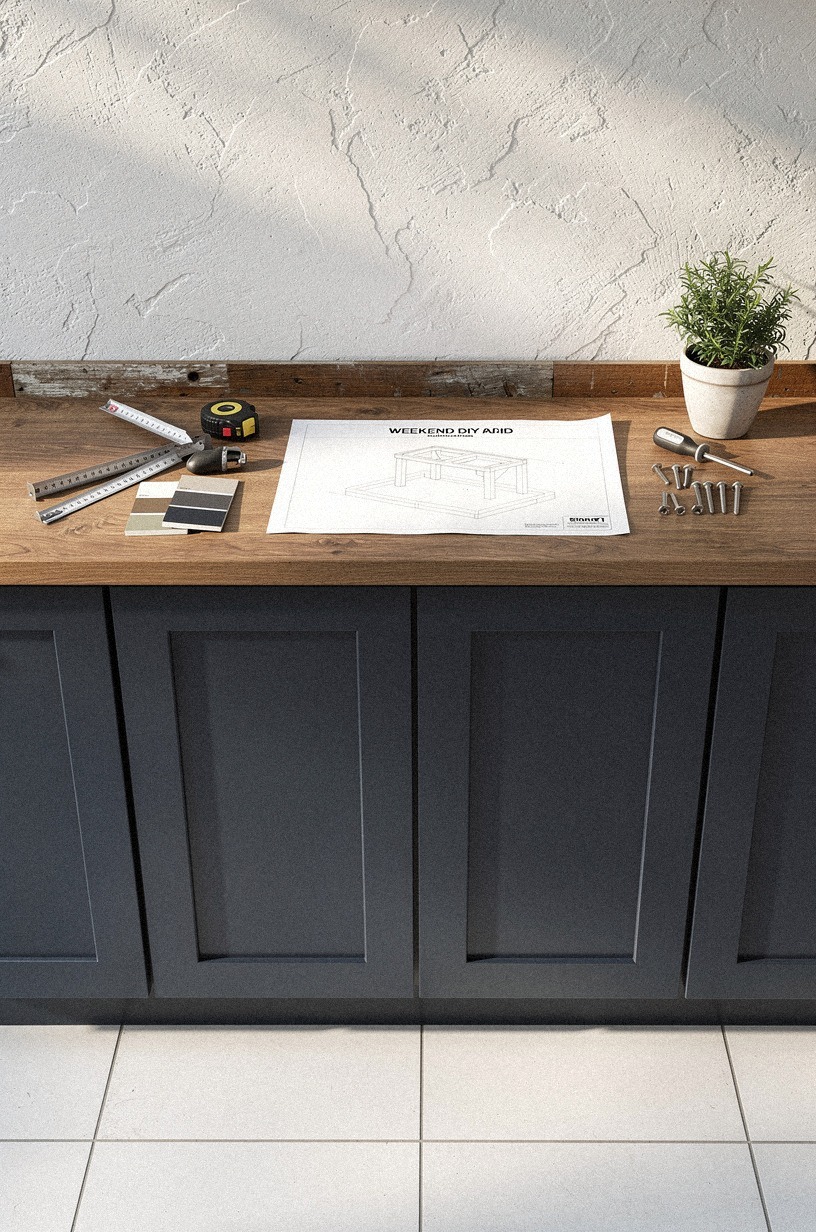
17Plant herb troughs beside the prep counter
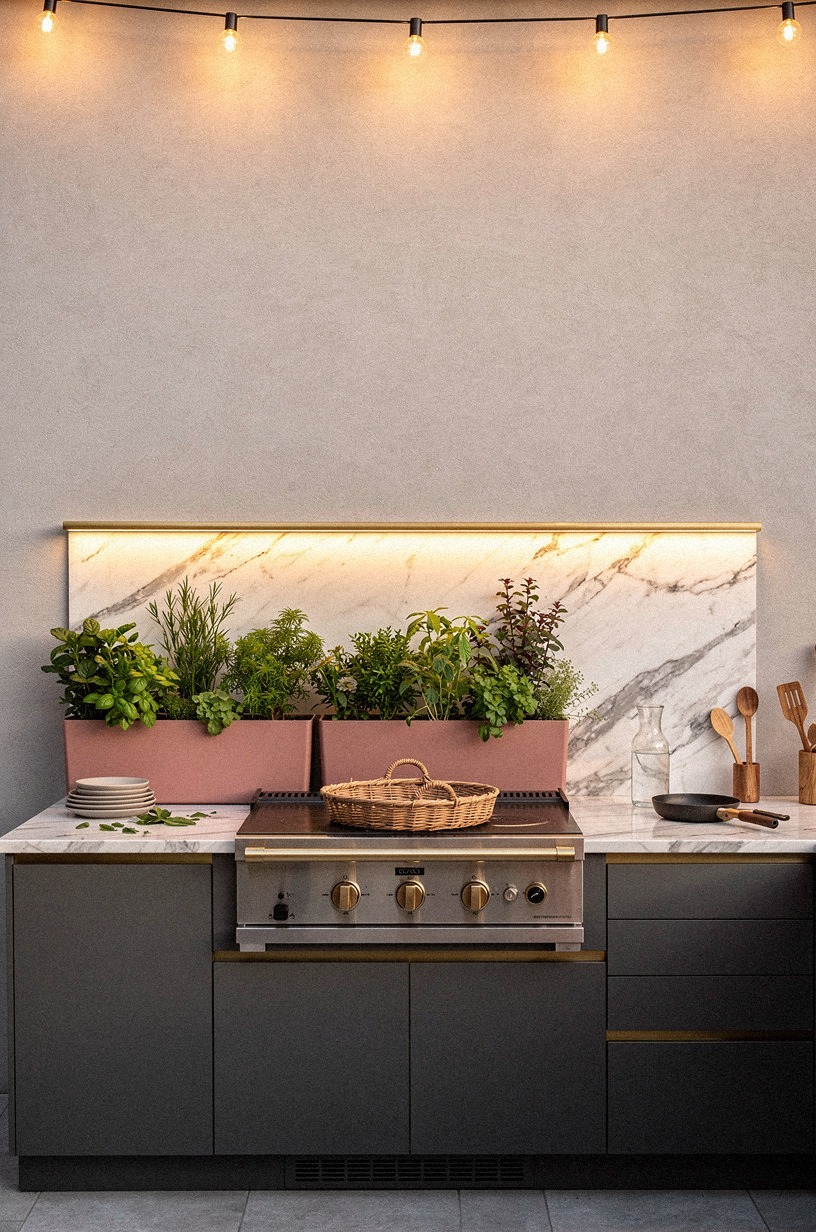
Herb troughs make the prep counter feel alive, and they solve a real problem at the same time. Put them right where your hand wants to reach for basil, mint, or rosemary, not across the yard where the idea sounded cute on paper. The dusty rose troughs and charcoal cabinetry in the image are a smart pairing because the herbs read fresh against a muted, grounded base.
Use long narrow planters so you don't chew up your walking zone, and set them low enough that the grill still reads as the main event. I like thyme, rosemary, and mint because they forgive you when summer gets hot. And if you're working with a tiny footprint, rv outdoor kitchen ideas for cooking on the road has the same lesson in miniature: grow only what you'll really use.
The wider layering idea shows up in 15 cozy diy backyard projects you can build on a budget if you want the rest of the yard to feel as alive as the kitchen.
18Finish with string lights over the grill
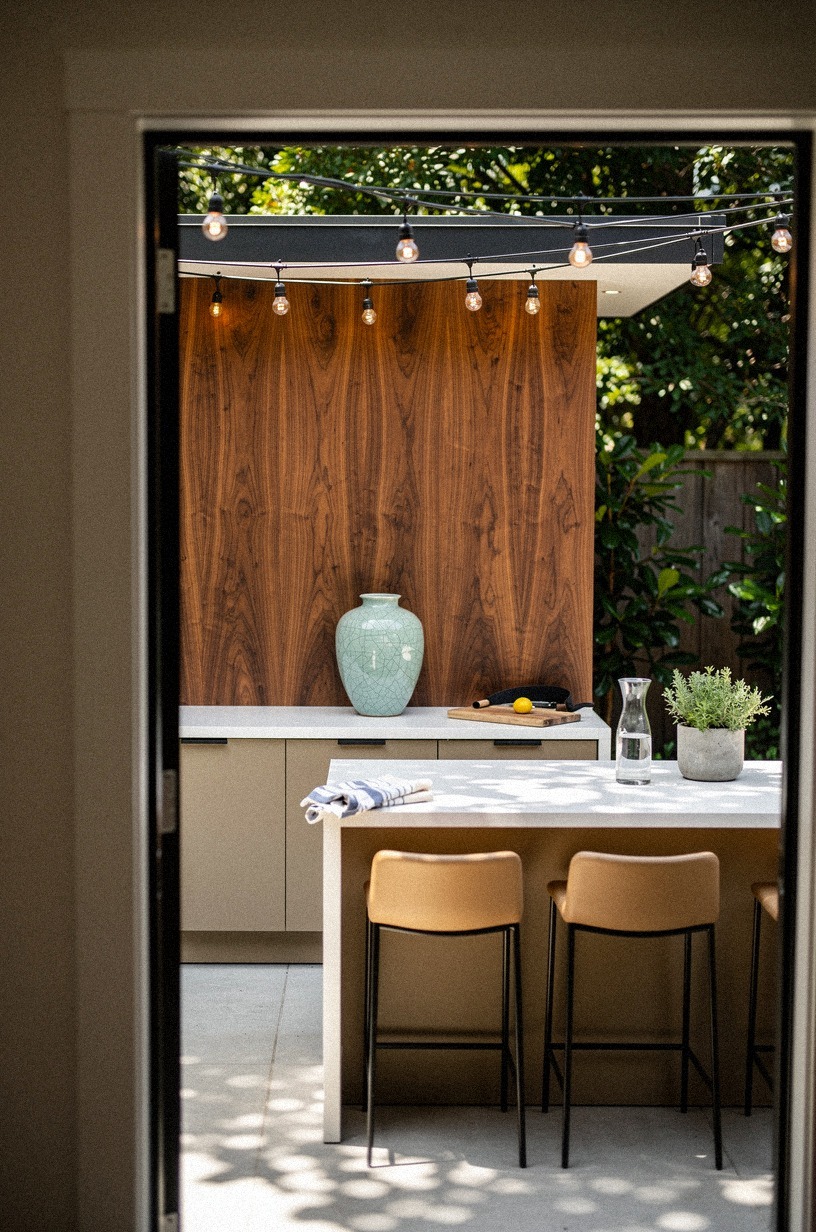
String lights are the part people leave for last, then wonder why the kitchen still doesn't feel done.
19What does Farrow & Ball Studio Green actually look like outside a fireplace?
It's the answer everyone reaches for, but on a north-facing patio wall it reads almost black by 4pm, which is gorgeous if you wanted drama and a mistake if you wanted depth. For most outdoor kitchens I'd nudge you toward Sherwin-Williams Evergreen Fog SW 9130 instead, which keeps its green through the afternoon, or Benjamin Moore Essex Green HC-188 if your wall sits in full sun most of the day. The rule nobody tells you: paint a 2 ft test board on the wall you actually plan to use, leave it three days, and check it at 9am, noon, and 5pm before you commit.
Farrow & Ball Inchyra Blue is the bold move for evening entertaining: it goes inky after sunset and the grill flames bounce off it like watercolor. Don't trust the chip in the store, trust the wall outside your back door!
20Pergola overhead or umbrella first: which one earns its keep?
Pergola overhead, almost every time, but only if you build it to do real work. A simple cedar 4×4 post-and-beam pergola with two cross-lapped 2×6 rafters ($450 to $700 in lumber, buildable in a weekend) gives you a place to hang lights, drape canvas for shade, and mount a ceiling fan later.
A 9 ft cantilever umbrella ($220 to $400) is faster and renter-friendly, but you'll move it twice a season and you'll forget it in the first windstorm. If you're going the pergola route, build it tall enough to walk under without ducking (8 ft minimum) and you'll never regret the lumber cost.
If you want a ready-made layout, see cozy backyard pergola ideas for shade ambiance and weigh it against pergola vs gazebo which suits your cozy backyard before you commit.
The One-Zone Weekend Rule
What I've learned from outdoor kitchens is that people overspend when they're trying to imitate a full indoor kitchen outside. You don't need that.
You need one believable work zone, one place to stash the ugly stuff, and one surface that makes you want to stay out there after the food is done. That's the real threshold.
My first mistake was assuming permanence automatically looked better. It didn't.
The built-ins I rushed felt heavy because I hadn't earned them yet. I hadn't tested where the trash should go, where the tray wanted to land, or whether I needed prep space beside the grill or across from it.
So the smarter weekend approach is almost always modular first, fixed second. A rolling cart teaches you more than a stone surround ever will.
And that's why the best free plans don't start with luxury materials. They start with movement, reach, and cleanup. A plywood cart on locking casters can tell you more in one Saturday than a month of overthinking.
A cinder block counter tells you whether your grill wants to face the yard or the wall. A fold-down ledge reveals if you need serving space daily or only when friends come over. Real talk: utility is the design language here.
You should also be honest about where money changes the outcome and where it doesn't. Better hinges matter. Better outdoor paint matters.
Good counter height matters because your back will notice every bad inch. But imported stone?
Fancy hardware everywhere? A sink setup you never hook up?
I'd skip all three before I'd skip circulation. If you can't move around the grill with a tray, no finish will save the project.
The part that worked for me was treating the kitchen like a sequence, not a monument. Prep. Cook. Set down.
Serve. Clean up.
Once those motions make sense, style becomes easy. Add cedar. Add charcoal paint.
Add the herb troughs. Add the string lights.
But not first. Build the bones you can test, because the old-money look outdoors isn't about spending hard.
It's about looking like nothing had to be guessed.
The Questions I Get Asked Most
What does it cost to build a simple outdoor kitchen in one weekend?
Plan $300 to $1,500 for a cosmetic build (paint, casters, peg rails, string lights, a stock cabinet or two). A refresh with a butcher-block counter and drop-in sink lands around $3,000 to $12,000. Anything over $25,000 is real masonry, real stone, real appliances, and probably not a weekend project anymore.
What's the single best first move for a brand new outdoor kitchen?
A rolling plywood cart on locking casters. You learn your real layout in two Saturdays of cooking on it, and you'll never waste money on built-ins that face the wrong way. Start with how to build an outdoor kitchen a beginner s guide and resist the urge to pour concrete first.
For tighter patios, the small outdoor kitchen ideas that maximize every inch roundup is the second-best thing you'll read this weekend.
Can renters actually build any of this?
Yes, and you should stick to the reversible moves: rolling carts, cedar-wrapped coolers, curtain fronts, peg rails, herb troughs, and string lights. Everything on this list either rolls, lifts, or unscrews, which means you take it all with you when the lease is up. Skip cinder block, brick stacks, and any poured concrete if you don't own the slab.
How do I keep cabinets from peeling after one summer?
It's all in the prep and the product. Degrease, scuff-sand to 220 grit, prime with a bonding exterior primer, then topcoat with a quality satin exterior enamel like Benjamin Moore Aura Exterior in a charcoal or deep green.
Cheap paint is the reason your neighbor's "outdoor kitchen" looks chalky by August. Budget a full weekend for prep plus two coats, and you'll get five to seven years before you need to repaint.
Where should I spend money vs save money in a DIY outdoor kitchen?
Spend on casters, outdoor-rated hinges, real exterior paint, and a single good pull-down faucet. Save on the counter (a sealed edge-grain butcher block beats cheap tile at twice the price), the cabinets (stock IKEA HEMNES is fine), and the sink (a basic stainless bar sink works).
I'd skip the imported stone entirely until you've lived with the layout for a year. For more budget playbooks, see outdoor kitchen ideas on a budget diy friendly.
Do I need a permit for a weekend outdoor kitchen build?
Usually no, if you're staying freestanding (no gas line, no permanent masonry, no electrical trenching). A propane tank on a cart, a drop-in sink on a hose splitter, and string lights on a GFCI outlet are all homeowner-friendly. The moment you pour a foundation or run a new gas line, call your local building department before you start.
Can I really do this without power tools?
Honestly, no, not the whole list. A cordless drill/driver, a circular saw, and a random-orbit sander cover 90% of it.
If you don't own them, borrow or rent (most home centers rent a drill for $20 a day). The skills matter more than the tools.
Measure twice, cut once, and don't try to finish a slab in one go if it's your first project.
Where I'd Start First
If I'd pick one, I'd start with the rolling grill cart. You can't learn your real layout from static sketches alone. Pin that cart idea for later and build the movable base this weekend.