
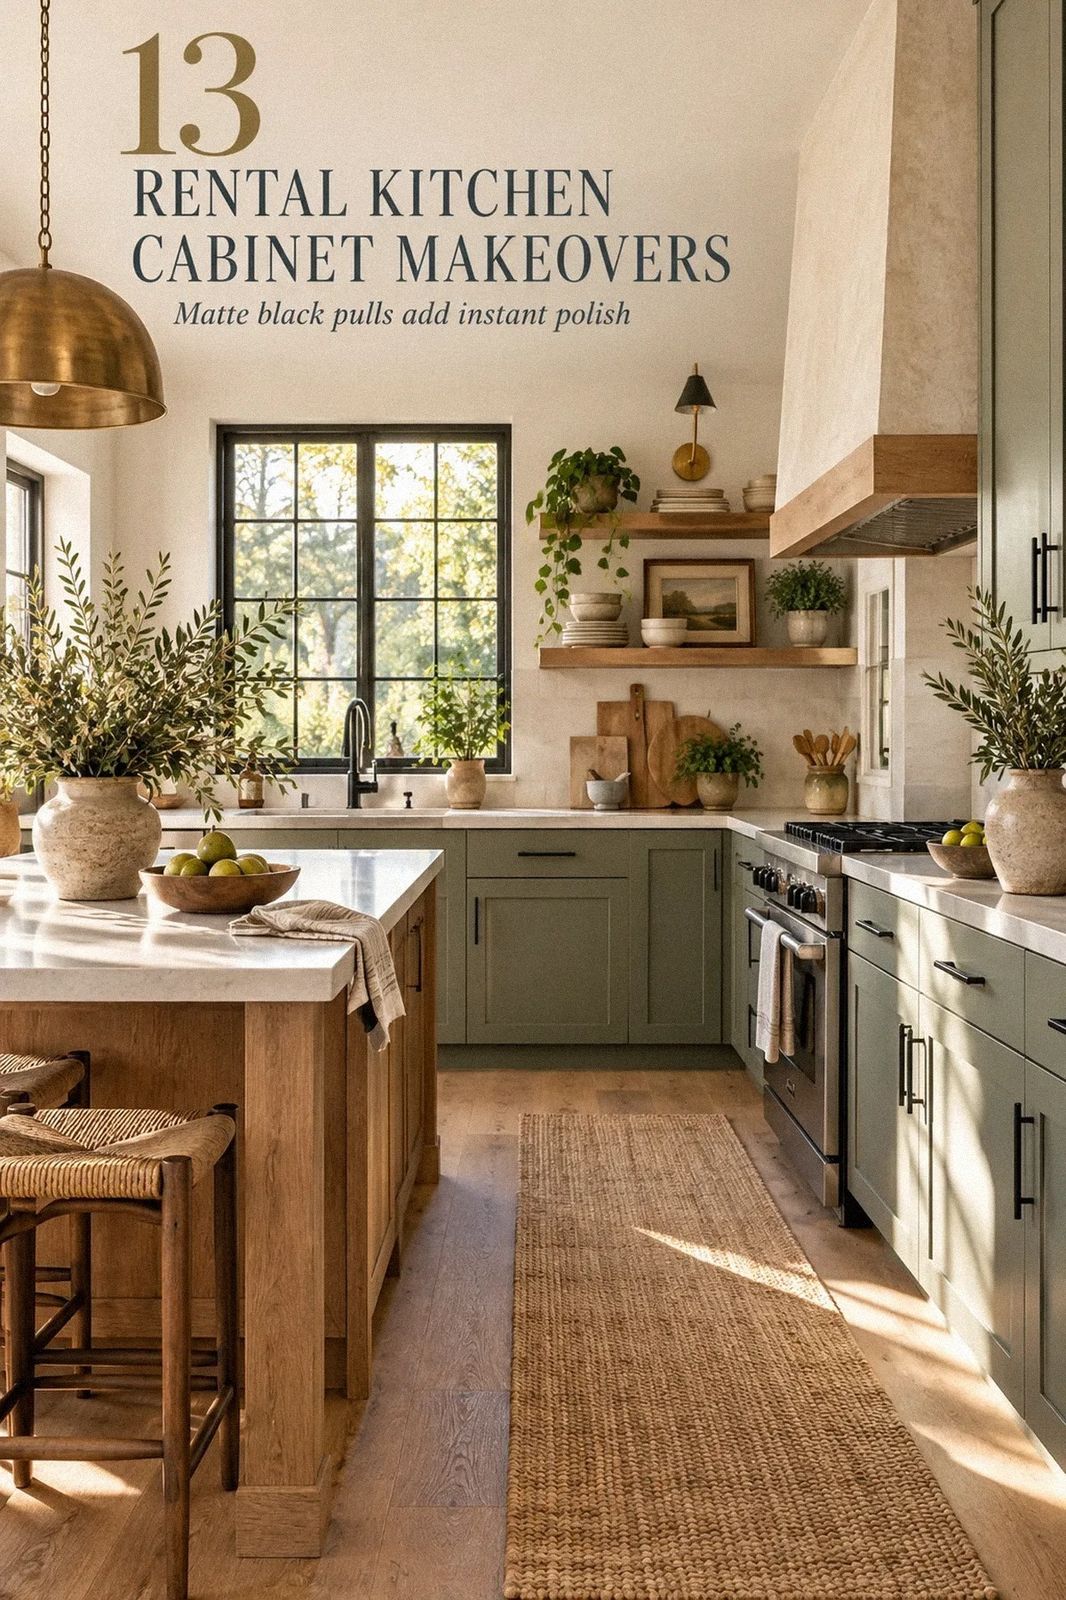
 by
A rental kitchen cabinet makeover can stay under $80 when you focus on removable surfaces, better light, and hardware you can take with you. I learned that after peeling one cheap liner from a cabinet and taking half the finish with it. Your landlord's rules matter. So does choosing the right adhesive.
- ✓ Wrap the Removable Panel Zone in a Color Block
- ✓ Swap Knobs With the No-Drill Hardware Rule
- ✓ Line Shelves With the Quiet-Liner Method
- Wrap the Removable Panel Zone in a Color Block
- Swap Knobs With the No-Drill Hardware Rule
- Line Shelves With the Quiet-Liner Method
- A Renter-Friendly Backsplash Behind the Uppers
- Build the Three-Height Light Stack
- Can a Tension Rod Tame the Sink Cabinet?
- Choose White Oak Accents Over Another Glossy Finish
- Mix a Two-Tone Cabinet Illusion
- Fabric Instead of Replacing Glass Doors
- Price the Makeover Before You Touch a Cabinet
- Light the Handles With the Under-Cabinet Glow
- One Cabinet Top, Styled Softly
- Label the Working Zone With Removable Organization
1Wrap the Removable Panel Zone in a Color Block
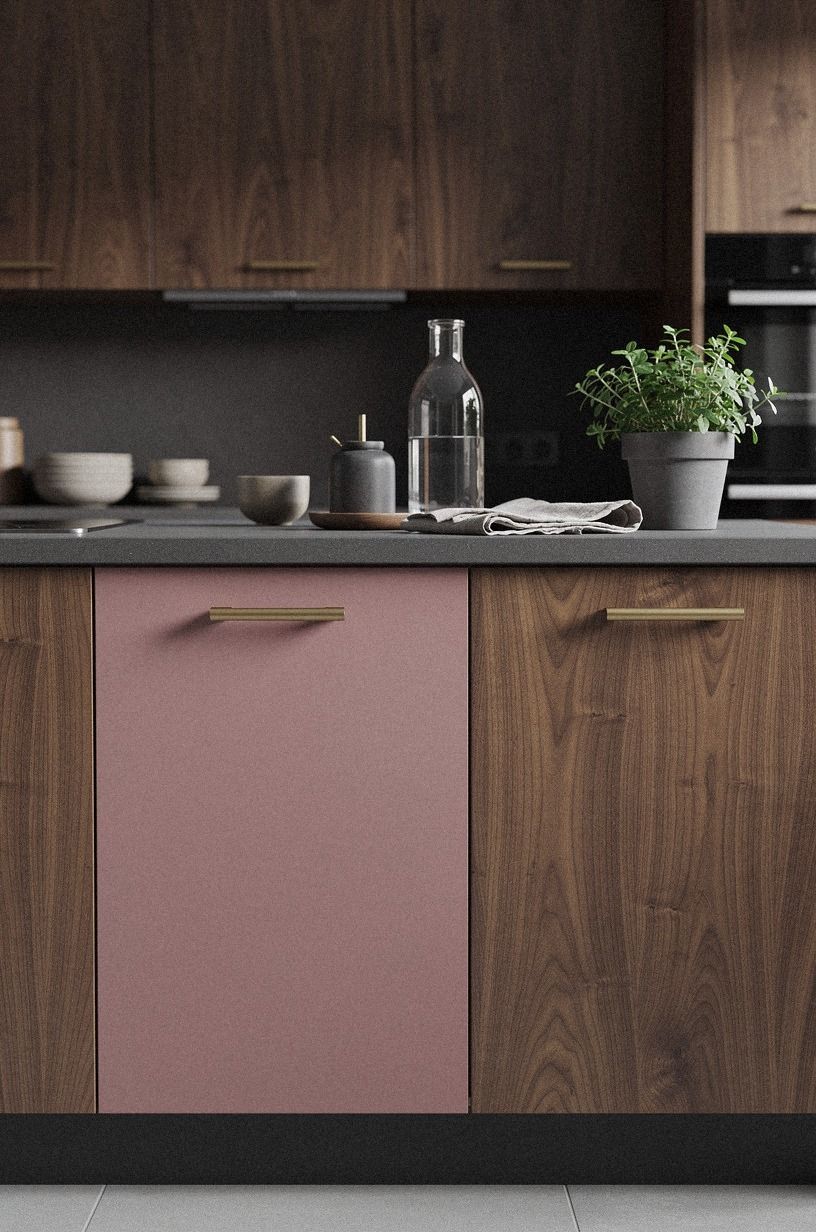
Removable vinyl on the center of a cabinet door gives you the look of painted cabinetry without committing the whole door. Choose a matte dusty rose finish with a book-matched walnut effect, then repeat charcoal and brass nearby. You'll want to cut the sheet slightly larger than the panel, smooth it from the center outward, then trim the edge with a fresh blade.
Before you cover every door, test one hidden corner. Your cabinet finish may be slick, porous, or already loose, and low-tack adhesive behaves differently on each surface. I like a quiet color block more than a full faux-painted door because it leaves the original frame visible and gives the kitchen a refined, warm outline.
And don't rush the corners. A soft cloth, a plastic card, and a little patience will keep bubbles from turning into ridges. If you're planning a larger budget kitchen cabinet makeover, this is the removable detail I'd test first.
Use a sample piece for a full day before you commit. If it lifts cleanly, you've got an airy renter-friendly kitchen cabinet makeover that won't leave you scraping glue at move-out. Removable adhesive is only useful when it actually removes cleanly.
2Swap Knobs With the No-Drill Hardware Rule
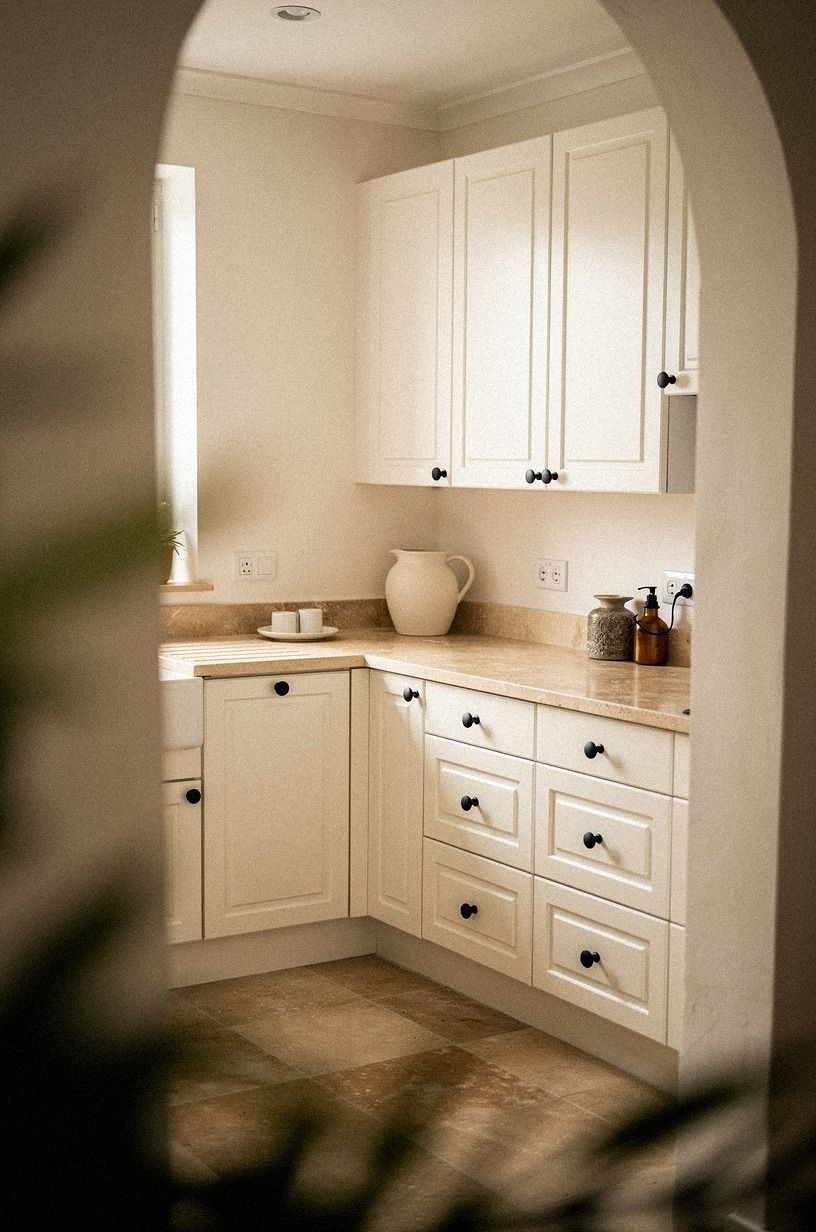
New knobs change how your cabinets feel every time you open them. Keep the original screws and pulls in a labeled bag, then install matte black knobs or softly aged black pieces in the existing holes. If your doors have no hardware, use clamp-on pulls that grip the edge instead of drilling through the front.
The strongest rental kitchen ideas are reversible and visible. Your hand notices the weight of a metal knob, and the contrast of black against warm white and camel tones gives the kitchen definition near the sink. I’d skip lightweight plastic hardware because it can make even a solid door feel temporary.
And match the finish to one other detail, such as your faucet or a small warm travertine catchall. You don't need every metal in the room to match, but two repeating notes will keep your kitchen from looking scattered.
If the original holes are oddly spaced, cover them with a slim backplate. You’ll get a cleaner line, and your landlord won't find new holes later.
That is a small win! For more direction, compare the proportions in these modern kitchen cabinet ideas for a sleek clean look.
3Line Shelves With the Quiet-Liner Method
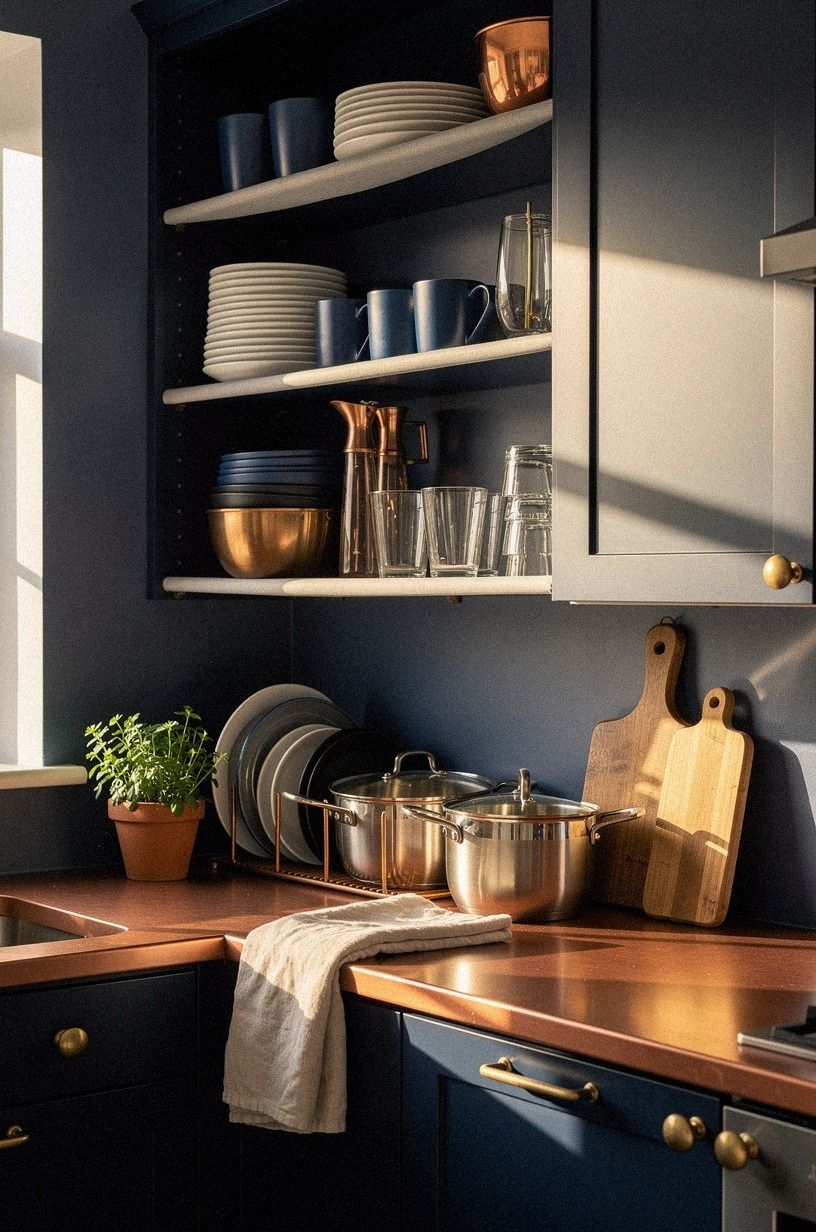
A cabinet liner is one of the least glamorous upgrades, yet it changes the sound and feel of the whole room. Choose a removable liner with a woven texture, midnight blue color, or an ivory matte surface. Your glasses won't scrape as loudly, and the interior will look intentional whenever you open a door.
Measure the shelf from back to front, then cut the liner outside the cabinet. Leave the backing on until you're certain the piece fits. I made the mistake of trimming inside a narrow cabinet once, and the curling edge caught every bowl I owned.
You can also line only the most visible shelves instead of covering every surface. That keeps the project simple and gives your budget room for one more useful change. If your shelves are deep, ivory will keep the cabinet calm, while midnight blue contact liner adds more depth without needing paint.
Repeat a small copper detail or let unlacquered brass develop its natural patina nearby. But don't use a heavily textured liner under appliances or stacked dishes.
Your plates need a stable surface, and you don't want a mug rocking near the counter edge. If your kitchen is tight, these small kitchen cabinet ideas that maximize storage can help you decide which shelves deserve the treatment.
4A Renter-Friendly Backsplash Behind the Uppers
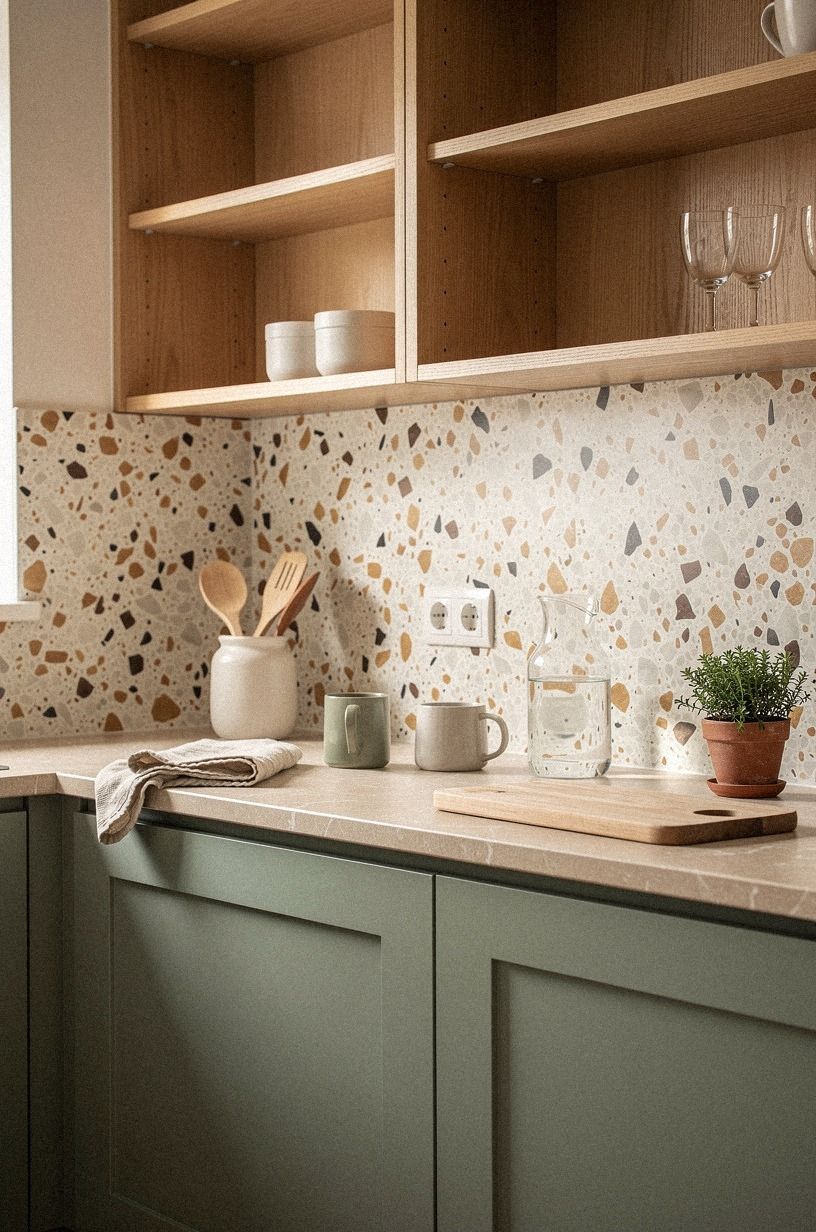
A peel-and-stick backsplash can make upper cabinets look more finished, especially when the wall behind them is a tired rental beige. Use a removable tile pattern with oversized-chip terrazzo styling, sage green variation, or warm cream and natural wood tones. Keep the design behind the work zone so it reads as a defined field instead of a loud wall.
Your backsplash gap is usually about 18 inches between the counter and the upper cabinets. That measurement gives you enough space to create a visual field without covering the entire kitchen. I prefer a small repeat because oversized faux tile can look busy beside cabinet doors.
Before you apply anything, clean the wall with a dry cloth and test one tile at the lower edge. You’ll want to check whether the adhesive grips paint too aggressively. And if the surface feels chalky, stop there and ask your landlord before proceeding.
Pair a warm terrazzo backsplash with a removable sage-green accent panel, or use the tile alone if your cabinets already have strong color. For more palette help, see these popular kitchen cabinet colors right now.
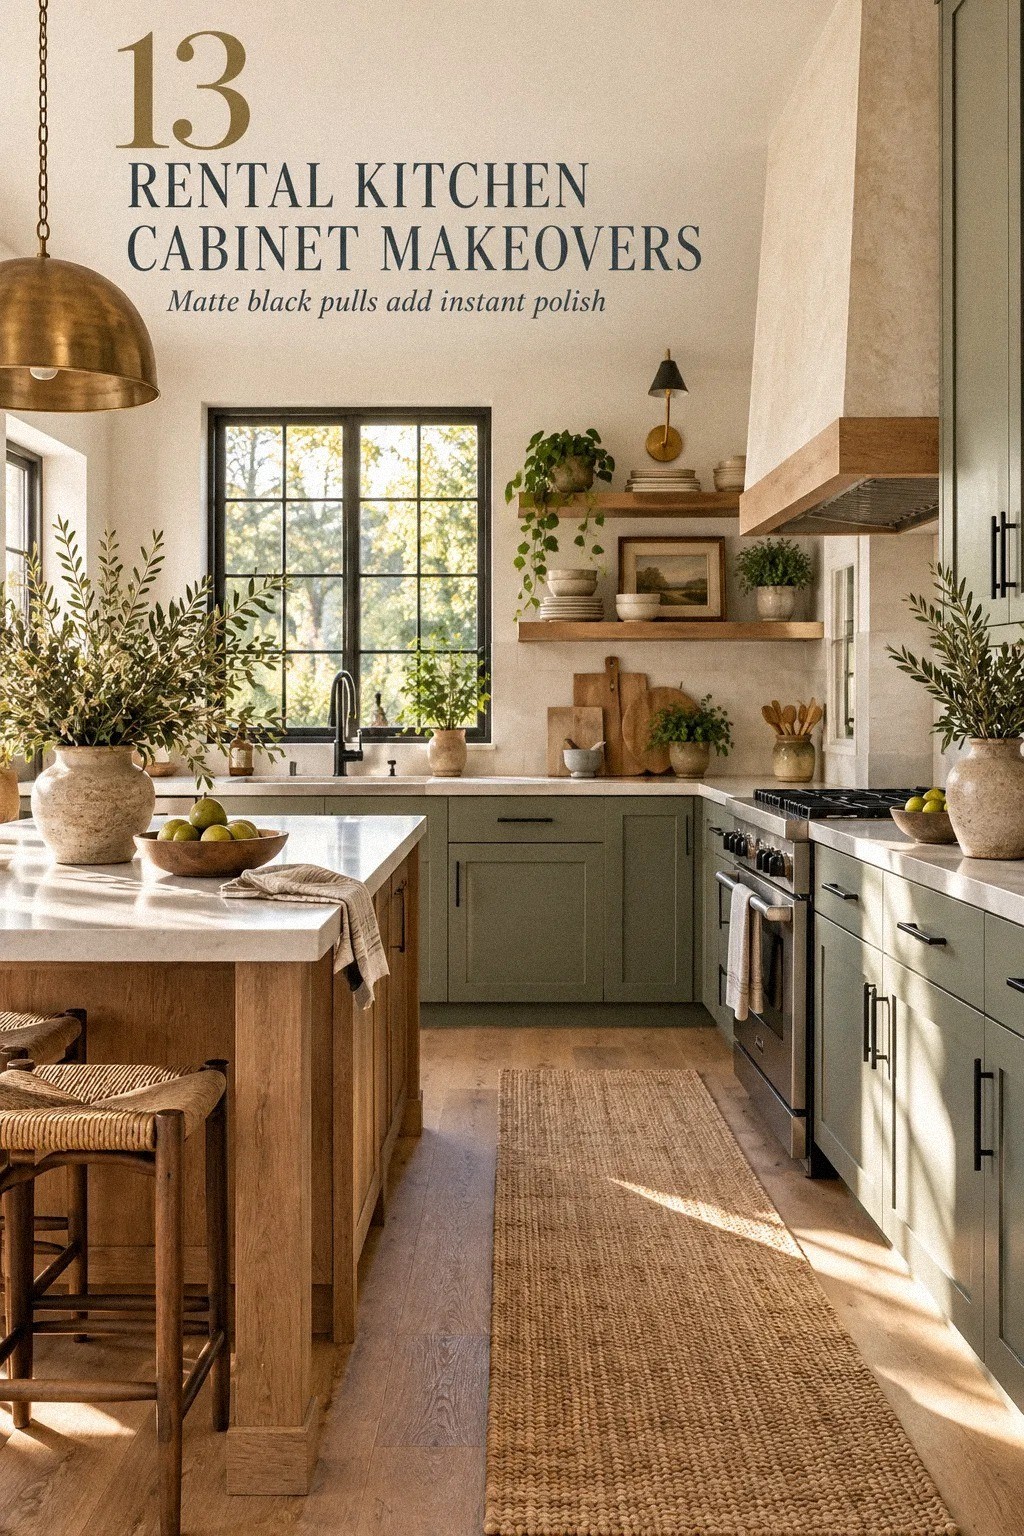
5Build the Three-Height Light Stack
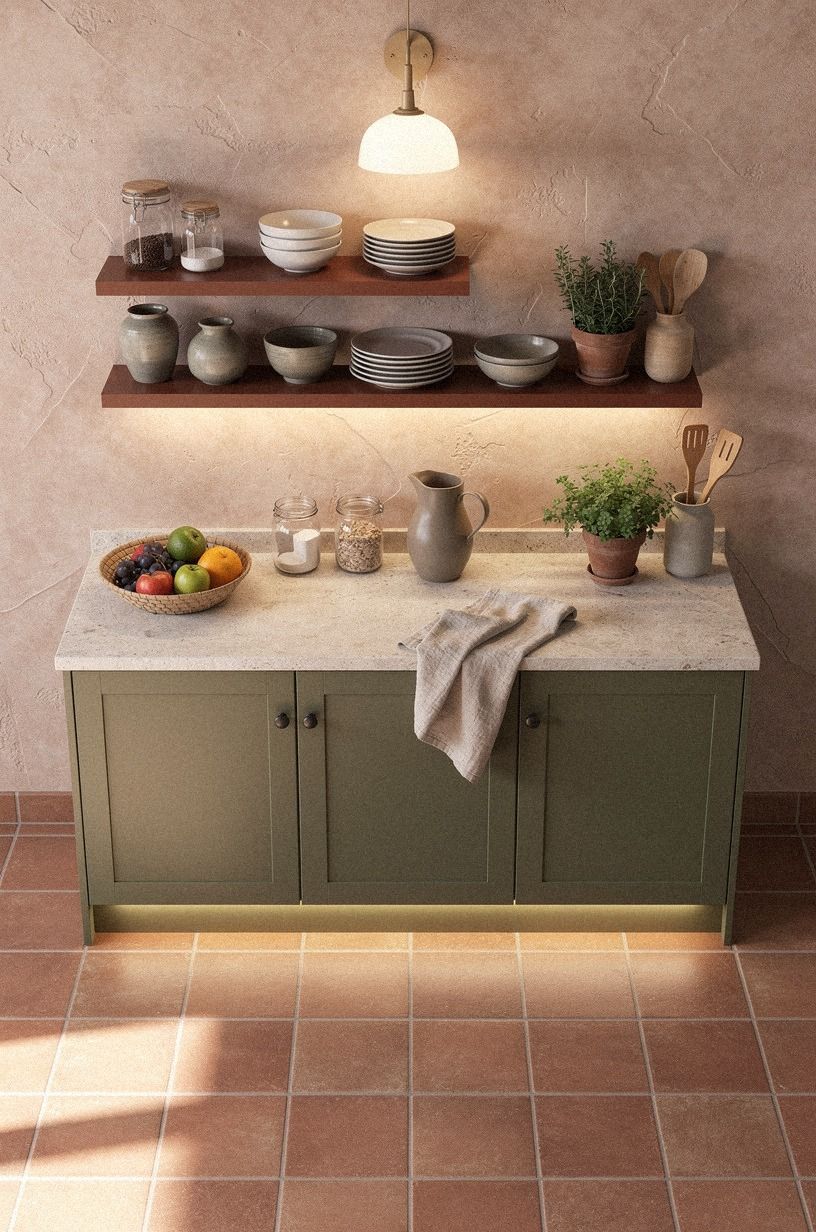
Under-cabinet lighting is the fastest way to make rental cabinets feel more useful at night. Build your light stack with three levels: a low glow under the uppers, a small lamp on the counter, and one warmer light in the dining corner. You’re creating depth, not flooding every surface.
Choose warm white puck lights or a slim rechargeable bar that can be removed when you leave. Blue light makes white counters look harsh, while a soft amber tone brings out terracotta, stone, olive accents, and the texture of hand-applied Venetian plaster.
Your standard counter height is 36 inches, so position the light where it reaches the work surface without shining into your eyes. I’d skip one bright strip across the entire kitchen because it flattens the room and makes the upper cabinets feel heavy.
And give yourself a simple switch routine. If you're cooking, use the task light.
If you're eating, turn on the counter lamp and leave the overhead off. That little ritual helps!
This under-cabinet lighting guide has more ways to spread the glow without wiring.
6Can a Tension Rod Tame the Sink Cabinet?
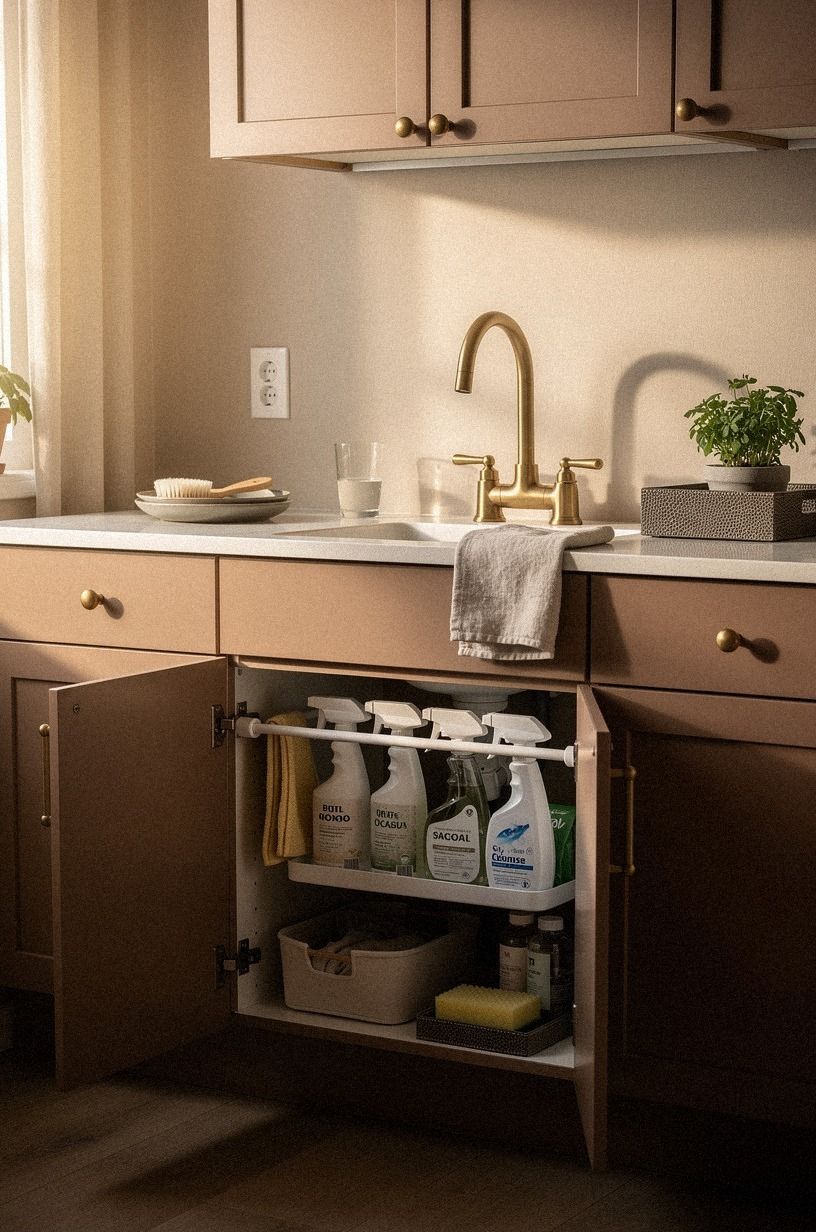
The cabinet under your sink can become useful without a drill.
7Choose White Oak Accents Over Another Glossy Finish
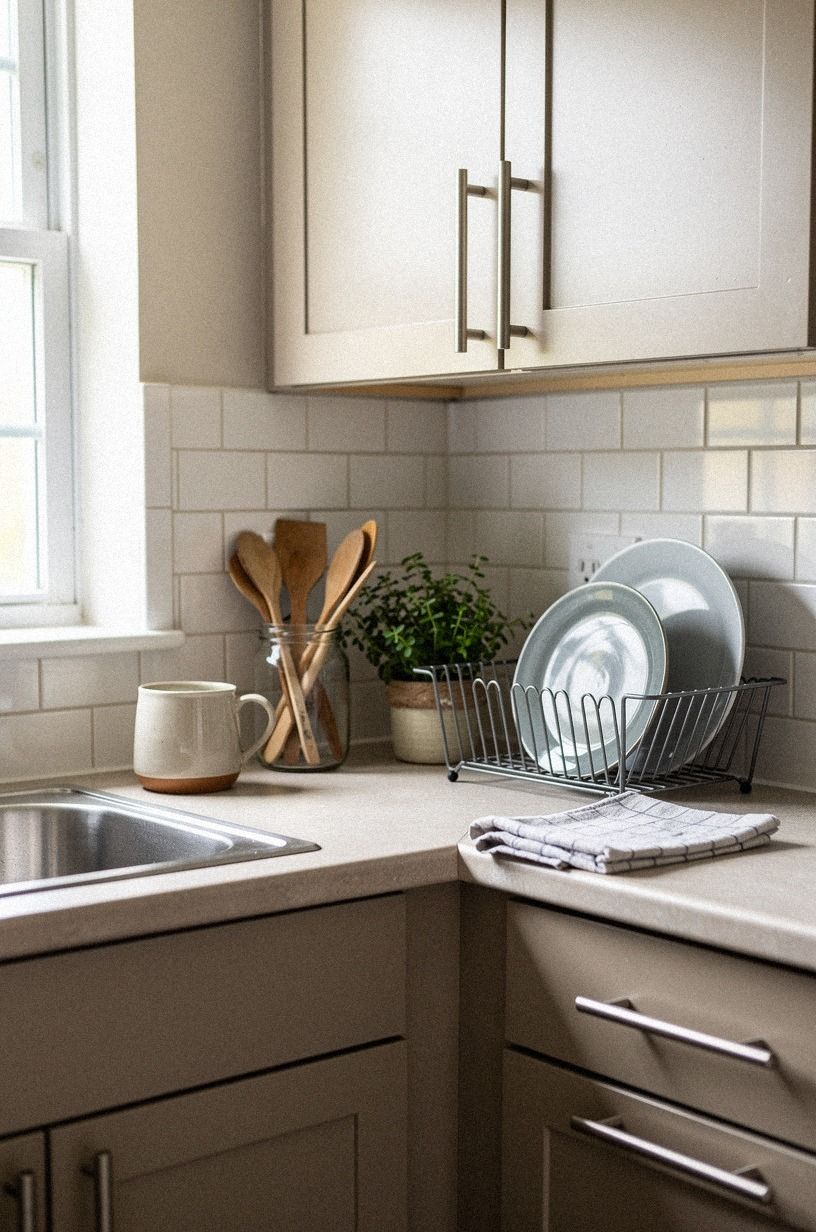
If your cabinet fronts are glossy, add one soft textile note to interrupt the shine. A removable washed Belgian linen runner, tray insert, or narrow curtain can bring texture without changing the cabinets themselves. The fabric gives your eye somewhere to rest, especially in a kitchen with white laminate and stainless steel.
You don't need a full textile treatment. One linen panel or tray insert can do the work, and you'll still have counter space for food preparation.
I’d skip orange-toned wood because it can fight with yellow rental lighting. Washed linen in plum, gray, or a muted rose tone looks more settled.
Keep the fabric near the cabinet color rather than matching it exactly. A slight contrast makes the kitchen feel collected, while an exact match can look like a failed furniture set. Your goal is a warm, organic note with enough restraint to survive changing accessories.
And don't place the linen directly beside the stove if it will catch grease. Give it a dry corner, then add a small stoneware crock nearby. These white oak kitchen cabinet ideas show how much warmth one natural accent can bring.
8Mix a Two-Tone Cabinet Illusion
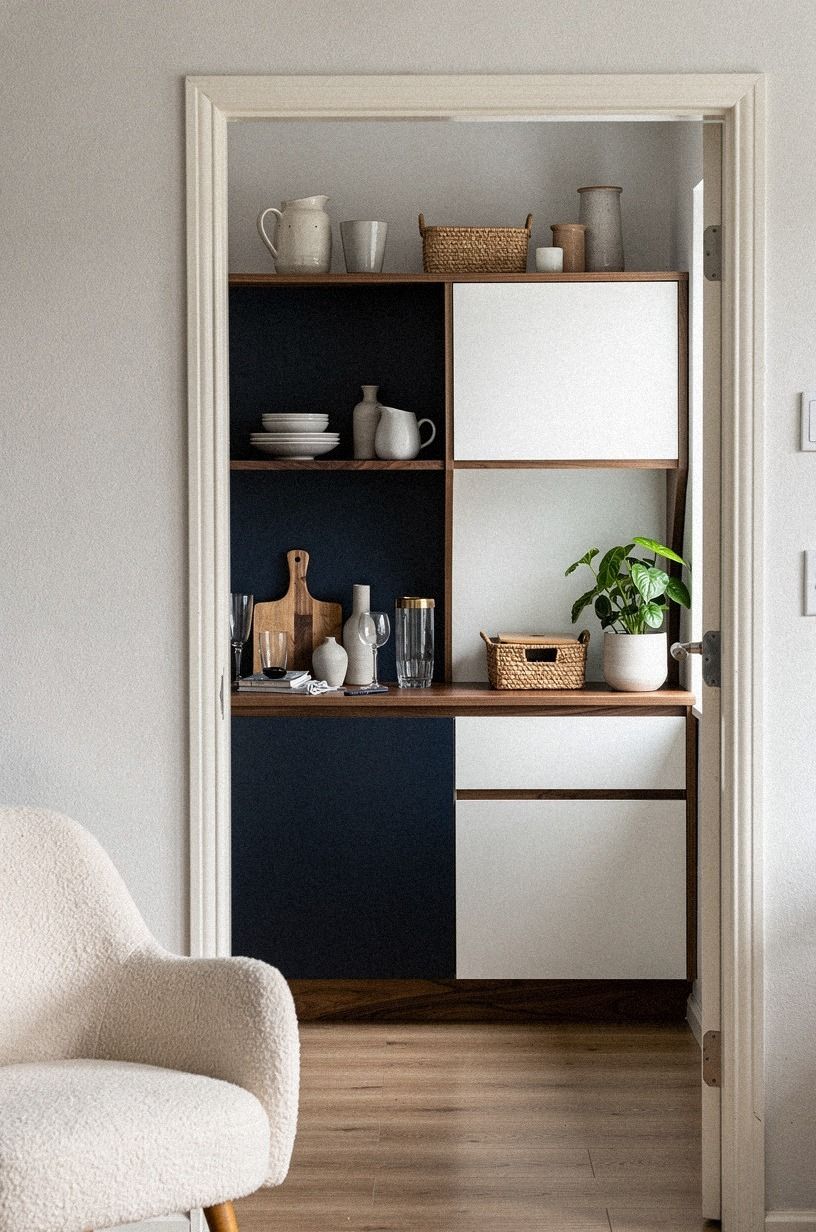
A two-tone cabinet look doesn't require painting half the kitchen. Keep your upper doors warm white, then use removable navy vinyl on the lower drawer fronts or the toe-kick. Add a walnut accent or an organic bouclé seat nearby if you want more texture without changing the cabinets.
Your lower cabinets can handle more visual weight because the counter already separates them from the wall. I like a grounded lower cabinet zone with pale uppers, but I'd avoid placing the darker color on random individual doors. The effect should feel deliberate, not like you ran out of matching material.
Measure every front, label each piece, and photograph the original arrangement before you start. You’ll thank yourself when it’s time to remove everything. If you're working in a narrow galley, keep the darker tone on the side with fewer visual interruptions.
A peelable finish should come off with slow, even pressure. Don't pull it sharply at a corner. For more color pairing ideas, browse these two-tone kitchen cabinet ideas that add instant depth.
9Fabric Instead of Replacing Glass Doors
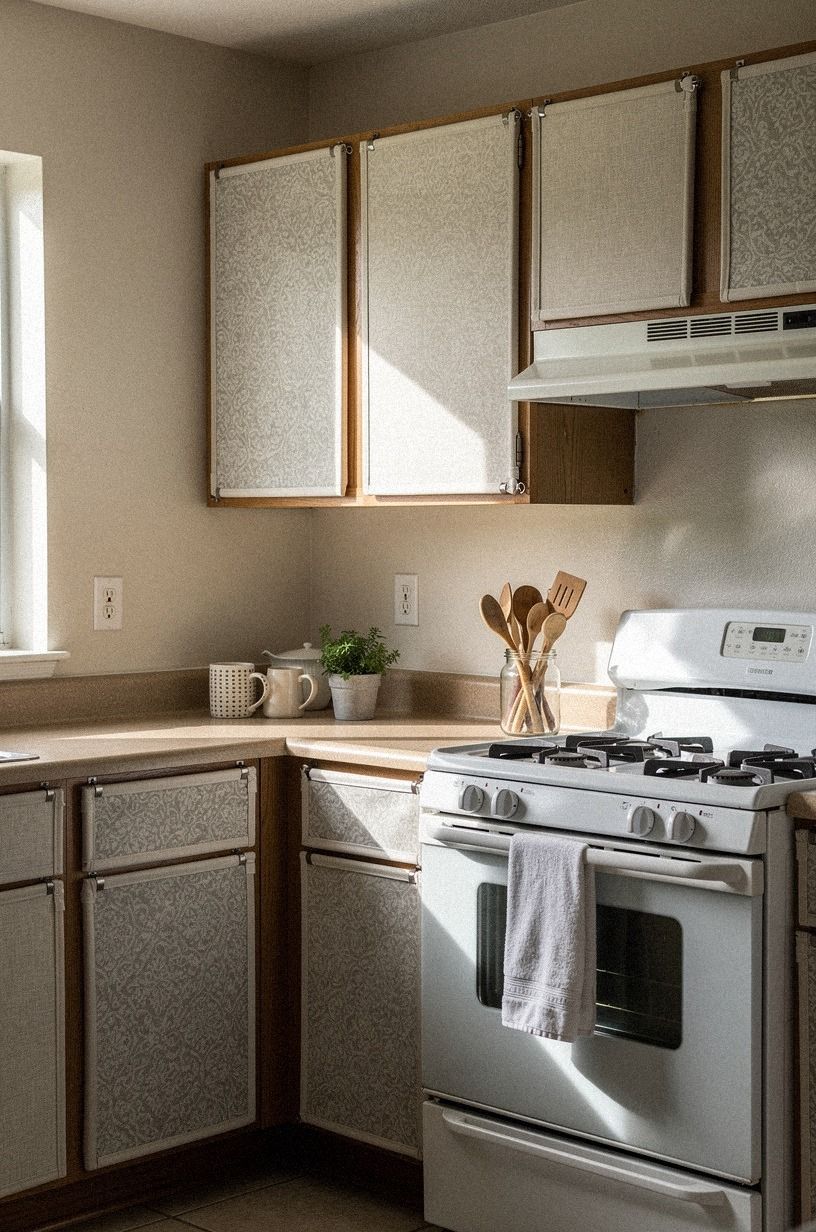
Glass-front cabinets can look cold when they hold mismatched packaging.
Use removable fabric in organic bouclé with emerald, gold, and cream tones behind the glass. It softens the cabinet interior while keeping the doors intact, and you can remove it whenever your taste or lease changes.
10Price the Makeover Before You Touch a Cabinet
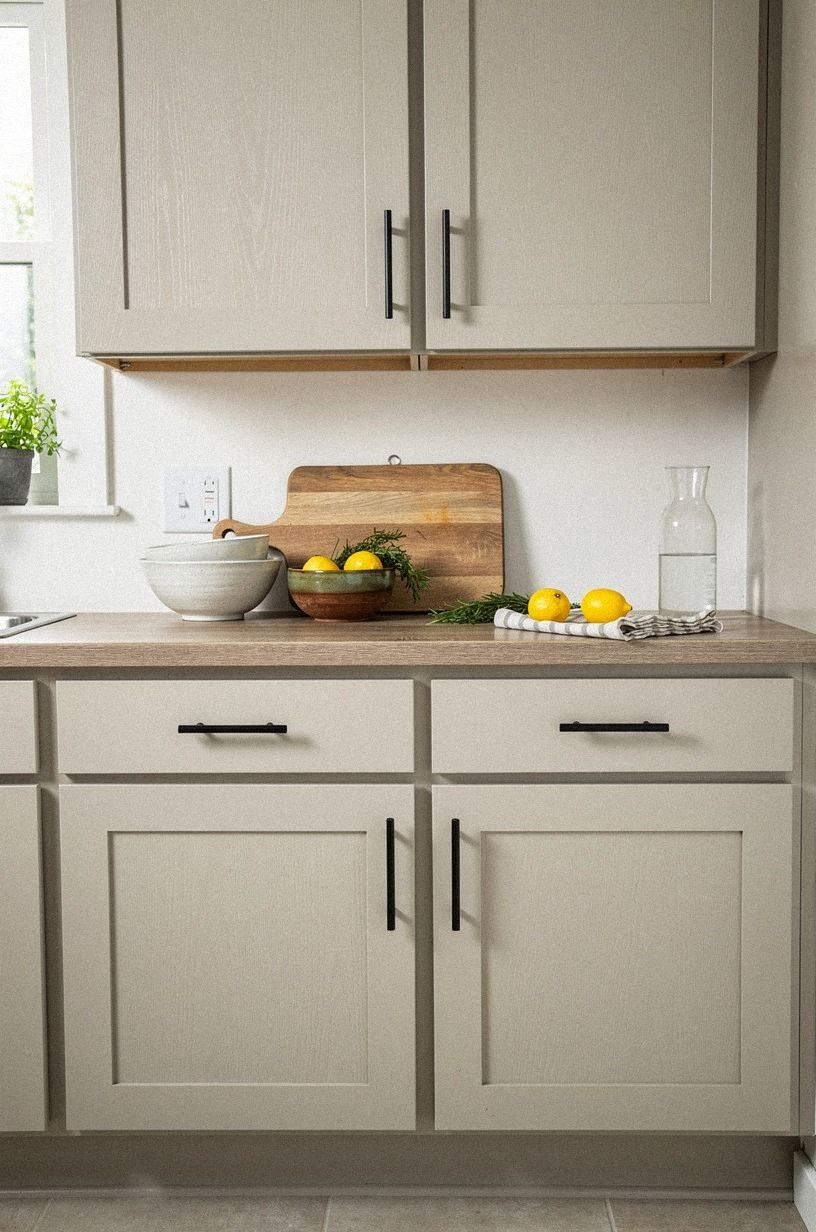
A single under-$80 cabinet upgrade makes sense when you know what it can and can't solve. Your removable vinyl may improve the fronts, but it won't repair swollen particleboard or replace a failing hinge. Before shopping, decide whether your kitchen needs color, storage, light, or a cleaner work surface.
The wider US cost picture helps keep expectations honest. A forest green, rust, and natural oak cosmetic refresh can be much larger than one small rental project, especially if it includes counters and appliances. A Nero Marquina black marble accent also changes the visual weight of a kitchen, even when you use it only as a small removable tray or board.
Those numbers don't mean your cabinet refresh needs to reach the budget tier. They show why a renter should choose one visible improvement first. If you’re comparing broader modern kitchen cabinet ideas, mark the ideas that need permission and skip them for now.
11Light the Handles With the Under-Cabinet Glow
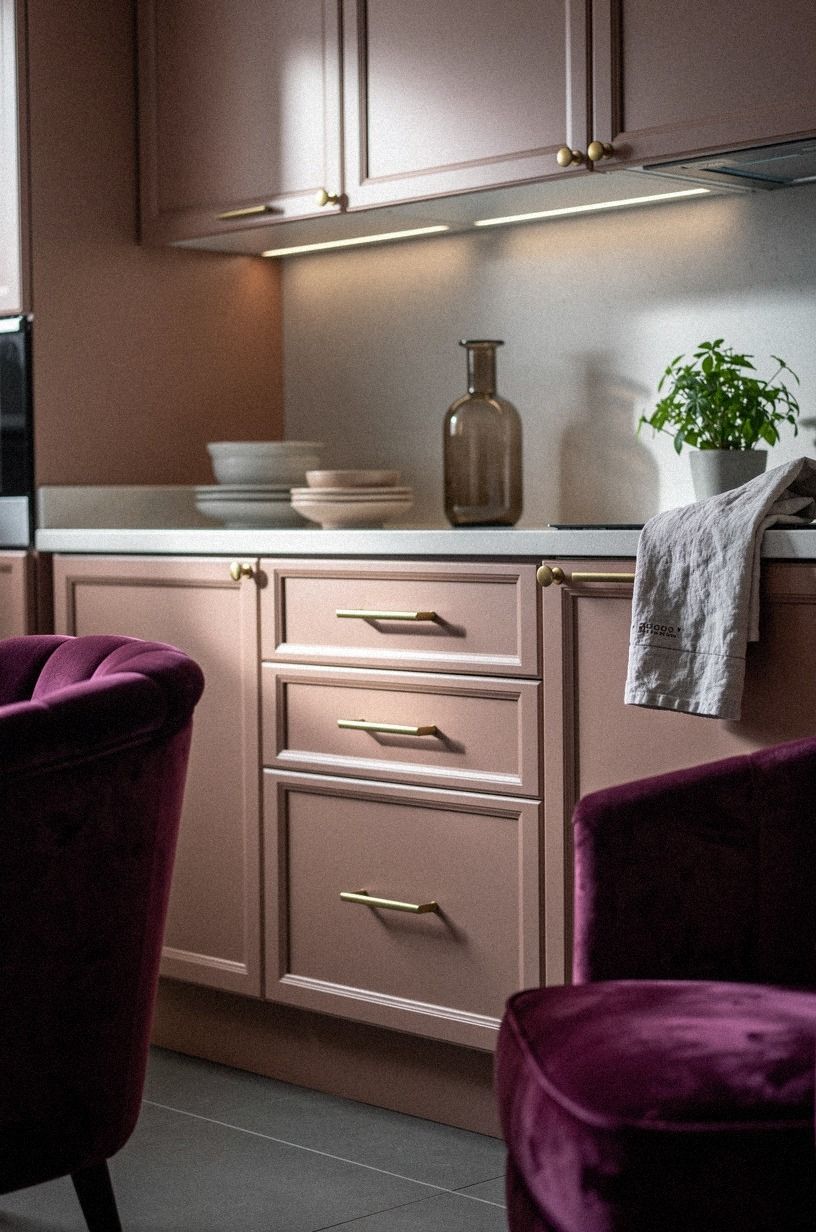
A narrow light placed beneath the upper cabinets can make your hardware look more intentional. Use a rechargeable bar or small light strip under the cabinet rail, then keep the brightness low enough that the knobs catch a soft glint instead of shining like shop fixtures.
Your work zone should feel clear at night. If the light sits too far forward, you'll see the fixture from across the room.
Move it toward the back edge and test it while standing at the counter. I went back and forth on this because the first placement made every crumb look important.
Pair the light with dusty rose and charcoal accents, then repeat a brass detail in the hardware. A small deep-pile mohair velvet cushion on a nearby dining seat can add softness without crowding the work zone.
You don't need to light every cabinet. One run above the prep area is enough to prove the idea. Good lighting earns its keep!
For more placement guidance, see these under-cabinet lighting ideas.
12One Cabinet Top, Styled Softly
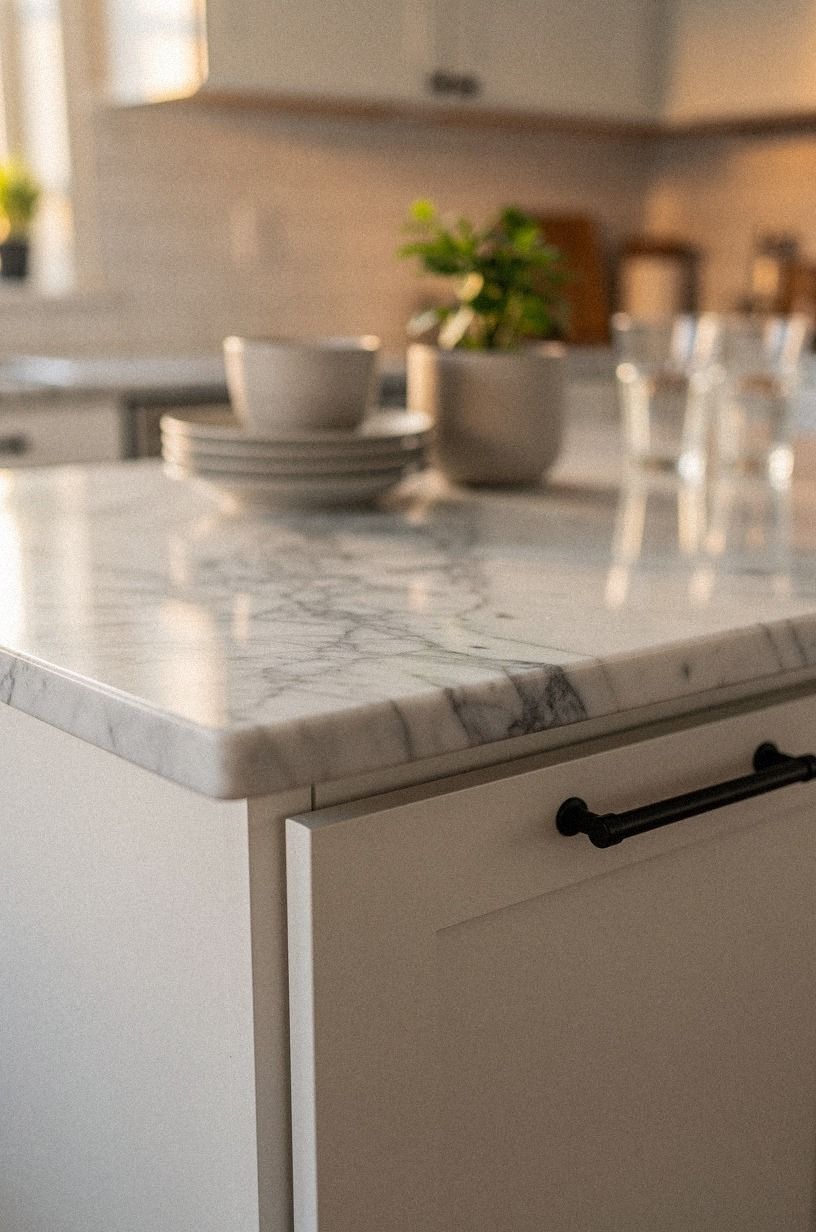
If your upper cabinets stop below the ceiling, style one small section instead of covering the entire top. A Carrara marble tray with subtle gray veining works against warm white cabinetry, while camel and black accents keep the arrangement grounded.
13Label the Working Zone With Removable Organization
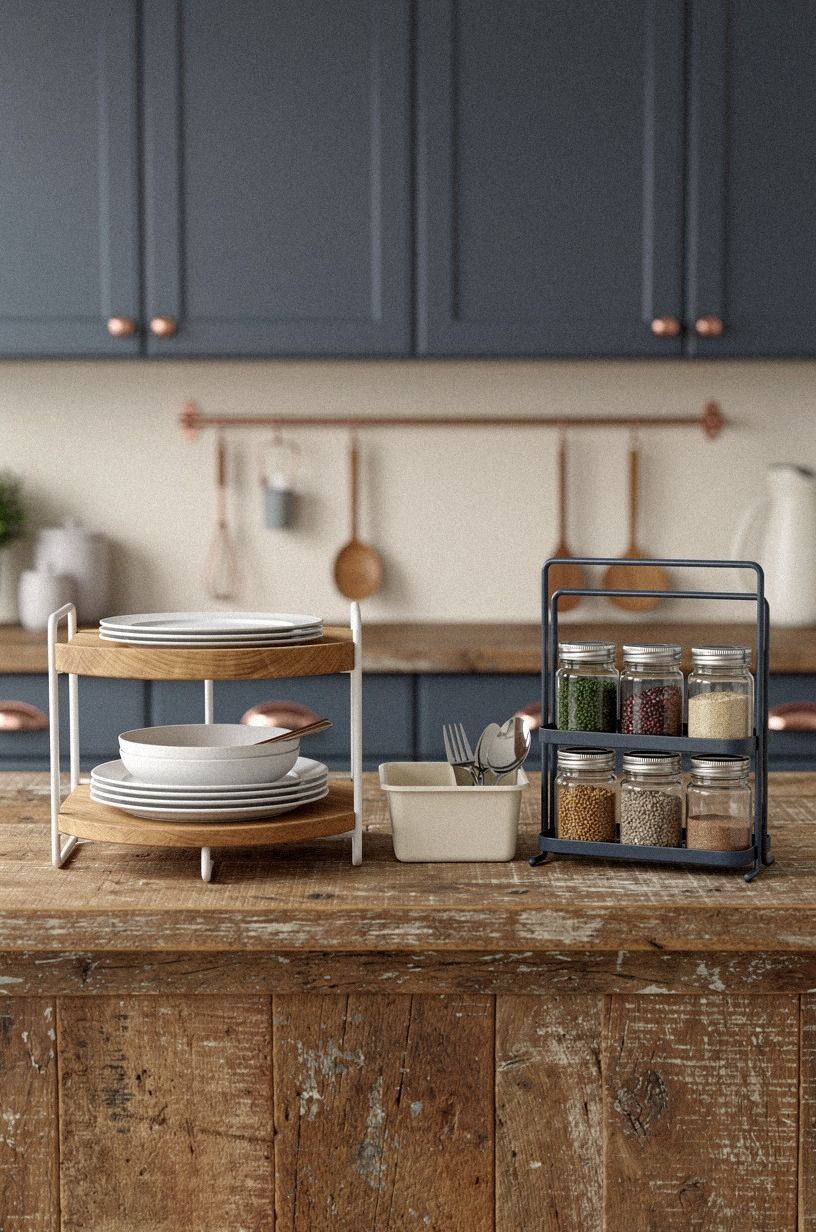
Labels can make rental cabinets feel custom when they guide habits instead of covering every container. Use removable ivory paper labels on small bins for baking, breakfast, or coffee supplies. Your cabinet doors stay untouched, but the inside becomes easier to use during a rushed morning.
Keep the lettering simple and use the same shape for each label. I’d skip decorative script because it can be hard to read when you’re reaching for flour with one hand. A plain block letter on a warm neutral label feels practical and calm.
You can also assign one drawer to the tools you use most. Put measuring spoons, clips, and small utensils together, then add a reclaimed weathered teak divider so they don't slide. If your drawer is narrow, use fewer compartments and let the larger tools lie flat.
The best renter-friendly kitchen cabinet makeover is the one that makes your daily routine lighter. You’ll notice that benefit more than a decorative change you stop seeing after a week. If you want another small-space approach, compare these small apartment kitchen ideas.
The $80 Rule I Use in a Rental Kitchen
I don't think a rental kitchen needs to look temporary. I do think every change needs an exit plan.
Before I apply anything, I ask where the adhesive will end, what the original surface is made from, and whether I can remove the piece slowly with both hands. That little pause has saved me from more than one rushed purchase.
My favorite upgrades are the ones you feel before you notice them. A warmer bulb makes the counter easier to work on.
A tension rod stops bottles from falling over. A wood board breaks up a wall of laminate.
None of those moves asks the landlord to share your design taste, and that matters when your lease is short.
There’s also a difference between making a kitchen warmer and making it crowded. You don't need more objects to create atmosphere.
You need one repeated material, one useful light source, and a surface that feels pleasant when your hand lands on it. Unlacquered brass and pale oak do that better than a pile of decorative signs.
I learned to protect the budget by choosing one main move and two small supporting moves. If the cabinet fronts are the problem, start there.
If the room is dark, light it first. If storage is the daily frustration, give the sink cabinet and one drawer a system.
Your kitchen will feel more personal because the changes answer real problems, not because every surface has been covered.
The Questions I Get Asked Most
What is the best rental kitchen cabinet makeover for a small kitchen?
The best choice is removable lighting paired with one warm hardware swap. Rechargeable under-cabinet lights brighten your work surface without taking counter space, while IKEA KALLAX birch-effect storage can add a wood note nearby if you need an open unit. Keep the floor path clear.
Where can I buy rental kitchen cabinet makeover pieces on a budget?
Look at IKEA, Target, Wayfair, Facebook Marketplace, and local thrift shops. Secondhand ceramic storage and used wood boards can cost less than new decor, and you can inspect the finish before bringing anything home. Keep original cabinet hardware stored safely for move-out.
How much does a rental kitchen cabinet makeover cost?
A full small rental kitchen makeover often lands around $100 to $300, depending on how many surfaces you change. Removable upgrades can cost less when you reuse trays, jars, fabric, and hardware you already own. One focused cabinet change can stay under $80.
Can I create a rental kitchen cabinet makeover on a budget?
Yes, and you can start with three low-cost moves: reorganize one cabinet, add a tension rod under the sink, and reuse a cutting board as warm styling. Free organization often makes the room feel better before you buy anything. Add lighting only where you work.
Is a rental kitchen cabinet makeover worth it in a small space?
Yes, because small kitchens show every visual decision. One clear focal zone keeps the room from feeling busy, especially when you use the 42 to 48 inch island clearance rule to protect movement. Choose one cabinet wall for color or light, then leave the rest quiet.
Is a rental kitchen cabinet makeover a good idea for a rental?
Yes, if every material is removable and you test it first. Peel-and-stick vinyl, tension rods, clamp-on pulls, and rechargeable lights can change the room without drilling or permanent paint. Keep receipts, original hardware, and a photo of every cabinet before you begin.
Where I'd Start First
If I had to pick one, I'd start with under-cabinet lighting. A warm glow changes the kitchen after sunset, and it makes every cabinet finish look more deliberate without adhesive, paint, or drilling. Pin this idea for later and compare it with our popular kitchen cabinet color guide before you buy anything.