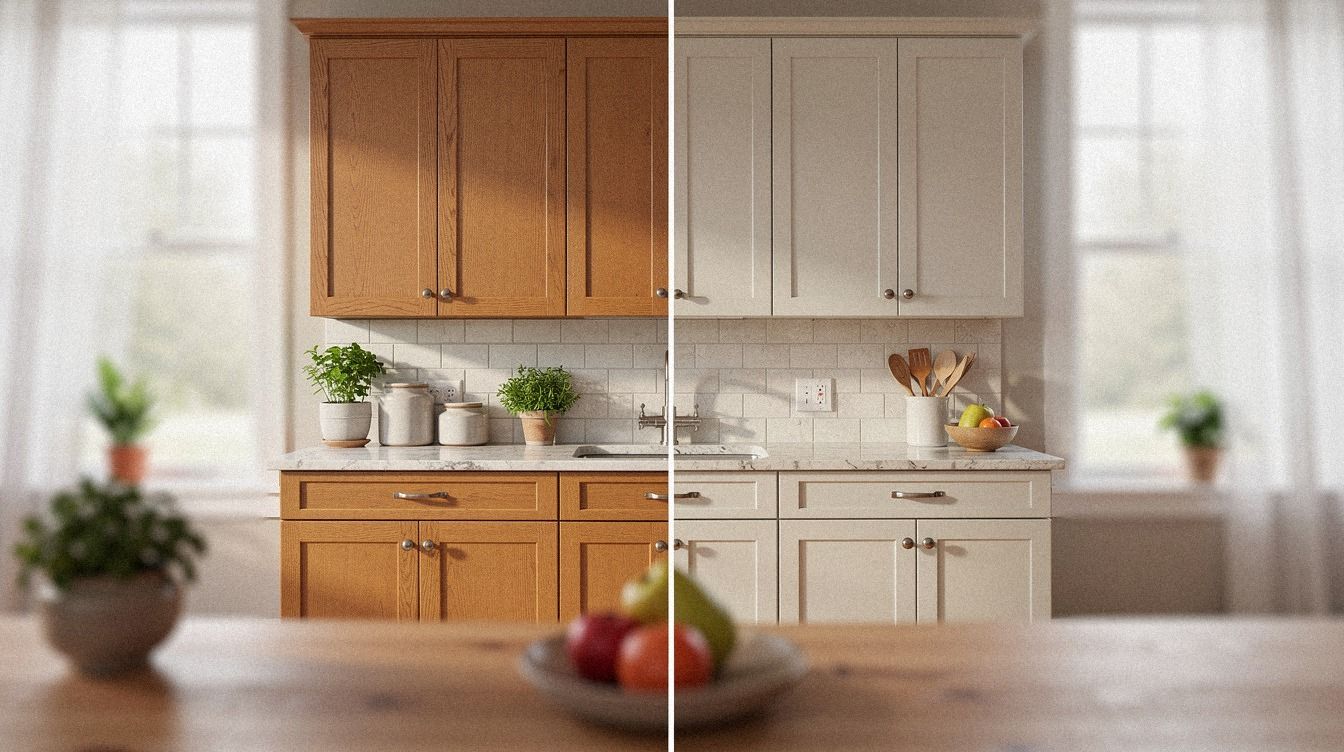
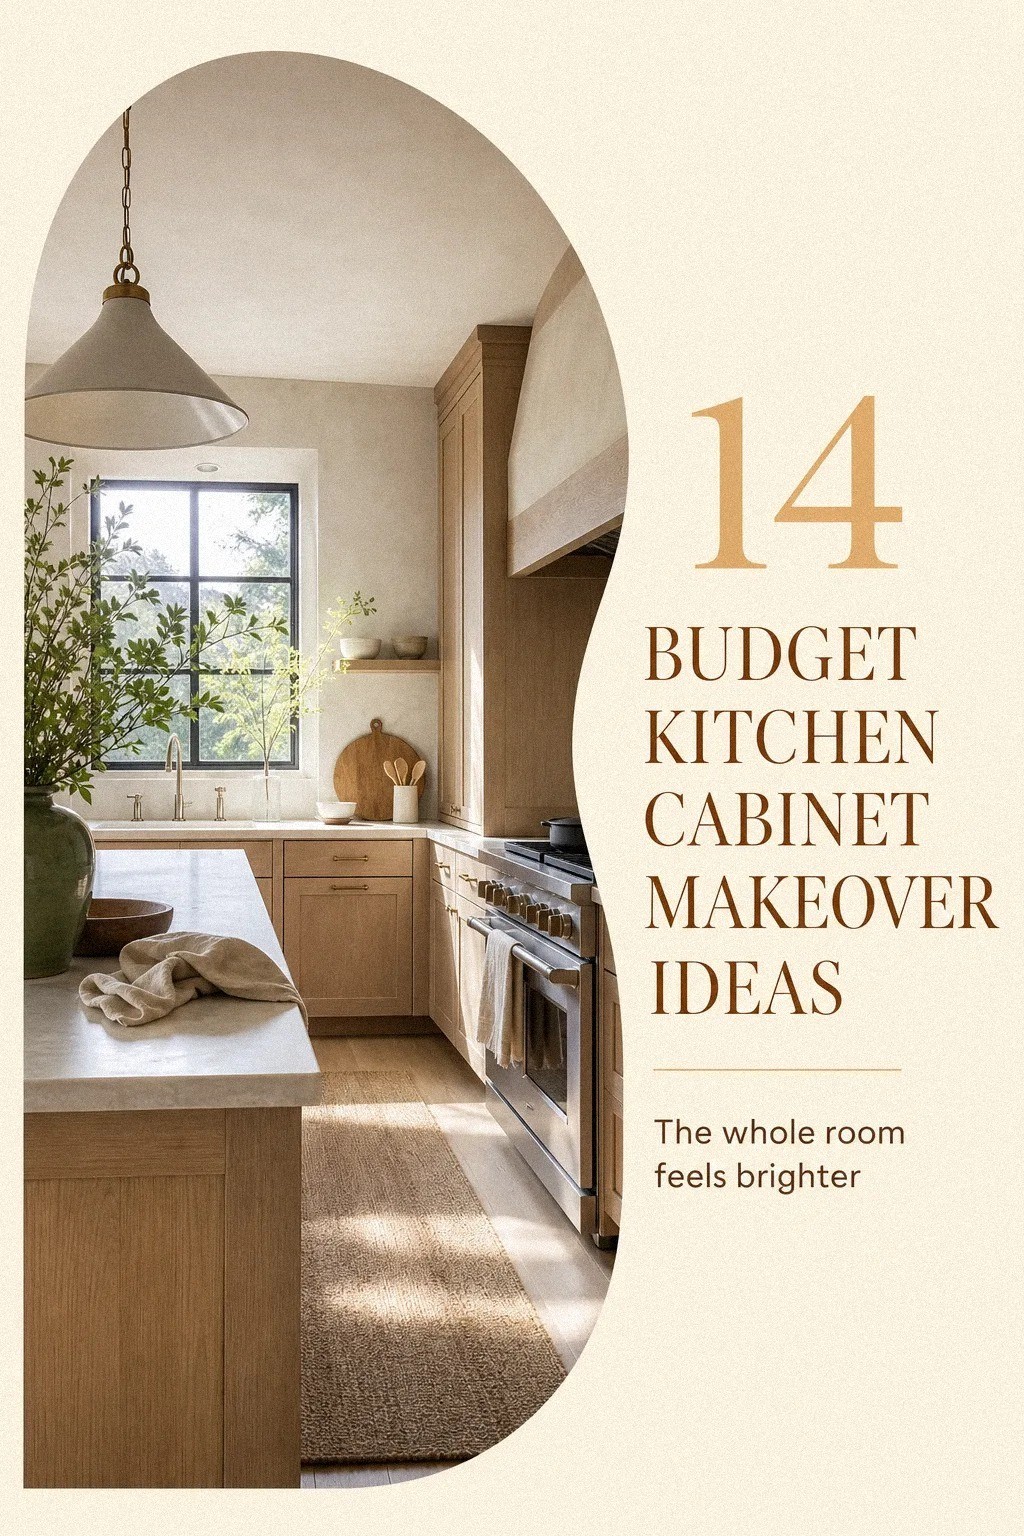
Budget kitchen cabinet makeover ideas with real before and after results usually cost far less than people fear. I learned that after staring at a tired kitchen with orange-toned doors, crowded uppers, and knobs that made the whole room feel older than the house.
You do not need a full gut job to make this feel better. You need a smarter order, a few warm materials, and the nerve to stop halfway through and judge what the room is finally telling you.
Before You Start: The Two-Finish Plan
Before you touch a brush, decide what stays light and what gets weight. That is the two-finish plan I keep coming back to in a budget-friendly kitchen makeover, because one calm upper color plus one grounded lower color does more than a random all-over repaint ever will.
If your kitchen is small, you want brightness above eye level and depth closer to the floor, especially around the standard 36 in counter line where clutter collects fast.
Make a simple supply stack before you begin so you aren't quitting at 8 p.m. to hunt for tape. Degreaser.
Screwdriver. Zip bags for hardware.
A mini roller. An angled sash brush.
I still love Benjamin Moore White Dove OC-17 for uppers if you want a creamy white that doesn't turn icy.
For lowers, Sherwin-Williams Evergreen Fog SW 9130 gives you that soft, grounded, expensive-looking mood without pushing the room gloomy.
And for any new shelf or filler, 3/4-inch solid white oak keeps the makeover feeling honest instead of flimsy.
If you're still mapping the bones, save these kitchen cabinet layout ideas to plan before you renovate first.
- Start by degreasing every cabinet door
- Remove one dated upper cabinet bank
- Paint lowers in a warm greige satin
- Brush uppers with creamy white enamel
- Swap bulky knobs for slim brass pulls
- Anchor the sink base with darker paint
- Layer peel-and-stick panels on flat doors
- Add reeded film behind glass inserts
- Frame plain fronts with thin molding strips
- Hang two open shelves between upper cabinets
- Build a toe-kick drawer for hidden storage
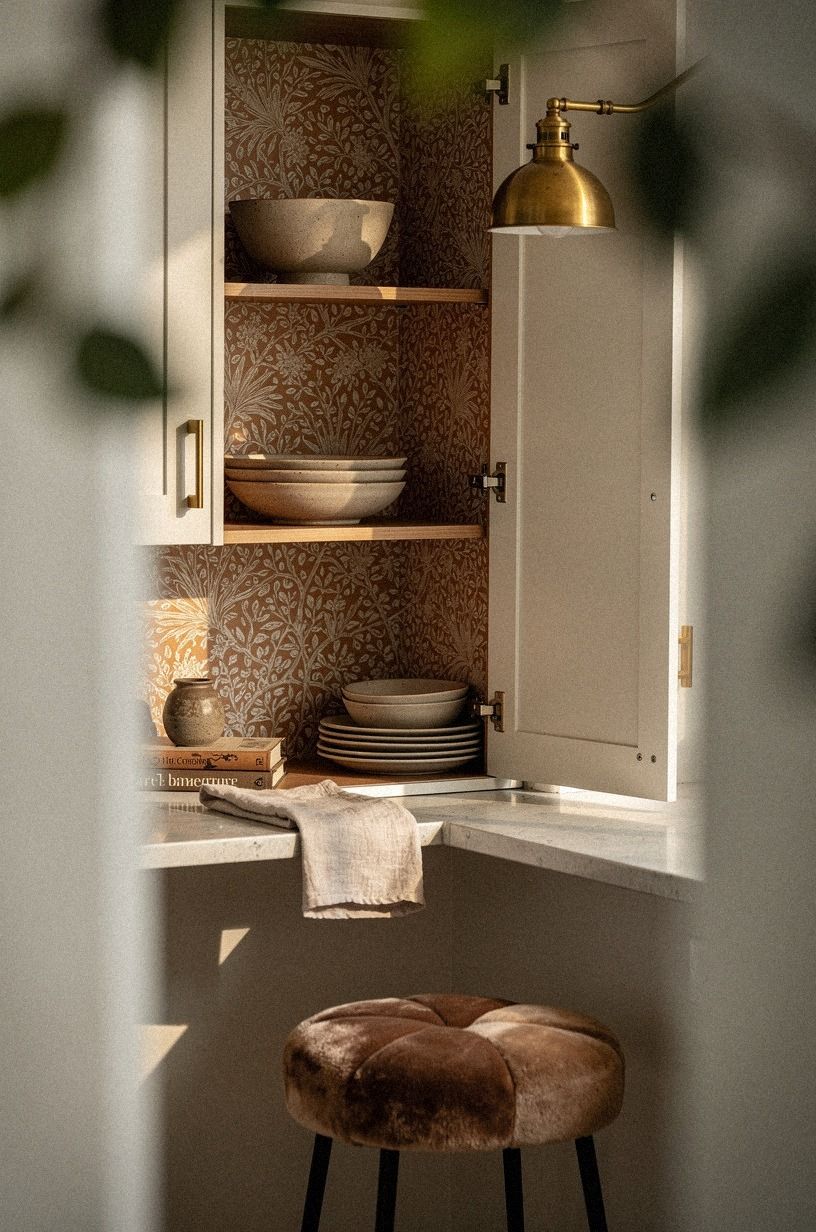
- Line cabinet backs with patterned contact paper
- Install puck lights under every upper cabinet
- Style one open cabinet with everyday dishes
1Start by degreasing every cabinet door
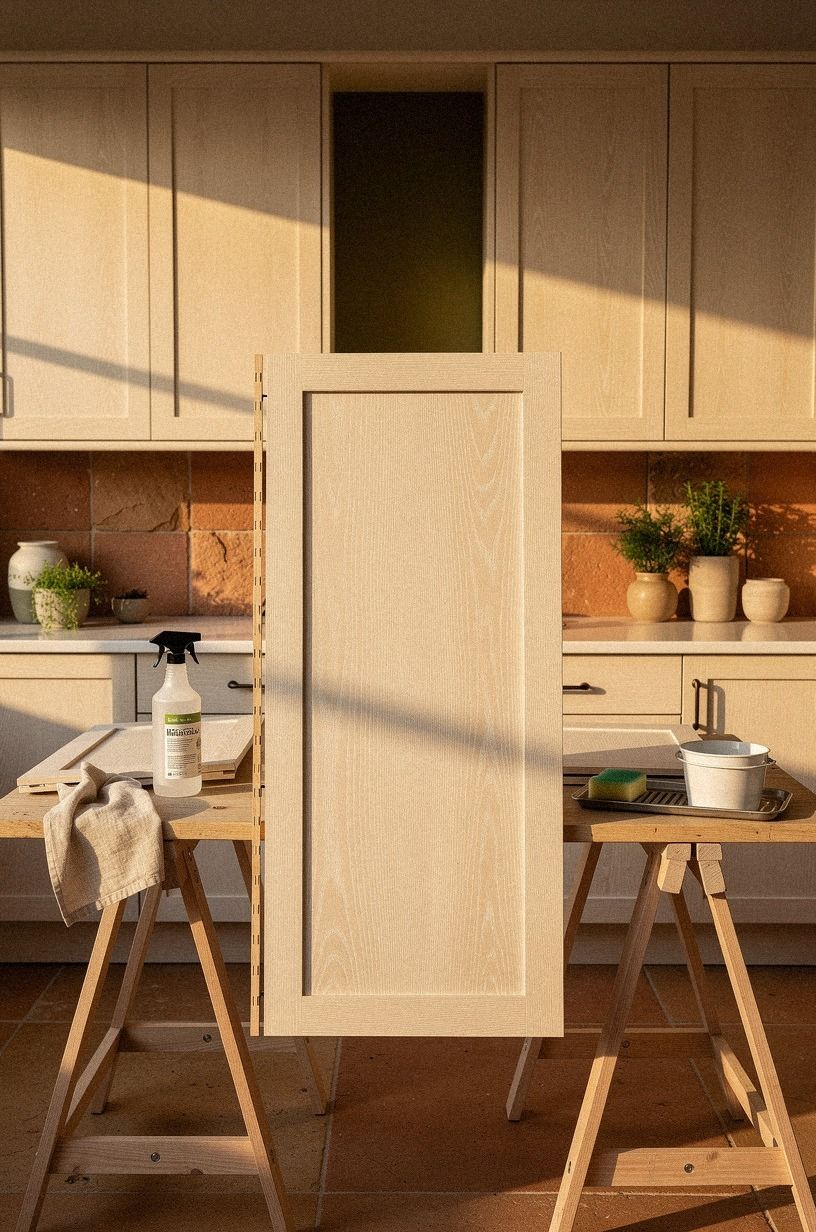
Start here, even if you think your cabinets look clean. Grease sits exactly where your eye lands first, and a budget kitchen cabinet makeover falls apart fast when paint hits a film of cooking residue instead of wood.
In the before-and-after kitchens that hold up, you can usually trace the difference back to this boring first hour. Lay the removable doors on padded sawhorses, keep the still-mounted ones in place, and scrub until the old finish stops feeling slick under your rag.
A good test is the edge around the pull holes. If that area stays sticky, the whole paint job will look tired before it even cures.
When one cleaned door suddenly looks lighter than the rest, that's good news. Your makeover is already getting sharper.
That brightened panel often reveals the grain and age of the white oak door underneath.
For more planning logic before you start painting, small kitchen cabinet ideas that maximize storage is worth opening before you commit to the next step.
2Remove one dated upper cabinet bank
Remove one upper bank before you repaint everything, not after. The wall needs one place to breathe, especially in small kitchen makeover ideas where heavy uppers make the room feel shorter and more crowded than it is.
I usually pull the section beside a window first because daylight exposure is the cheapest upgrade in the room.
A patch, primer, and paint reset often costs under $80, which is wildly cheaper than new cabinetry. And the effect is airy in a way new hardware alone never is.
If the remaining run needs a steady anchor, keep one taller stretch with full-height pantry cabinetry so the kitchen still feels finished.
And if you're nervous about balance, look at these modern kitchen cabinet ideas for a sleek clean look before you pull the screws.
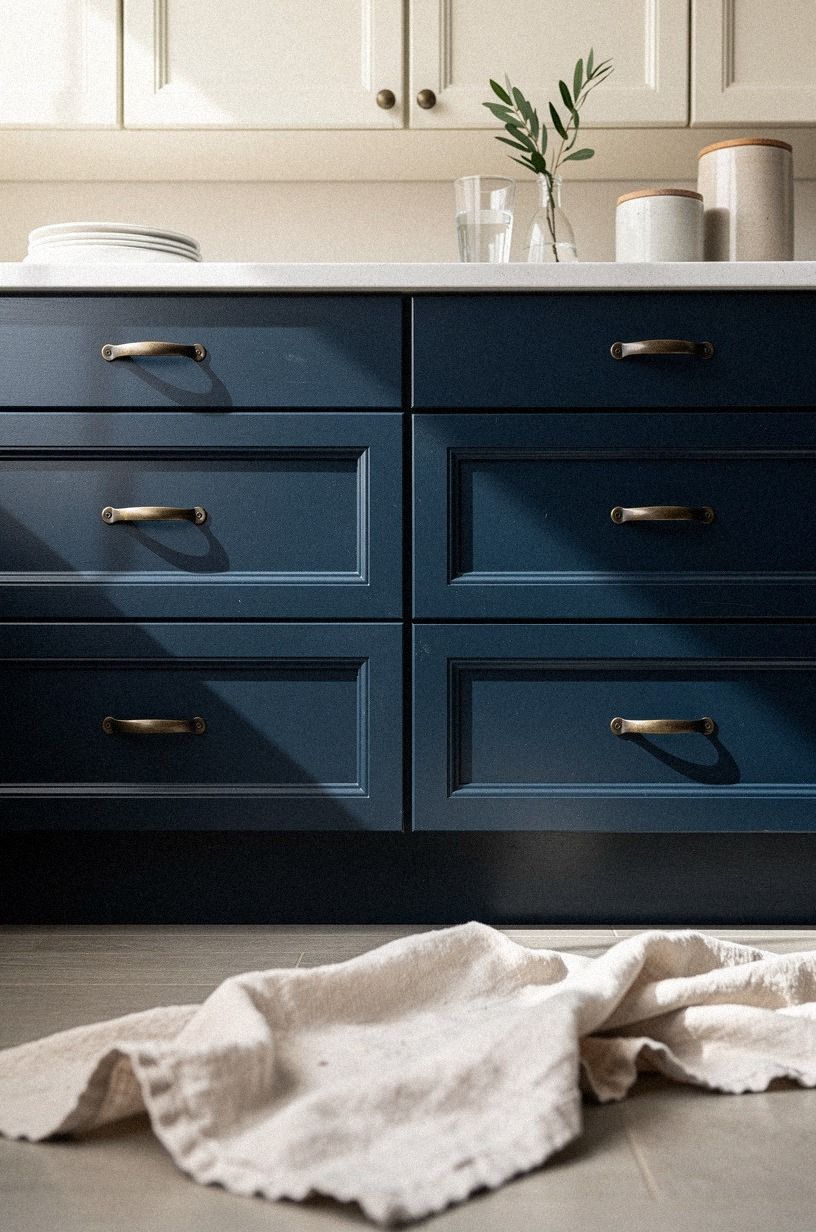
3Paint lowers in a warm greige satin
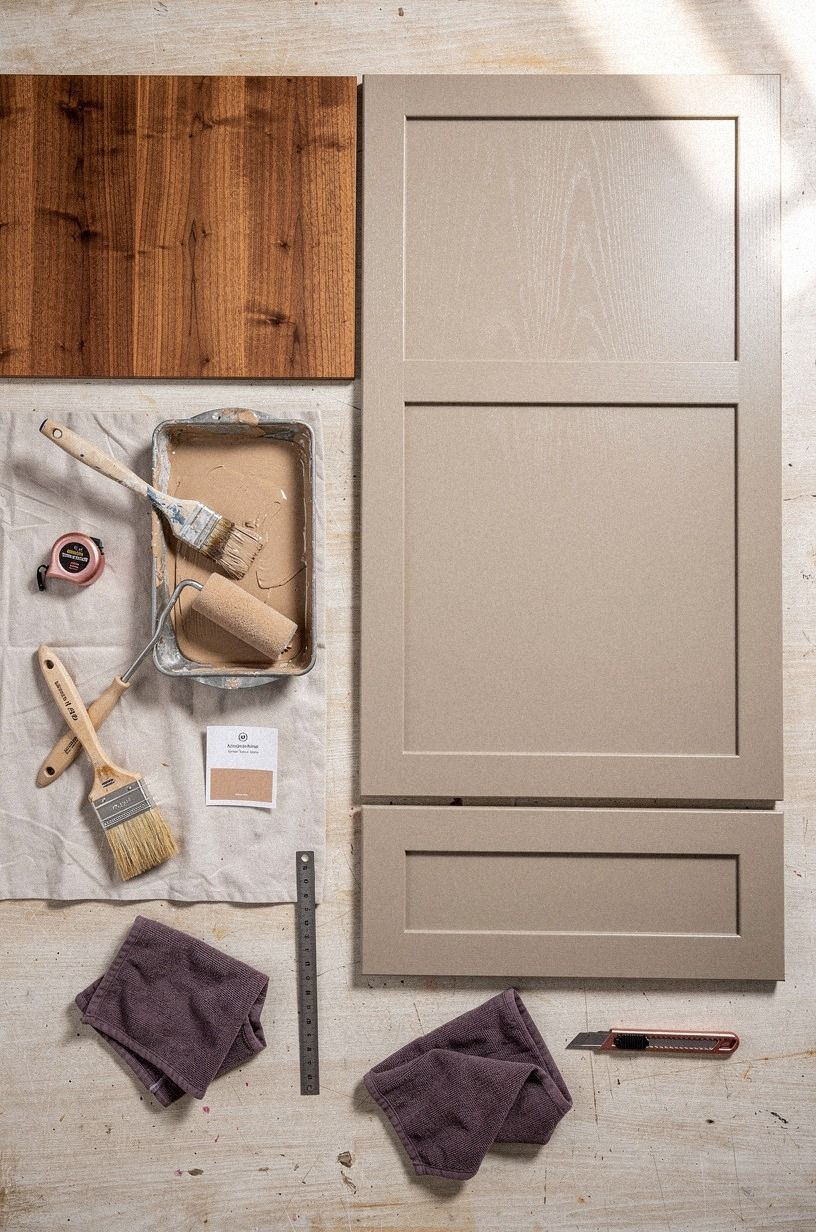
Paint the lowers next, because they're the cabinets that take the hits and visually carry the room.
A warm greige satin makes a budget kitchen cabinet makeover read calmer than bright white base cabinets ever do. It hides sneaker scuffs, chair bumps, and dog-nose streaks better too.
I like a greige with brown in it, not gray pretending to be warm. If the swatch looks dead beside wood flooring or a creamy counter, skip it.
The color always needs one real-world check beside walnut butcher block or another warm surface you already own.
Satin is the sweet spot because satin cabinet paint is wipeable without shouting gloss.
You will get the cleanest result by labeling doors, sanding lightly with 220-grit, then brushing profiles and rolling the flats. That simple routine gives you a crisp, polished finish for very little money.
And if you want a companion palette, these two tone kitchen cabinet ideas that add instant depth show why darker lowers keep a small kitchen renovation from feeling washed out.
4Brush uppers with creamy white enamel
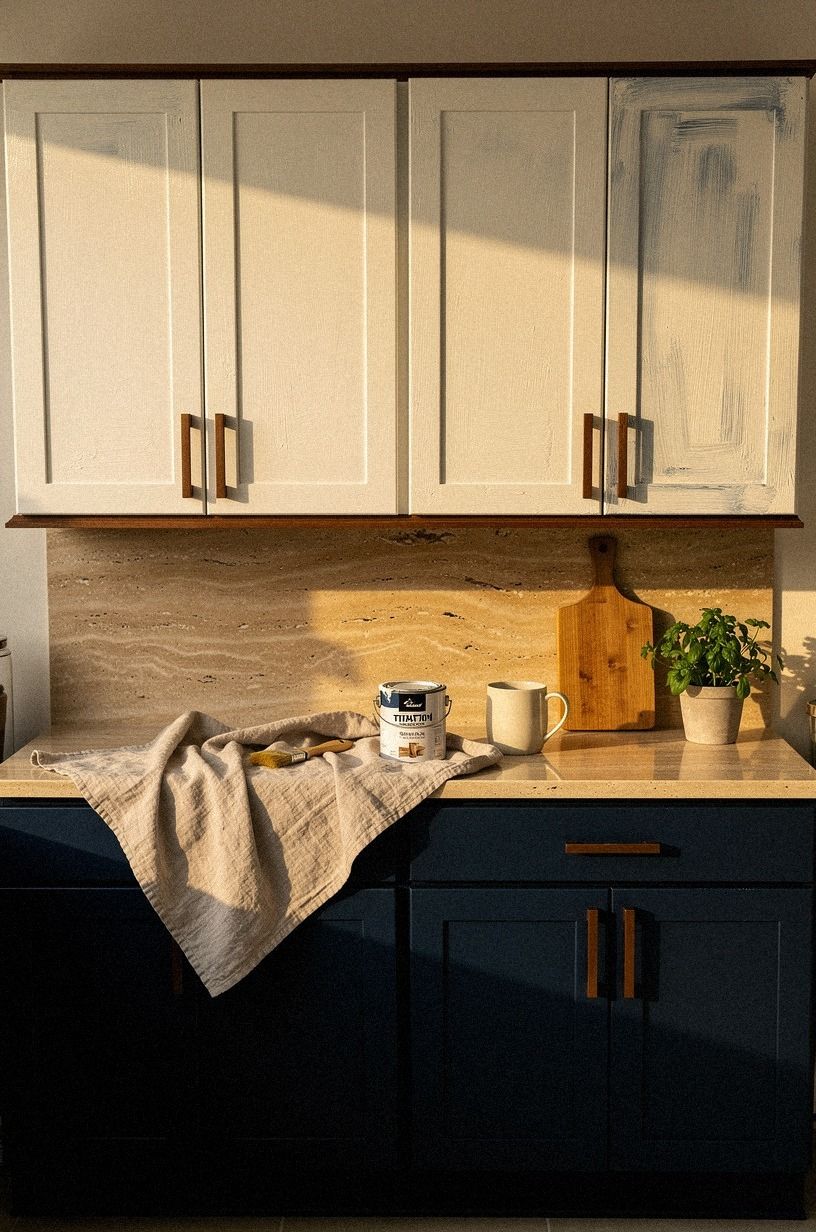
Brush the uppers in a creamy white enamel only after you choose the lower color. That's how you keep the white from going harsh.
In the after photos that feel expensive, the uppers aren't stark. They're warm, a little soft, and bright enough to bounce light back across the room.
My default here is Benjamin Moore White Dove OC-17 because it holds up beside brass, oak, and stone without turning yellow.
Use cabinet enamel instead of leftover wall paint, and let each coat dry fully even when you're impatient.
I wasn't patient on one project and the second coat dragged like cold frosting. Never again!
For a calm contrast around the door frames, I also like pairing that finish with Swiss Coffee trim paint when the walls lean warm.
If you're pairing white uppers with wood accents, bookmark these oak kitchen cabinet ideas for a warm modern look so your warm whites don't drift into beige mush.
5Swap bulky knobs for slim brass pulls
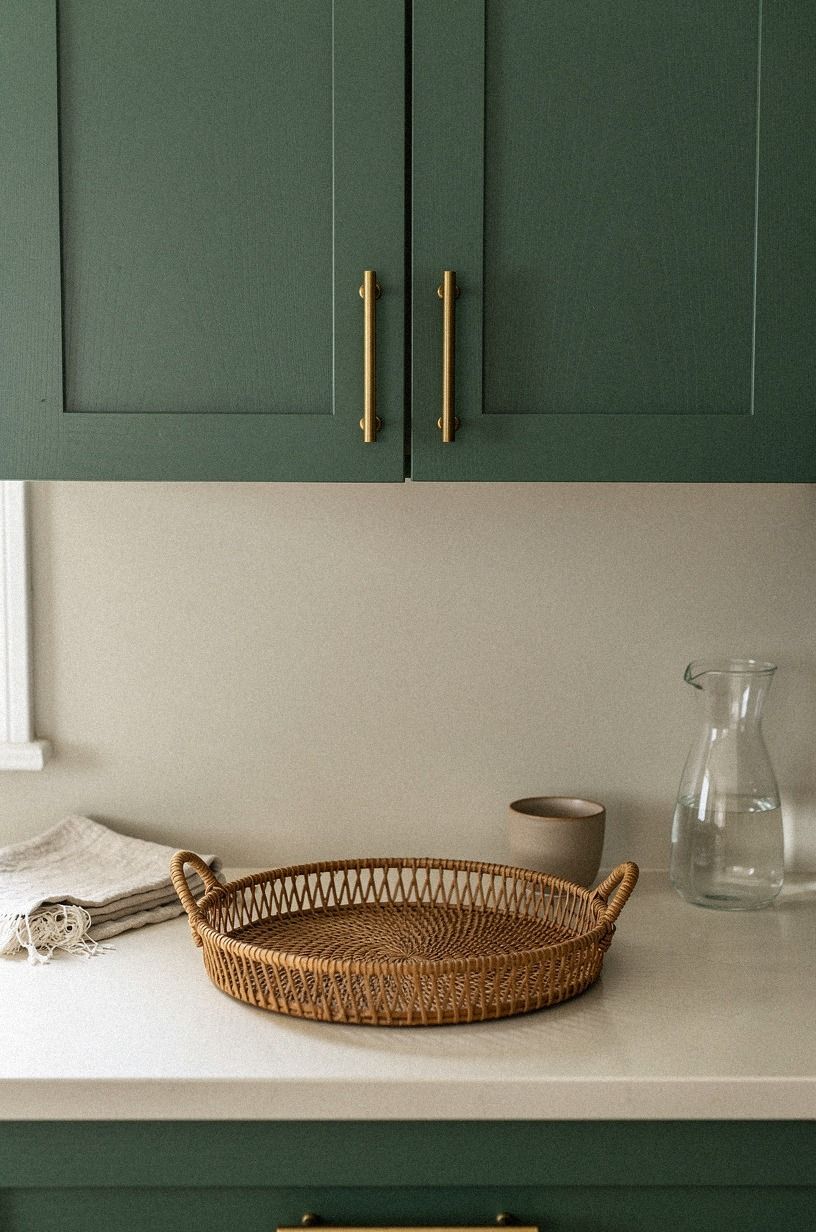
Swap the hardware before you decide the room still looks old. This is one of the fastest emotional upgrades in the whole project because your hand touches hardware all day.
Bulky knobs can make even freshly painted doors look stubby. A slim pull stretches the line of the cabinet and makes the fronts feel cleaner right away.
I like a warm unlacquered finish here because it softens painted cabinets instead of making them feel cold or generic.
A simple unlacquered brass pull gives you that quiet glow without screaming for attention.
If brass feels too dressy for your kitchen, a brushed aged bronze bar handle keeps the look handsome and a little more relaxed.
Budget sets from IKEA BAGGANÄS are usually where I'd start before spending on boutique hardware.
Keep the pull length consistent on the main run so the room feels edited, not random. And if you want a warmer cabinet palette to go with new hardware, oak kitchen cabinet ideas for a warm modern look makes that pairing easier to judge.
6Anchor the sink base with darker paint
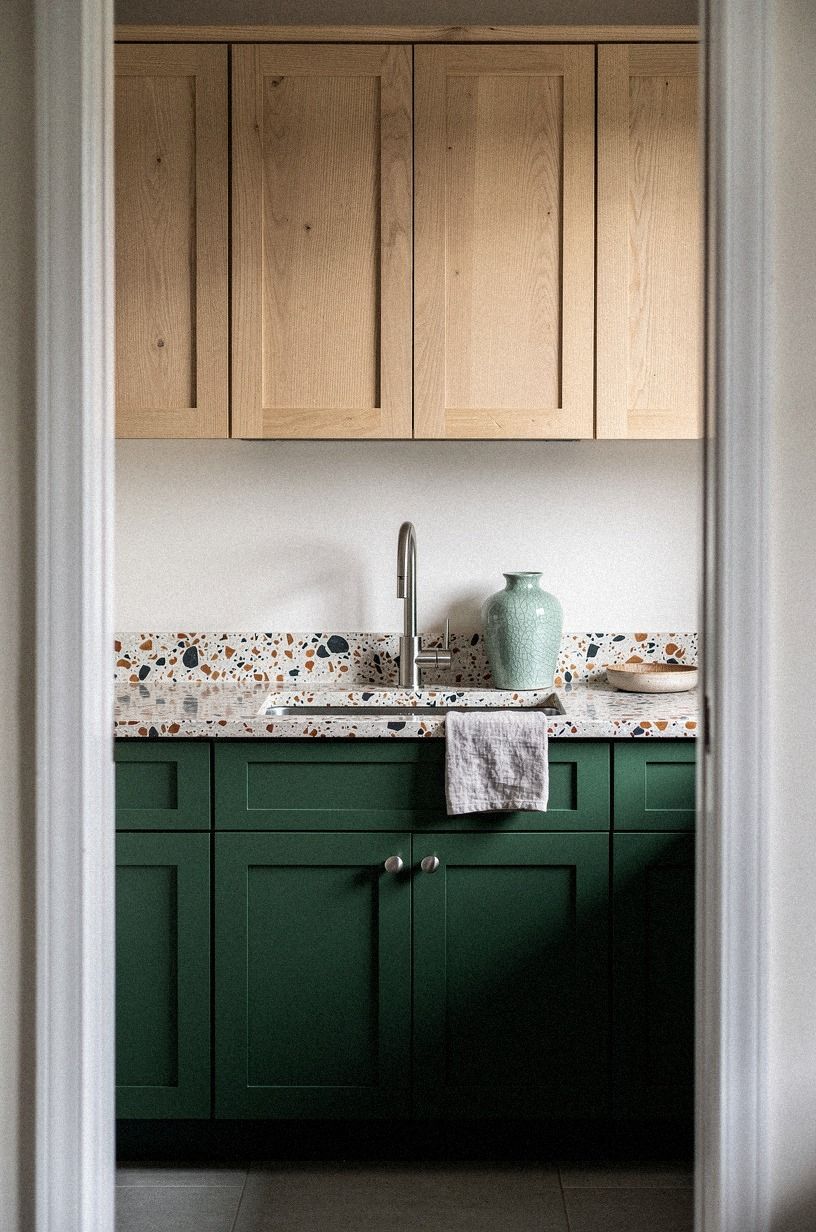
Anchor the sink base with a darker color than the rest of the lowers when you need the kitchen to feel rooted.
This works especially well in small kitchen renovation ideas where the sink wall gets the most natural light and the most visual noise. A deeper sink base cabinet creates a center of gravity the second you look through the doorway.
I like this move with Farrow & Ball Studio Green No.93 because it feels rich, moody, and still warm.
But keep the dark paint to the sink base or one short run, because a whole wall of dark cabinetry in a budget makeover can feel heavier than you wanted.
Pair it with a pale counter, woven shades, and a faucet finish you already repeated once. That repetition is what makes the choice feel deliberate.
If you need organization to match the fresh paint, these kitchen sink cabinet ideas to organize under the sink make the darker focal point feel intentional, not isolated.
7Layer peel-and-stick panels on flat doors

Layer peel-and-stick panels on flat doors when the cabinets feel plain, not ruined. This move works best when the boxes are solid but the fronts look flat and a little lifeless.
Thin applied panels can fake a more custom profile for a tiny fraction of replacement cost. And honestly, the visual payoff is cheerful.
I like the look most when the pattern stays simple and the rail widths are consistent from door to door.
A painted Shaker-style overlay kit instantly makes a blank slab feel more finished.
For renters or nervous DIYers, removable PVC trim strips are the safer first test because you can back out without wrecking the door.
Use the same panel logic on the visible end panel too, or the room will look half-done. If you're weighing this against a more architectural layout change, modern kitchen cabinet ideas for a sleek clean look helps you decide what actually adds value.
8Add reeded film behind glass inserts
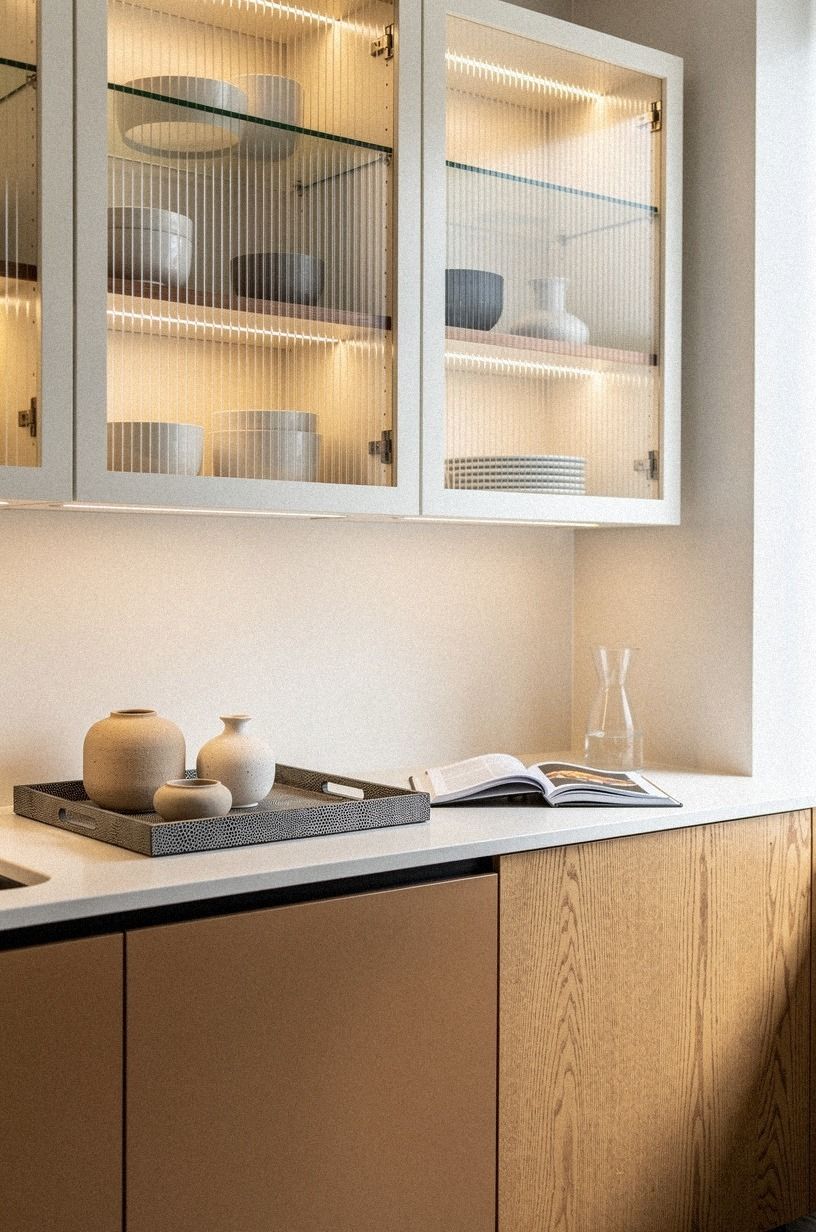
Add reeded film behind glass inserts when you want texture without exposing every mug you own.
A translucent layer is kinder than clear glass in a working kitchen, and it makes older uppers feel far more thought-through.
Use a removable reeded privacy film so the effect stays soft instead of shiny.
I like this best on one or two uppers only, especially near a coffee zone or dish cabinet.
If you frost every glass door in the room, the textured glass insert effect gets repetitive fast.
For more ways to soften a hard-working kitchen wall, two tone kitchen cabinet ideas that add instant depth pairs beautifully with ribbed texture and warm paint.
9Frame plain fronts with thin molding strips
Frame plain fronts with thin molding strips instead of replacing the doors outright. This is one of those modest upgrades that reads far more custom than the receipt suggests.
You do not need ornate profiles. Thin, tidy door trim profiles are what keep the cabinets looking fresh instead of fussy.
My favorite version uses narrow stock, clean mitered corners, and enough breathing room around the inner panel to feel balanced.
A glued-on 1/4-inch poplar molding is usually enough to give the door a more tailored outline.
If you're painting after the trim goes on, wood filler primer matters more than people think because the seams tell on you when the light hits sideways.
This works especially well when paired with slimmer hardware and quieter color. If you need proof that simple profiles age better than busy ones, modern kitchen cabinet ideas for a sleek clean look is a good comparison set.
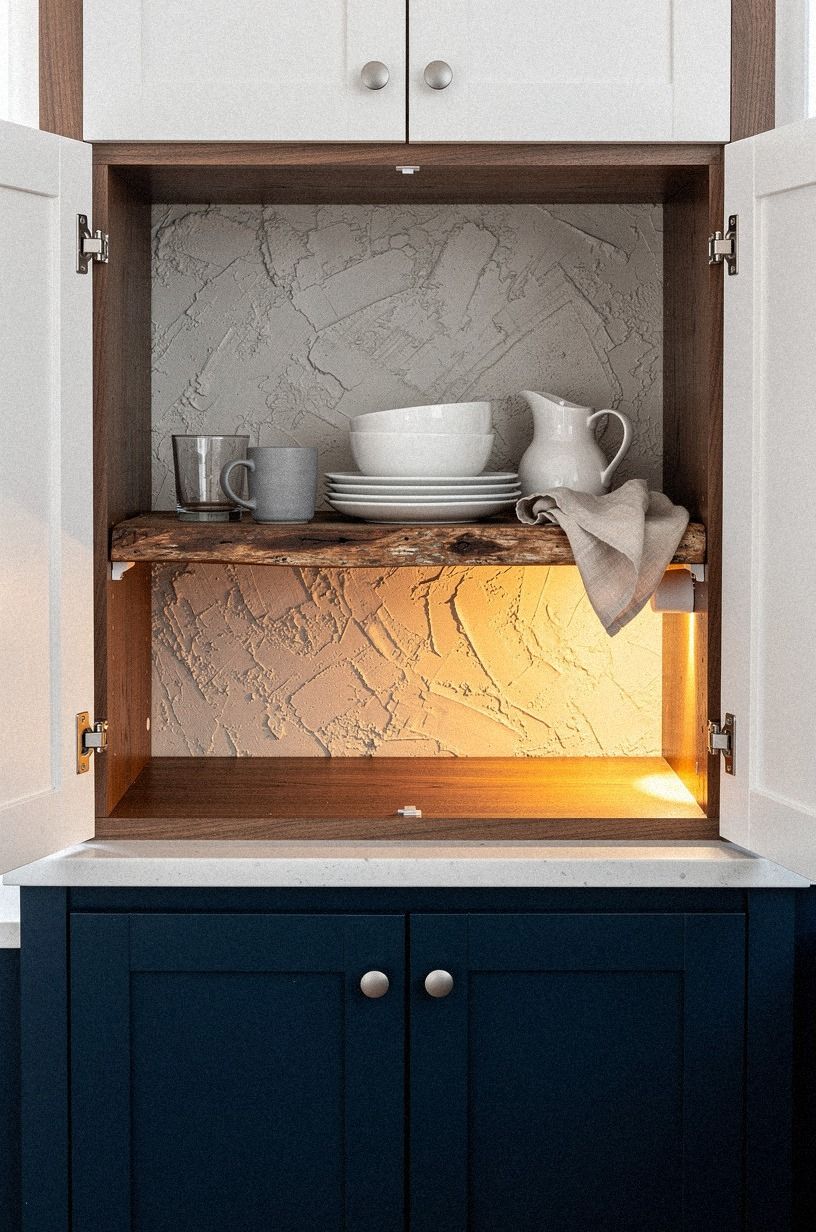
10Hang two open shelves between upper cabinets
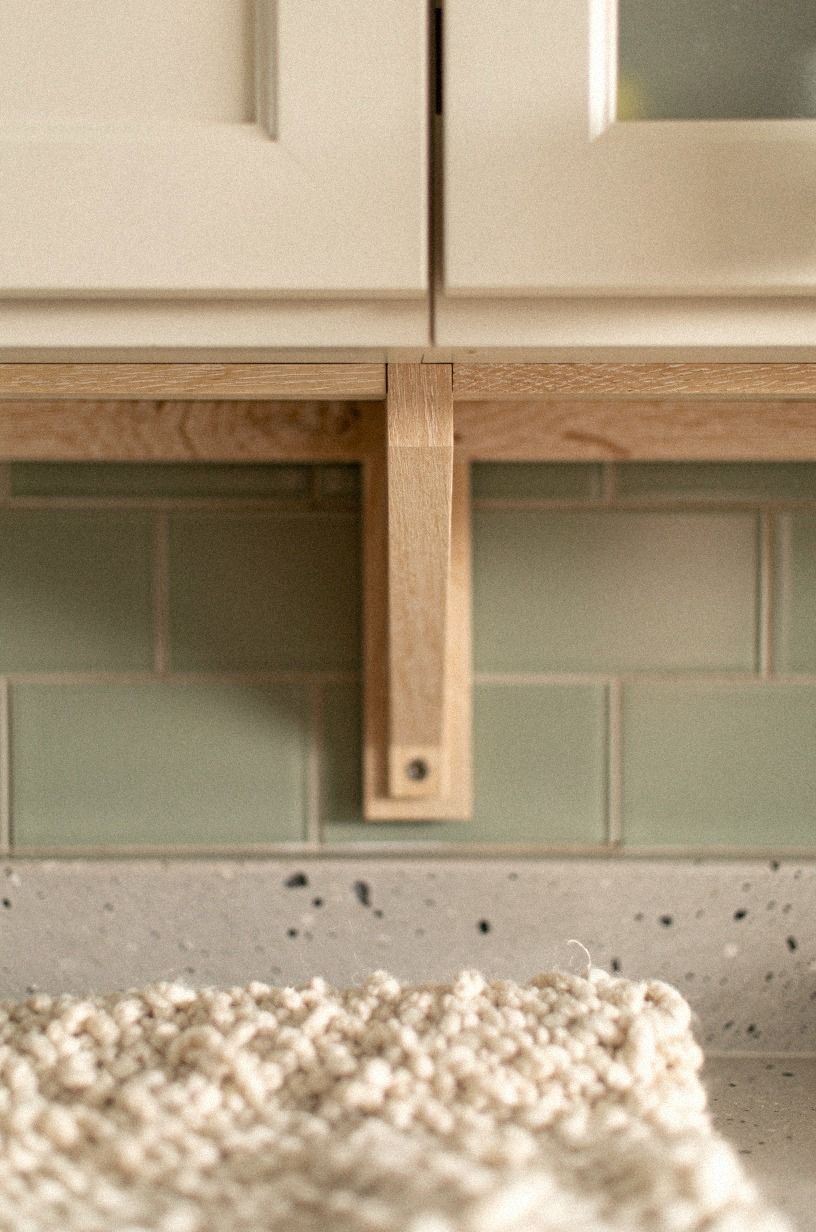
Hang two open shelves between upper cabinets only after you decide what will live there every day.
Open storage earns its keep when it solves a real need, not when it turns into a styling chore.
I like solid white oak shelves about 10 inches deep, mounted so the lowest shelf clears the counter by the usual 18 in backsplash gap.
Plates, glasses, a crock, maybe one bowl. That daily dish stack is enough.
If you stack decor there, you'll resent the dust by next month.
A slim matte black steel bracket can look crisp against creamy walls, but I still prefer hidden supports when the shelf wood has beautiful grain.
For more ideas on using vertical space without crowding the room, kitchen tall cabinet ideas to use every vertical inch will keep you honest about what should stay closed.
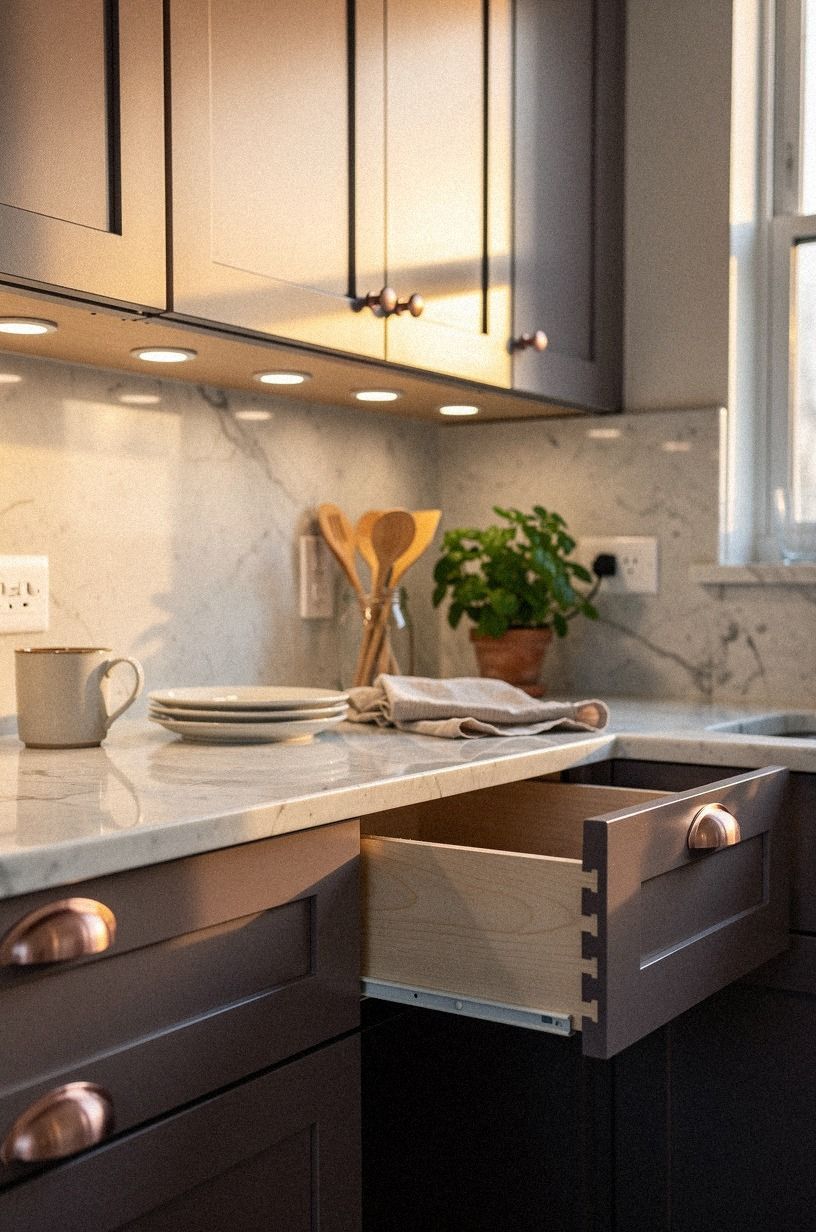
11Build a toe-kick drawer for hidden storage
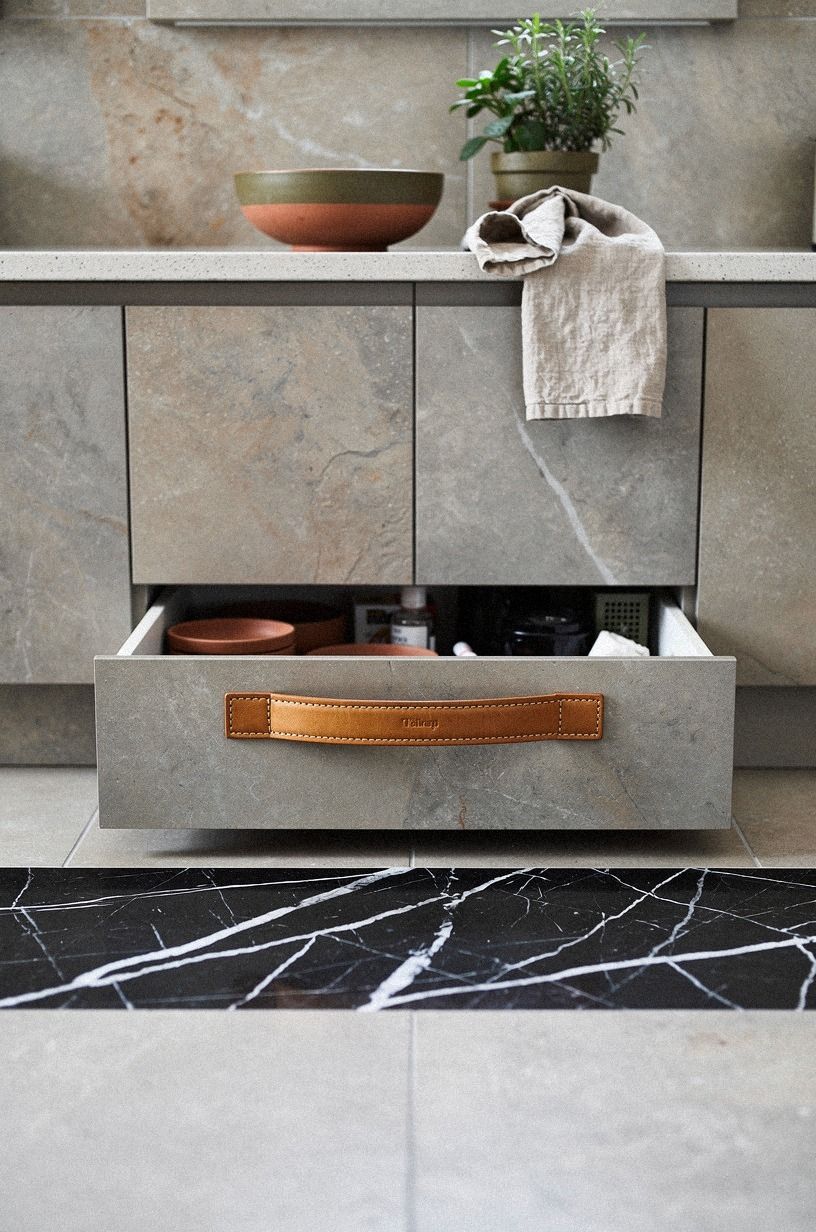
Build a toe-kick drawer if you need hidden storage more than you need another decorative upgrade.
That narrow strip under the cabinets is dead space in most kitchens, which is ridiculous once you realize how many flat things you can hide there.
A simple full-extension undermount glide keeps the drawer feeling smooth instead of gimmicky.
I reserve that zone for flat linens, placemats, baking mats, and extra zip bags. I wouldn't waste toe-kick storage on heavy tools.
The front works best when it disappears into the run with color-matched cabinet paint and a slim reveal.
If you're short on space everywhere, small kitchen cabinet ideas that maximize storage proves this kind of hidden volume matters more than people think. And yes, the first time you pull one open, it feels absurdly satisfying!
12Line cabinet backs with patterned contact paper
Line the backs of one open cabinet or glass-front cabinet with patterned contact paper when the interior feels flat. You only need one controlled hit of pattern to wake up the room.
Tiny motifs usually work better than bold novelty prints because small-scale patterns already bring enough movement.
A soft block-print contact paper gives the inside of a cabinet a charming, collected look.
If your kitchen already has busy counters, a quiet linen-look adhesive liner will feel calmer and more expensive.
Keep the pattern inside one zone and let the rest of the cabinetry stay simple. If you're trying to build character without adding visual mess, oak kitchen cabinet ideas for a warm modern look is full of warmer restraint.
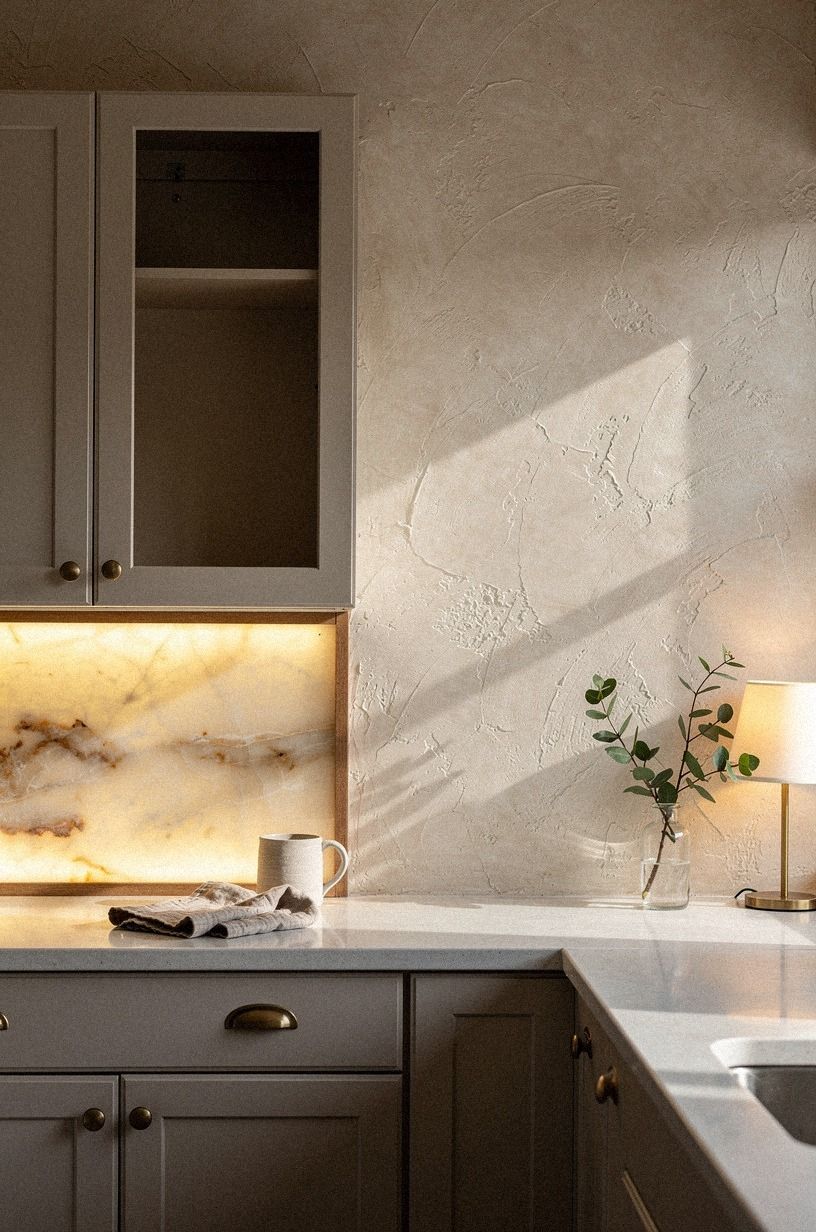
13Install puck lights under every upper cabinet
Install puck lights under every upper cabinet if the room still feels dull after paint.
Light is often the real before-and-after reveal, especially in a wide kitchen where warm circles of under-cabinet glow can finally break up a long shadowy counter.
Use warm 2700K LED puck lights so the counter doesn't turn blue.
Battery puck lights work for a quick fix, but a plug-in strip or rechargeable set feels less fussy long term.
I always place one puck toward the front half of each cabinet bay so the task light lands where your hands work, not just against the wall.
A small rechargeable light bar also works beautifully inside one glass cabinet if you want the dishes to feel a little more special at night.
For more depth-building lighting ideas, two tone kitchen cabinet ideas that add instant depth shows why paint plus warm light beats paint alone every time!
14Style one open cabinet with everyday dishes
Style one open cabinet with the dishes you use constantly, not the ones you wish you used. That single honest move makes a kitchen feel lived-in fast.
I like stacks that feel practical first and pretty second.
A row of white stoneware plates looks crisp and generous without trying too hard.
One rattan handled tray can hold oils or mugs and keep the shelf from turning messy.
And a single amber glass jar adds warmth without cluttering the whole opening.
If you're unsure how much warmth your shelves need, oak kitchen cabinet ideas for a warm modern look helps you style the cabinet so it feels useful, not staged.
Paint First Over Replacing Cabinets
If you're wondering whether this kind of makeover is really worth doing before a full remodel, yes, it usually is. Paint, hardware, lighting, and one or two storage edits can change the room for a fraction of what new cabinetry costs, and the numbers are not subtle.
A quartz countertop usually runs $60-$120 per sq ft.
A laminate countertop tends to land around $10-$40 per sq ft.
And repainted Shaker cabinet fronts often cost $150-$400 per door when you hire the work out.
Those numbers are exactly why cosmetic work can feel so satisfying. You get a brighter, calmer, more polished kitchen without taking on a full demolition bill.
Why do some budget cabinet makeovers look custom while others look cheap?
The answer isn't money. It's restraint.
I think a lot of people blow the budget in the wrong place because new cabinets are easy to imagine and slower improvements are not. A $200 pull set or a bold backsplash tile feels dramatic in a cart. Better spacing between objects, softer upper paint, or the choice to remove one cabinet bank feels boring on paper.
Then you walk into the finished room and realize the calmer decisions are the ones doing the heavy lifting. That quiet result is what reads custom.
I've made that mistake myself. I once obsessed over a fancy faucet finish while ignoring the fact that the upper cabinets were too visually dense for the room.
The faucet arrived. The kitchen still felt cramped.
It wasn't until one cabinet bank came down and the remaining uppers got Benjamin Moore White Dove OC-17 that the room finally exhaled.
That's the part nobody respects at the start: a kitchen isn't a line item problem. It's a weight problem. Too much visual weight above your eye line, and every little accessory starts looking guilty.
So when I think about real before-and-after results, I don't start with trend words. I start with pressure points.
What do you see first when you walk in? What part of the room feels heaviest?
Which cabinet line makes the kitchen look shorter than it is?
Once you answer those, the money gets easier to place. You paint the lowers to ground the room.
You lighten the uppers to open it up. You switch the hardware so the doors stop looking stubby.
You add one open moment, not six.
And if you need extra storage, you hide it low in a toe-kick drawer or inside a sink base instead of hanging more bulk at face level. Kitchen tall cabinet ideas to use every vertical inch is useful here because it reminds you that not every storage problem should be solved at eye level.
I also think the most convincing budget kitchens reuse more than people expect. Existing boxes.
Existing layout. Existing counters, sometimes.
That sounds unglamorous, but it's usually the sharper call.
A painted cabinet in Farrow & Ball Studio Green No.93 can look more intentional than a rushed order.
A slim unlacquered brass pull often does more than a chunky trendy knob.
And one warm LED puck light can make old stock cabinetry feel dramatically better at 7 p.m. than it did at noon.
You don't need every surface to scream new. You need the room to feel edited, and that is a different skill entirely. If you're still choosing between a lighter plan and a moodier one, two tone kitchen cabinet ideas that add instant depth is the comparison I'd open next.
The Three-Zone Budget Rule
My rule is simple: spend first on prep, second on light, third on touch points.
Prep means degreasing, sanding, patching, and making the paint surface worth painting. Light means clearing a wall, brightening the uppers, and adding under-cabinet glow where your hands work.
Touch points means cabinet pulls, shelf edges, and the one open cabinet you style so the room feels lived in.
A clean cabinet prep kit is usually less exciting than new decor, but it gives you the most visible return.
One under-cabinet light strip can make a basic counter look calmer and more useful every single night.
And a modest brass hardware set changes the tactile part of the kitchen in a way you notice every morning.
If you skip that order, the kitchen usually tells on you. Pretty hardware over dirty doors still looks tired.
A dark dramatic paint color without enough task light still feels gloomy. And a shelf full of pretty dishes can't rescue a cabinet run with clumsy proportions.
Spend in the order the room experiences itself. If you're tightening the plan before buying anything, kitchen cabinet layout ideas to plan before you renovate and small kitchen cabinet ideas that maximize storage are the two support reads I'd keep open.
What People Always Want to Know
What is the best Budget Kitchen Cabinet Makeover Ideas (Before & After) for a small kitchen?
The best move for a small kitchen is usually removing one upper bank and repainting the lowers in a warm midtone. That frees the sightline without giving up all your storage. Add slim hardware and you'll notice the room feels taller before you buy anything major.
Where can I buy Budget Kitchen Cabinet Makeover Ideas (Before & After) pieces on a budget?
Start with IKEA, Target Threshold, and Wayfair for pulls, shelf brackets, lighting, and simple dishware. Facebook Marketplace is still great for solid wood shelves or vintage knobs you can repaint. If you need inspiration before shopping, oak kitchen cabinet ideas for a warm modern look helps narrow the vibe.
How much does a Budget Kitchen Cabinet Makeover Ideas (Before & After) makeover cost?
A cosmetic cabinet makeover usually costs about $300 to $1,500, while a fuller refresh with new lighting and countertops can land much higher. Free counts too: removing one upper bank, editing what stays on open shelves, and restyling the visible dish cabinet all change the room without adding a new line item.
Can I create a Budget Kitchen Cabinet Makeover Ideas (Before & After) on a budget?
Yes, and you should start with the cheap steps first. Paint, hardware, and light do the heavy lifting. Try degreasing and painting the lowers, swapping to slimmer pulls, and adding removable reeded film before you assume you need brand-new cabinets.
Is a Budget Kitchen Cabinet Makeover Ideas (Before & After) worth it in a small space?
Yes, it is often more worth it in a small kitchen because every visual correction is easier to feel. Small rooms reward restraint. Keep walk paths clear, preserve the 18 in backsplash zone, and use one darker base cabinet to ground the room instead of painting everything dark.
Is Budget Kitchen Cabinet Makeover Ideas (Before & After) a good idea for a rental?
Yes, if you focus on reversible upgrades. Rentals can still get the after effect with peel-and-stick panels, removable reeded film, rechargeable puck lights, and styled open shelving you can take with you. I'd skip permanent trim if your lease is strict and put that effort into hardware you can swap back later.
Where I'd Start First
If I had to pick one step to start with, I'd remove one dated upper cabinet bank. It changes the room before paint even dries, and you can't fake that kind of breathing space with prettier knobs. Pin that move for later and let the wall finally do less!