
 by
A rented medicine cabinet can look warm and intentional in one evening with removable hardware, layered light, and a few measured swaps. I learned that after repainting the wrong surface first and spending Saturday undoing it. You don't need a renovation. You need a tight plan, a soft finish, and permission to leave the landlord's cabinet mostly alone.
- ✓ Paint the Surround With a Soft Color Block
- ✓ Should You Swap the Knob for Unlacquered Brass?
- ✓ Build the Three-Height Light Stack
Start by measuring the cabinet, checking the door swing, and noting where the hinges, outlets, and plumbing sit. Then choose one color family, one metal, and one useful textile.
That small framework keeps your bathroom from turning into a collection of unrelated fixes. If you want a broader color reference first, compare these popular kitchen cabinet colors and notice which shades feel calm rather than trendy.
- Paint the Surround With a Soft Color Block
- Should You Swap the Knob for Unlacquered Brass?
- Build the Three-Height Light Stack
- Give the Mirror a Cerused-Oak Frame
- Add a Narrow Shelf Below the Cabinet
- Hide the Plastic With a Linen Pouch
- What Should Repeat in the Mirror Reflection?
- Hang a Tension Rod for Soft Storage
- Float a Small Ceramic Tray
- Install a Removable Peel-and-Stick Backsplash
- Turn the Cabinet Top Into a Ritual
- Replace the Door Liner With a Washable Insert
- Warm the Removable Backdrop Without Painting the Cabinet
- Grow a Small Greenery Moment
- Set a Realistic Evening Budget
- How High Should the Cabinet Relate to the Vanity?
- Finish With the One-Minute Reset
1Paint the Surround With a Soft Color Block
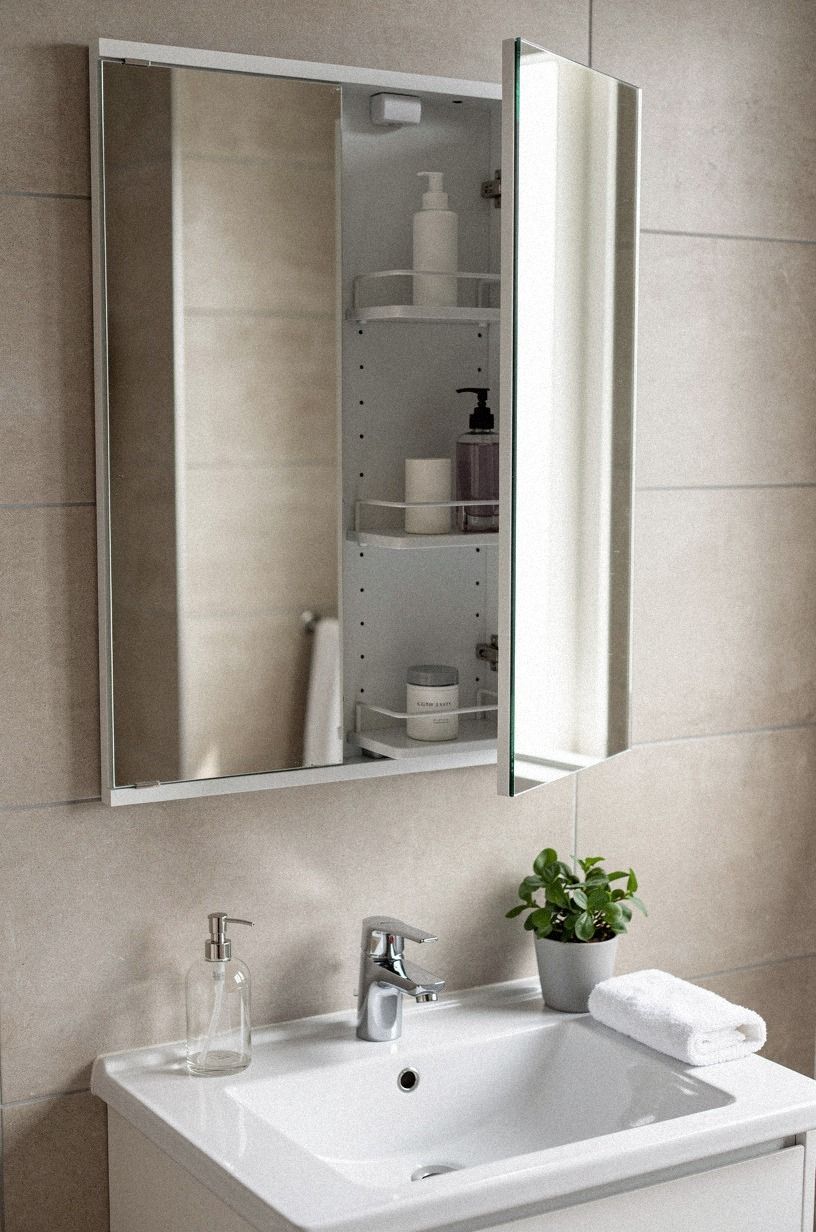
A dusty rose removable color block gives your cabinet presence without touching the cabinet itself. Use painter’s tape to mark a rectangle around the frame, keeping the edge at least 2 inches beyond the door so the shape reads as architecture instead of a random patch. The soft rose tone works beautifully with charcoal and brass accents.
I’d use a sample of removable wallpaper with an oversized-chip terrazzo pattern rather than paint directly on the wall. You’ll get the same visual weight, and you can lift it later with a slow pull.
If your vanity already feels pale, a charcoal detail and aged brass hardware bring contrast without making the room gloomy. I love this move because it’s dramatic from across the room but wonderfully reversible up close.
Test the dusty rose beside your mirror in both daylight and evening light. A shade that feels delicate at noon can look heavy beneath a blue ceiling fixture.
You’ll want the block to support the cabinet, not become the only thing you see. This rental kitchen cabinet makeover uses the same useful principle: change the visible layer while protecting the original surface.
If you’re unsure about the undertone, compare the sample with your tile, countertop, and towels before committing. A soft, grounded shade can make the entire corner feel polished and surprisingly expensive without adding permanent risk.
2Should You Swap the Knob for Unlacquered Brass?
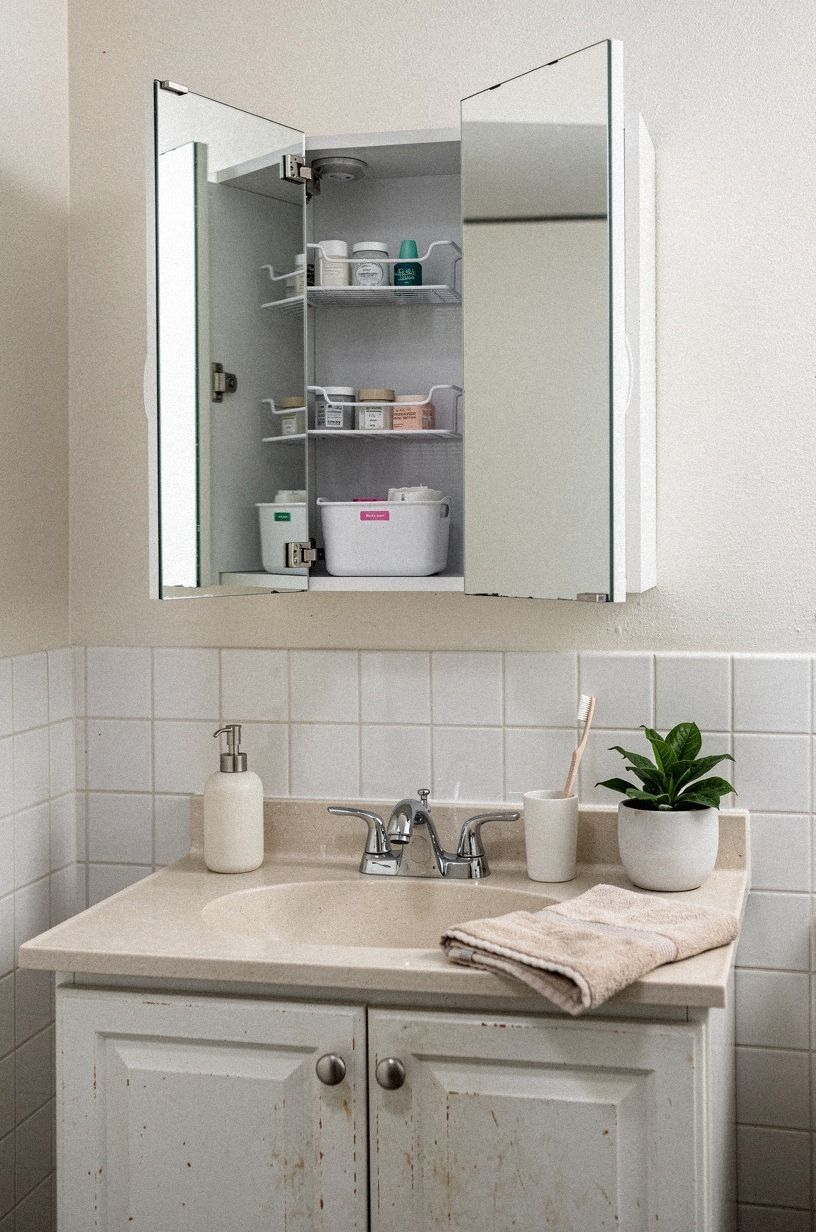
A new knob may be the smallest purchase here, but it changes what your hand sees every morning.
3Build the Three-Height Light Stack
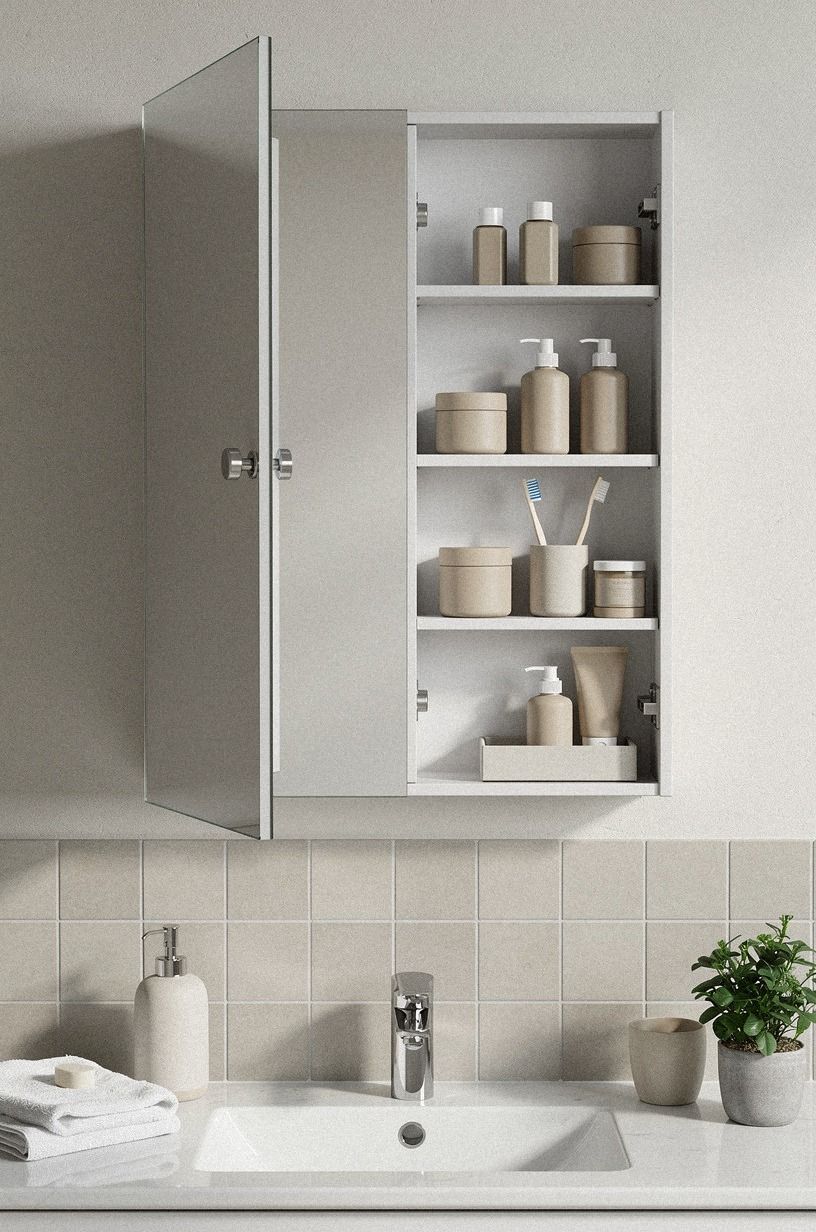
Your cabinet won’t feel finished if the only light comes from a ceiling fixture. Build the Three-Height Light Stack with the overhead light, a small rechargeable lamp on the vanity, and a low glow from a night-light near the floor.
The point isn’t brightness. It’s giving your eyes somewhere softer to land.
A rechargeable lamp with a subtle shagreen-textured shade can sit beside your soap dish without wiring. Its midnight-blue, copper, or ivory notes can keep the reflection gentle in the mirror.
I tested a cool bulb once, and the cabinet looked blue and clinical by 7 p.m. Choose warm light instead.
You’ll notice the difference while brushing your teeth, especially if your bathroom has ivory tile.
Use the brightest source for practical tasks and the lower sources for atmosphere. You’re creating layers, not a beauty-counter spotlight.
Keep cords away from splashing water, and don’t place a lamp where your elbow will knock it into the sink. This under-cabinet lighting guide has useful placement ideas for a low, practical glow.
A warm 2700K bulb usually feels gentler than a blue-white one, but trust your own room. If the mirror still looks harsh, move the softer lamp closer to the side rather than adding more overhead power. That small adjustment can create a mellow, flattering, and deeply welcoming evening atmosphere.
4Give the Mirror a Cerused-Oak Frame
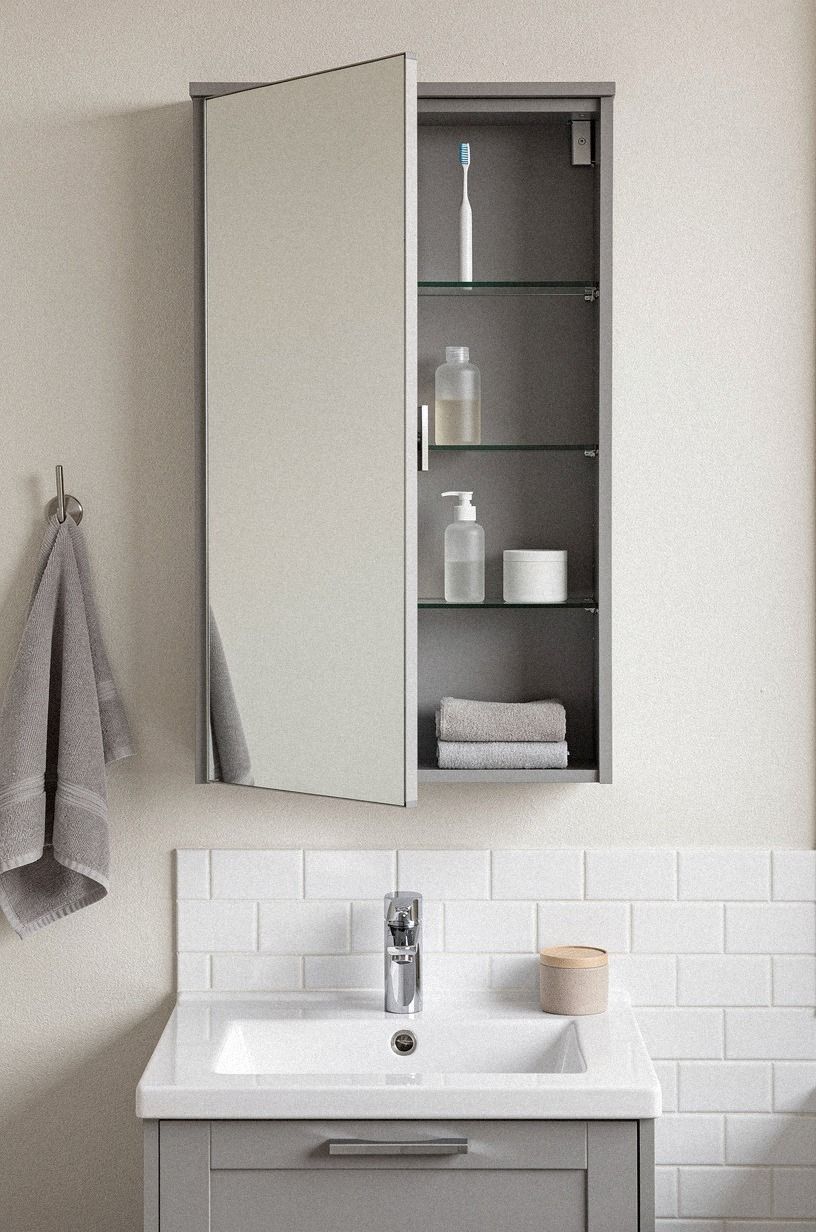
A medicine cabinet mirror often looks unfinished because the edges disappear into the wall. Add thin peel-and-stick wood molding around the outside, leaving the mirror door itself clear. Choose a profile under 1 inch wide so it won’t interfere with the hinge or make the cabinet feel bulky.
Measure twice, then cut the corners with a small craft saw or buy pre-cut lengths from a hardware store. You’ll want a dry, dust-free wall before pressing anything down.
If your landlord has painted with a flat finish, test a small hidden patch first. I’d choose a natural-wood profile with a washed Belgian linen-toned finish over dark walnut here because it reflects more light.
The trim should stop short of the moving door. Leave enough clearance for the hinge, latch, and cleaning cloth.
You’ll be grateful for that gap every time you open the cabinet without catching the molding. If you like the grain, browse these white oak cabinet ideas for a warmer direction.
This is one of the more visible changes, so take your time. A crooked corner will announce itself in every reflection. A clean, narrow profile can make a basic rental fixture feel surprisingly architectural, elegant, and complete.
5Add a Narrow Shelf Below the Cabinet
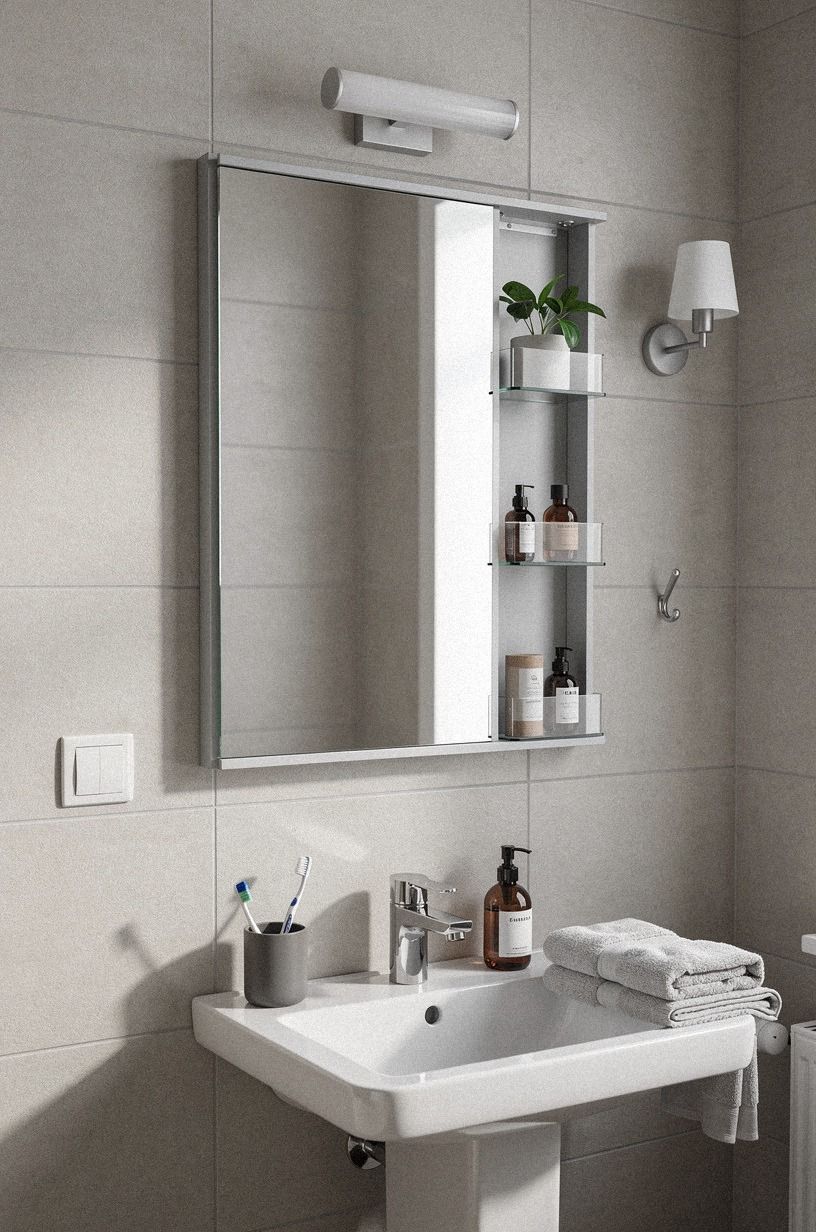
A shallow shelf below the cabinet creates a landing place for the two things you use daily, not a display zone for every bottle you own. Look for 18-inch solid pine or a slim white oak shelf no deeper than 4 inches. You’ll want enough room for hand soap and one small vessel while keeping the counter clear.
Use removable mounting strips only for light objects and stay within the strip’s stated load limit. If your shelf needs more support, a tension-mounted bracket may be safer than adhesive.
I’d avoid a deep shelf because it catches elbows and makes a small vanity feel crowded. A little breathing room is more useful than another storage surface.
Before installing anything, hold a paper template against the wall. You’ll see whether the shelf blocks the mirror, crowds the faucet, or makes your morning movements awkward. Your rental kitchen cabinet makeover shows the same restraint in a different room.
Keep the shelf visually light. One tray, one soap dispenser, or one small vessel is enough. If you need more storage, edit the cabinet interior instead of making the wall carry every backup product.
A narrow shelf can feel wonderfully generous when it holds only what earns its place. That edited arrangement is calmer, cleaner, and much more luxurious than a crowded ledge.
6Hide the Plastic With a Linen Pouch
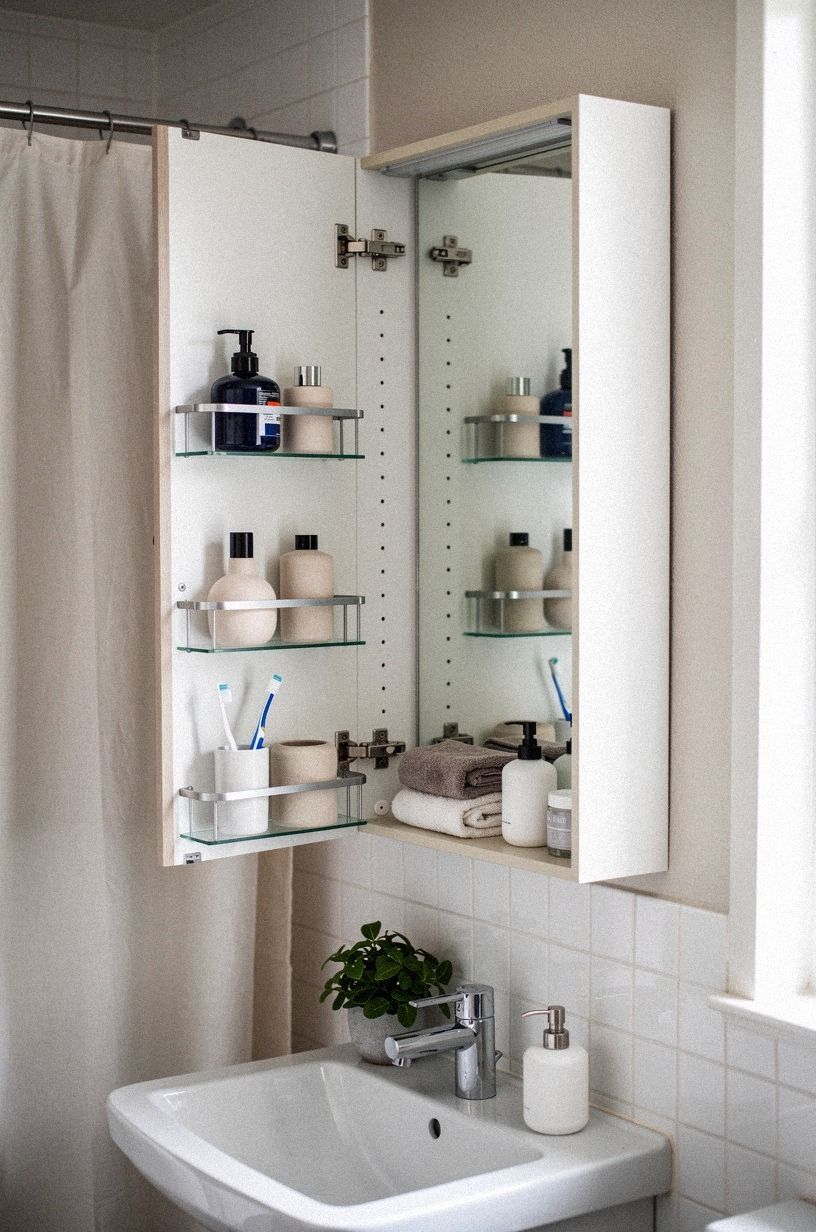
The cabinet can look polished while the practical clutter stays close. Hang a small Belgian flax linen pouch from a removable hook on the side wall for hair ties, cotton pads, or spare toothbrushes. The fabric softens the hard mirror and won’t compete with your face in the reflection.
Choose a pouch with a washable lining, and keep the color close to your wall so it reads as texture rather than storage. You’ll want to empty it once a week because fabric beside a sink collects dust quickly. But that’s still better than a plastic basket full of loose items.
I’d skip open wire bins here. They make every tiny object visible and turn your calm corner into a checkout aisle.
A pouch is especially useful when the medicine cabinet is shallow and the vanity drawers are already crowded. You can reach inside with one hand, then return everything without creating a new pile.
If you’re choosing between several fabrics, pick one that echoes the bath mat or hand towel. Repeating a material once makes the room feel deliberate. Repeating it everywhere makes the room feel staged.
The linen adds a quiet, tactile note that makes the whole cabinet feel softer and more humane. It’s a small, practical fix with an unexpectedly graceful payoff.
7What Should Repeat in the Mirror Reflection?
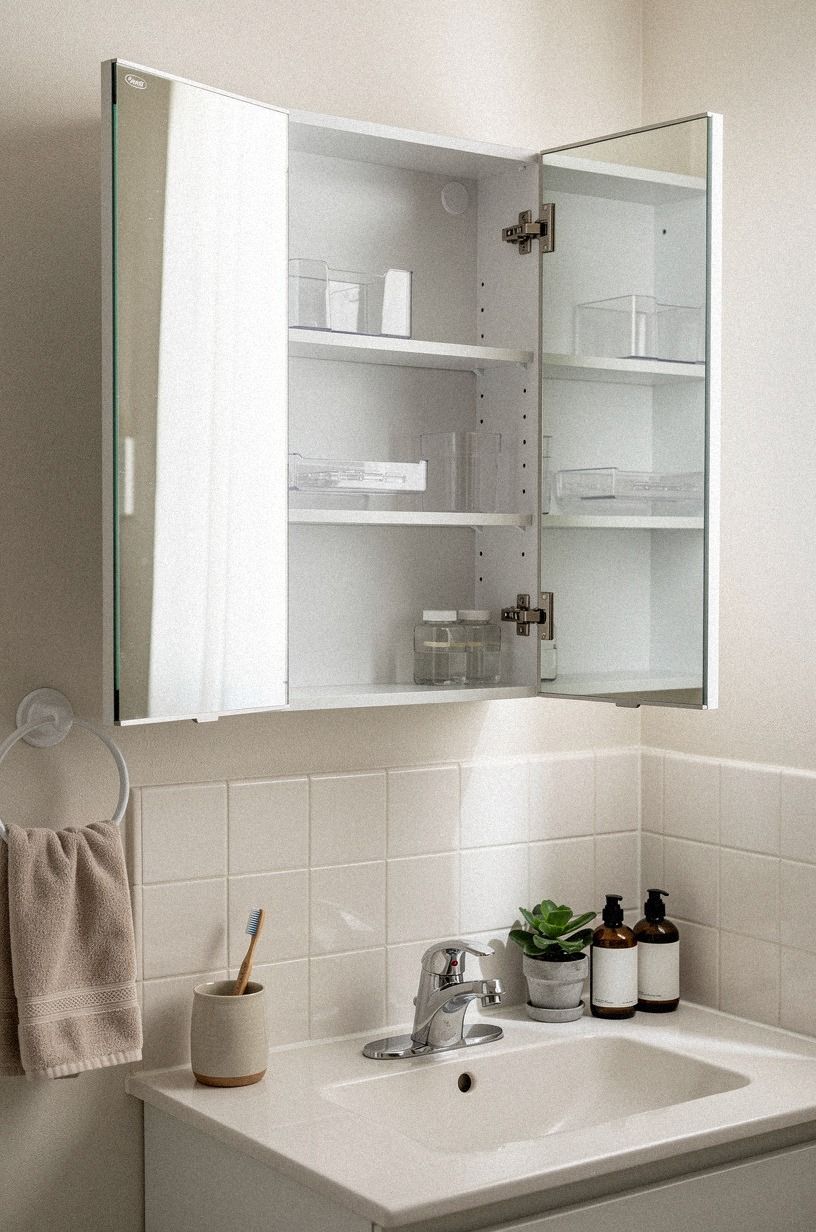
The Two-Color Reflection Rule keeps the mirror wall from becoming visually noisy.
8Hang a Tension Rod for Soft Storage
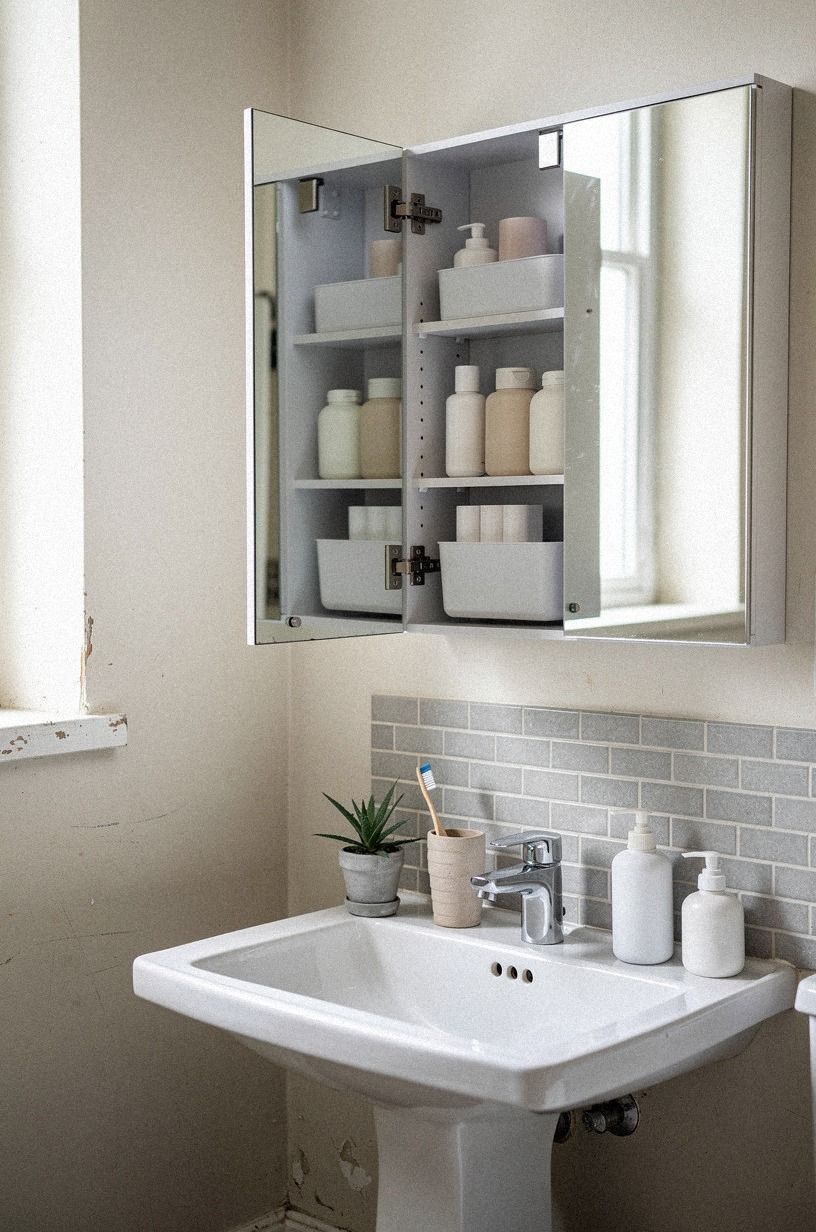
A short tension rod inside an open lower cabinet or beside the vanity can hold a 600gsm Turkish cotton hand towel without drilling. Measure the opening first, then choose a rod that fits within the narrowest point. The towel adds color and makes the area feel cared for, but it also earns its space.
Keep the rod low enough that your cabinet door can open freely. You’ll want the towel folded once, not bunched into a damp roll.
I’d choose soft white or deep navy instead of stark white, especially when the room already has walnut or Carrara marble nearby. If you’re styling a small room, a soft textile gives you more comfort than another decorative object.
That’s a trade I’d make every time!
Check the rod after hanging the towel. If it twists, slips, or presses against plumbing, move it before the wall develops marks. You can also use a tension rod inside a cabinet for cleaning cloths or spare washcloths, provided the door still closes easily.
A towel should look ready to use, not arranged for display. Let the fold be slightly relaxed. The room will feel more welcoming when it appears prepared for your real morning rather than a showroom morning.
Choose a towel with a lush hand and a forgiving color. That one soft, useful detail can make a stark cabinet feel warm, generous, and lived in.
9Float a Small Ceramic Tray
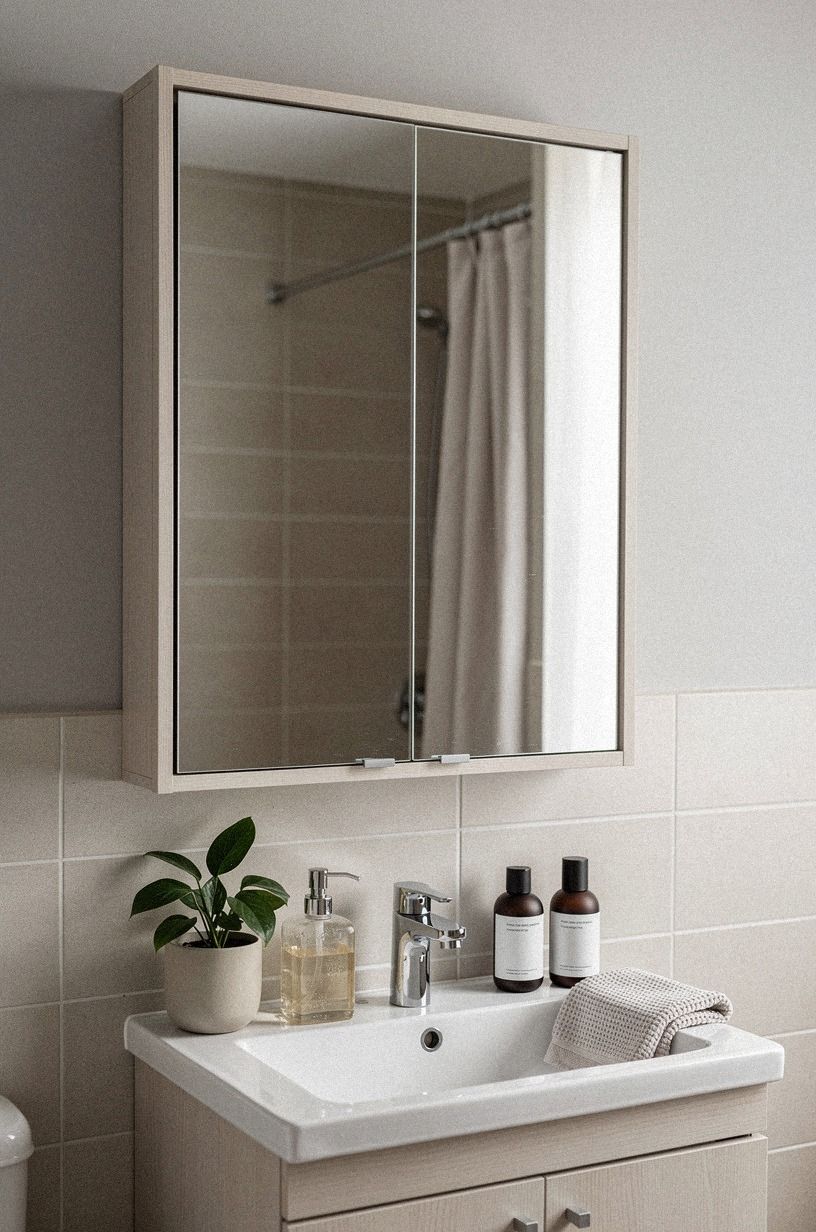
A small reclaimed weathered teak tray turns loose products into one deliberate group.
10Install a Removable Peel-and-Stick Backsplash
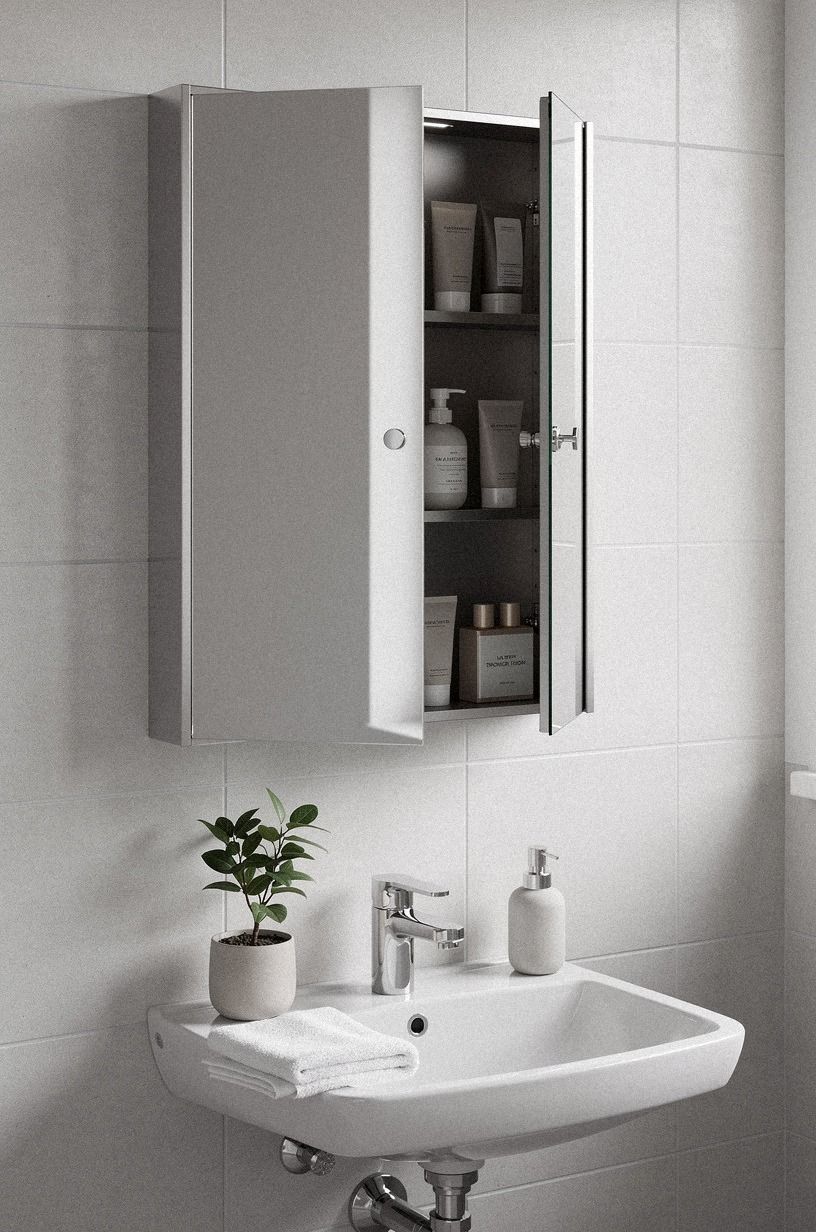
A small backsplash behind the sink can make the medicine cabinet feel connected to the vanity. Choose a removable panel with a forest-green field, rust notes, and a Calacatta marble pattern with fine gold veining, rather than individual tiles, if your evening project needs to stay simple. Keep the panel inside the existing backsplash area and avoid covering outlets, caulk joints, or plumbing access.
The standard backsplash gap is often 18 inches between a counter and upper cabinets, but your medicine cabinet may sit higher or lower, so measure your own wall. You’ll want the top edge to align with the cabinet or mirror trim. I’d avoid a busy geometric print in a narrow room because reflections double the pattern.
Clean the wall according to the panel maker’s instructions, then apply from one edge with a soft squeegee. Don’t stretch the material as you go.
You’ll create a tense edge that may lift later. If the wall is textured, a removable panel may not hold well, so make a small test before committing.
A solid forest green with restrained rust and natural-oak accents is easier to live with than a complicated pattern. It gives the sink a richer backdrop while allowing your mirror, towel, and hardware to stay quiet. This rental makeover that comes off clean is a good reminder to inspect the original surface before applying anything adhesive.
If the color looks vivid in the package, test it beside the mirror first. Reflected light can make forest green feel dramatic, radiant, or surprisingly dark.
When the tone is right, the result is lush without overwhelming the room. That is a relief!
11Turn the Cabinet Top Into a Ritual
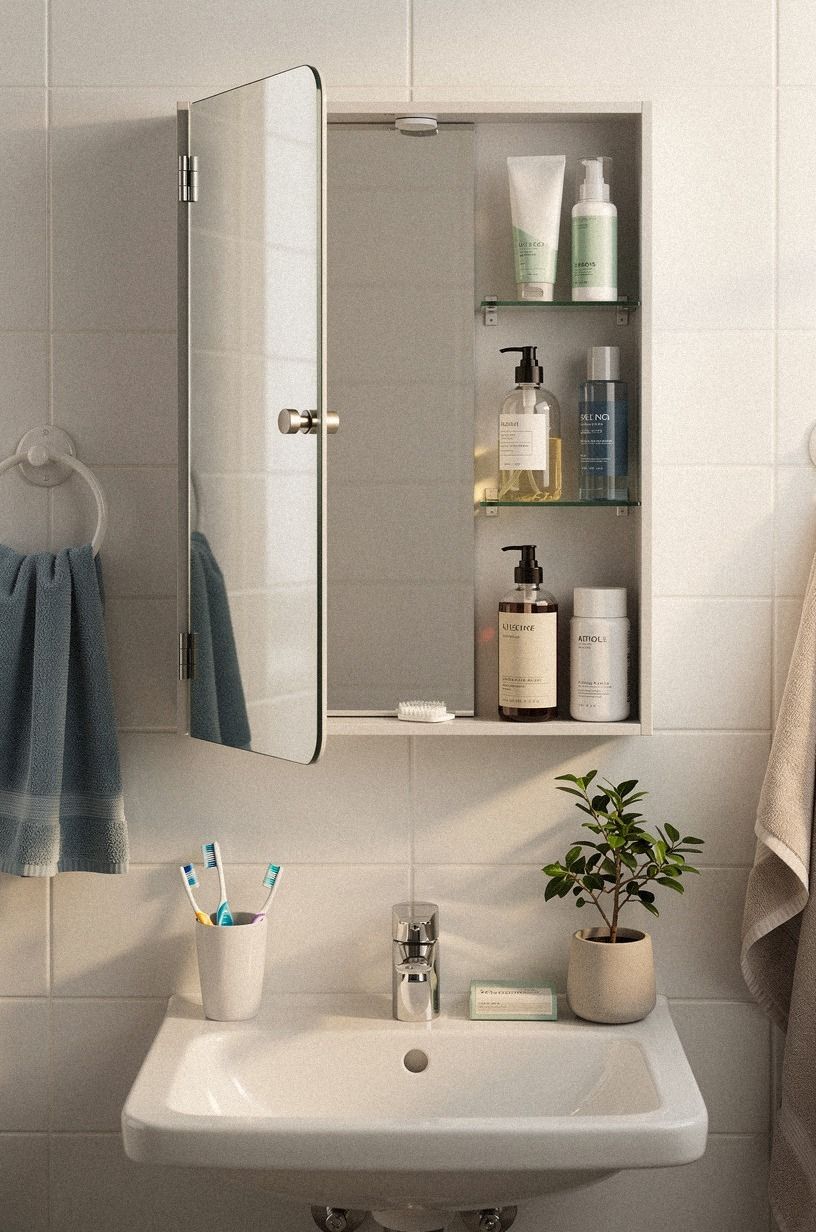
The cabinet top, if yours has one, can become a tiny daily ritual instead of a dust shelf.
12Replace the Door Liner With a Washable Insert
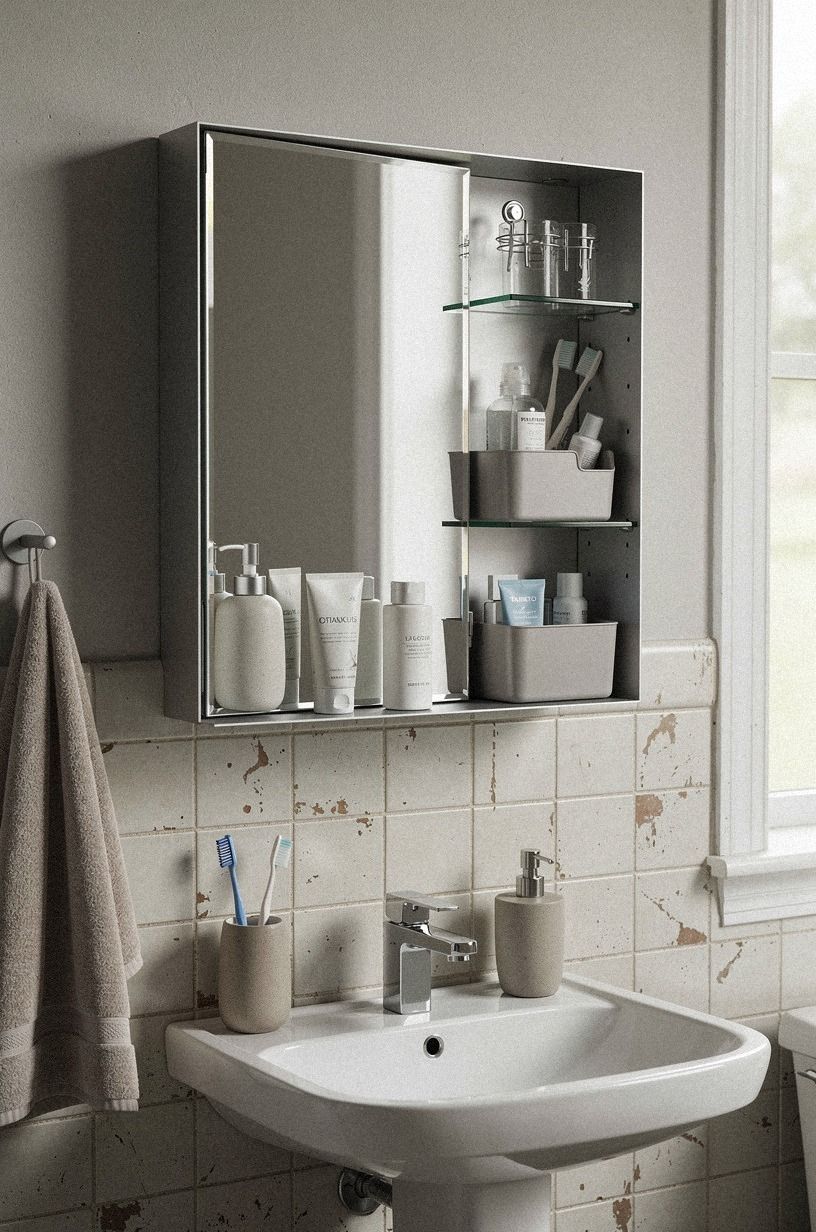
The inside of a medicine cabinet deserves attention too. Cut a washable insert with a backlit translucent onyx look to fit the back of the door, leaving all hinges and ventilation areas clear. It gives small bottles a quiet background and makes the cabinet feel less like a rental fixture.
Use removable dots at the corners rather than permanent adhesive. You’ll want to remove the liner before moving out, and the original surface should remain untouched. I’d choose a warm white ground with camel and black accents rather than a busy floral pattern because it keeps the narrow door feeling calm.
What do you reach for first every morning? Give that item the easiest shelf, then keep backups lower down.
Group similar things together so you don’t have to move six bottles to find one small tube. You’ll create a calmer routine without buying a new organizer.
Wipe the insert occasionally and let it dry fully before replacing the contents. If the cabinet has ventilation slots, preserve them. The result can feel practical, warm, and surprisingly calming, especially when the original interior is glossy white or chipped at the corners.
A washable insert is a discreet upgrade, but it changes the whole experience when you open the door. The interior becomes orderly, tactile, and quietly elegant instead of forgotten.
13Warm the Removable Backdrop Without Painting the Cabinet
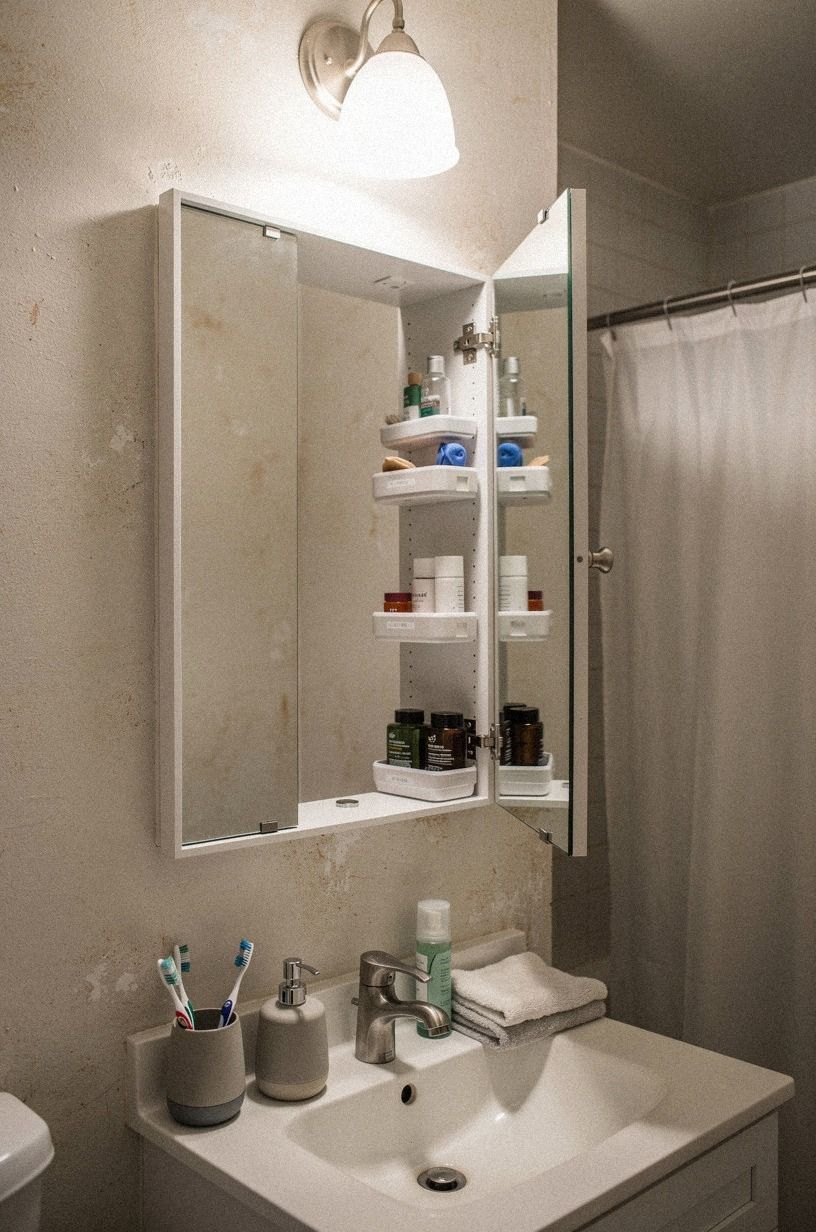
If your cabinet has an open side gap or exposed wall behind it, add a midnight-blue removable panel with a book-matched walnut pattern. Copper and ivory accents can make chrome, white ceramic, and pale towels feel less cold without changing the whole bathroom. A sample board is enough for this move.
Cut the panel to the wall area, not the cabinet, and leave a small gap at each edge so it won’t buckle. You’ll want to see the color from the mirror but not create a heavy border.
I’d skip painting the actual cabinet unless your lease clearly allows it. Your deposit matters more than a quick visual win.
This move works especially well when the vanity is cool white and the lighting is unforgiving. The midnight blue adds depth without demanding a dramatic color commitment. If the room already has dark tile, use a slightly softer or grayer tone so the cabinet doesn’t disappear.
The contrast should feel soft, not theatrical. A removable board in a deep blue and walnut pattern can do more than a full wall treatment because it gives the cabinet a defined field. You’re defining the fixture while keeping the rental’s original architecture intact.
For another restrained palette, compare these popular kitchen cabinet colors and look for shades with enough depth to hold their own beside white tile. A grounded backdrop can feel intimate, sophisticated, and wonderfully forgiving.
14Grow a Small Greenery Moment
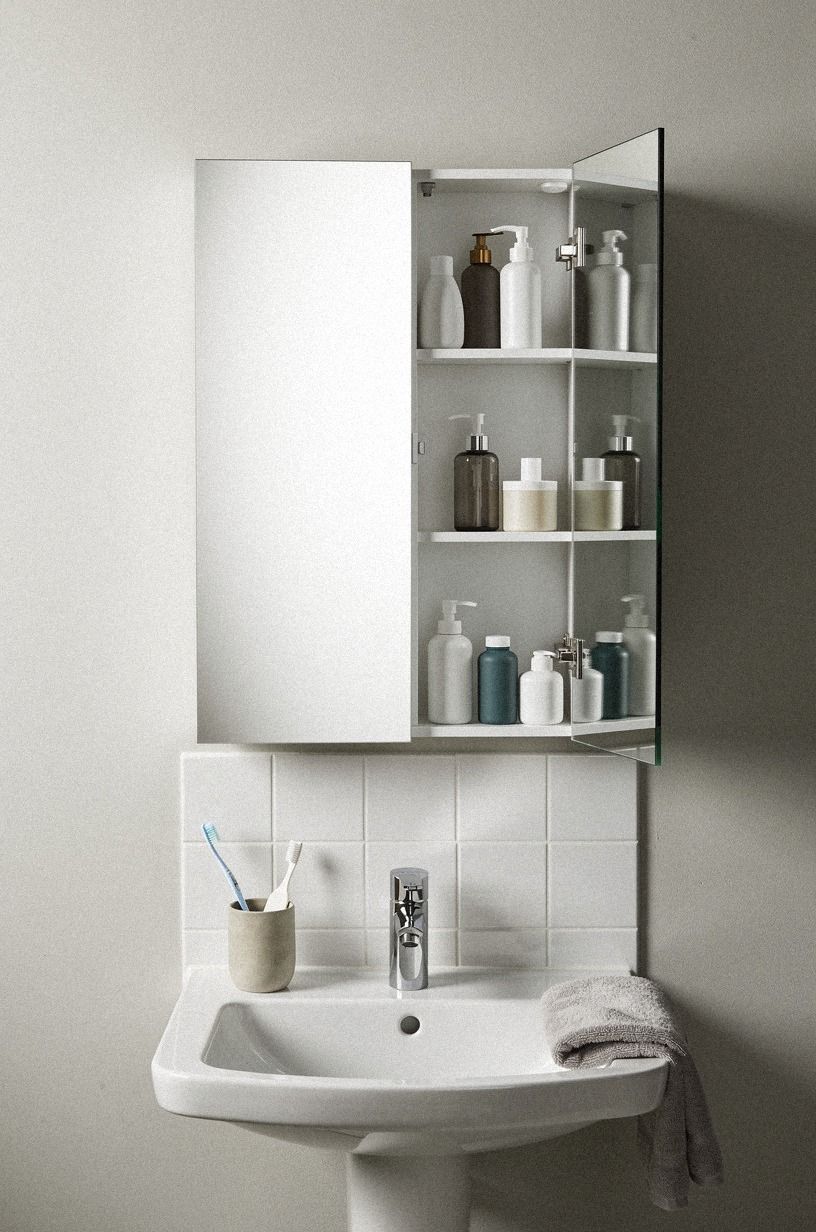
One living plant can make a hard mirror wall feel gentle.
15Set a Realistic Evening Budget
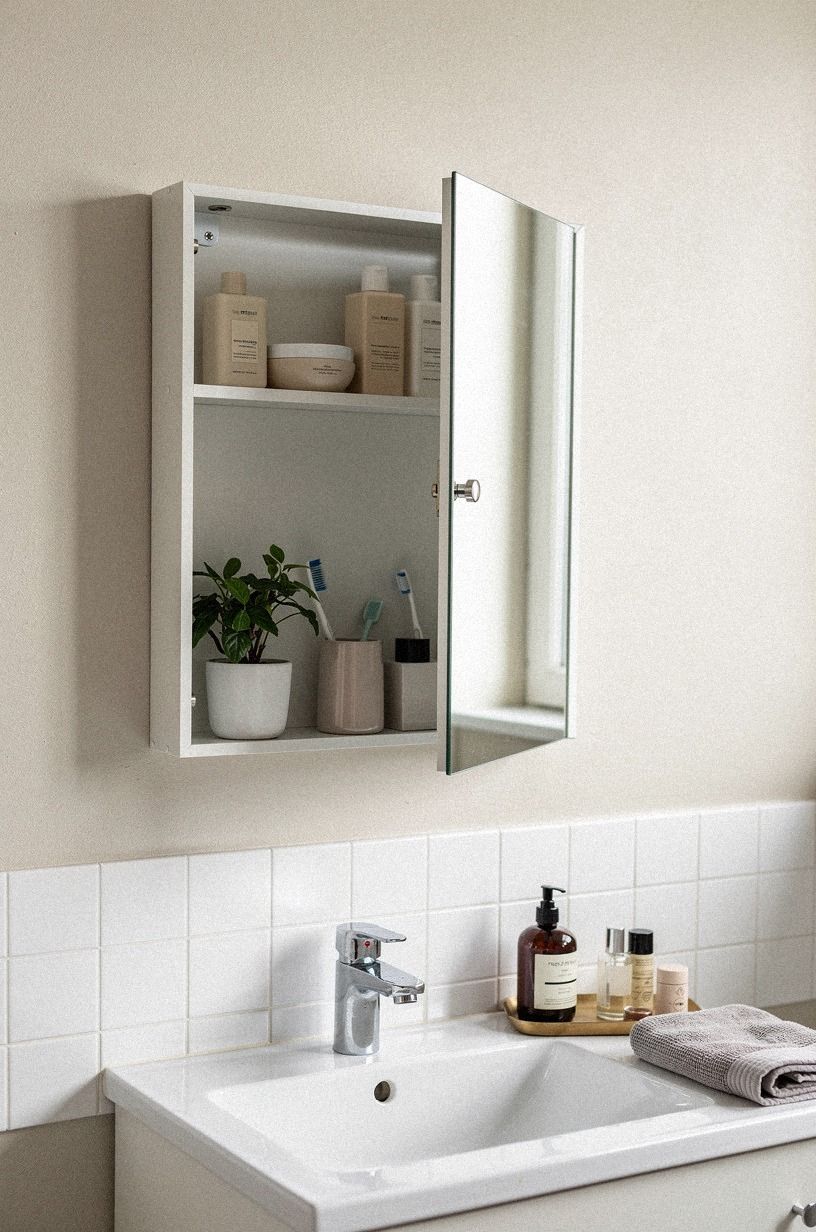
A renter-friendly cabinet update should stay cosmetic. You’re changing the visible layer, not replacing plumbing, walls, or built-ins. The broader US kitchen benchmarks below are useful as a scope warning, especially if your small cabinet project starts turning into a full room renovation.
You don’t need the mid or high tier for one evening. Keep your plan to removable wallpaper, one hardware swap, a lamp, and a textile. I’d spend on the item your hand touches most, usually the knob or towel, and save on decorative filler.
A sensible one-evening budget can be much smaller when you reuse what you own. Start with cleaning, editing, and rearranging before you shop.
Then buy only the missing piece that solves a visible problem. This rental kitchen cabinet makeover is a good reminder to protect the original surface.
Write down your maximum before opening a shopping app. It’s remarkably easy to turn a $25 update into a basket of $180 accessories. Your medicine cabinet needs one clear idea, not a full renovation disguised as a Saturday project.
My favorite budget is the one that leaves room for a single beautiful detail. Spend carefully, keep the receipt, and let restraint do the expensive-looking work.
16How High Should the Cabinet Relate to the Vanity?
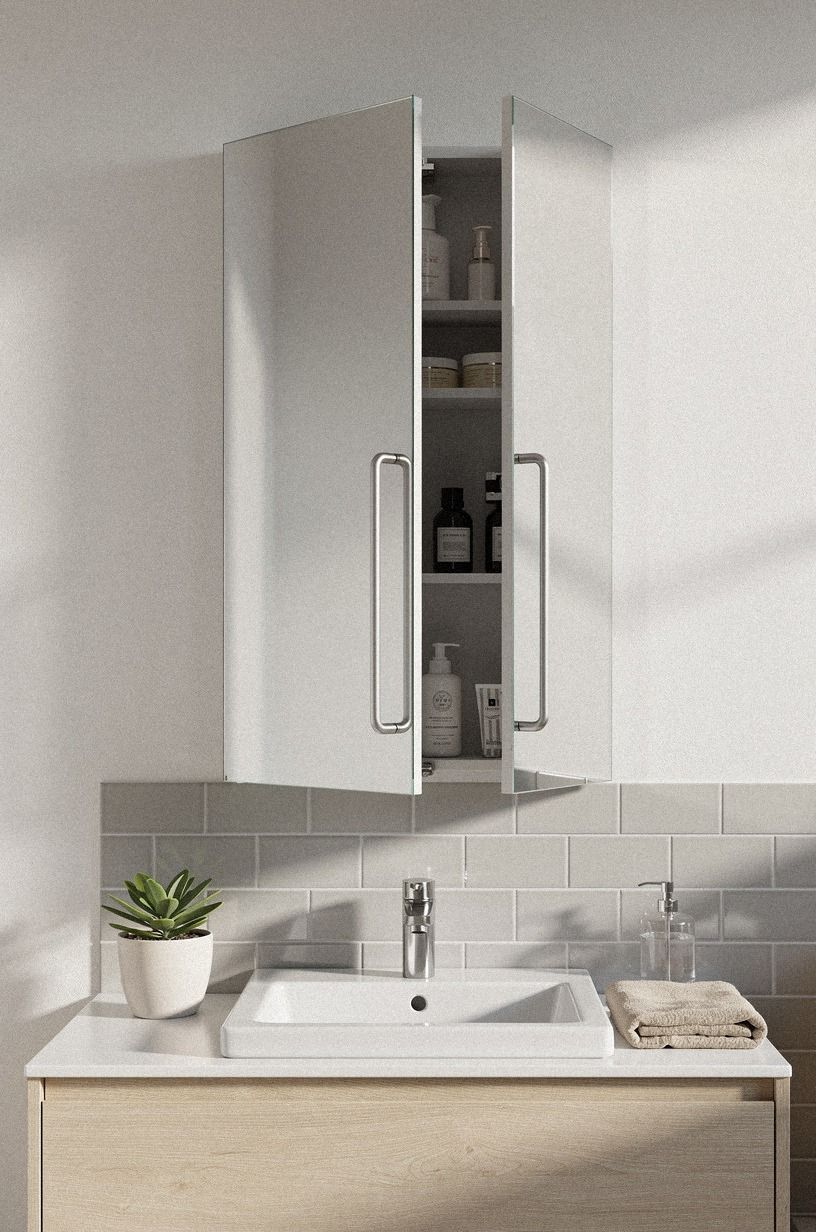
Your medicine cabinet should relate to the vanity, even if it can’t be moved.
17Finish With the One-Minute Reset
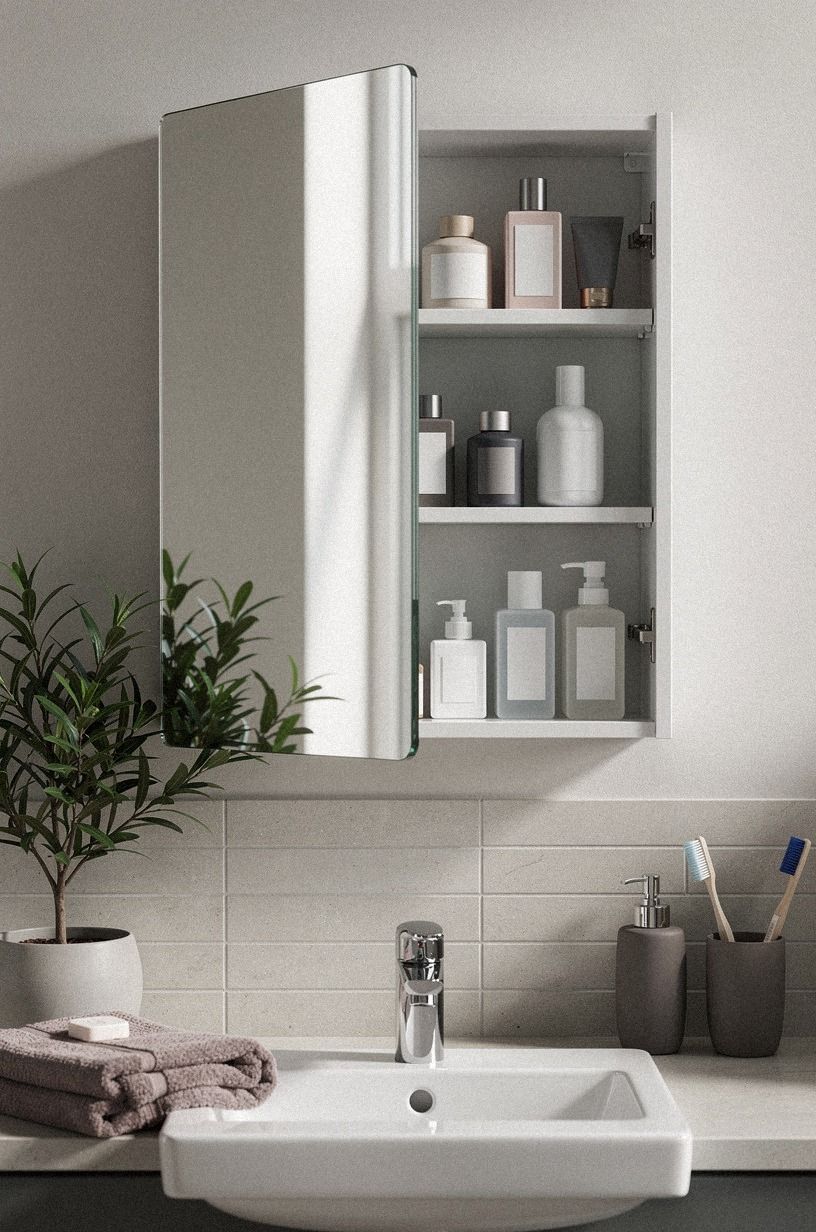
The final update is a habit, not a purchase. Keep a soft cotton cleaning cloth inside the cabinet and give the mirror, knob, and tray a one-minute reset each evening. Your cabinet will stay intentional because the surfaces you see most will stay clear.
You’ll want to limit the visible lineup to daily-use items, with backups behind the door or in a drawer. I’d remove anything expired, cracked, or never used. Put the original hardware in its labeled bag, and keep the removable pieces together in one small box.
If the mirror still looks dated after all this, don’t panic. A warm light, one good textile, and a controlled color edge can make an old surround feel considered. That’s the whole point of a one-evening update: the room works better tomorrow morning!
Give yourself five minutes at the end to inspect the finished corner and check the adhesive edges. If anything looks loose, crowded, or difficult to clean, fix it while the tools are still out. The best rental update should feel good to live with, not merely good for the reveal.
A final wipe makes the transformation feel crisp and complete. Small habits protect the warm, polished feeling you worked to create.
Why This Cabinet Deserves a Point of View
I used to think a rented medicine cabinet had to be ignored because it wasn’t worth changing. That idea lasted until I lived with a mirrored box that made the whole bathroom feel cold.
The cabinet wasn’t ugly. It was simply surrounded by hard white tile, blue ceiling light, and a counter crowded with products.
No single item caused the problem, but together they made the room feel temporary.
The first lesson was restraint. I tried to solve the cabinet with more objects, and the reflection made every object louder.
A tray, a towel, and a warmer bulb worked better than six decorative pieces. The second lesson was to respect the surface you’re renting. Removable panels, tension rods, and hardware you can reinstall later give you room to experiment without turning a design decision into a deposit dispute.
I’d also choose one material family before choosing a color. Unlacquered brass, cerused oak, or glazed ceramic can each carry a room, but mixing all three without a plan gets messy fast.
Your cabinet needs a small vocabulary. Once you choose it, the rest becomes easier.
The best update may be the one nobody identifies. They’ll notice that the room feels warmer, that the mirror looks finished, or that your morning routine feels less cluttered. You’ll know why.
The cabinet finally has a relationship with the rest of the room, and that’s more satisfying than making it look expensive.
If you want another material reference, these white oak cabinet ideas show how pale grain can add warmth without visual heaviness. The same principle works beautifully in a small bathroom.
The Questions Worth Answering First
What is the best renter-friendly medicine cabinet makeover for a small bathroom?
I’d start with a removable color panel, one warm light, and a slim ceramic tray. A controlled backdrop gives your cabinet presence without stealing space. You can borrow the compact storage logic of an IKEA KALLAX setup, but keep the medicine cabinet itself visually quiet.
Where can I buy renter-friendly medicine cabinet pieces on a budget?
I’d look at IKEA, Target, Wayfair, Facebook Marketplace, and local thrift shops for low-cost hardware and trays. You’ll often find ceramic vessels and small lamps secondhand. Measure first, keep receipts, and avoid anything that requires permanent drilling if you’re renting.
How much does a renter-friendly medicine cabinet makeover cost?
I’d expect a small cosmetic update to stay below the broader $300 to $1,500 budget tier when you reuse what you own. Free changes include editing the counter, cleaning the mirror, and rearranging daily products. Hardware, lighting, and removable panels will decide how quickly the cost rises.
This rental makeover that comes off clean is a helpful reminder to budget for reversibility.
Can I create a renter-friendly medicine cabinet makeover on a budget?
Yes. I’d start with three low-cost moves: clean the cabinet, group products on a tray, and add a removable hook with a hand towel.
A $20 to $50 refresh can feel meaningful when the color, light, and metal repeat with purpose. These popular kitchen cabinet colors may also help you choose a palette before buying anything.
Is updating a medicine cabinet a good idea for a rental?
Yes, provided you use no-damage options. Removable wallpaper, tension rods, peel-and-stick panels, and replacement hardware can all be reversed when you move.
Keep original screws and parts in a labeled bag, and test adhesive on an unseen area before using it. I’d also review this under-cabinet lighting guide for practical ideas that don’t require permanent wiring.
If I Had to Pick One
I’d start with the removable color panel. It gives the mirror a visual boundary without risking the cabinet, and every towel, lamp, and brass detail will look more deliberate against it. Pin the idea for later, measure the wall, and make the panel before buying another accessory.