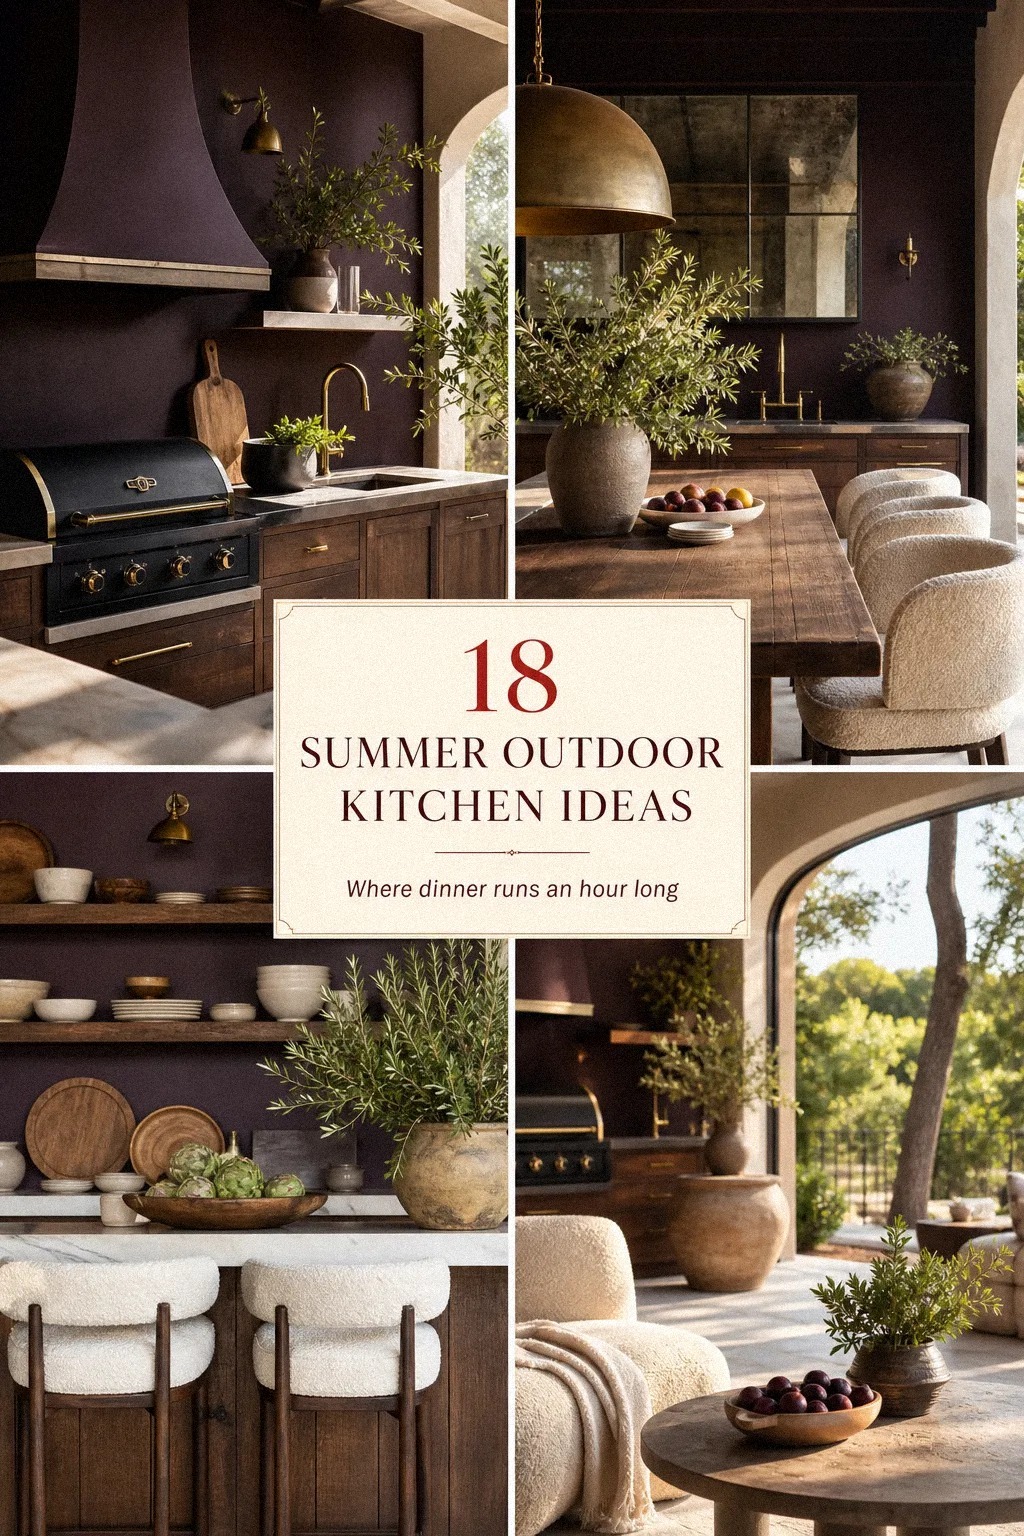
Your summer outdoor kitchen fails when the grill lands before the plan. I've watched friends drop twelve thousand dollars on a setup they cooked on twice because nobody measured the wind before they poured the pad. Here's the order that actually works: place, measure, build, then buy the grill.
- Pick the spot before you pick the grill
- Measure the clearance before you commit
- L-shape over island: pick the layout that earns its space
- Build the base that won't sink or blow
- Which grill actually matches how you cook?
- Add a side burner or pizza oven so the main grill isn't doing everything
- The 36-Inch Counter Rule
- Run water and drainage if the budget allows
- Build storage for tools, propane, and pool towels
- The Three-Layer Light Stack
- Choose materials that survive the weather you live in
- Add a backsplash that earns the splashes
- Frame the zone with shade (pergola, sail, or umbrella)
- The Two-Zone Distance Rule
- Layer textiles and rugs meant for outdoors
- Plant the perimeter for scent, color, and privacy
- Stock the bar zone (because the kitchen is the bar)
- Style the finale (the way the kitchen looks when nobody is cooking)
1Pick the spot before you pick the grill
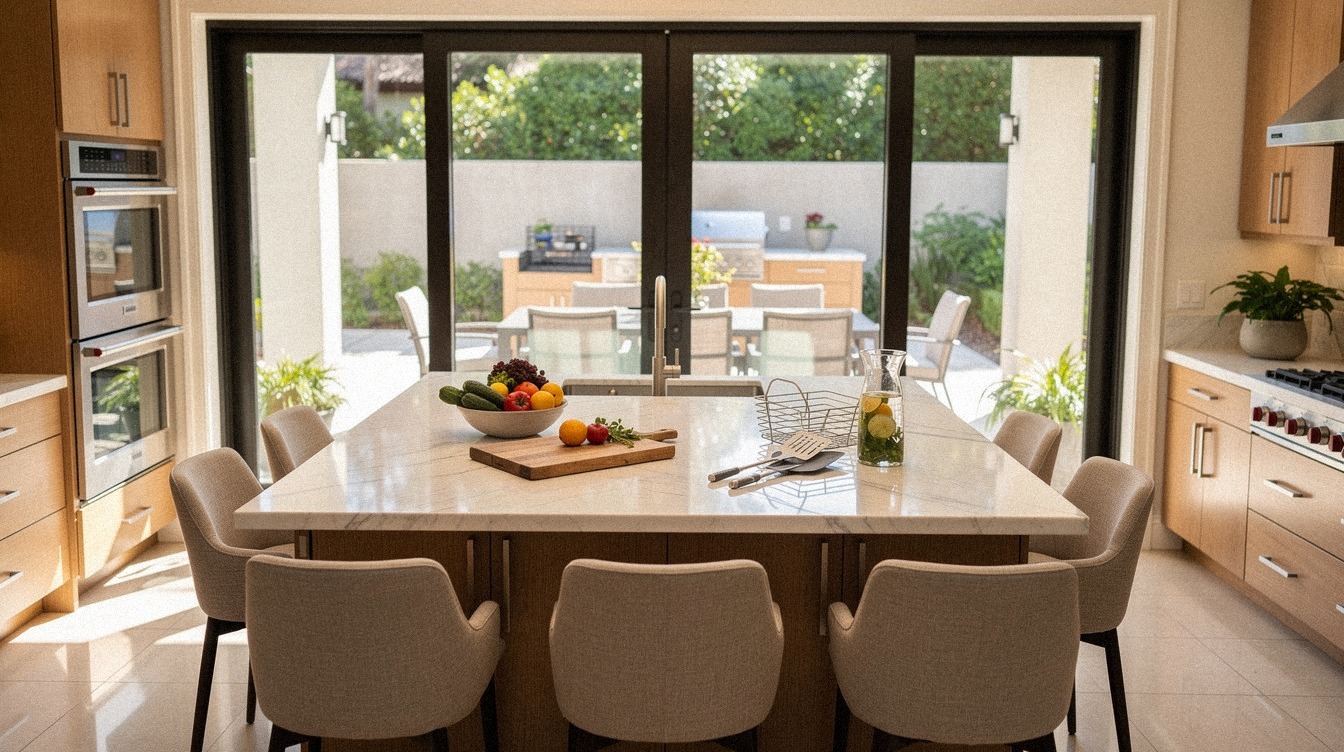
The grill is the last decision, not the first. Start by walking your yard at the hour you cook, usually six to eight in the evening. Mark where the sun hits your face, where the wind pushes the smoke toward your neighbor's patio, and where the path from your kitchen door to the grilling zone feels short enough that you'll use it without thinking.
A barbecue areas outdoor setup twenty feet from the back door sounds generous until you're running back for the olive oil, the salt, the platter, the tongs, the fish, and the lemons three times in one cook. Push the cook zone as close to your inside kitchen as you can stand, ideally within ten to fifteen feet.
Run a service window if you can, but at minimum keep a clear concrete path. And don't forget to leave room for the trash can. Nothing kills a cookout faster than a counter full of clam shells and nowhere to throw them!
Avoid the three classic mistakes: directly under a low tree (sap on the food, branches on the grill), tucked into a corner with no cross breeze (smoke just sits there), and on a slope you forgot about until the first rain moved the pavers.
2Measure the clearance before you commit

Standard island clearance for an outside cooking area is 42 to 48 inches (107 to 122 cm) on every side where a person walks or stands. Anything less and two people bump into each other every time one of them rotates a skewer. Anything more and you're shouting across a canyon nobody wants to cross.
Pull out a tape measure and stake the corners before you commit. Walk the box with a tray of drinks.
If your elbow clips the imaginary counter, the layout's too tight. If you can set a full glass on the imaginary counter while another person stands opposite without a cramp, you're in range.
A grilling patio less than 8 feet deep feels cramped even with a single cook. Plan at least 10 by 12 feet for a workable L-shape with a dining side, and 12 by 14 if you want a bar overhang with stools.
3L-shape over island: pick the layout that earns its space
This is the decision that drives every other one. Three shapes earn the title.
- L-shape hugs two walls or one wall and a fence. Best for narrow yards and for keeping the cook facing the guests instead of a wall.
Most forgiving for first-time builders. - U-shape wraps three sides and gives you a real prep counter opposite the grill. Costs more, needs more space, but feels like a real kitchen. - Straight run sits along one wall.
Cheapest and easiest to plumb, but the cook turns their back on everyone.
I'd skip the island-with-no-wall layout unless you've got the room for a true 12 by 14 footprint. Otherwise you're paying for four exposed sides and getting nothing back. If you're still weighing, my full outdoor kitchen layout guide walks every variant with measurements.
4Build the base that won't sink or blow
A summer outdoor kitchen lives or dies by what's under it. Skip the gravel-only base for anything more ambitious than a portable cart on grass. The pad needs to be reinforced concrete, 4 inches thick minimum with rebar or wire mesh, and it needs to slope a quarter inch per foot away from any structure so water doesn't pool.
Pavers work if you lay them on a properly compacted base of crushed stone (4 inches of compacted Class II road base under 2 inches of sand). They look better, cost less to repair, and you can re-lay them if a tree root invades. A poured slab is more permanent and easier to level heavy appliances on.
If you're going stone outdoor kitchen ideas for a timeless rugged look, plan the base thickness to match the stone weight. A stacked-stone island with a built-in grill can hit 1,500 to 2,500 pounds. Build for it from the start, and the stone outdoor kitchen guide shows the structural detail.
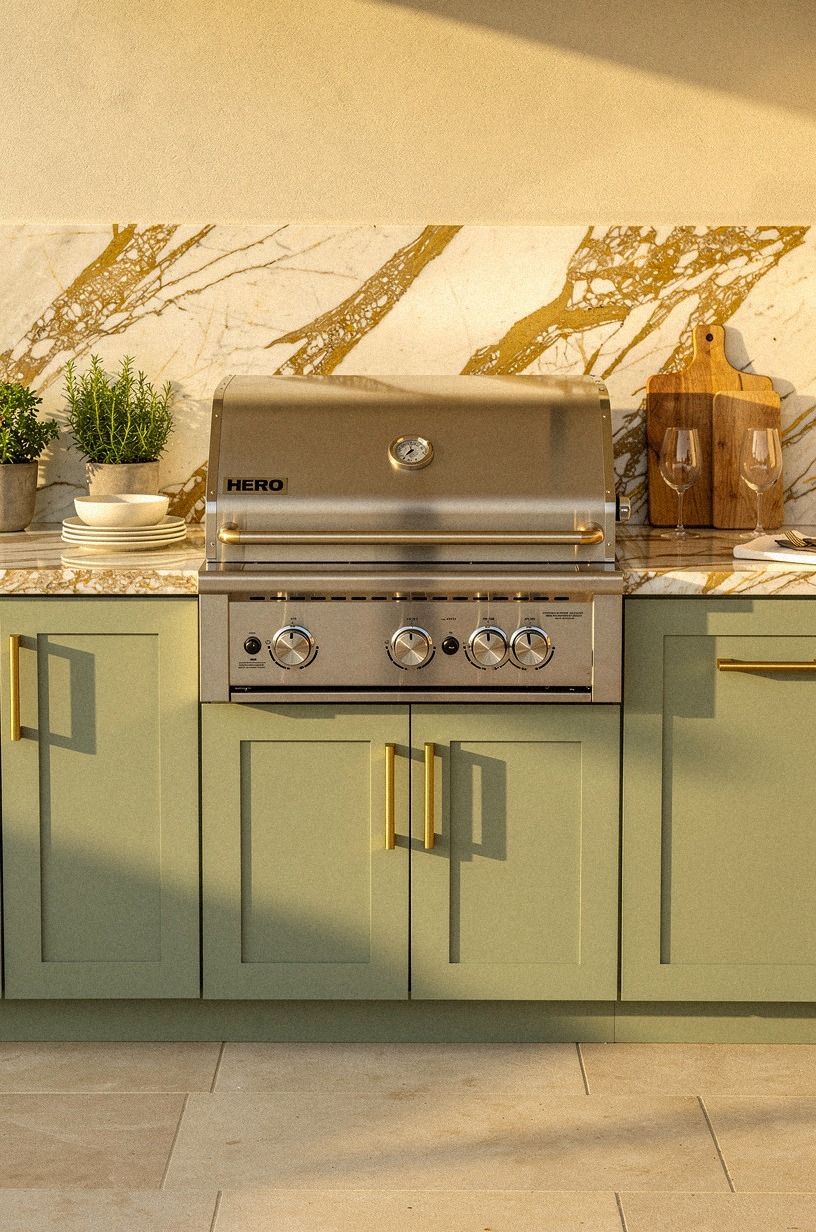
5Which grill actually matches how you cook?

The grill is the single most expensive decision in the whole build, and it's the one most people pick backward. Don't buy the biggest one you can afford. Buy the one that matches the meals you make on a Tuesday.
- Gas (3 to 4 burners) is the right call if you cook four nights a week, want to start dinner in fifteen minutes, and rarely smoke anything. Weber Genesis or Napoleon Rogue cover most homes for under $1,500. - Charcoal is the call if you cook three nights a week and don't mind the cleanup.
Weber Original Kettle at $200 does everything a $1,200 kettle does. And honestly?
The flavor is worth the five extra minutes of cleanup every single time! - Pellet is the call if you want set-it-and-forget-it low-and-slow and you don't care that you can't sear a steak properly on one. Traeger Pro is the default.
If your style leans toward a rustic outdoor kitchen look, charcoal wins on look alone. If it leans clean and modern, gas wins on every practical axis. The full aesthetic lives in my rustic outdoor kitchen ideas post.
6Add a side burner or pizza oven so the main grill isn't doing everything
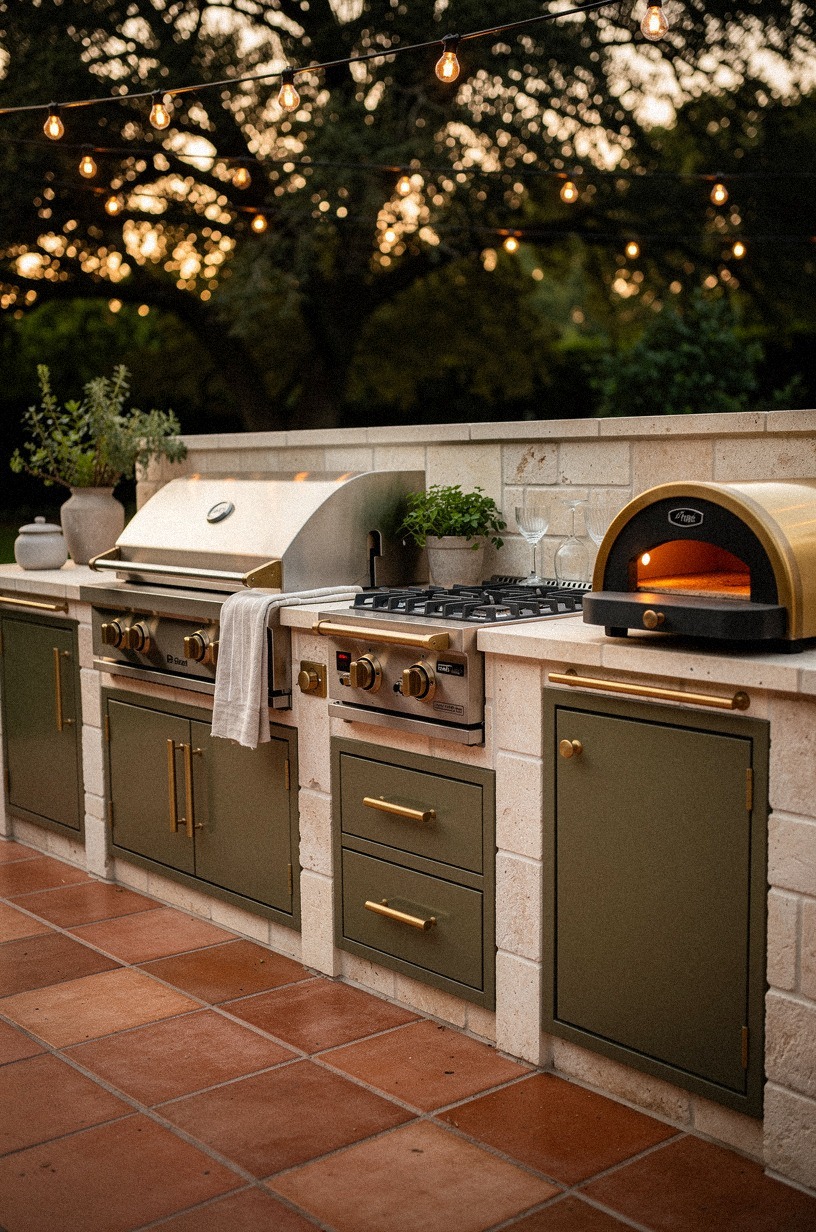
The single biggest frustration I've seen in outdoor bbq kitchen setups is one grill doing five jobs. Add a second heat source and you stop trying to sear fish on the same grate you're warming buns on.
A built-in side burner (10,000 to 15,000 BTU) handles sauces, corn, and small pots. A 16-inch pizza oven (wood or gas, $400 to $4,000 depending on whether you want a countertop Ooni Karu 16 or a built-in Valoriani) handles Friday night pizza without dragging the kitchen indoors. A flat-top griddle is the third option if you do breakfast outside more than you think you will.
Pick the second heat source based on your second favorite meal. The first favorite is already what the main grill is for.
7The 36-Inch Counter Rule
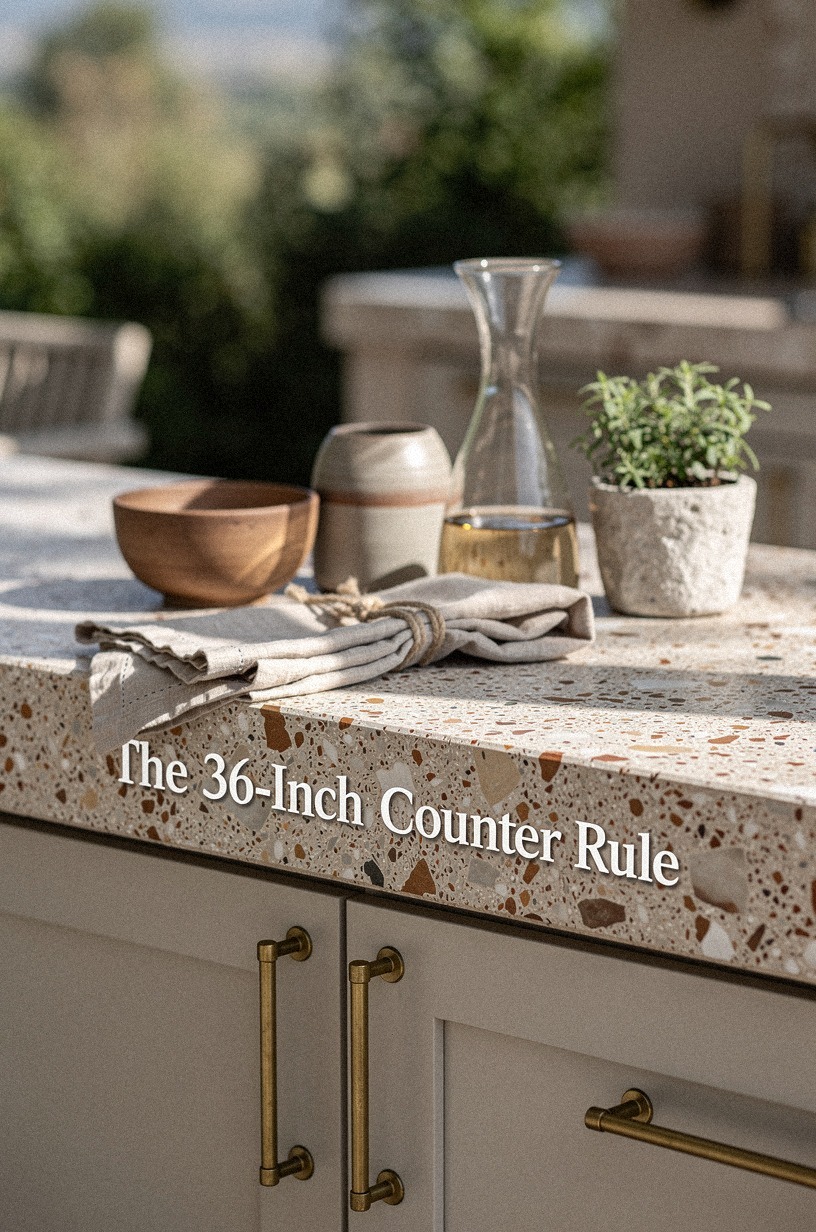
Counter height isn't a vibe, it's a number. The standard for an outdoor kitchen is 36 inches (91 cm), the same as inside. Anything lower and your back pays for the next decade.
Material is where the decision lives. Granite ($60 to $120 per square foot installed) handles heat and weather and looks like a real kitchen. Concrete ($80 to $150 per square foot) is cheaper in materials, more expensive in labor, and you can tint it any color you want.
Tile ($10 to $40 per square foot) is the budget pick if you don't mind the grout lines.
Leave a backsplash gap of 18 inches (46 cm) between the counter and any wall-mounted shelf or hood. Anything less and the splash zone from a sizzling pan covers everything you own. For a finished masonry surround with the same height discipline, the stone outdoor kitchen ideas post covers the build.
8Run water and drainage if the budget allows
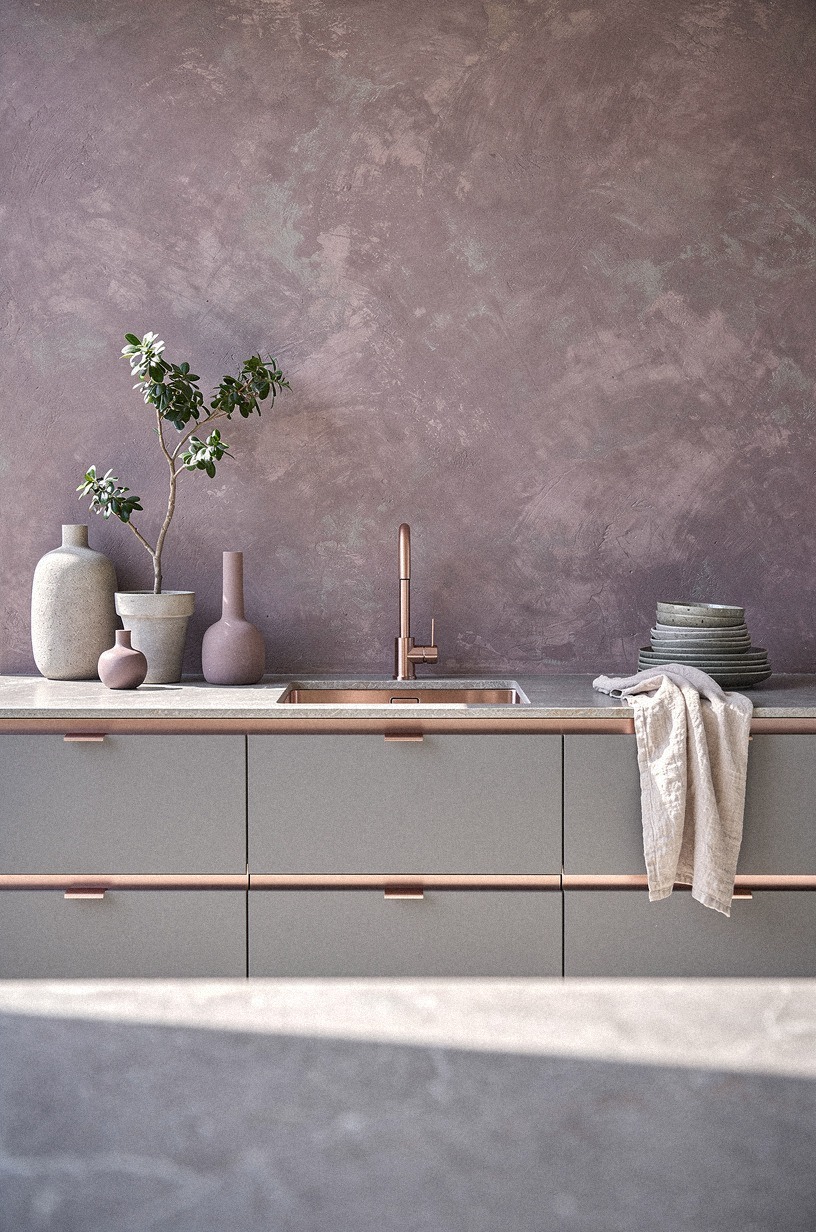
A utility sink in the outside cooking area is the difference between cooking outside and camping outside. You'll wash hands, rinse a head of lettuce, fill a stockpot, and drain pasta without tracking a single drop back inside.
A cold-water-only line costs about $400 to $900 to add if a hose bib is nearby. Hot water adds another $200 to $400 for a small electric on-demand heater under the sink. Drainage is the harder part: you need a drywell or a tie-in to the house lateral, and you should check your local code before you trench.
If a full utility line isn't in the budget, an outdoor-rated stainless prep sink with a foot pump ($150 to $300) covers 80% of the need. You give up continuous flow and you give up hot, but you keep the trips inside to almost zero.
But there's a smarter middle ground. Run a cold line now for $400, add an on-demand heater next year for another $300, and you save the cost of doing it twice.
The full small-footprint plumbing lives in my small outdoor kitchen ideas post.
9Build storage for tools, propane, and pool towels
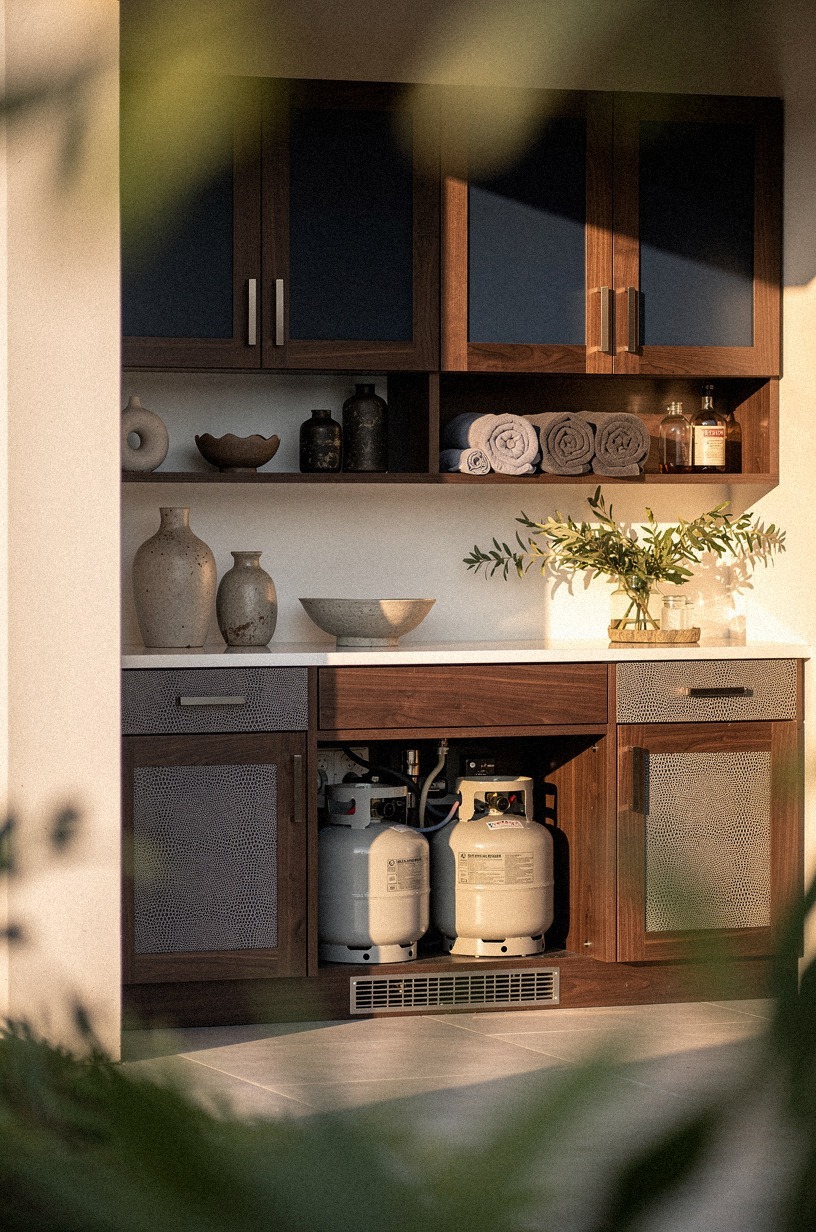
Nothing kills a summer outdoor kitchen faster than a counter covered in the same tongs that have lived there since Memorial Day.
10The Three-Layer Light Stack
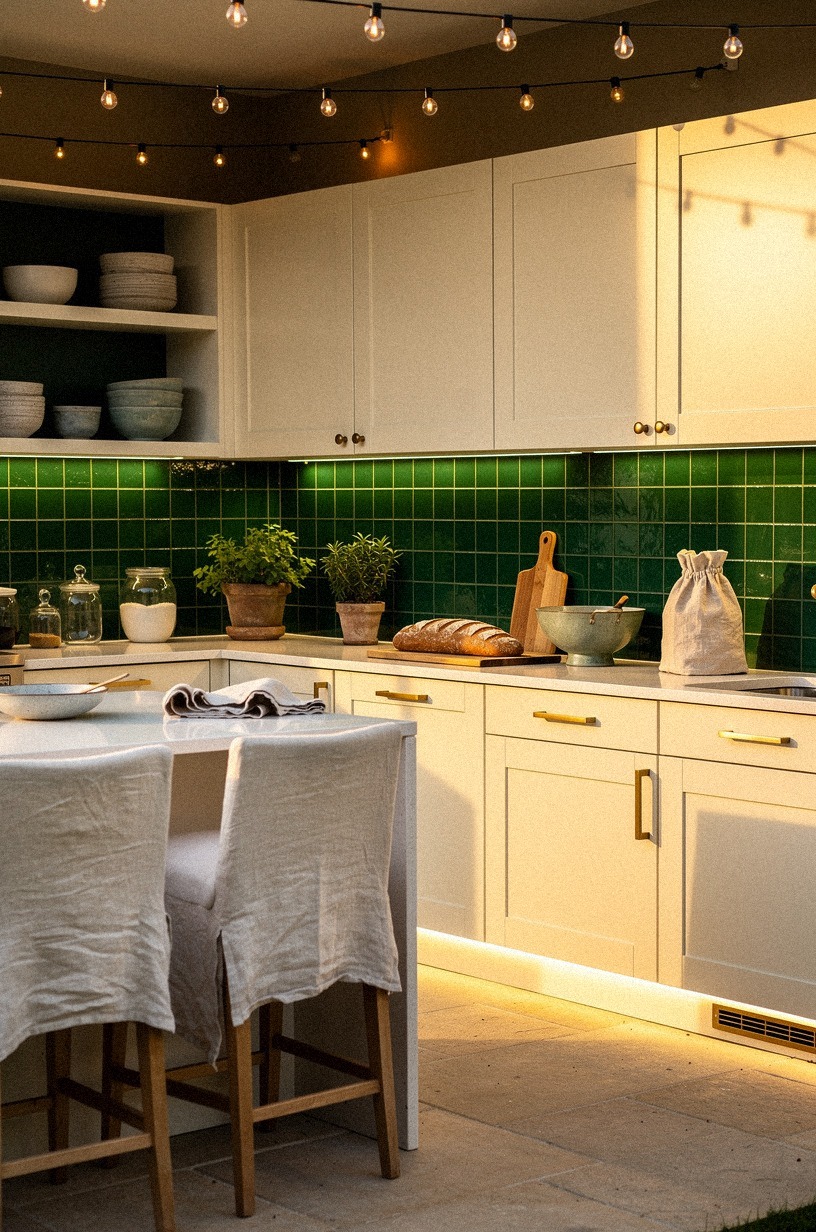
This is the step most people skip and then regret by the first fall cookout. A single overhead light makes a grilling patio feel like a gas station. Three layers is what makes it feel like an evening.
1. Task lighting under the upper cabinets or hood, 4,000K, sealed for wet locations.
Goes on a switch by the grill so you can see what you're cooking. 2. Ambient lighting as string lights overhead or recessed cans in a pergola. 2,700K, dimmable. Carries the conversation zone. 3.
Accent lighting as uplights in the planters or path lights along the route from the kitchen door. Solar is fine here.
I run all three on separate switches and dimmers. But the order you wire them in matters: task first (so you can see what you're cooking on day one), ambient second, accent last.
And skip the smart bulbs. You don't need them.
A dimmer and a single switch does the job for $40, not $400. The full breakdown lives in my outdoor kitchen lighting guide.
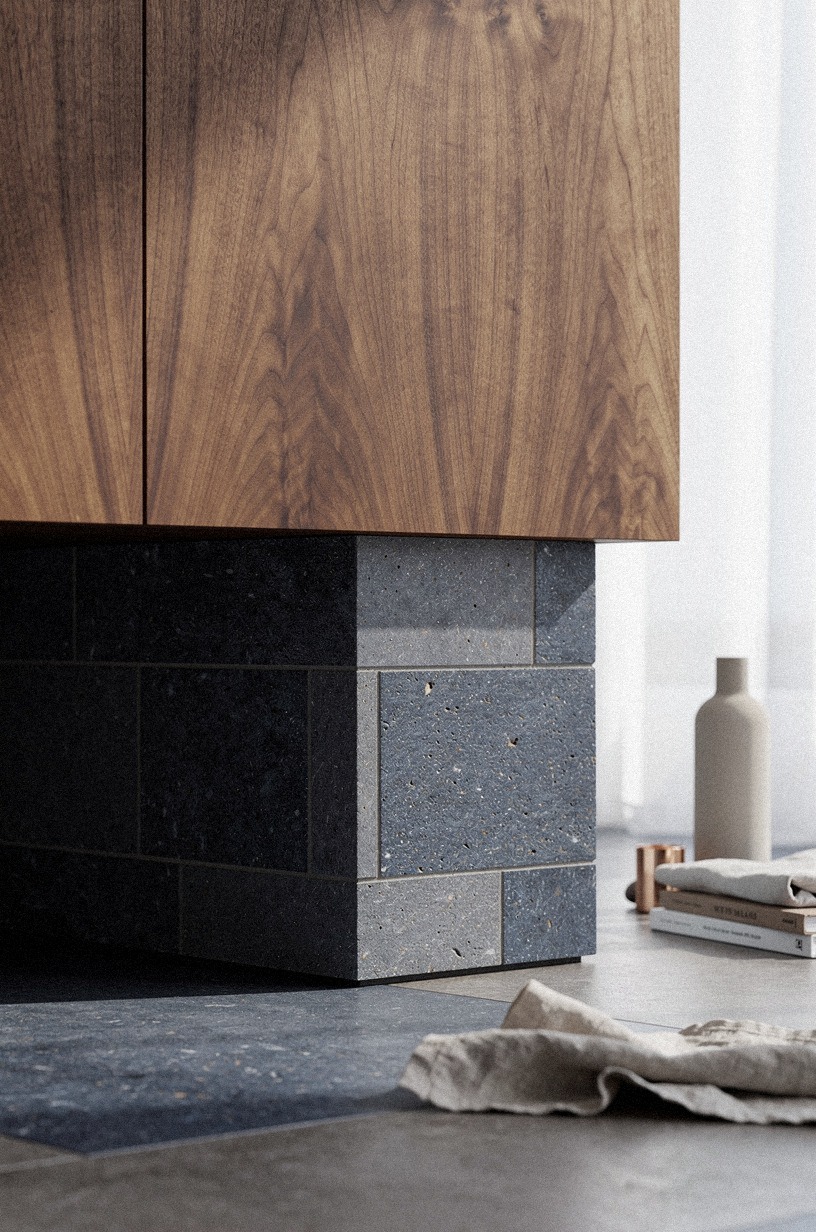
11Choose materials that survive the weather you live in

Material choice isn't a style decision first, it's a climate decision first.
12Add a backsplash that earns the splashes
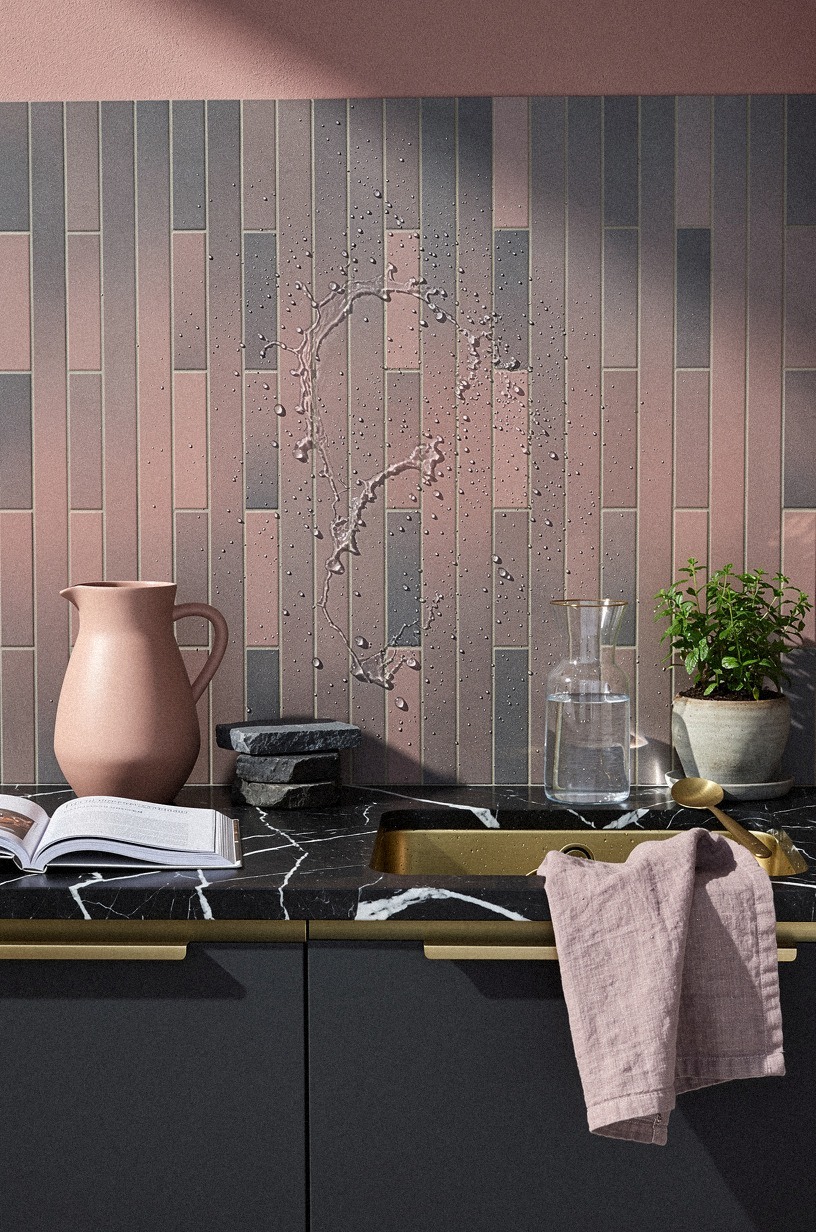
The backsplash in an outdoor bbq kitchen takes more abuse than the one inside your house: grease, smoke, splash, sun, freeze, repeat. Hand-glazed zellige tile ($15 to $35 per square foot) is the splurge pick because the irregular surface hides the uneven color that uniform tile shows after one season of sun fade.
Stainless steel ($20 to $40 per square foot) is the practical pick. It wipes clean, doesn't fade, and reflects light back into the cook's face, which sounds bad but actually helps you see what you're grilling.
Painted cement board ($3 to $8 per square foot) is the budget pick. Use Benjamin Moore White Dove (OC-17) in an exterior semi-gloss and you'll get five to seven years before you need to repaint.
It looks clean in the meantime. If your style leans darker, Farrow & Ball Studio Green (No.93) on the same cement board looks like a designer kitchen for under $200 in paint.
13Frame the zone with shade (pergola, sail, or umbrella)
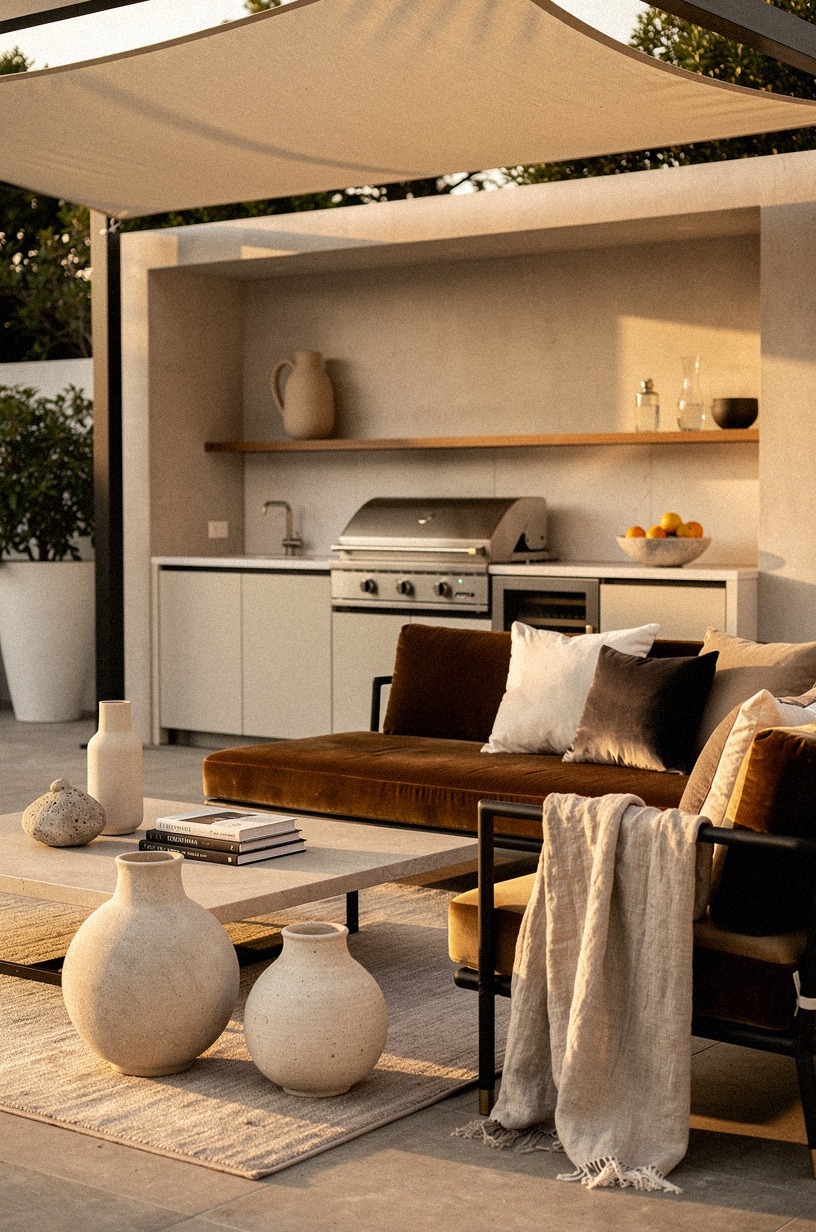
A summer outdoor kitchen without shade is a kitchen you abandon by July.
14The Two-Zone Distance Rule
Distance between the cook zone and the dining zone is the single number most people forget to plan. Too close and you eat in the smoke. Too far and the cook is socially cut off.
42 to 48 inches (107 to 122 cm) between the edge of the counter and the edge of the table is the sweet spot. You can hand a plate across without standing up, you can carry a hot pan without a long walk, and a guest can lean back in their chair without an elbow in the grill.
If you're going for the cook-and-watch-the-game setup, the outdoor kitchen with TV guide covers the sightline math in detail.
15Layer textiles and rugs meant for outdoors
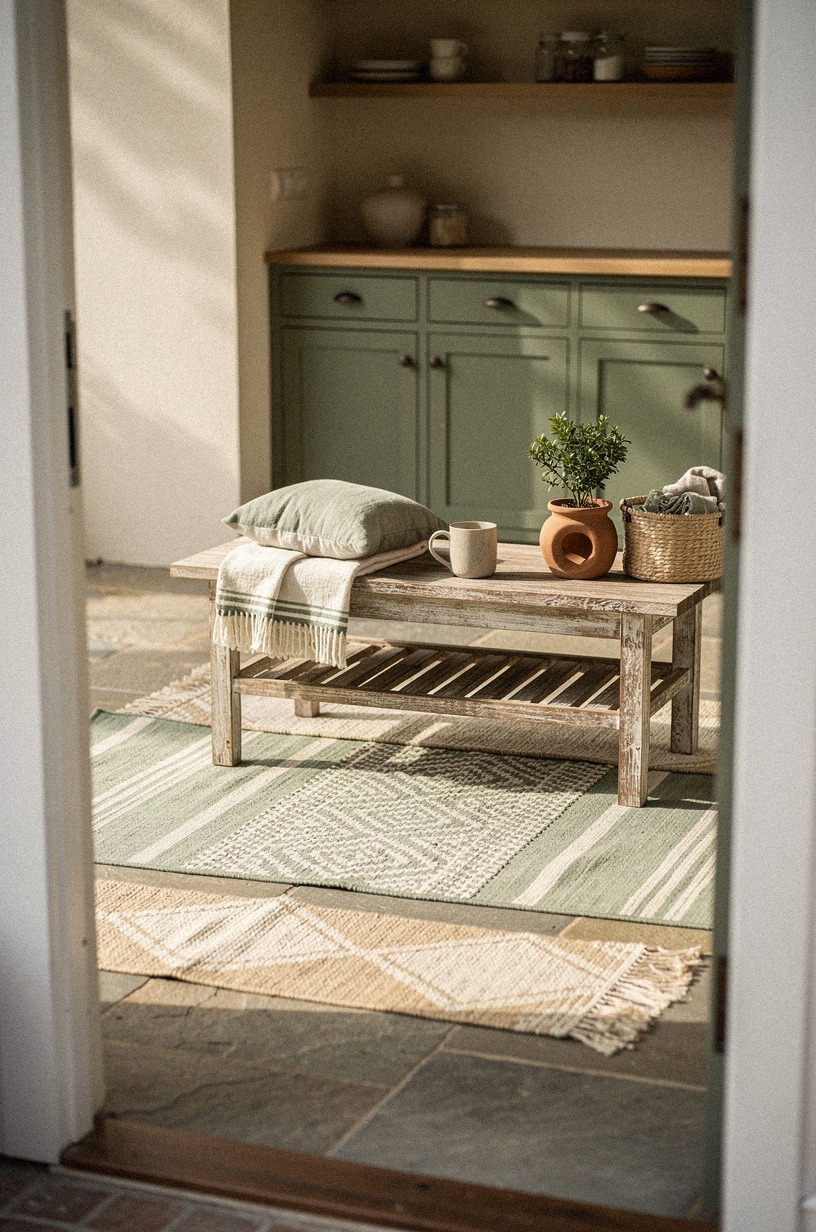
Textiles in a summer outdoor kitchen take more UV, water, and dirt than any pillow inside your house ever will. Buy outdoor-rated from day one or plan to replace what you buy every two seasons.
Sunbrella and Perennials are the two fabric brands that hold their color past year three. Polypropylene outdoor rugs ($100 to $300 for a 9 by 12) handle the worst of the worst. Skip anything with a rubber backing, it'll trap water and turn into a science experiment.
Layer three textures: a flat-weave rug under the dining table, a couple of deep-seat cushions on the chairs, and one weatherproof lumbar pillow for the bar stools. Same logic as inside, just tougher materials. If you're styling the game-day setup, my outdoor kitchen with TV ideas covers the textile layer.
16Plant the perimeter for scent, color, and privacy
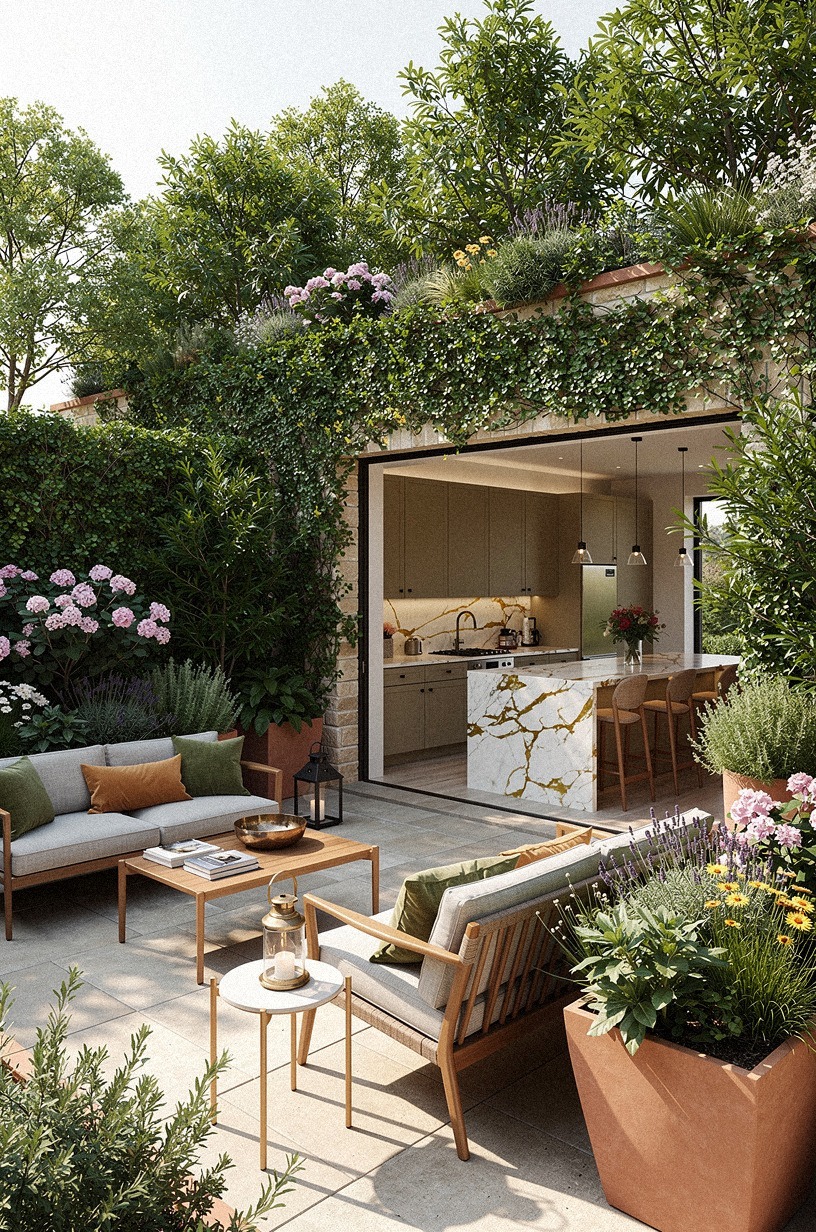
Plants do more work in an outdoor bbq kitchen than people give them credit for. They cool the space, block the view of the neighbor's shed, and add the smell that makes people remember the night.
- Herbs at hand: rosemary, thyme, and basil in pots within arm's reach of the grill. Rosemary can handle the heat. Basil needs to be a step back. - Scent at the edges: lavender, gardenia, or jasmine along the path from the kitchen door.
Plant where you brush them on the way out. - Privacy hedge: a row of Sky Pencil holly or Emergreen arborvitae along the property line. Cheap to plant, fast to grow, evergreen year-round.
Skip the scented geraniums near the cook zone unless you want every steak to smell like citronella. For a full garden-to-grill layout, the rustic outdoor kitchen ideas post walks through it.
17Stock the bar zone (because the kitchen is the bar)
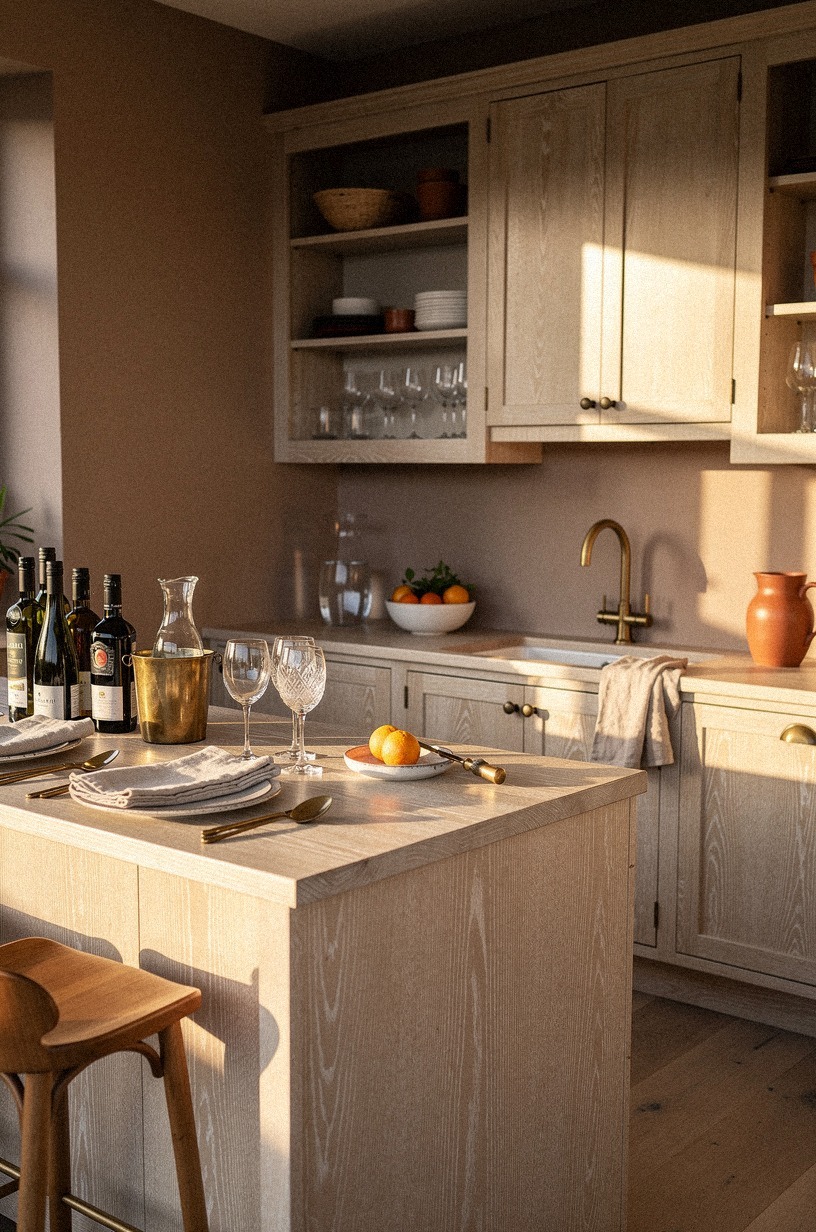
If your summer outdoor kitchen doesn't have a beverage zone, you've built a kitchen and forgotten the cookout. The bar zone is the social zone and it deserves its own counter run.
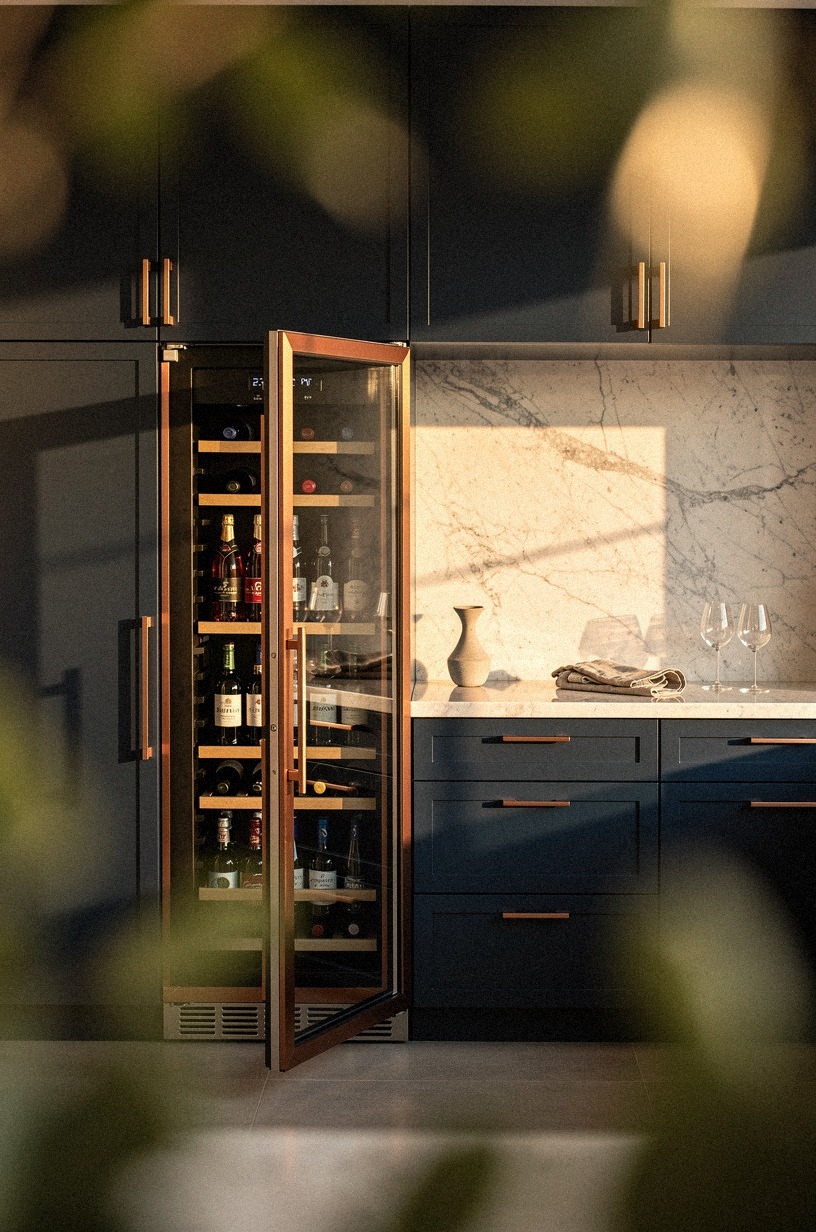
A galvanized beverage tub ($30 to $80) packed with ice does the job for casual nights. A built-in bottle cooler ($400 to $1,200) does it for the hosts who entertain on the regular. A small wine fridge ($600 to $1,500) under the counter handles reds and whites without dragging them inside.
If your setup is portable or you're working with a tight footprint, the RV outdoor kitchen ideas post shows how to compress a real bar zone into a 4-foot run.
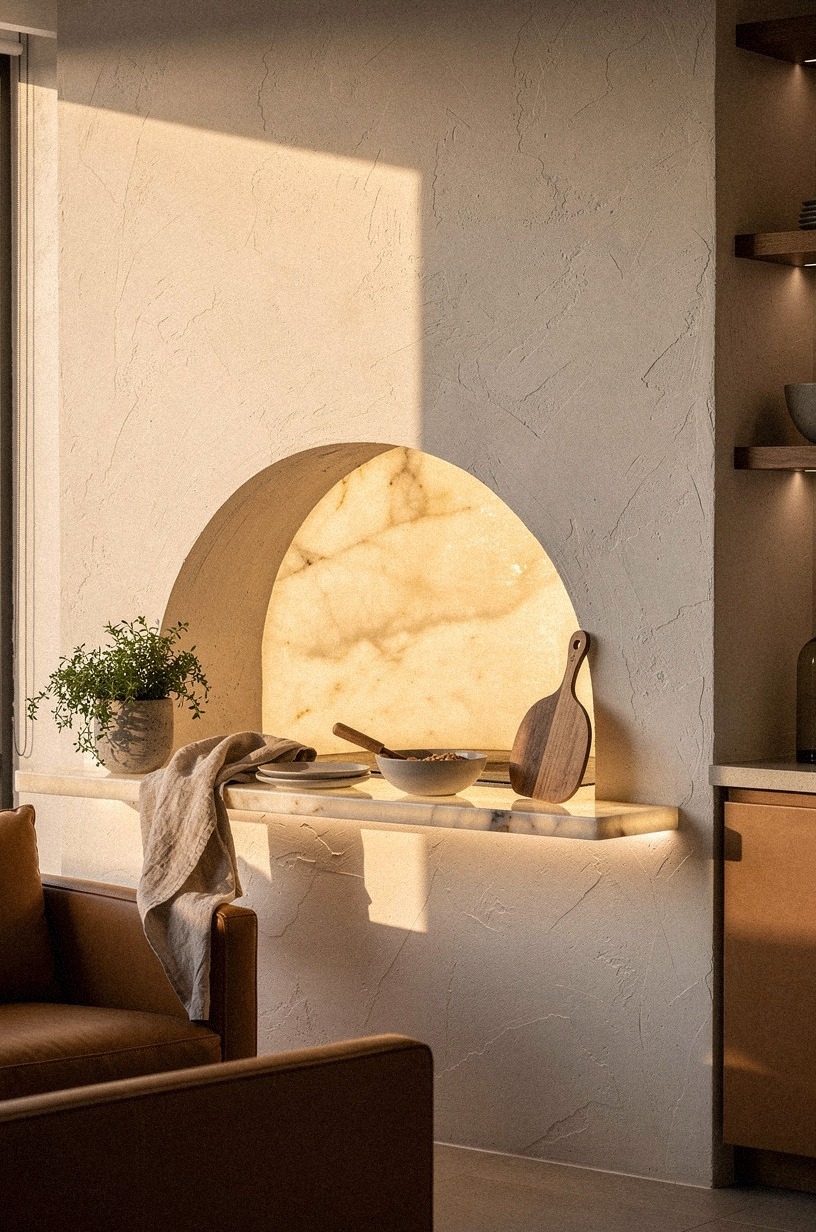
18Style the finale (the way the kitchen looks when nobody is cooking)
The grilling patio looks great in photos during a cookout. It looks terrible the other 95% of the week. Style the off-hours look and your yard stays pulled together year-round.
Three moves.
- A leaning stack of cut firewood under the counter overhang. Looks intentional, dries the wood, costs nothing. - Two lanterns at the corners of the island with battery pillar candles inside.
Glows at dusk without any wiring. - A row of herb pots along the back of the counter. Rosemary, thyme, mint, sage. You cook with them and the kitchen always looks alive.
If you want the full resort look with a pool view from the cook zone, my outdoor kitchen pool combos guide walks through the layouts.
What I Wish I'd Known Before I Built My First Outdoor Kitchen
I built my first summer outdoor kitchen the wrong way. I bought a $1,800 grill first, then poured a pad that didn't fit it, then added a counter that didn't match the height of the grill, then realized I couldn't run a gas line without tearing up the patio I'd just finished. Six years later, I've learned three things that would have saved me two thousand dollars and a summer.
First, the layout comes before the grill, every time. The shape of the space, the sun, the wind, and the path from the inside kitchen decide what kind of outdoor kitchen works in your yard. Pick the grill after the layout exists on paper and after you've walked the footprint with a tape measure and a tray of drinks.
Second, materials earn their keep or they don't, and the difference is climate. The teak that looks gorgeous in a coastal magazine rots in three winters in a place with real freeze-thaw cycles. The granite that survives a Phoenix summer fades under New England UV.
Match the material to your zip code and your sun exposure, not to a Pinterest photo.
Third, the cheapest build is the one you use. A $4,000 setup ten feet from your back door that you cook on four nights a week is worth more than a $25,000 setup twenty-five feet away that you cook on twice a summer because the path is too long and the light is too dark.
The point of the kitchen isn't the kitchen. The point is the cookout.
If you only do one thing, lay out the pad and the lighting before you order anything else. Everything else can wait a season. The pad can't.
The Questions I Get Asked Most
How long does it take to build a summer outdoor kitchen for backyard BBQs?
The build itself runs two to five days for a basic pad-and-grill setup, one to three weeks for a mid-range L-shape with counters and storage, and four to eight weeks for a full masonry build with utility lines. Lead times on custom stone and appliances can stretch that further. Pour the pad first so the rest of the work has a foundation.
What is the best budget for a summer outdoor kitchen for backyard BBQs?
It depends on what you're including. The honest ranges, by tier:
Start at the bottom and you'll be surprised how far it goes. The next $1,000 usually beats the last $5,000, and my outdoor kitchen lighting guide covers one of the highest-ROI mid-tier upgrades.
Can I build a summer outdoor kitchen for backyard BBQs on a tight budget?
Yes, and most of the value is in the layout and the pad, not the appliances. Start with a reinforced concrete pad (about $8 to $12 per square foot installed), a portable Weber Genesis gas grill (about $700), one stainless prep table from a restaurant supply store ($150 to $300), and a string-light canopy on four posts (about $200). That's a real cookout kitchen for under $1,500.
Add a side burner or a pizza oven next season.
What are the most common mistakes in a summer outdoor kitchen build?
Putting the grill too far from the inside kitchen. Forgetting the wind direction.
Skipping the utility sink. Using indoor-rated cabinets outdoors.
Setting the counter height at 32 inches instead of the standard 36. Putting a single overhead light where three layers of lighting belong.
Pouring a flat pad with no slope. All seven of these get caught if you walk the layout with a tape measure before you order anything.
Is a summer outdoor kitchen worth it if I rent?
Yes, if you go portable. A Weber Q portable grill, a folding stainless prep table, two IKEA KALLAX units on casters for storage, and a pair of sail shades covers everything a permanent build covers for under $1,000, and you take it with you when you leave.
Skip anything that pours concrete or drills into the structure. The full small-space layout lives in my small outdoor kitchen ideas post.
What is the best layout for a small backyard?
L-shape along one fence and one wall, with the cook zone on the long side and the bar on the short side. Twelve feet of counter run is plenty for two cooks and four guests.
If the footprint is smaller than 10 by 10, drop the dining table and rely on a 4-foot bar overhang with stools. My outdoor kitchen layout guide covers every variant.
What should I plant near my summer outdoor kitchen?
Herbs at hand (rosemary, thyme, basil), scent at the path (lavender, gardenia, jasmine), and a privacy hedge along the property line (Sky Pencil holly or Emergreen arborvitae). Skip anything that drops sap, attracts bees to the cook zone, or needs daily water. Sherwin-Williams Evergreen Fog (SW 9130) on the back wall ties the greenery into the architecture if you want the look to read as one space.
Where I'd Start First
If I had to pick one step, I'd start with the wind study at the hour you cook. Every other decision in this build is downstream of where you actually stand when you grill, and a smoker pointed at the patio table kills the layout before the concrete cures.